We’ve been wanting to find a simple easel for our art-loving kiddos, but we needed something that wouldn’t take up much room in our tiny apartment and that wouldn’t require drilling any more holes into our walls. Turns out, we didn’t have to look much further than a humble cotton clothesline.
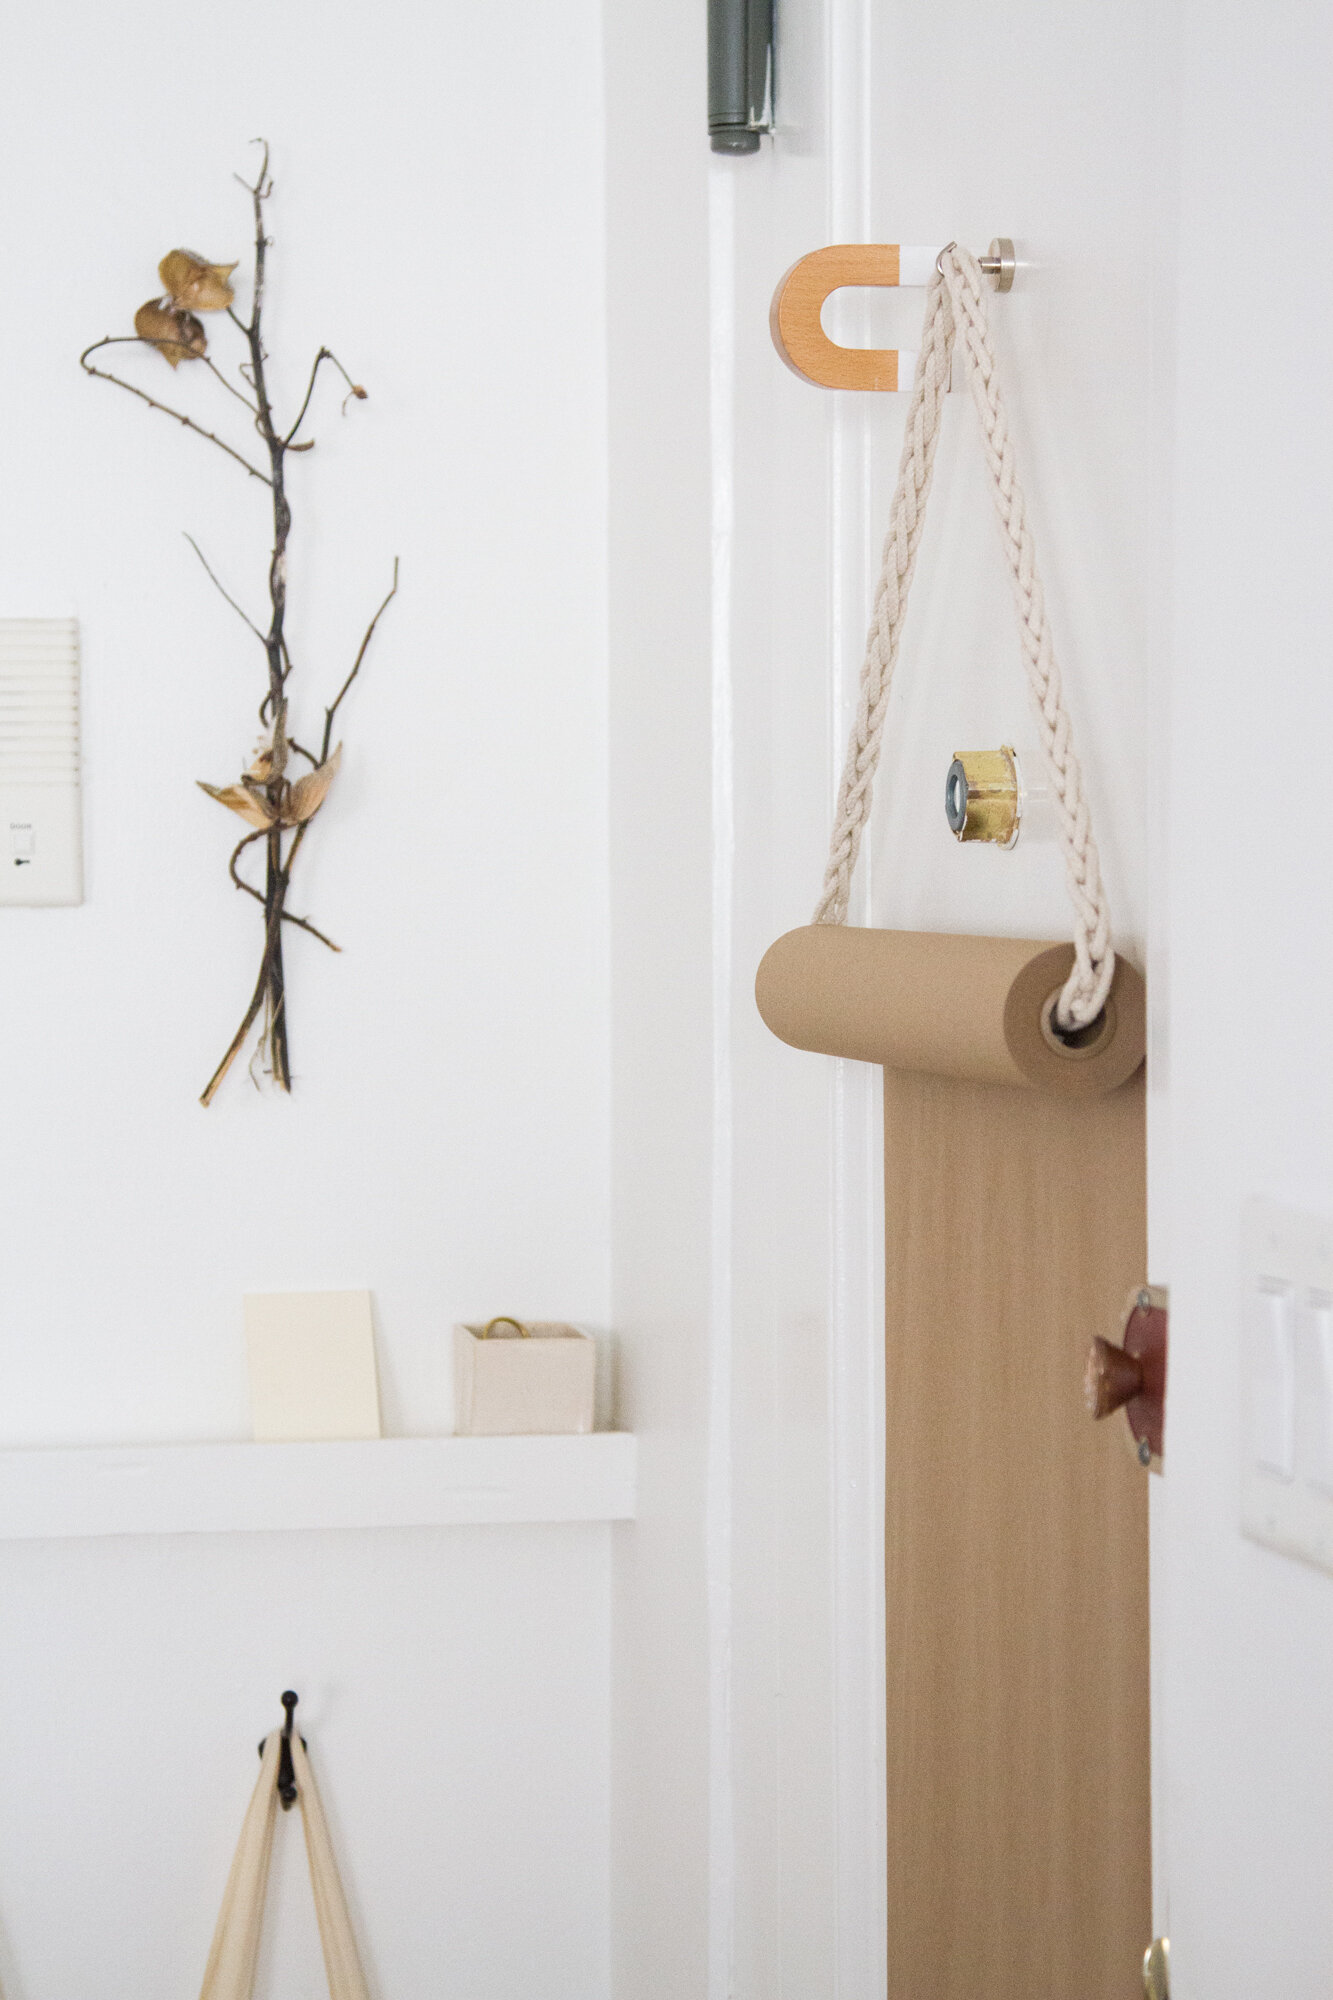
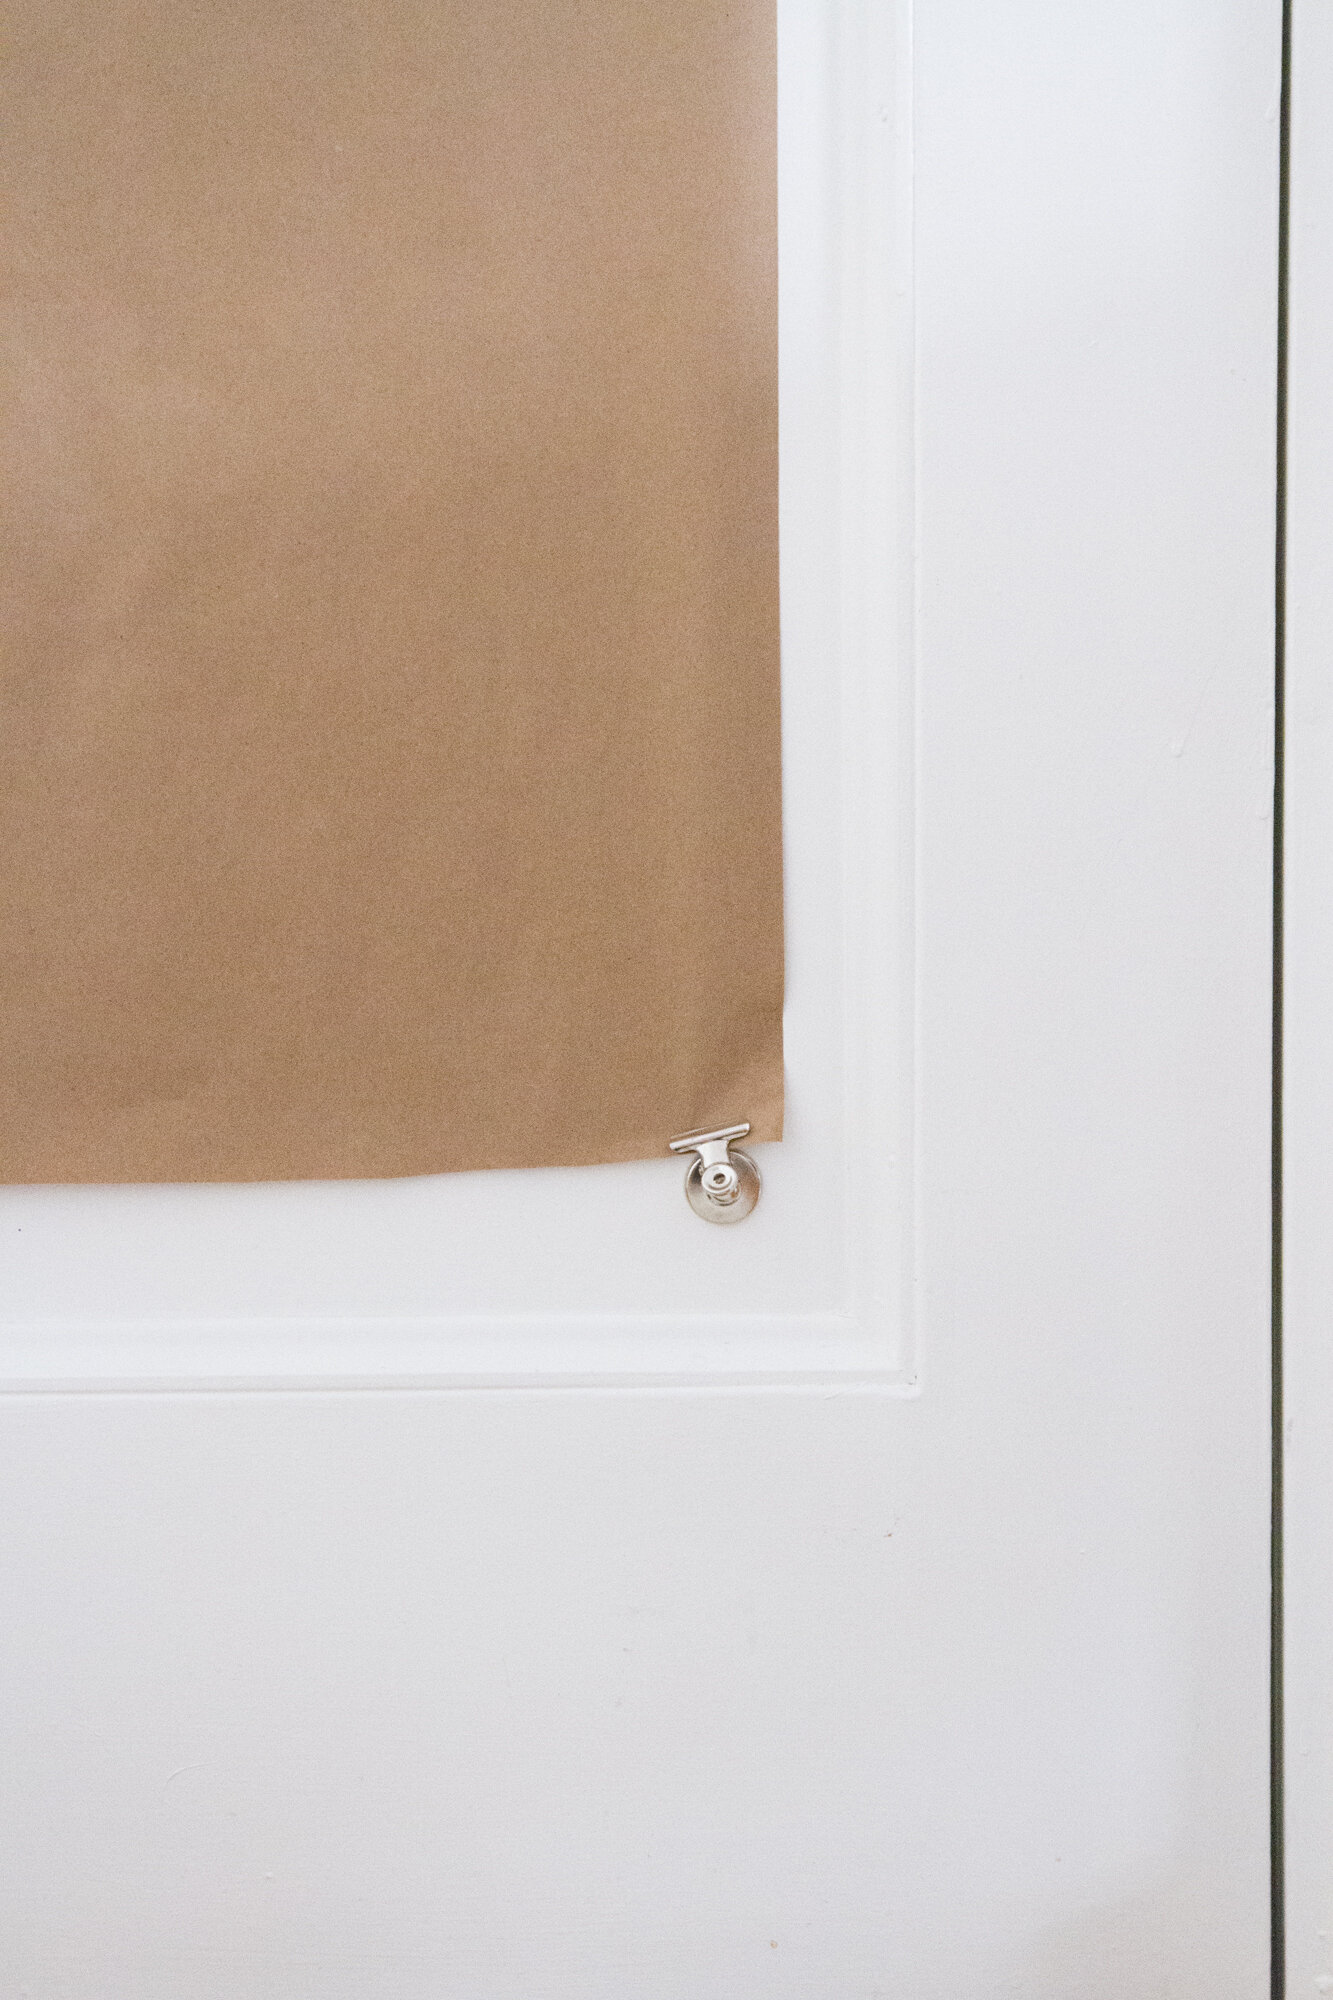
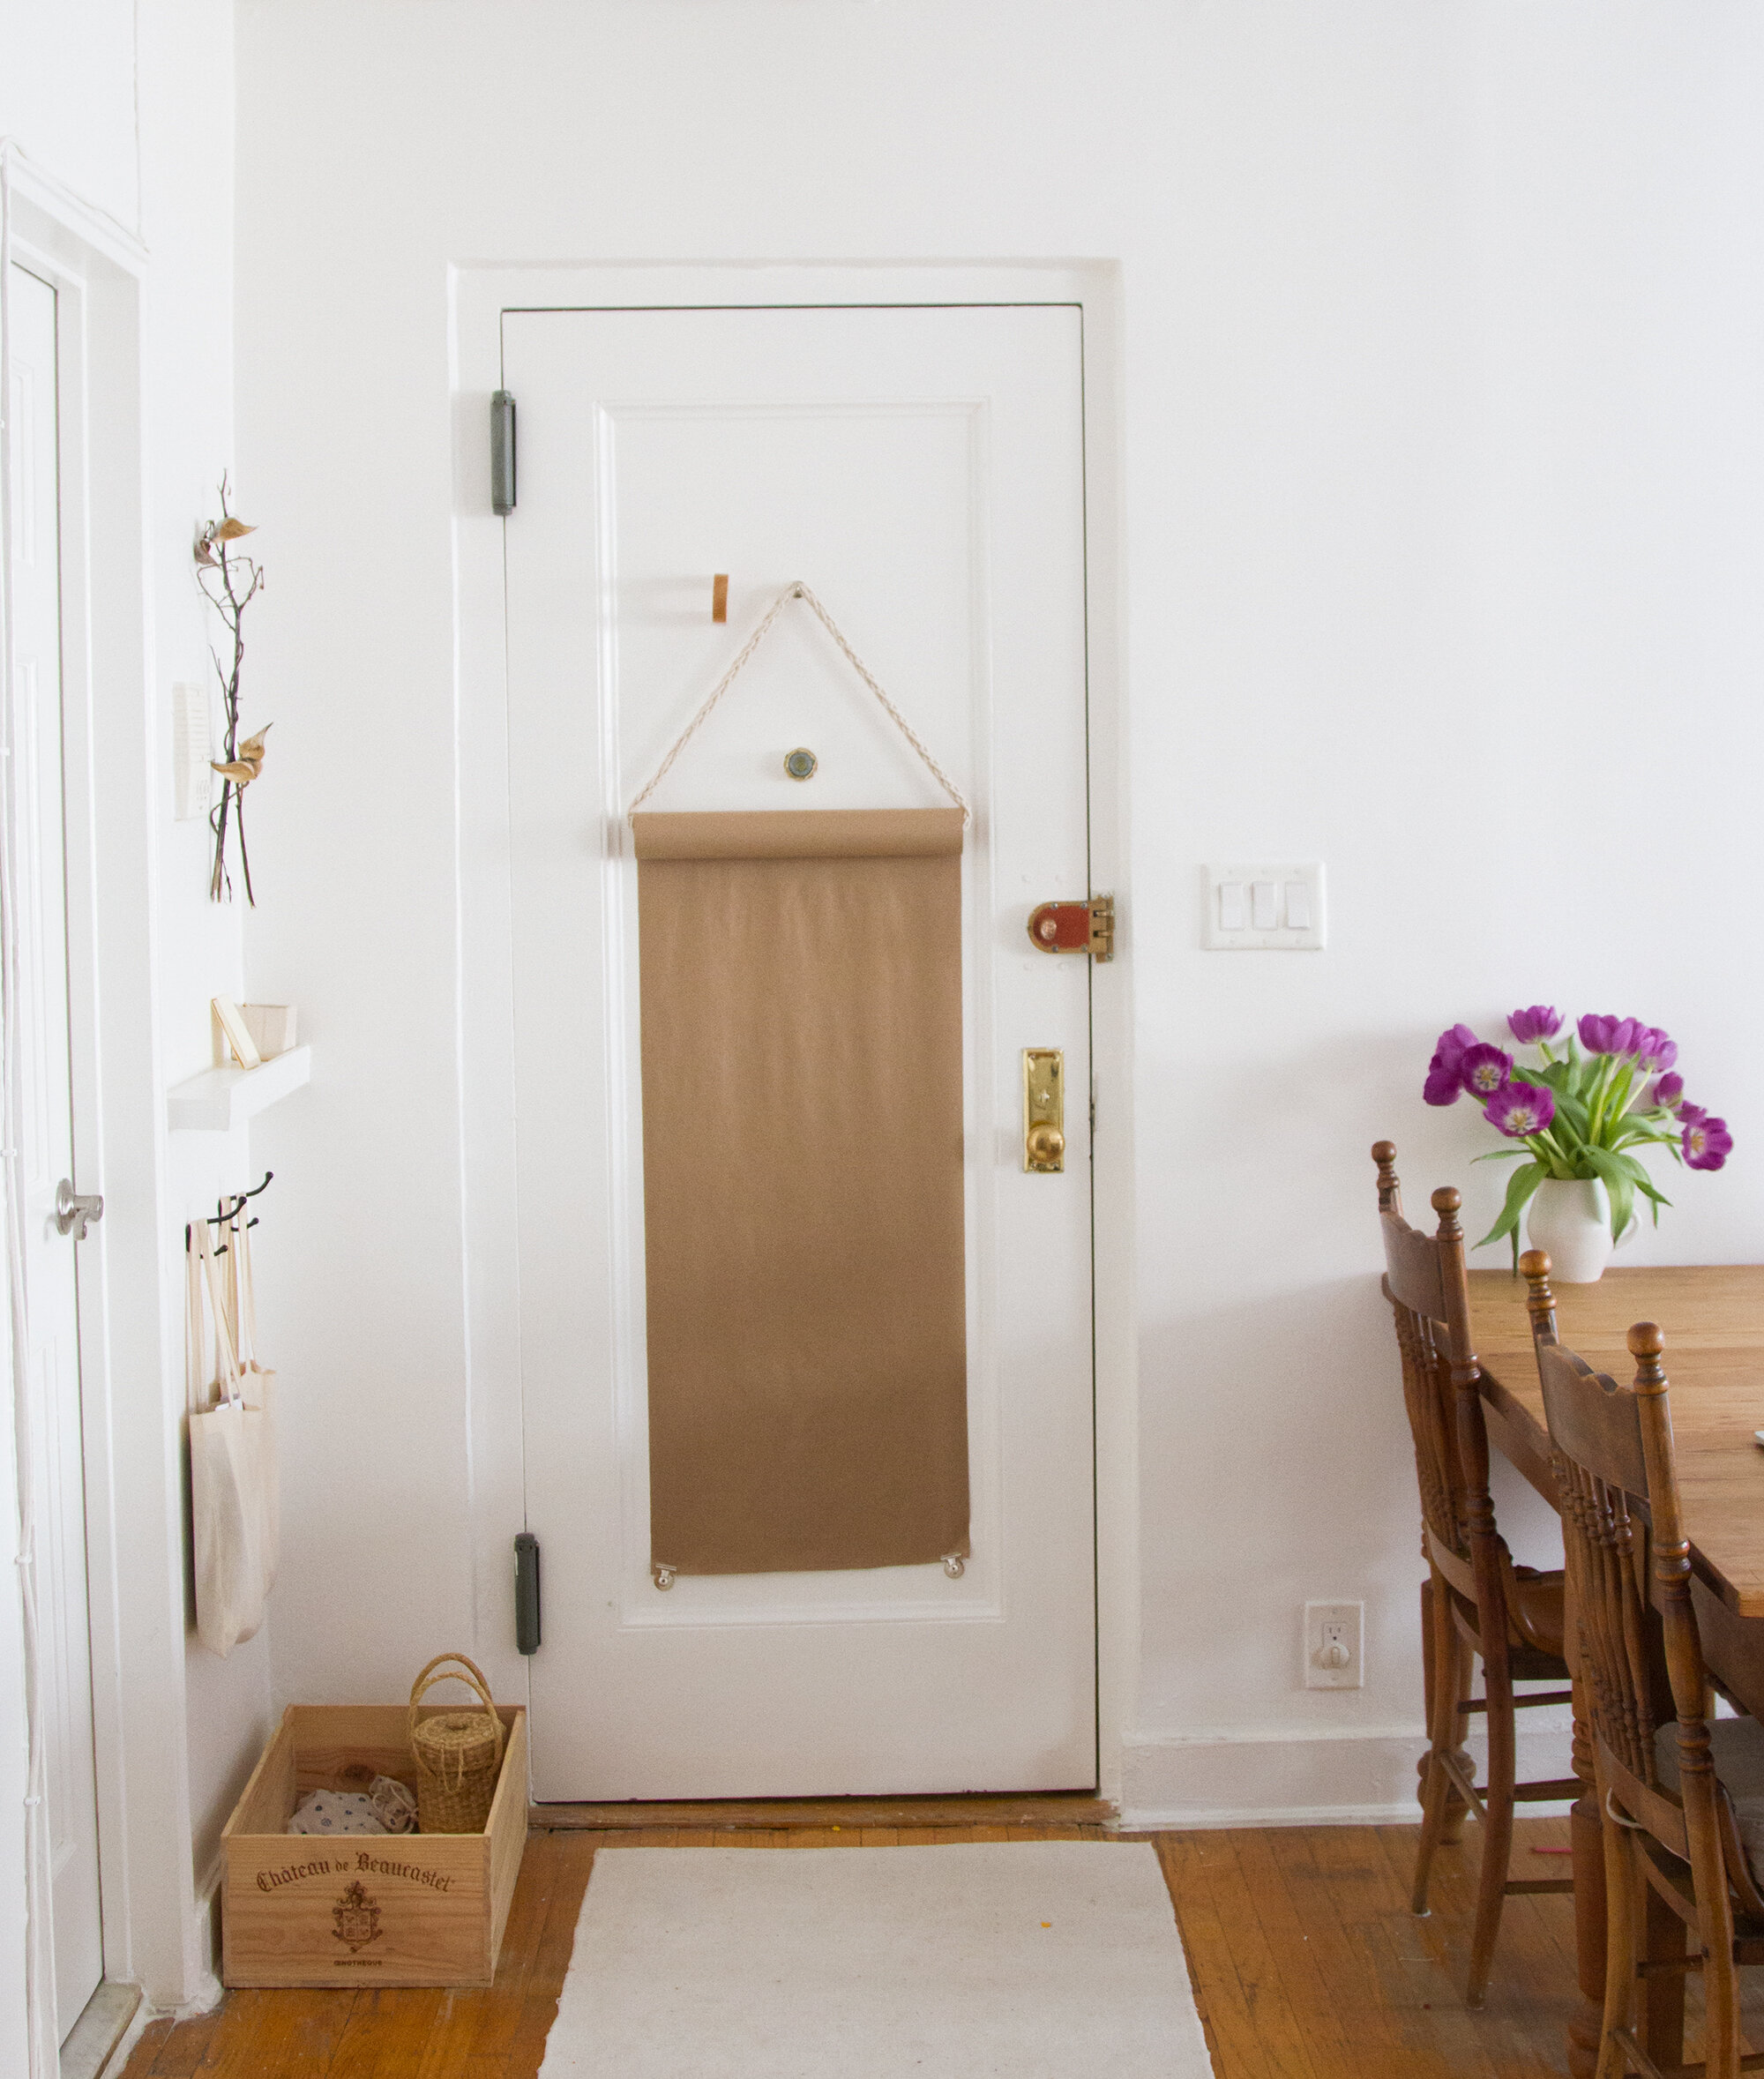
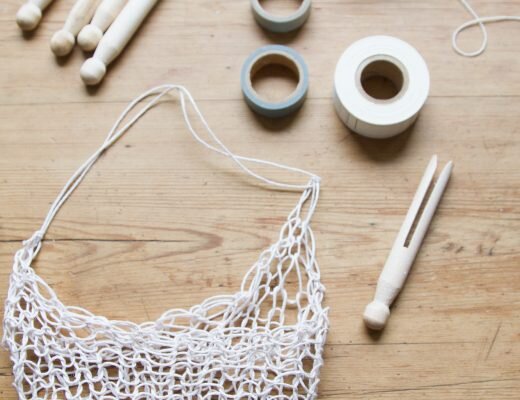
This week, a tutorial from Rose teaching us how to make a super simple cord out of cotton clothesline and how to put it to work as a moveable and stowable holder for a roll of kraft paper. In this project, straightforward finger knitting takes something totally ordinary and turns it into something that’s equal parts beautiful and useful. You can use this cording technique for all kinds of projects, but I’m especially fond of how we used it to turn rolls of recycled kraft paper into toddler-friendly makeshift easels. In my apartment, our paper roll is hanging from our steel door with a heavy duty magnet. (In Rose’s apartment, the roll hangs on the back of the bathroom door and keeps her two-year-old entertained while Rose showers.) The best part is, it can go wherever you need it to. Materials and step-by-step instructions from Rose are below!
From Rose:
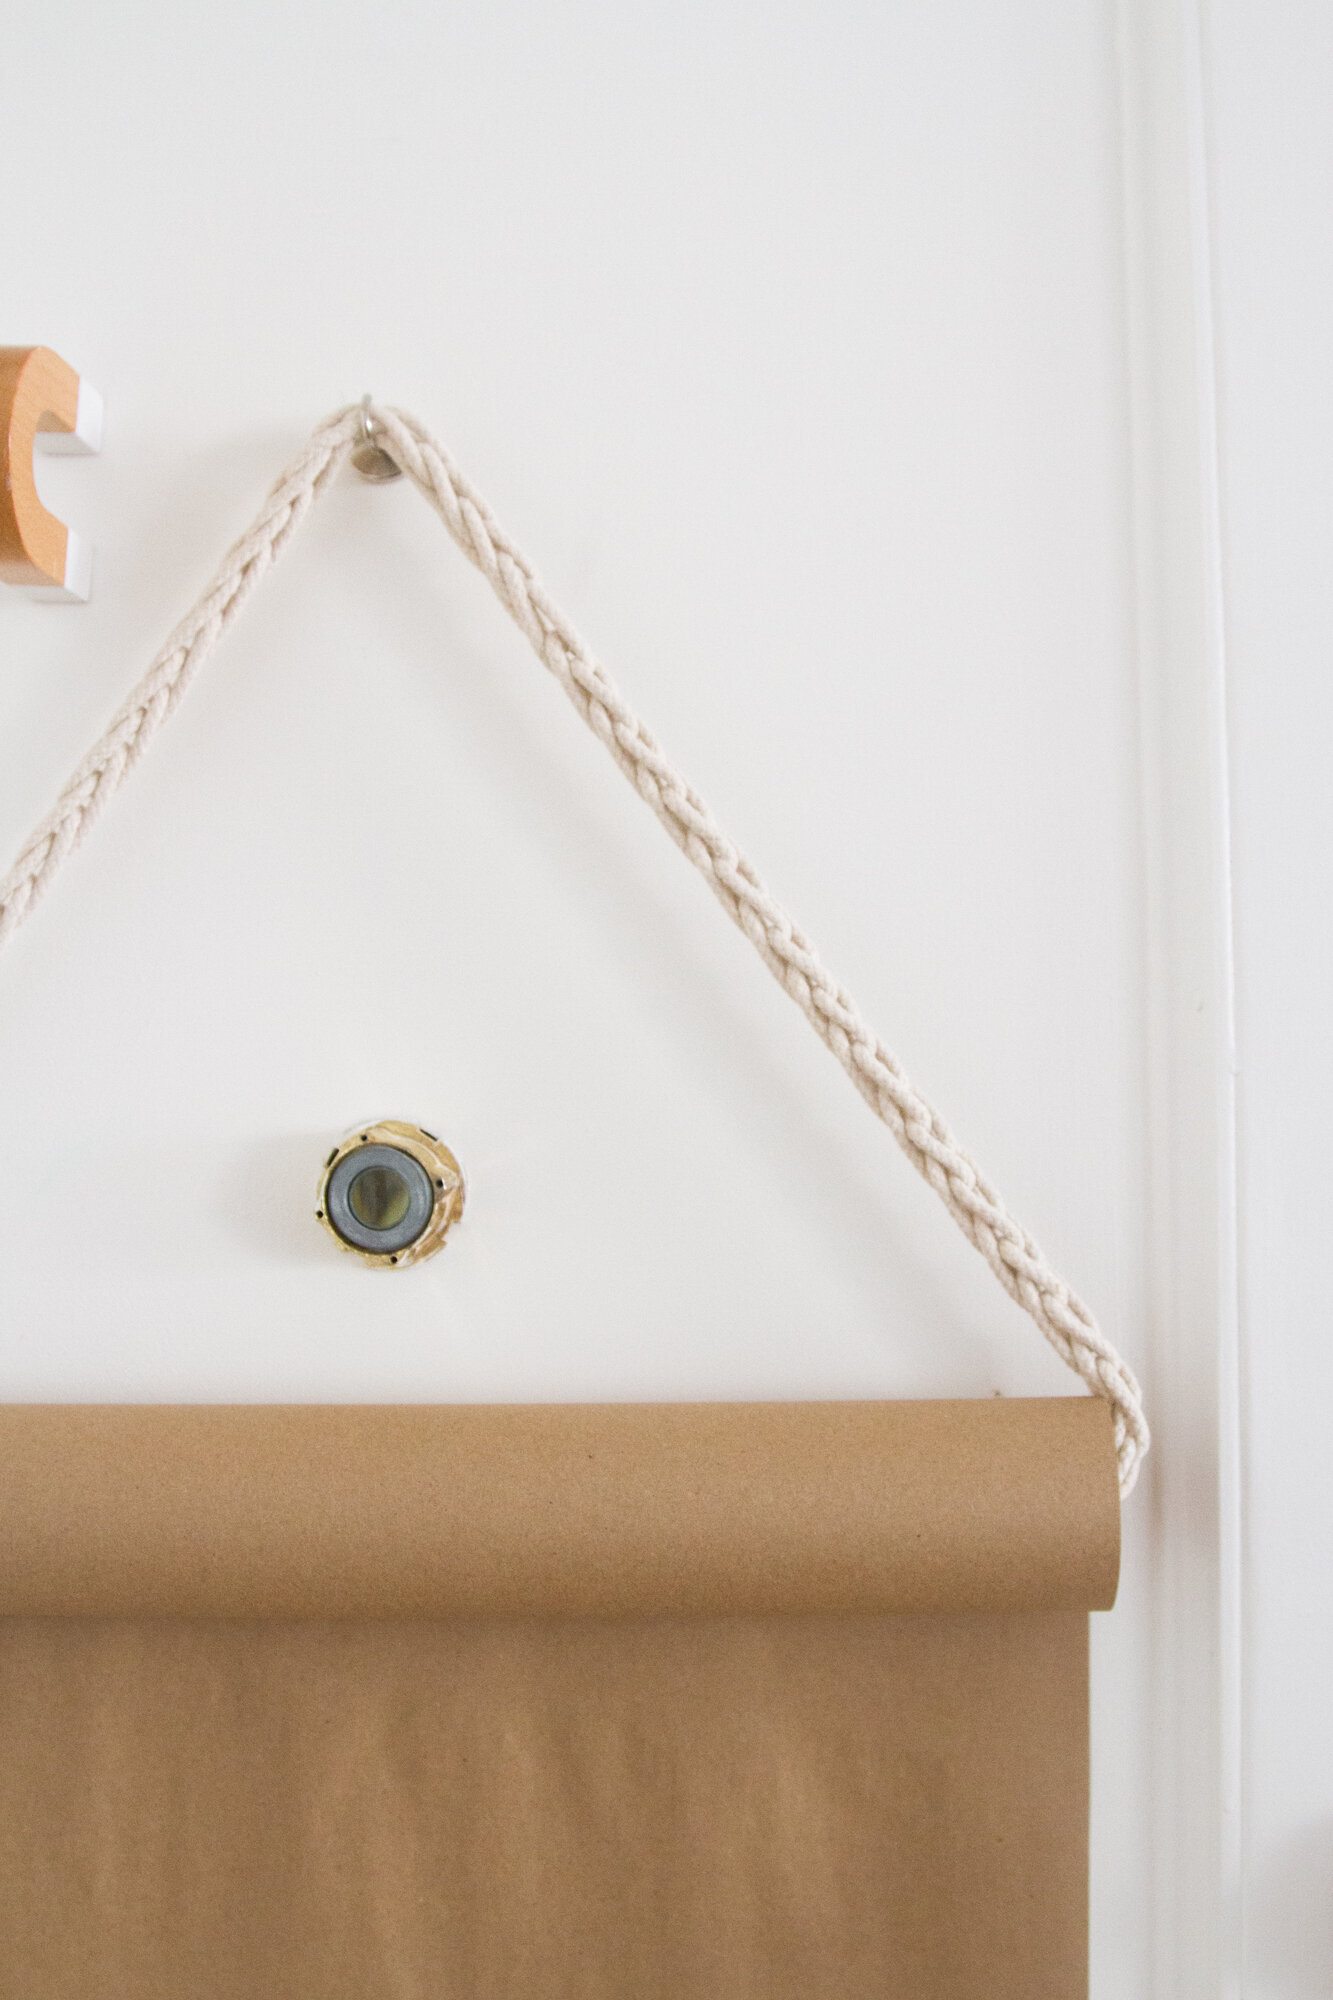
This corded hanger is a simple alternative to more expensive and permanent, wall-mounted paper dispensers. It can easily turn any blank wall space into a creative backdrop, and can be quickly taken down or moved when needed. This project requires little more than your two fingers and some string or rope. Hang the rope on a hook anywhere you have an empty wall and easily move it around to different areas in your home. The back of a door, a coat hook, or even the fridge, can become an impromptu easel and creative surface for adults and kids alike.
Materials needed:
+ Paper roll (~18″ (shown in Erin’s apartment above) and 30″ recycled kraft paper rolls are widely available)
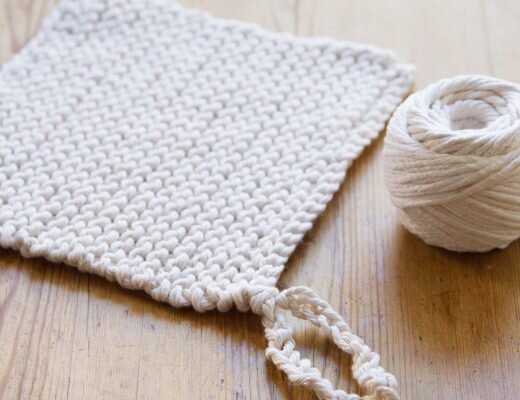
+ Cotton rope (size #6 is pictured but you can use a wide variety of string/rope)
+ Scissors
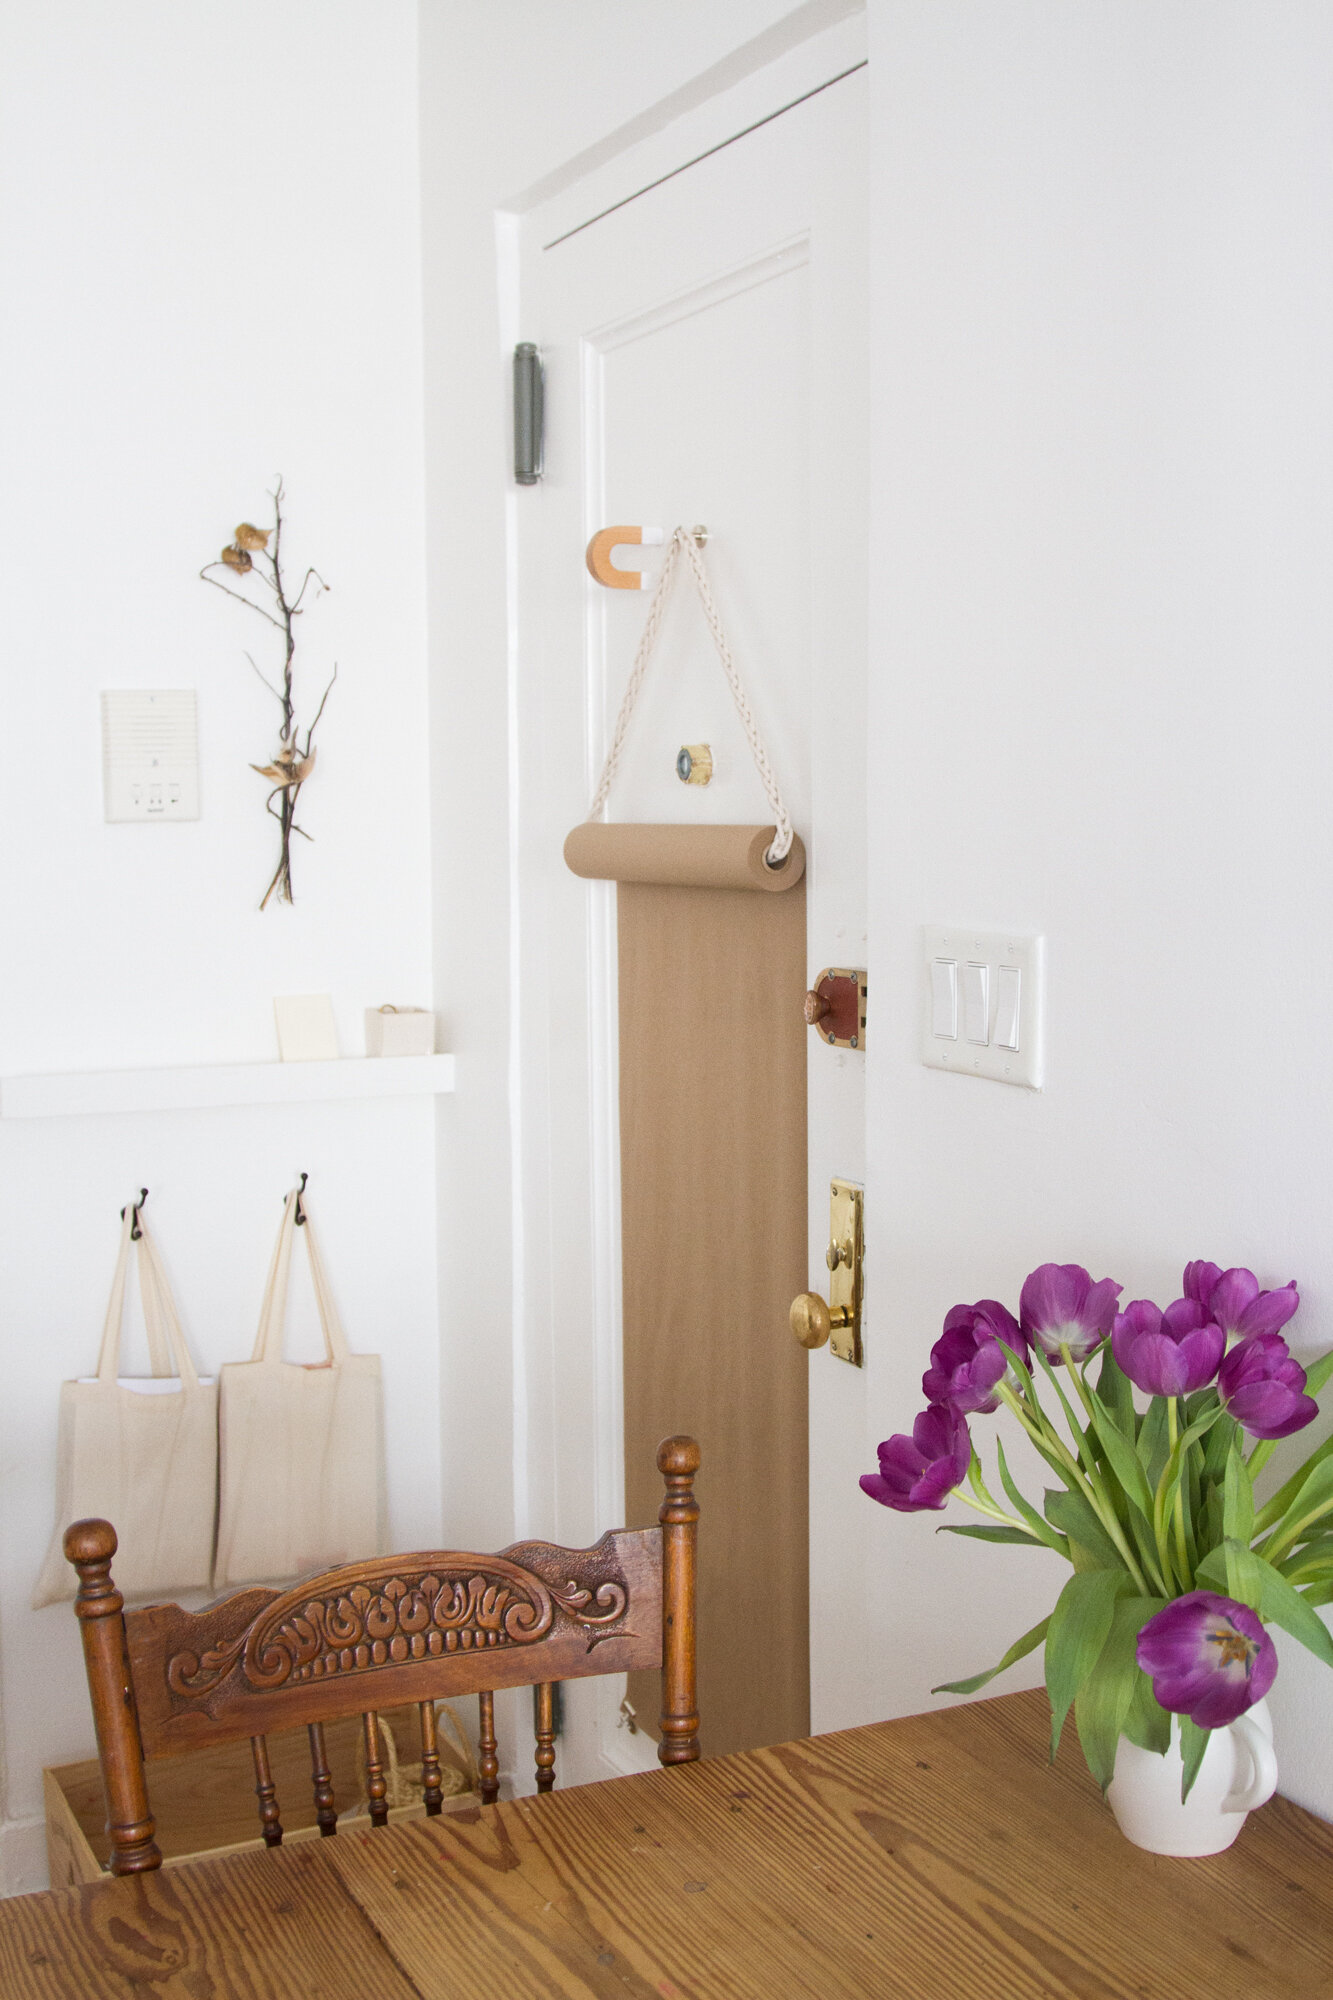
+ Hook for hanging (An over-the door wreath hanger works well for wooden doors and a heavy-duty magnet hook is perfect for steel doors and refrigerators. Both are moveable!)
+ Clips for weighing down the bottom edge (optional). (Erin used magnetic bulldog clips on her door.)
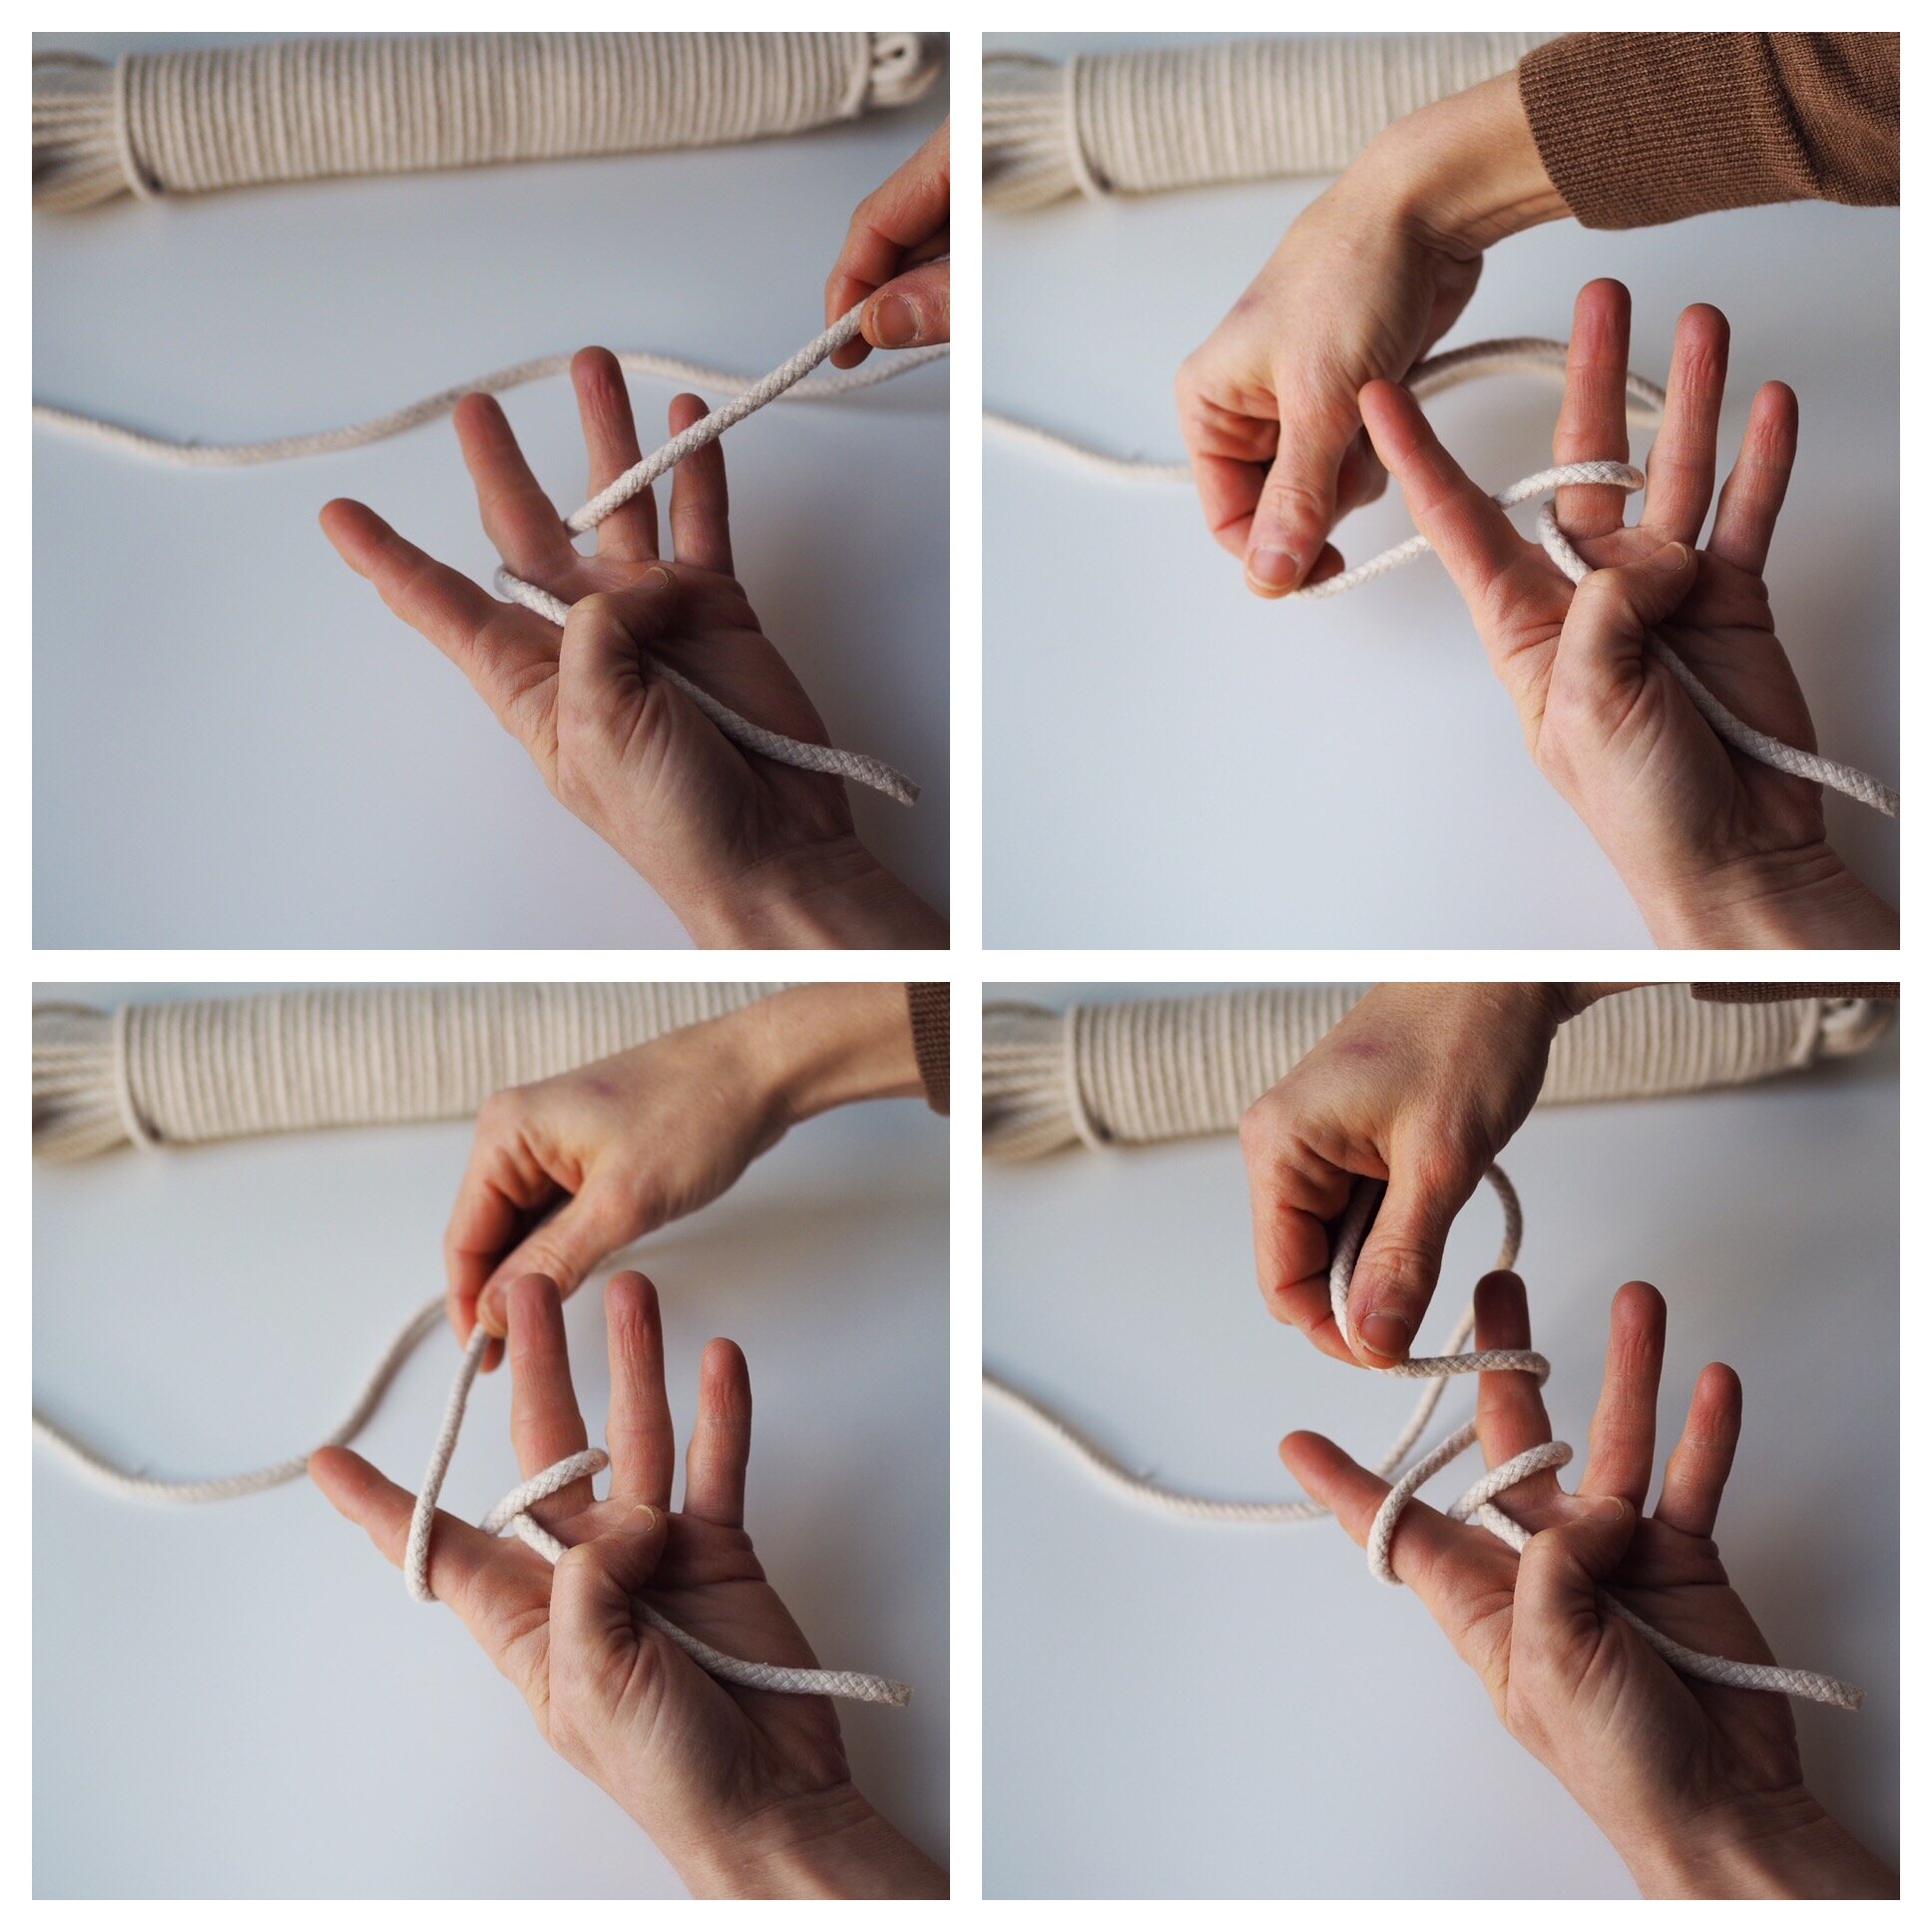
1. Start by holding the tail end of your rope in the left hand. Leave an 8-inch tail in the front of your palm and bring the remaining cord between your pointer finger and your middle finger of your left hand.
2.Working with the long end of the cord, wrap the cord around your middle finger (clockwise) to the front of your hand, then circle it back between your fingers at a diagonal and wrap counterclockwise around your pointer finger.
3. Continue back between your two fingers again at a diagonal and once more around your middle finger and through the two fingers to the back of your hand (clockwise). You are making a figure 8 with the cord around your two fingers.
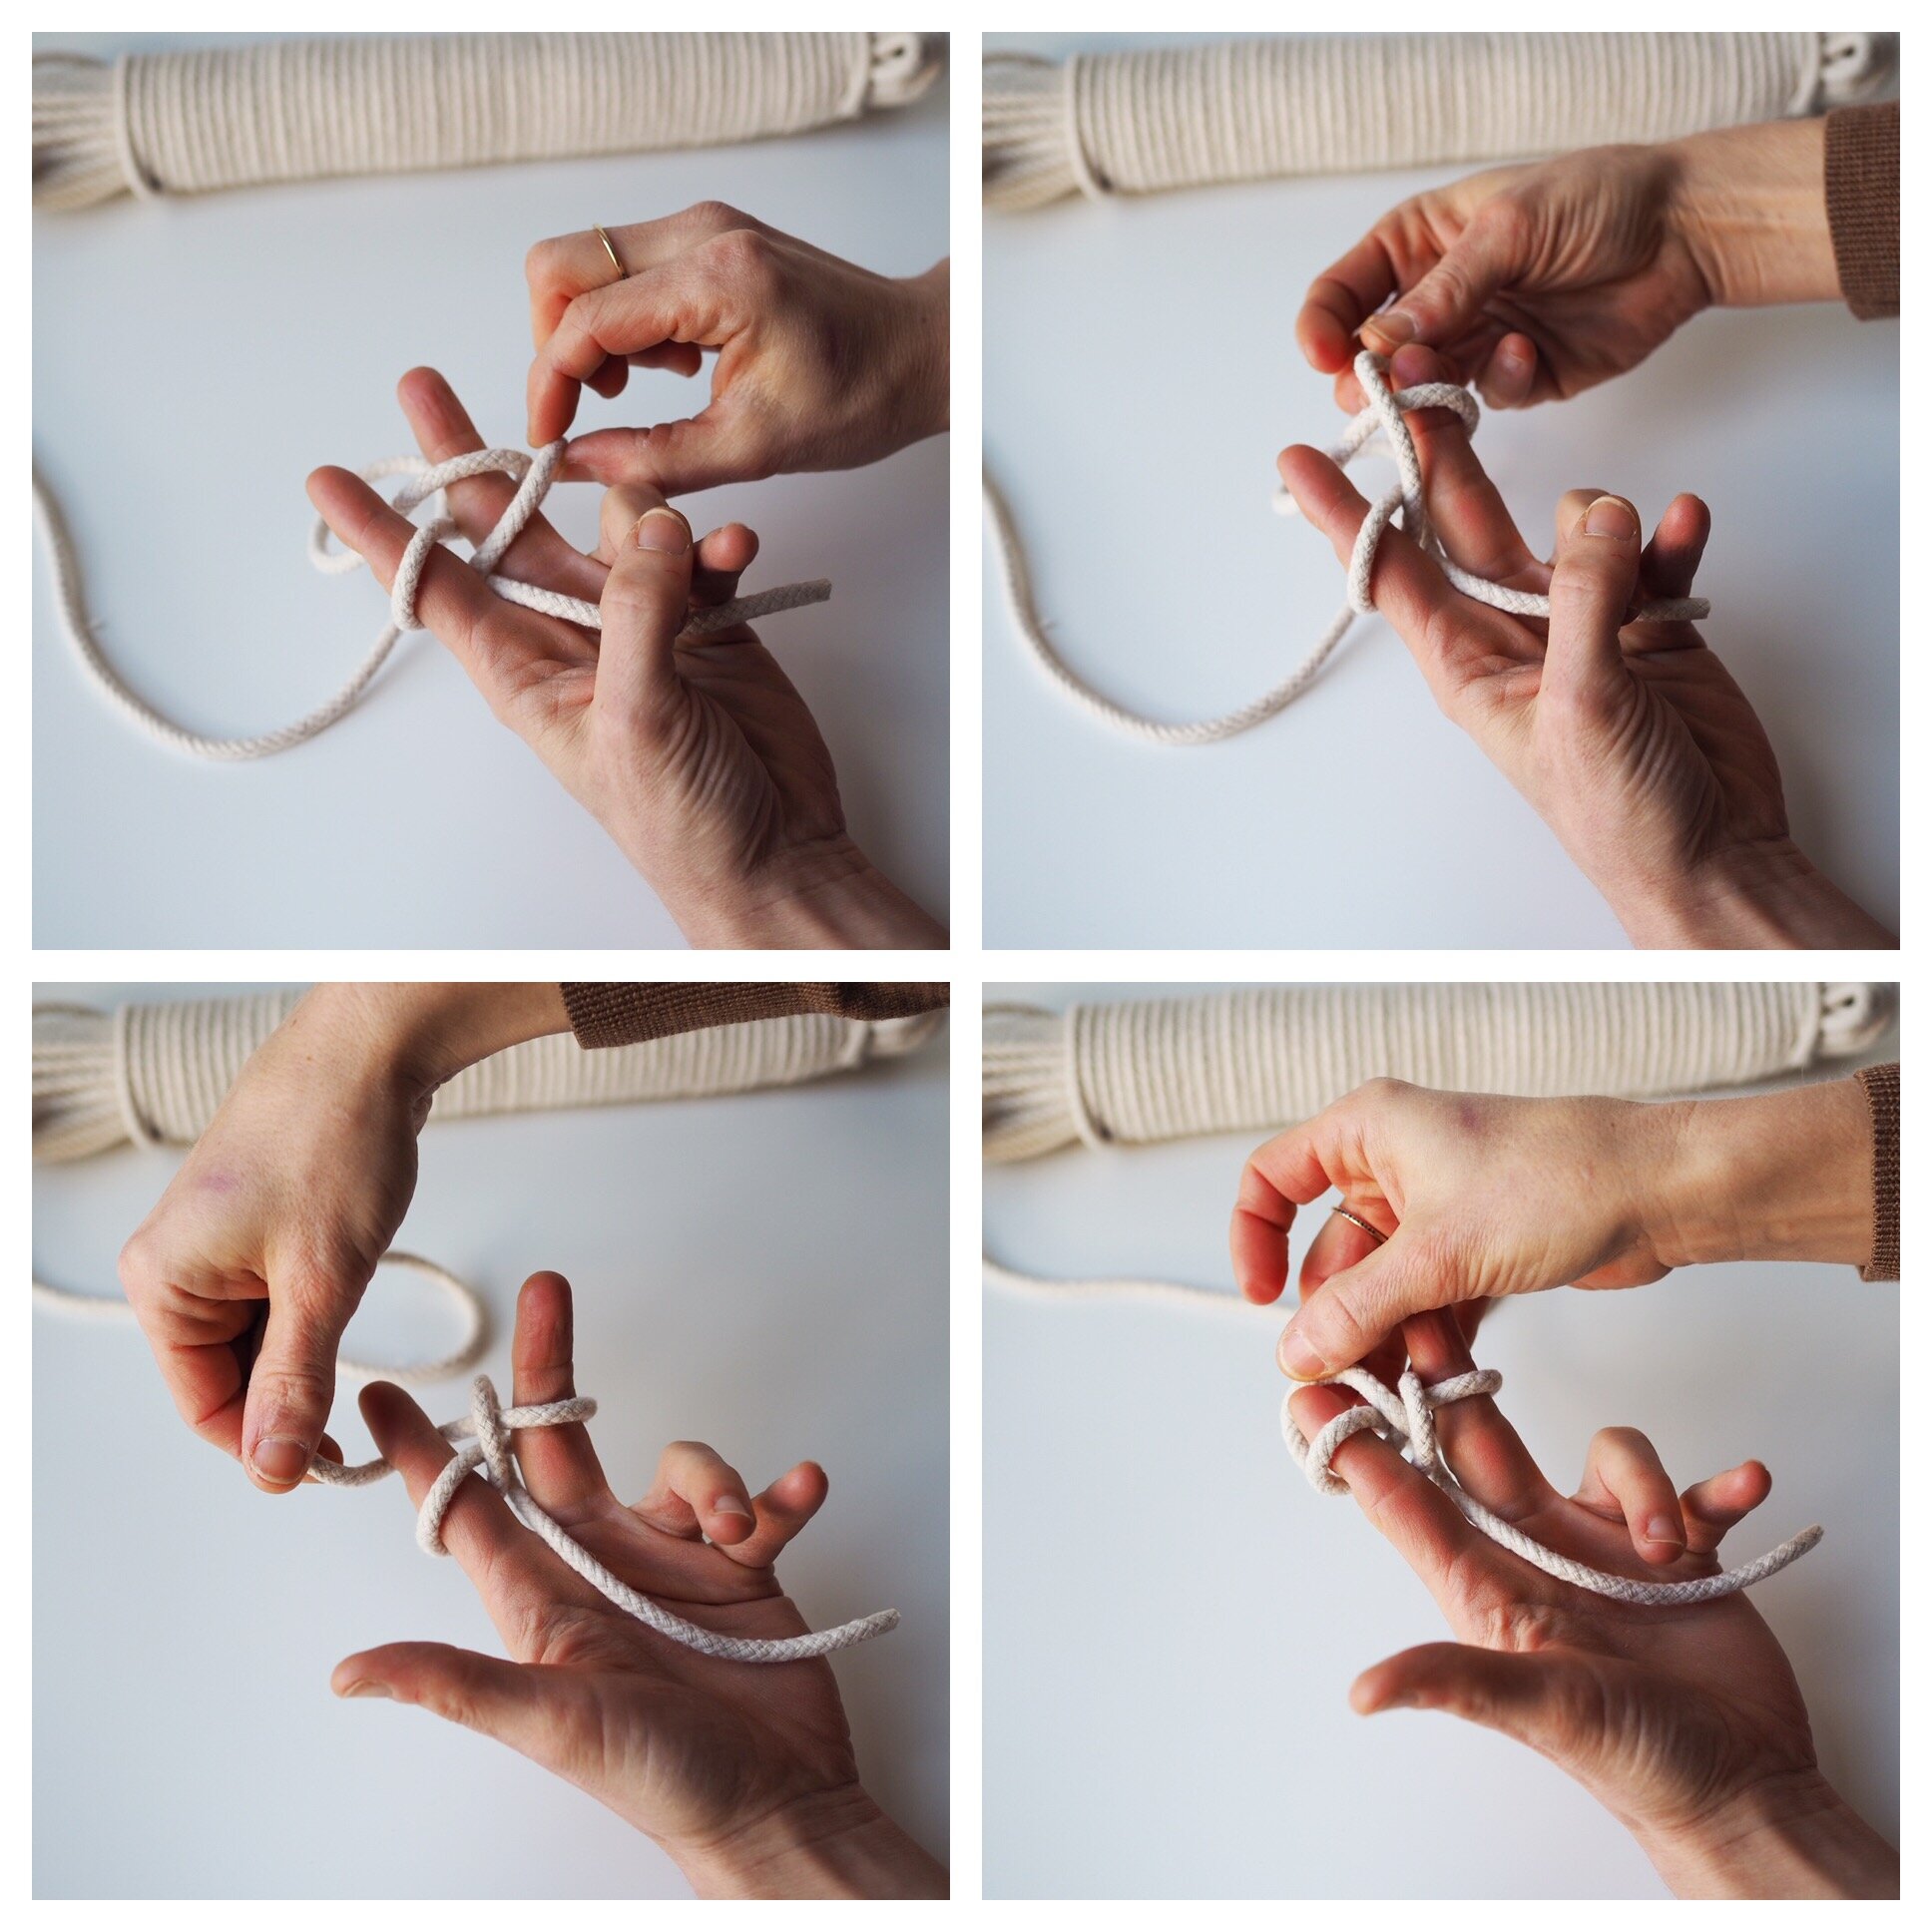
4. You should have two loops around your middle finger and the working cord is hanging in back of your left hand. Working with the two loops on you middle finger carefully bring the loop on the bottom over the top loop and off your finger. You will have one loop remaining and on either finger.
5. Now wrap the working rope counter clockwise around the pointer finger to create a second loop. Let the working rope hang in back of your hand as you pass the bottom loop over the top and off your pointer finger. You just completed your first knot on both sides.
6. You will continue to cord in this manner making a figure eight around your two fingers and sliding the bottom loop over the top. Pull the tail end of the rope (lying in front of your palm) down to lengthen out the cord as you work.
7. Work this method for roughly 48-inches (if using a 30-inch roll) or about the length and a half of your roll of paper.
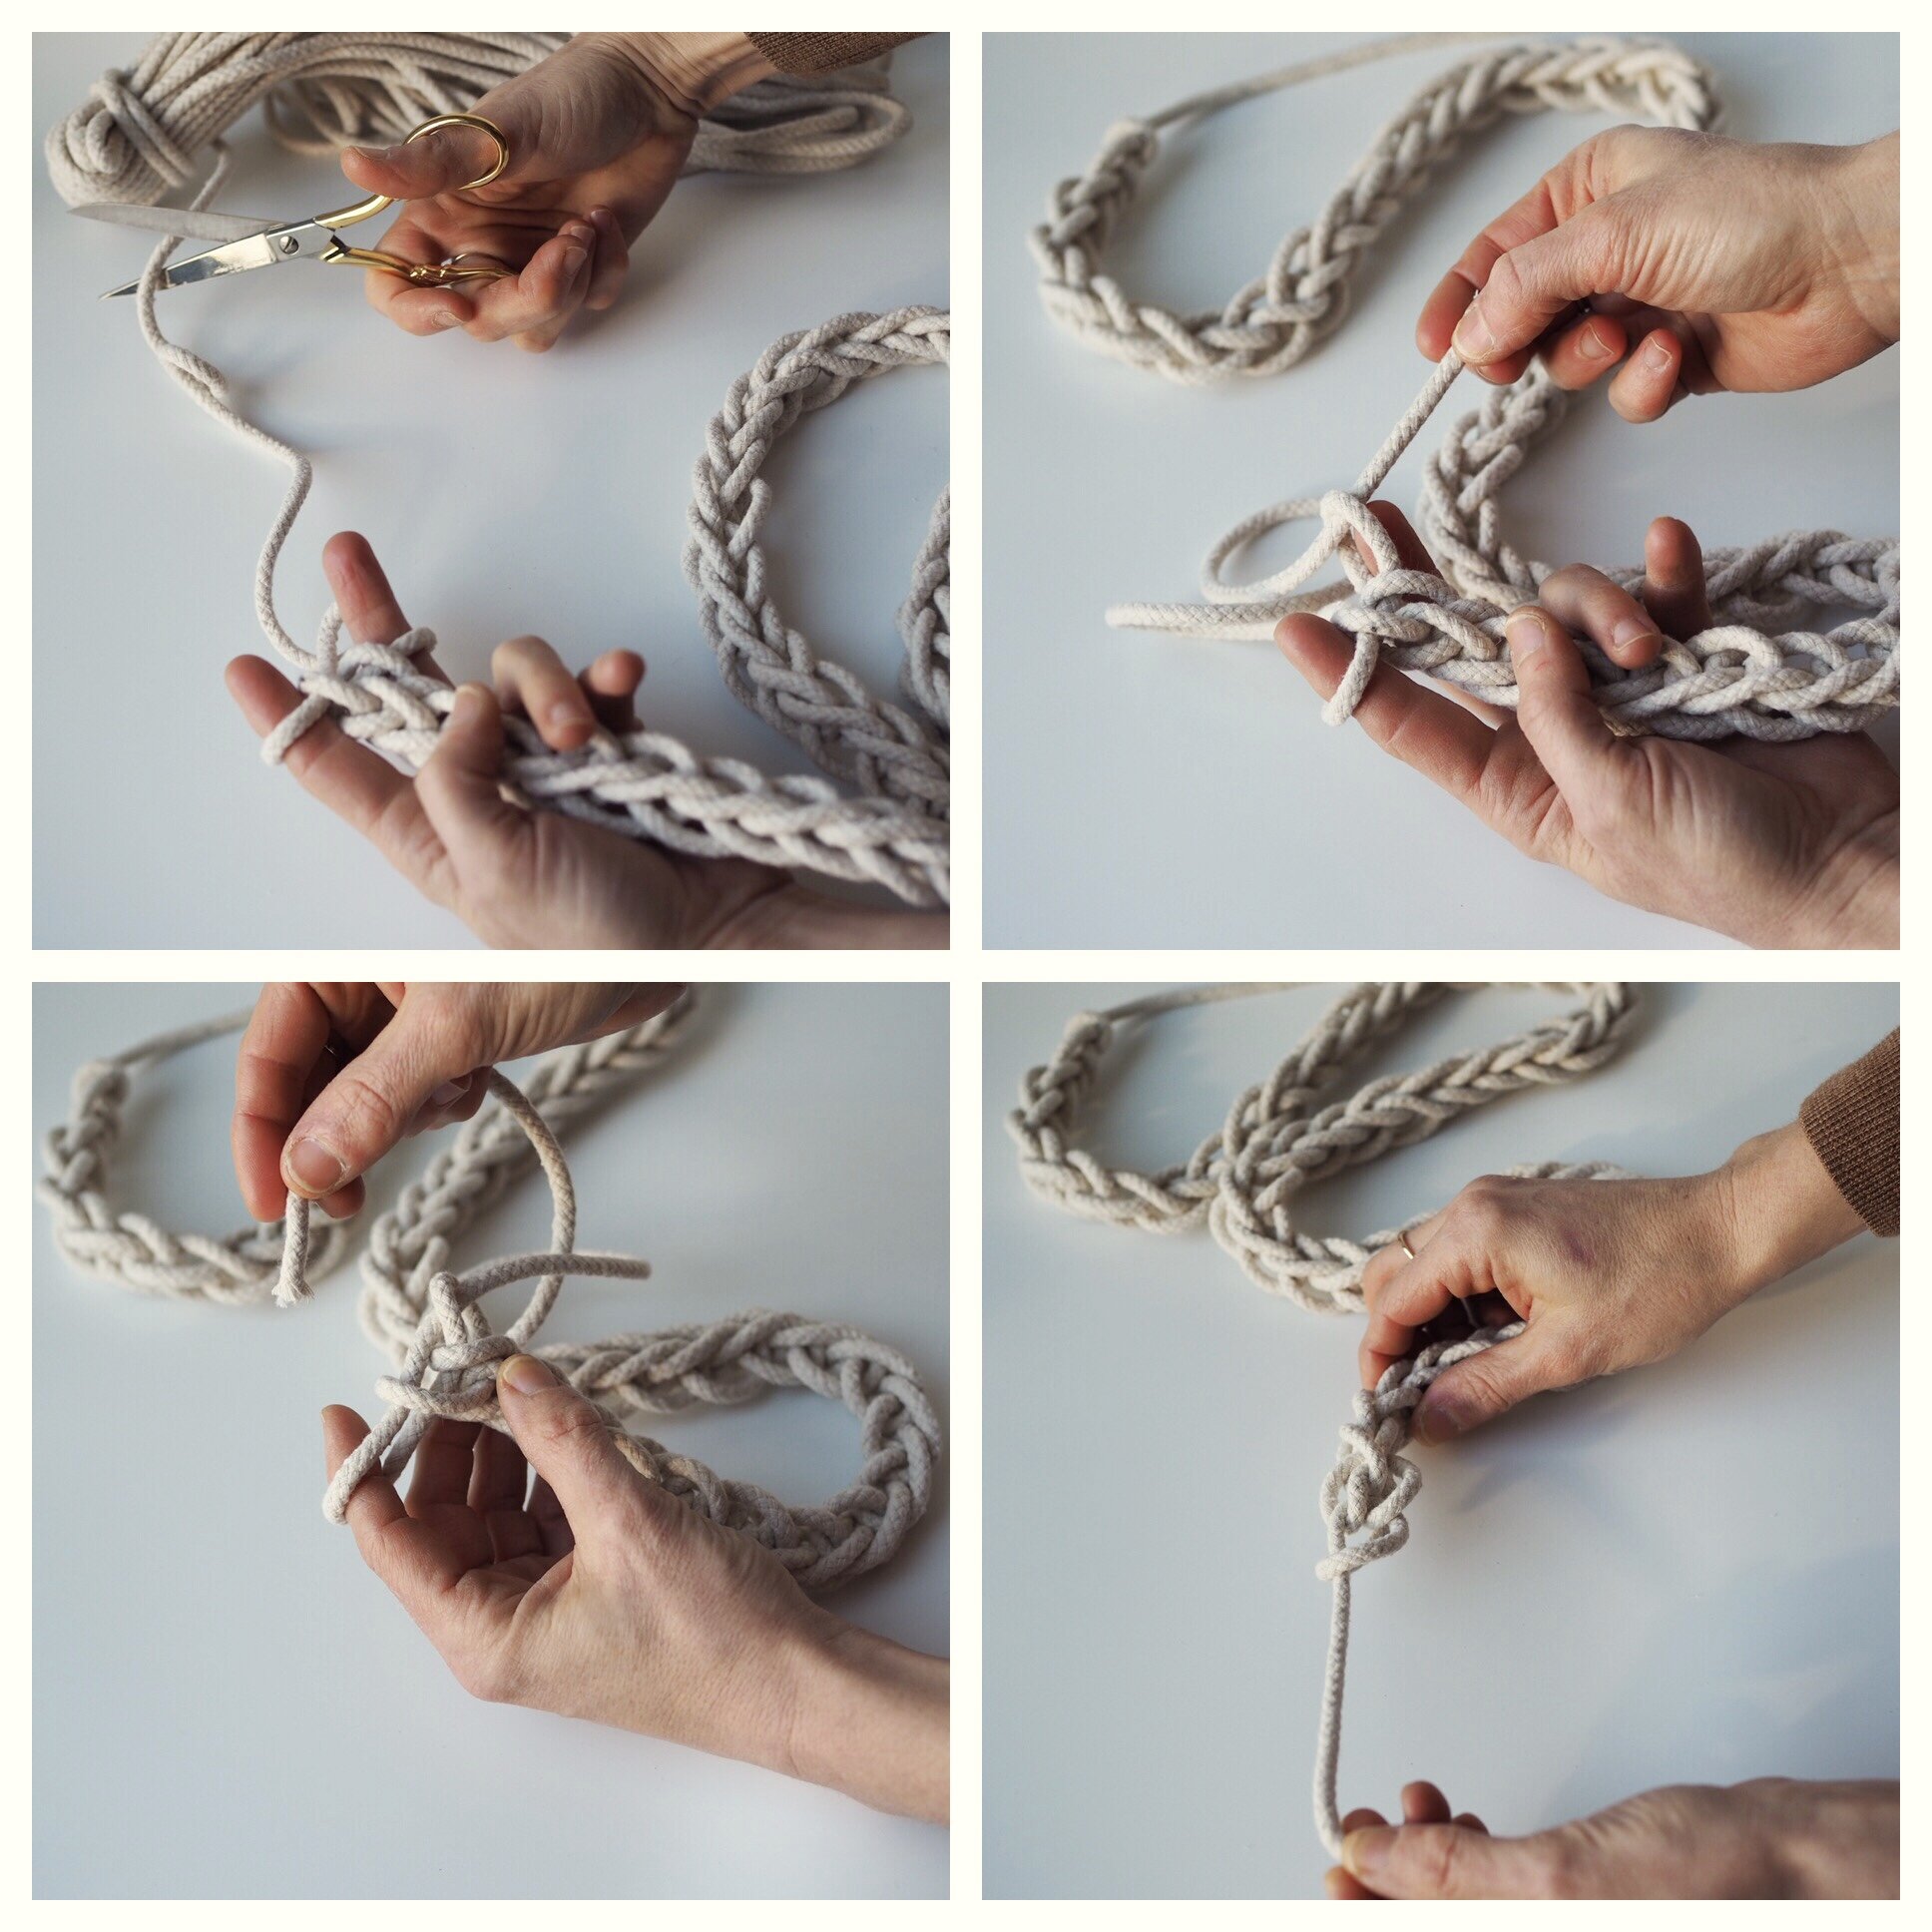
8. When you reach your desired length, cut an 8-inch tail end from your working rope. Thread the cut end through the single loop on the middle finger (from the inside out) releasing the loop from your finger. Then thread the tail end through the pointer finger loop (from the inside out) and off your finger. Pull tight to cinch together.
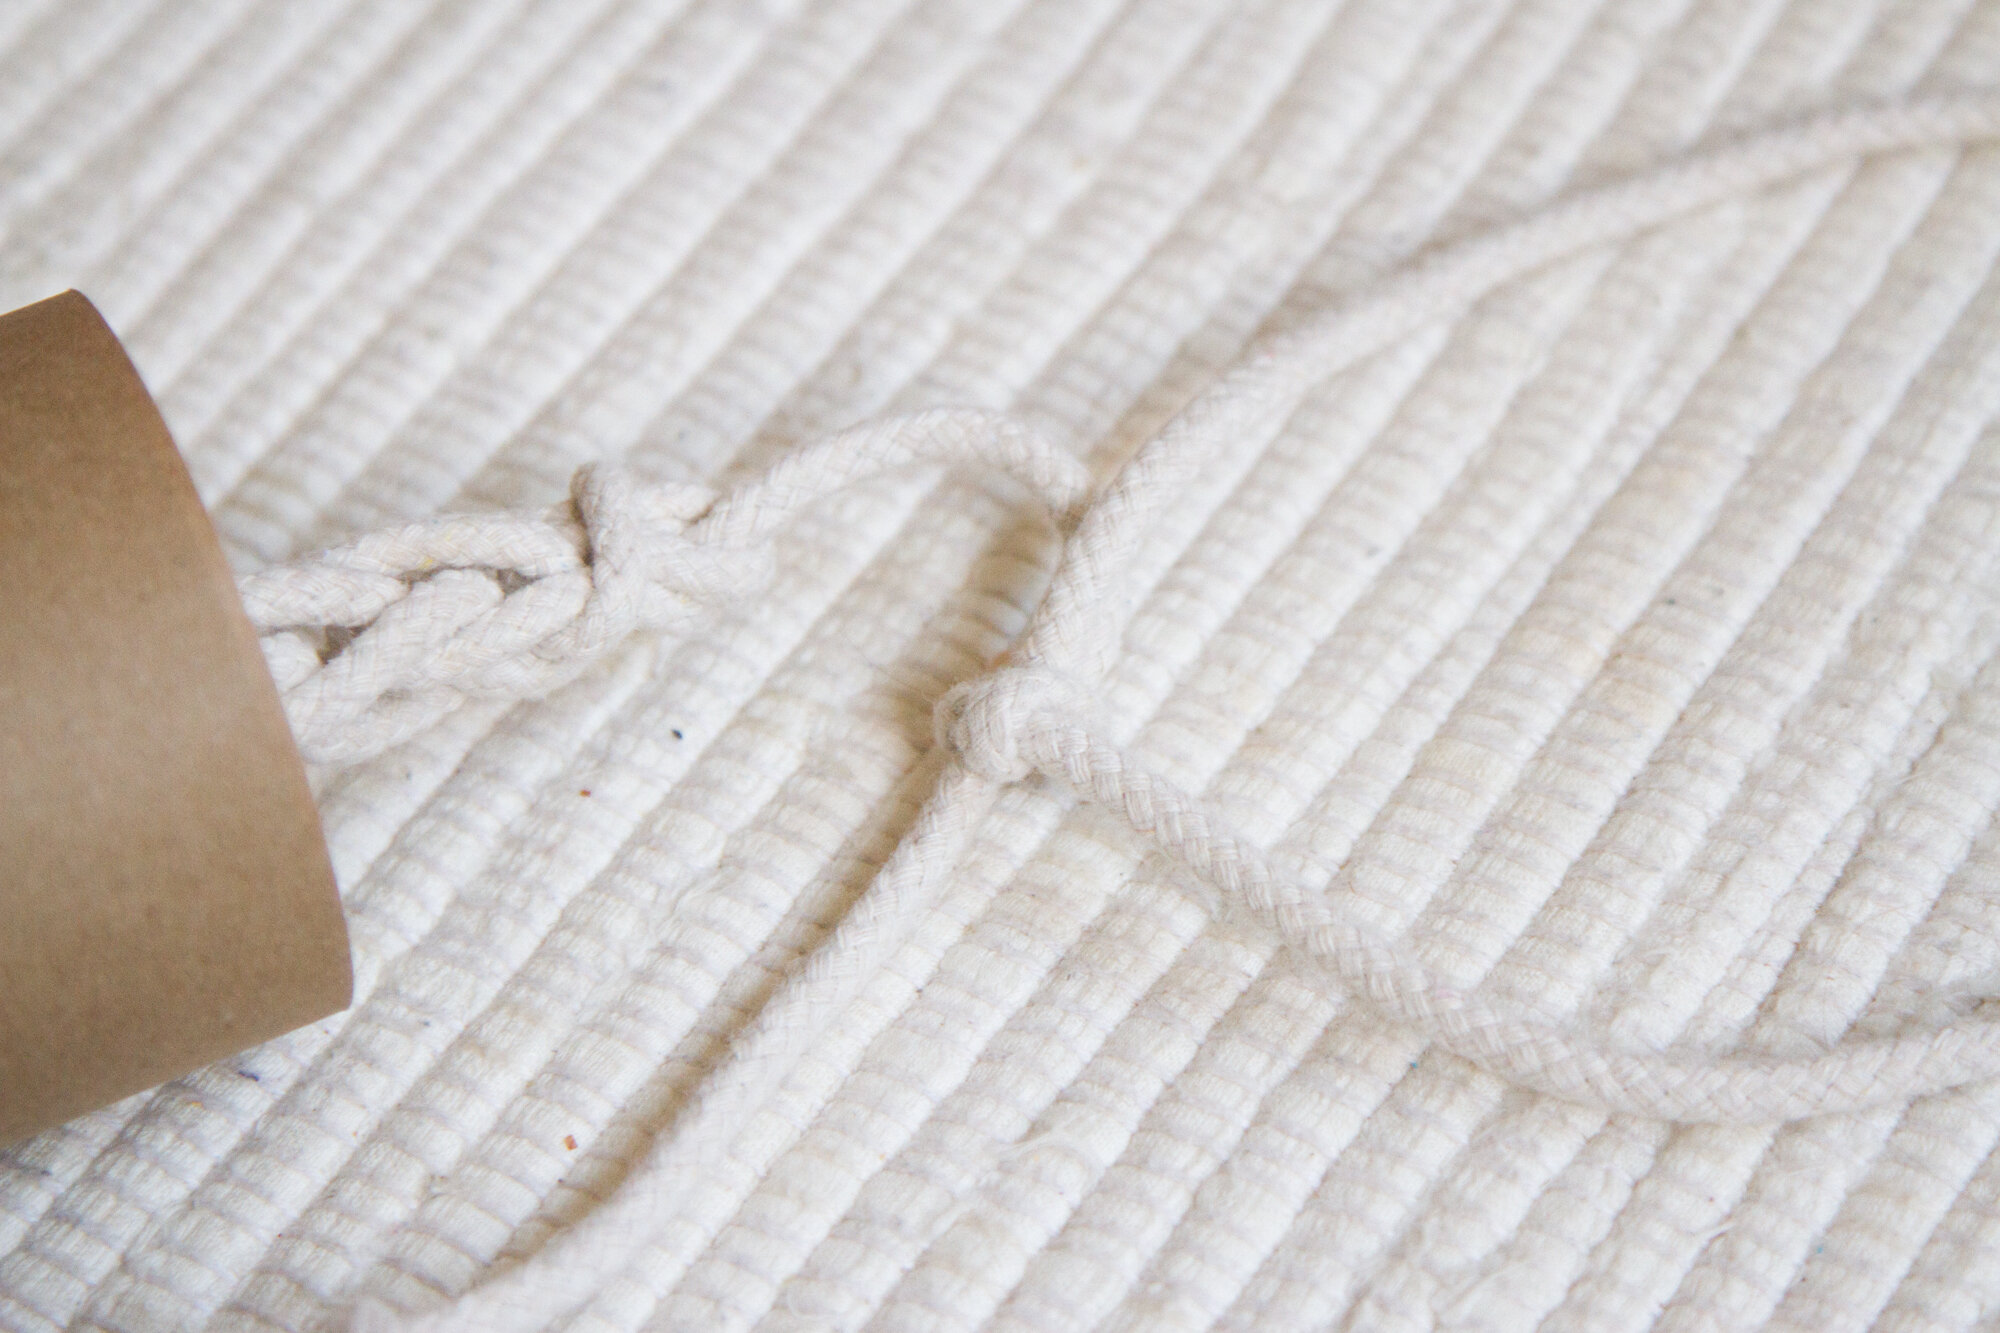
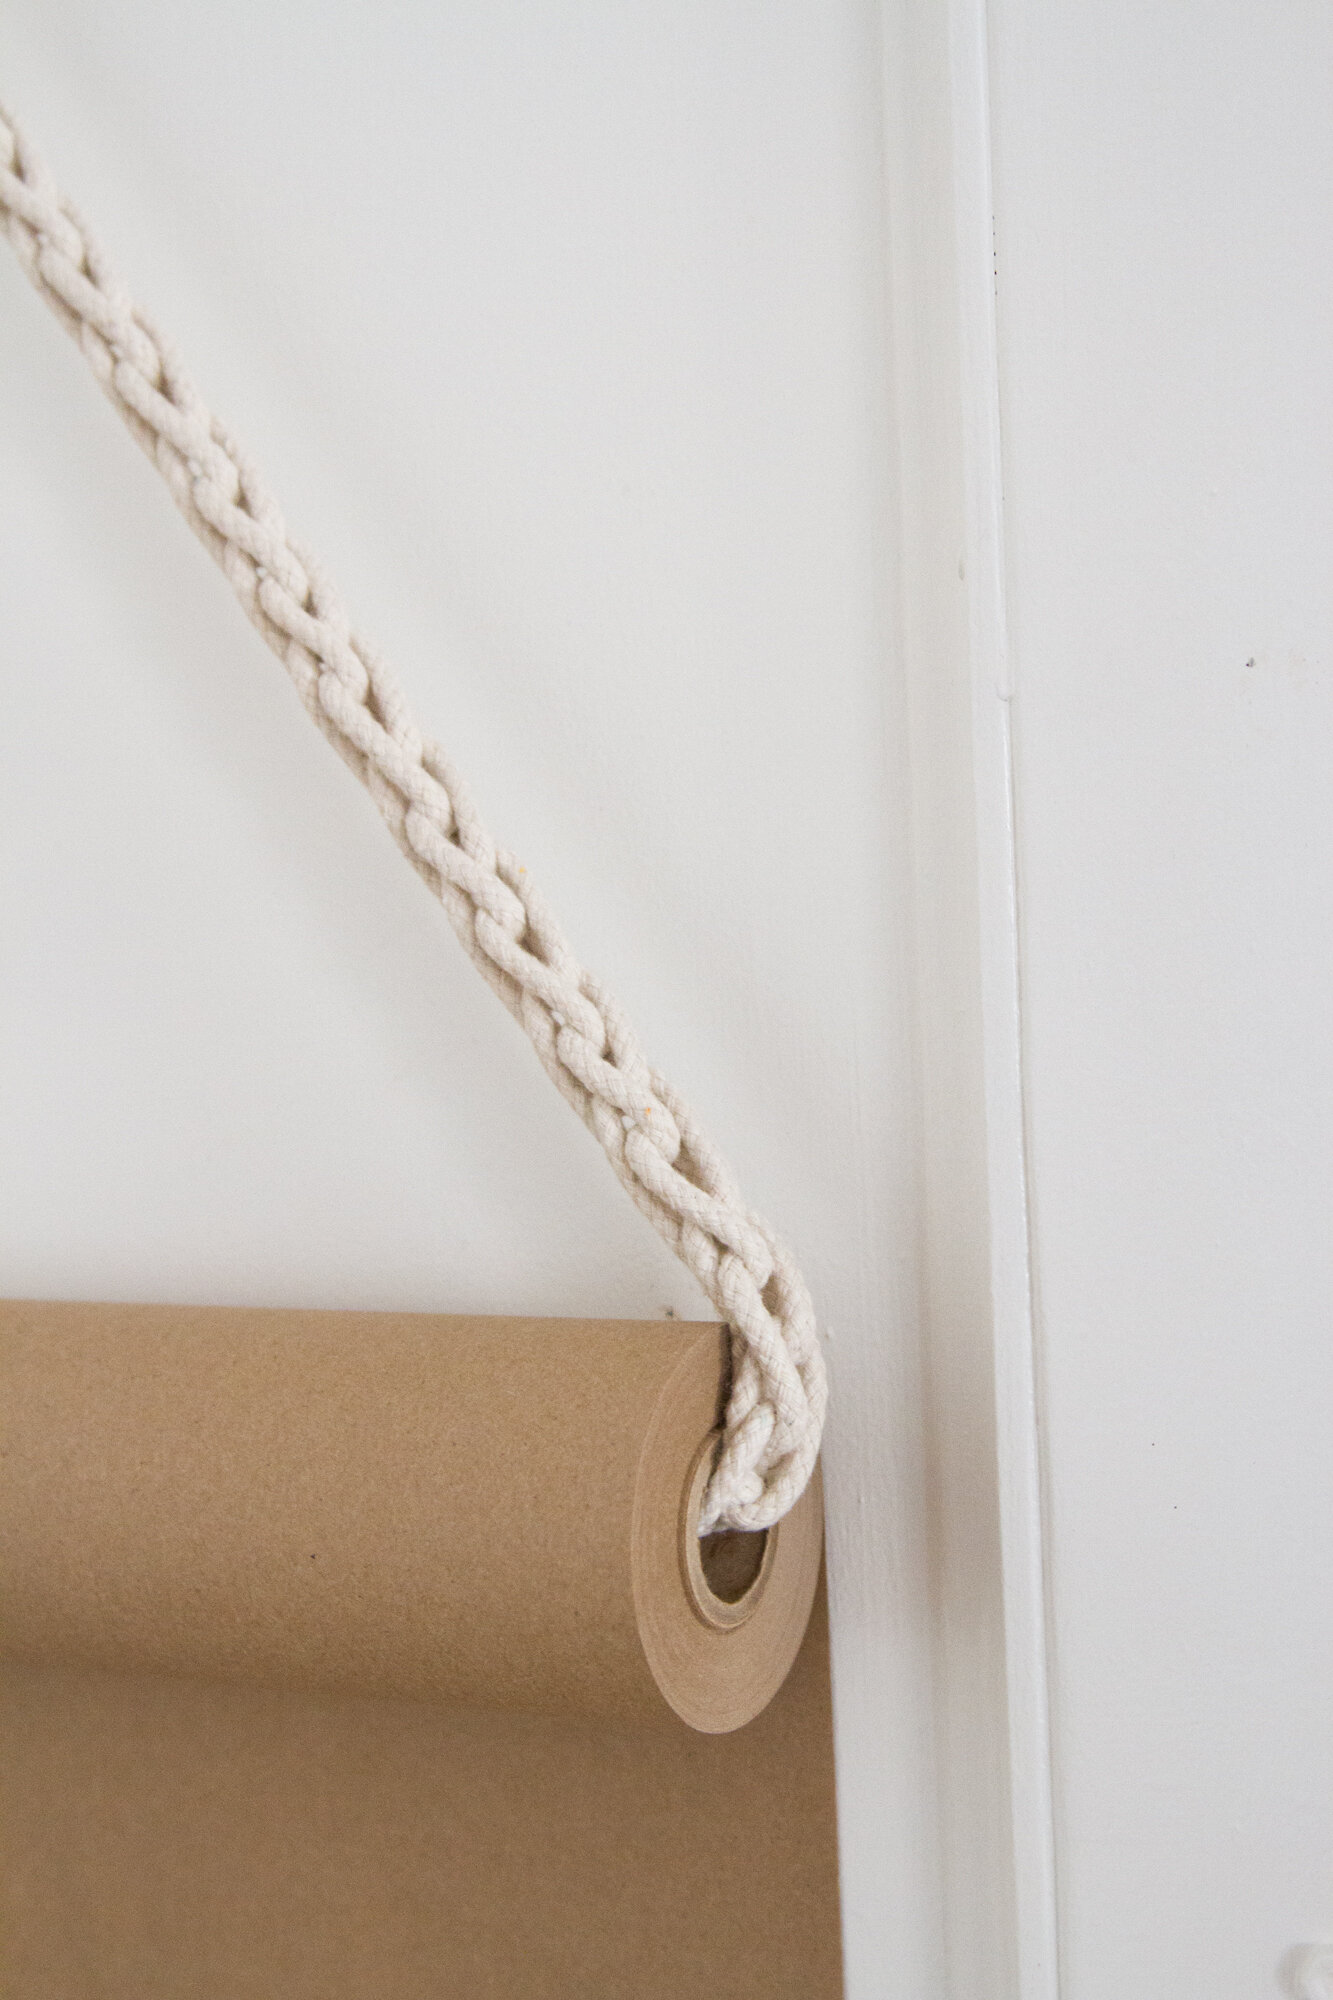
9. Thread your corded rope through your paper roll and tie a knot.
10. Adjust your cord so that the knot lies inside the tube of paper and only the cord is visible.
11. Hang from any sturdy hook or knob and roll off enough paper down to work on. If you feel like the paper is curling upward, secure clips or magnets to the bottom edges of the paper to weigh the surface down.
Step-by-step instruction images were taken by Rose Pearlman. All other photos by Erin Boyle.
Thanks to Rose Pearlman for developing this project and writing the instructions. Rose is an artist, teacher, and textile designer. With a background in fine arts and a love of well designed functional objects, her creations blur the lines between art and craft and pushes the boundaries with non-traditional techniques and materials. Rose teaches monthly rug hooking workshops in and around her home in NYC, and also welcomes commissions for one of a kind constructions in decor and home furnishings. Her work has been featured in fiber magazines, galleries, and numerous online design sites. Her new book Modern Rug Hooking comes out December 3, 2019 and is currently available for preorder wherever books are sold. She lives in Brooklyn, NY with her family.
This post includes affiliate links. Reading My Tea Leaves might earn a small commission on the goods purchased through those links.

16 Comments
Love this. Thank you!
So glad! It’s so easy and so satisfying!
I have been loving these making something from almost nothing posts! They are so simple, financially accessible and inspiring.
So glad! They’re my favorite, too!
I am going to do this in my classroom and have my students make the cord. My 1., 2. Graders love to use these https://www.bellalunatoys.com/products/knitting-fork-lucet?gclid=EAIaIQobChMIlIGTxtLY4AIVgYbACh3H-wxhEAQYAiABEgI-J_D_BwE
Thank for the inspiration!
What a great idea! We have a stand-alone easel that I got off Craigslist years ago, but I like this idea better because of the smaller footprint. Thanks for the inspiration – I am a huge fan of Rose’s posts.
Brilliant AND beautiful. These posts are so so great. ❤️
thank u so much
im absolutely obsessed with your blog <3
What a great idea! I’ve been wanting to make a paper roll hanger, but all the DIYs I’ve seen have been much more complicated. This actually looks like something I can make – yay! Thanks for sharing!
I’ve been trying to make this but find myself quite confused in the execution! Any chance there are any video instructions? I can’t quite seem to replicate a lengthening rope (more like a nest!).
Hmm. I know I made a video for Instagram stories a while back. Will look through my archive and see if I can add it to my gifts highlight!
I figured it out! It took me a while to see what it was becoming, so patience was required. The hardest part for me in doing the two loop version (from gift guide) was keeping it from getting too tight and also keeping track of which loop was next. I may not be very crafty tho 🙂
You did it! Crafty after all!
I’ve made the boxy version – really lovely and simple! Just wondering what you do to finish the ends to keep them from fraying?
Hi! Thank you! I could not find size #6 in the link you provided for the rope. Could you please specify which size it is from the link? https://www.knotandrope.com/collections/cotton-rope
Hi Sara: The 3/16″ size would be great for this project https://www.knotandrope.com/collections/cotton-rope/products/3-16-solid-braid-cotton
Comments are moderated.