
In the battle against dust, we’re losing. It’s everywhere in our apartment lately—rolling around under furniture, congregating in corners, settling onto the tops of picture frames and dresser tops and baseboards.
You might imagine my relief, then, when Rose suggested this project. Not only was I glad to be able to make myself an easy solution for tackling the dust problem, it confirmed my suspicion that we’re not alone in our current dust invasion. Without getting into the nitty-gritty, with all five of us home all the time and our blanket fort production ramped up by at least ten-fold, there’s an awful a lot of opportunity for dust to form and accumulate. Tell me you guys are noticing it in your homes, too!

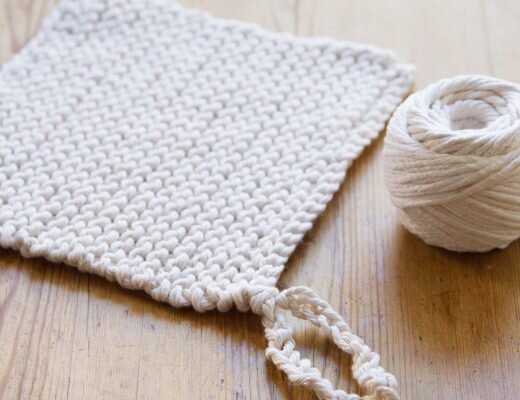
Rose suggested using 100% wool to make a dust mitt since wool has antibacterial and antimicrobial properties that inhibit the growth of mold, mildew and bacteria. The naturally occurring lanolin in wool captures dust instead of pushing it around, and the soft wool won’t scratch delicate surfaces.
To make my mitt, I used fabric from a little boiled wool suit that was Silas’s as an infant and Calder’s after that. (I traced my mitt in such a way that allowed me to make use of an existing seam and a hem, but there’s no need to sew a hem for this project.) Using a simple whip stitch and some embroidery thread, in just a few minutes I was able to make a wool dust mitt that’s reusable, eco-friendly, and will improve after every wash.
Here are the full instructions from Rose:
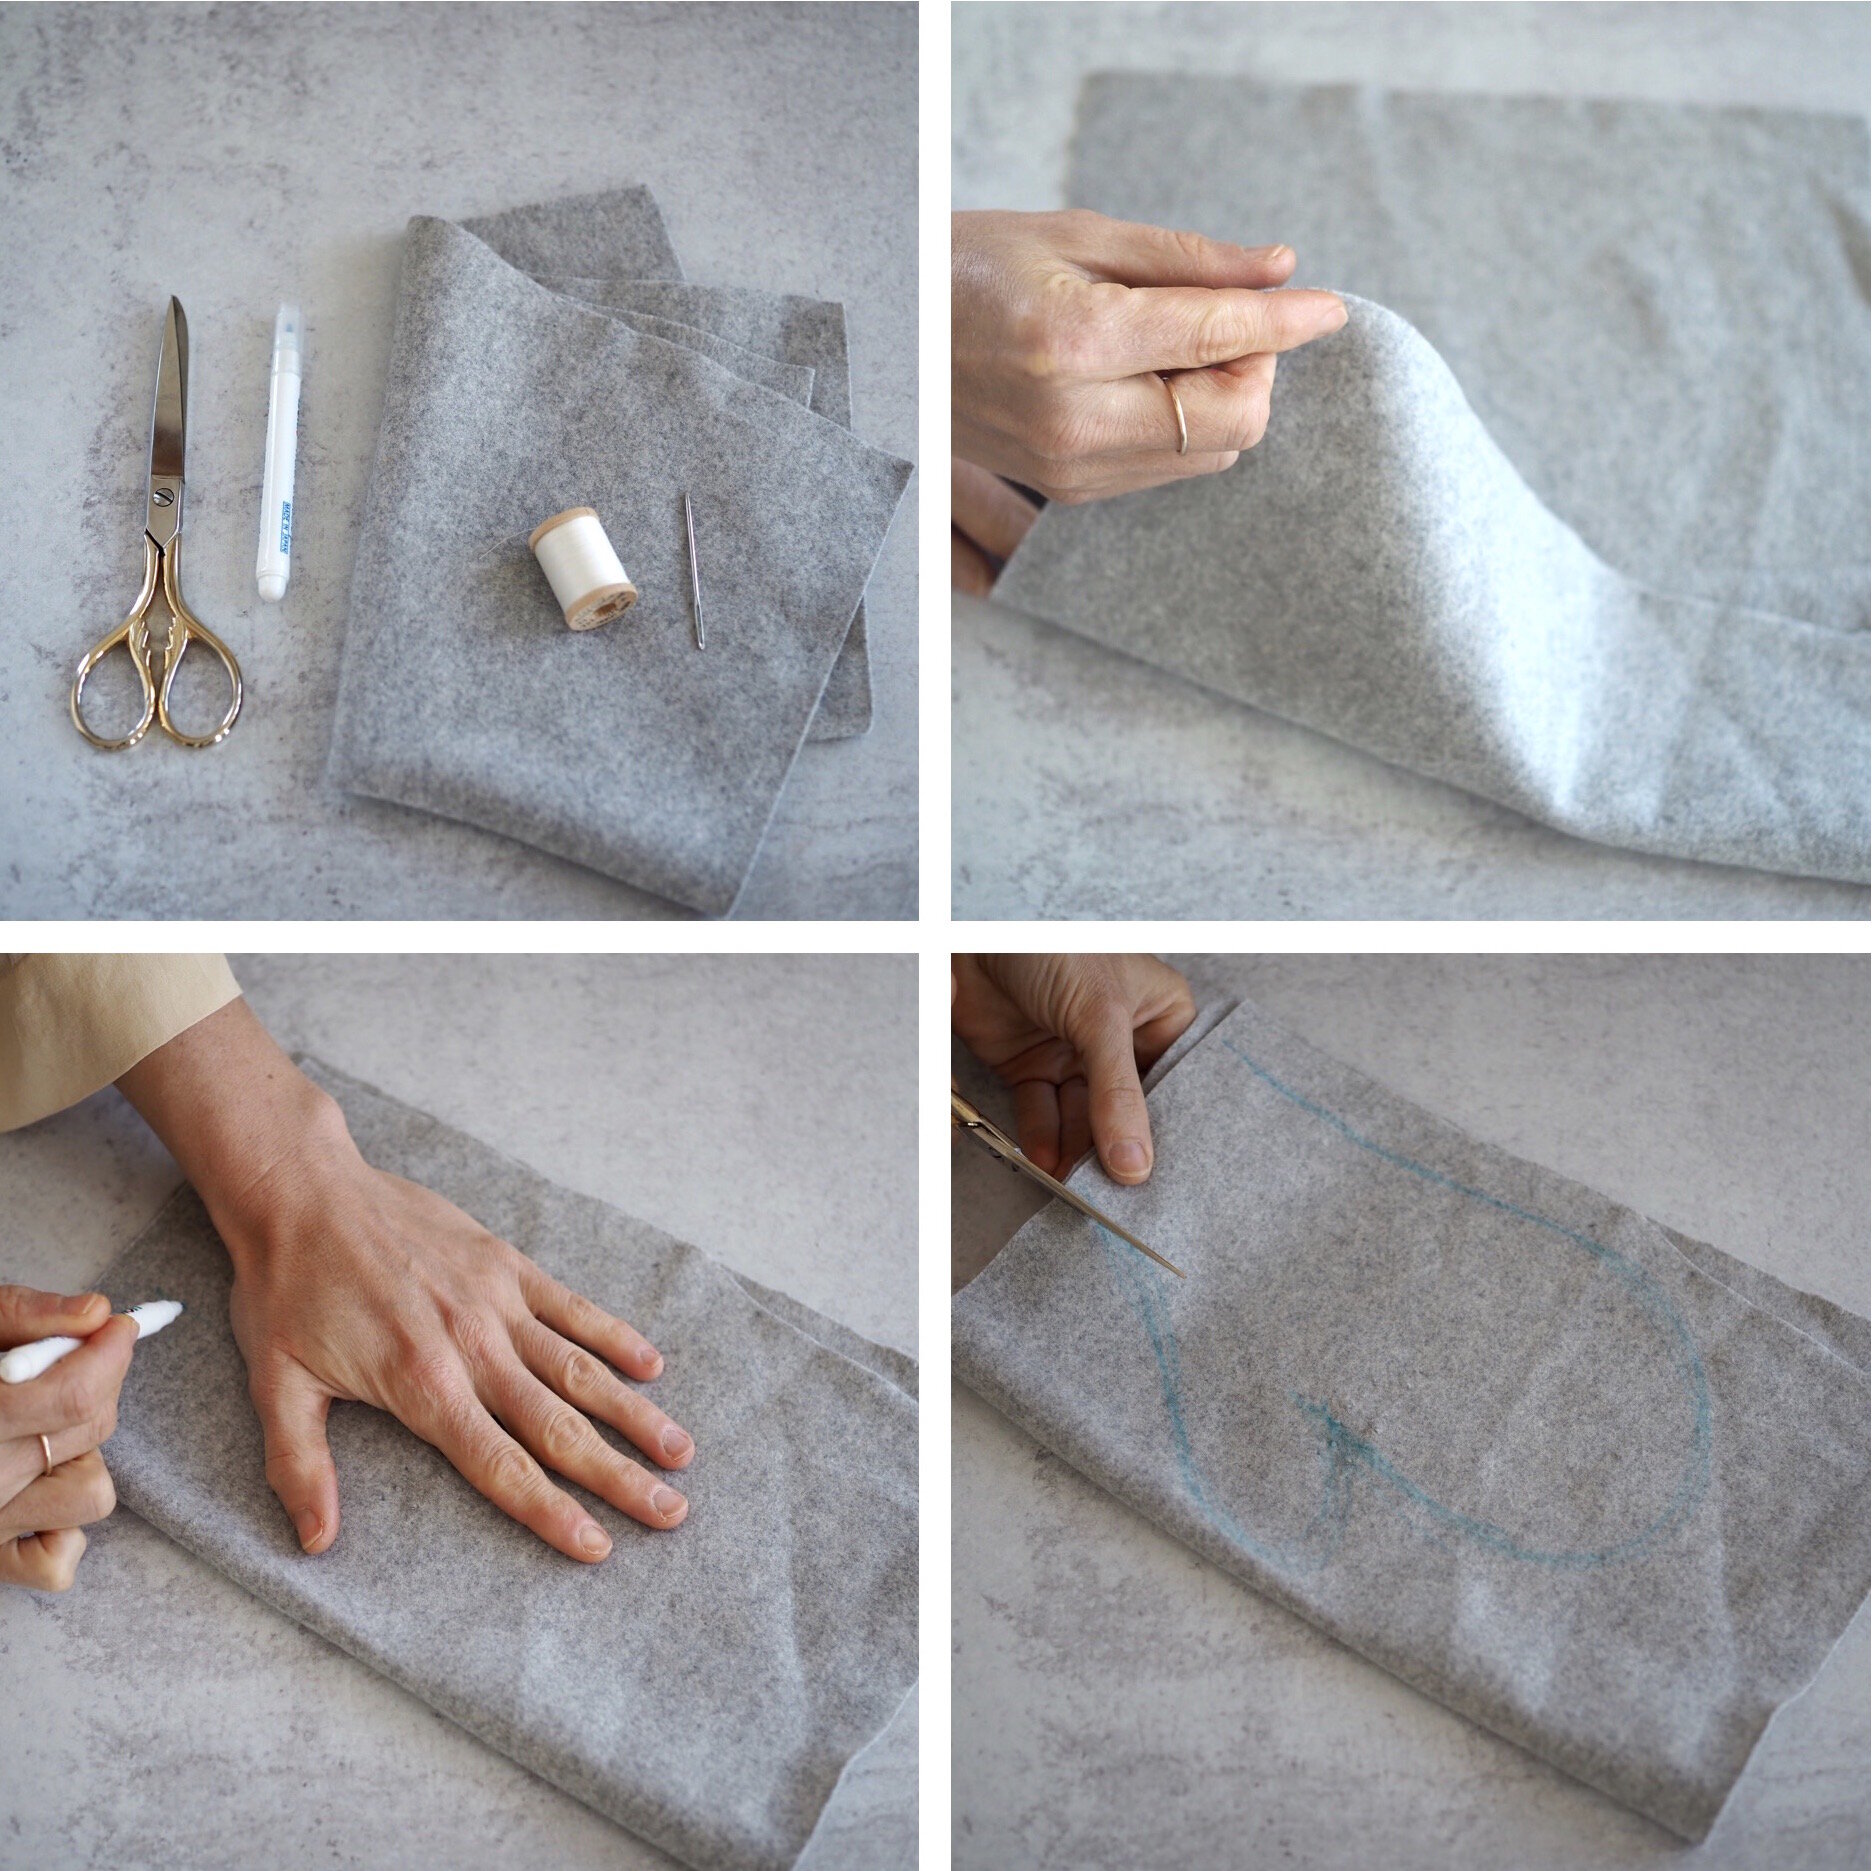
Materials:
+ 1 15”x13” sheet of felted wool fabric or 2 8”x10” sized sheets
sewing needle and thread (you can also use a sewing machine)
+ scissors
+ fabric marker (you can also use a sharpie or chalk)
+ additional embroidery floss, fabric or felting supplies (optional)
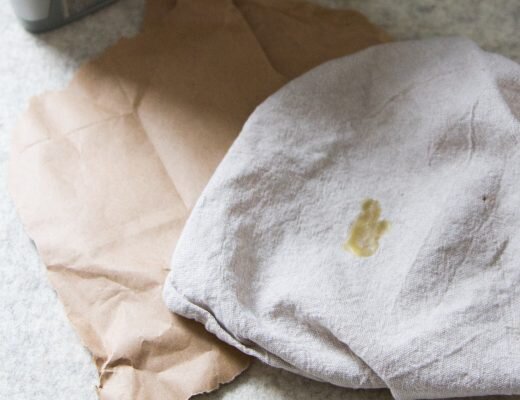
Note: You can buy 100% wool fabric at many fabric and or craft stores. Alternatively, you can repurpose a tightly knit or felted wool garment. A knit sweater might need to be further felted which can usually be achieved by running it through the washer and dryer a few times. Always make sure your garment is 100% wool before beginning.
Directions:
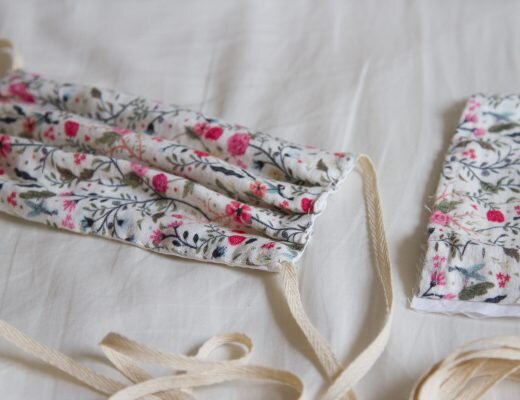
+ Fold your wool felt in half to make two layers. If using two smaller sheets of wool, stack one sheet on top of the other.
+ With a fabric marker, chalk or sharpie, trace the circumference of your hand loosely, making a space for your thumb and a larger space to fit the rest of your fingers. Leave a large margin around your fingers, making more of a mitt shape while tracing. It’s ok if the form is a bit misshapen.
+ With sharp scissors cut out the traced shape. Make sure to go through both layers of wool as you cut.
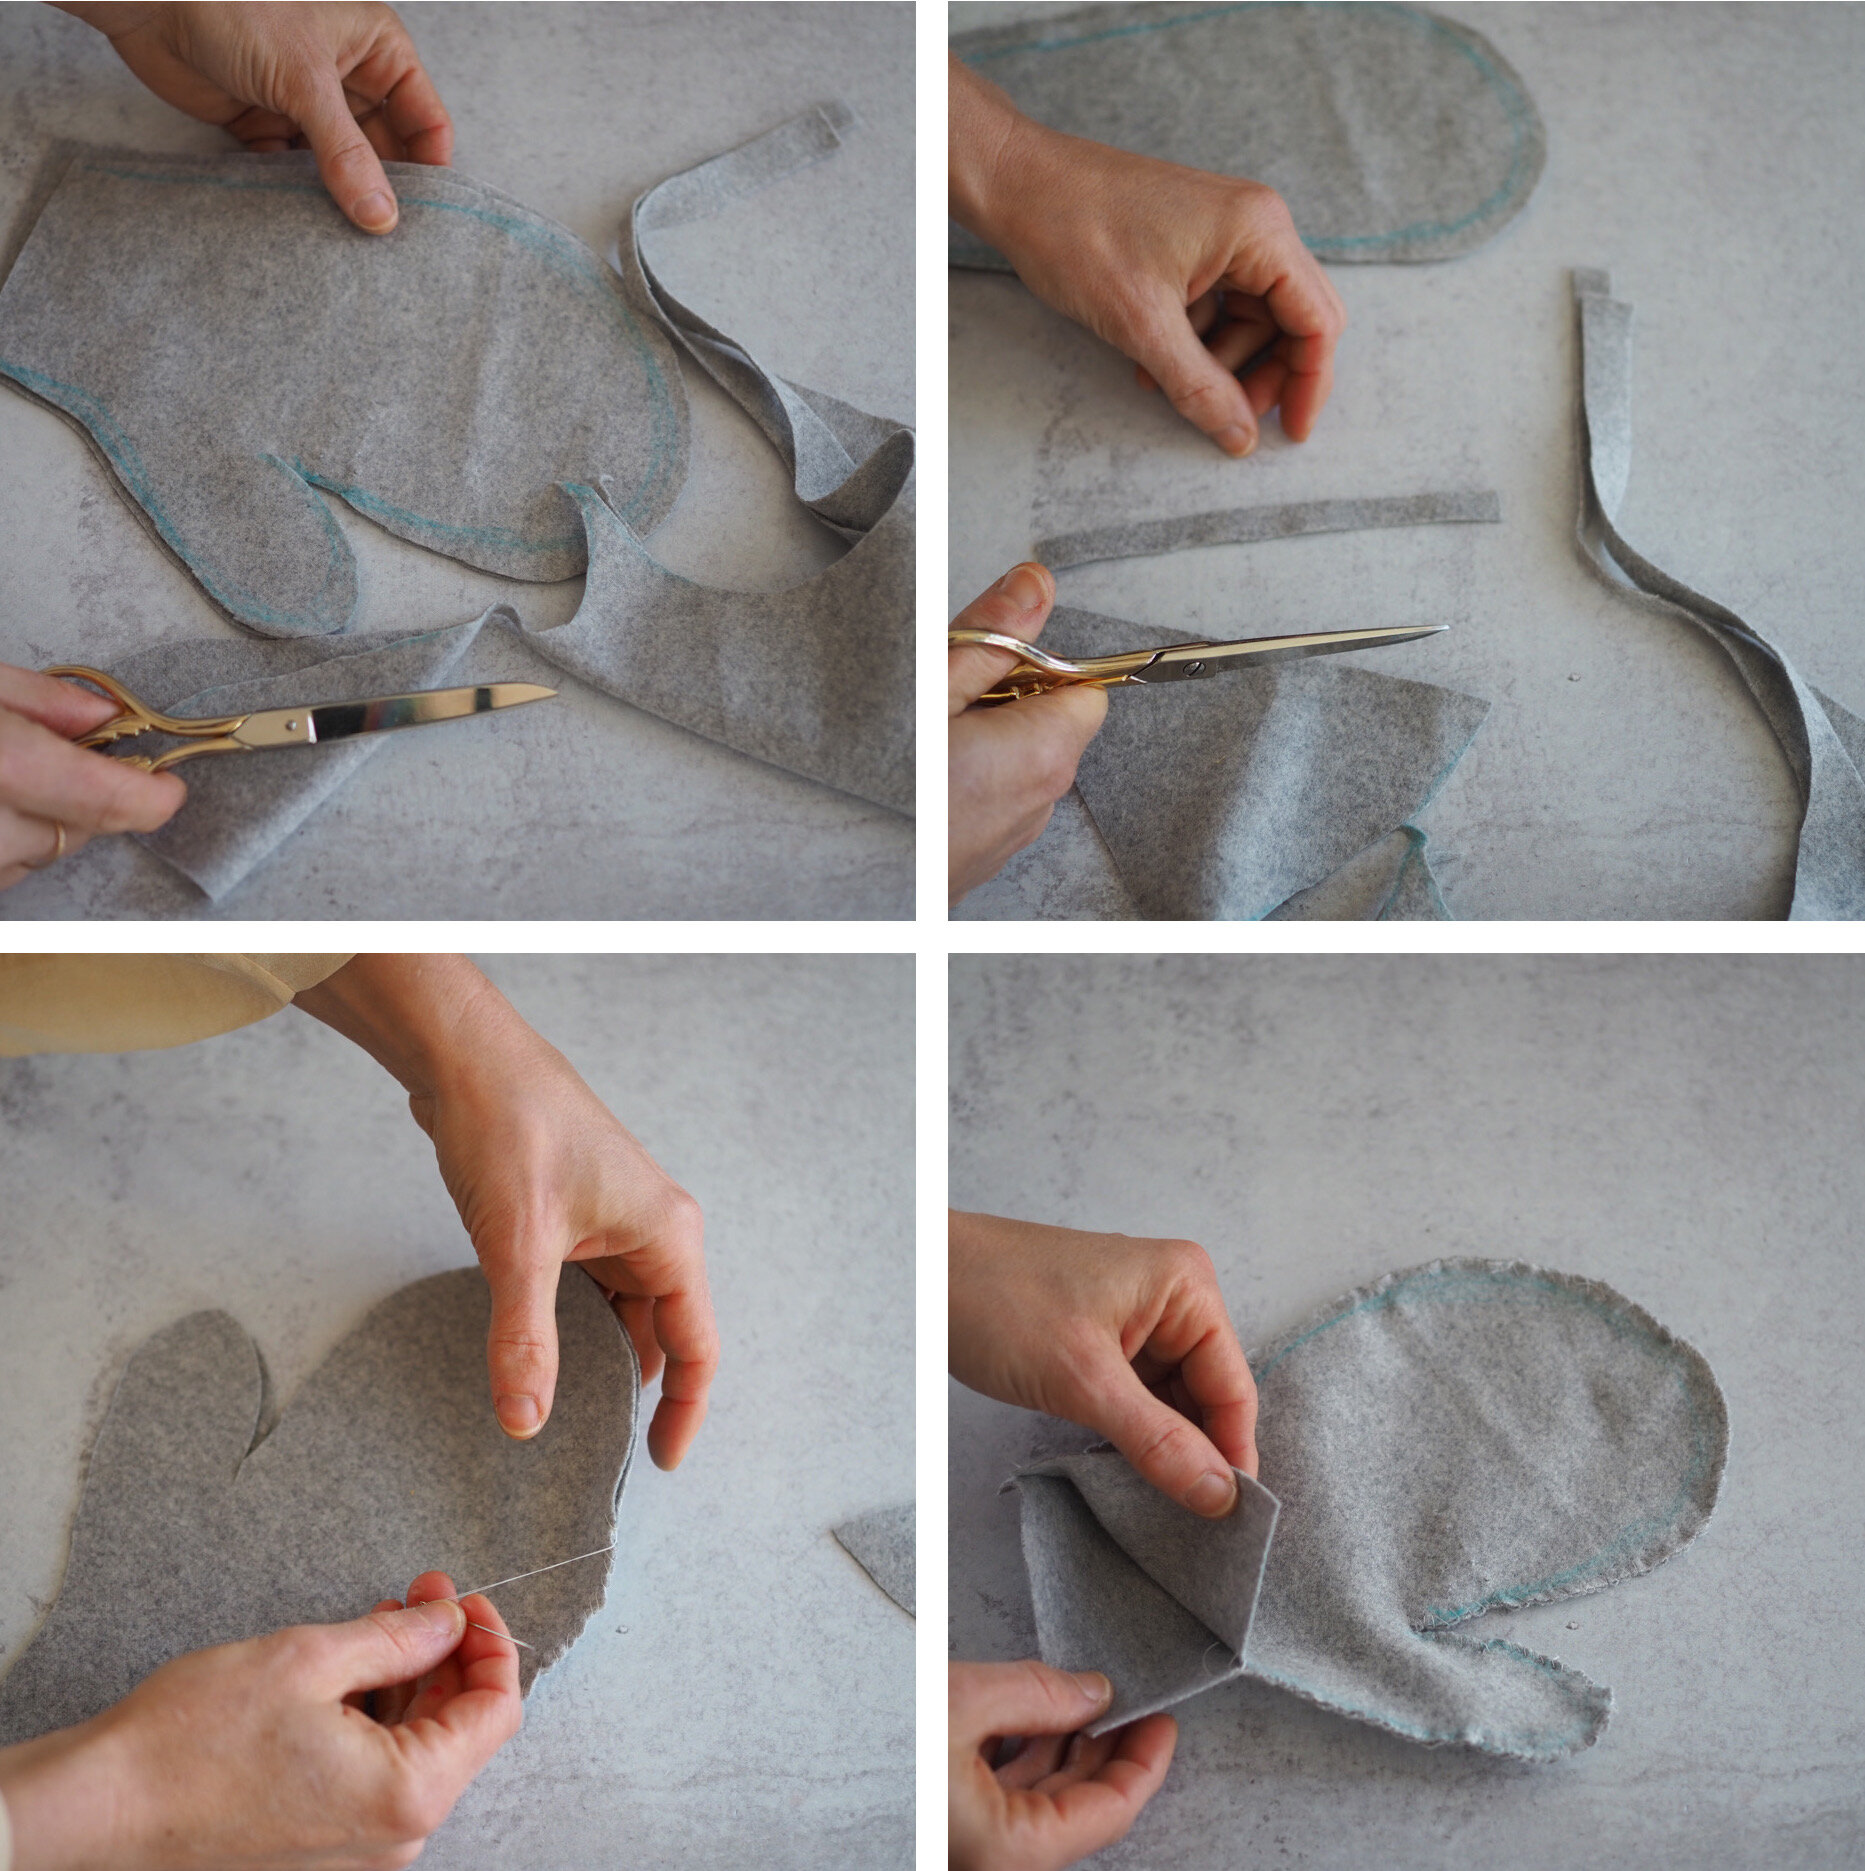
+ Cut a small strip of felt out of the remaining fabric, roughly 3” long x ¾” wide. This will be made into a loop to hang your mitt.
+ Keep your two cut out mitt shapes sandwich together in the same way you cut them. If needed you can pin the two sides together to keep them in place.
+ With a needle and thread, start sewing the two sides of your mitt together. Start right above the straight edge on one side of your mitt and work upwards toward the fingers and all the way around. I used a simple whip stitch, wrapping my thread around the edges each time.
+ Sew all the way around the cut out form, up and over the finger area then around the thumb. Finish sewing an inch or two before reaching the straight bottom edge. The open side slit will allow you to slide your hand in and out of the mitt easily. Make sure to leave the bottom straight edge open.
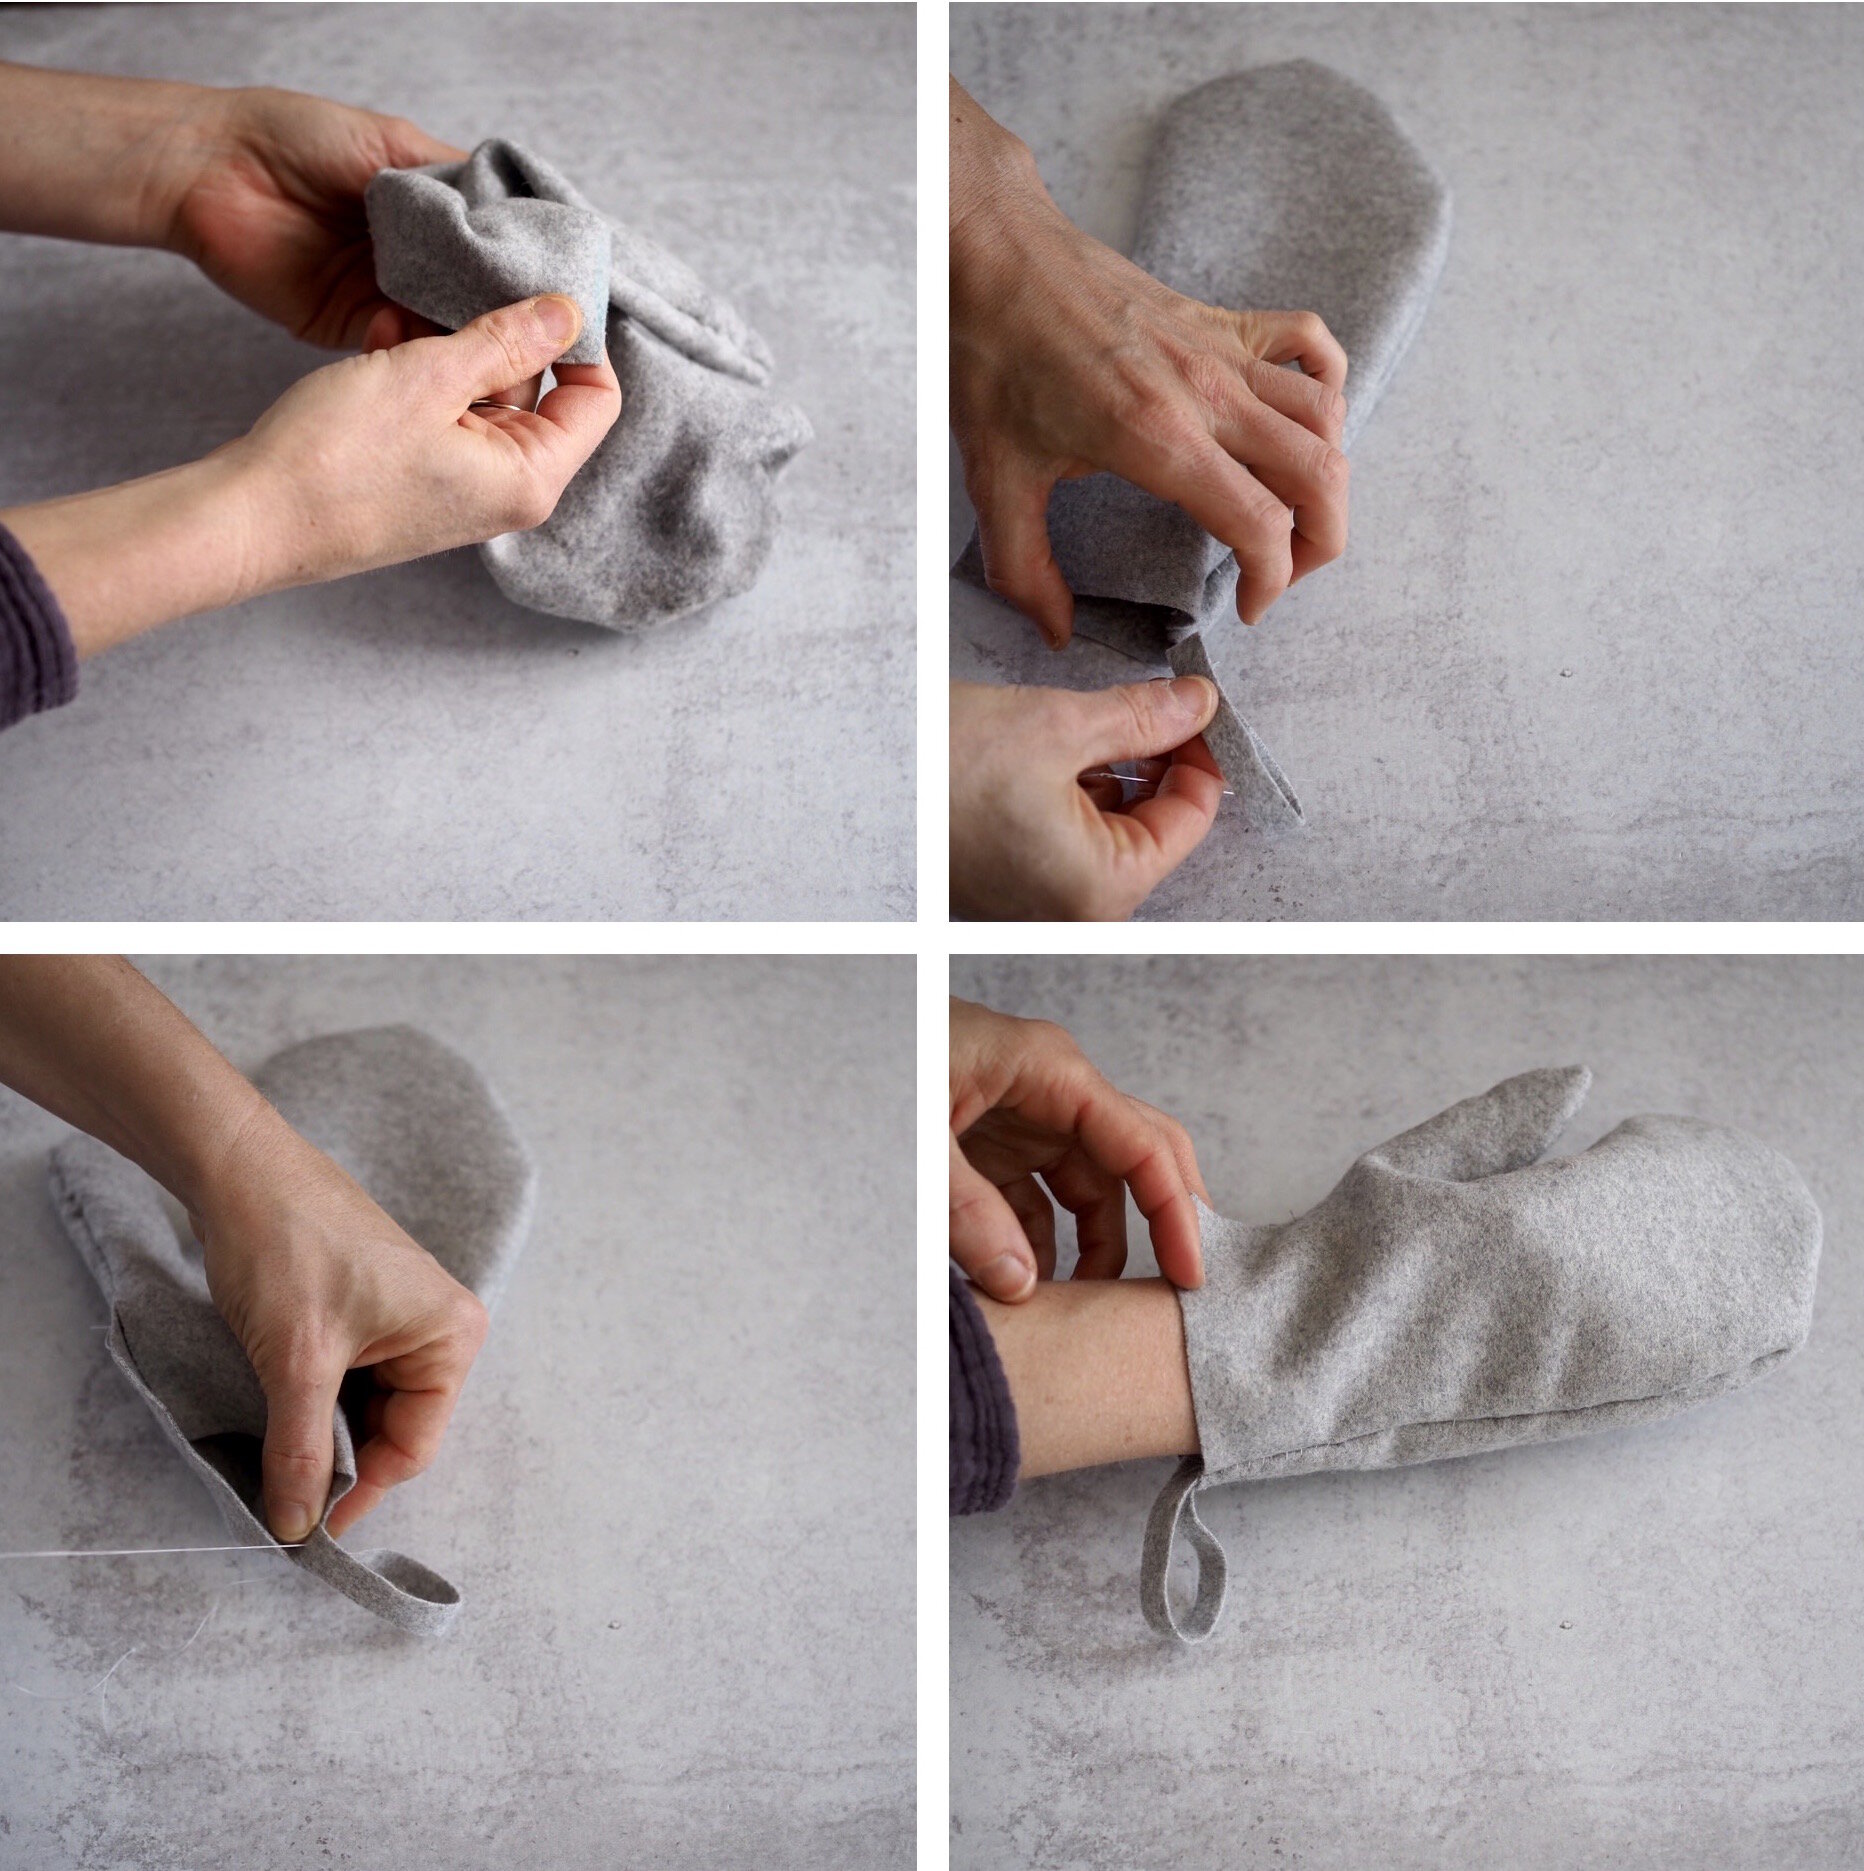
+ Cut off any loose ends of thread and flip the mitt inside out to conceal the sewn seam.
+ With the extra strip of felt, sew the two short ends together and attach to the base of the mitt right below the thumb, and concealed in the inside of the mitt.
Tip: Entice your kids to do some light cleaning by turning this mitt into a dust eating puppet. Simply embellish the mitt with facial features such as eyes, nose, ears, etc., making note of where these features would lie when wearing the mitt on your hand. Details can be added by felting, stitching or even gluing additional fabric.
Care: Dust off your mitt by shaking it into a trash can. To wash, use mild soap and water and let air dry. The wool dusting mitt will improve with use and washing.
Thanks to Rose Pearlman for developing this project, writing the instructions, and capturing the step-by-step instruction imagery. Rose is an artist, teacher, and textile designer. With a background in fine arts and a love of well designed functional objects, her creations blur the lines between art and craft and pushes the boundaries with non-traditional techniques and materials. Rose teaches monthly rug hooking workshops in and around her home in NYC, and also welcomes commissions for one of a kind constructions in decor and home furnishings. Her work has been featured in fiber magazines, galleries, and numerous online design sites. Her new book Modern Rug Hooking came out in December 2019 and is available wherever books are sold. She lives in Brooklyn, NY with her family.
13 Comments
This just gave me the idea of what to do to with my woolen yarn scraps. I’m going to knit a big ol’ mitten and felt it!
Thank you for posting these easy and easily modifiable projects.
Yes, it being home 100% of the time has led to a 4x increase in dust (from my super-scientific observations) around here as well…along with the grocery bill, the electric and heating bills, and the water bill. On the upside it’s also led to a huge increase in window cleanliness and tackling other small projects that have been neglected!
Thank you for this tutorial. We have SO much dust right now (I’m glad it’s not just us!).
Oh gosh, so much dust these days! What a lovely little tutorial. Thank you.
This is lovely! My allergies are through the roof due to the dust, cat hair, etc. I think a cute dust monster would convince me to dust too!
Also, can you suggest a toddler-sized broom? My one-year old LOVES attempting to use our heavy-duty corn broom “just like mama” but he falls over it’s so big.
You kind of covered this already, but instead of buying new fabric you could thrift (when stores are open again) an old 100% wool sweater and wash it in hot water in a pillow case a few times to felt it, then carry on w the tutorial. Also, curious, do you have good thrift stores where you live?
Ha! Yes! Totally talked about it ;)! I made mine out of an old kid’s coat! Yes to lots of thrift stores in New York City!
I HAVE noticed dust a lot more.
I will be looking for an old sweater.
Thank you!
Reading you these days has been lovely, as always <3
What are other fabric options? We have a wool allergy in the house and we don’t wear/use any wool fabric.
Hmm! Good question. Maybe a cotton shearling or thick flannel?
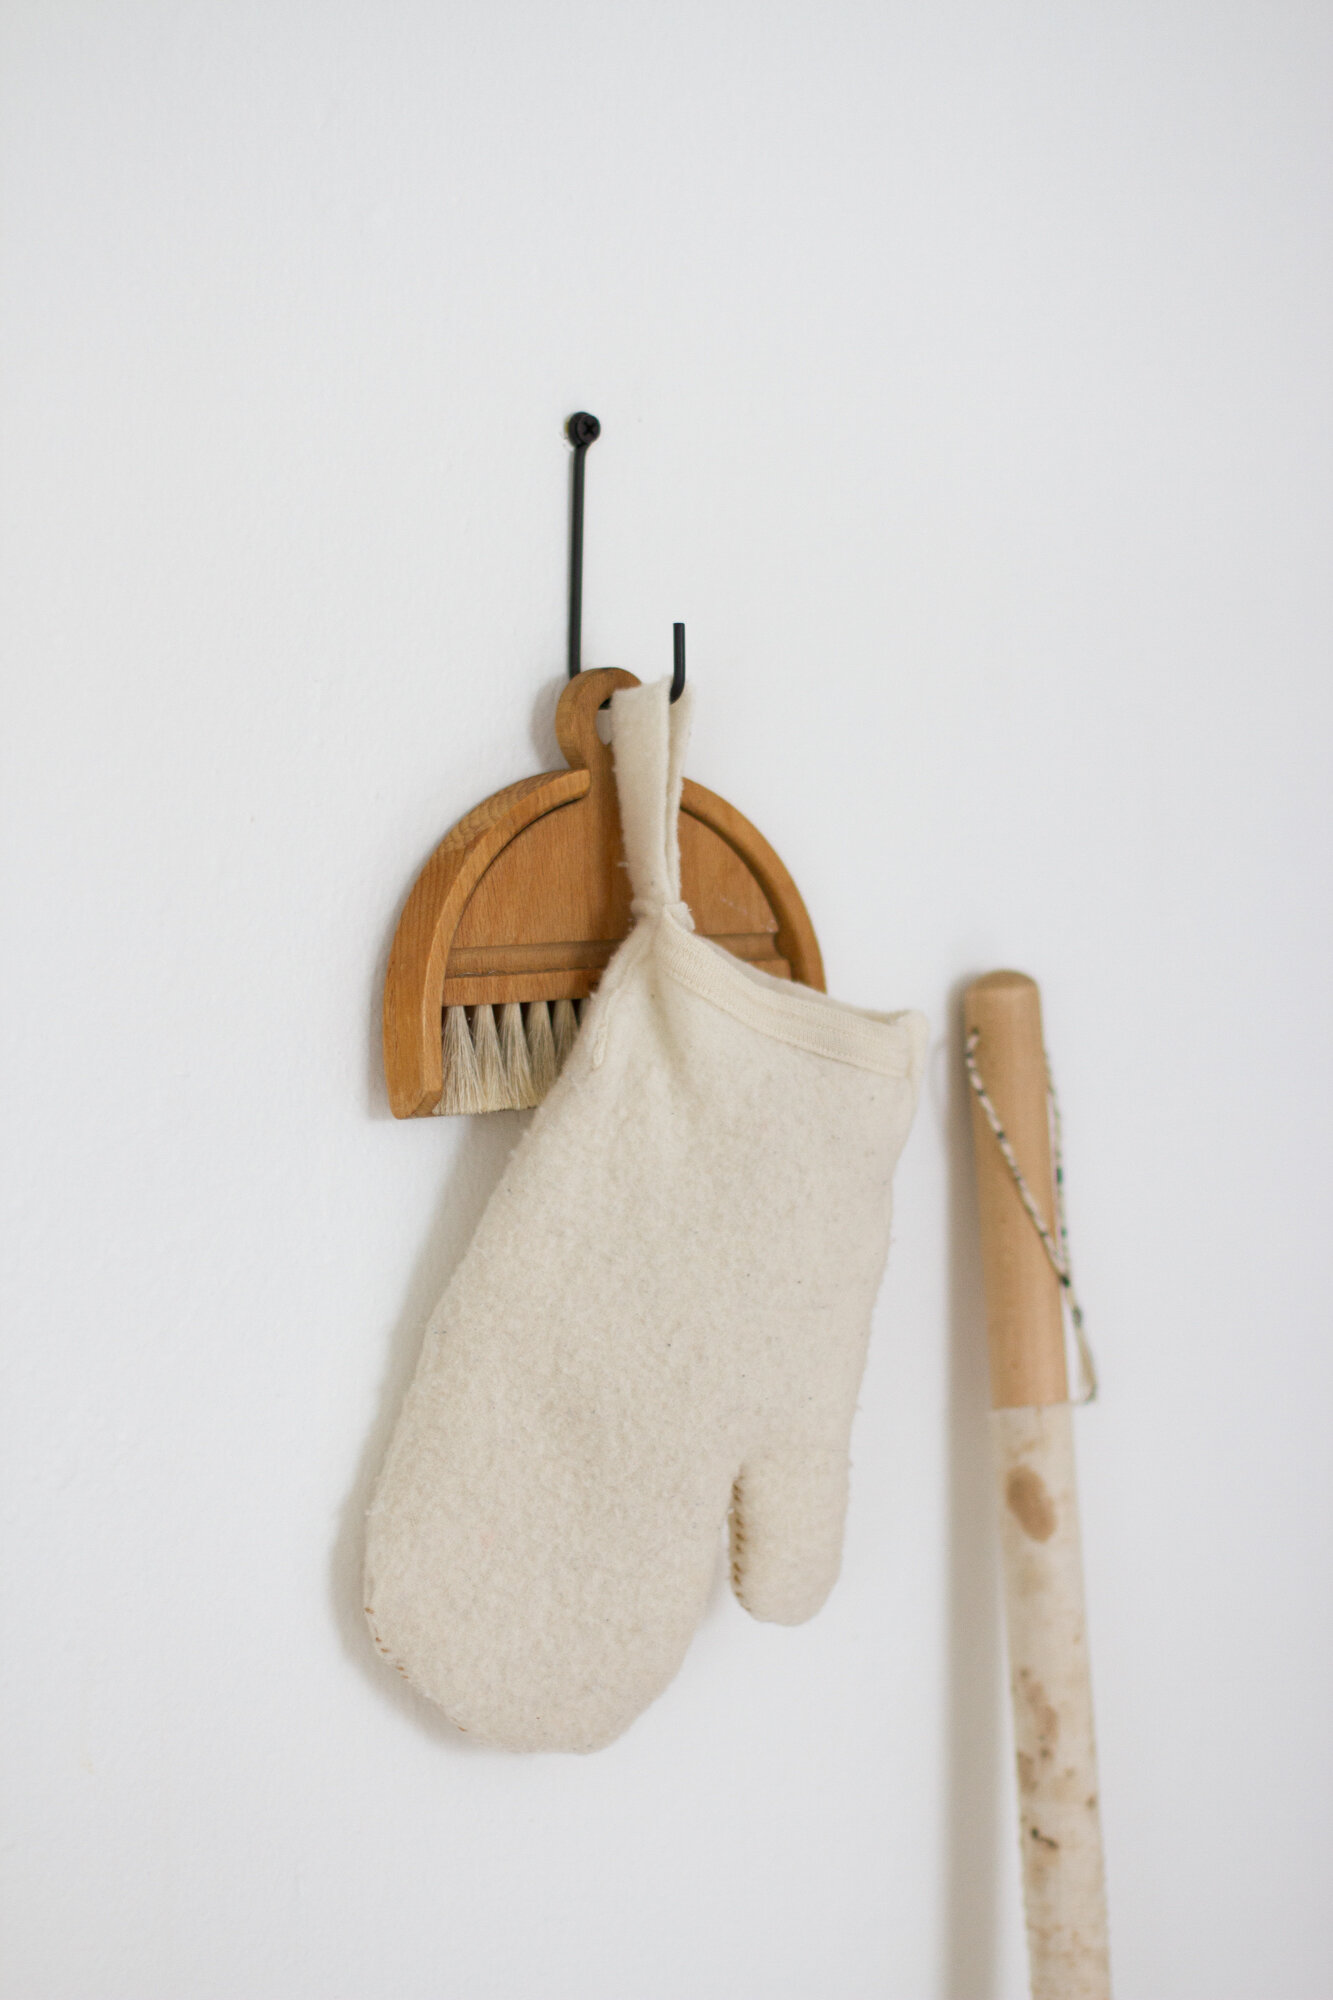
Erin, do you mind sharing the source of the dustpan and brush shown on your wall? Thank you.
It’s a little brush set made by Iris Hantverk. I got mine years ago from a now-shuttered shop, but neighborhood shop, Salter House sells them! https://salter.house/table-brush-set/
Made 2 last night (1 for me, and 1 for the kiddo) and couldn’t be more pleased! Thank you for all the thoughtful, simple projects that are allowing me to feel a small sense of accomplishment in these dark days.
Comments are moderated.