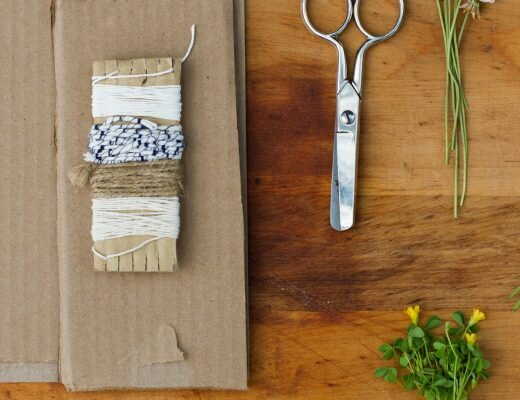
Birthday party season is upon is and summer is coming faster than I have time to register it. It’s a season ripe for having simple projects on deck for gift giving or time passing or a little bit of both. Faye and I are stringing these little cardboard kumihimo looms for giving away as party favors at her seventh birthday party this weekend and it felt like the perfect time to share the detailed how-to with all of you.
Rose first introduced me to the beautiful Japanese cording technique, kumihimo, in her tutorial for a handmade leash last winter. Kumihimo translates into English as “gathered threads” and in this version of the craft, the bracelet is formed from colorful embroidery thread strung through a simple cardboard loom. The technique is beautiful and intricate but simple enough for kids (and adults) to grasp with relative ease. (Head to the online exhibit at the Tachibana Museum to learn more about kumihimo and see examples of the traditional craft.)
I know it’s wishful thinking, but in my wildest dreams the kiddos of Brooklyn will trade their plastic Rainbow Looms for these handmade beauties this summer and the parks will be filled with kids bent over their cardboard looms and embroidery thread. In any case, here are the instructions as written by Rose:
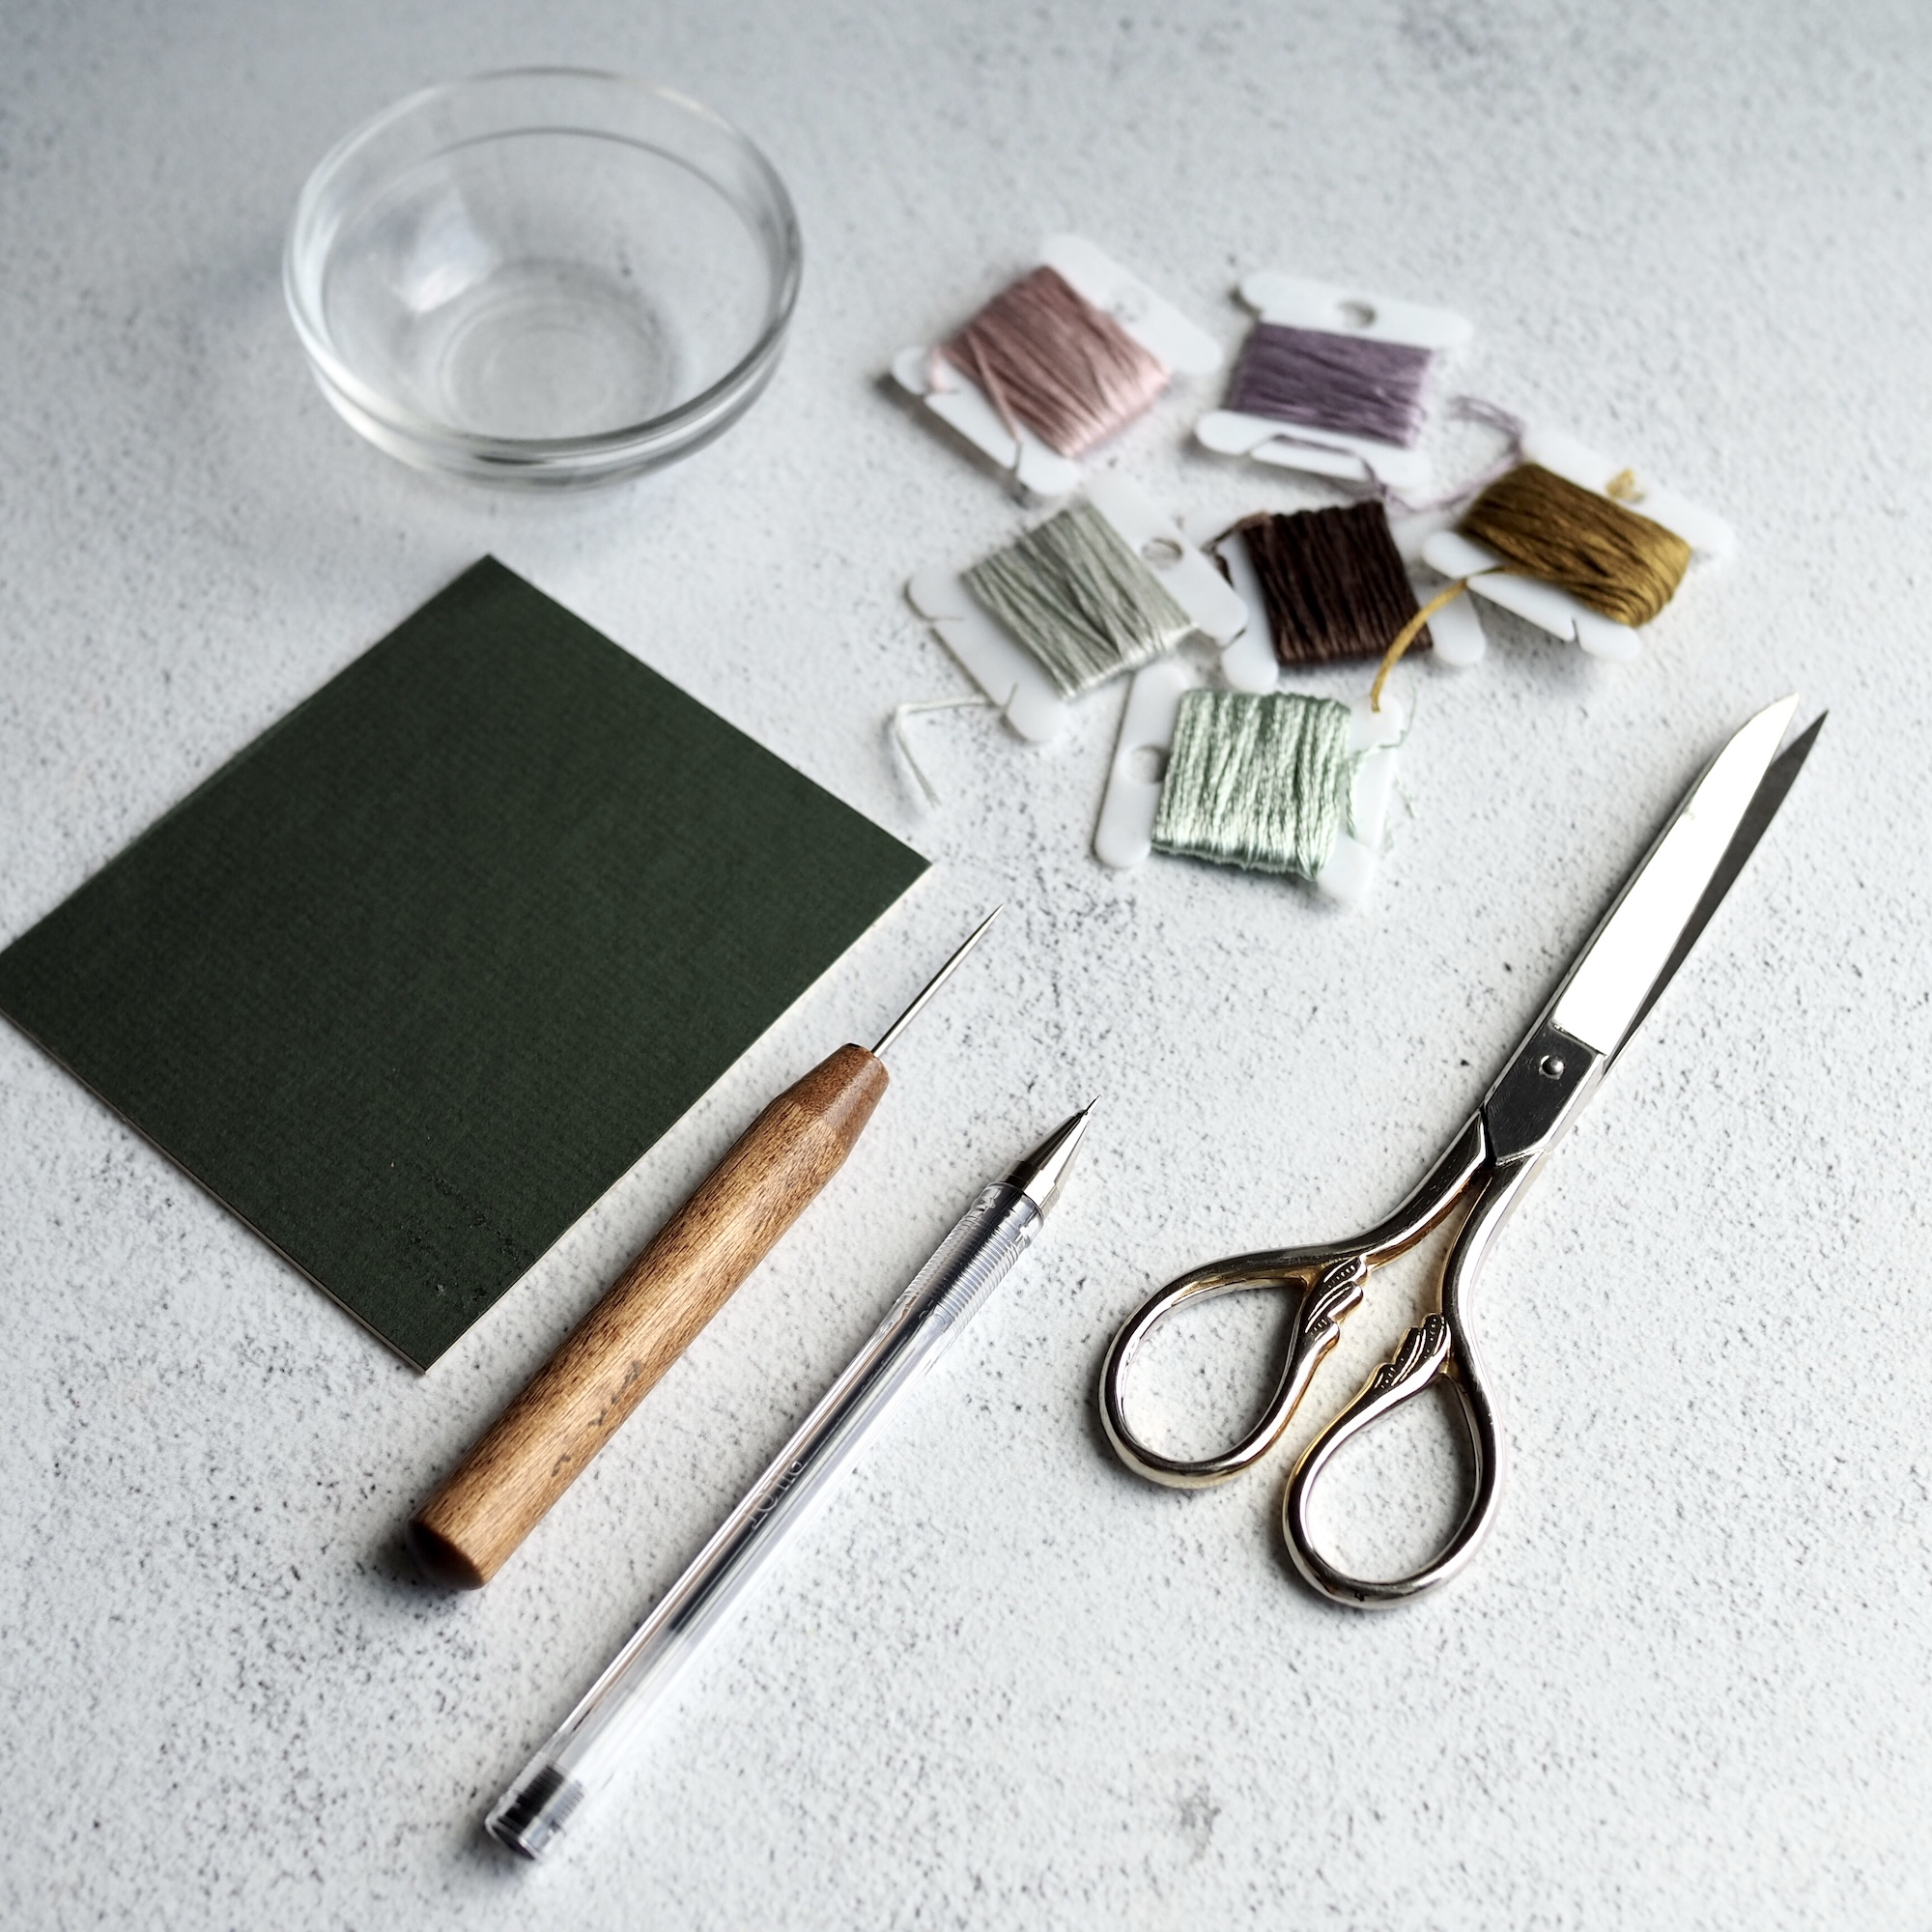
Materials:
Small piece of cardboard or card stock
Sharp scissor or exacto knife
3-inch Circular object to trace (optional)
Embroidery thread in desired colors
Pencil
Ruler
Awl, hole punch or Exacto knife to puncture a center hole
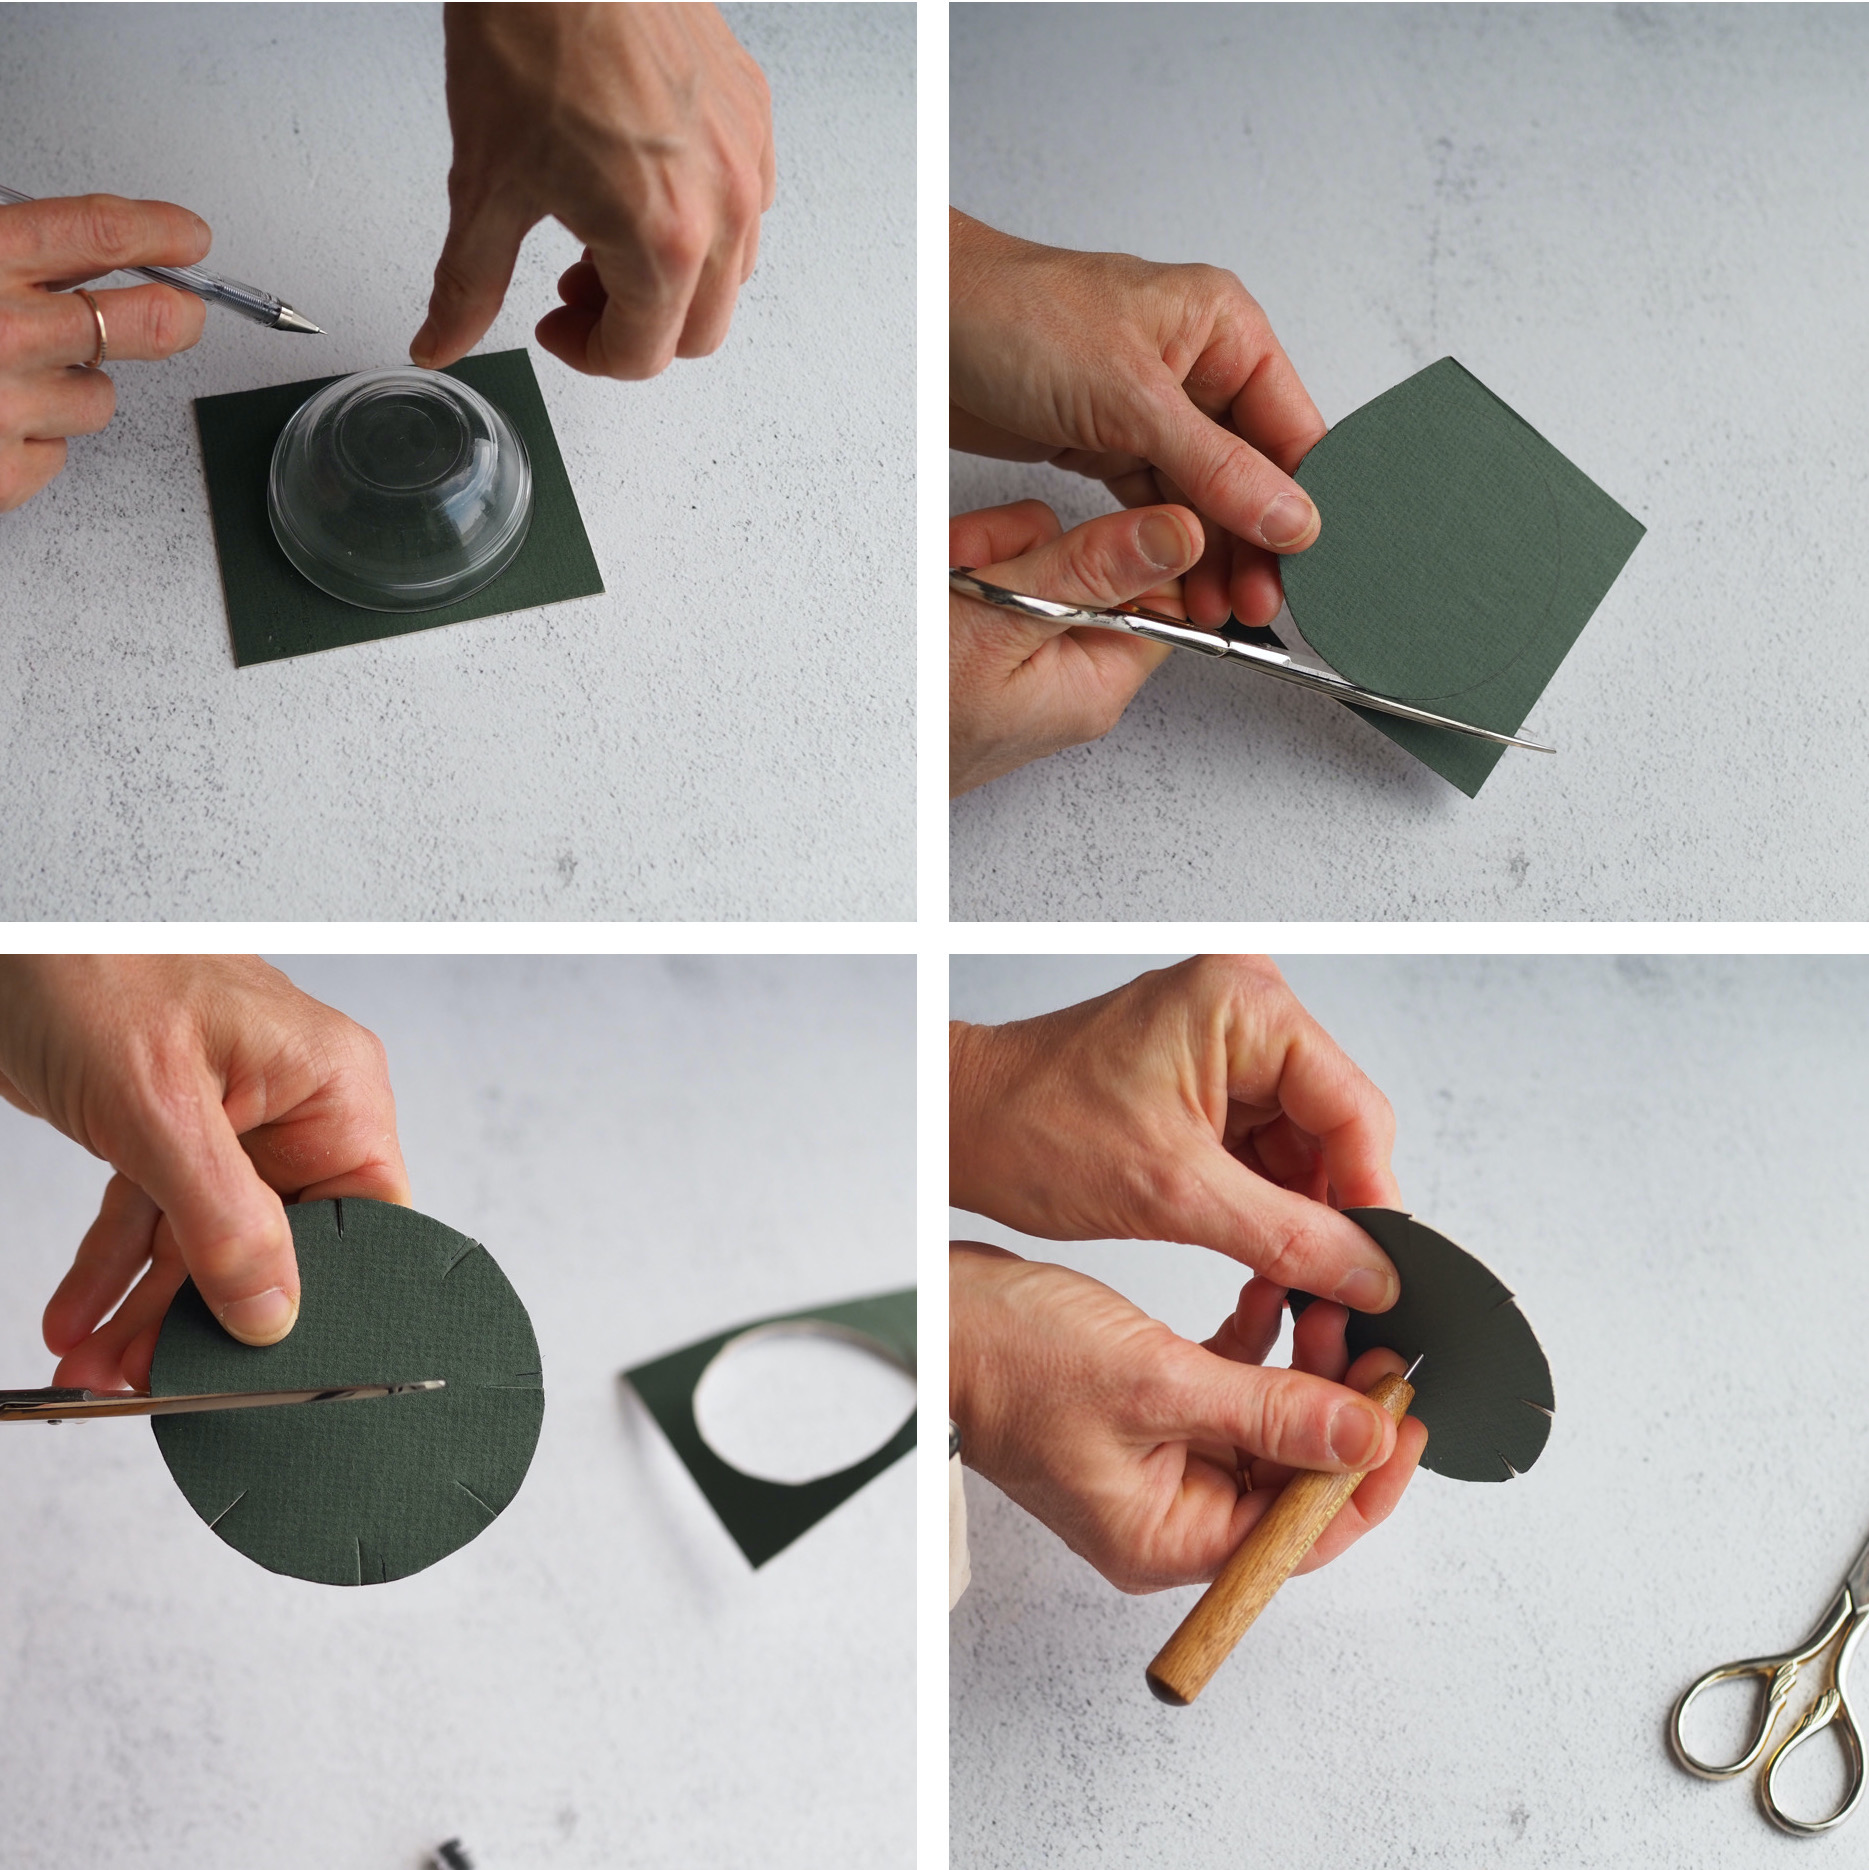
To make the Kumihimo loom:
+ Trace your circular object onto your card stock or just hand draw a circle as best you can.
+ Cut out the circle shape with sharp scissors or an Exacto Knife.
+ With a pencil draw a dash pointing in from the outside edge of the cardboard circle towards the center.
+ Draw a second dash directly below the first dash, also pointing towards the center.
+ Draw a third and fourth dash between the first two dashes on either side of the circle. If you were to relate the dashes to hands on a clock you would now have a 12 o’clock, 6 o’clock, 3 o’clock, and 9 o’clock.
+ Draw four more dashes in between each of the original four dashes. (In other words, make a dash between 12:00 and 3:00, 3:00 and 6:00, 6:00 and 9:00, and 9:00 and 12:00.
+ With a scissor or sharp knife cut on the dash lines towards the center roughly ¾”
+ With a sharp knife or awl, puncture a hole in the center of the circle.
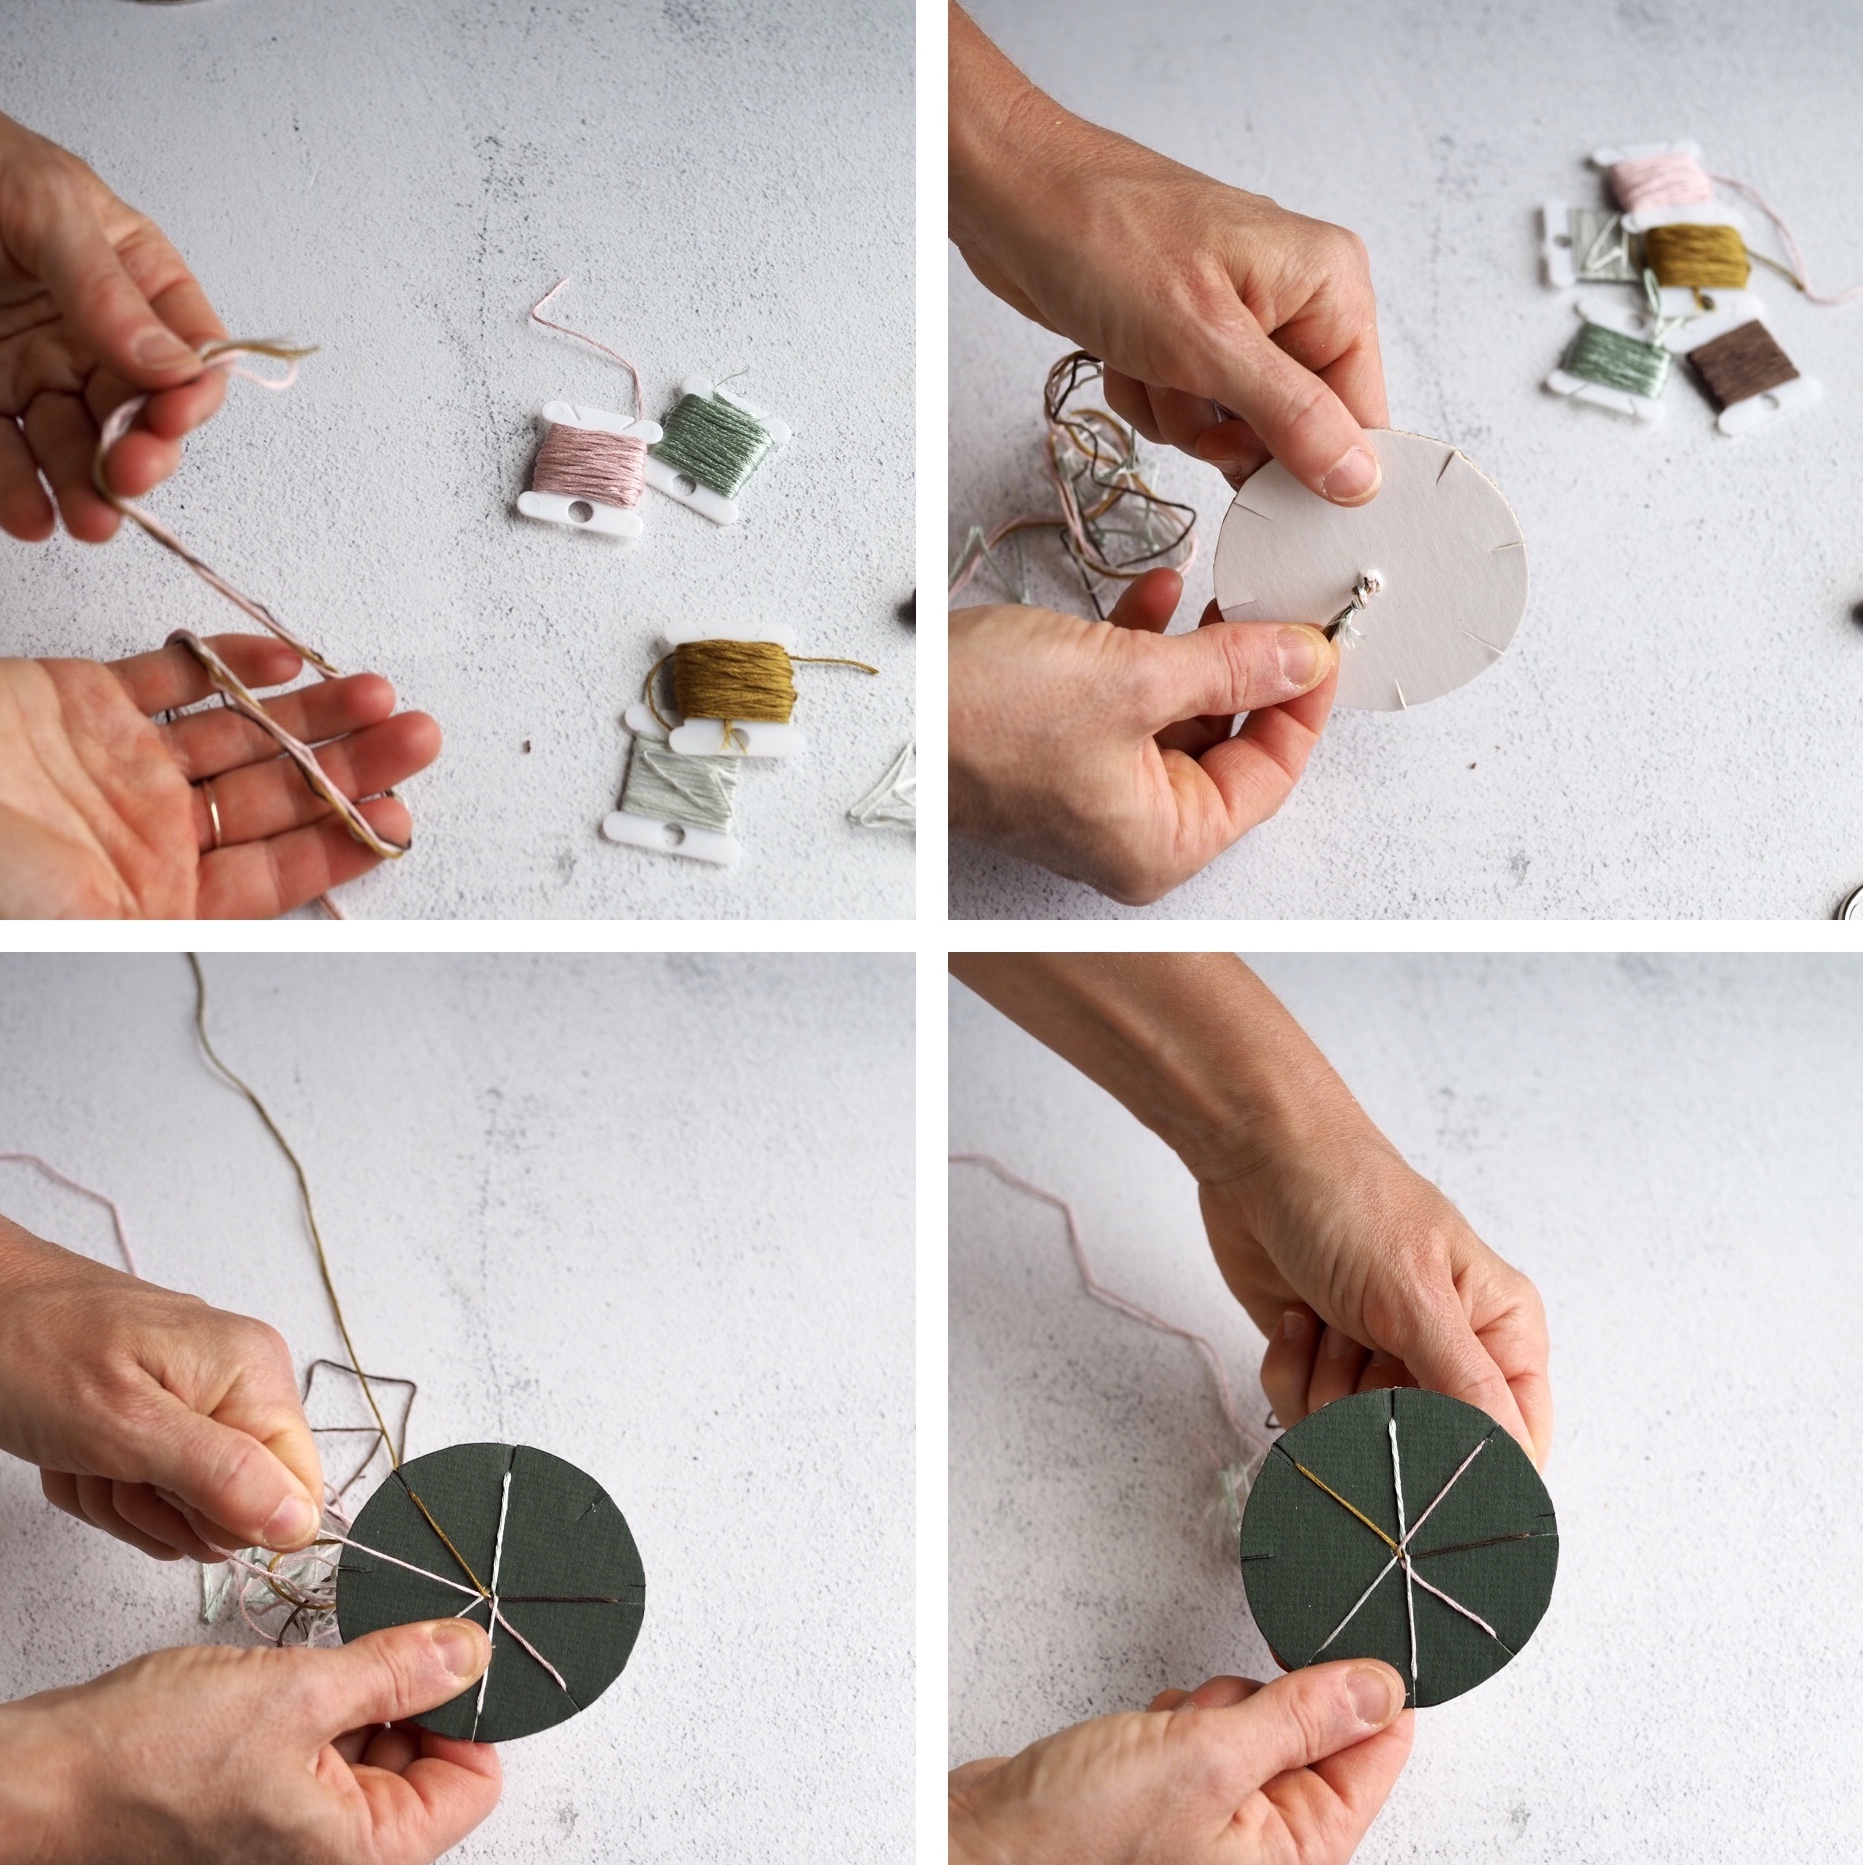
To string the loom:
+ Cut seven pieces of string each around 20” in length. You can use one solid color or have as many as seven different colors.
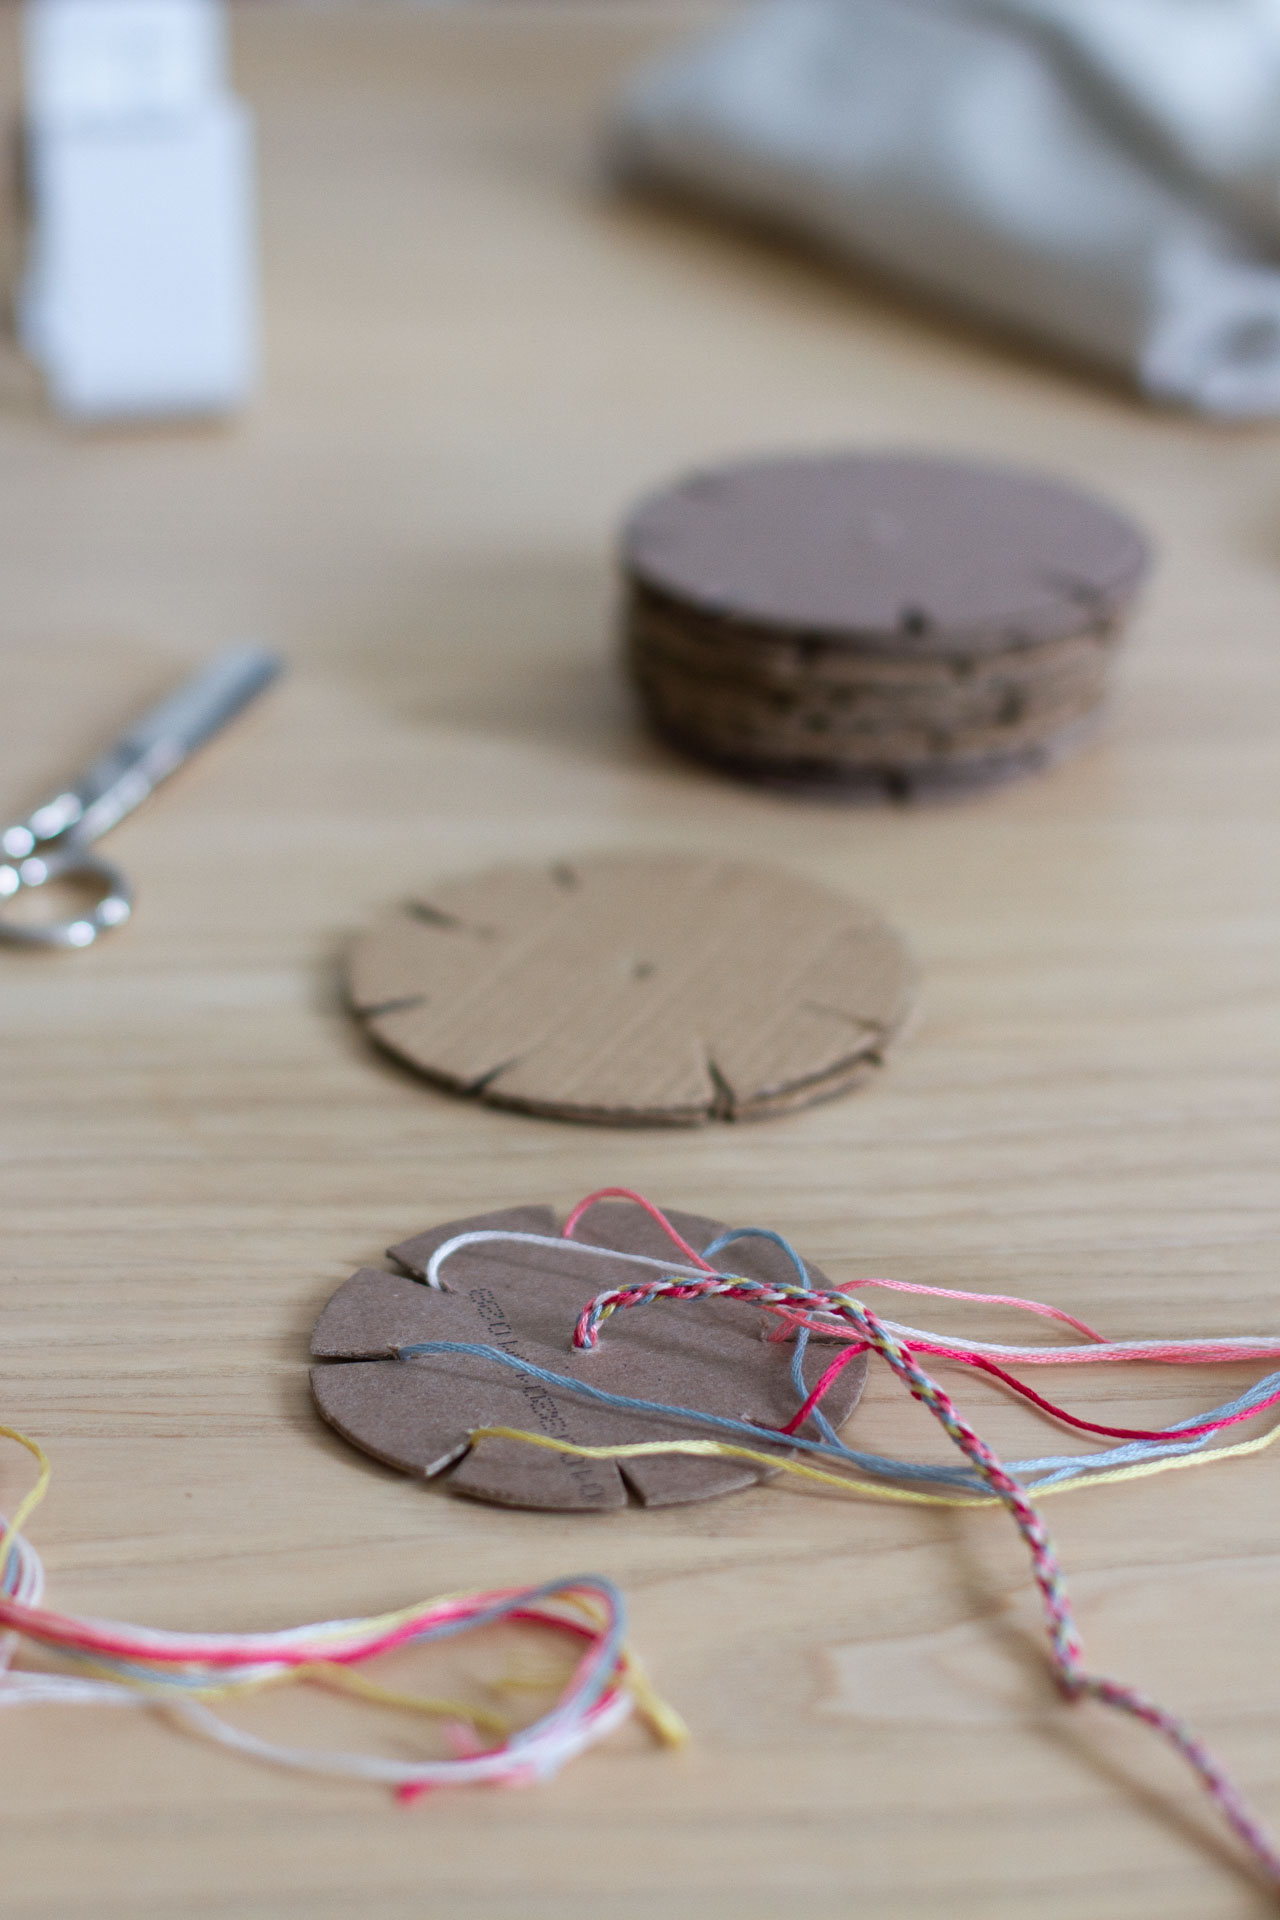
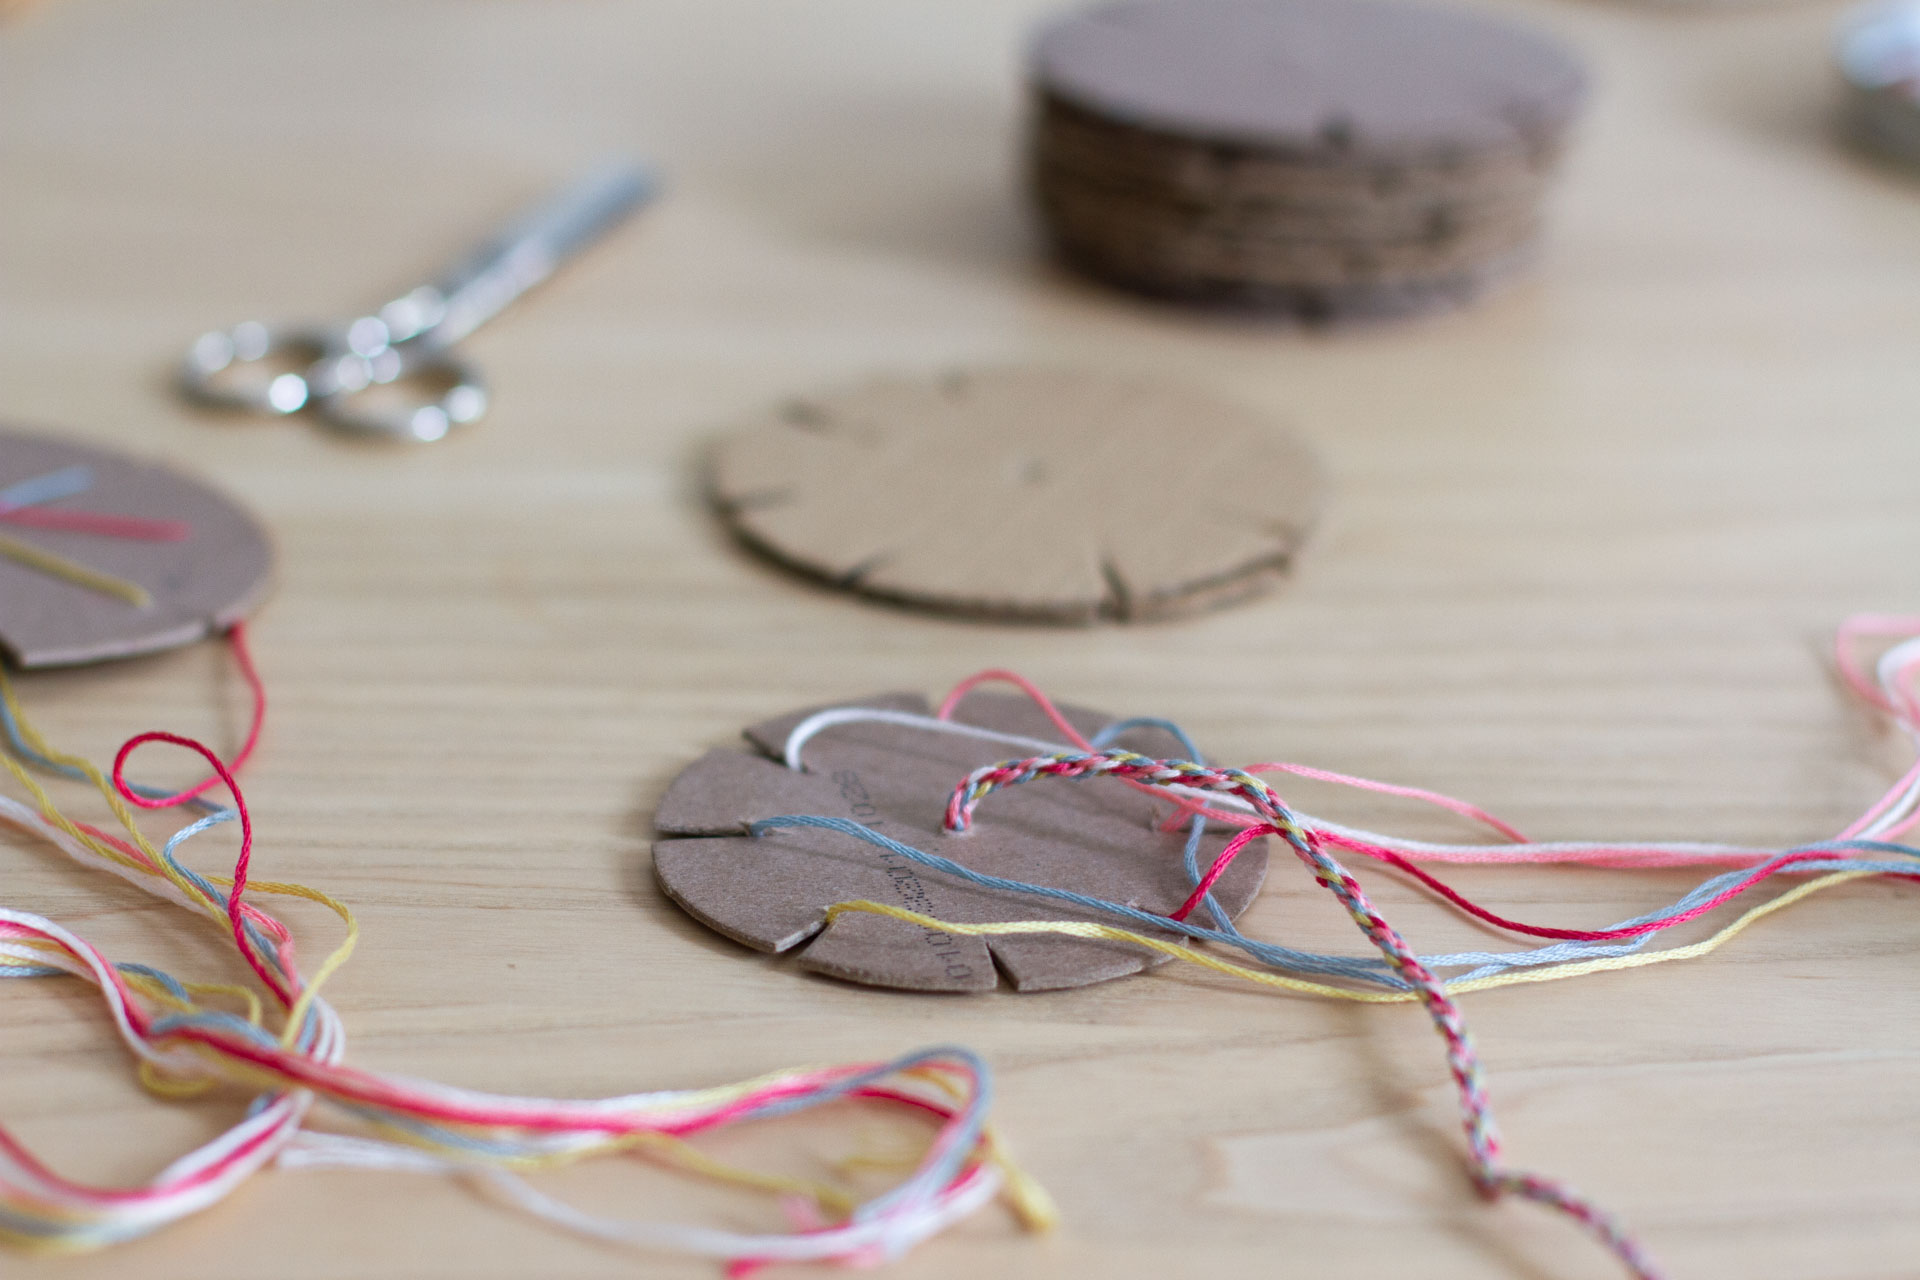
+ Thread all the ends of string through the front of the cardboard loom and out through the back. You may need to widen the hole or temporarily tape your strings together to get all of the strings through the hole. Once through, tie a knot to secure all the strings together with the tail ends. This knot should also prevent the strings from back through the hole opening.
+ Insert each string into a separate slot on the front side of the loom. There will be one slot left empty.
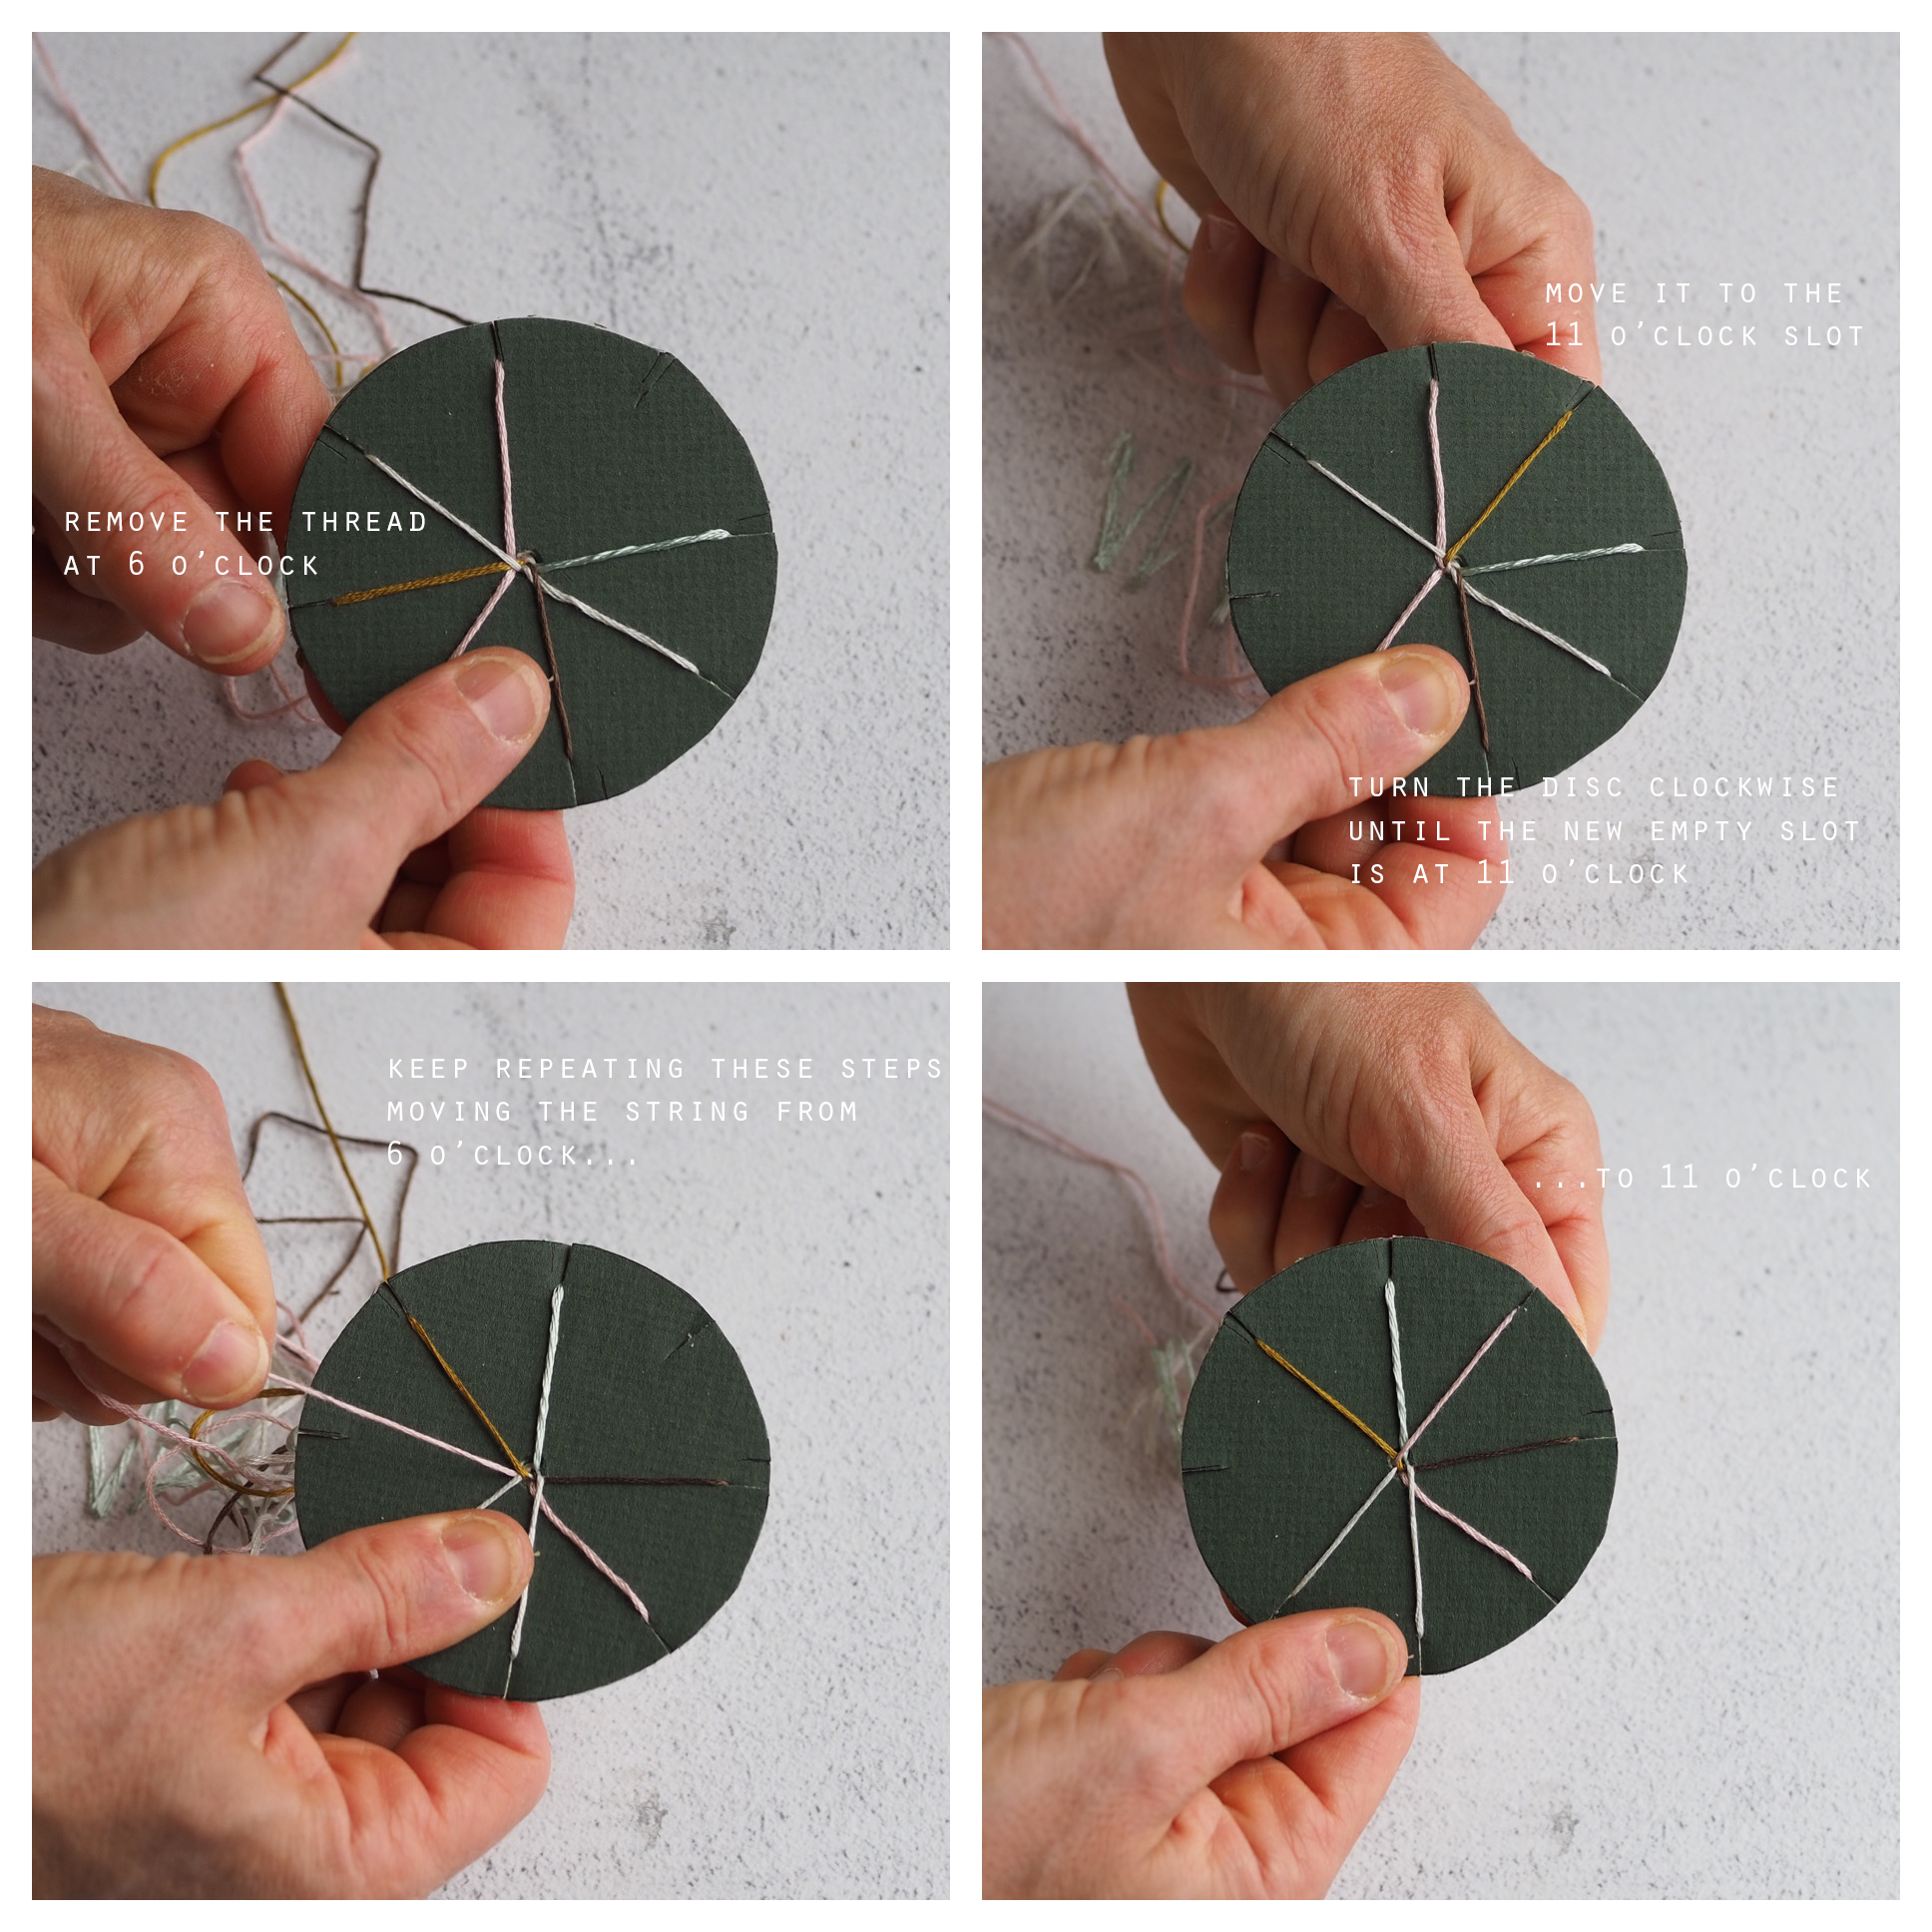
To weave the bracelet:
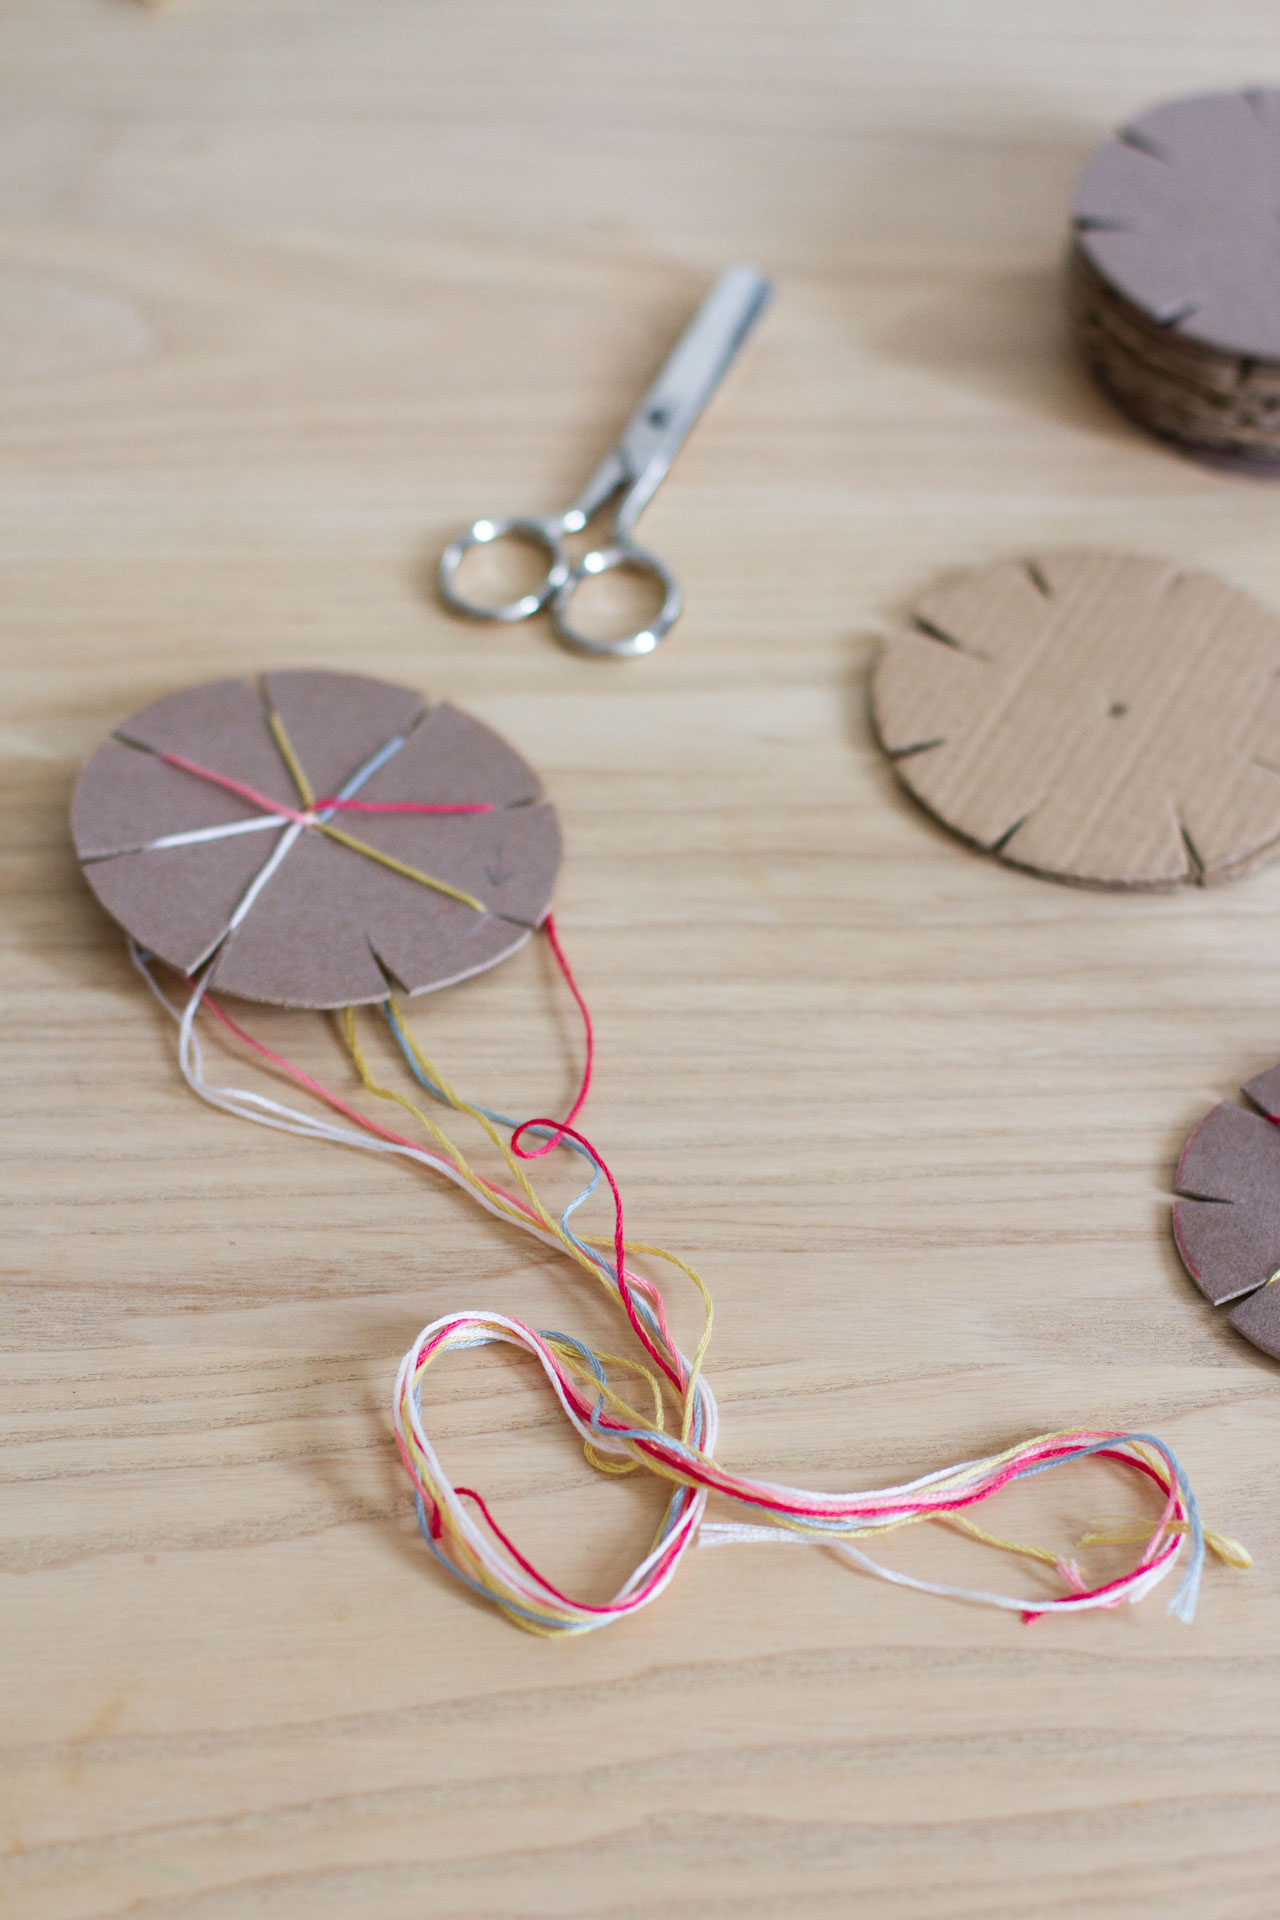
+ Hold the cardboard circle with the strings visible and secured in their slots. You will have seven strings secured in individual slots and one slot will be empty.
+ Start with the empty slot at the position of 11 o’clock if you were looking at a clock (the slot at the upper lefthand quadrant, between the 9 o’clock and 12 o’clock position.)
+ The string pointing towards you is in the 6 o’clock slot position. Gently pull out the string at 6 o’clock from its slot and bring it up to the empty place at 11 o’clock securing it in that slot.
+ Turn the disc clockwise so the now-empty 6 o’clock slot is in the 11 o’clock position.
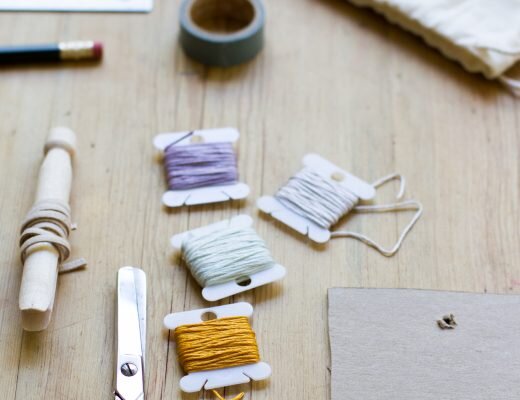
+ Continue in this way bringing the string in the 6 o’clock slot up to the 11 o’clock slot, then turning the loom clockwise so the 11 o’clock will always begin empty. Running your fingers through the strings on the back of the disk will loosen any tangles that might form. Occasionally gently tugging on the cord from the back of the loom will keep it moving easily through the center hole without bunching.

+ The bracelet will form through the center hole on the backside of the disc. You are finished when you have your desired length of bracelet. Remove all strings from the slots and gently pull out the bracelet through the center hole and secure the end with a knot.
In case it’s helpful, I put together a quick video showing the technique in action on my IGTV Behind The Scenes channel. If you decide to make one of your own (or have been making these for years) I’d love to see what you come up with!
//
Thanks to Rose Pearlman for writing this tutorial and capturing the step-by-step instruction imagery. Rose is an artist, teacher, and textile designer. With a background in fine arts and a love of well designed functional objects, her creations blur the lines between art and craft and pushes the boundaries with non-traditional techniques and materials. Rose teaches monthly rug hooking workshops in and around her home in NYC, and also welcomes commissions for one of a kind constructions in decor and home furnishings. Her work has been featured in fiber magazines, galleries, and numerous online design sites. Her book Modern Rug Hooking is available wherever books are sold. Follow along with her functional craft projects at @art_objects_ She lives in Brooklyn, NY with her family.

6 Comments
A friend’s kid taught me during an idyllic weekend at the CT shore and of course I have since forgotten the skill. Thanks for this tutorial – I’ll be sure to revive my bracelet making skills this summer!
Yes! So excited to make these!!!
Kumihimo is fun to do, my daughters love it, but I need to laugh to the name every time as Kumi means in Finnish rubber and himo means lust:D
Lovely! My daughter Iiris will turn 7 soon as well, and I’m going to try the bracelet-making with her. I’d love to hear more about your plans and ideas for b-day party.
Best regards, Sanna
Erin and/or Rose, how do you like to close the bracelet? I loved making the braid but now am stumped as to how to make it wearable.
I take the very classic friendship bracelet approach here and just tied of the end and tie it around my wrist and wear it until it falls off (or I’m tired of it and want to snip it off)!
Comments are moderated.