The majority of our current kitchen cabinets are without pulls or knobs. There’s a small indentation along the bottom edge of the cabinet doors which makes them easy enough to open without handles, but for ease of use and cleaning and in hopes of creating a cohesive finished look, I’ve decided to add hardware as part of the larger kitchen improvement mission we’re tackling.
Swapping hardware, or adding hardware where there isn’t any, is a small improvement that can really change the way a space looks and feels and functions and there are approximately one million articles on this internet saying as much for good reason. No surprise, I’m partial to hardware that’s small and simple. I love how a hardware switch is something that can really change a space subtly without crowding or overwhelming it. (No doubt for others, swapping hardware is a chance to do just the opposite and really go wild, but as always, the particulars are just a question of preference.) Even in a rental where there isn’t a lot of leeway to make changes, swapping cabinet hardware can be as simple as unscrewing one piece and installing another and should you need or want to switch them back before you go, keeping the originals safely tucked away to reinstall is simple enough to do.
Of course, as with most small improvements, there are options and challenges to consider:
A few things to consider:
+ If you’re replacing existing hardware with something new and don’t want to take on a significant DIY project, make sure your replacement is the same size as the existing so that you don’t need to fill or re-drill holes. If you’re drilling holes for the first time, consider measuring and drilling after the doors are hung to avoid accidents.
+ Likewise, if you’re swapping hardware on painted or stained furniture or cabinets with hardware of a different shape, keep in mind that you might be uncovering more than you’ve bargained for in the form of indentations, paint drips, fading, discoloration, etc. underneath the existing pulls or knobs. Be prepared for needing to sand, repaint, or refinish, depending on the nature of the hardware you’re swapping in or out.
+ If small details matter to you, consider the hinge finishes when swapping out hardware. I haven’t landed on whether I’ll replace the hinges on our cabinets to better match the new pulls, attempt to paint them, or leave them as is as they’re relatively unnoticeable, but I’m passing along the PSA that it might be something to consider if you’re thinking of making a hardware change.
+ If you do end up removing hardware and you don’t need to keep it, don’t forget to pass it along to someone else via your stoop, neighborhood Buy Nothing Group, or old-fashioned tag sale. One person’s trash is another’s treasure, et cetera.
A few favorites:
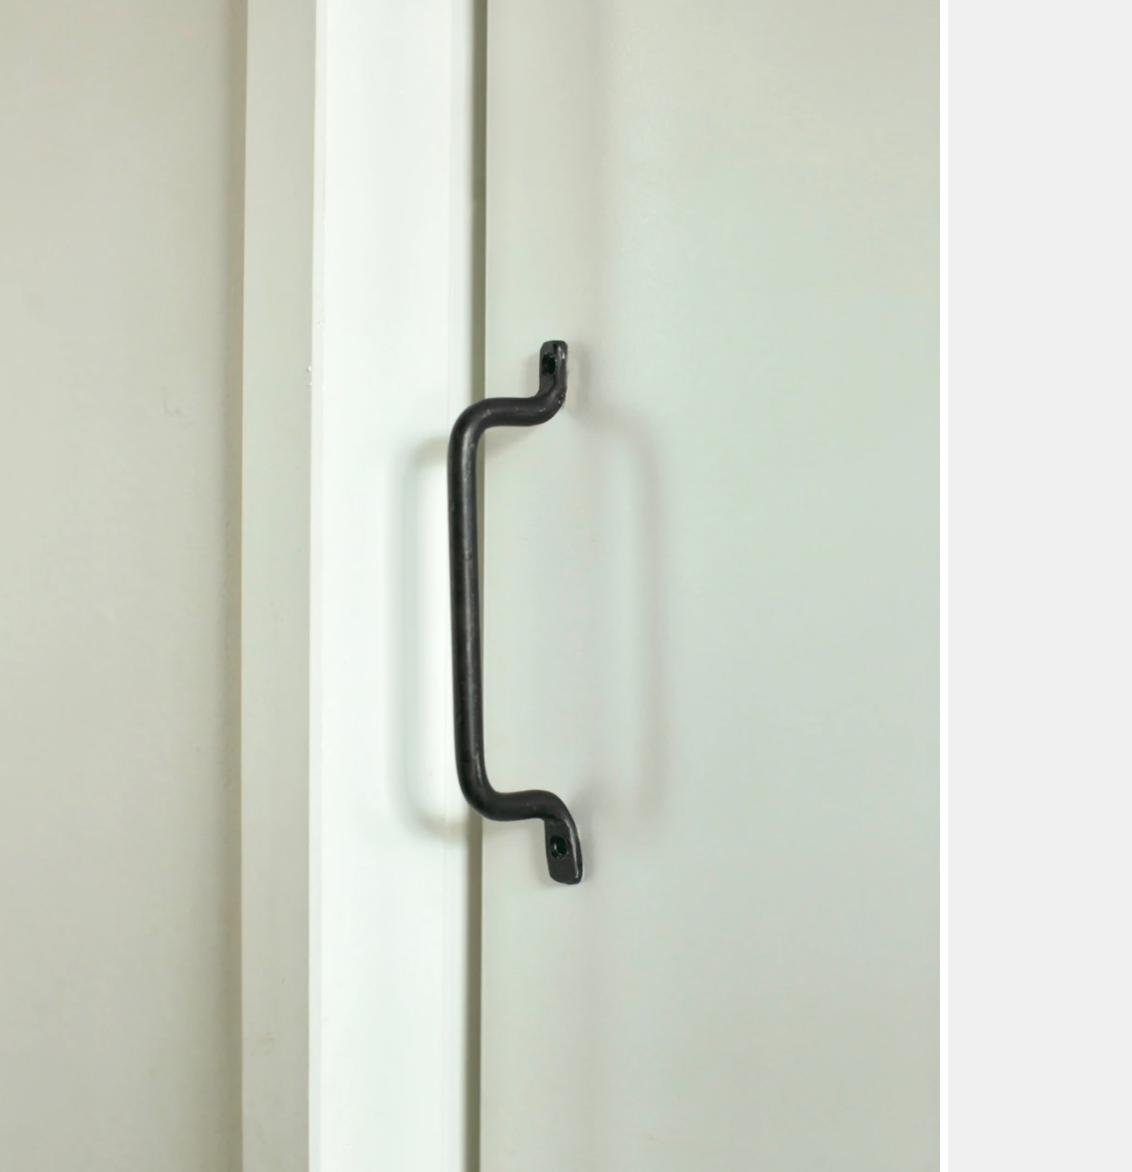
+ After some back and forth, I’ve decided to replace the handles on our tall cabinets with these simple iron pulls from Fog Linen (see first photo). They’re somewhat tall as these things go, which seems fitting for the height of the cabinets and I love the exceedingly bare bones design. (The current handles are ornate reproduction handles and they’re placed so high on the cabinets that we couldn’t comfortably reach them, so I’m filling the existing holes and drilling new ones for the new hardware.) My second runner up was the Edgecliff Pulls from Schoolhouse, which I think would also be lovely for a slightly less rustic look.
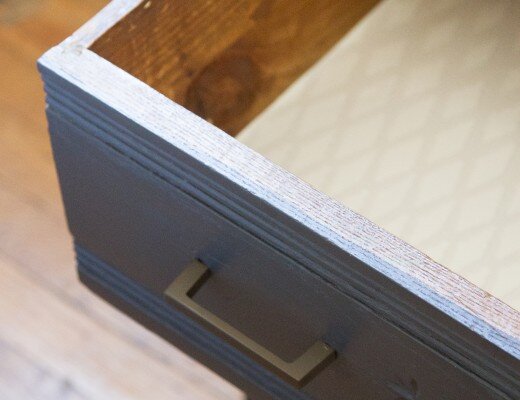
+ In keeping with my preference for all things mini, I’m going with my gut and choosing 1-inch knobs instead of the larger and slightly more common 1 1/2-inch size. I think I’ve decided on the same ones that I used on our bedroom dressers—the Riverwood Knob from Schoolhouse in a true black finish. My other choice would be these simple iron knobs from Yester Home.
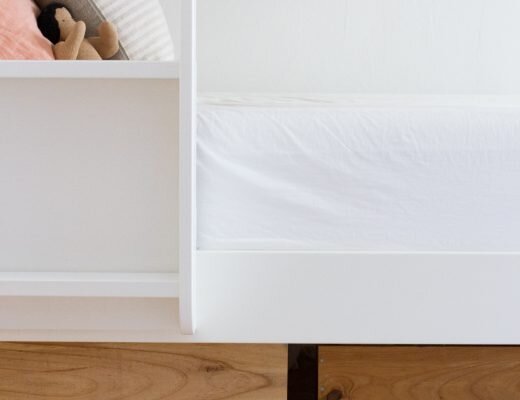
+ I’ve decided to go with metal hardware in the kitchen for durability’s sake, but in the past I’ve had lots of luck with alternative materials. The Rope Handles I made for our under-bed wine crates have held up beautifully and so did the Braided Leather Handles I made for a dresser we had when Faye was a baby. If I find the right spot for them, next up I want to make braided handles using this technique and butcher’s twine or hemp string.
What about you? Hardware favorites? Hardware hacks? Hardware horror stories? Would love to hear!
This post includes affiliate links. Reading My Tea Leaves might earn a small commission on the goods purchased through those links.
14 Comments
Thank you for sharing the Fog Linen pulls, they are exactly what I’ve been searching for. We’ve been living with no knob or handle on our simple pine plank bathroom door till we found the *perfect* solution and I think this is it!
oh, how great! i hope it works out!
Exactly what I’ve been looking for – but where to find in Italy!!!
Try an Etsy search that’s for Italy only? Might also be able to find a local ironworker to make the simple shape for you with an example photo!
Yes I thought about having them made by a local guy
Hi Debbie, try Fog Linen Work Europe. I live in Berlin and often order from this site. It is run by a lovely lady called Olivia who lives in France. Good luck!
So exciting that you finally had the opportunity to paint your apartment kitchen cabinets. Finally!! We did the same and replaced the pulls with wooden ones from Workshop110 on Etsy. I painted them to match the cabinets, white uppers and navy lowers. They visually fade away!
Love that!
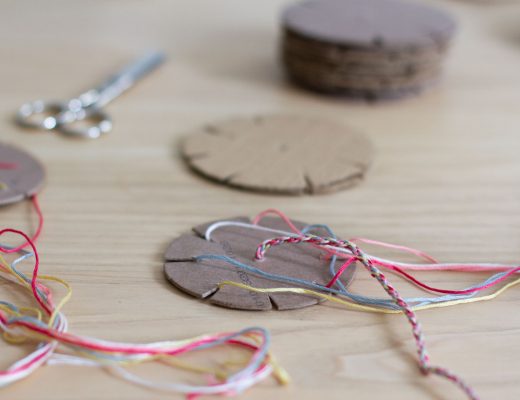
For installing new handles we made a jig out of cardboard so we’d be able to have all the handles land in the same spot on the cabinets without having the measure every time.
Excellent tip! Will be borrowing!
You might want to include a “rental” suggestion. It really helps as a tenant to find some random storage spot (I’ve typically used the cabinet above the refrigerator, which is entirely unuseful for “regular” stuff) for “apartment things.” If everything you take down gets put in one place, it is so much easier to “restore” at the end of the lease. And sometimes, you can just tell the landlord where to find everything.
I might be alone in this but Erin, lately I’ve found myself missing your writing that is not about home improvement. Any kind of musing or free form writing…
Ha, welp, if I get it finished today’s post might scratch that itch.
When I installed new cabinets in my kitchen, I used these simple Shaker maple knobs on the maple cabinetry. I left them unpainted on the unpainted cabinets. I painted the island navy, and painted the same knobs to match. They cost about $2 each and they look simple and beautiful.
https://www.leevalley.com/en-ca/shop/hardware/knobs/cabinet/46390-shaker-style-knobs
Comments are moderated.