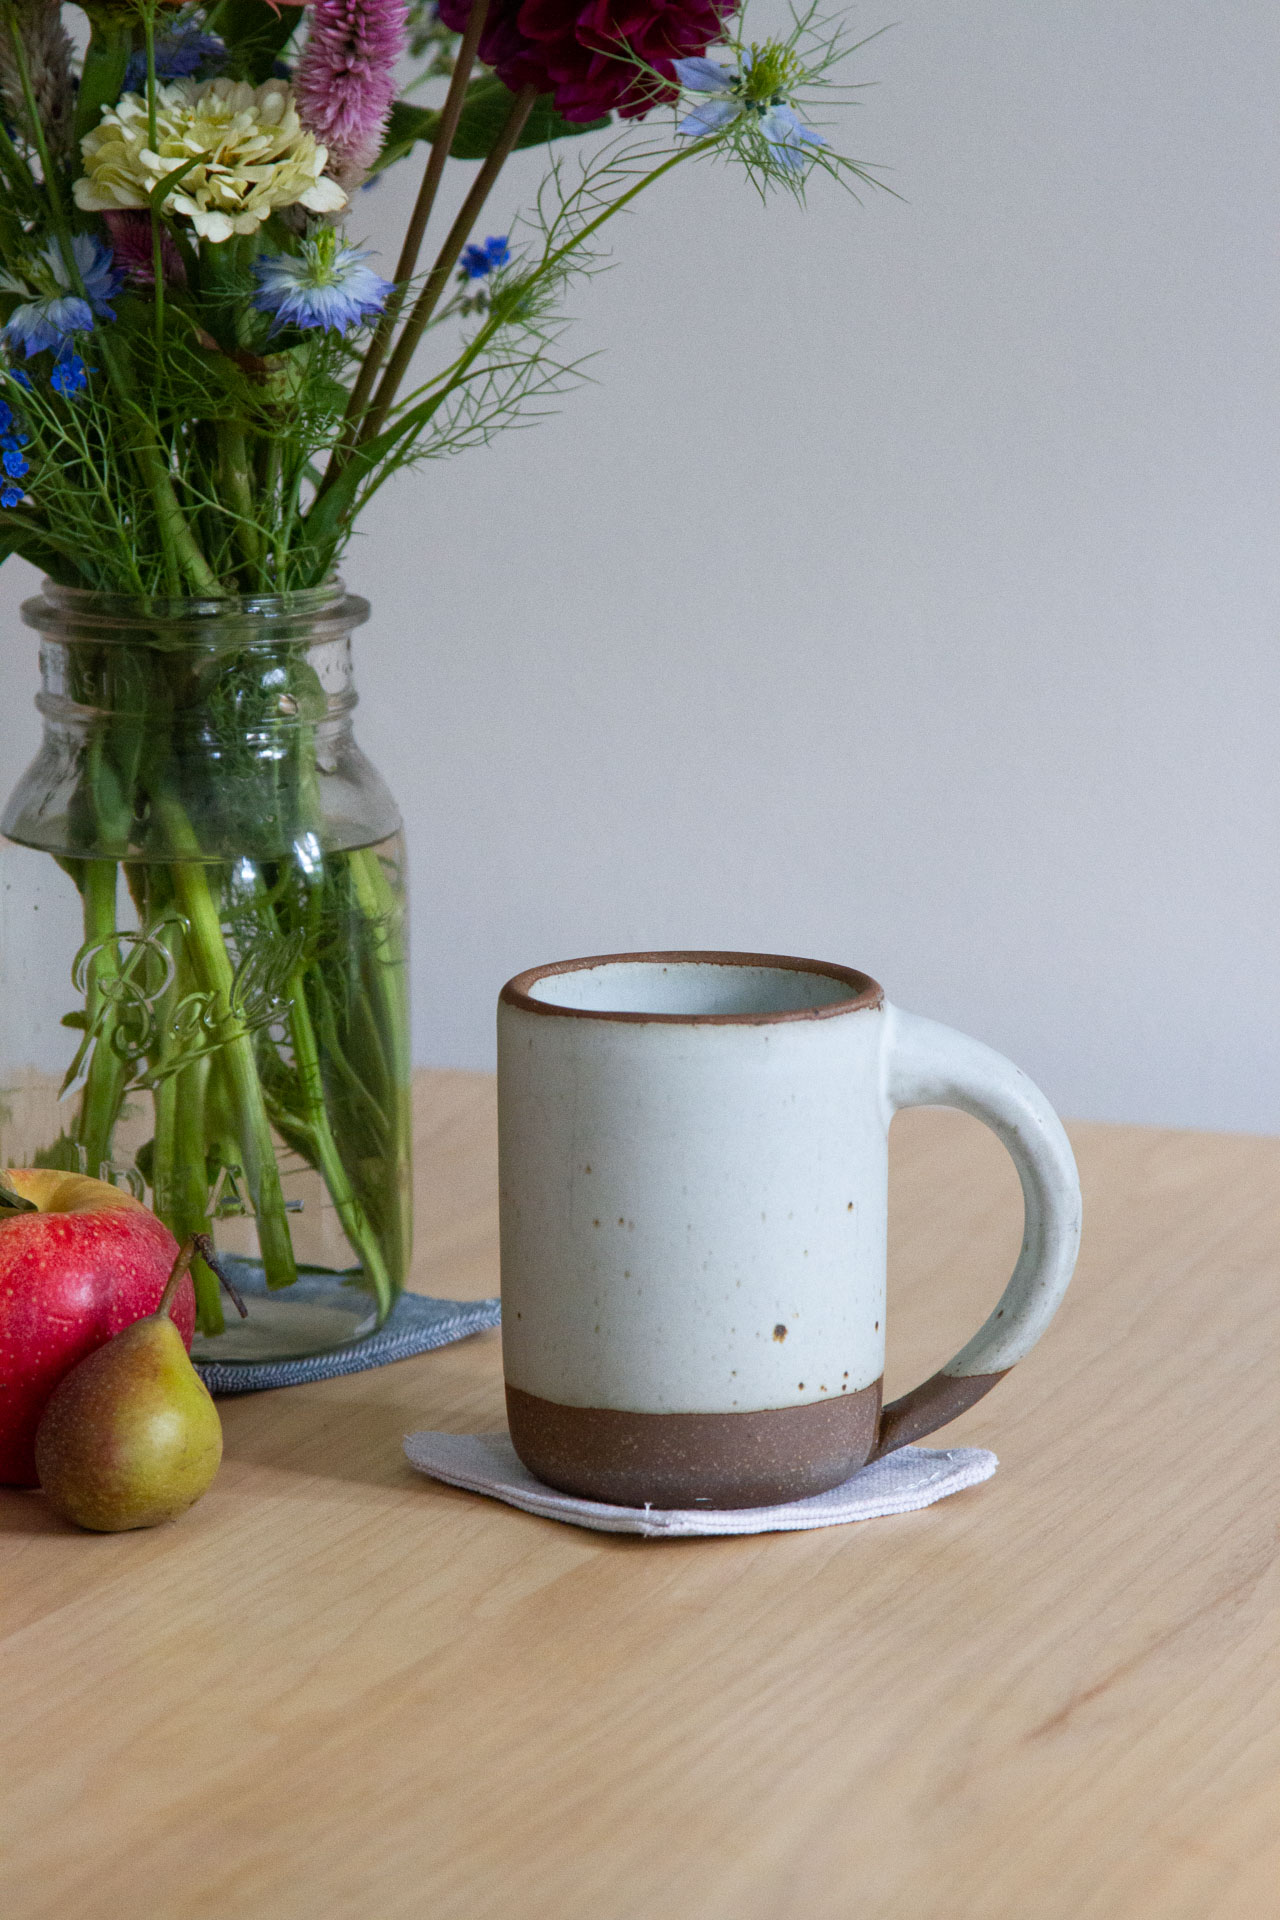
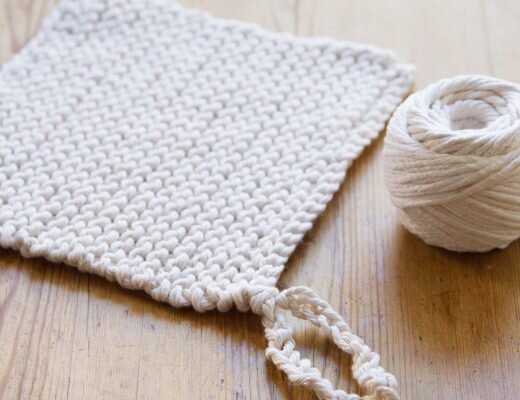
As the tail end of summer slips through our fingers, you might decide to use up spare material you have hanging around your house, to make simple cloth coasters. For the cups of tea that begin appearing desk-side mid-afternoon, for small gifts that need giving as the nights stretch longer, for guests (should we all be lucky enough to welcome them) who balance their glasses on top of the piano or dresser or whatever else they happen upon.
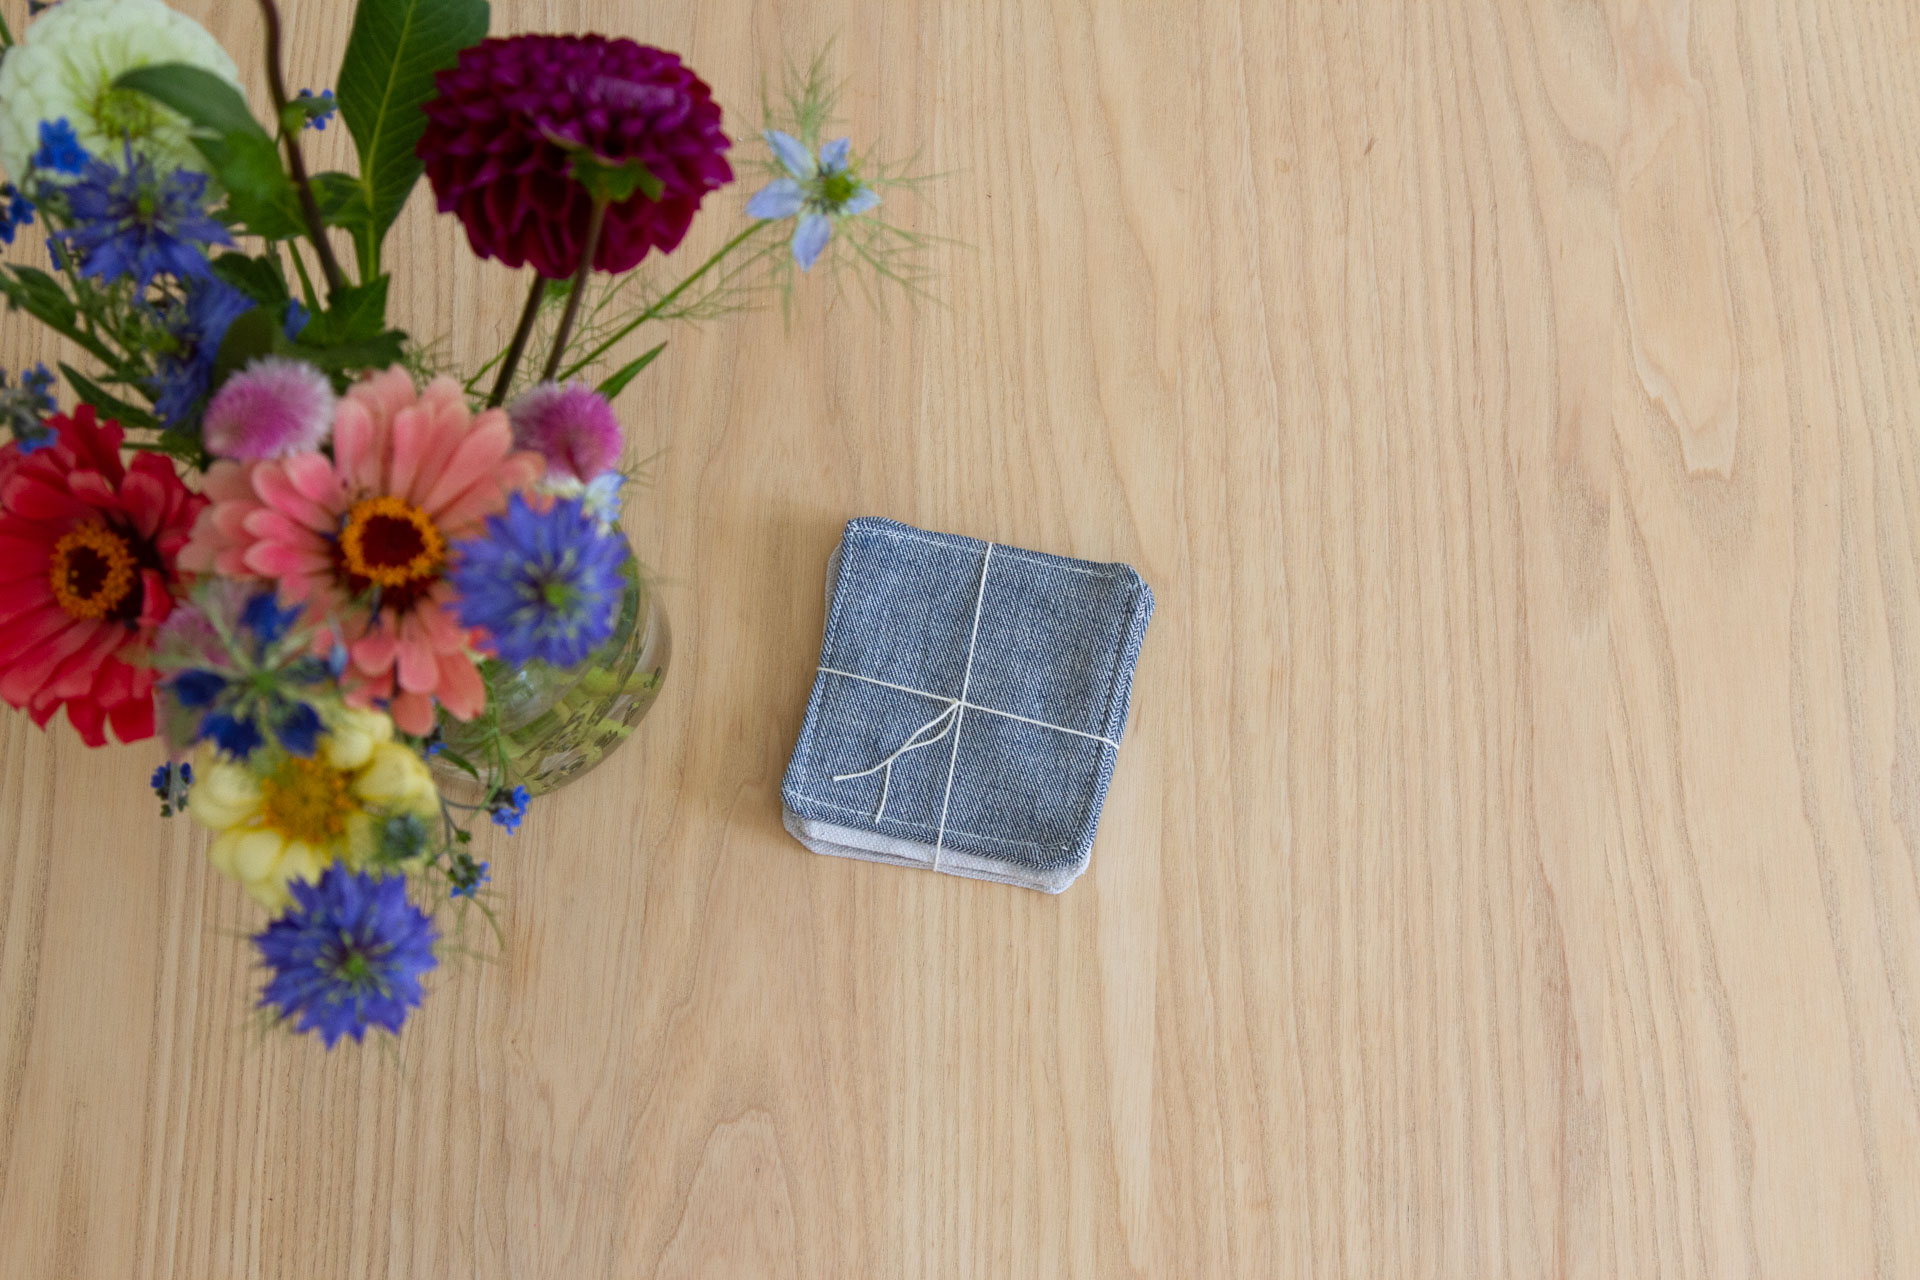
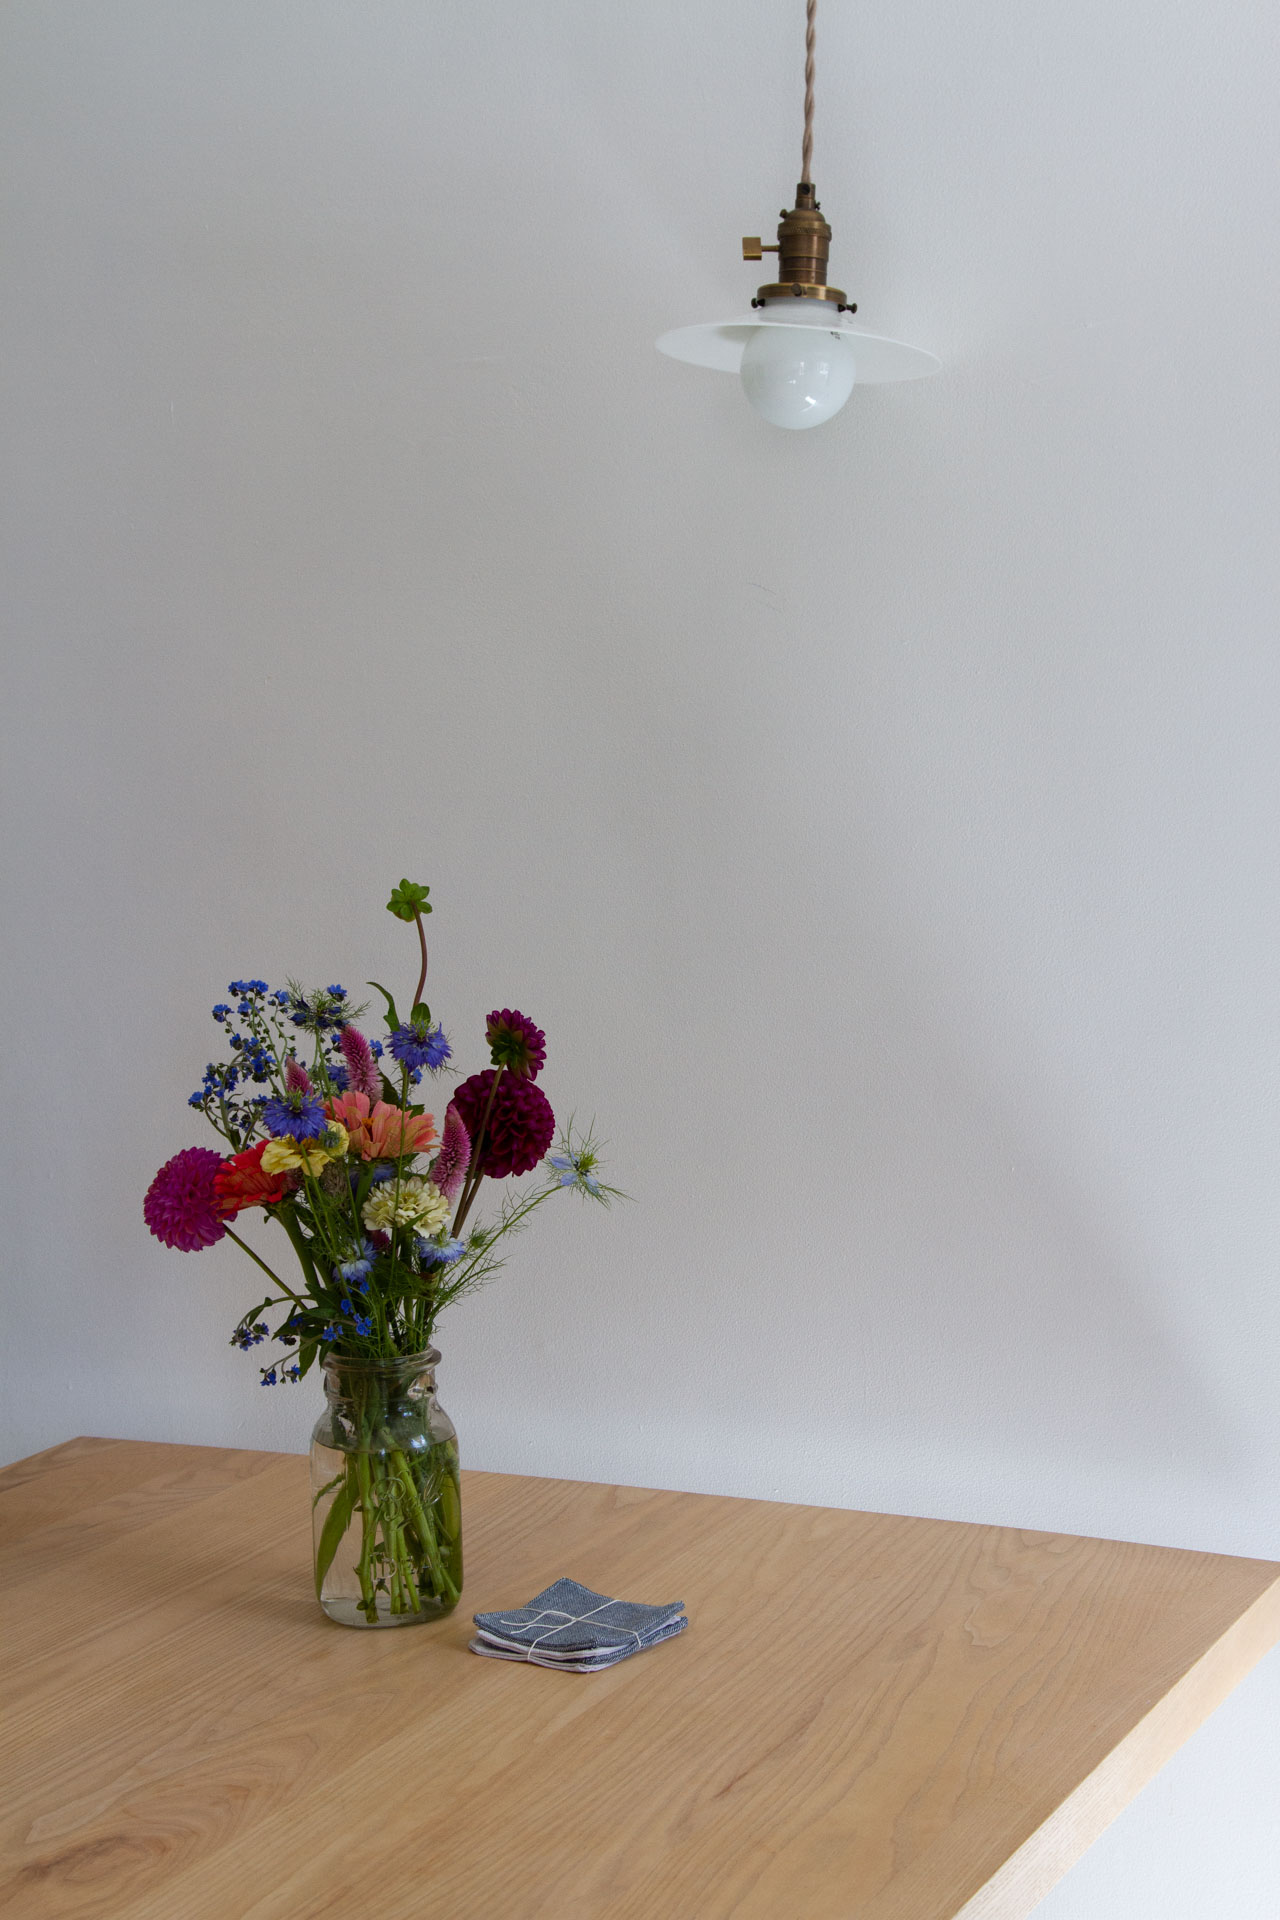
Rose came to me last week with a stack of these simple coasters made from the edge of her drop cloth. I used her instructions to make a stack of my own, giving a second life to the denim legs I lopped off my jeans in the height of this summer’s heat waves.
Whatever you use, a nice medium weight fabric will offer a soft barrier between your fall drink of choice and the place where it’s resting. Depending on your sewing skills and any practice still needed, choose a thread to blend into the fabric you’re sewing, or one to contrast against it.
The project couldn’t be simpler and while these come together in just minutes on a sewing machine, it wouldn’t be beyond reason to whip up a handful of these by hand. From my table (and Rose’s) to yours, the full instructions for simple cloth coasters, below:
Simple Cloth Coasters
Materials
+ canvas drop cloth, denim scraps, or any other medium weight fabric
+ scissors
+ sewing machine (or sewing needle)
+ thread
+ ruler
Instructions
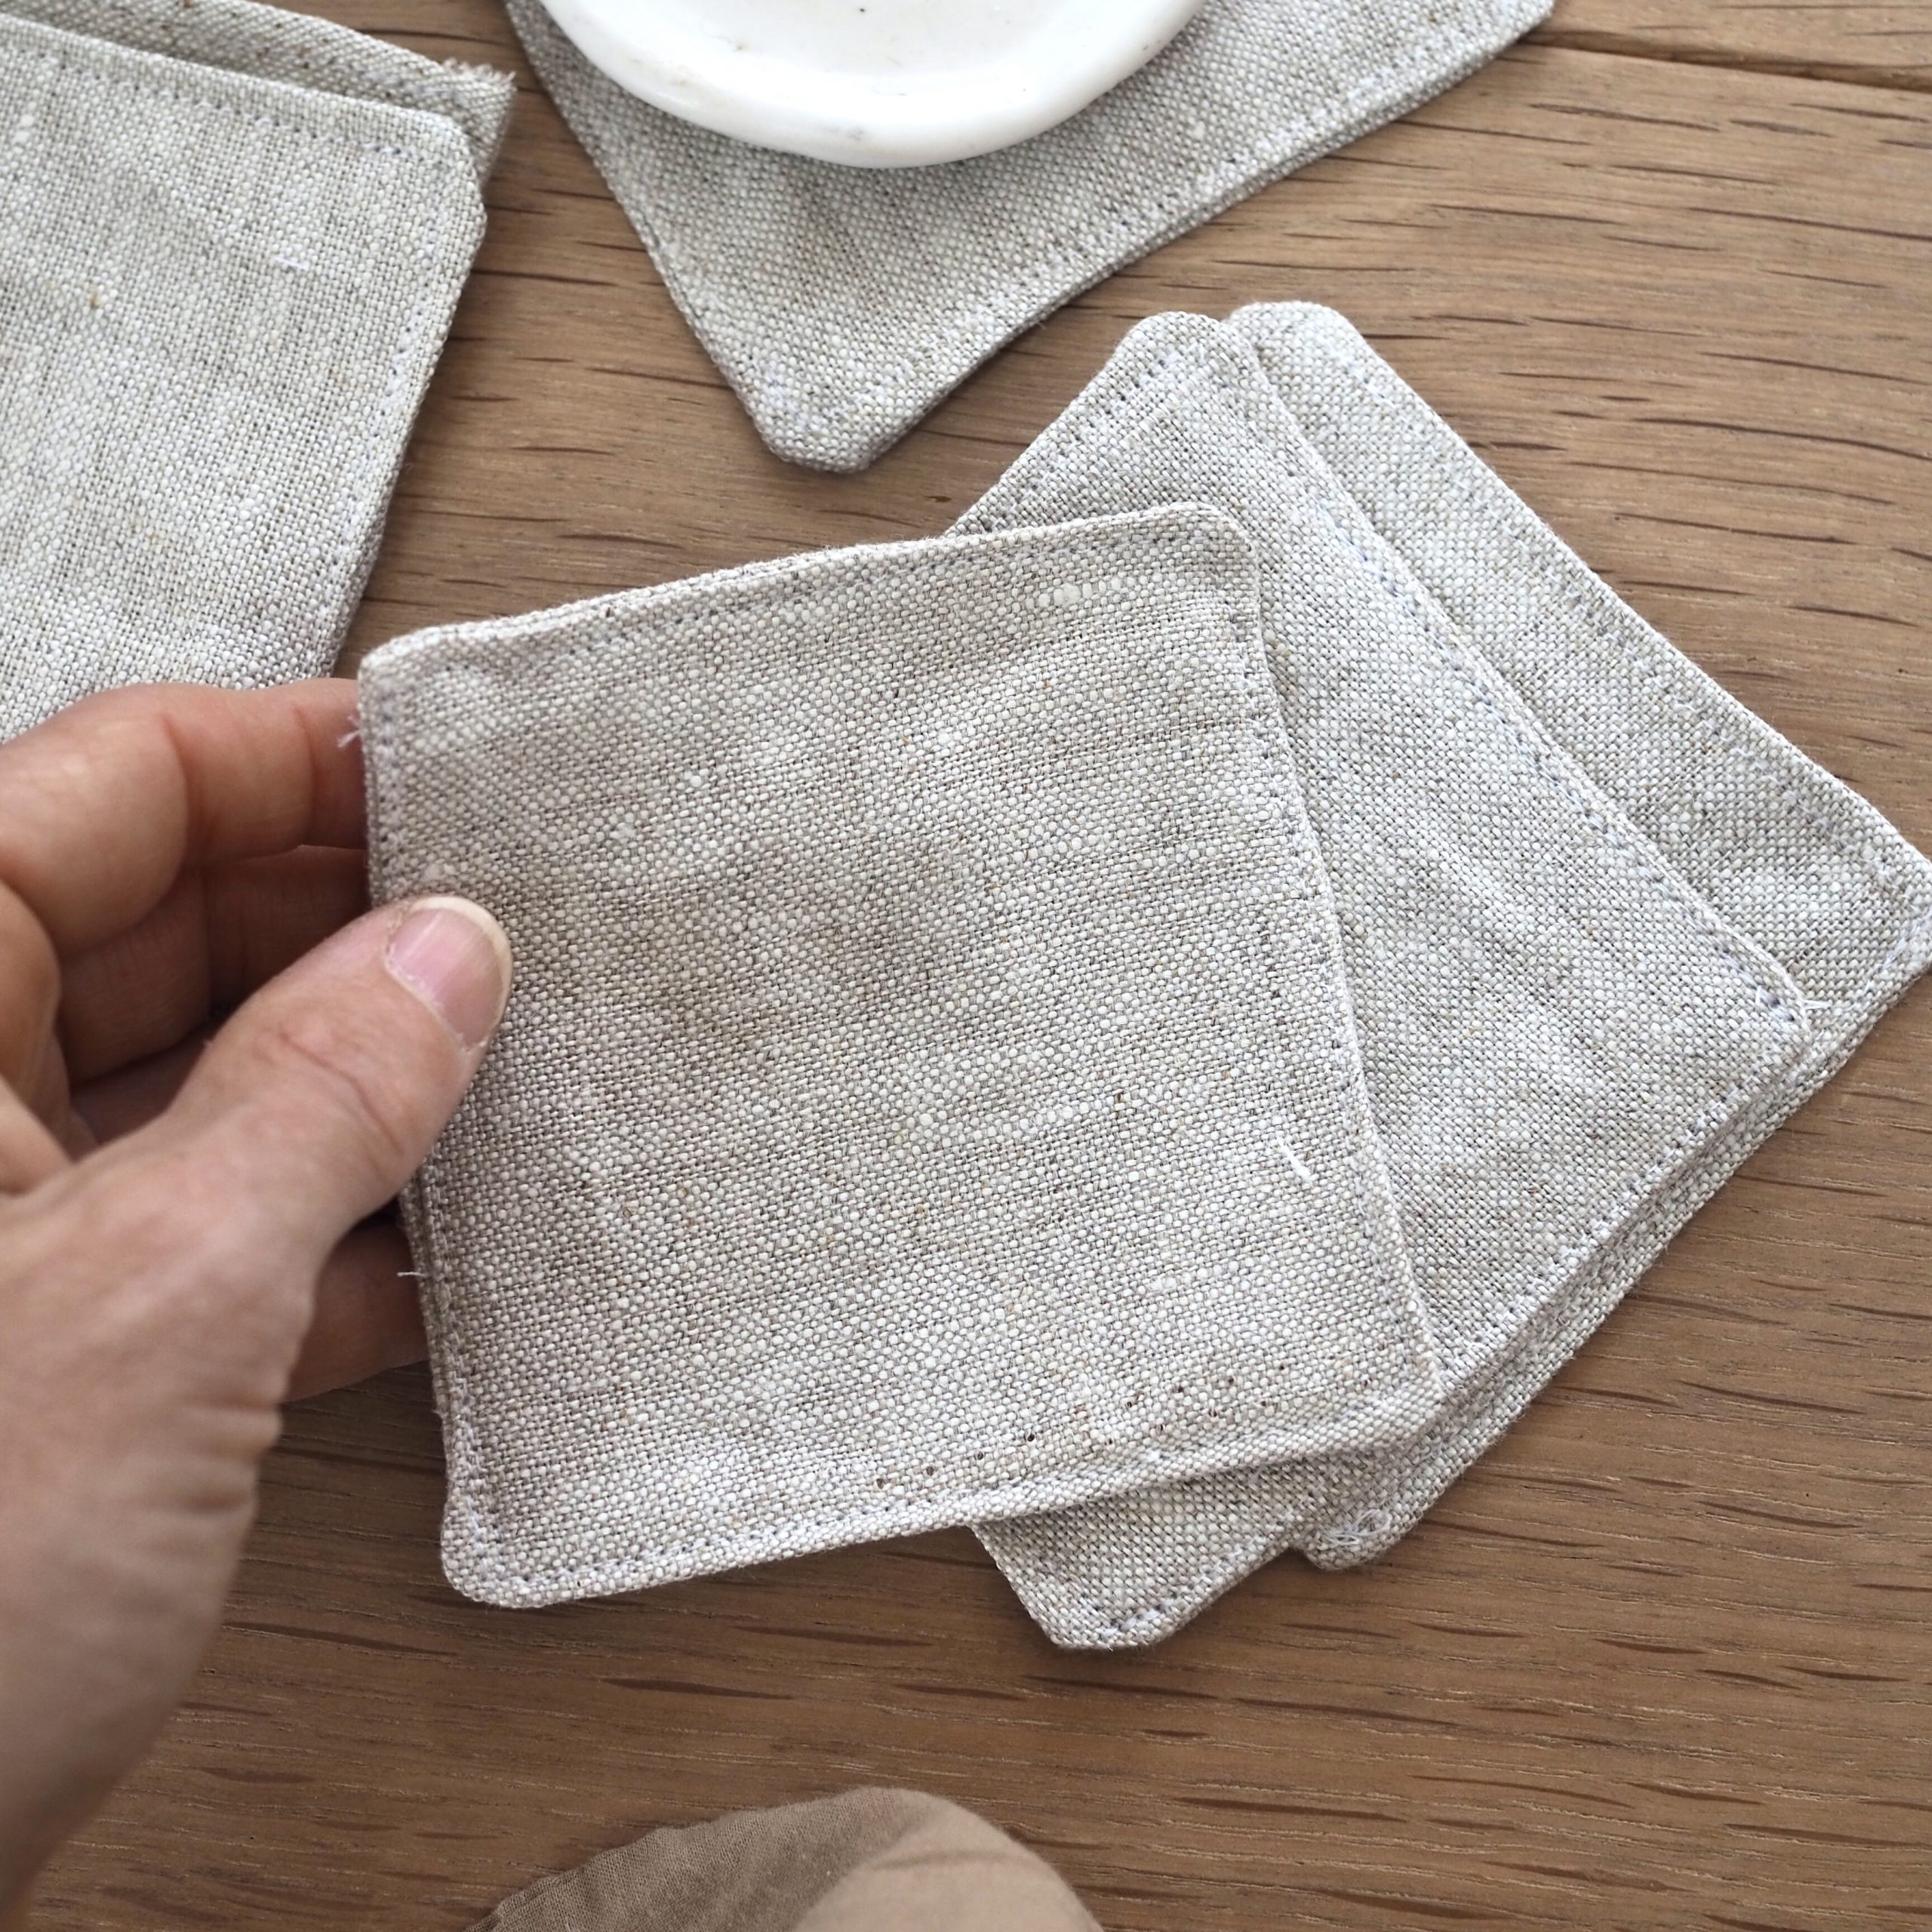
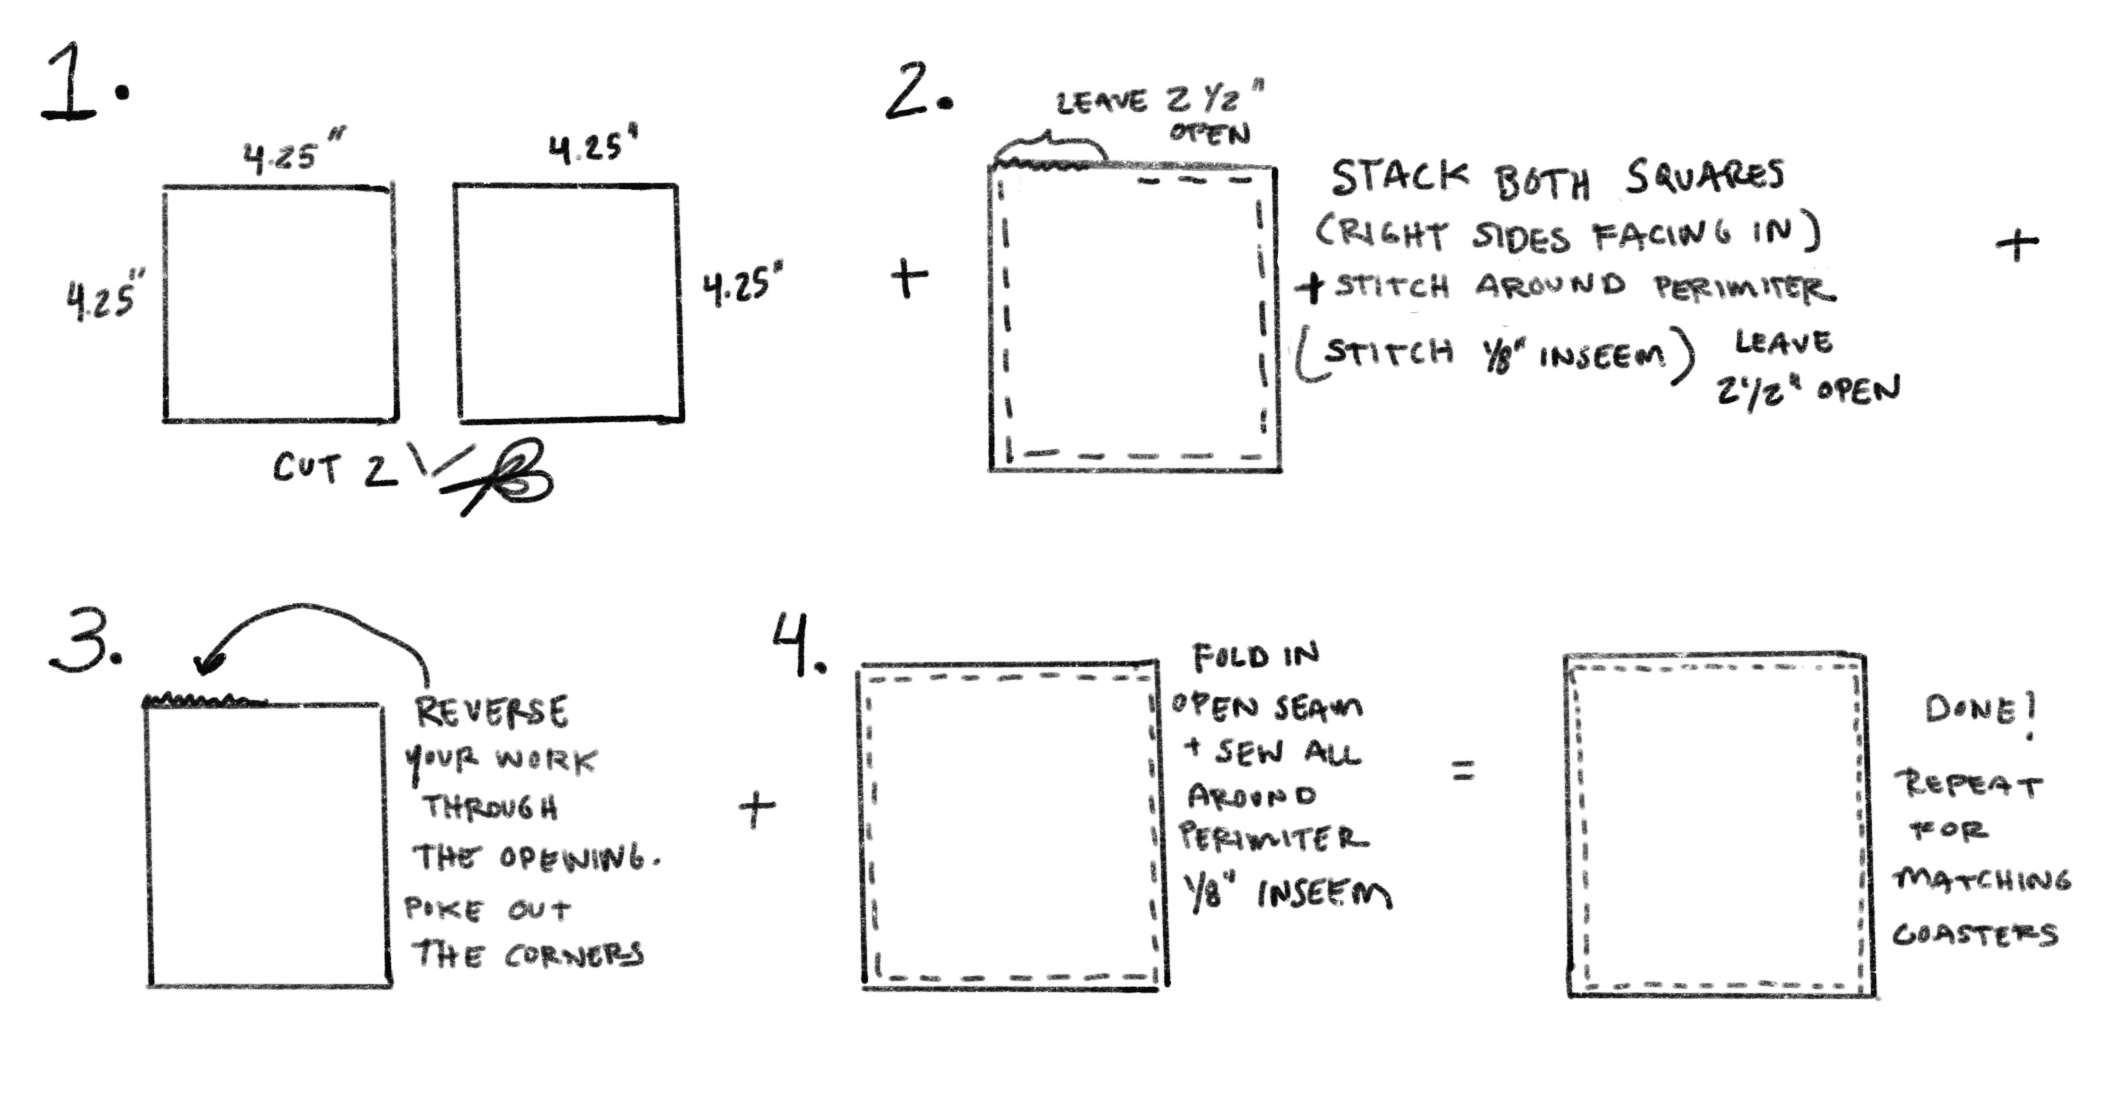
+ Cut out two 4.25-inch squares of fabric
+ Stack both fabric squares on top of each other, lining up all edges. If your material has a “right side”, the right sides should face in. Sew around the perimeter of the square 1/8” from the edge, leaving at least 2.5-Inches open on one side.
+ Reverse your work, pushing the sewn edges of the fabric square out through the 2.5” opening. {Poke out the fabric corners with a scissor or pencil if need be.}
+ Fold the open seam inwards to conceal the frayed edge and stitch the seam closed, 1/8” from the edge. Continue to stitch around the perimeter 1/8” from the edge. Be sure to back-stitch every time you start and stop sewing.
+ Trim loose threads and repeat all steps to make additional coasters.
//
Thanks to Rose Pearlman for writing this tutorial and sketching the step-by-steps. Rose is an artist, teacher, and textile designer. With a background in fine arts and a love of well designed functional objects, her creations blur the lines between art and craft and pushes the boundaries with non-traditional techniques and materials. Rose teaches monthly rug hooking workshops in and around her home in NYC, and also welcomes commissions for one of a kind constructions in decor and home furnishings. Her work has been featured in fiber magazines, galleries, and numerous online design sites. Her book Modern Rug Hooking is available wherever books are sold. Follow along with her functional craft projects at @art_objects_ She lives in Brooklyn, NY with her family.
10 Comments
Thank you for showing me what to do with all the spare fabric I’ve been holding onto! I knew I had a reason!
I made a batch of coasters last winter to reacquaint myself with the sewing machine. Without a pattern, while functional, they didn’t look very nice (so many frayed edges)! I’m now tempted to make a new, prettier set!
Ah yes! So great for practicing and the key here is to reverse the fabric so you get nice neat edges! Mine aren’t perfect, but they’re good enough!
Erin if you clip the corners (before turning right side out) it will make for finer corners
Thanks!
Thanks for the info about the corners. Made a batch yesterday, but didn‘t quite get the corners right 😉 now I know what to do next time!
I quite like those wonky little corners, in a Japanese wabi-sabi sort of way. A ring of tea stain on the lighter fabric square when it happens: perfection.
agree / like how you think!
a batch of old quilt squares came to me a few years ago and i enlisted my mom’s help to make cocktail napkins/coasters. kept a set for myself and gifted one to my in-laws. my mom likes folded-in edges and i love the flowery patterns w/a contrasting zig zag stitch. a peek here: https://tps-steph.blogspot.com/2019/09/0046-july-favorites.html
now i need to work up the courage to make them on my own. thanks for the reminder/inspo 🙂
I would love a recommendation for what to do with an old fitted sheet that has a GIANT tear across it. Most of the fabric is still in good condition but my sewing skills are definitely not up to patching it and having it withstand the general thrashing I do in my sleep.
I would cut off the elastic, fold it up and wait for a project to find you! (Made the curtains on our french doors out of an old sheet!)
Comments are moderated.