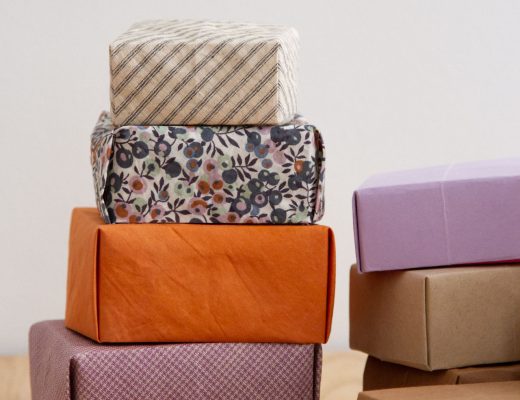
This isn’t exactly alchemy, but it feels that way. When Rose’s box-making habit began in earnest this summer, she was making origami masu boxes using paper—any kind of paper of any size. But as a textile artist, her mind quickly went to fabric. Was there a way to fold fabric into boxes strong enough to hold their shape?
Turns out the answer lies in a simple cornstarch paste. What feels magical is actually fairly straightforward— starching fabric to such a degree that it turns, for all intents and purposes, into paper. These stiffened sheets of fabric can be creased and folded and shaped into boxes, or anything else your imagination might send you.
For this project, I used a 12-inch square of linen from a Fog Linen Assorted Color Remnant Set: Large Format While you’d want whatever fabric you use to be in fairly good condition, this is an opportunity to keep all sorts of fabric in use from torn bedsheets to vintage bandanas to baby swaddles needing a second life.
Simple instructions from Rose below:
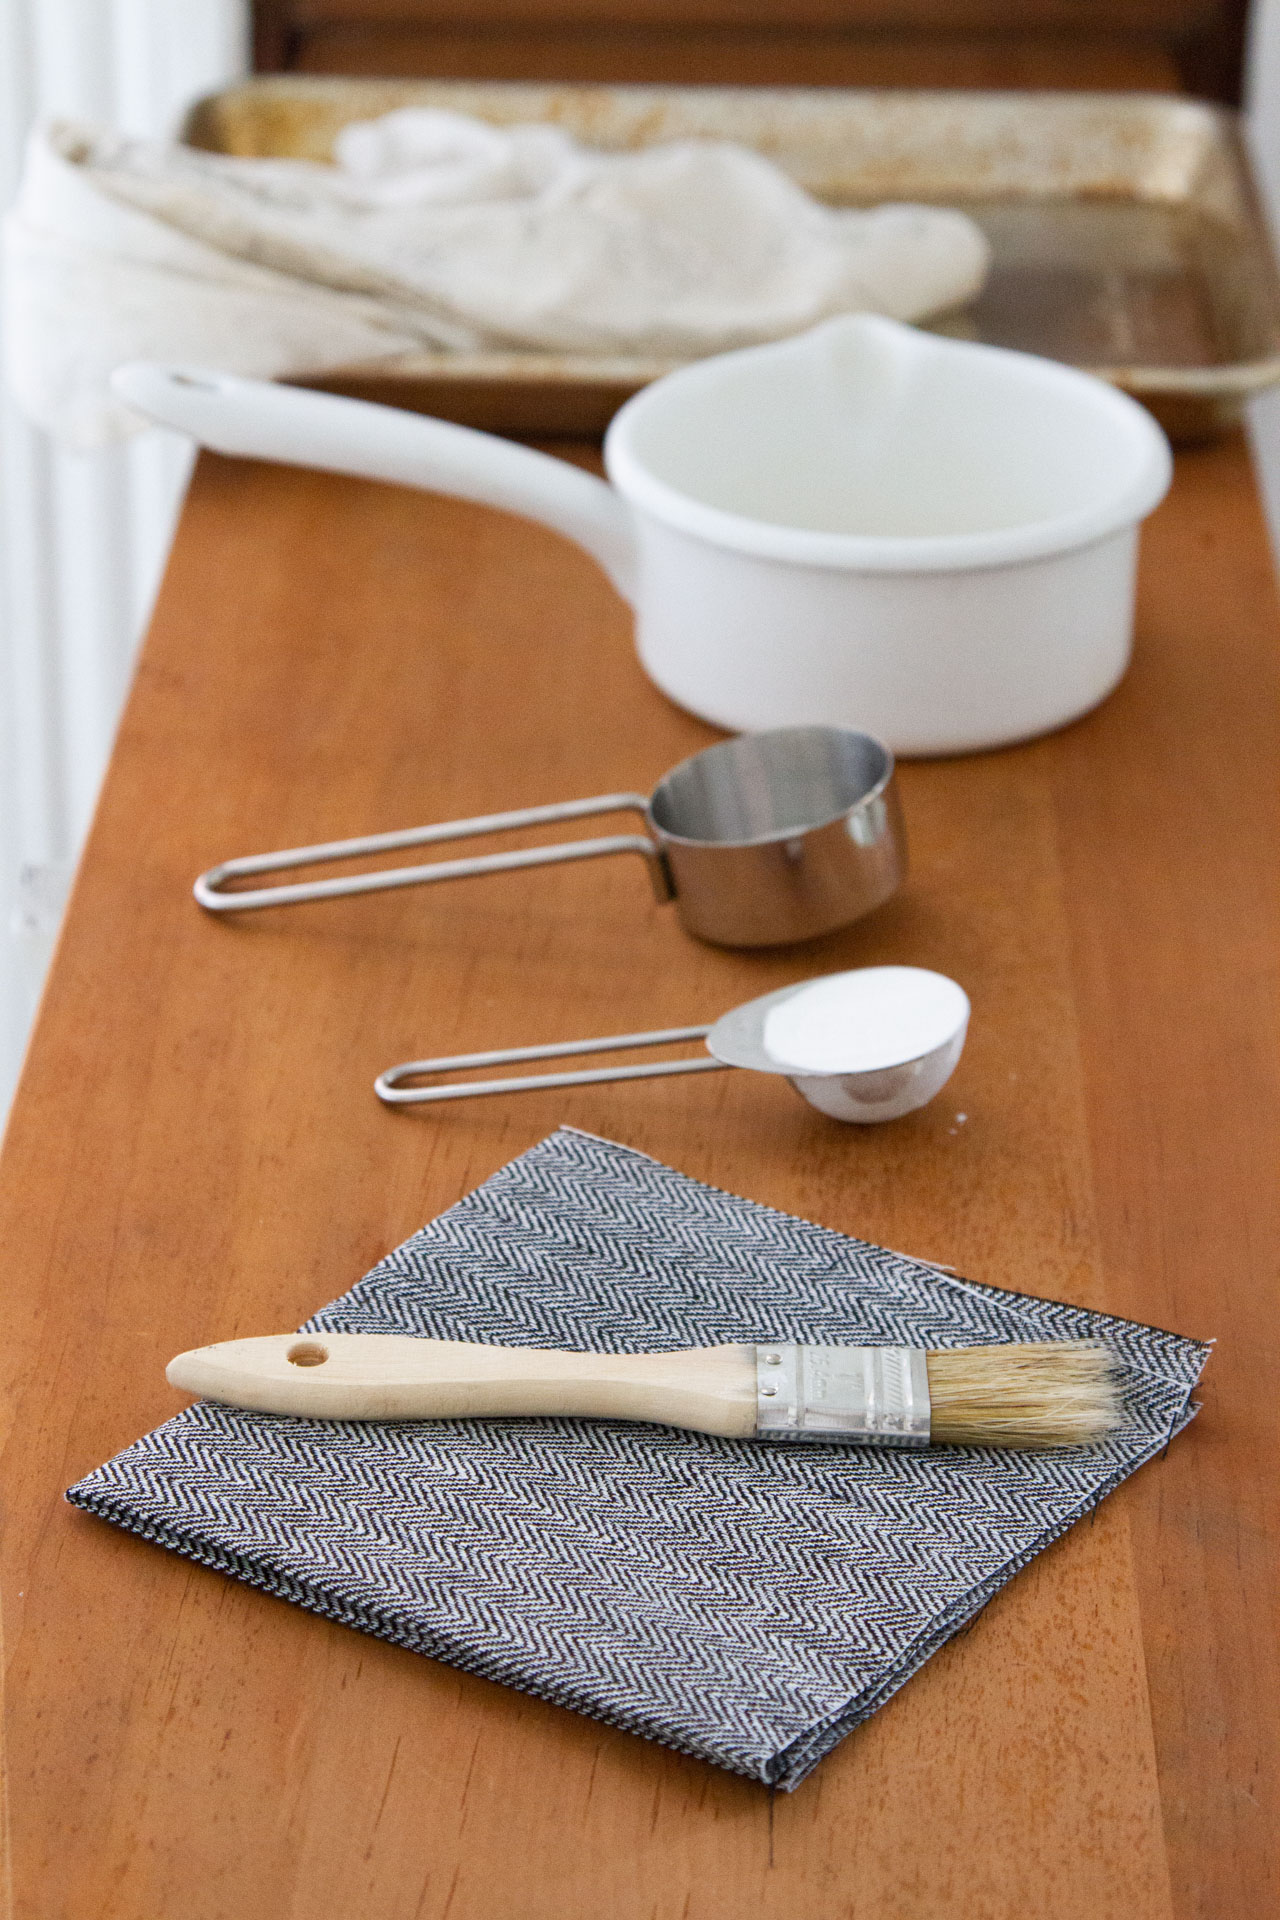
Materials:
+ fabric (lightweight to medium weight material & natural fibers like cotton or linen work best)
+ 1 tablespoon cornstarch
+ ½ cup water
+ small mixing bowl or jar
+ spoon or small whisk
+ small chip brush or pastry brush
Instructions:
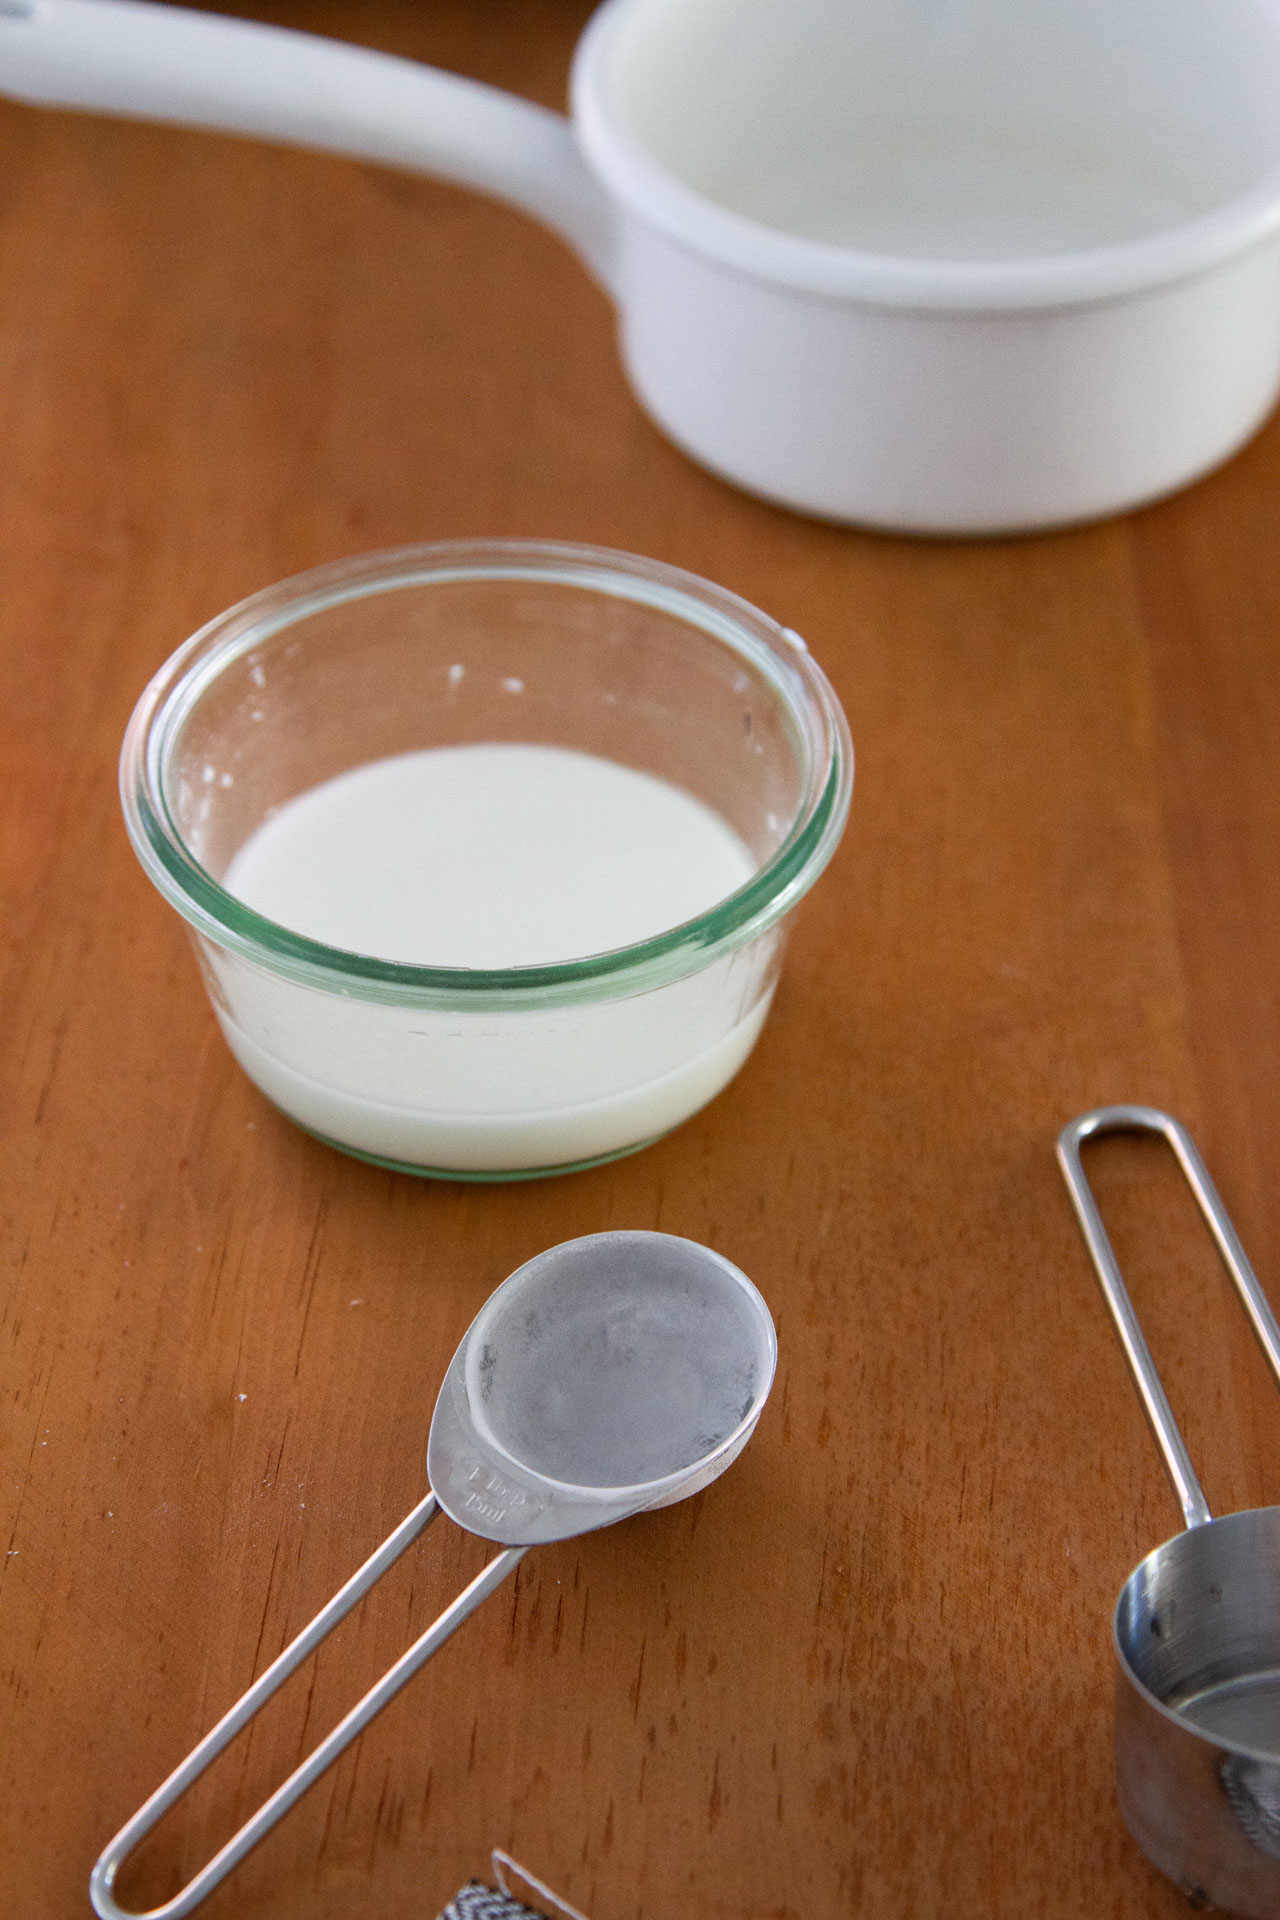
+ Mix 1 tablespoon of cornstarch with ¼ cup of cold water.
+ Separately boil another ¼ cup of water in a small saucepan.
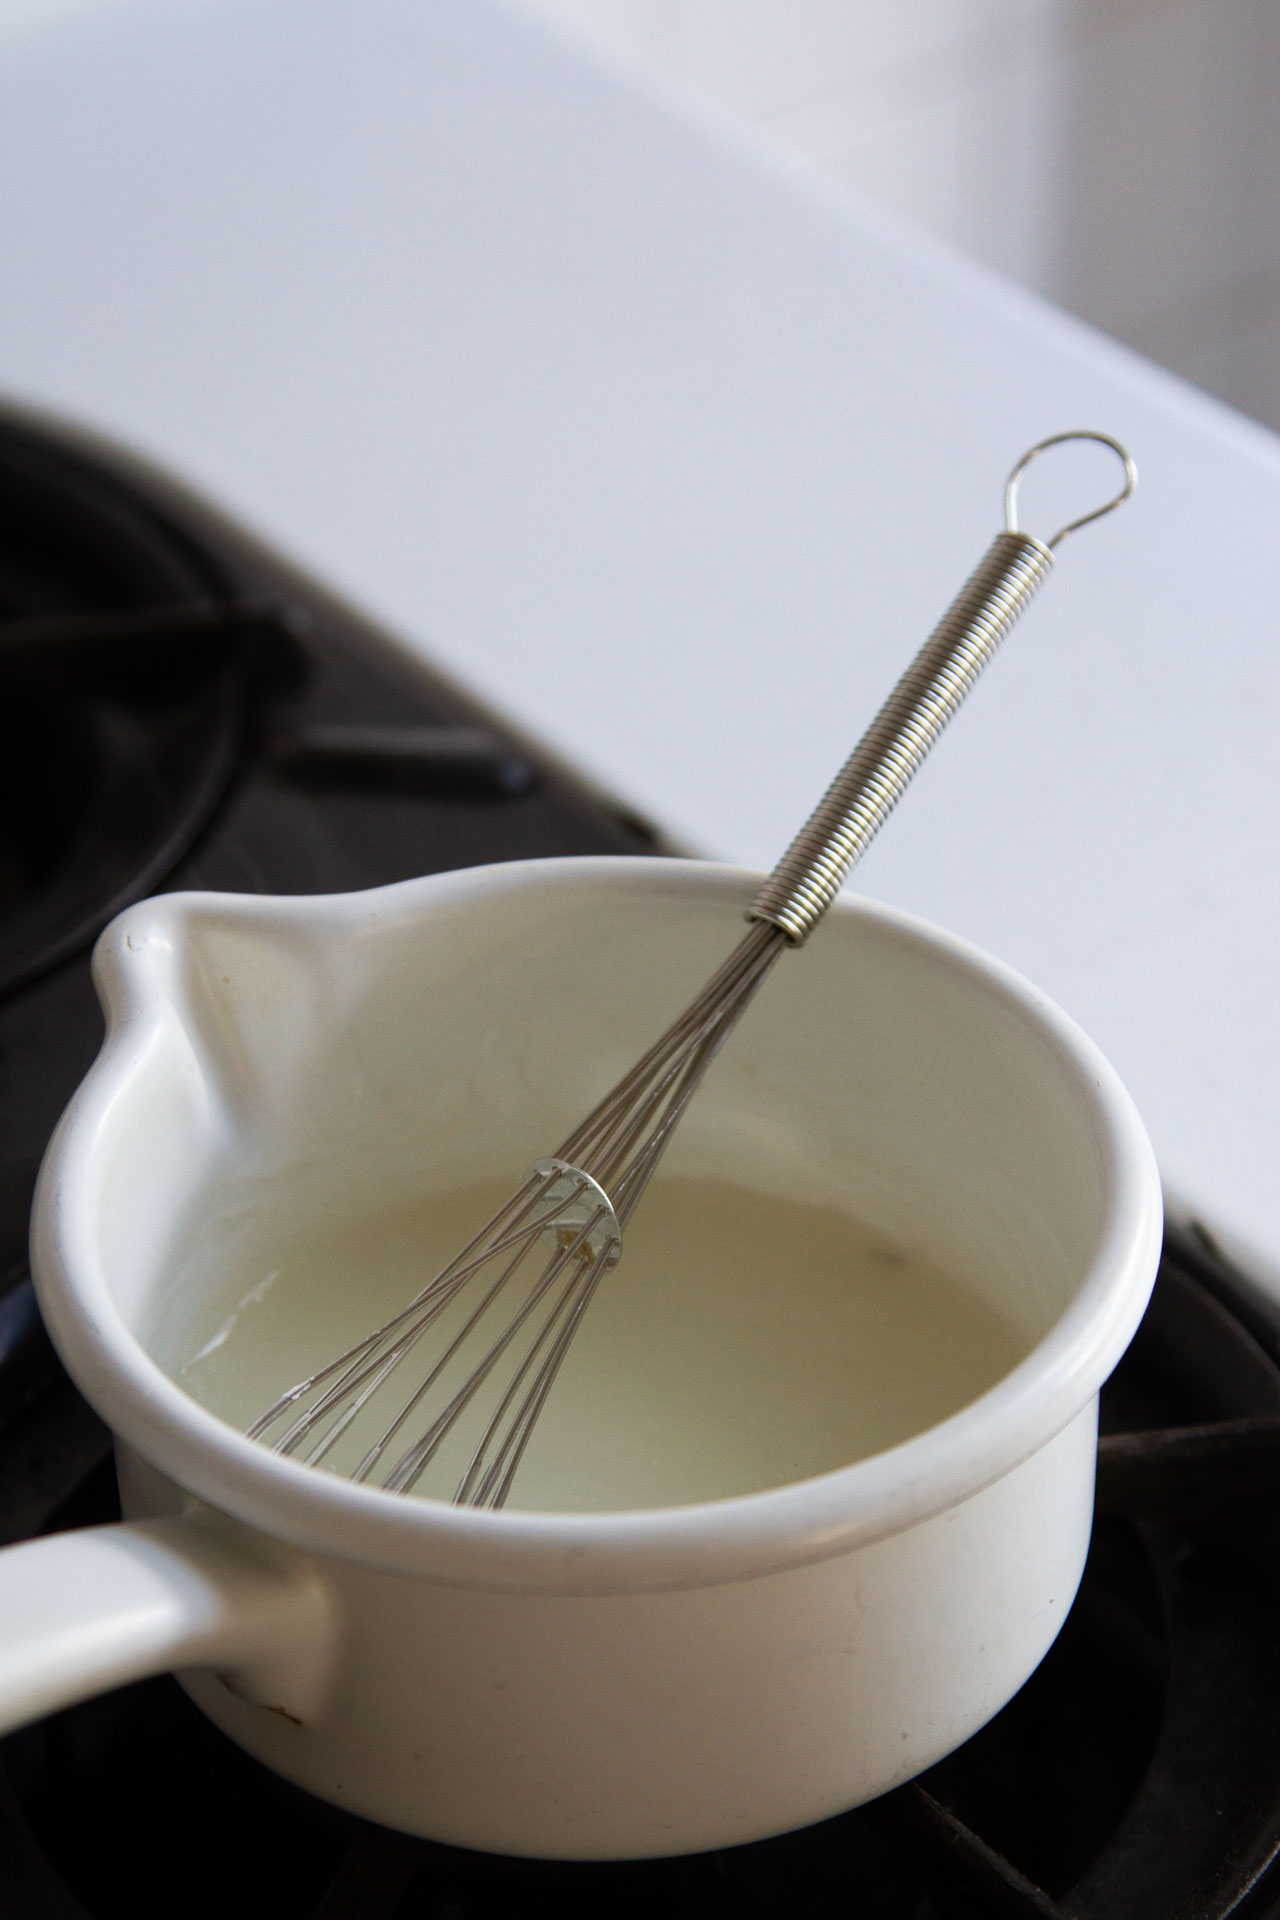
+ When the water boils, pour the cornstarch water into the boiling water, lower the heat and stir.
+ The mixture should thicken up quickly, turning into a viscous paste.
+ Spread the paste (with a brush or cool mixture and slather with hands) onto both sides of the fabric.
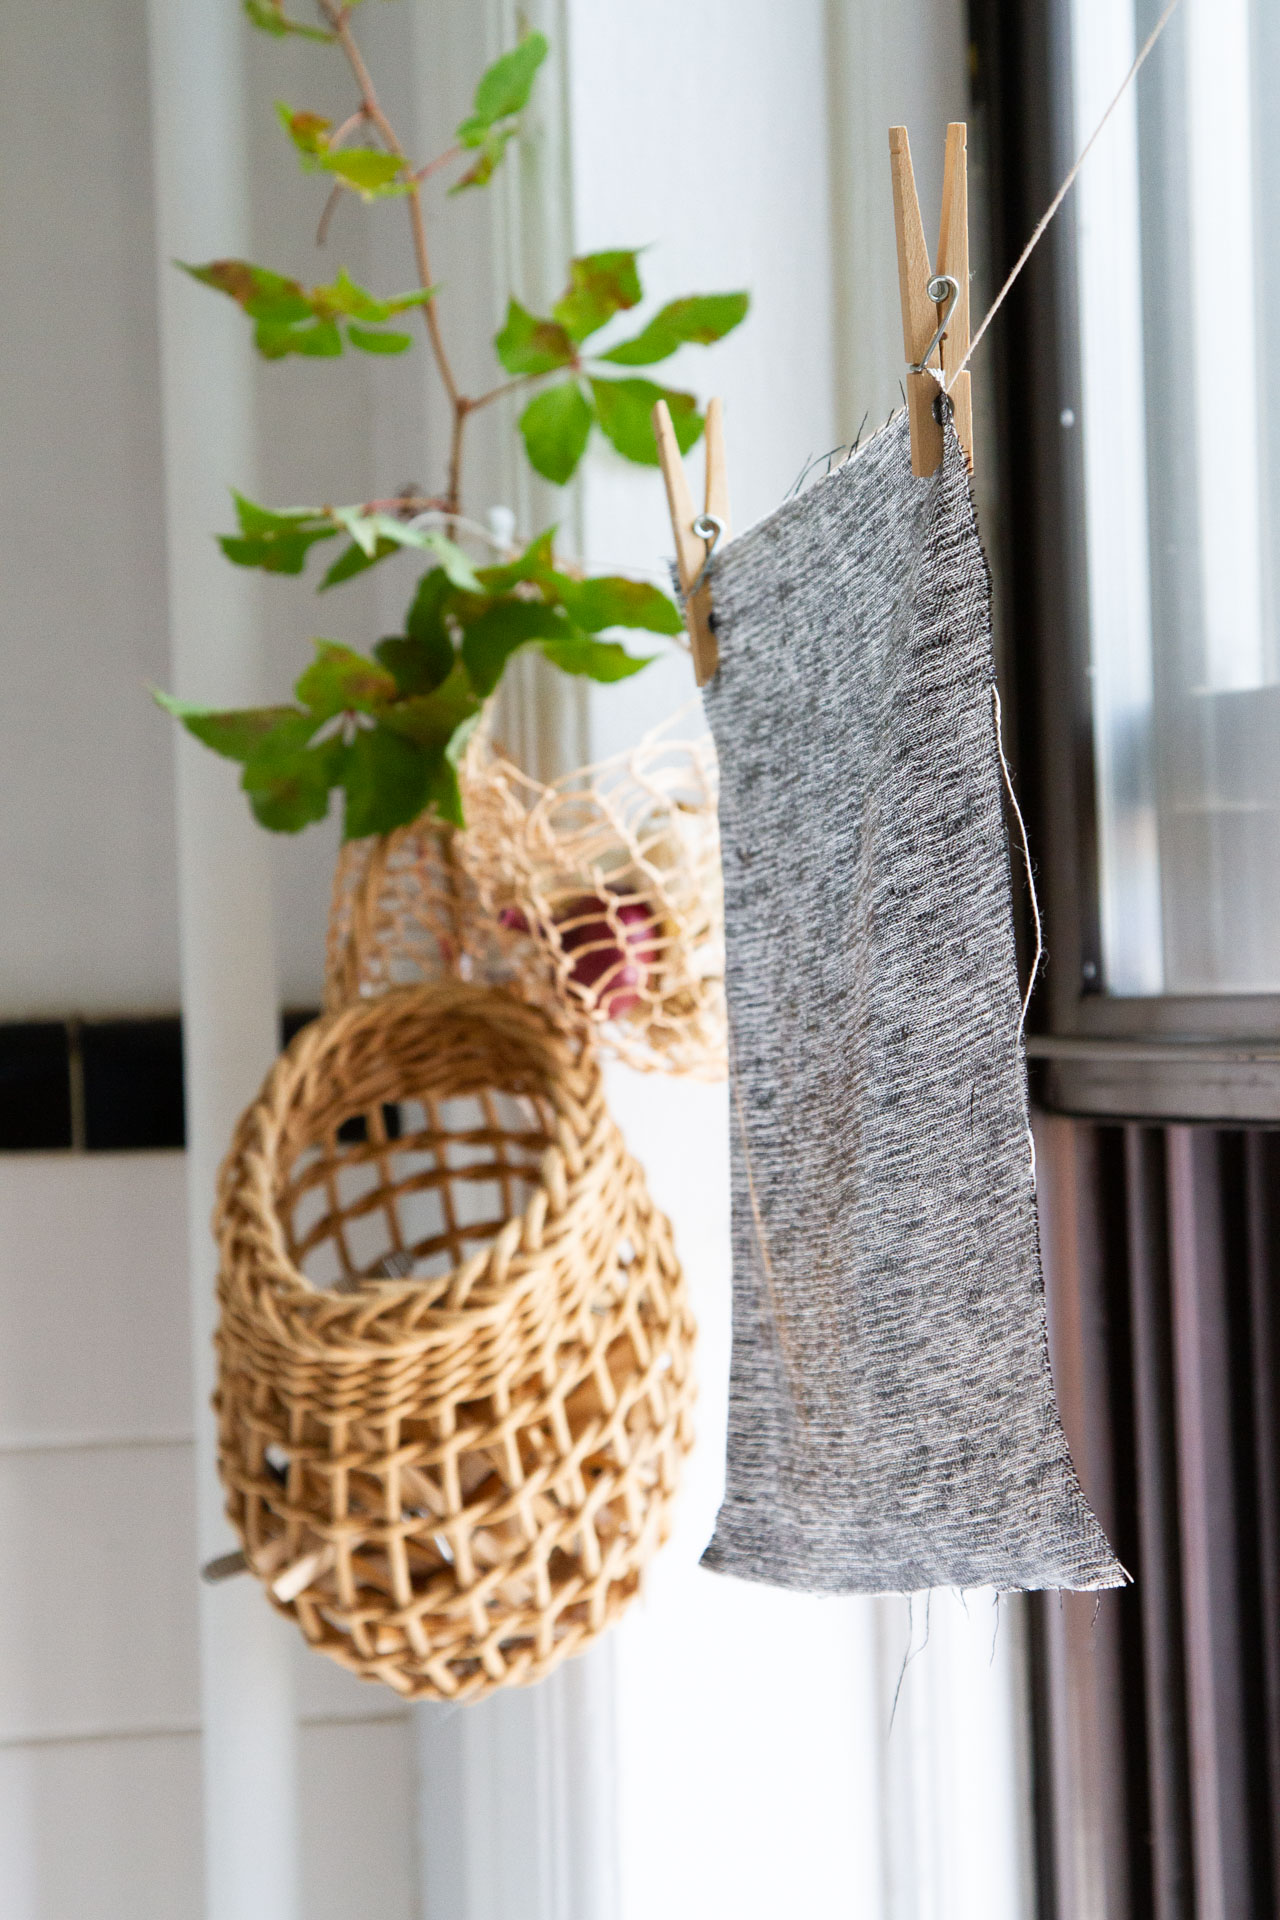
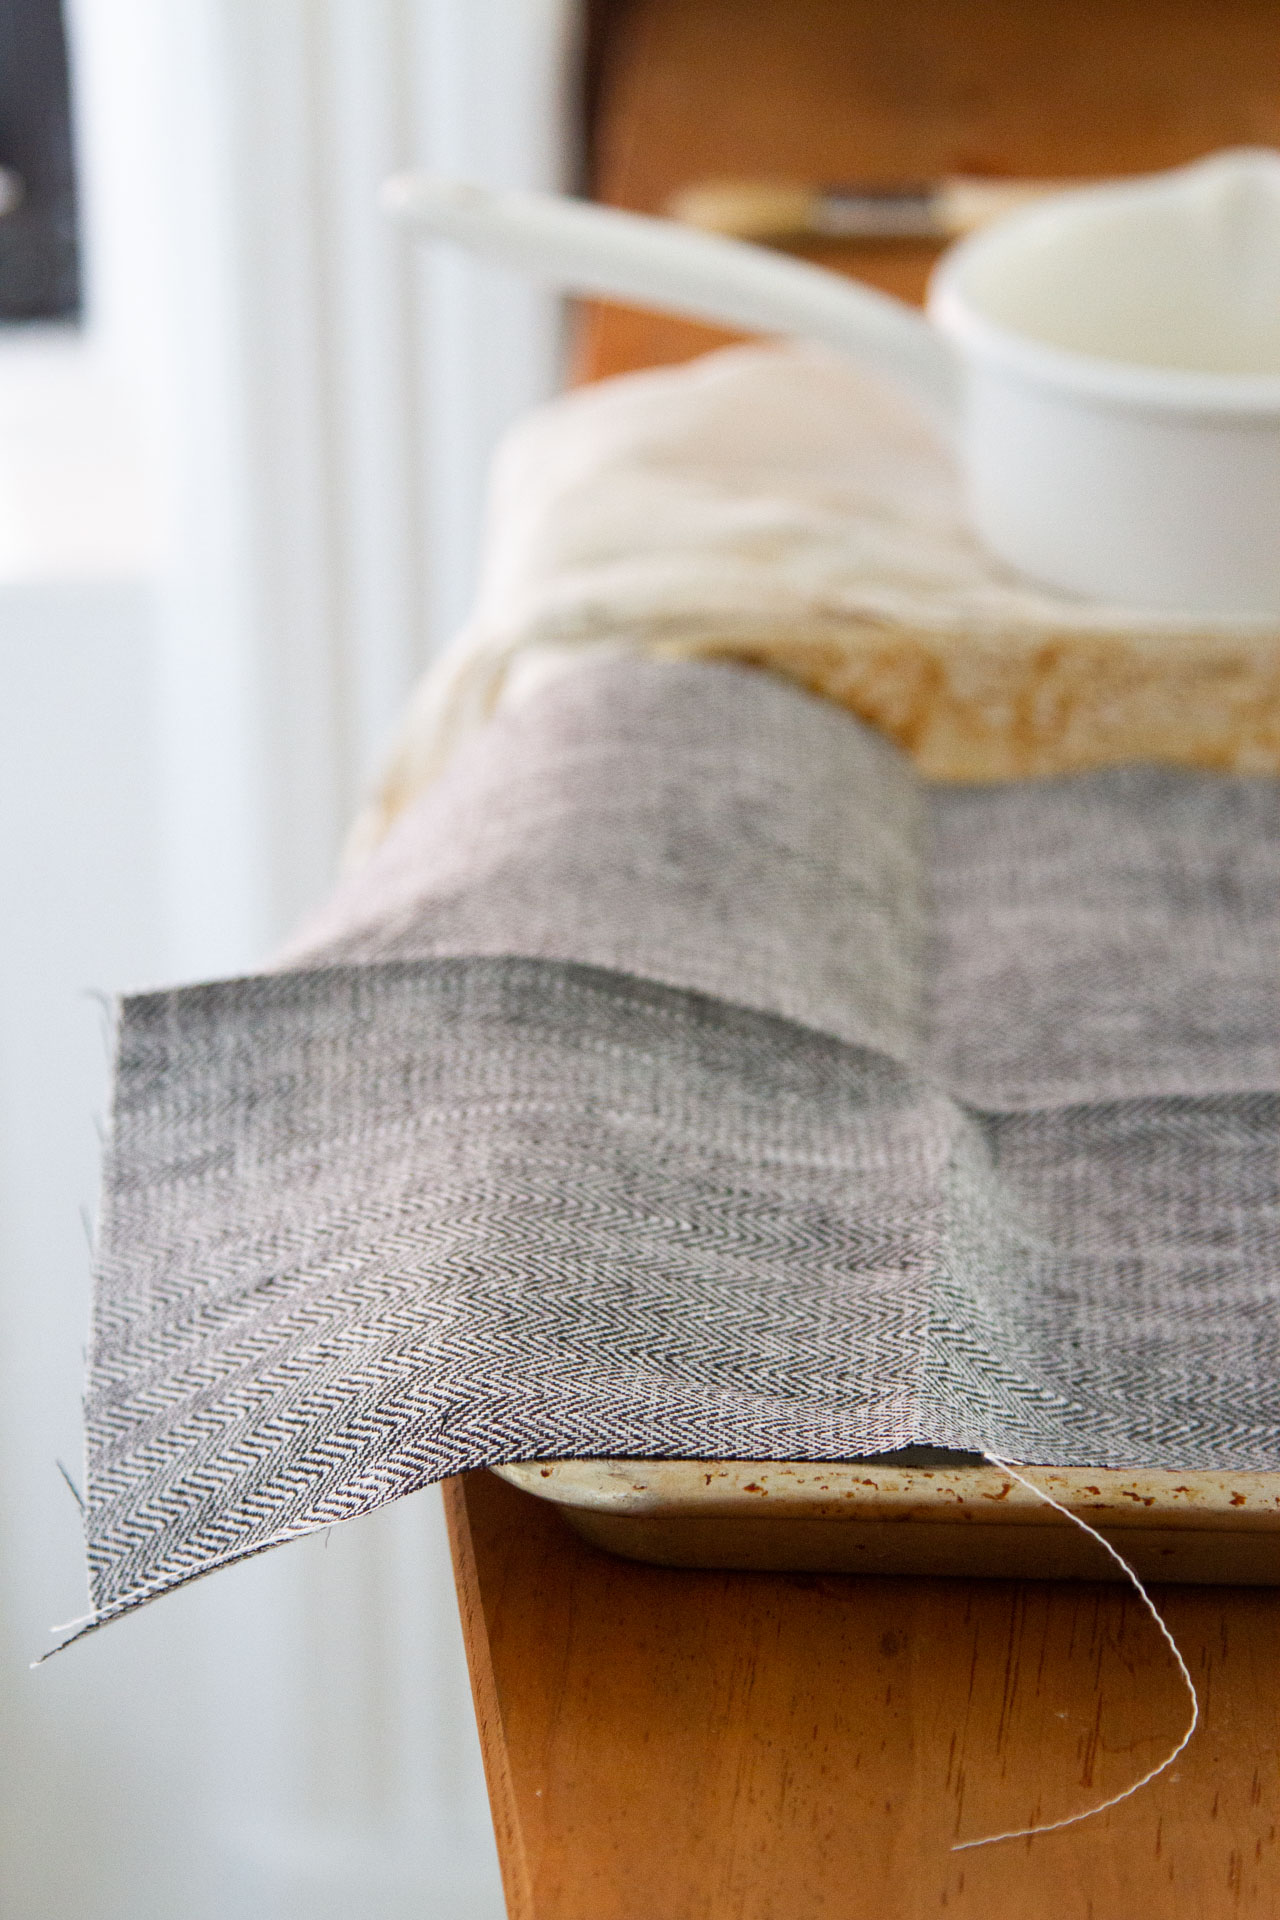
+ Hang the fabric to dry.
+ The fabric should take a few hours to overnight to stiffen up and achieve a paper-like texture.
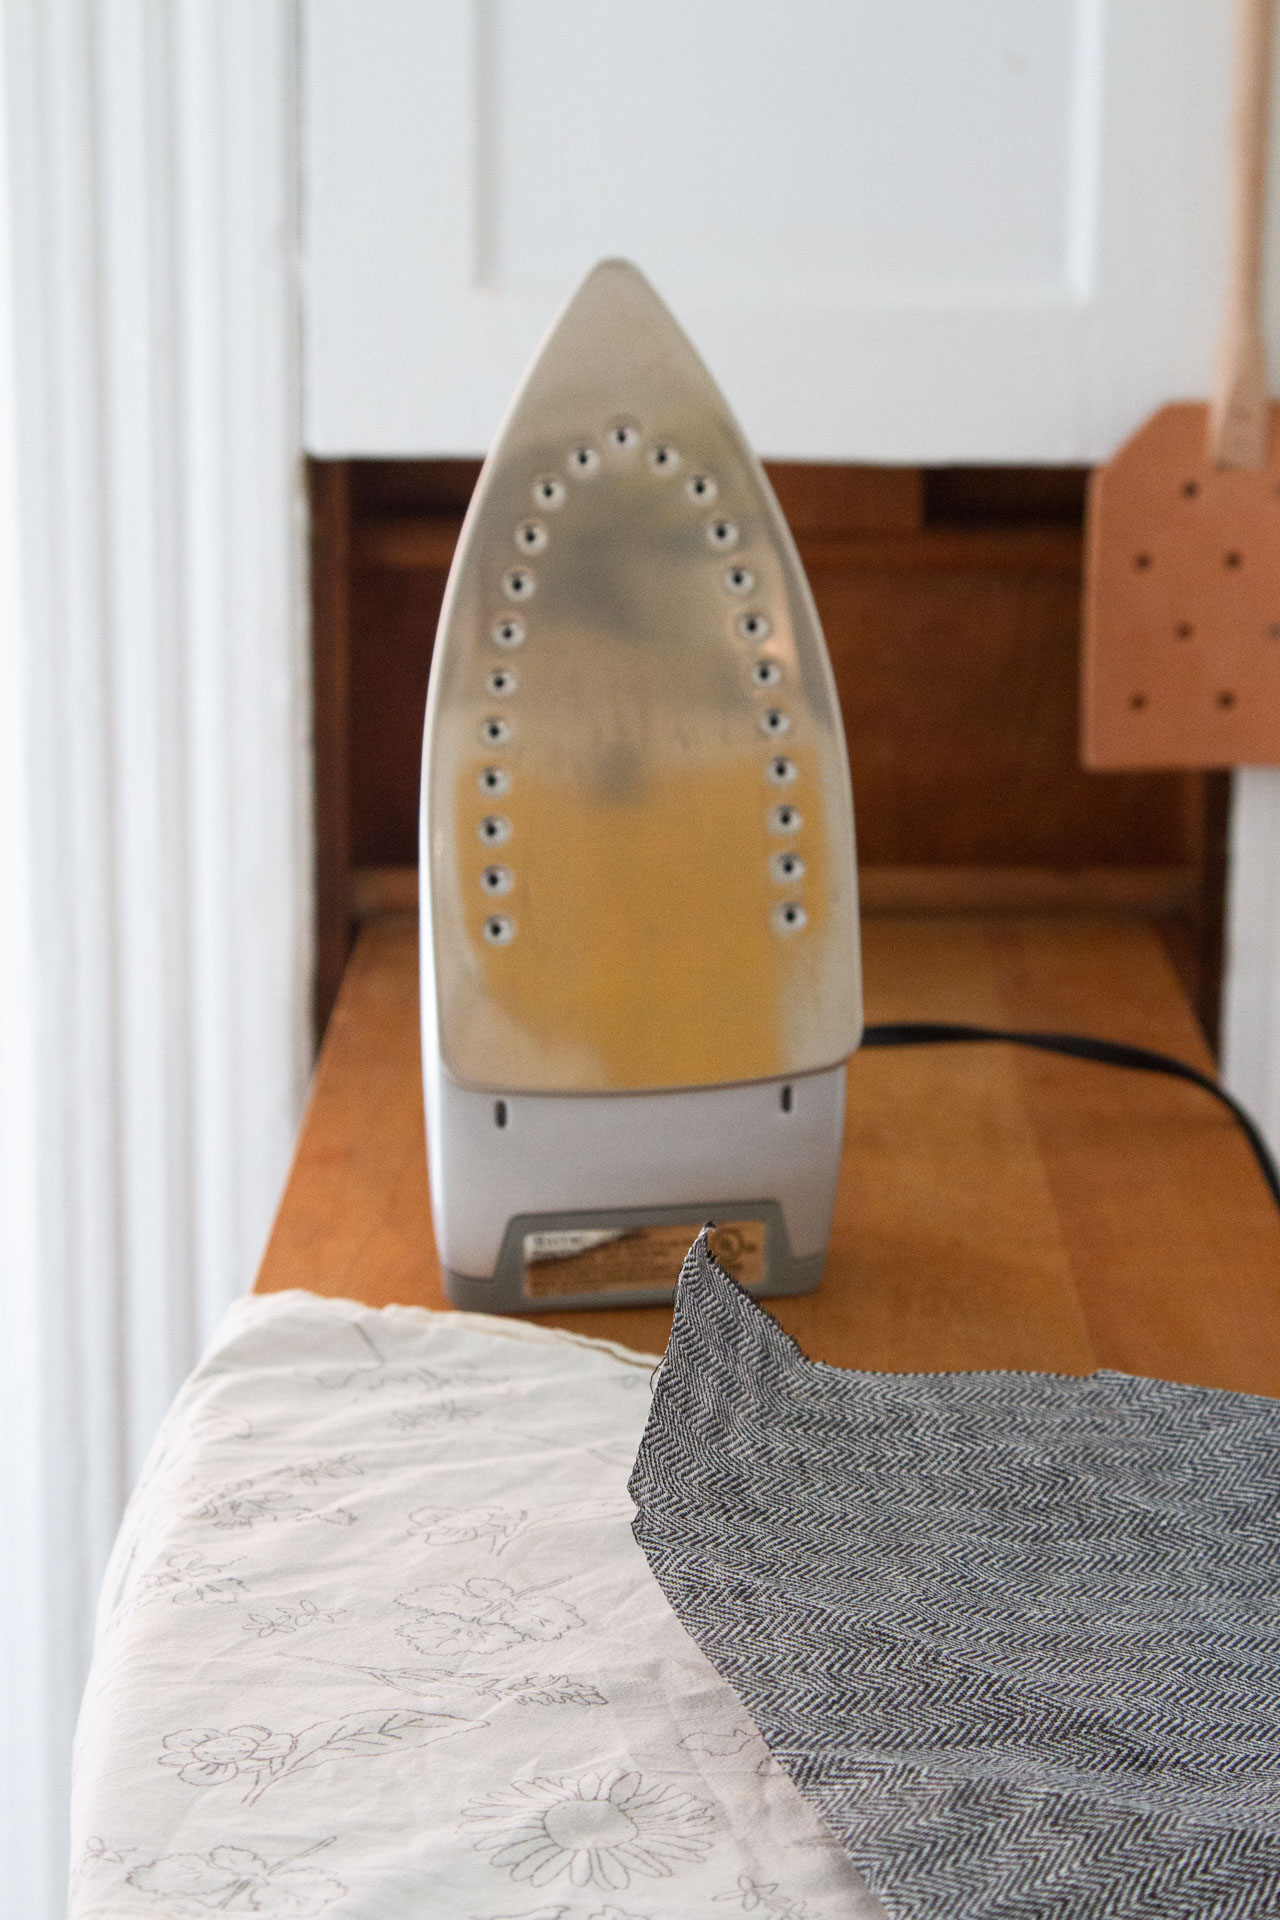
+ Once dry, press with a hot iron (without steam). This will help to flatten and remove any wrinkles in the fabric.
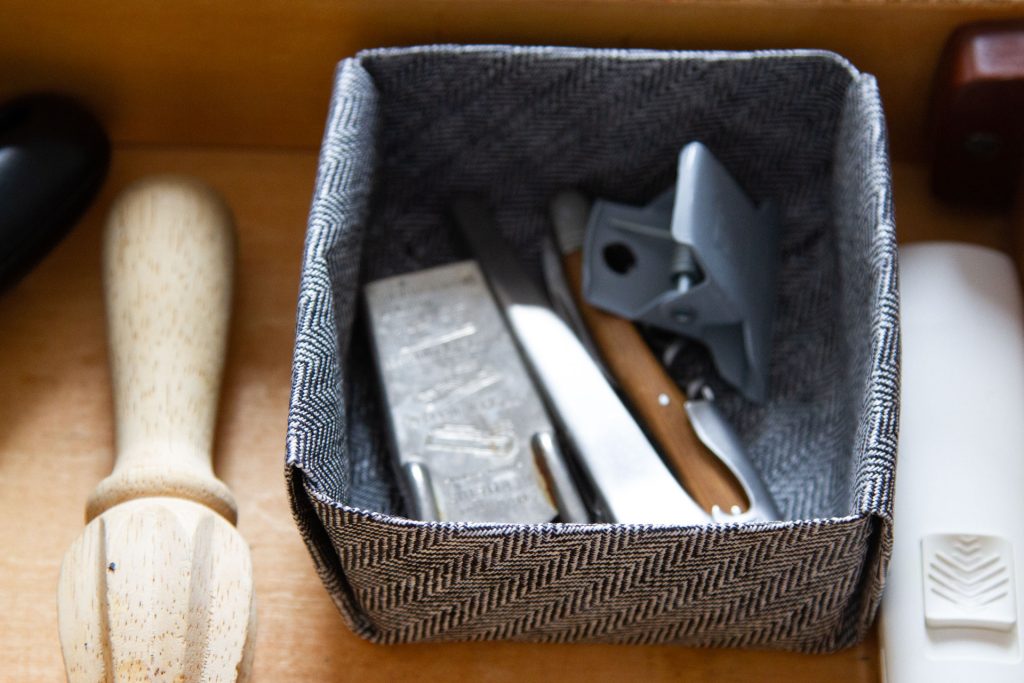
+ Use your fabric paper in whatever way you wish, but we especially recommend making an origami masu box and wrangling the essentials in your kitchen drawer.
//
Thanks to Rose Pearlman for preparing this tutorial. Rose is an artist, teacher, and textile designer. With a background in fine arts and a love of well designed functional objects, her creations blur the lines between art and craft and pushes the boundaries with non-traditional techniques and materials. Rose teaches monthly rug hooking workshops in and around her home in NYC, and also welcomes commissions for one of a kind constructions in decor and home furnishings. Her work has been featured in fiber magazines, galleries, and numerous online design sites. Her book Modern Rug Hooking is available wherever books are sold. Follow along with her functional craft projects at @art_objects_ She lives in Brooklyn, NY with her family.
This post includes some affiliate links to online shops. Reading My Tea Leaves might earn a small commission on the goods purchased through those links, but most of these supplies can be found locally right in your own community. If you’d like to support this site directly, you can contribute directly here. Thanks so much for supporting this work.


27 Comments
Can’t wait to get to work with my overabundant pile of scraps! Just wondering, did you iron the fabric directly, or place another layer of cloth on top?
ironed on directly, without steam!
Can’t wait to try. Is it useful also to wrap food suCh as sandwich? Is it washable?
definitely not washable! well, only washable in the sense that washing it would eliminate the paste altogether and you’d be back to fabric! i’ve got something for you coming next week though!
BRILLIANT!!! Cannot wait to go to the recycled craft store, find some remnants, and try this out.
Any ideas on how the folding pattern could be adjusted to create a rectangular (rather than square) box? I’m thinking that a rectangle could be helpful in drawers…
yes! origami generally works with squares, so you’ll typically have square boxes, but sok song, who inspired rose’s box folding extravaganza has a really excellent tutorial for folding a rectangular box! it has outer flaps so not quite the same as these but still very helpful! there’s a youtube video here: https://www.youtube.com/watch?v=-pTPNuNxykQ
I wanted to make non-square boxes like these too so I had some fun figuring out how to modify these instructions. Let’s say you want to make a box with base measuring LxW, where L>W. Instead of starting with a square piece of paper, begin with a diamond (rhombus) whose diagonals measure 4W and 2W+2L.
Follow the tutorial above, but in the steps shown in photos 12+13 do the folding on the longer two sides. Call the lines creased in those steps l1 and l2.
Now, in the step shown in photo 15 do not fold to the center. Instead, you want to only fold in as much as you did in steps 12+13. You could just measure this distance (it’s W/2) or you could find it by folding as follows: flip the rectangle shown in photo 14 to the back side. Fold up each corner to meet lines l1 and l2 (fold each corner to whichever of those lines is closest to it). Now flip the paper back to the other side. Use your little folded up corners as a guide for how far up to fold the two shorter ends.
Continue with the rest of the tutorial.
This will produce a box with base measuring LXW and height W/2. (If you want to vary that height you could also work out how to modify the starting shape and the folding in a similar way.)
so impressed.
I’ve been needing smaller boxes/containers to contain things and this is perfect!
If anyone needs a readymade product for starching, there is one, unfortunately named “Stiffy.” I used it as an art museum intern to make reindeer antlers with kids. Liquid starch might also work.
true, but this is so, so much more cost effective and truly easy to make!
Good to know, Courtney! I might need to try this as the paste I made (following the recipe above) didn’t work. I tried a few variations (less water, more water; thicker paste, thinner paste; one layer, two layers) and sadly the cornstarch kept crumbling and didn’t hold the folded shape. I’m thinking of trying this with mod podge next as I’d love to make the boxes one way or another.
Claire: Would love to know details here to see if we can help! What kind of fabric you were using?
Hi Erin! I was using a few remnant fabrics from my local recycled craft supply store, so not entirely certain of the fabric type, but a cotton blend, I’d imagine. Following your directions, I made the paste and it didn’t thicken at first. After a second round of heat on the stove, it finally thickened (though perhaps too much?). It seemed like I had to keep tinkering with the fabric every 5-10 minutes as it’d become too thick and would need a little thinning. That could explain why it didn’t set/dry smoothly: maybe there were clumps?
I then dried the fabric and my first batch didn’t seem to have enough paste. When I tried to fold them, the fabric didn’t hold a crease. I then tried again with a thicker layer of paste and let it dry. This time it was firmer by far (yay!), but the texture was pretty gross. Clumps kept coming off when I ironed and onto my fingers as I folded. The creases also didn’t really stay in place and I was hesitant to consider putting things into the box for fear of clumpy residue. After a few hours, my mom and I accepted defeat.
Any idea what went wrong? I’d love to be able to use these in drawers or as baskets on a bookshelf, but I have yet to make the boxes hold their shape (and not make a mess). Thanks for any tips!
Hi Claire! Sounds like an epic trial and error! This has not been my experience, so it’s a little hard to know what went awry if we followed the same instructions! I will say that the thinnest cotton fabrics, like the cotton tana lawn fabric holds the creases the least well, so if you were working with very thin cotton that might explain the creases. That said, it doesn’t explain the lumpiness or clumping or general grossness! It does sound like maybe something in the paste making process wasn’t working quite as planned. I’m perplexed by the fabric tinkering/paste thickness so it sounds like maybe you were indeed working with a paste that was overly thick/cooked. The consistency should be viscous but very spreadable with a brush. Once a thin coat is spread on each side of the fabric, it should be left to hang dry overnight without any kind of clumps forming…I understand hesitancy to try again after such a trial, but I do think you were perhaps working with an overly thick paste and that might be the real culprit here!
This is so clever! I’ve made the paper boxes in the past and I can’t wait to try this with fabric remnants I have around the house.
I have been planning to cover a closet shelf with fabric using liquid starch to paste it on, do you think the cornstarch would work as well? I’m also excited now to really upgrade all my drawer organizer boxes which are mostly random cut off recycled boxes.
Oh man, I have no idea. I can’t quite picture it working, but I don’t have any experience with that, so could do the trick!
I’d be worried about the cornstarch crumbling (as it did for me) and ruining your clothes. As a workaround, I’m considering using mod podge. I also read that there’s a fabric stiffening version of mod podge to make the boxes. Maybe that could work for your drawer liners, too?
Hey there: What do you mean by crumbling? Once dried did you experience it flaking off? Curious to know if we can help troubleshoot at all as we’ve done this lots of times now without issue!
Just replied above!
I like these little tutorials. Thanks!
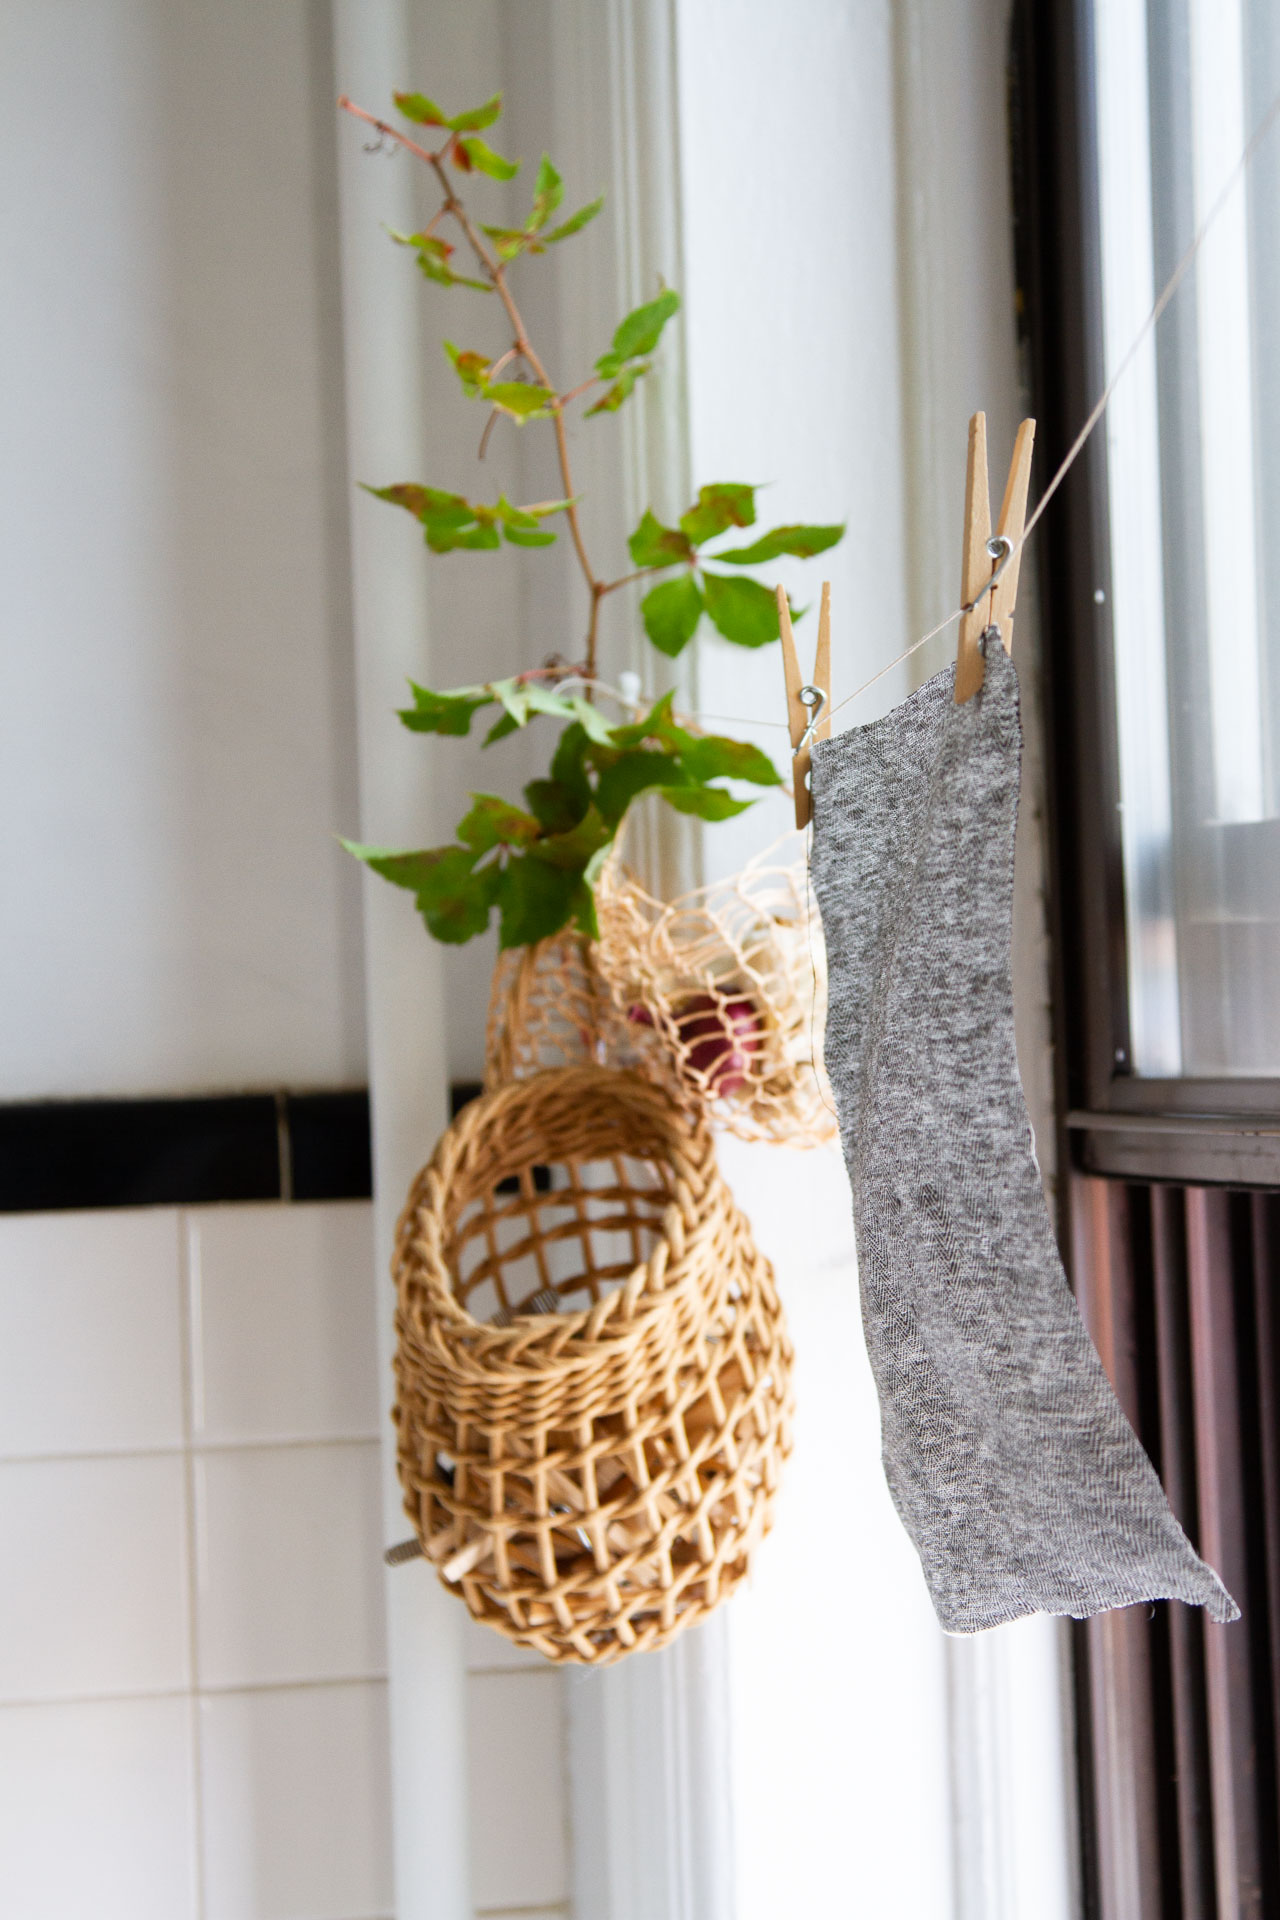
Do you remember where you got your hanging garlic basket?
So glad! The larger of the baskets in these images (filled with clothespins) is a hanging garlic basket from this seller on Etsy! The little basket that actually has garlic in it is this one!
Really excited to try this with some Ace&Jig scraps. Do you cut the fabric to the correct size before pasting or would cutting after work?
Very easy to cut after!
Came back to this tutorial today to make an origami star (old tutorial on Amanda Jane Jones’ Instagram Reels) with fabric scraps to adorn the homemade fanny pack I made and wrapped for my niece. Thanks!
cute!!!!
Comments are moderated.