For the last long lazy weeks of summer, here’s the gift of the world’s simplest travel water color set. It’s quick to make, easy to carry, and it offers a little something novel to get through these dog days.
Rose and I used our origami folder tutorial to make a compact little case for toting watercolors. A small stack of these became party activities/favors for Faye’s birthday back in May. I brought sets along with us while camping for capturing camp scenes and keep them tucked into the car for weekend trips. They’ll be my go-to kid birthday party gift for the foreseeable future.
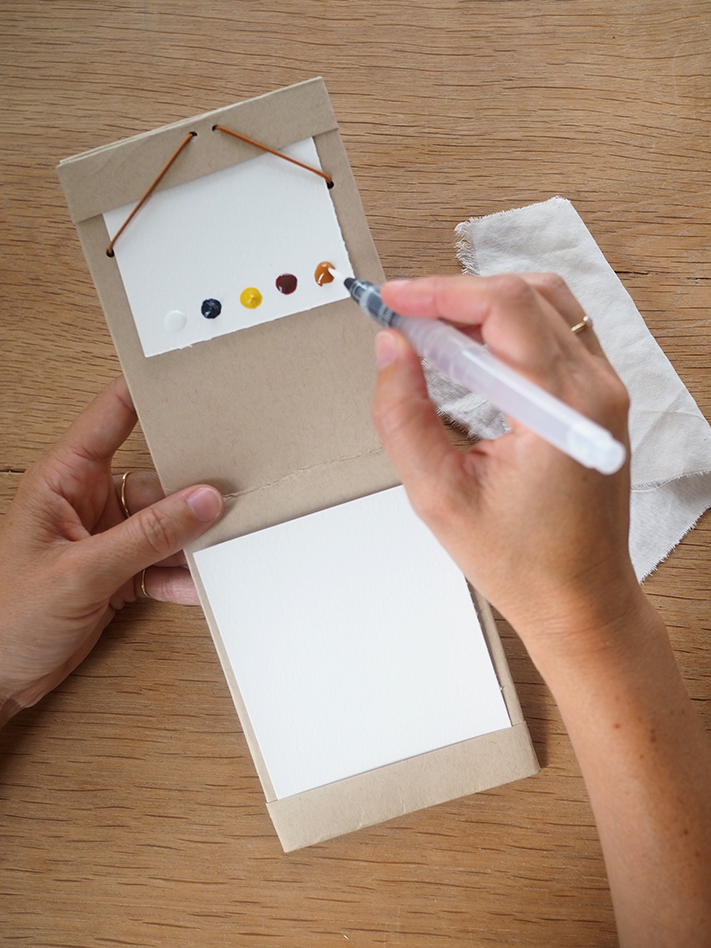
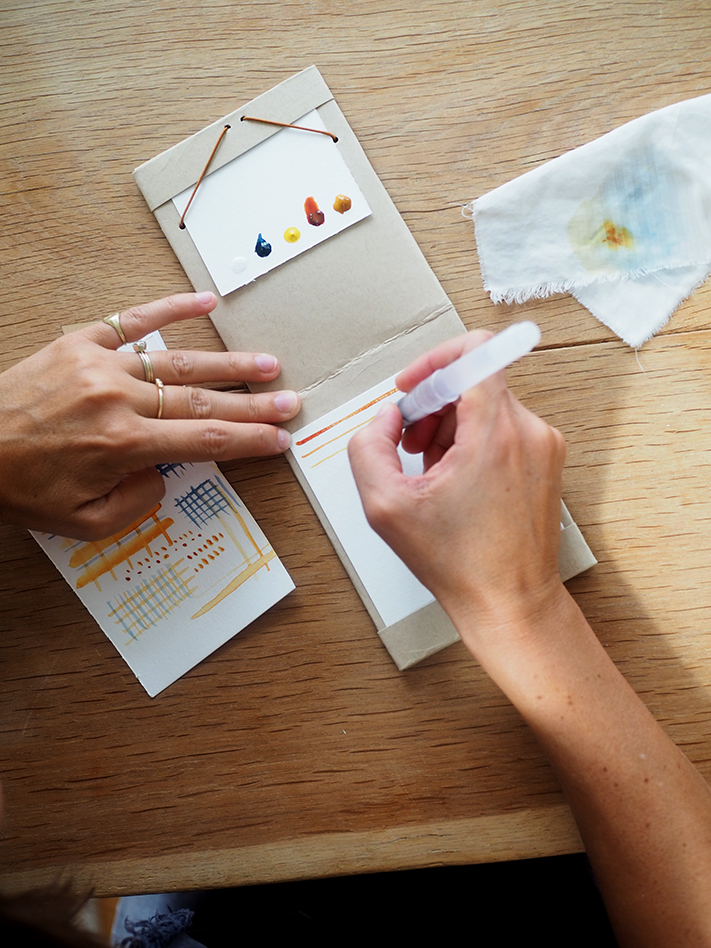
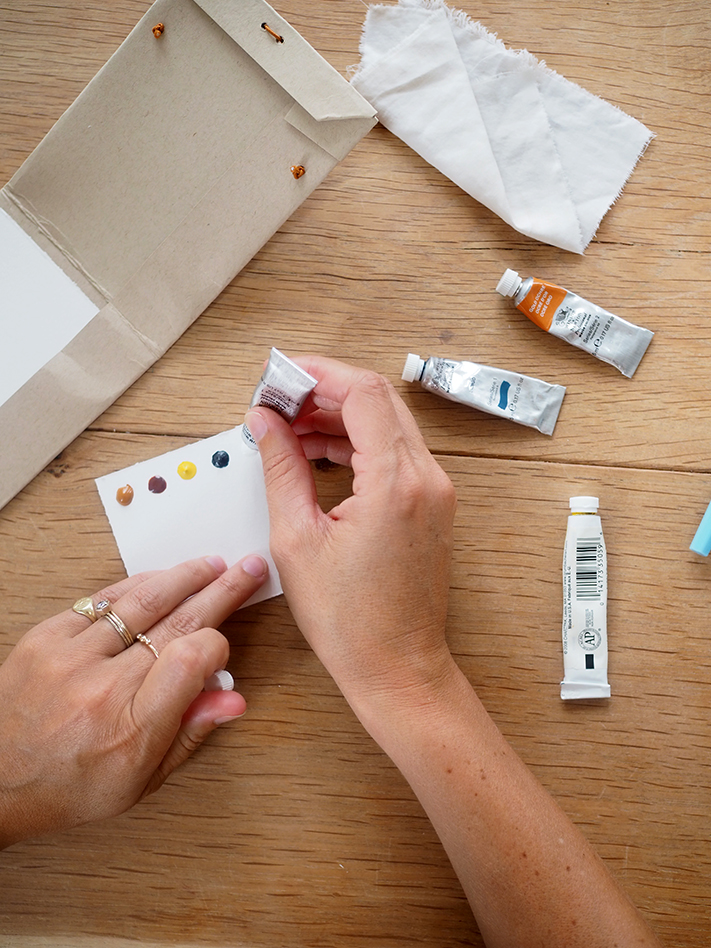
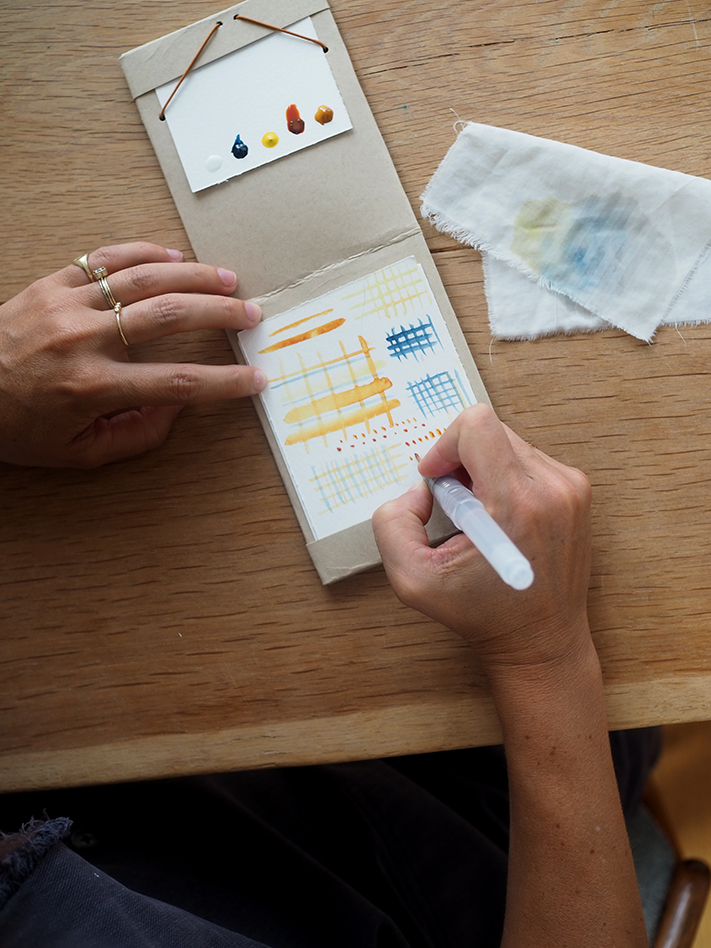
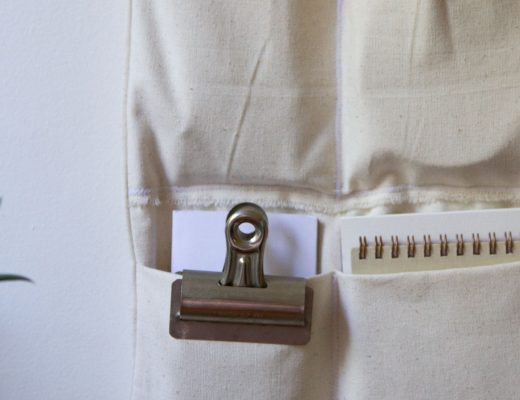
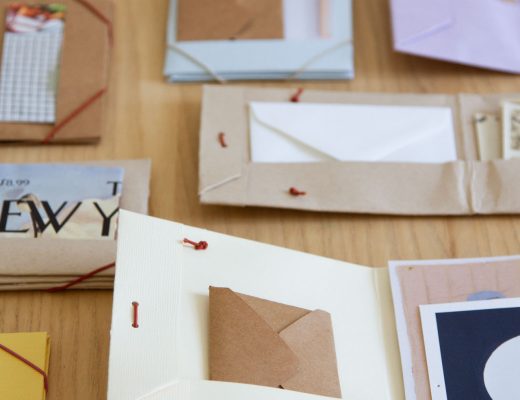
To make the paper palette we squirted thick dots of watercolors from tubes onto small squares of water color paper. These paint dots dry and can be wet again and mixed right on the paper. Slide extra squares of watercolor paper into a pocket inside the folder and add a little scrap of fabric for blotting. Paired with a watercolor bladder brush, the set is ready for travel.
When the mood strikes, use the outside of the folder as a makeshift easel by tucking the palette in one side of the opened folder and your canvas on the other. After painting, let the palette dry again, place everything back in the interior pockets, and secure the folder with the elastic.
A few specifics that might be helpful:
+ To make each case, we followed the instructions for making origami folders and used one 184 lb. Mixed Media Toned Tan 9″x12″ sheet. The thickness of the paper creates a sturdy case, but can be slightly difficult to fold cleanly. Try using the back of a spoon or a butter knife to get a clean fold!
+ If you don’t have a heavy duty hole punch to get through the thick paper, you can also use an awl to make small holes for the elastic closure. Make sure you punch your holes into the right side (or back) of the folder, if you’d like your folder to open left-to-right with the interior pockets along the bottom edge.
+ For our closure, we used 1mm fabric elastic cord in light brown but a range of elastics works here. When I ran out of craft elastic I used thicker leftover face mask elastic and it worked just fine. If you’d rather avoid elastic altogether, you can also go without a closure at all, or add a ribbon or string to tie and untie.
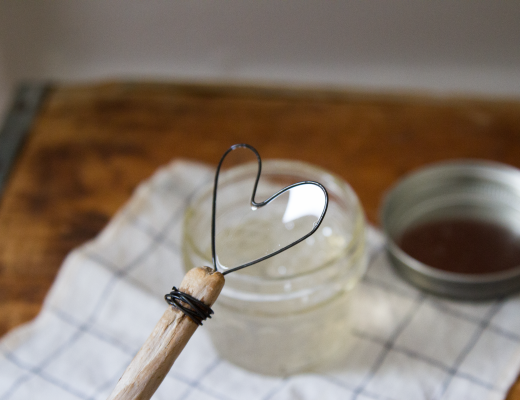
+ Fillable water brushes make on-the-go watercolors especially easy.
3 Comments
Hello Erin,
I just wanted to pop in and thank you for this post. Last summer I made little drawing and painting my kits to take with us camping and it was a big hit. Here I am again, the night before we leave for Yosemite in the wee hours of the morning, looking up the tutorial to make another set for this camping trip! Thank you, for all of your simple, thoughtful, and lovely inspiration.
So glad to hear this!!
Thank you – love this. No plastic waste is a bonus. I added a way to stabilize the paper while you work by slitting the work area of the envelope diagonally at four areas where I can insert each corner of the water color paper. I also put in sheets of wax paper to protect work and ‘palette’. Love this project. Making one for me and my niece.
Comments are moderated.