No fooling, making your own paste for at-home craft projects isn’t as precious or time-consuming as it sounds. In fact, in a matter of minutes you can have something that’s easier to use, easier to cleanup, less expensive, and less wasteful than anything you’d be able to find readymade at the store.
Friends, allow me to remind you of the magic of wheatpaste.
Faye is entering a pretty serious crafting stage. And as other parents and caregivers of four-year-olds might know, the rate at which kids can plow through art supplies generally, and glue especially, is kind of staggering. When I noticed Ashley making wheatpaste for her boys a few months ago, I was intrigued. When I tried it for myself, I was delighted.
Other conventional glue options are fine, of course, but when kids enter the scene things start getting…stickier. Glue sticks dry up, or fall out of their plastic tubes and get covered in hair, or munched on by younger siblings, or squashed underfoot. Craft glues get gunked up, requiring minor surgery involving safety pins and parental cursing to start working again. Regular old Elmer’s Glue is fine, sure, but when you’ve got little ones who are not yet convinced that a little goes a long way, but very much determined to squeeze the bottle themselves, the stuff ends up everywhere.
Wheatpaste, on the other hand, is exceedingly easy to clean up, waste-free, odorless, and it uses so few ingredients, it’s practically free. The application with a paintbrush is an added bonus in the name of cleanliness, precision, and ease for little hands. I never want to see another glue stick again.
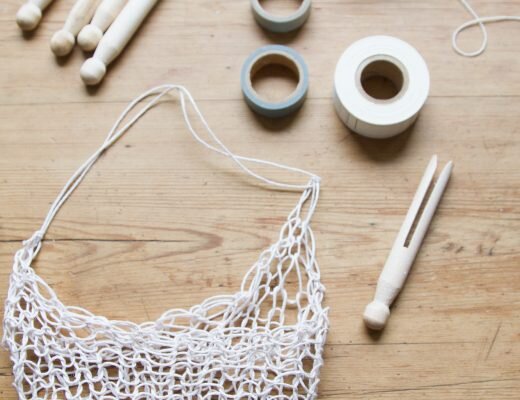
Like most things you can make yourself, there are slight variations and differences in ingredients or technique depending on who you ask. I’ve been making a very simple paste that combines all-purpose flour, water, and a pinch of salt.
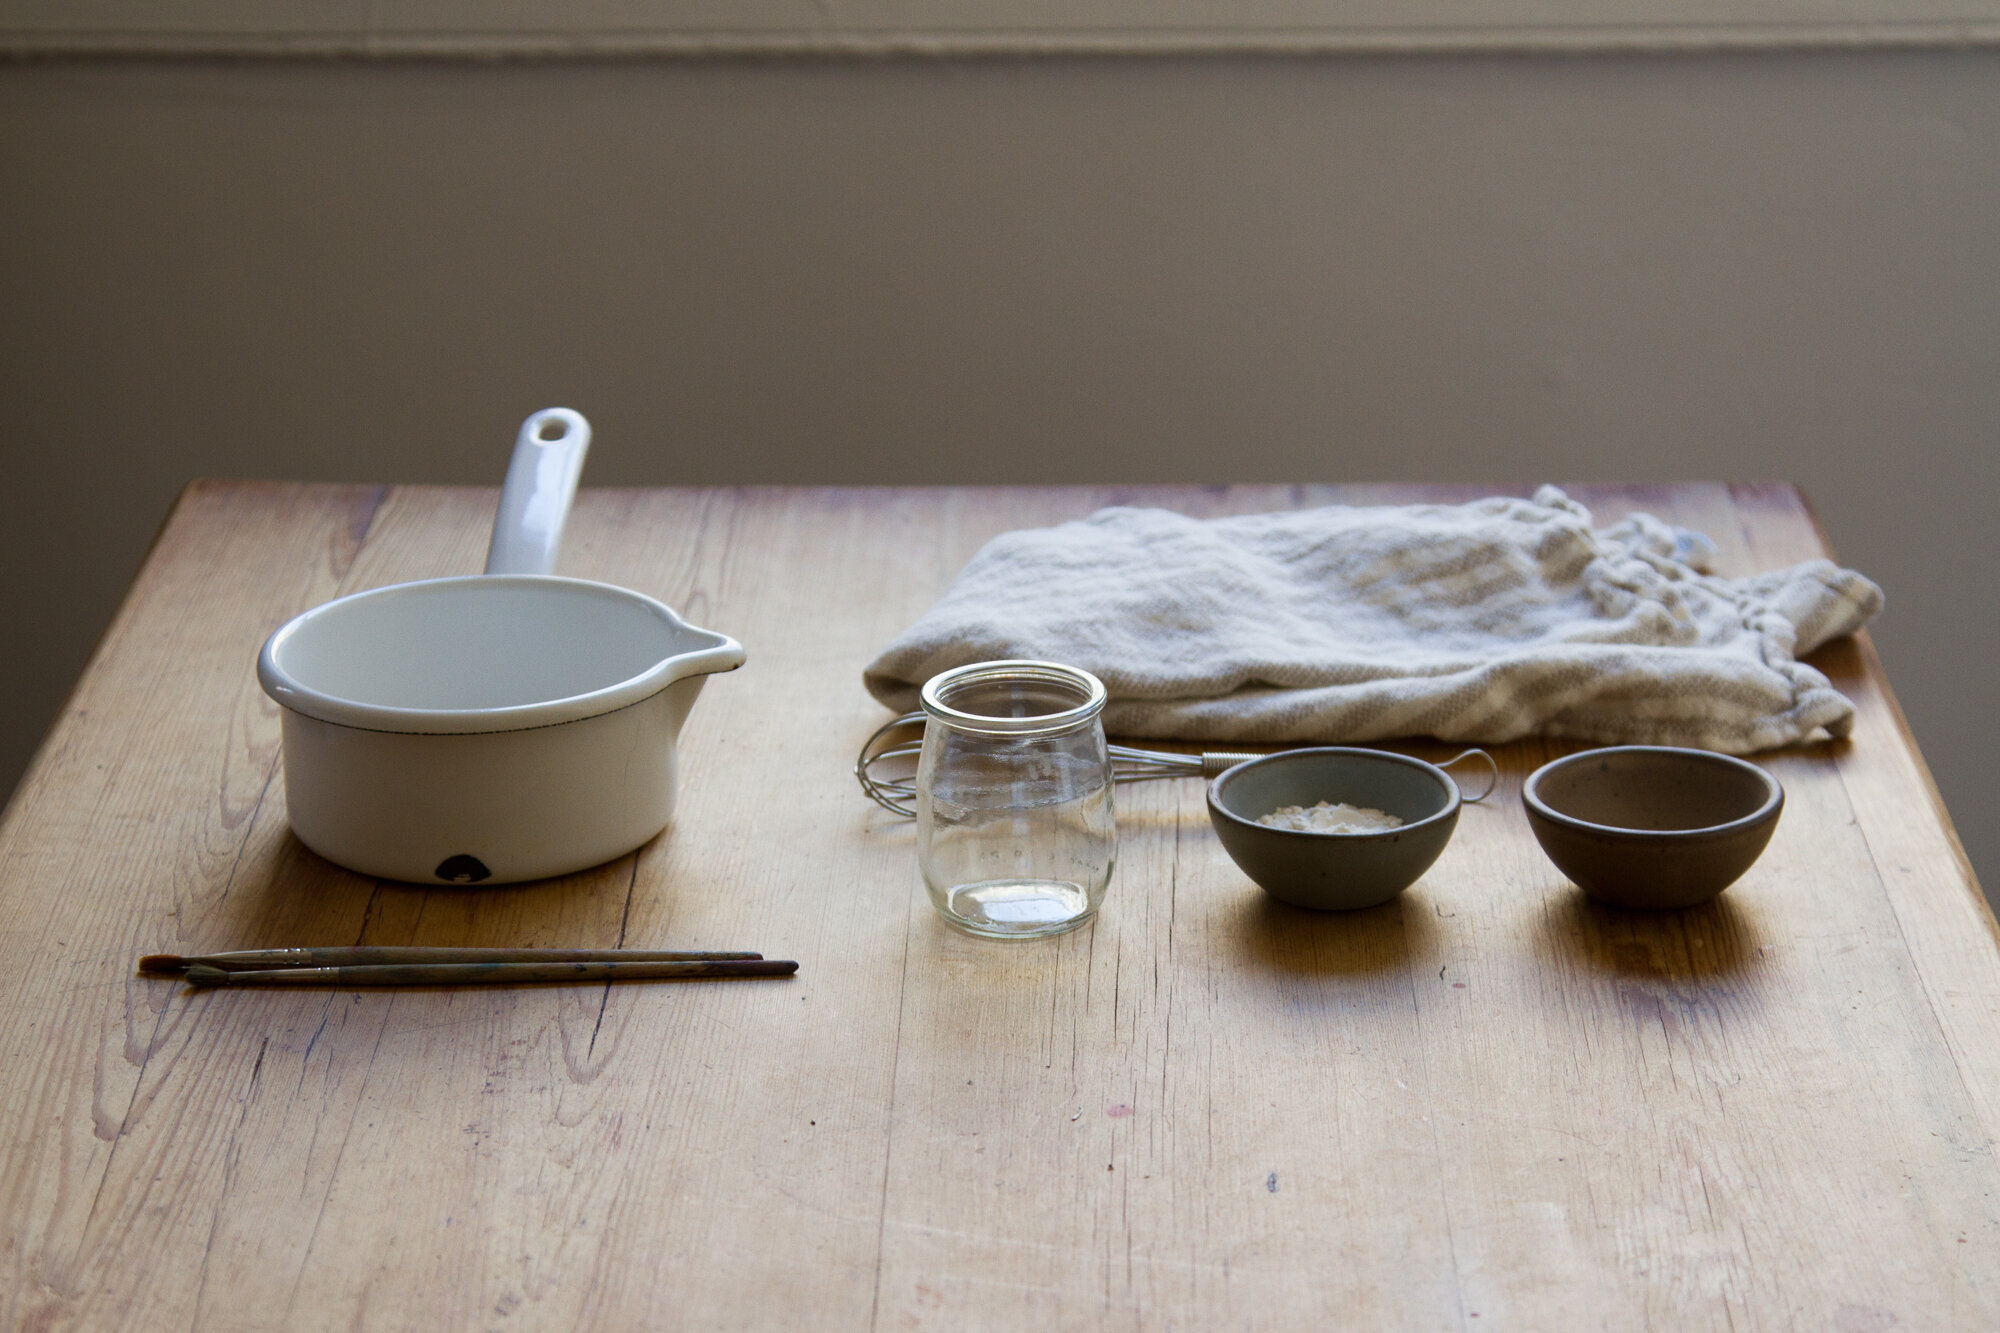
Materials:
+ Flour
+ Water
+ Salt
+ Small jar
+ Whisk (or fork)
+ Small saucepan
Directions:
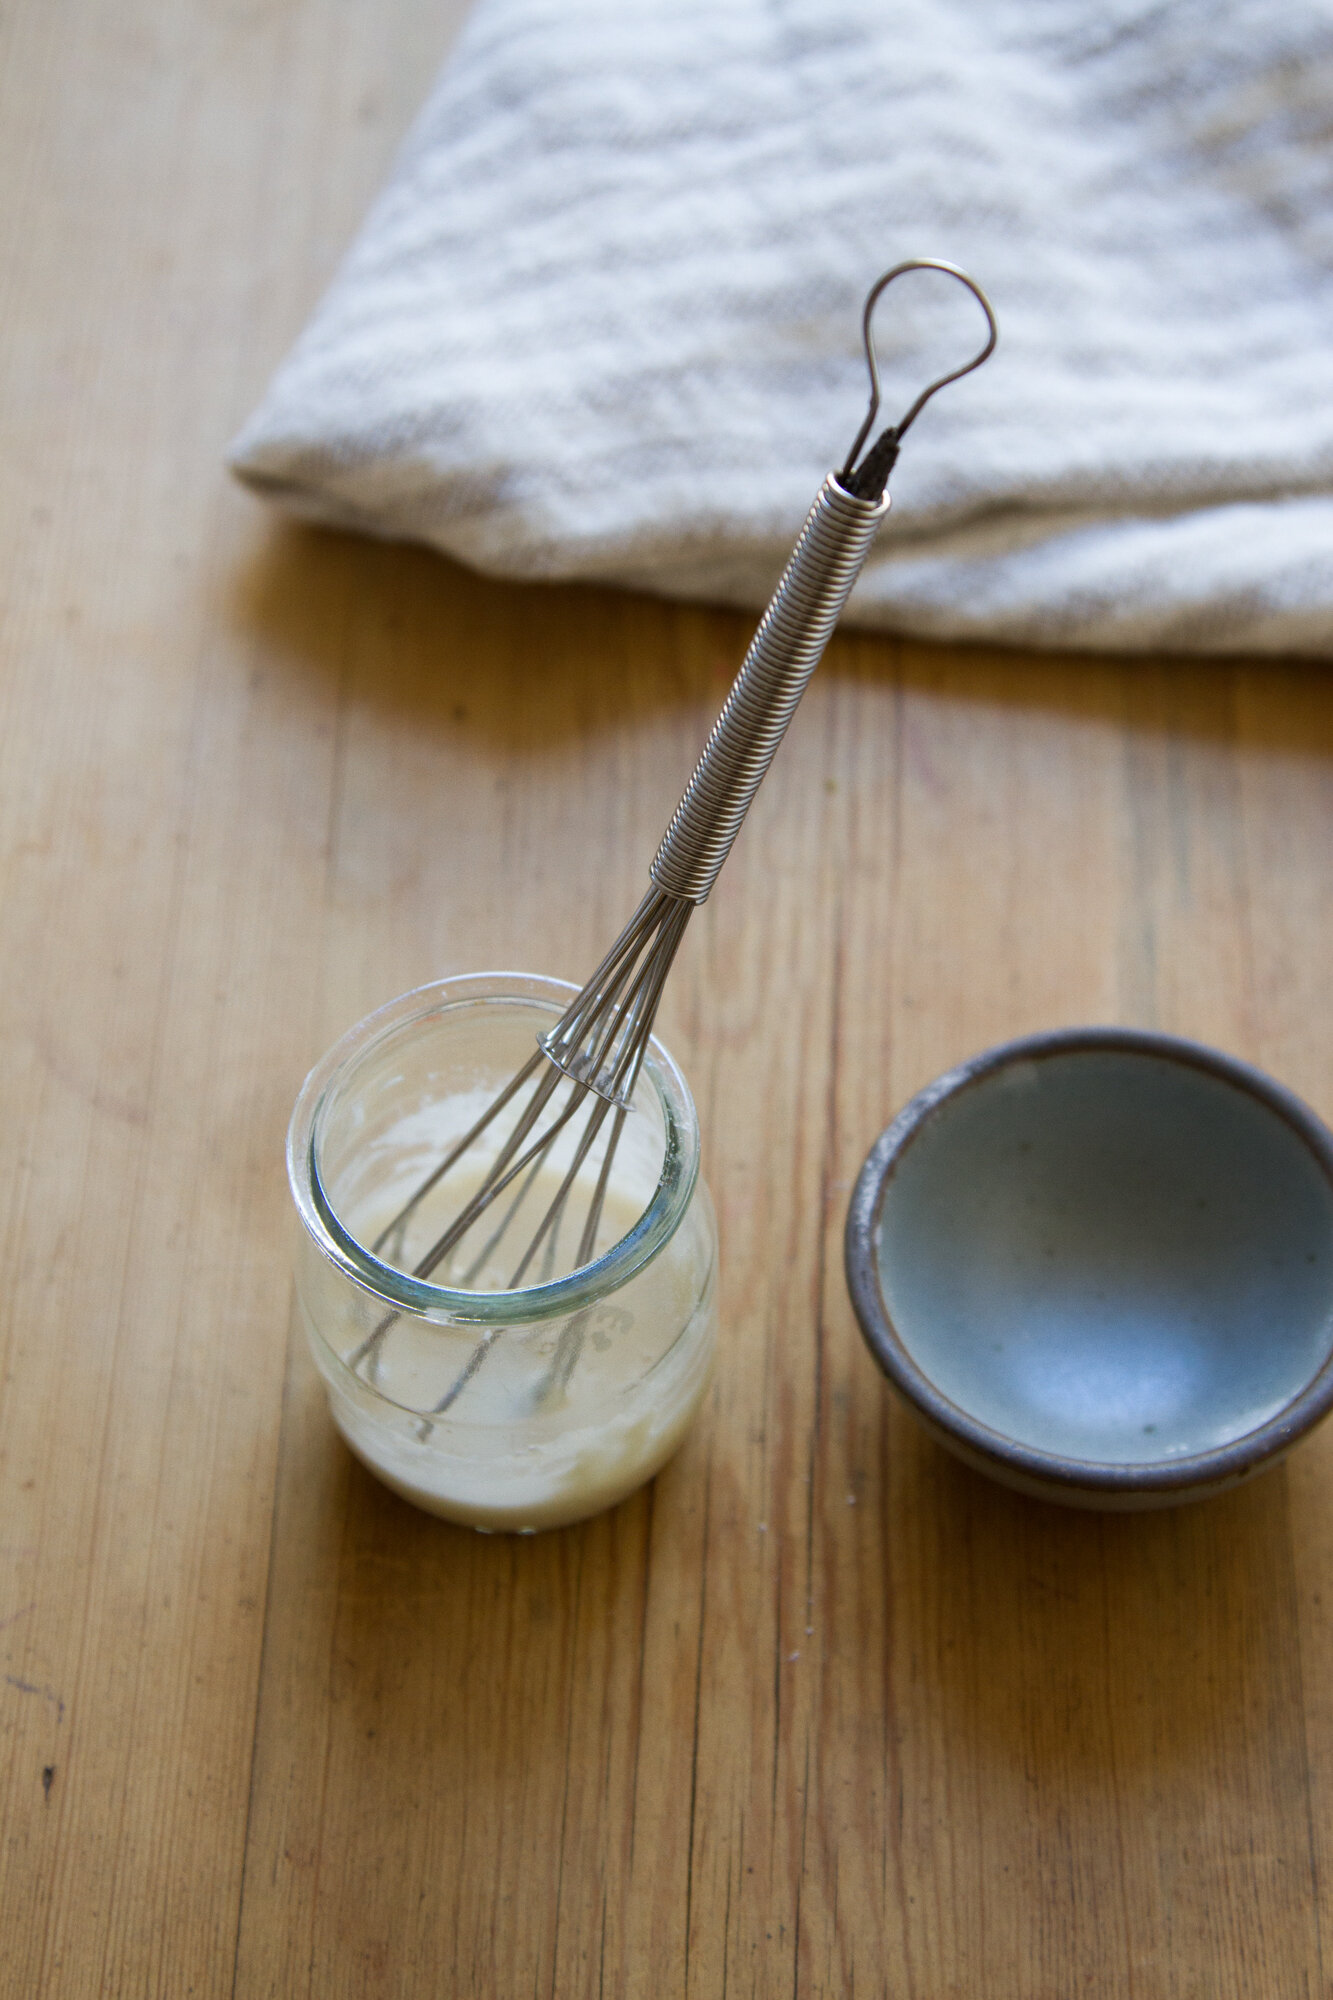
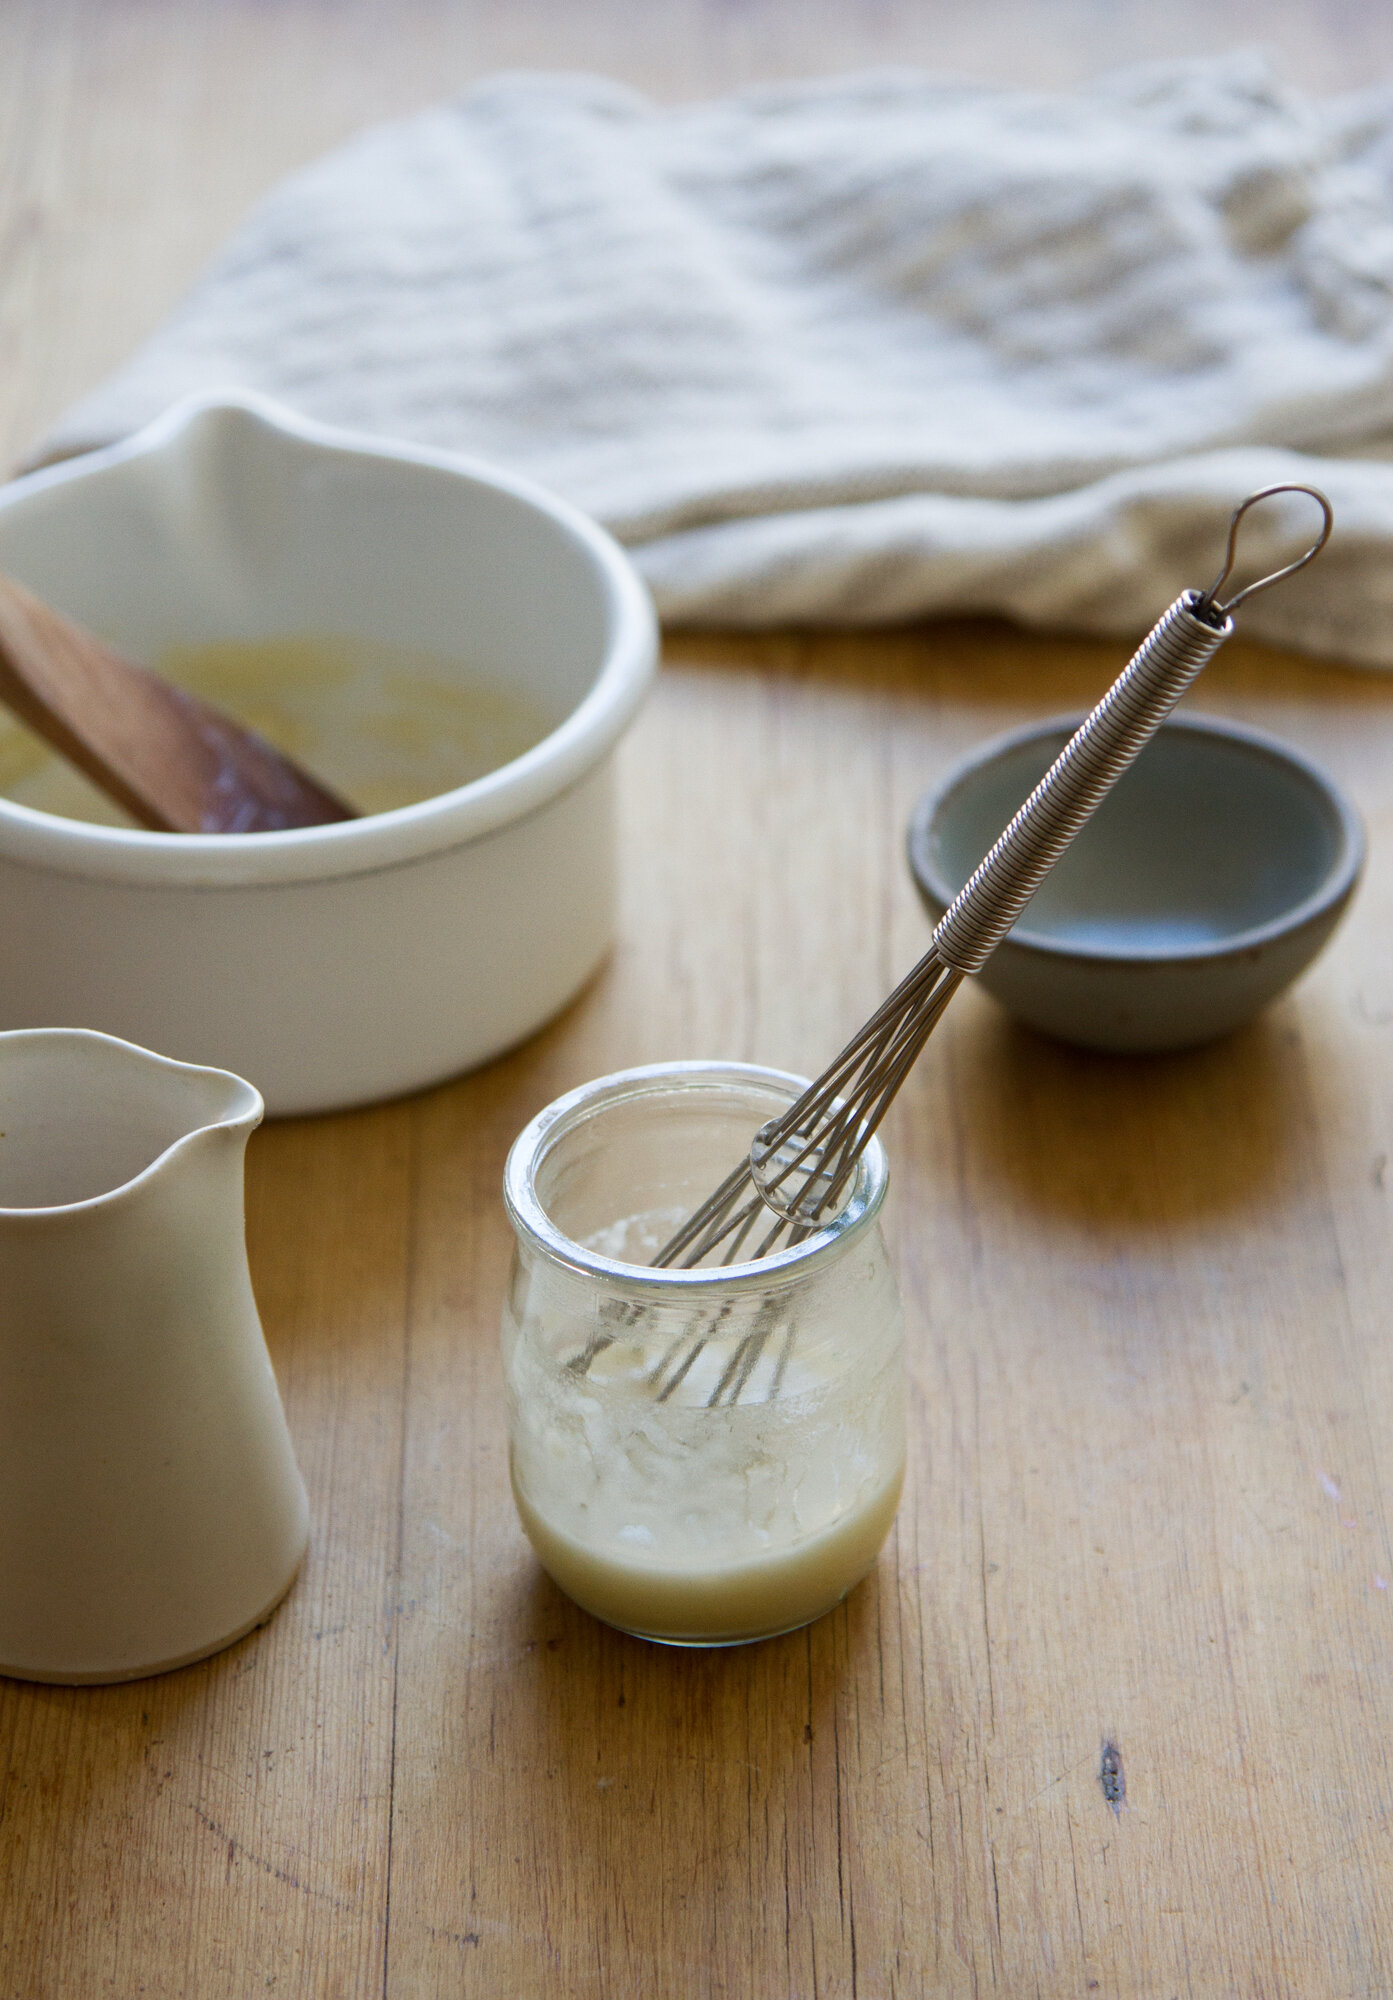
+ Combine equal parts water and flour into a small jar (or whatever size vessel you need for your project). (A tablespoon or two of flour and water usually gets us through an afternoon of paper chain or collage-making.)
+ Whisk the flour and water together, until the mixture is lump-free.
+ Pour the mixture into a saucepan and warm up over low heat. (If you accidentally heat the mixture too much and it starts to get lumpy, just thin with a bit of water and whisk again. If you fear the mixture is too thin, add a bit more flour until it’s the consistency you prefer. In my case, that’s about the consistency of heavy cake batter, but I’ve made thicker and thinner and they’ve worked equally as well.)
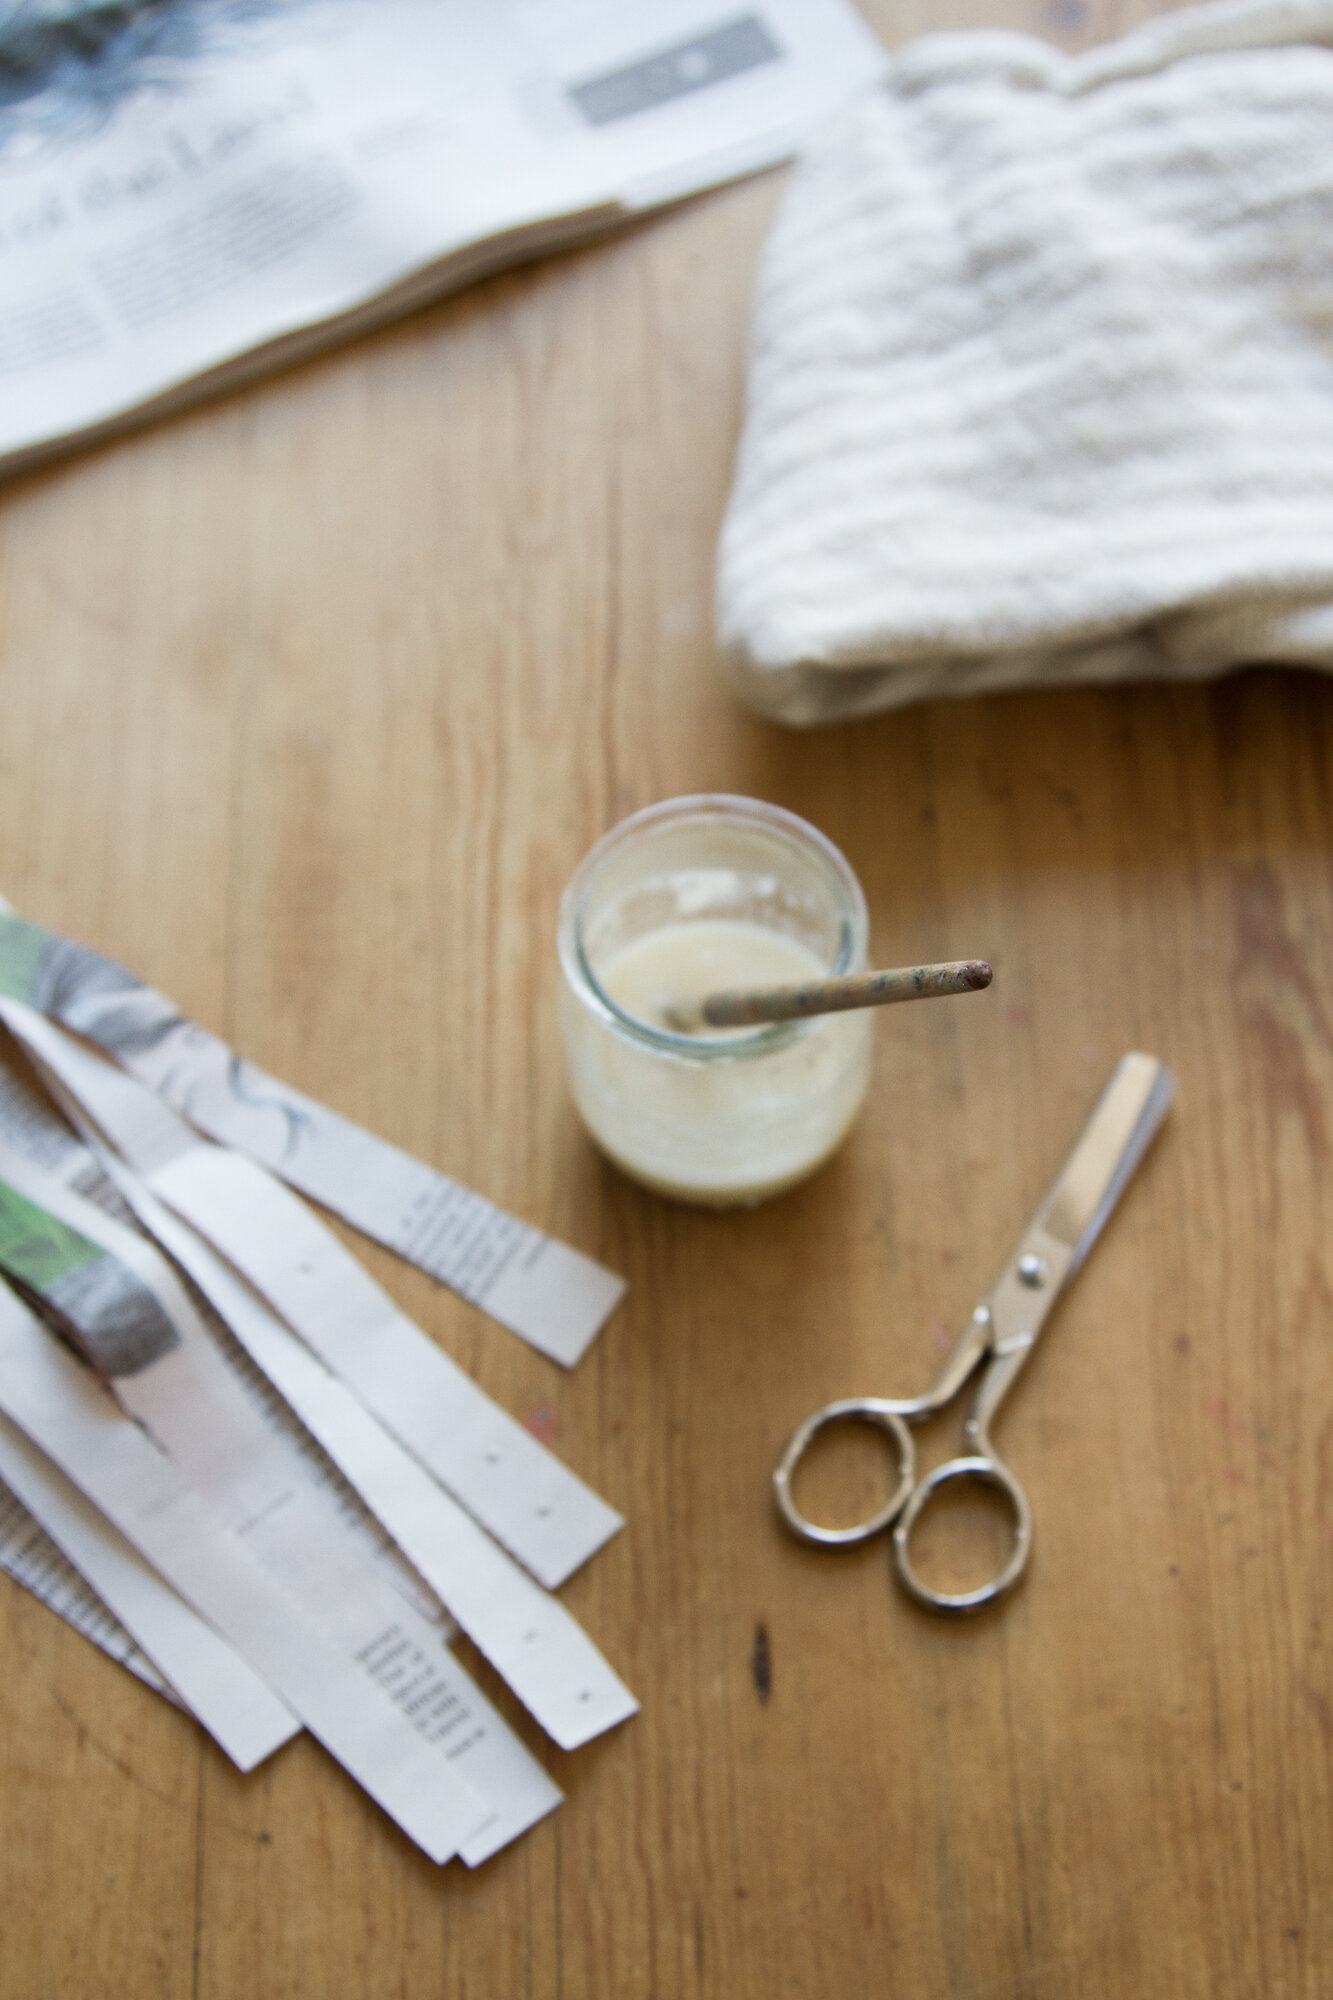
+ Once warmed through, transfer the paste back into your jar and use a paintbrush to apply the glue to your project.
+ If covered, the paste will last a few days.
A few more notes:
+ The salt isn’t strictly necessary here, but it will act as a preservative and help prolong the longevity of your paste. Still, the best part about making your own paste is being able to control how much you make, so aim for mixing just what you need for one project and you don’t need to worry about shelf-life.
+ Don’t expect the mixture to feel sticky to the touch, but trust it will stick two pieces of paper together in no time flat. The non-stickiness is actually my favorite part. Faye and Silas’s hands would get so glue-y themselves in past projects that they’d often abandon them in frustration. I find the wheatpaste to be so much more pleasant to work with.
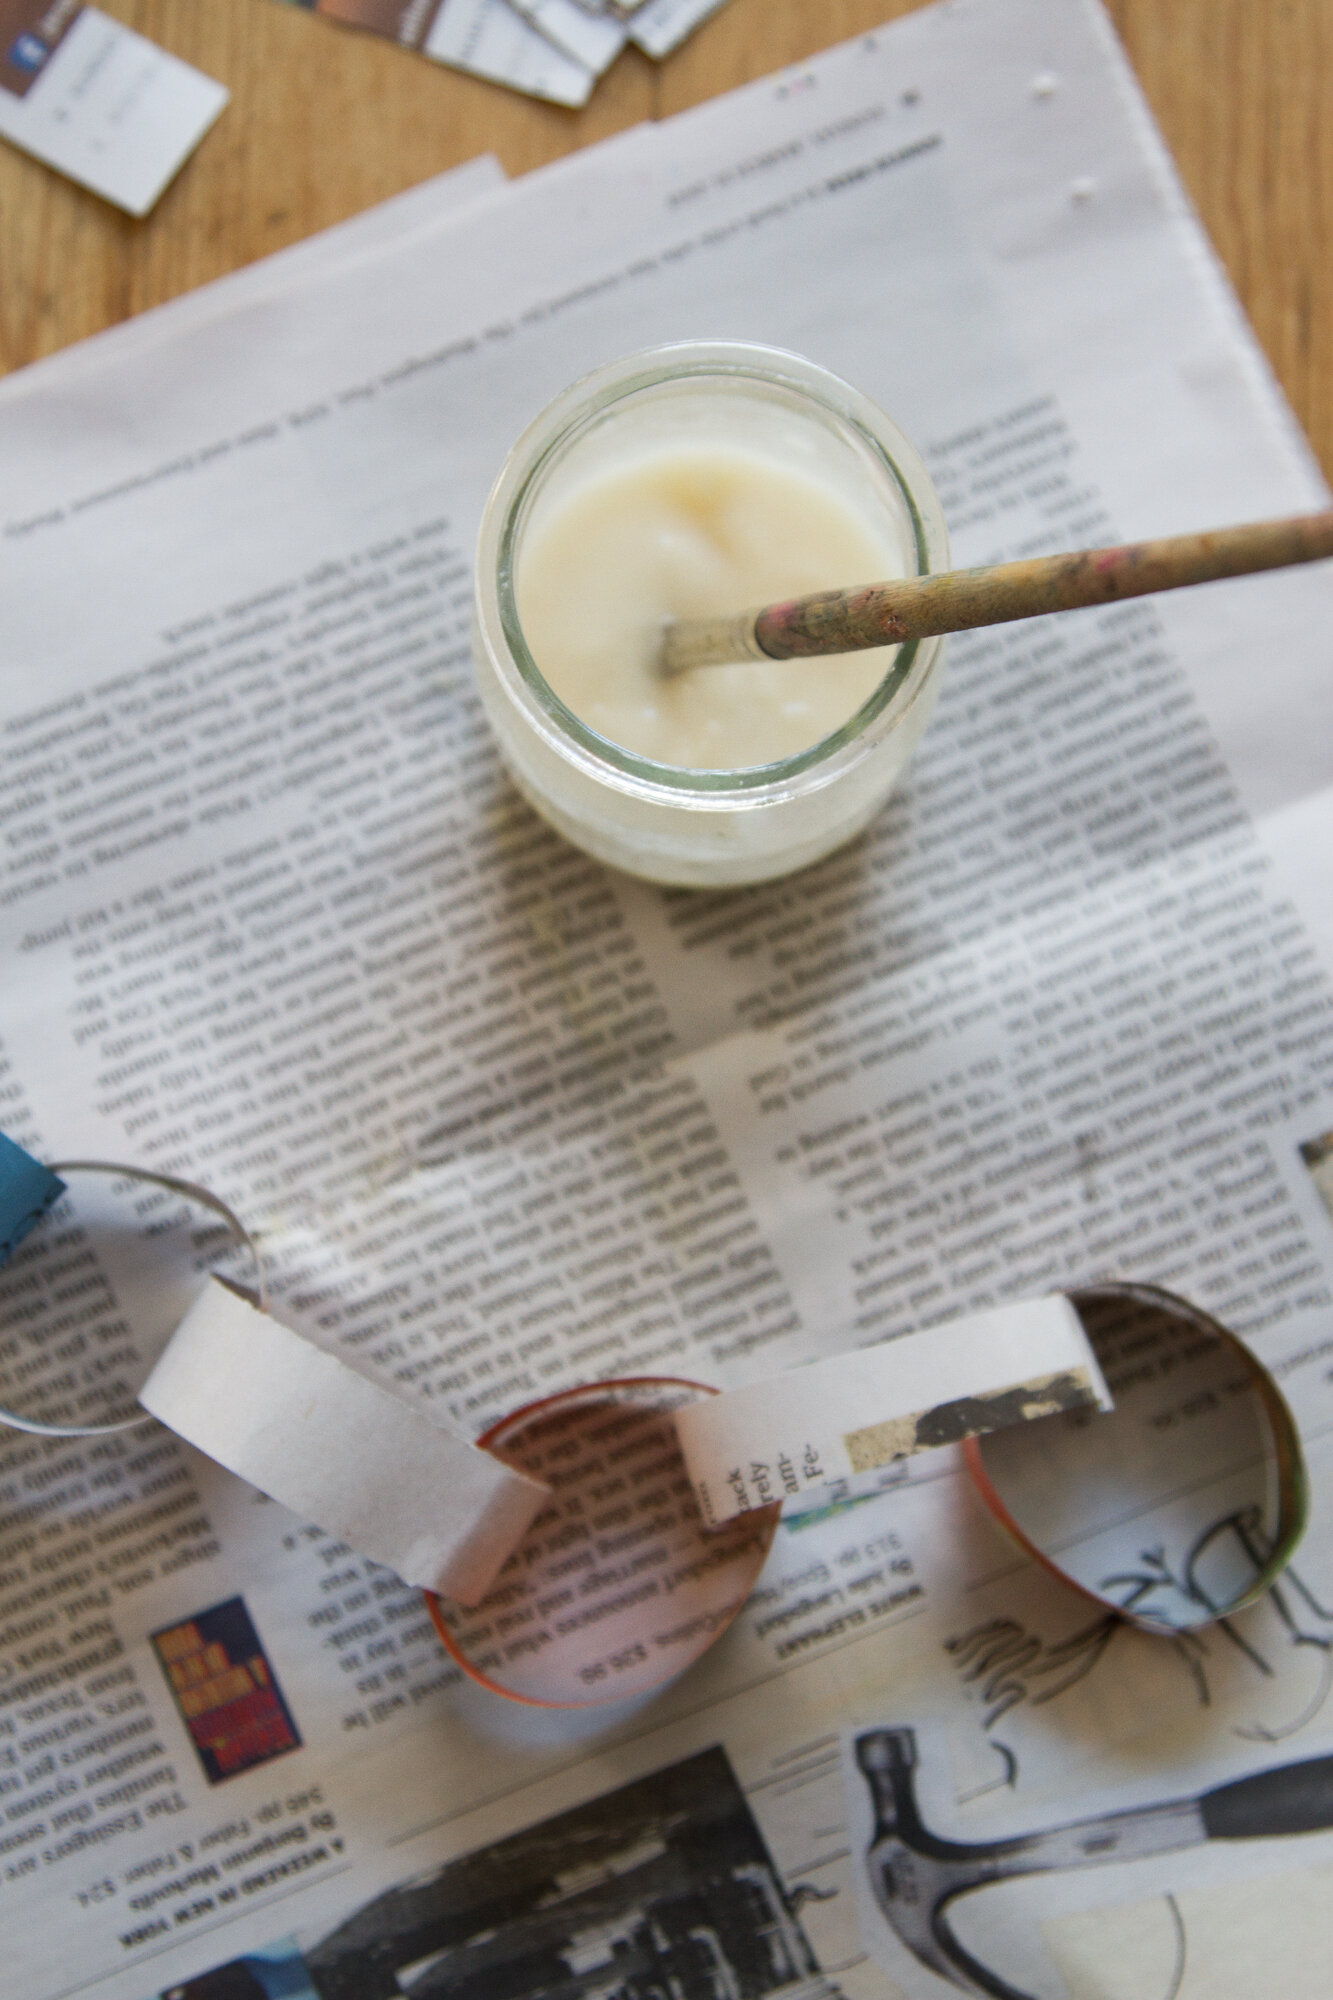
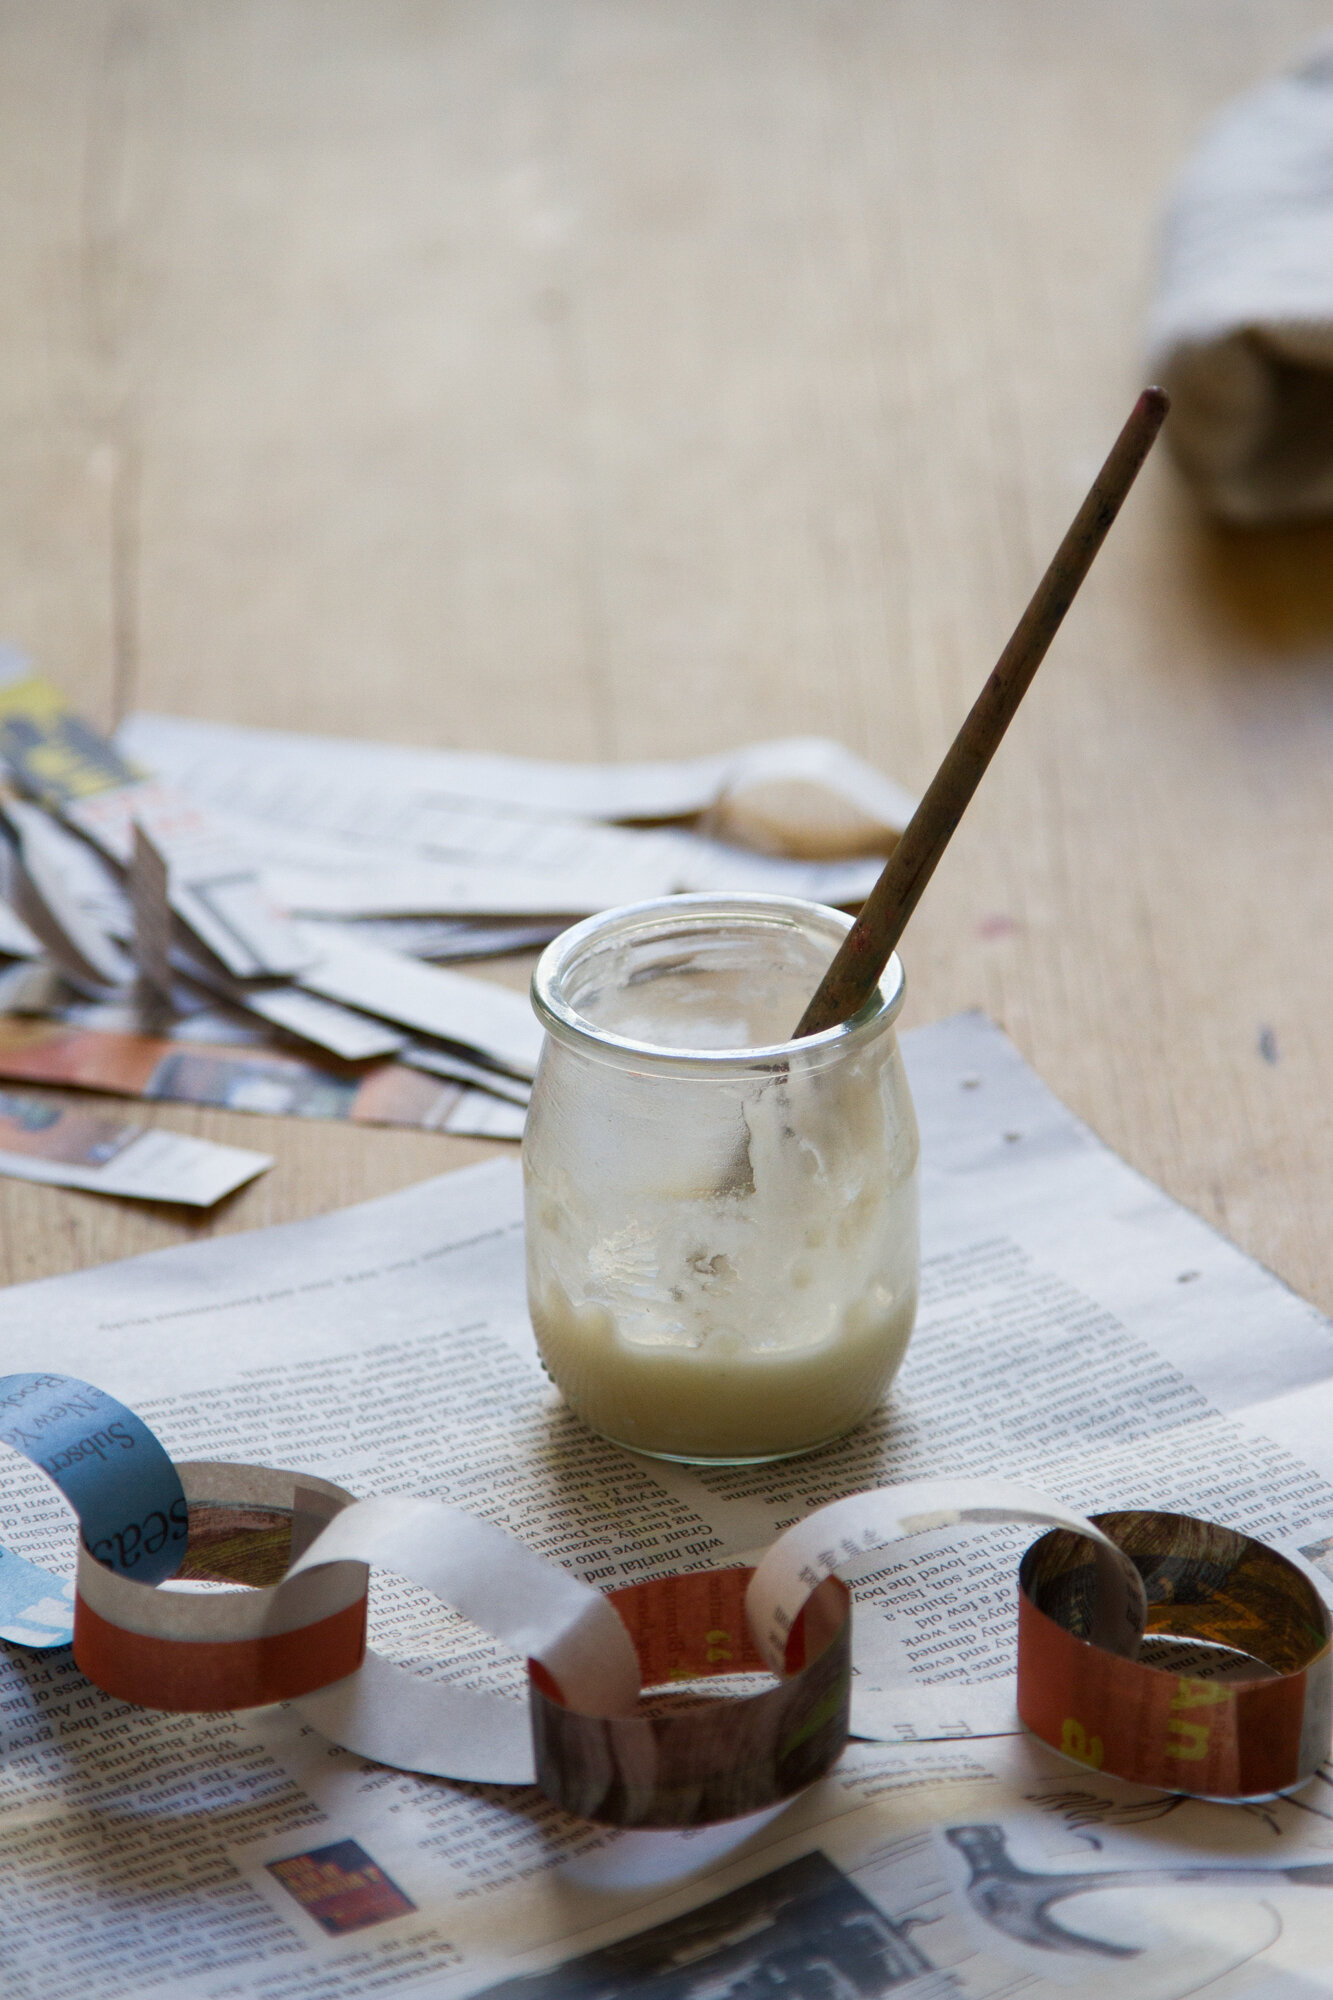
+ We’ve admittedly only used our homemade glue on projects that are decidedly low stakes. I can’t guarantee it would work for you in every instance, or pass the test with every kind of paper you might decide to play with, but for rainy afternoons spent making cards, or collages, or paper chains, it’s been perfect (for kids and adults alike).
+ Add a bit more warm water and you’ve got yourself paste for your next papier-mâché extravaganza.
15 Comments
It’s also a good base for paper mache, a great way to make masks, crowns and other delights.
Totally! I’ve got a note about that in the bottom of the post!
Thanks for the tip! Do you know if this would work with gluten free flour too?
Not positive! I suspect it’s probably mostly the starches at work here, so I wouldn’t be surprised if it would work! Probably worth a teaspoon or so as an experiment!
Thanks Erin! Will definitely give it a try
Aww I love this! (No kids, for myself:)!!) Also…Erin your photography was always great but I always forget to point that out. Beside the actual post I feel like you spoil us with great pictures which no many do 🙂 thank you for the perpetual eye candy!
Ugh somehow commented on the wrong spot :/
I made paste like this a few years ago but now I fear my kids would reject it because its not the same as Elmer’s. I’m in that stage of parenting. Sometimes making it themselves helps to get them on board, but definitely not always.
Amazing. This morning my toddler got her hands on the Elmer’s glue and dumped nearly half the bottle on her project (in generous dollops, spread out artistically) before we could have a conversation about “maybe that’s enough glue.” This is just what I need.
haha! “maybe!” so glad.
Everything old is new again. This is exactly the same stuff I used as a child in the 60s. Thanks for the reminder.
Yay, wheatpaste! I remember my college book arts instructor telling us that wheat paste used to be the dominant adhesive for bookbinding due to its strength and nonreactivity with the acids in paper. It’s still widely used in the book arts & crafts field, though polyvinyl adhesive has grown in popularity due to it drying faster than the wheat paste. But I think archivists still use wheat- & rice flour-based glues for repairing older valuable books. The flour/water mixture can be undone with a little extra water until it fully dries, which is great for fixing mistakes before the binding sets.
p.s. My parents have also used wheatpaste to touch-up wallpaper.
Wheat paste in the wild: http://www.rheakaram.com/dracin <3
Love!!!
I have used wheat paste for things like paier maché and putting up posters outside. Works brilliantly!
Comments are moderated.