Our kids don’t sleep with a night light, but recently we started feeling like it would be useful to have a small bathroom lamp to light the way during the middle-of-the-night trips that the littlest member of our family makes nightly. Now that we have one, I realize that a soft little light switched on in the wee hours of the morning is a pleasure that groggy parents and sleepy toddlers alike can appreciate.
I’ve been low-key looking for a night light ever since we were making middle of the night trips to the bathroom with Faye, but in all my searching I never found anything that was small enough or simple enough to be to my liking.
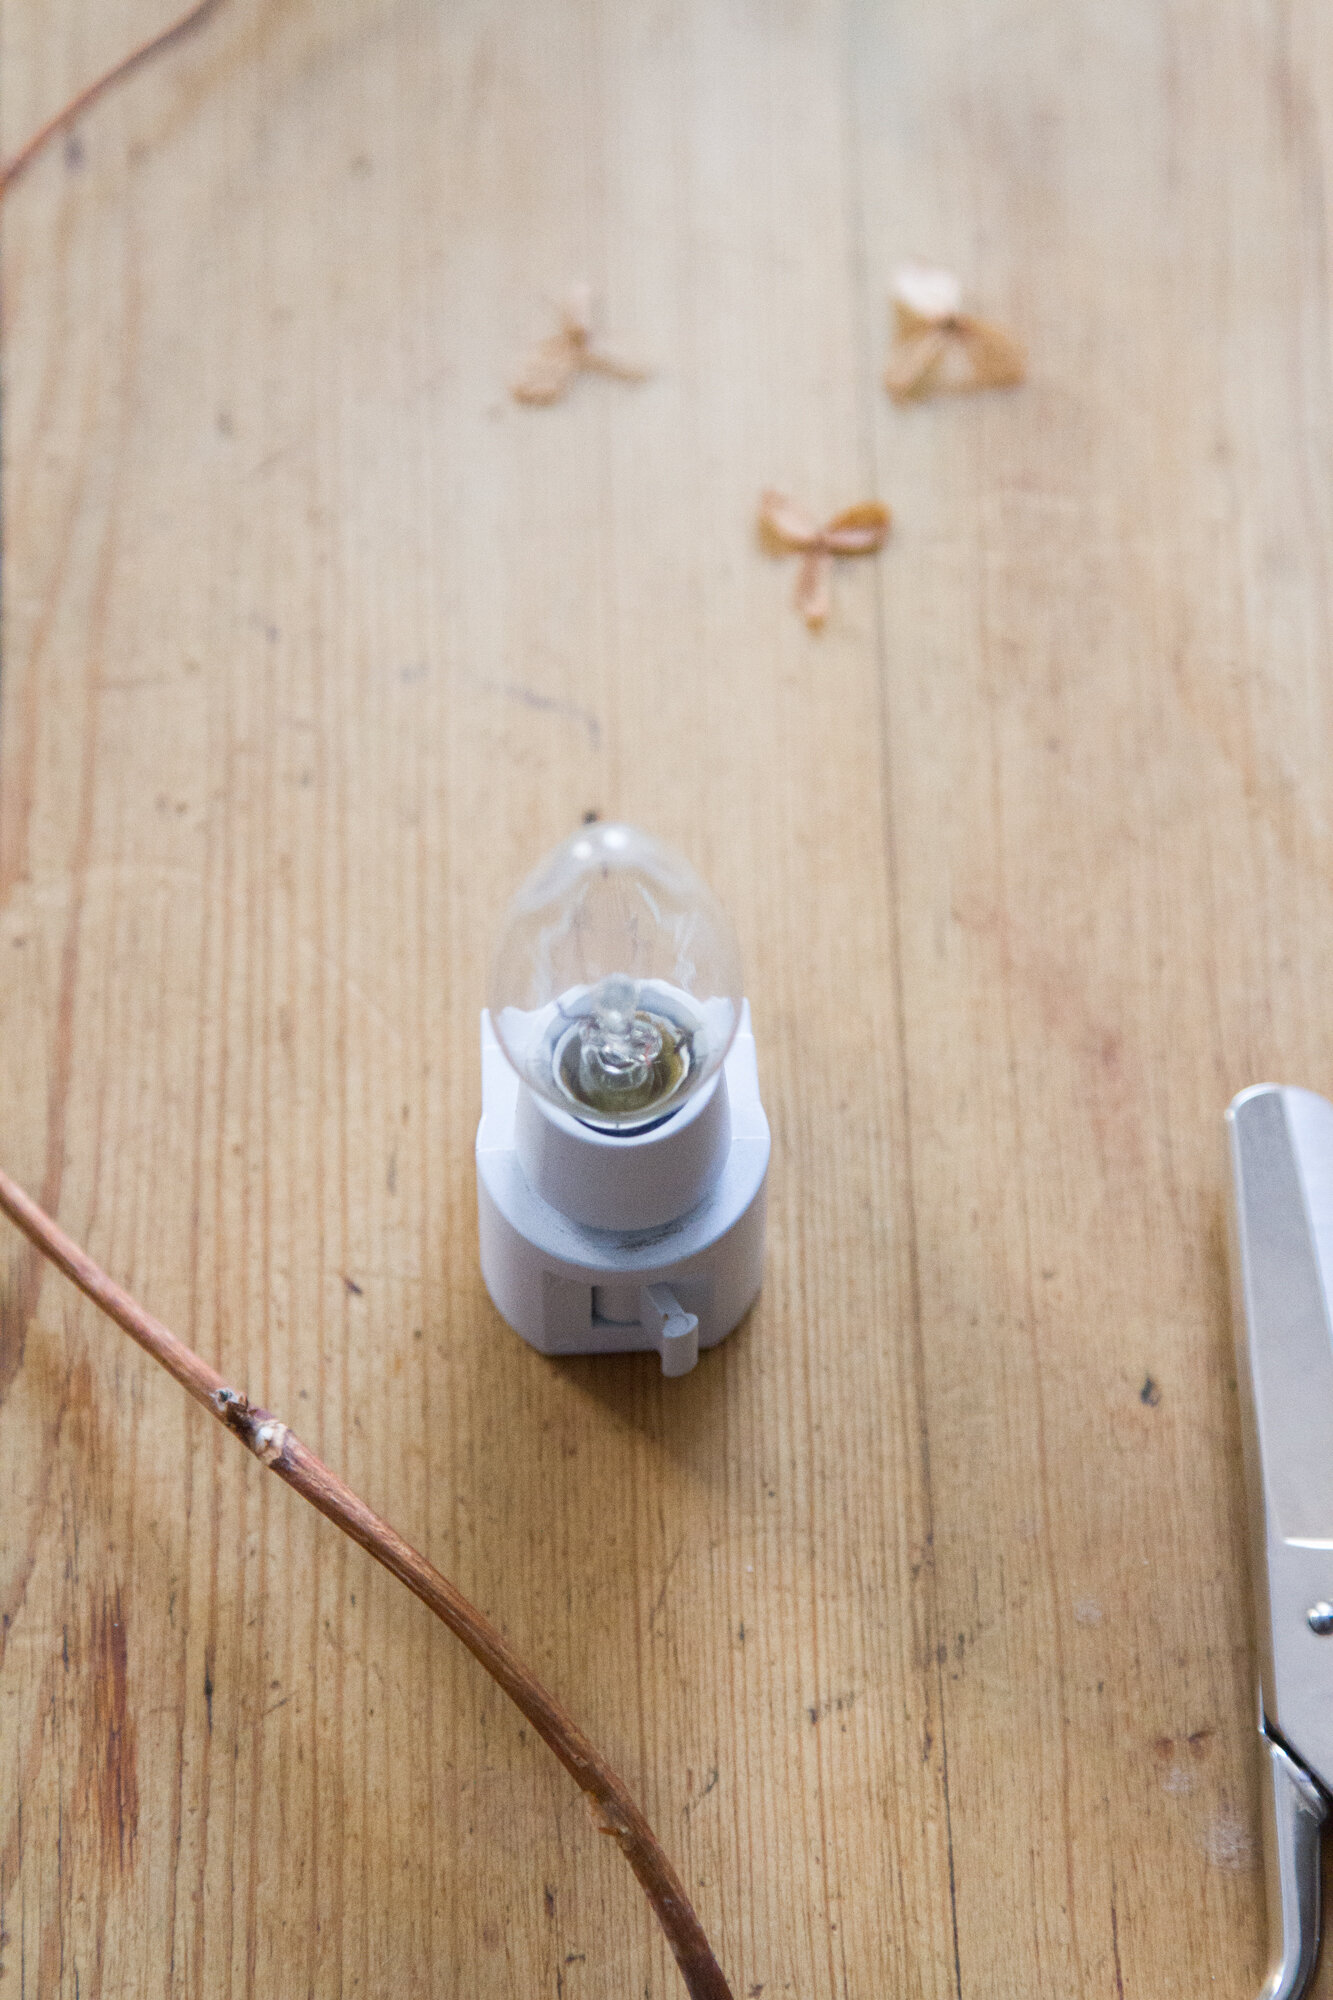
Over the weekend, I did a few laps around the local hardware store—a favorite weekend activity of mine if ever there were one—and when I spotted this night light, I decided to take the plunge. It was the simplest one in the store and for $2.99, I thought I’d take the risk.
First things first, I removed the plastic shade and then began to rifle through the apartment, looking to see what I could use to fashion a replacement. I wanted to use only things I already had handy and I didn’t want to spend a lot of time doing it.
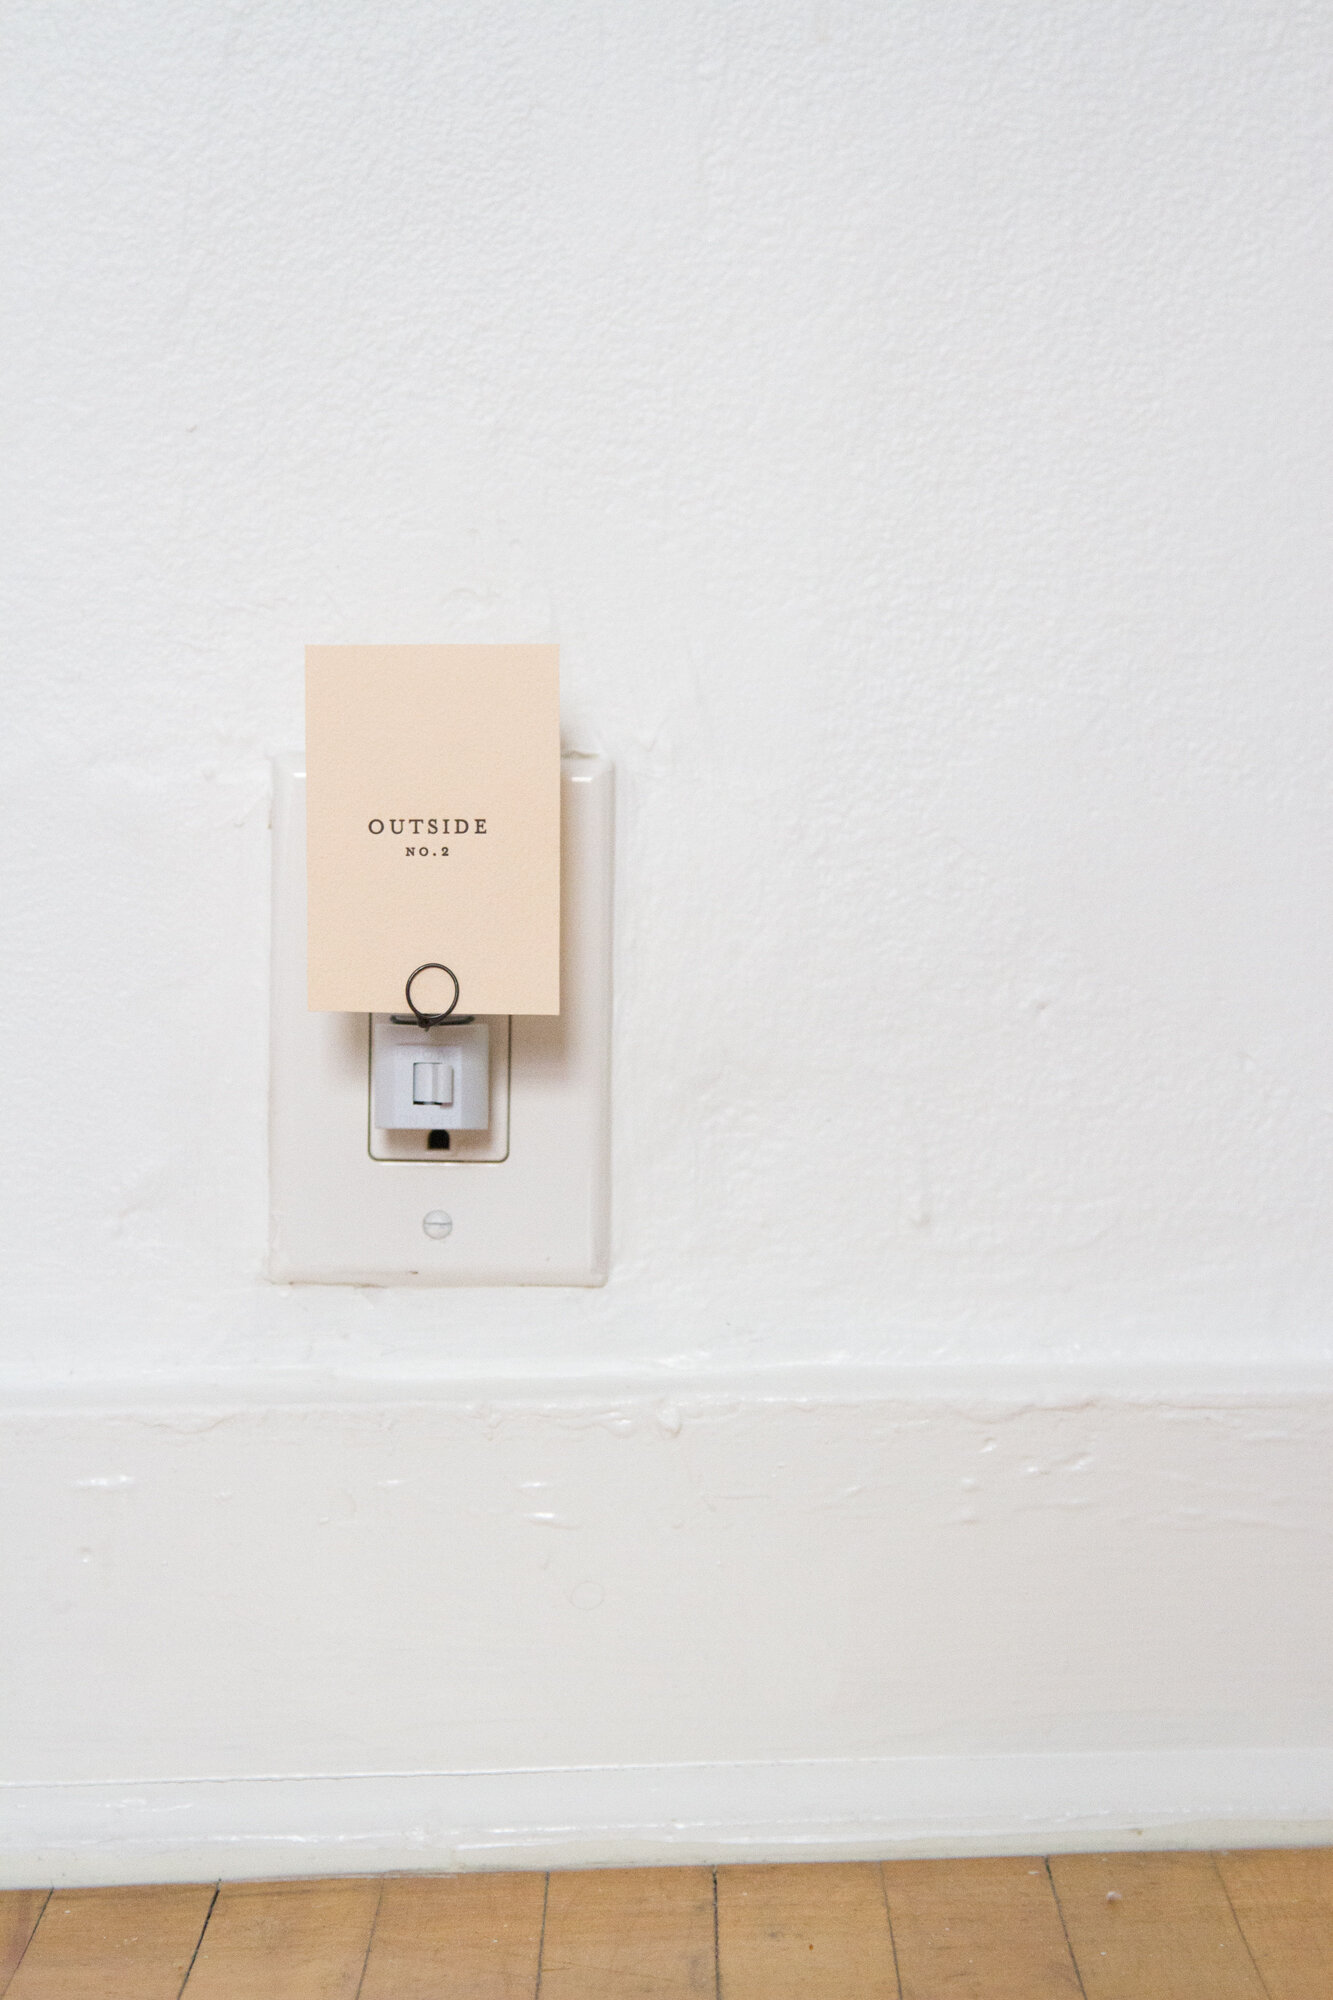
The design I landed on is simple enough—a small bracket made from annealed wire and made to hold any manner of lightweight and flat-ish paper or object that might look pretty with a bit of golden light shining through.
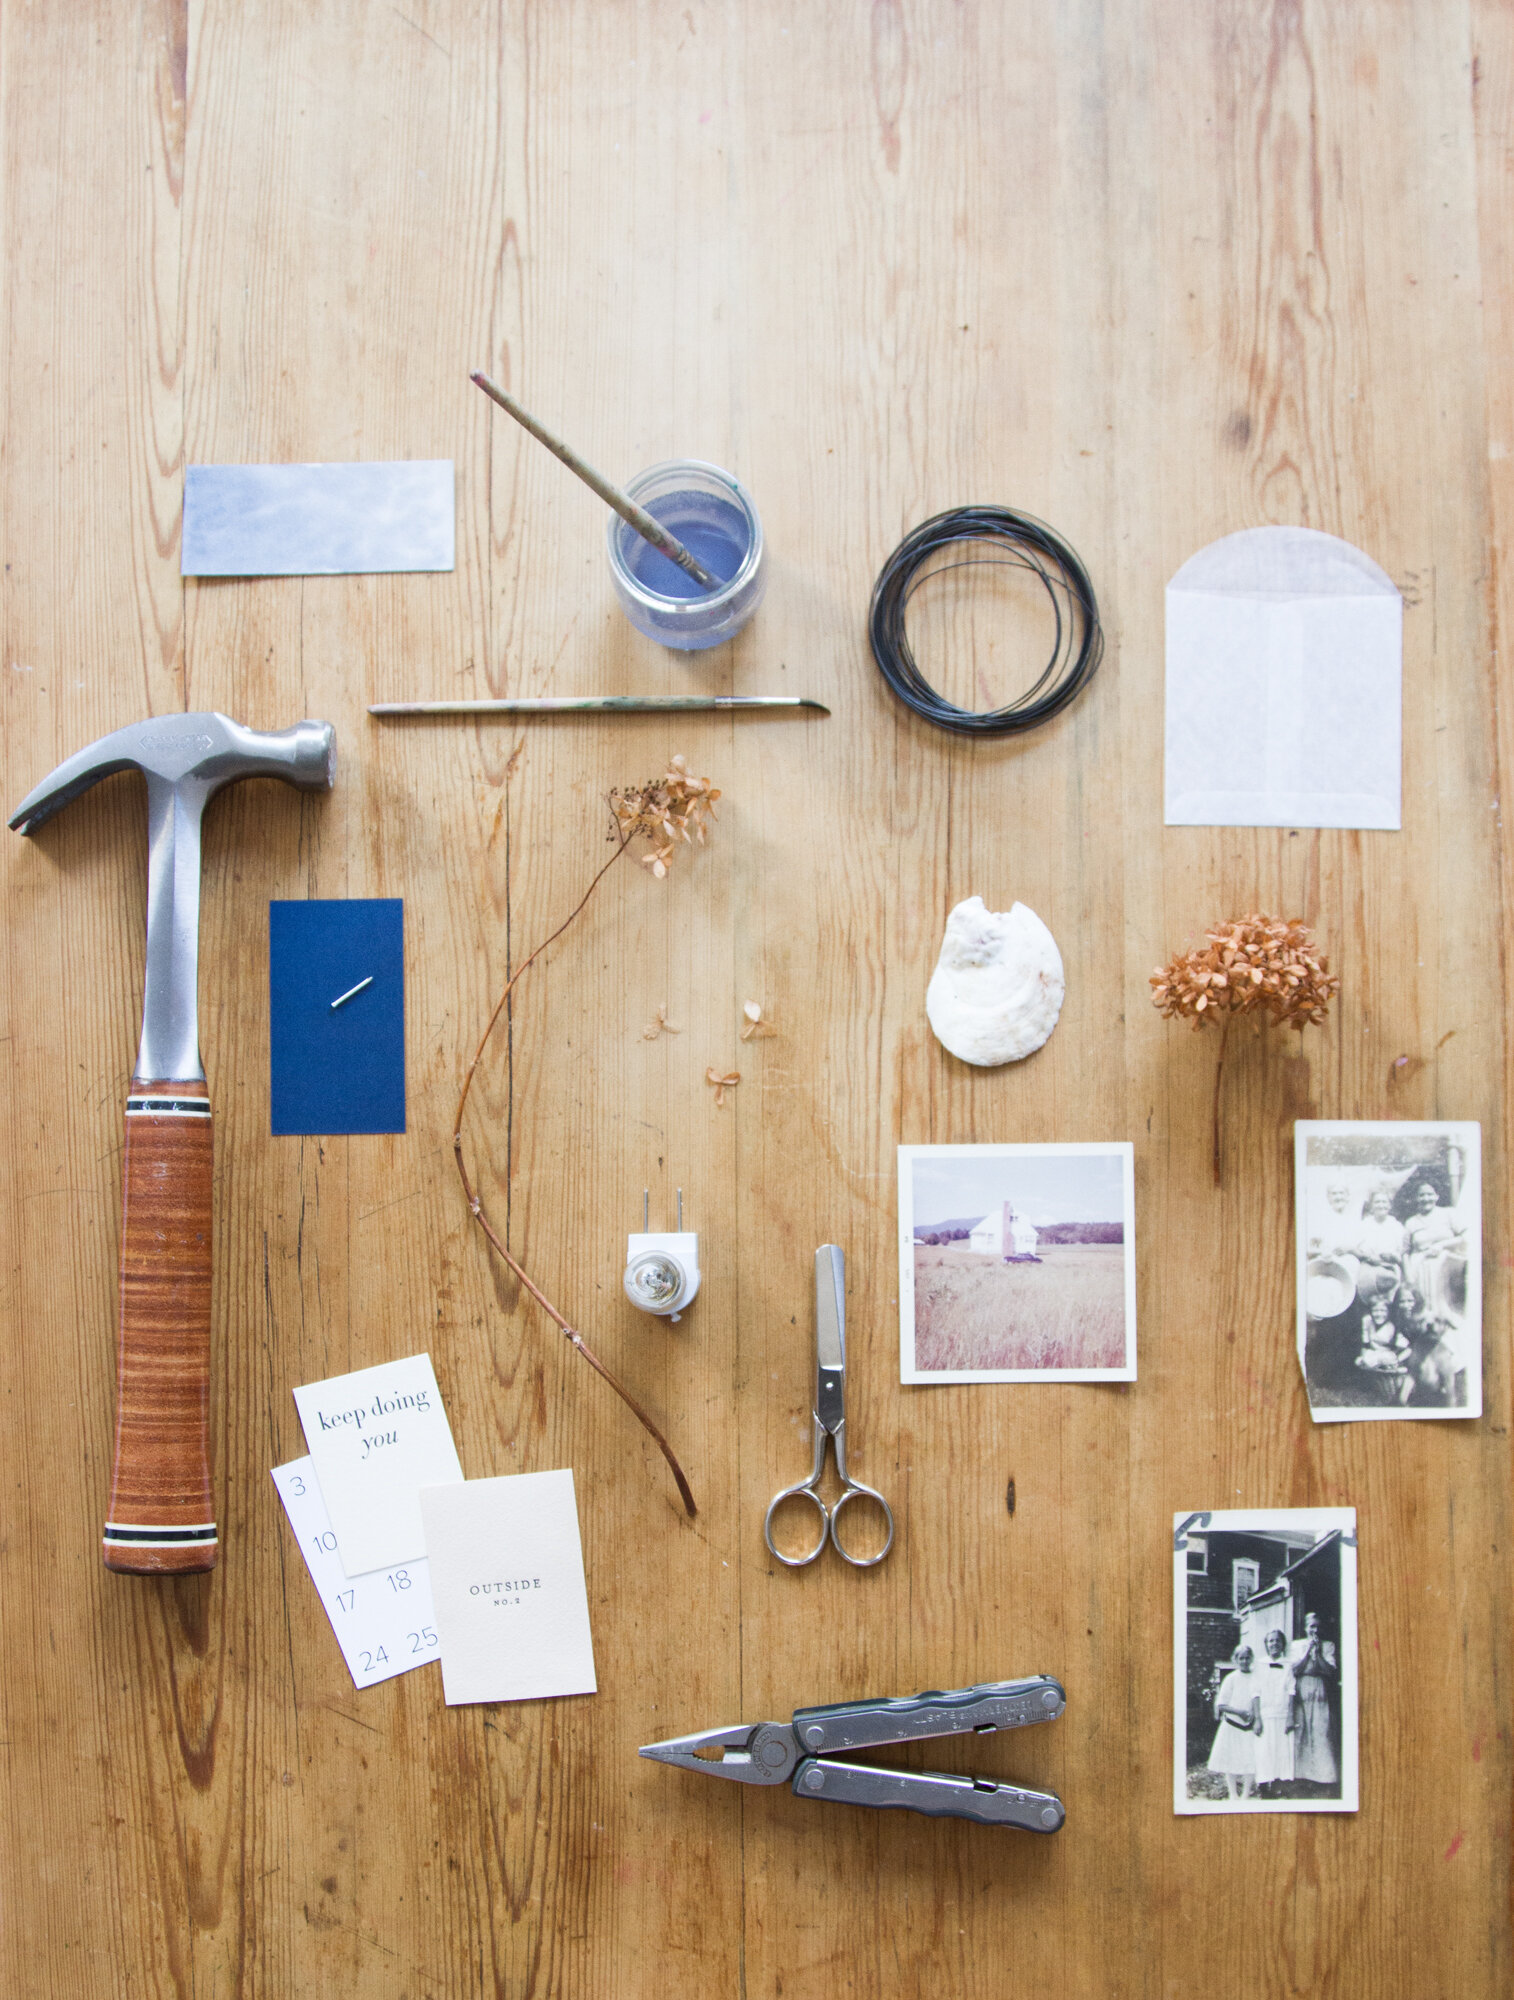
A few things I found around the apartment that are suitable as shades:
+ A seashell
+ An old photograph
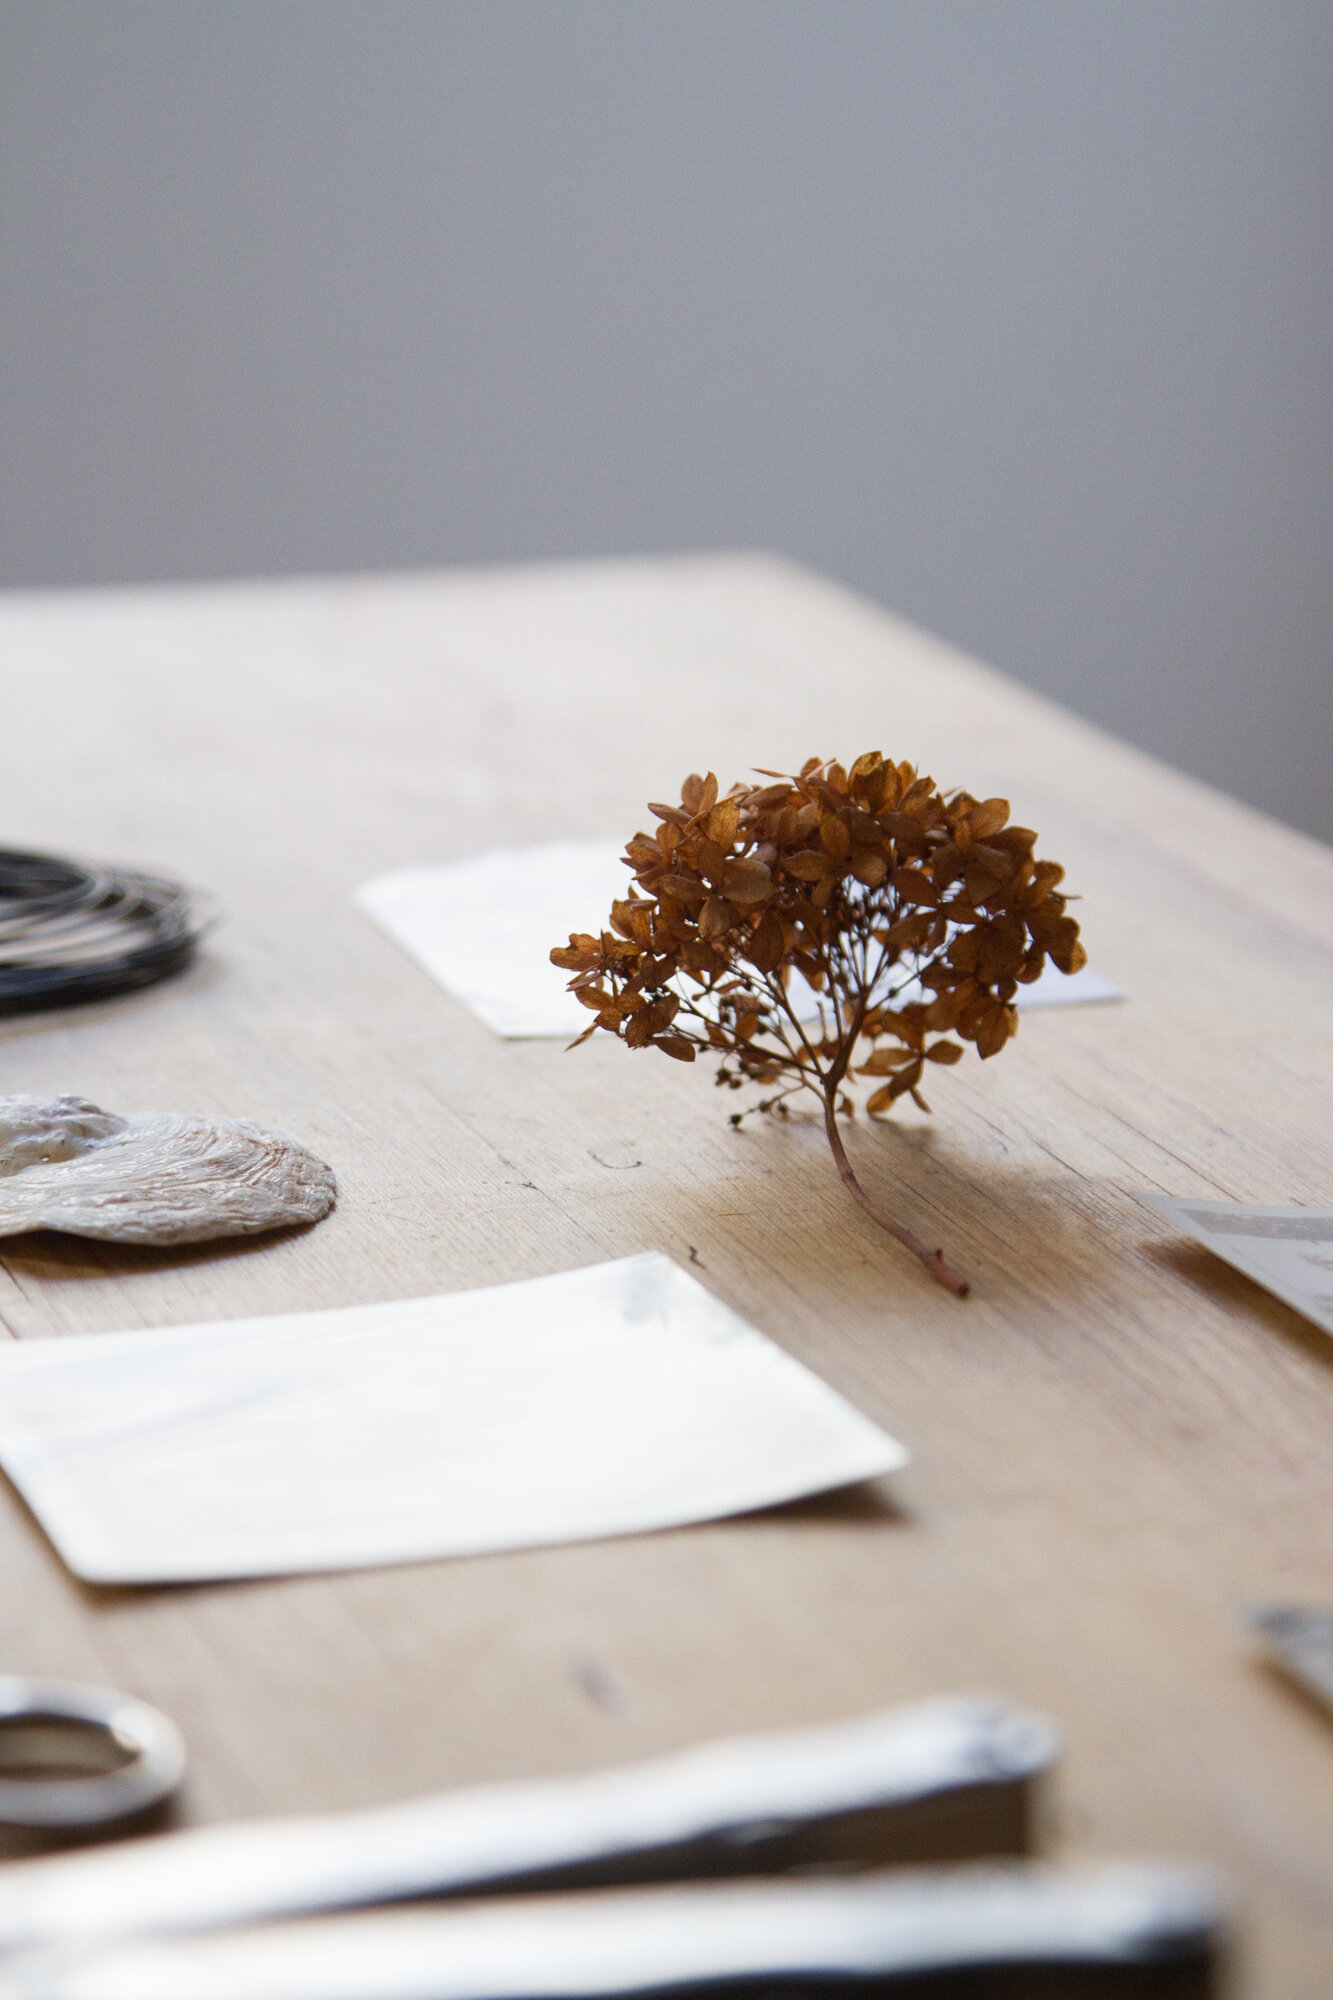
+ A velum envelope filled with dried flowers
+ Opaque cardstock, poked with tiny nail holes
+ Cut up greeting cards, book jackets, and calendar pages
+ Water color paper and a light water color wash
Materials:
+ 1 simple nightlight with removable shade (I found this one for $2.99 at the local hardware store.)
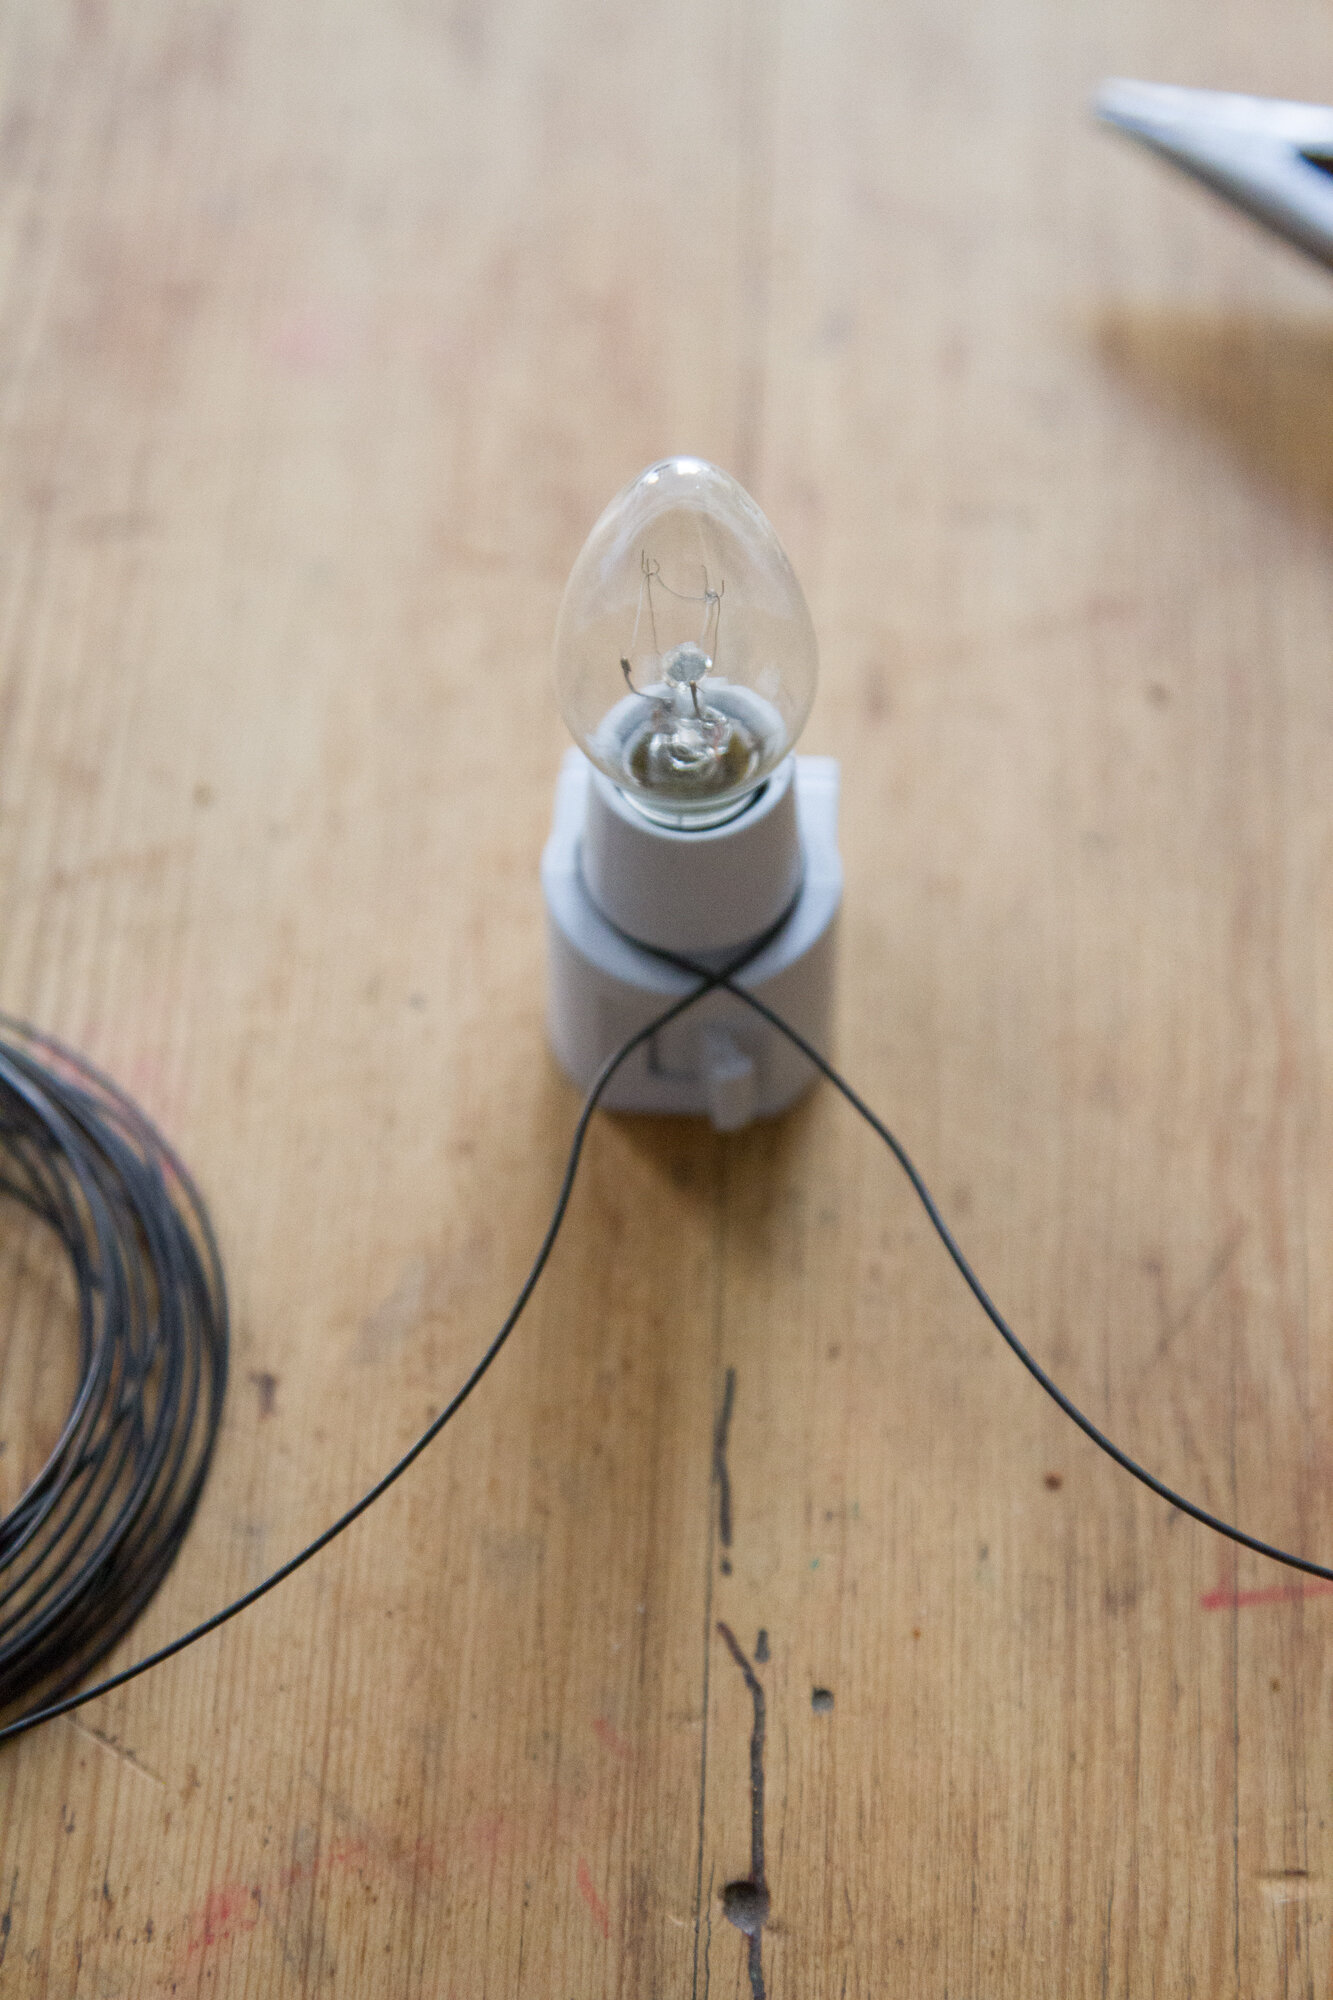
+ 19 gauge annealed wire, or any wire sturdy enough to stay put but thin enough to manipulate easily
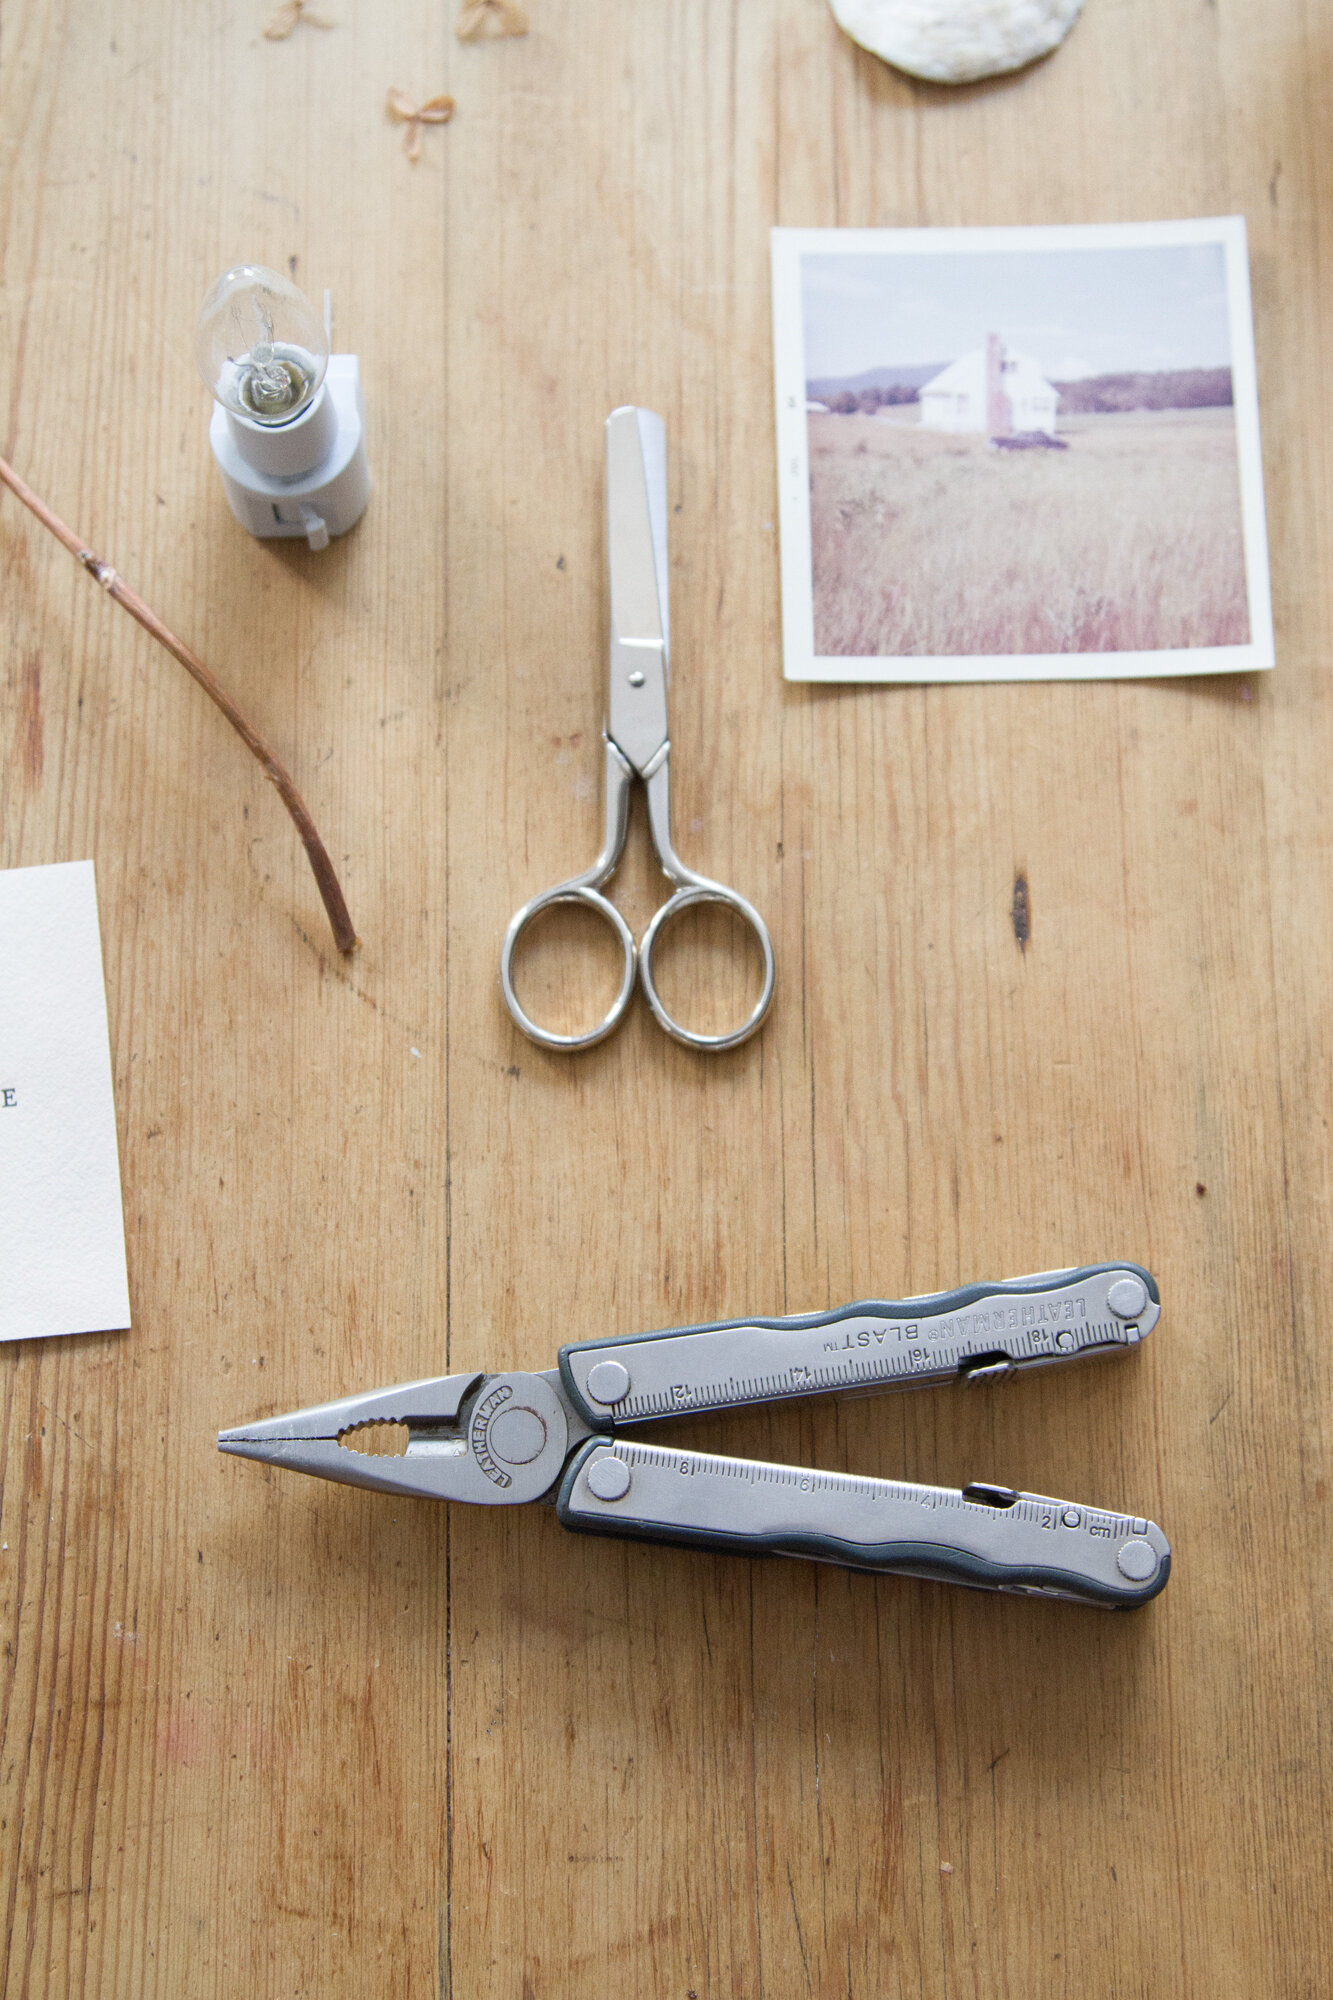
+ Pliers and wire cutters (I use this multipurpose tool)
+ Shade material of choice (see the list of possibilities above, or decide on your own!)
Directions:
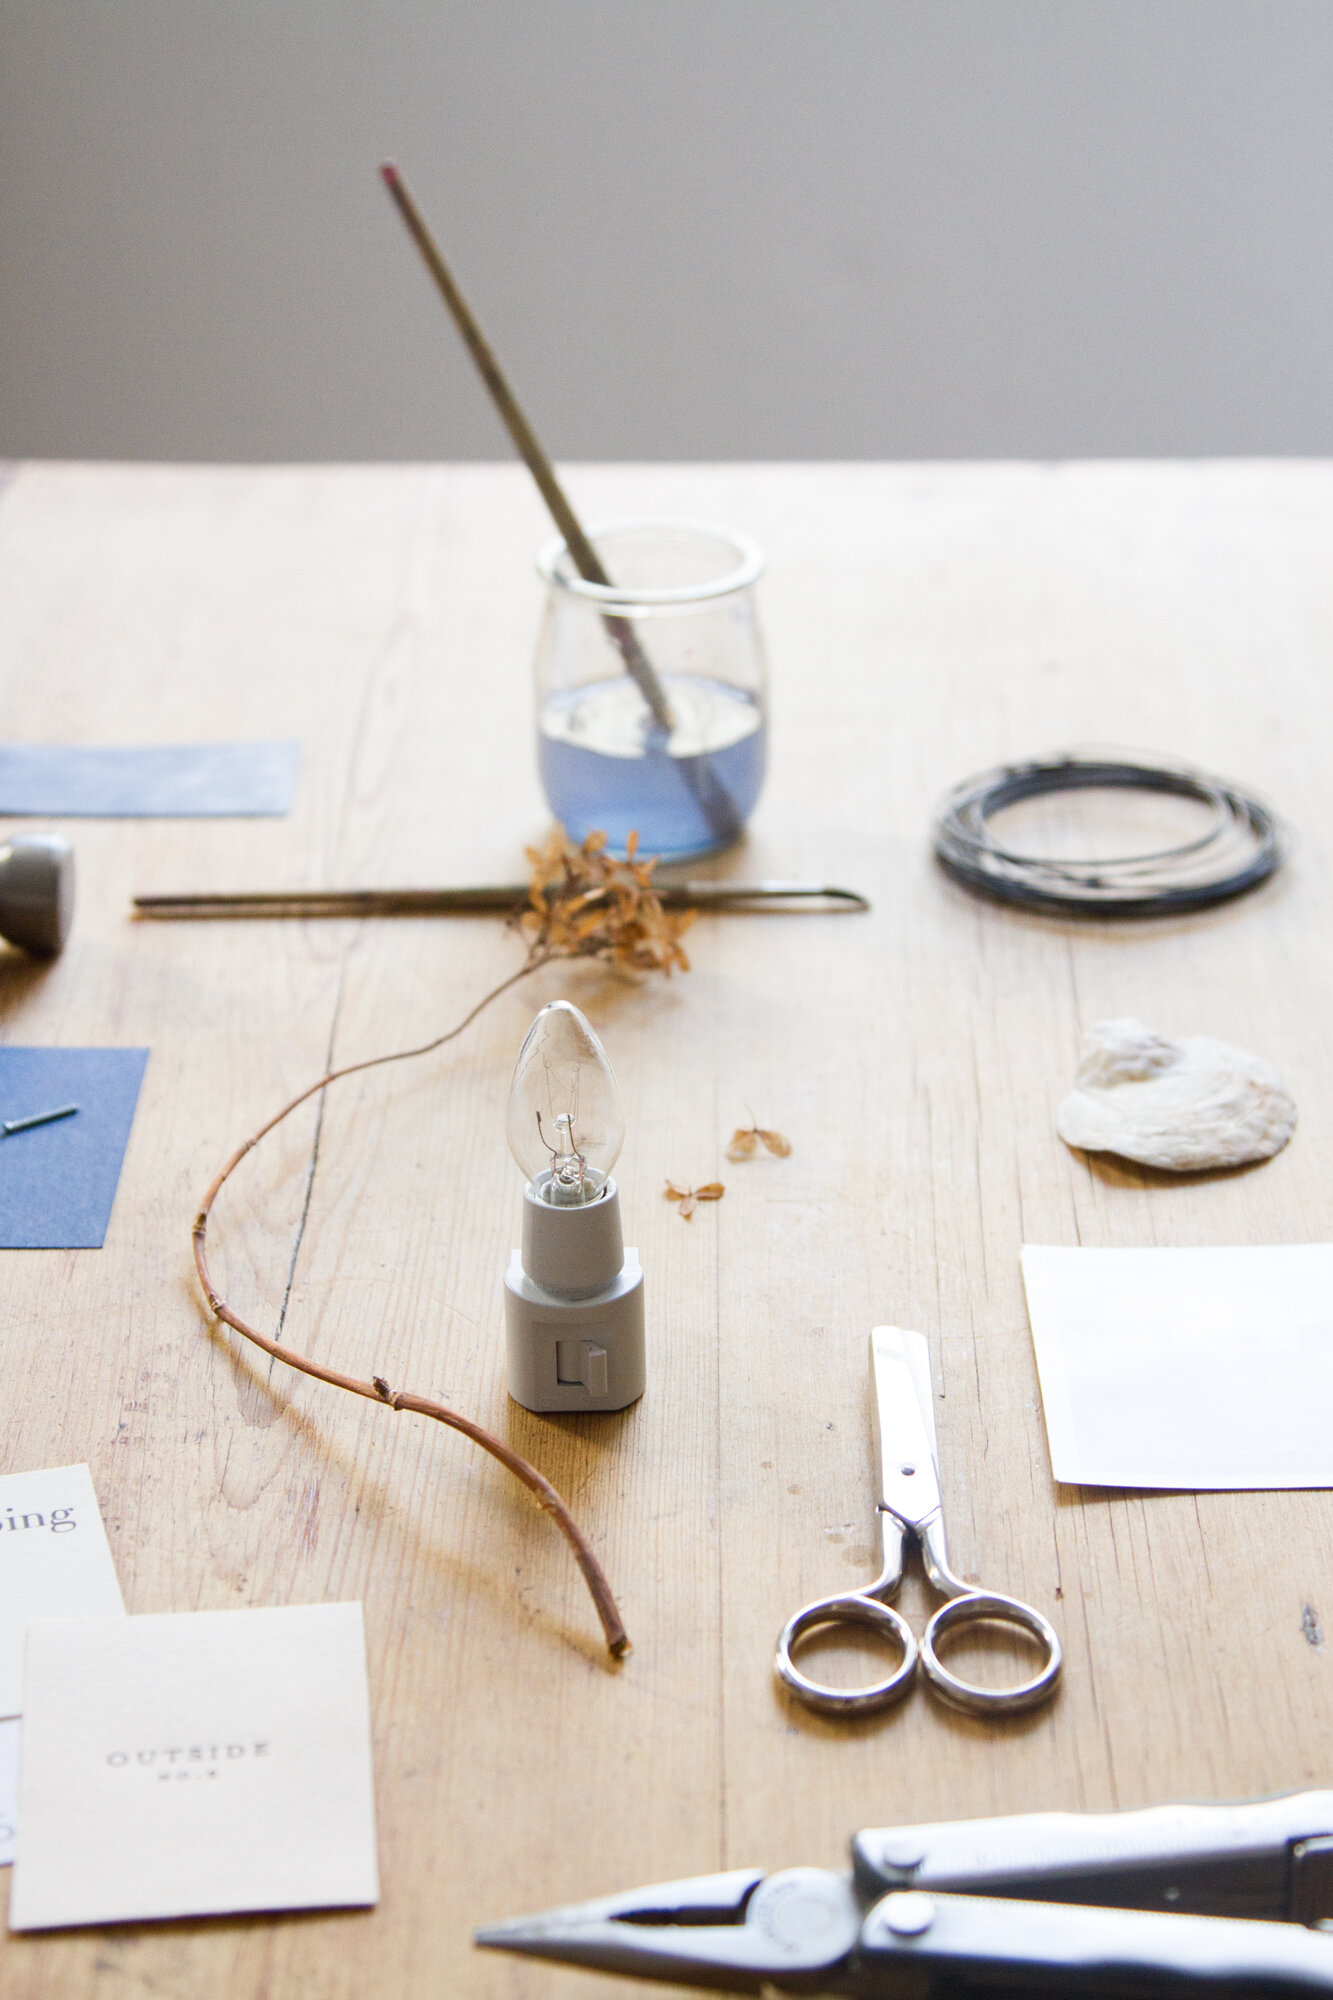
+ Remove the plastic shade from your night light and recycle.
+ Wrap a length of wire around the base of the light (as shown above), and cross both sides.
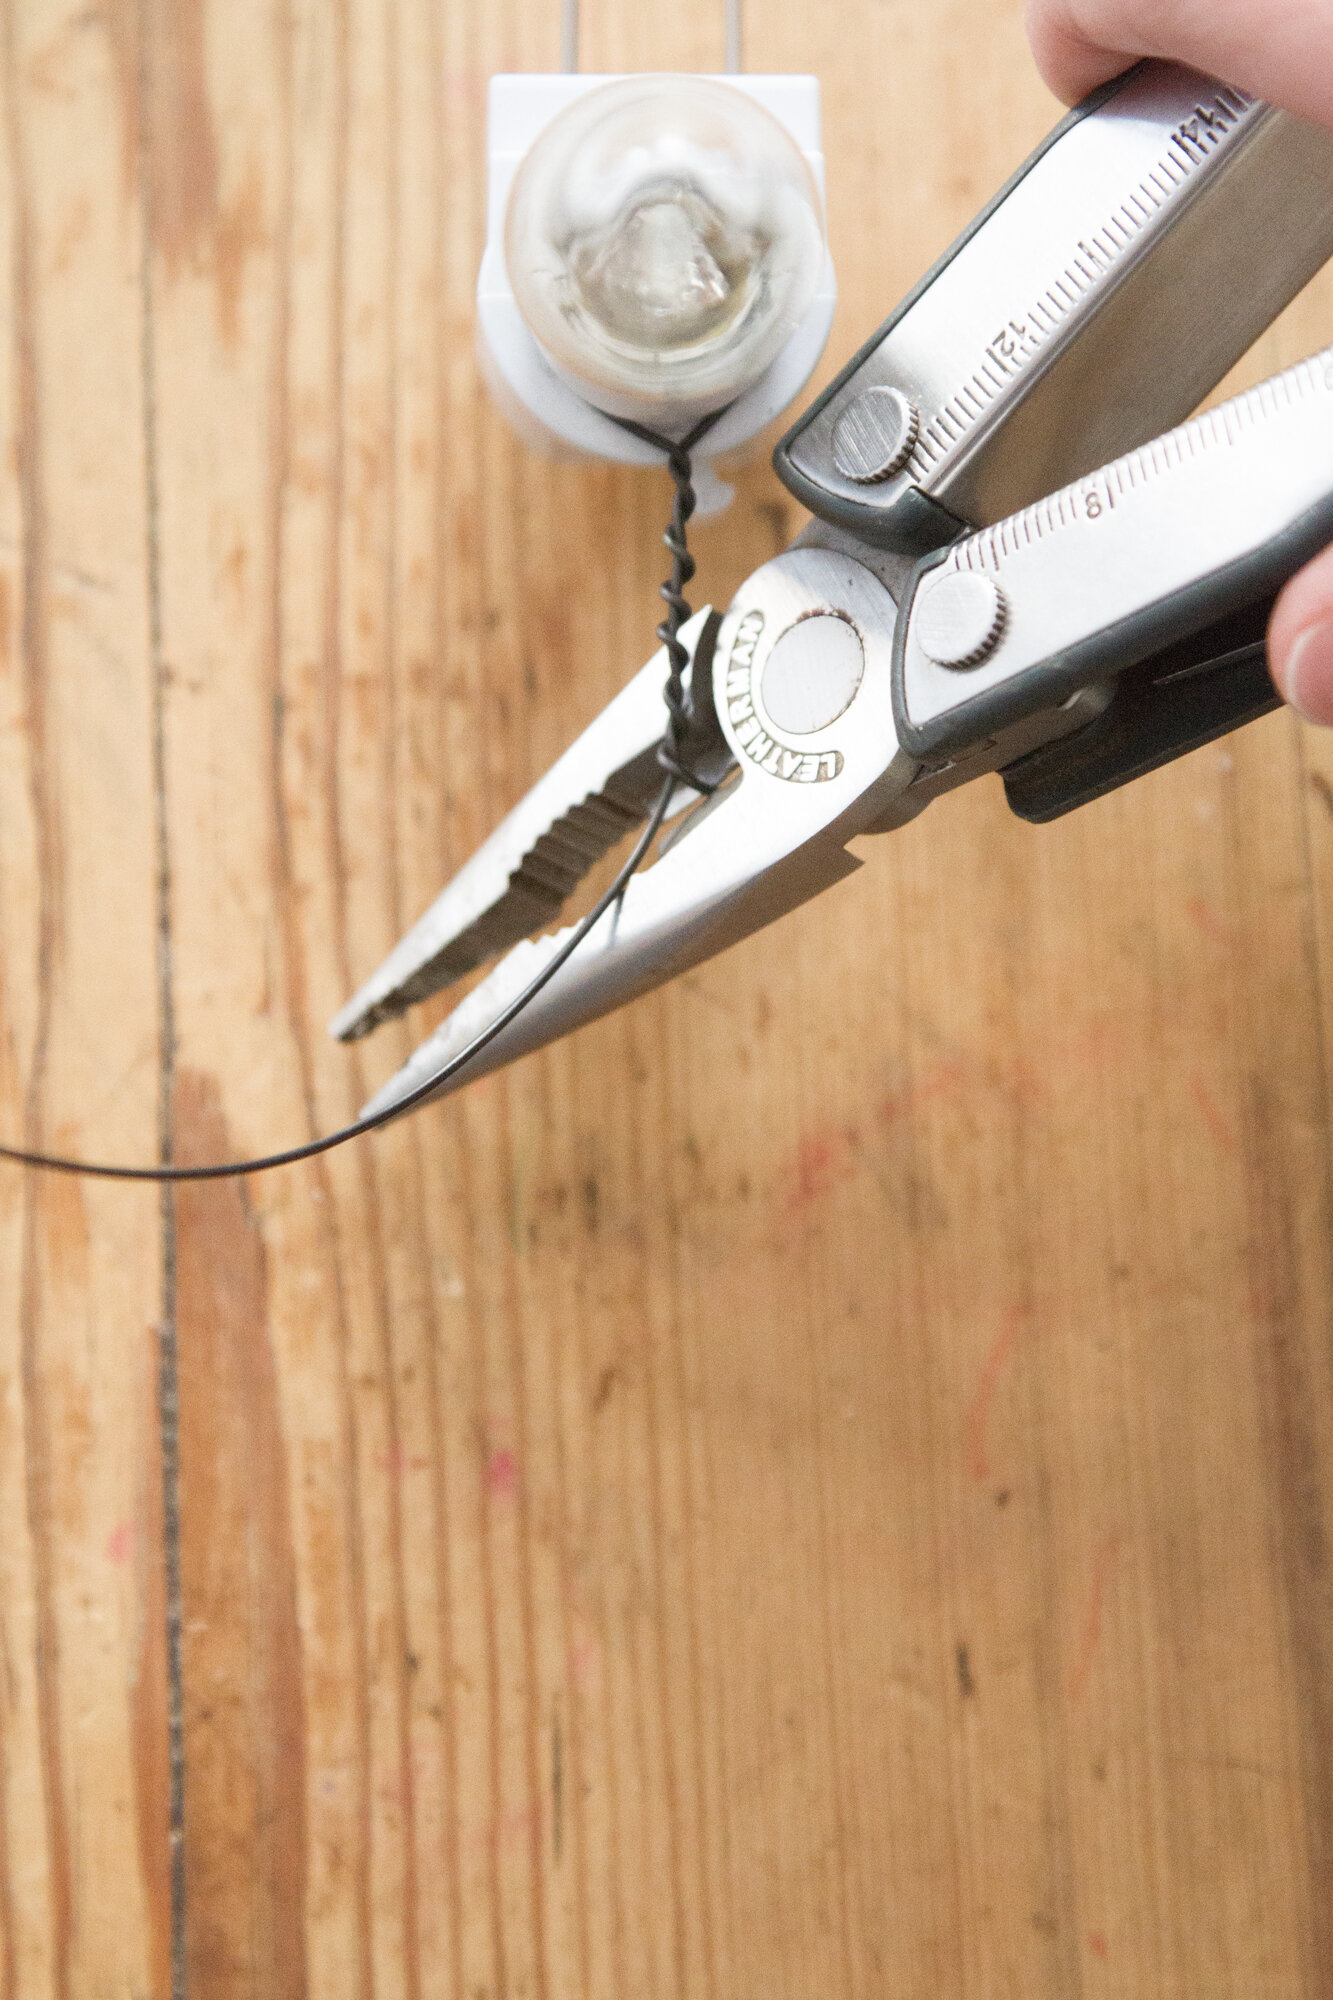
+ Using pliers, or your fingers, twist the wire so that it becomes tight around the base of the lamp and you have about an inch of twisted wire extending from the light. Use the wire cutters to snip one side of the wire and clamp with pliers.
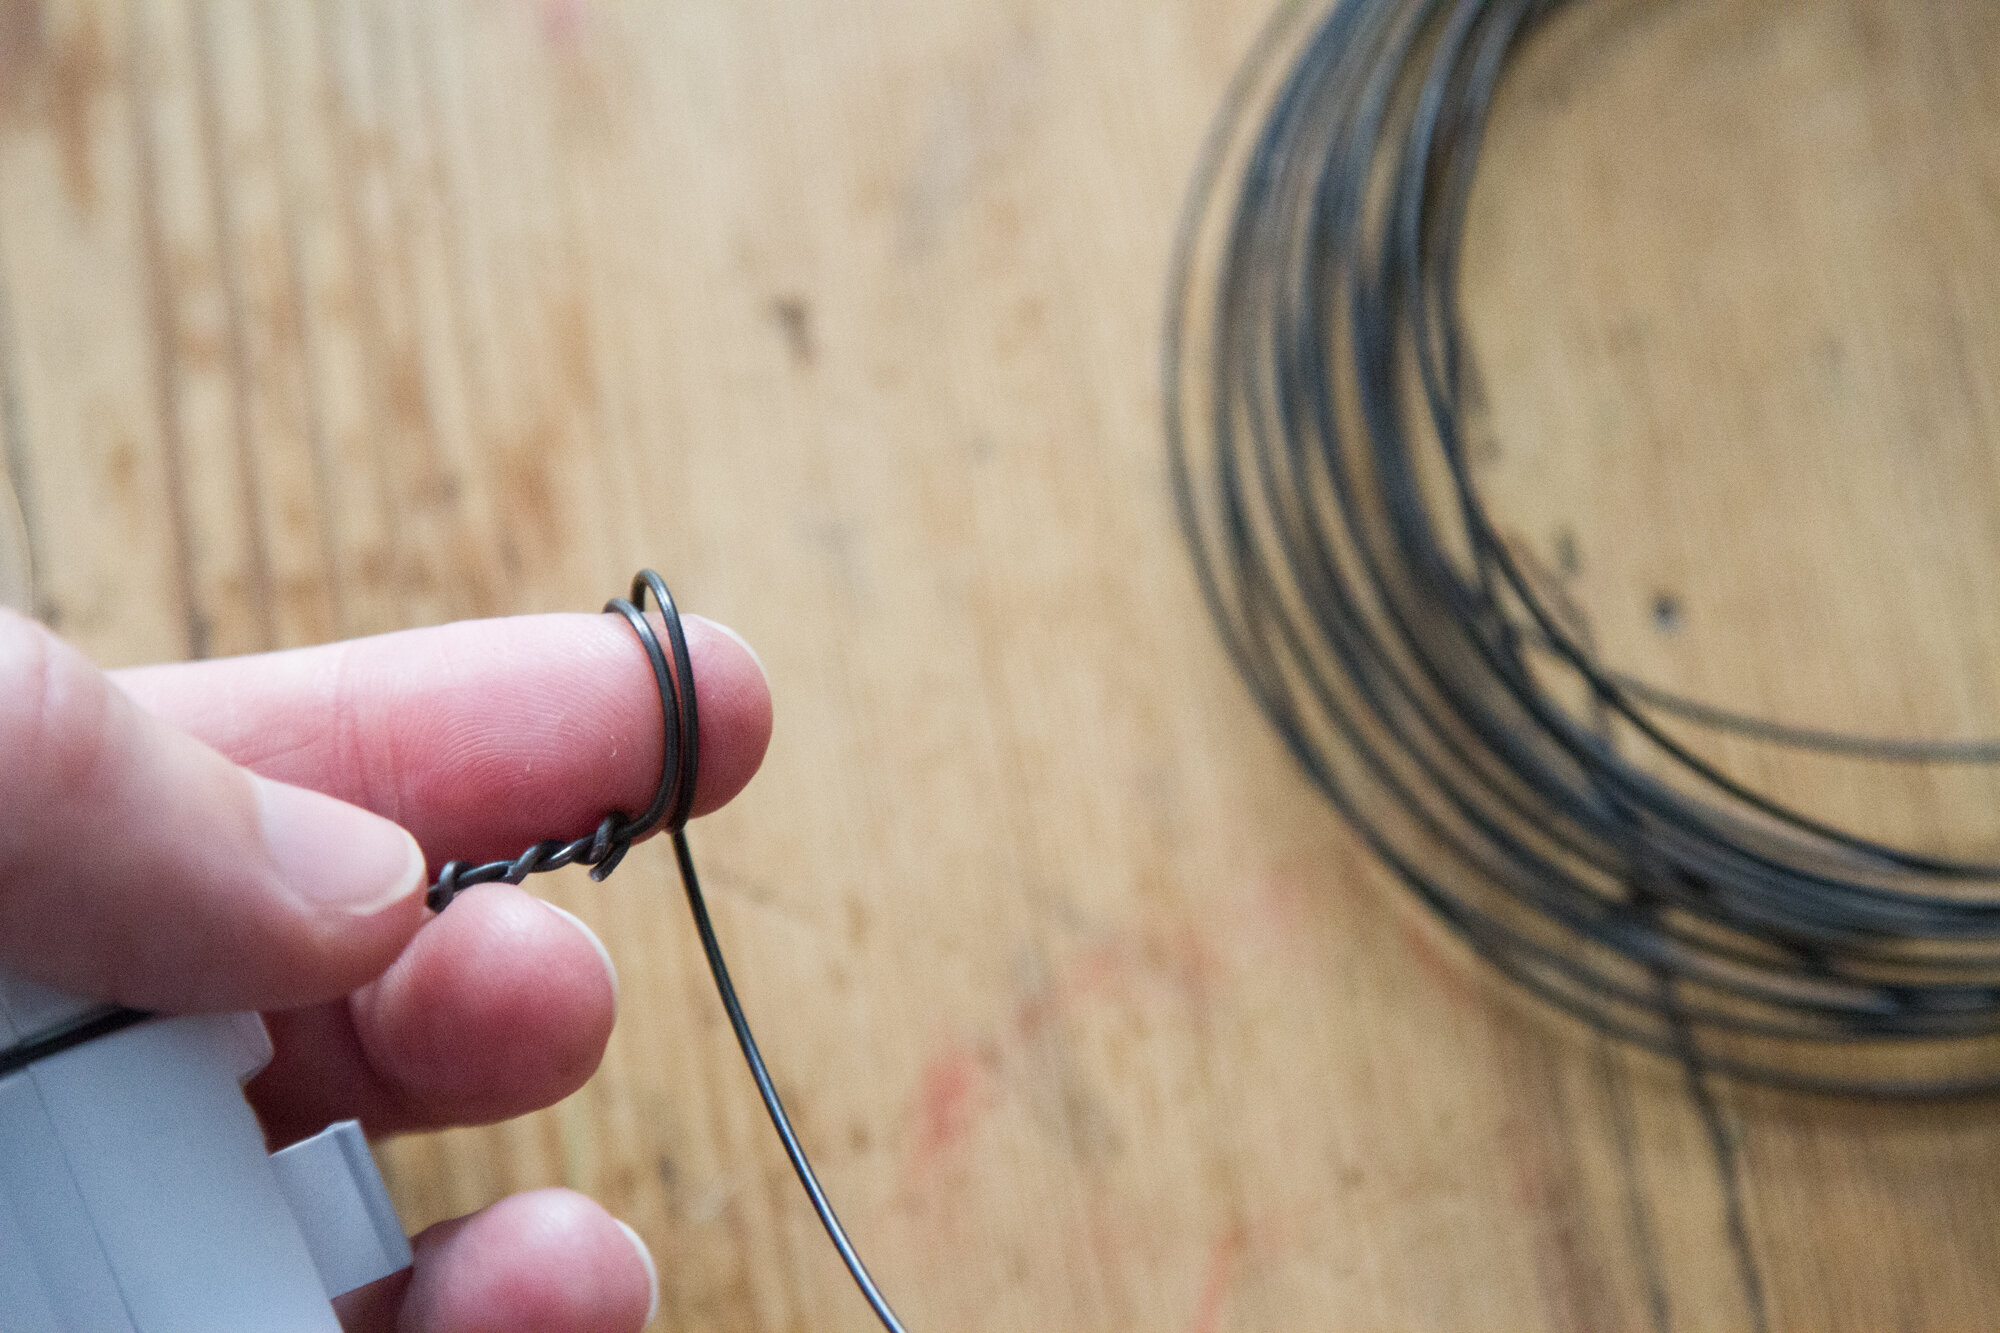
+ Using the tip of your finger as a guide, twist the remaining long wire twice around your finger. The two loops should be roughly the same size and about a centimeter tall. (Of course you can adjust according to the kind of shade you’re going to use, but I found the same length to work for all of my shade options.
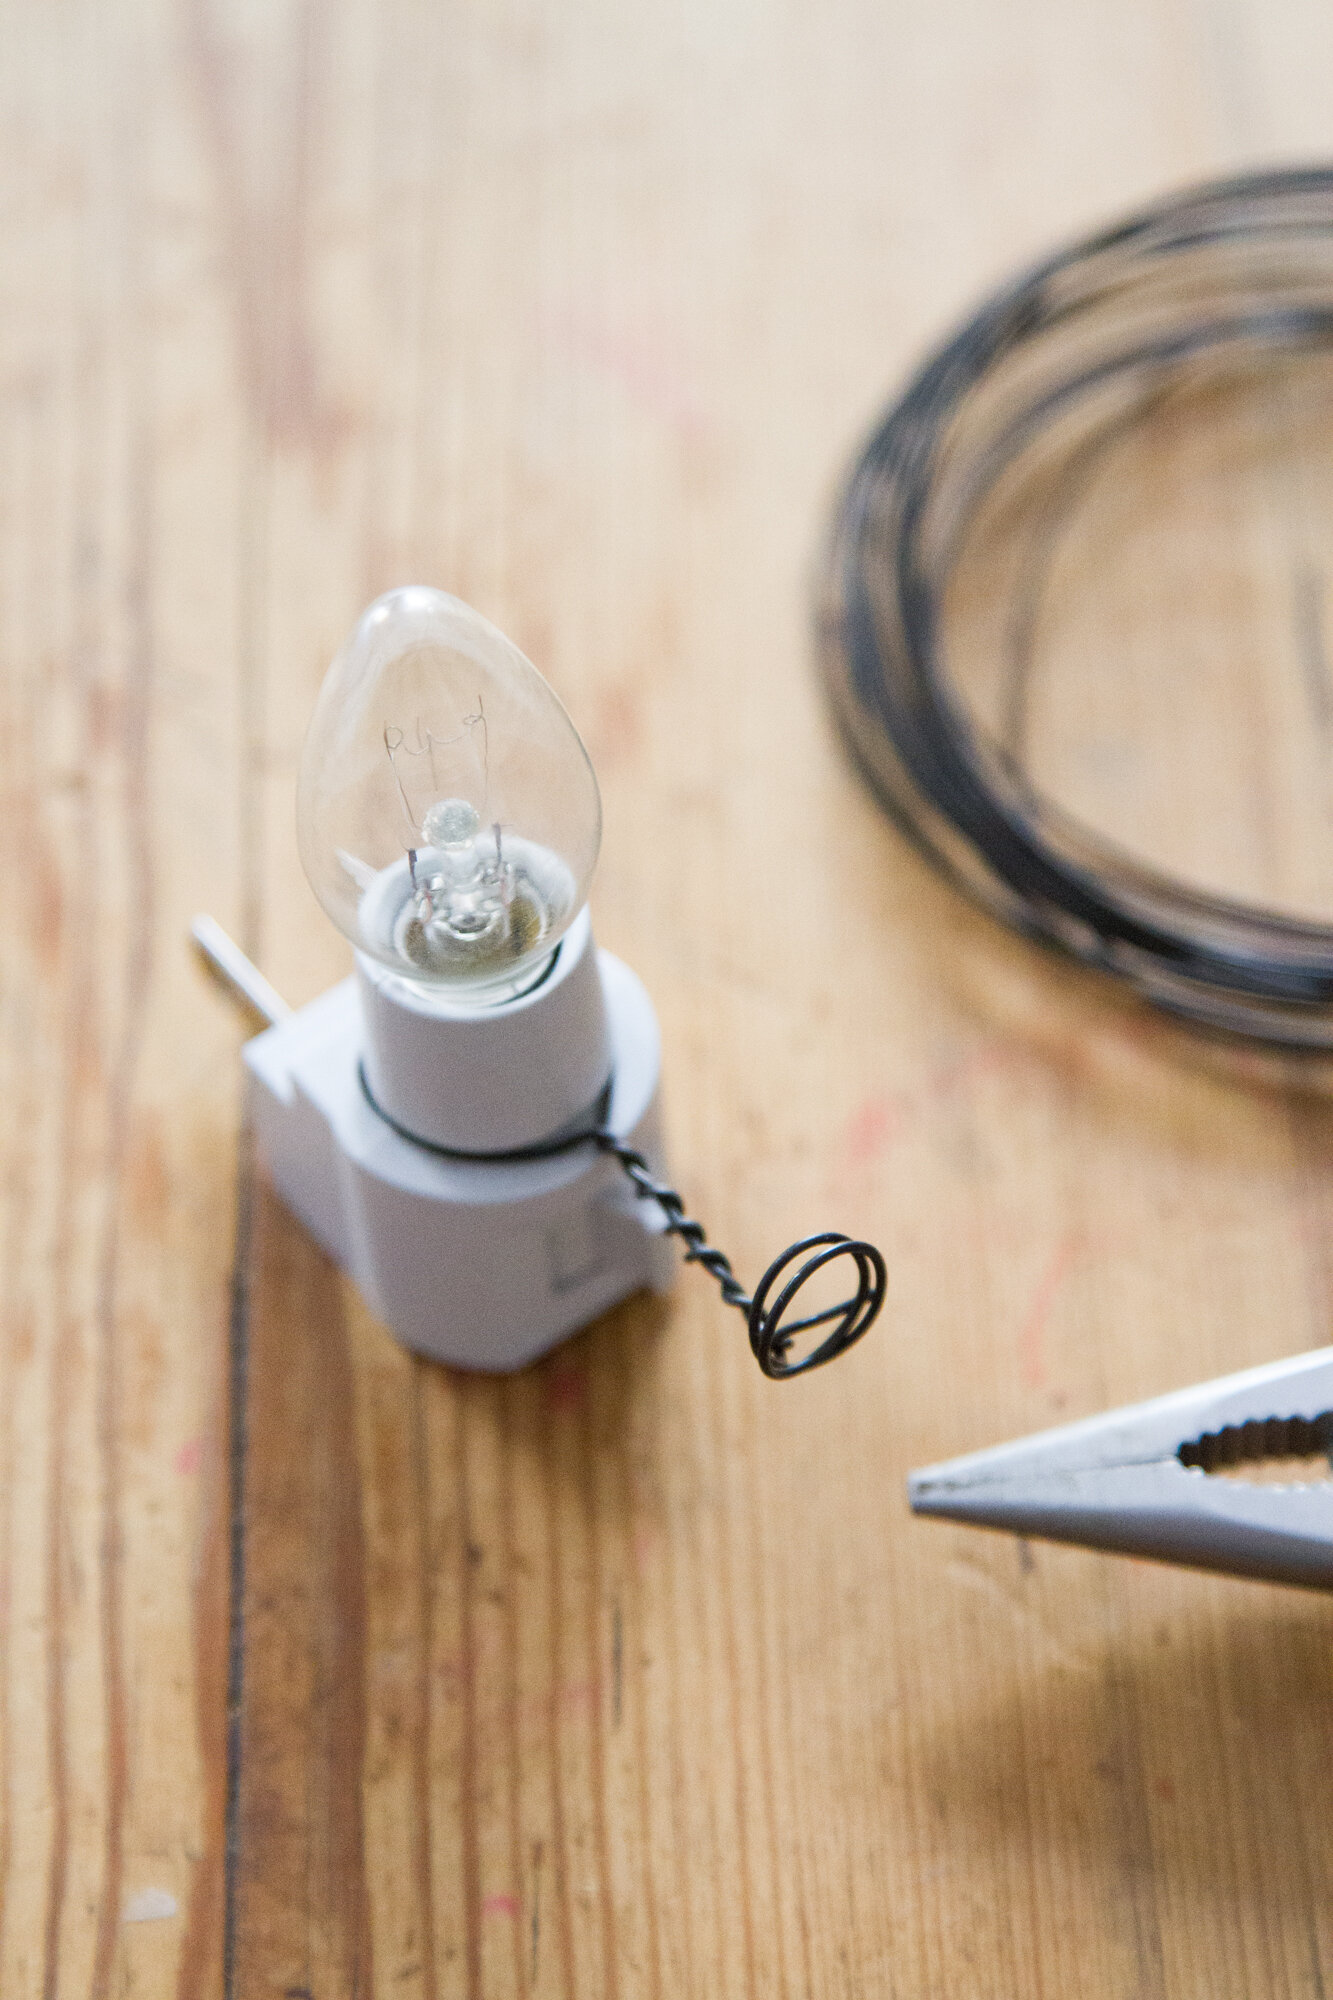
+ If needed, bend the loops upward and trim any remaining wire.
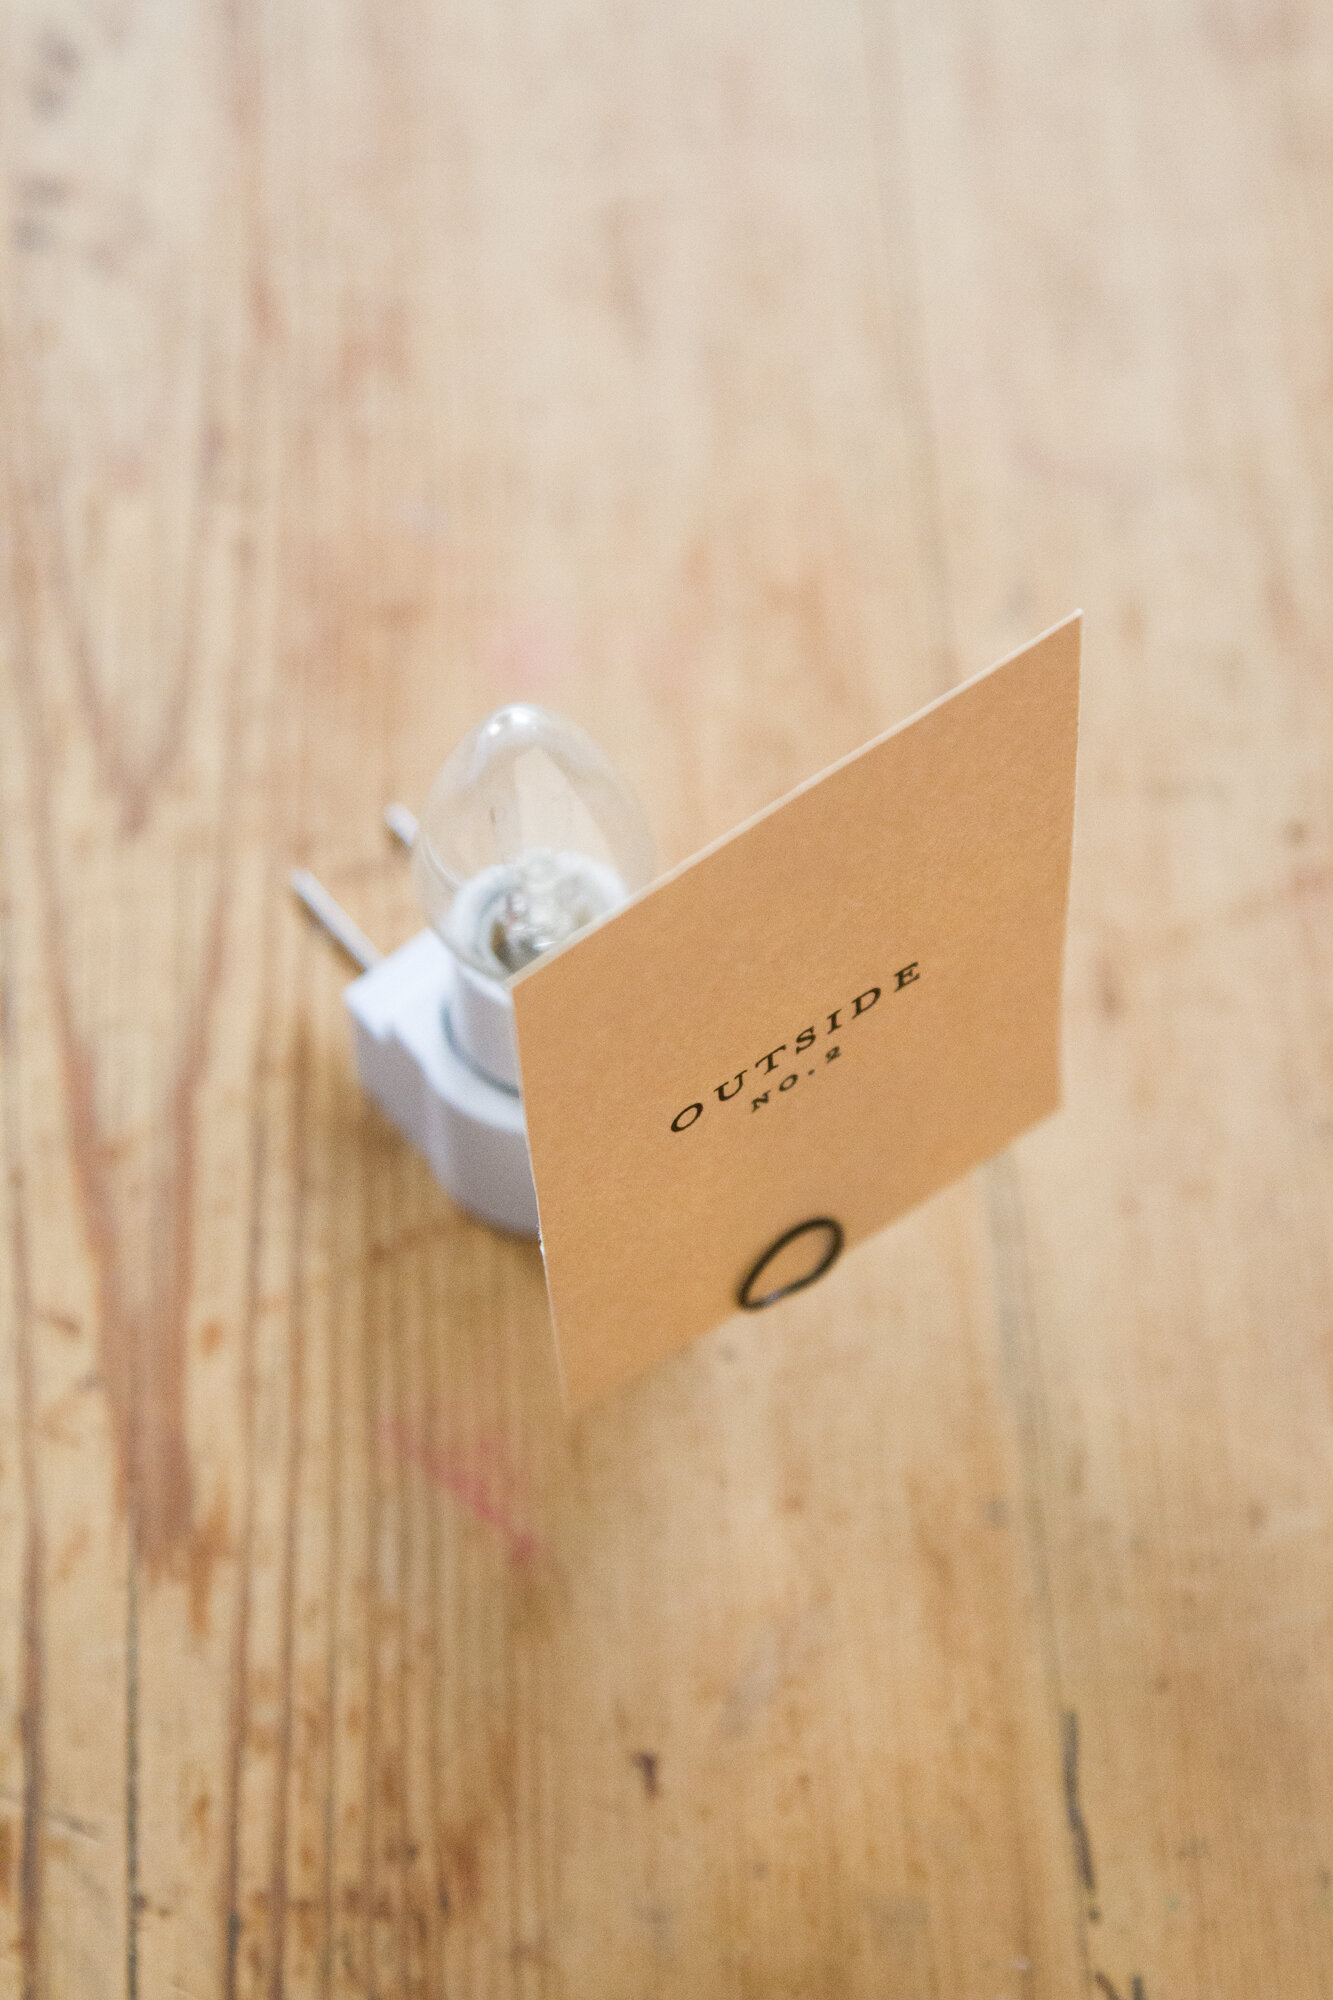
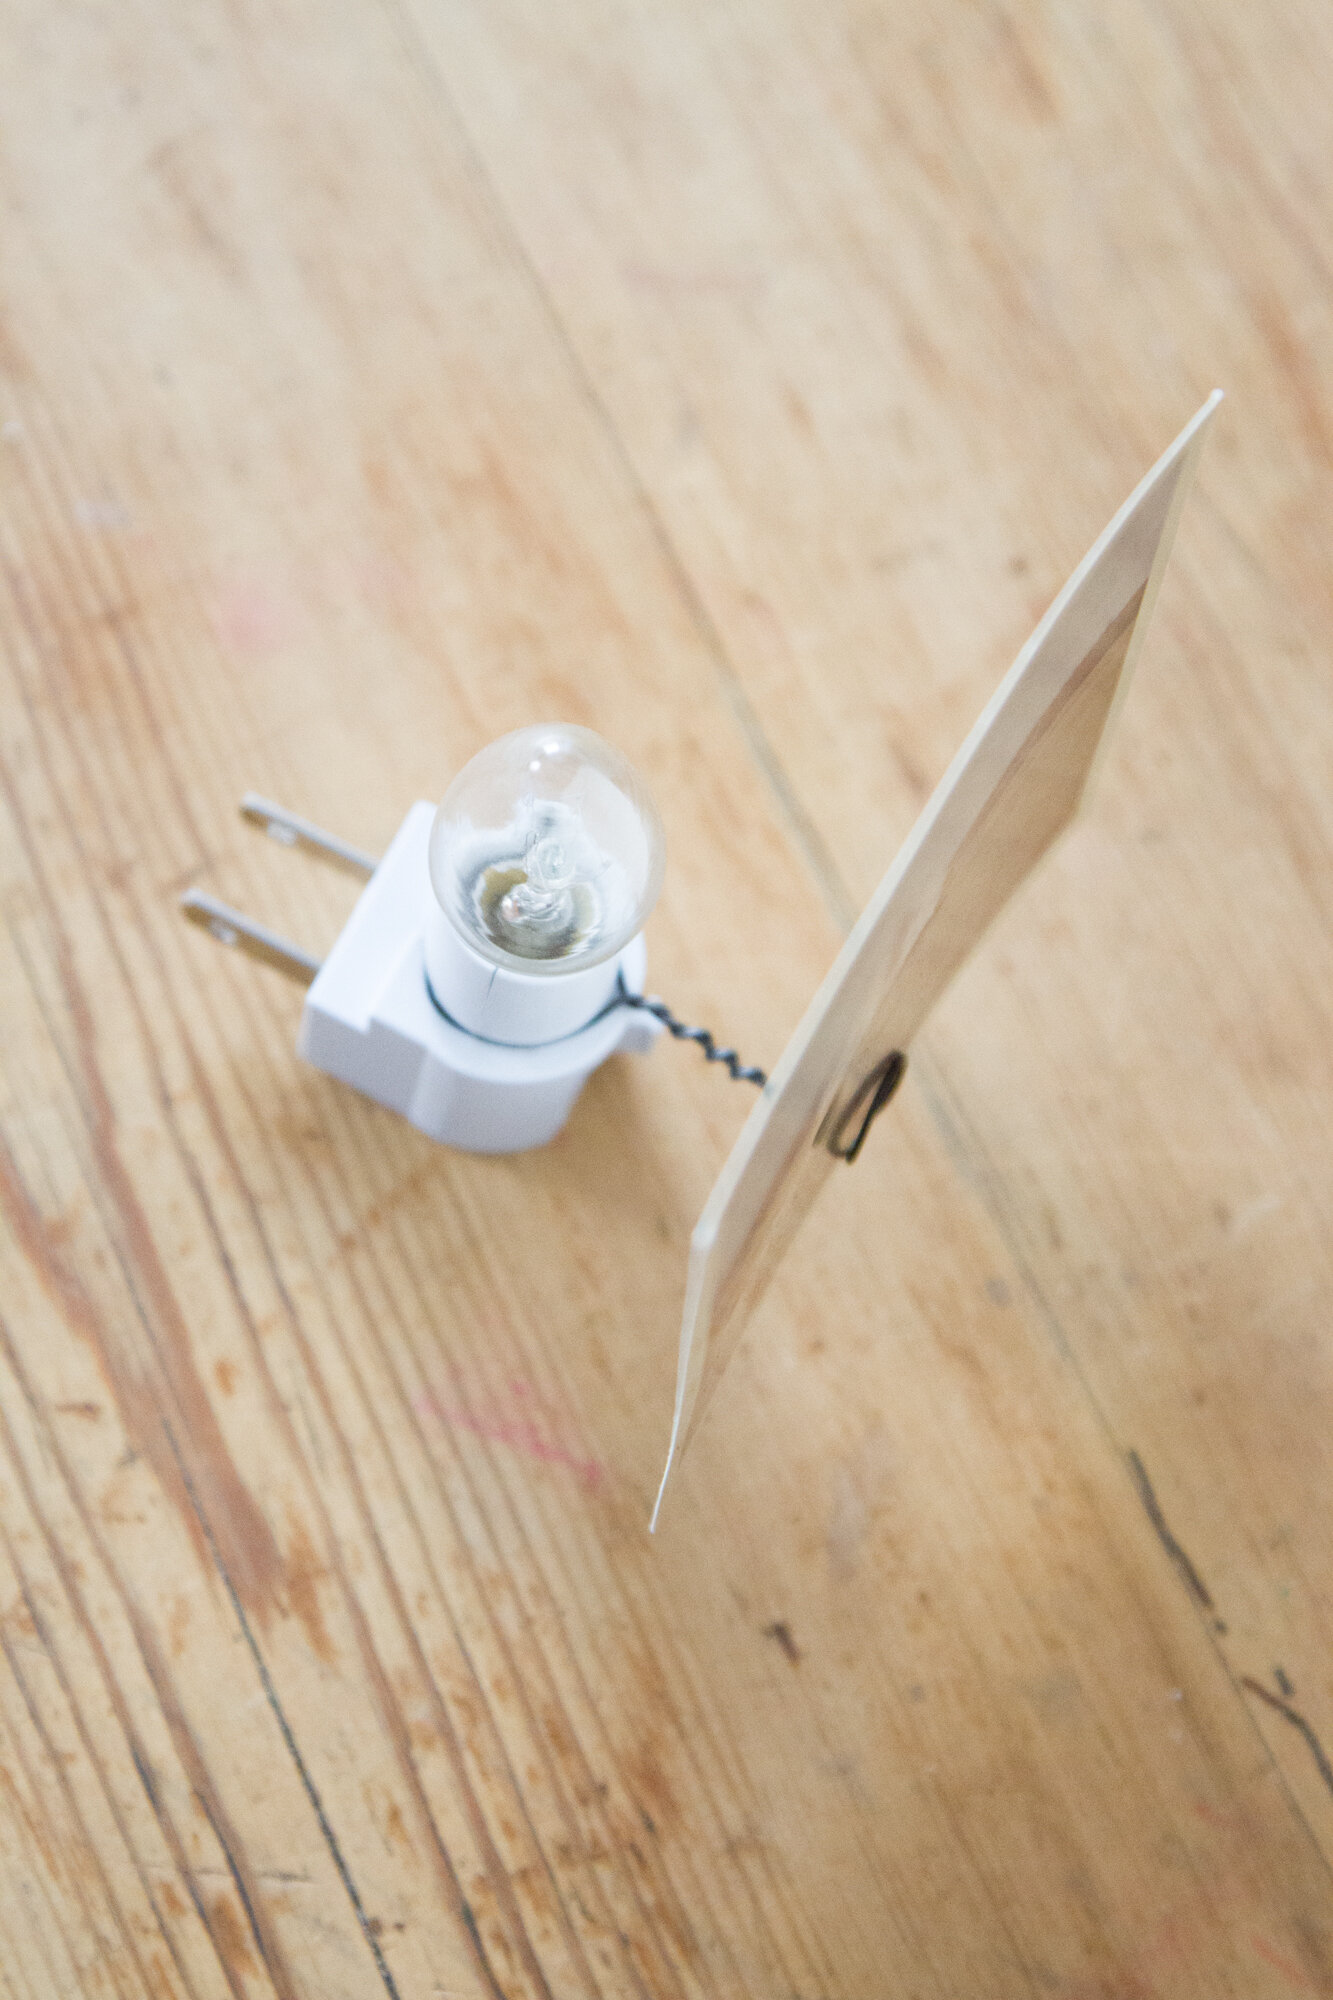
+ Select a small shade, trim it to size if necessary, and slip it between the two loops, the way you might secure a paperclip to a piece of paper. And you’re done!
A few notes and a few ideas:
It’s important to make sure you’ve twisted at least an inch of wire so that the paper shade stays away from the bare bulb. (You can also replace the incandescent bulb with a cool LED bulb.)
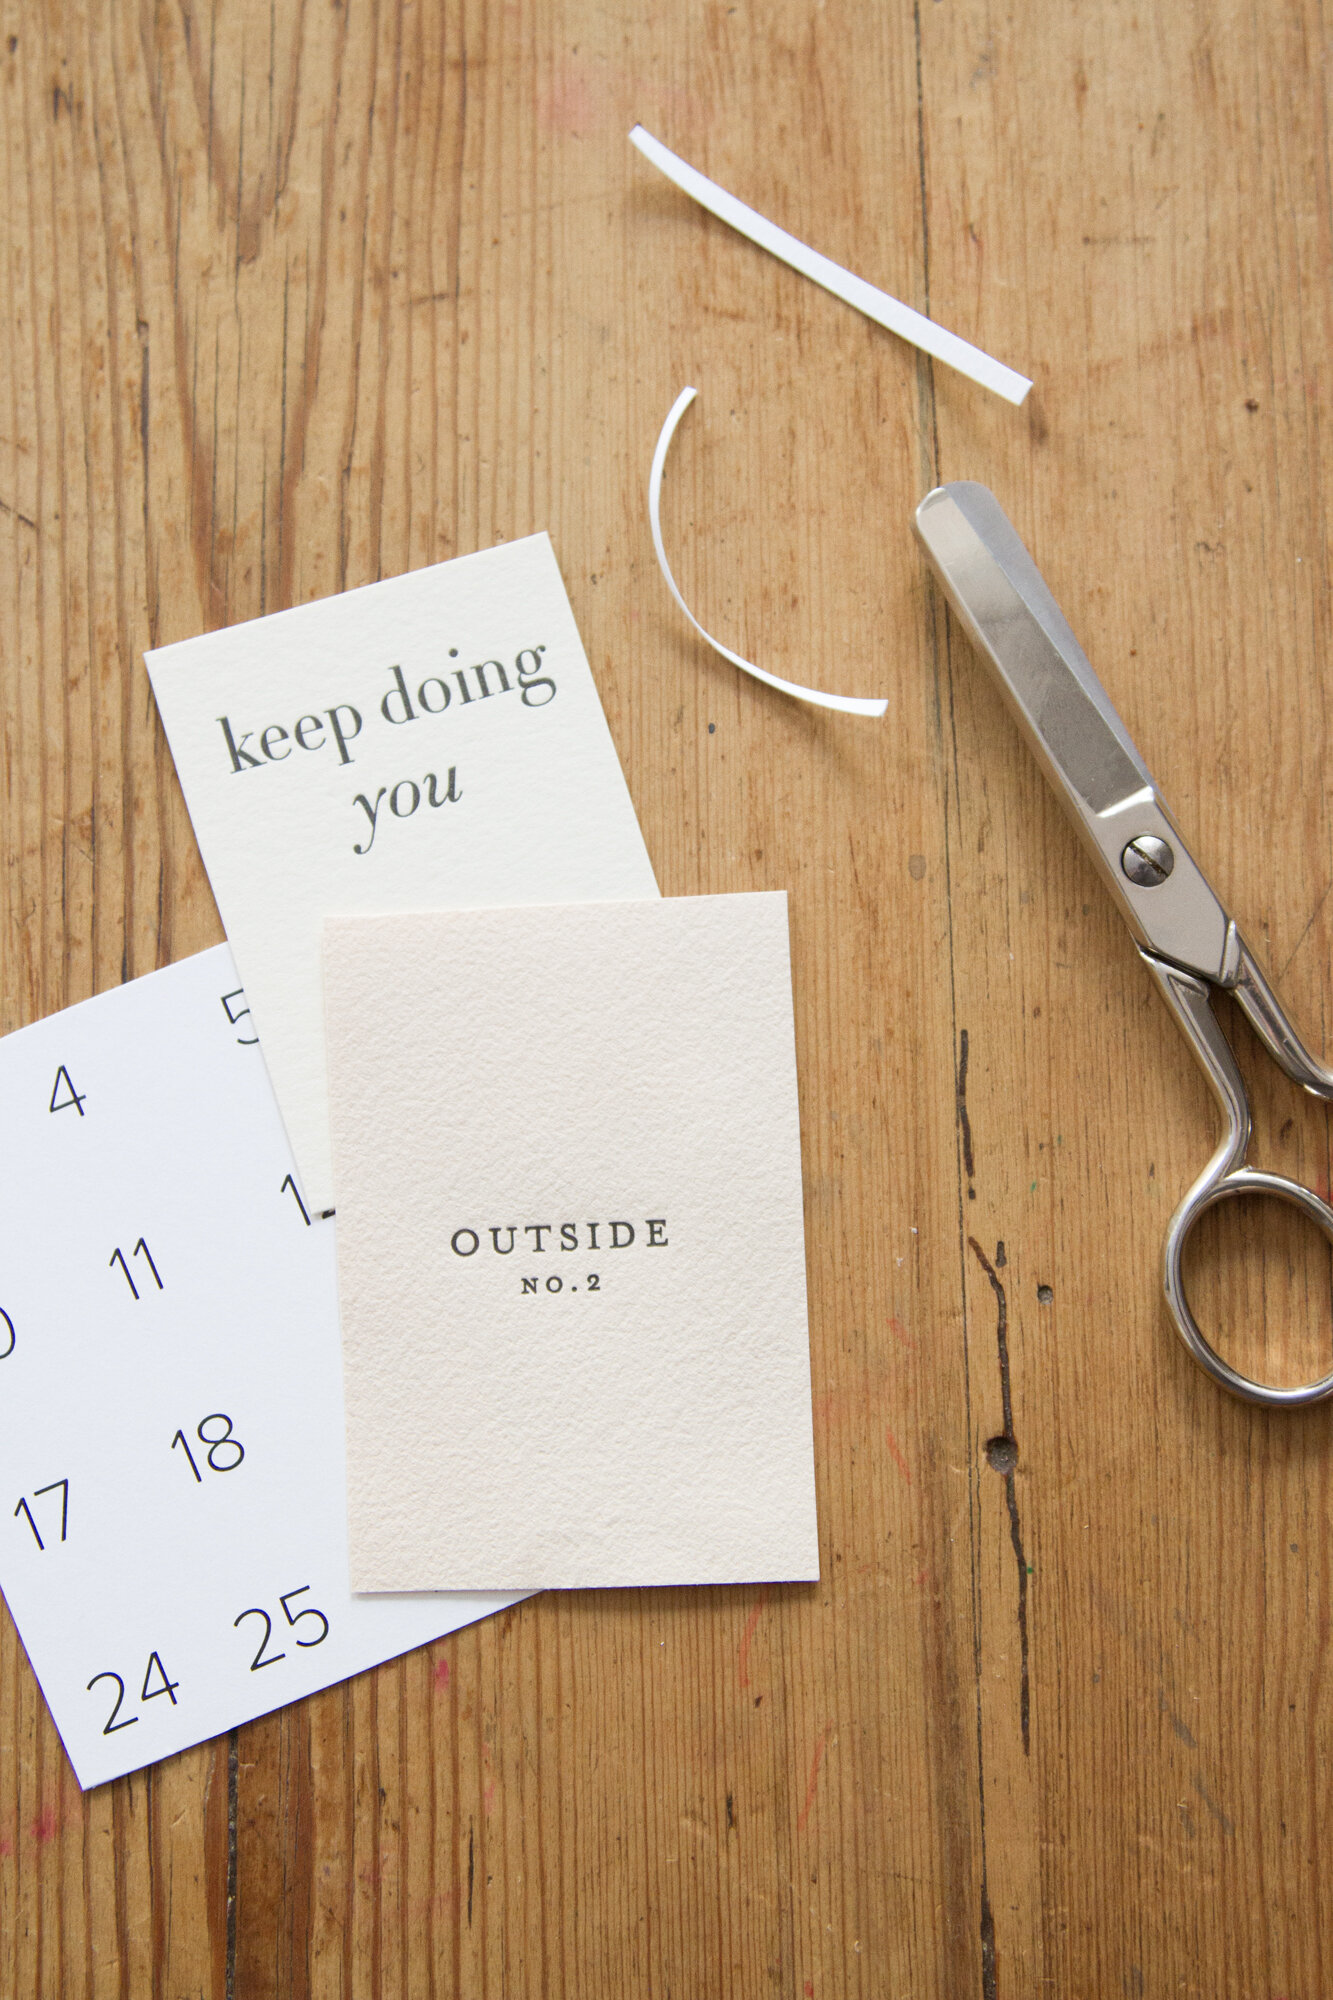
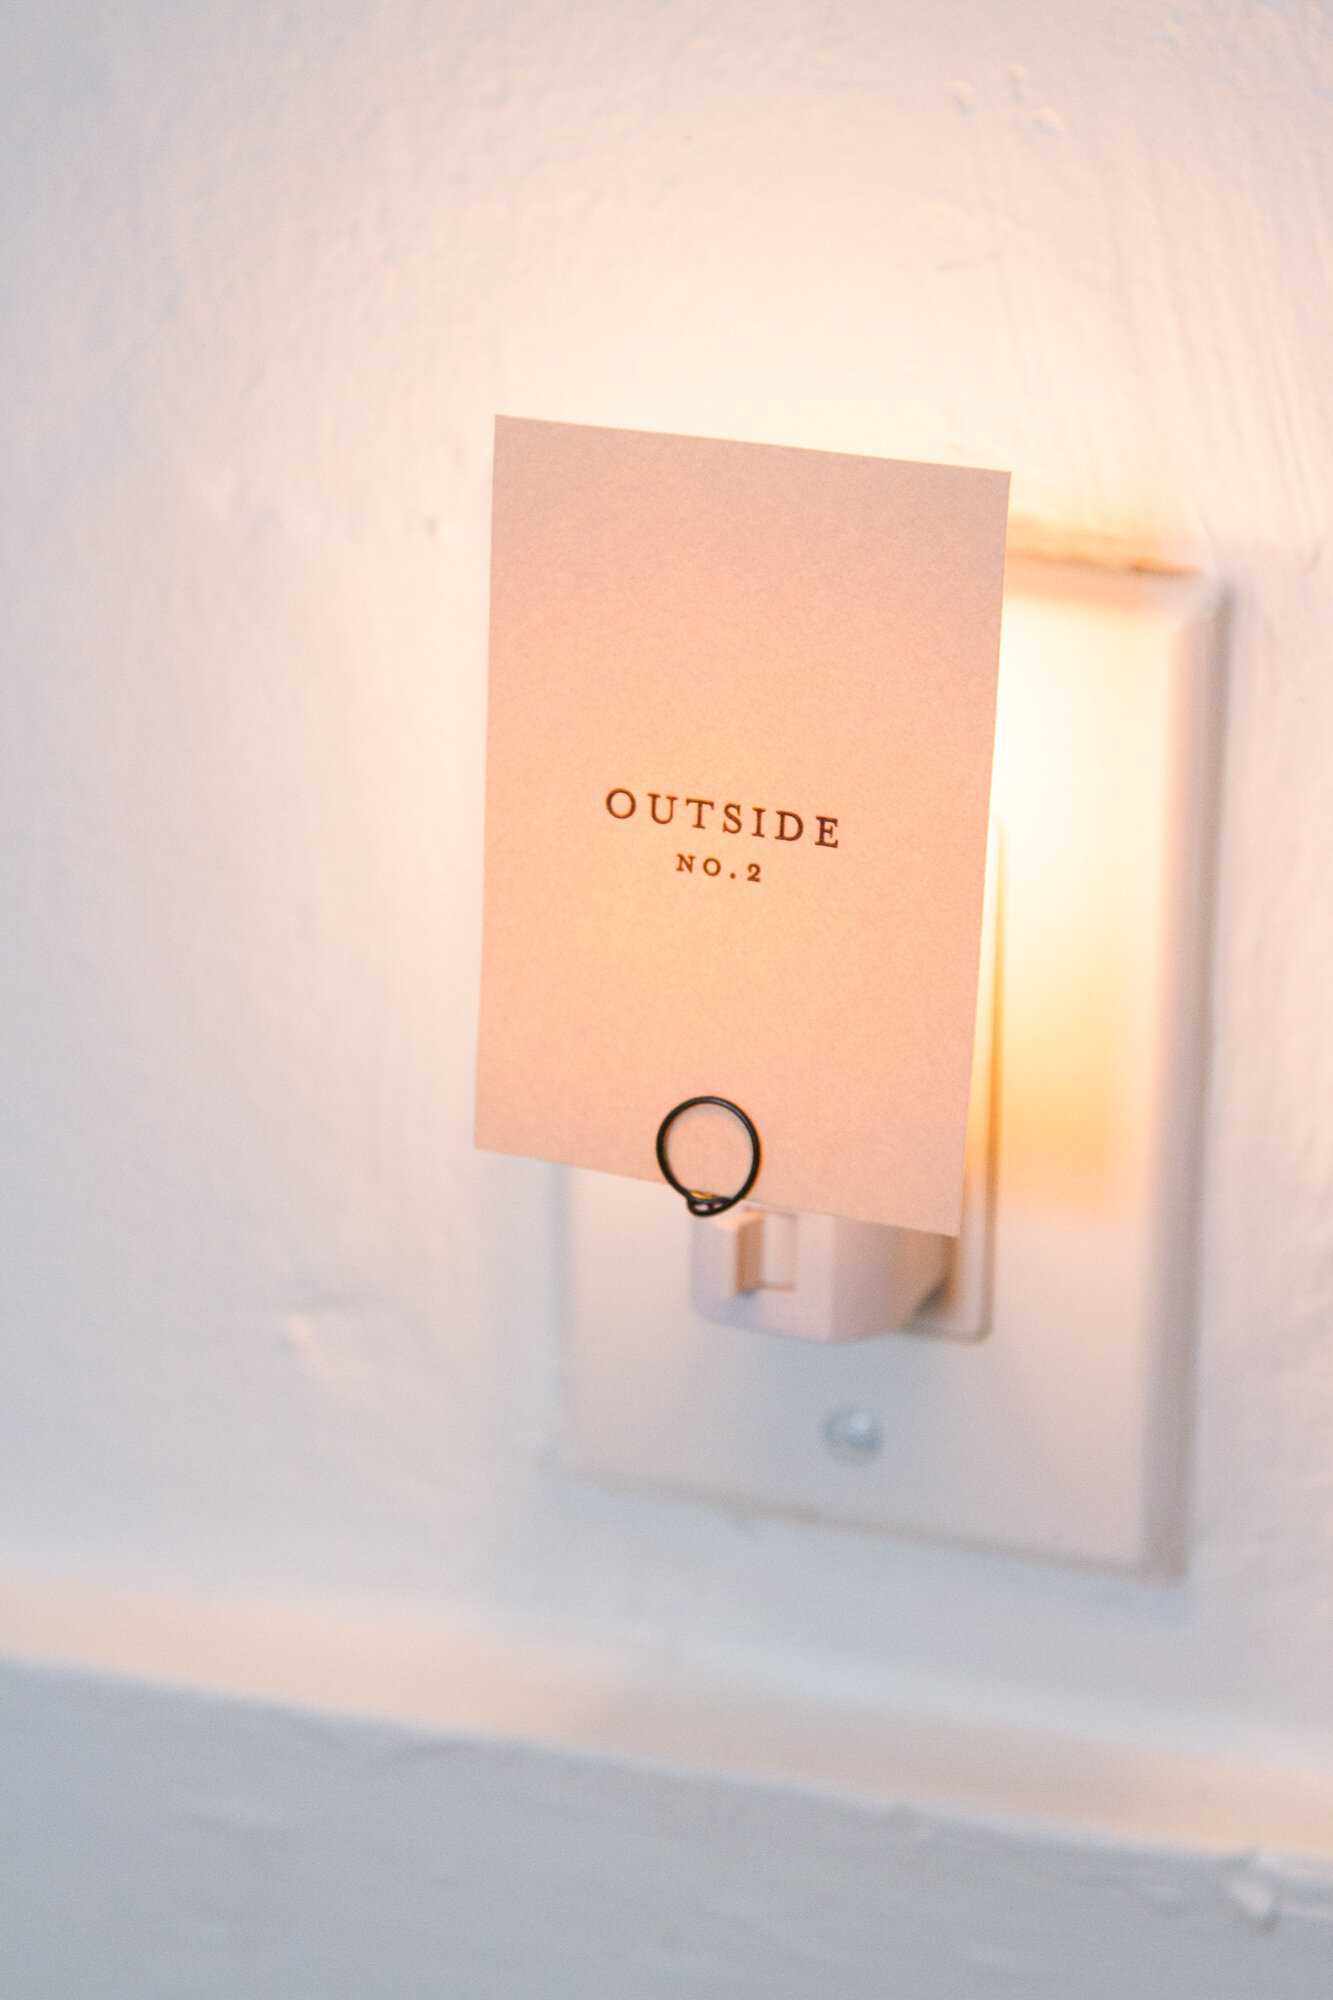
I love how letterpress notes and simple fonts look when illuminated from behind. Above, clippings from a Brown Parcel Press envelope, a card from Of Note Stationers, and an Appointed Calendar (from top to bottom).
You could even experiment with printing or stamping your own note, or line of poetry.
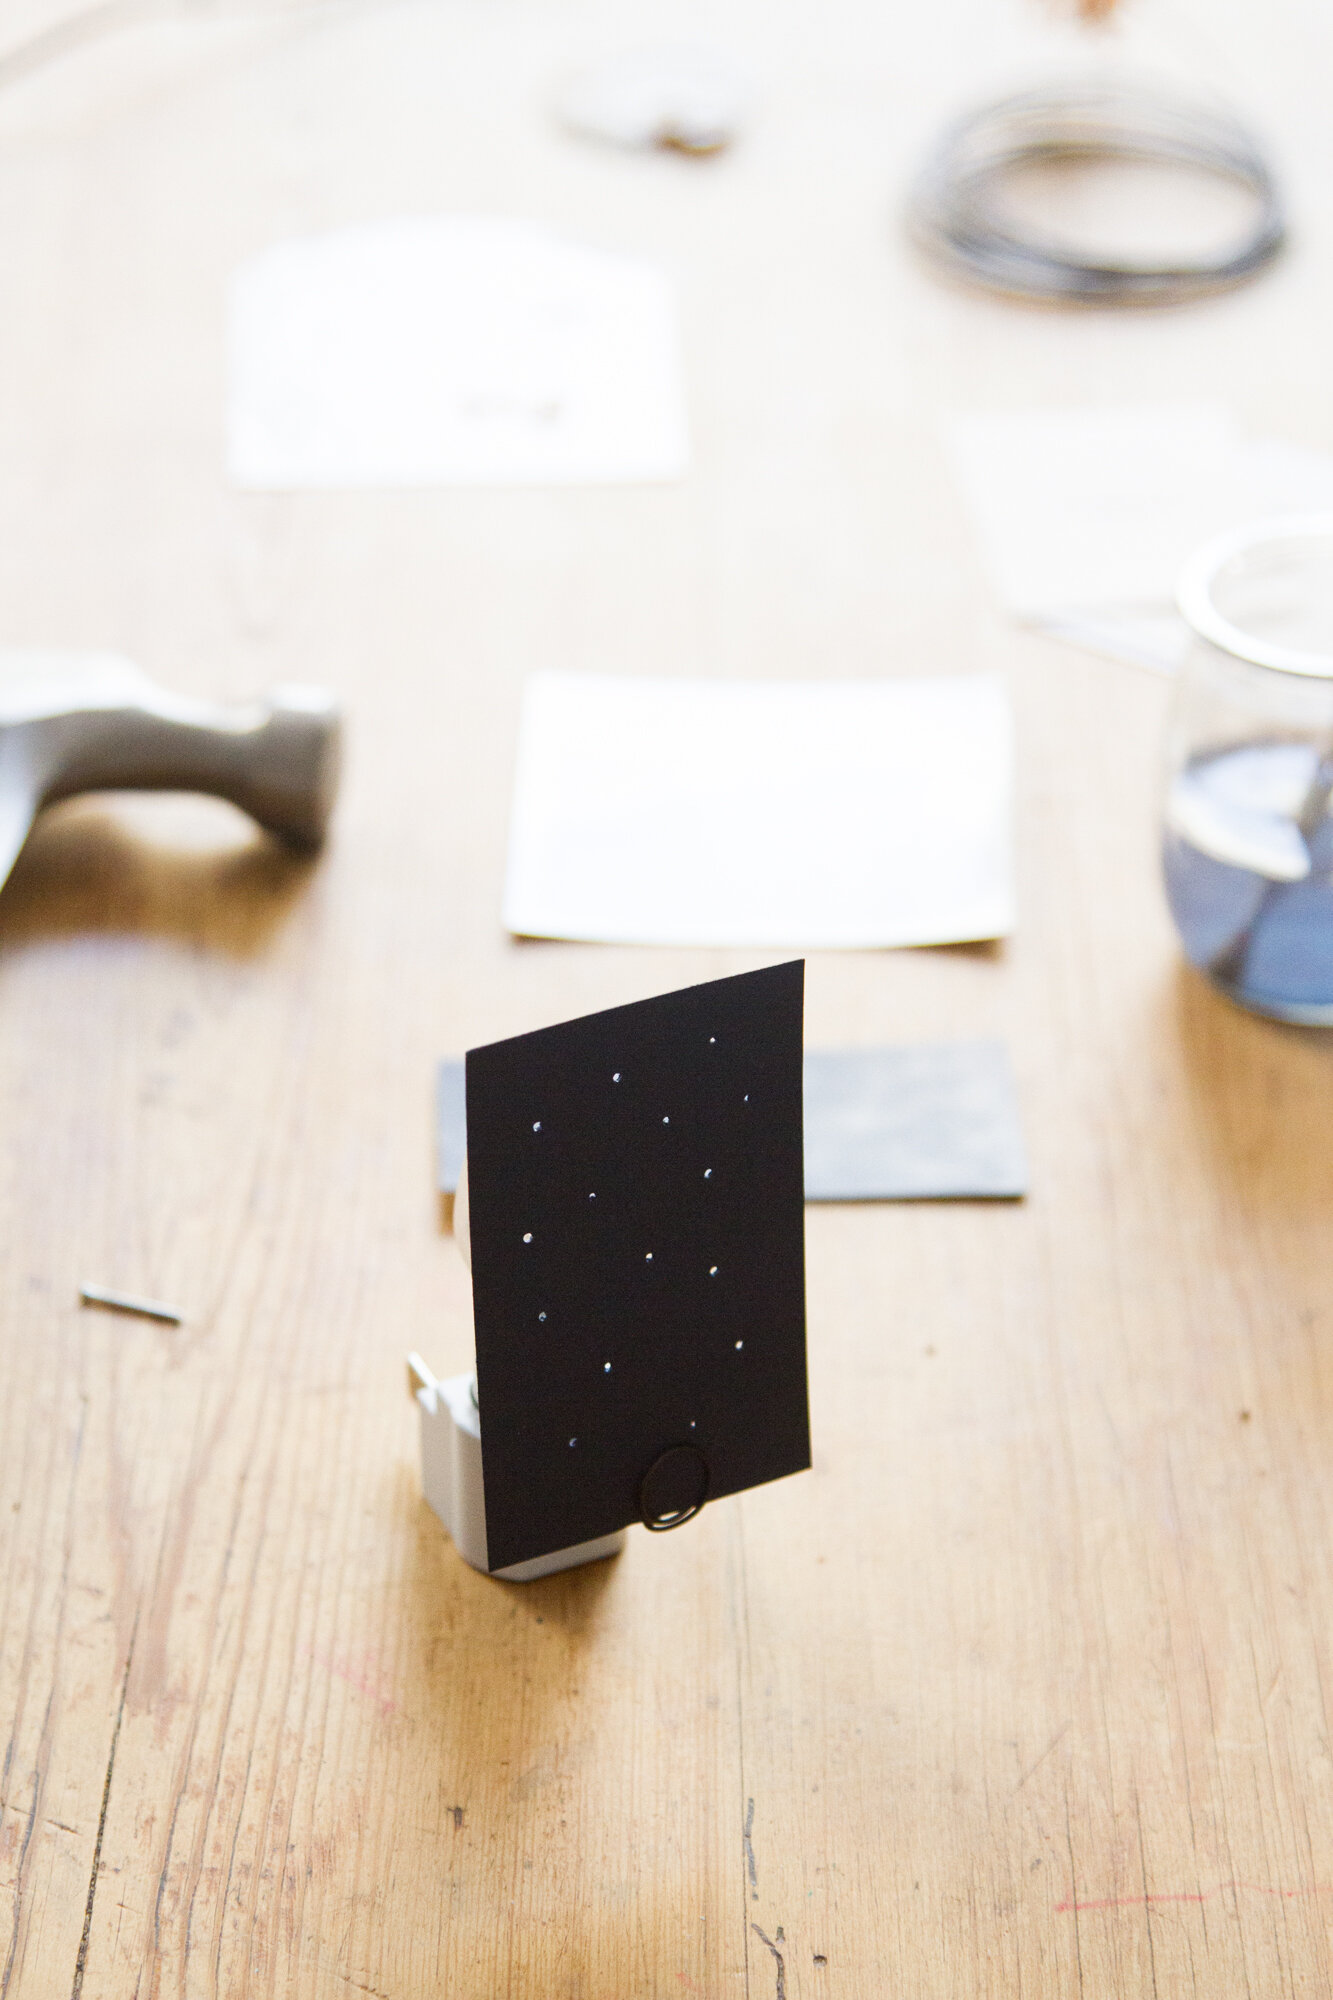
Above, I used a tiny nail to poke “stars” into a piece of navy card stock.
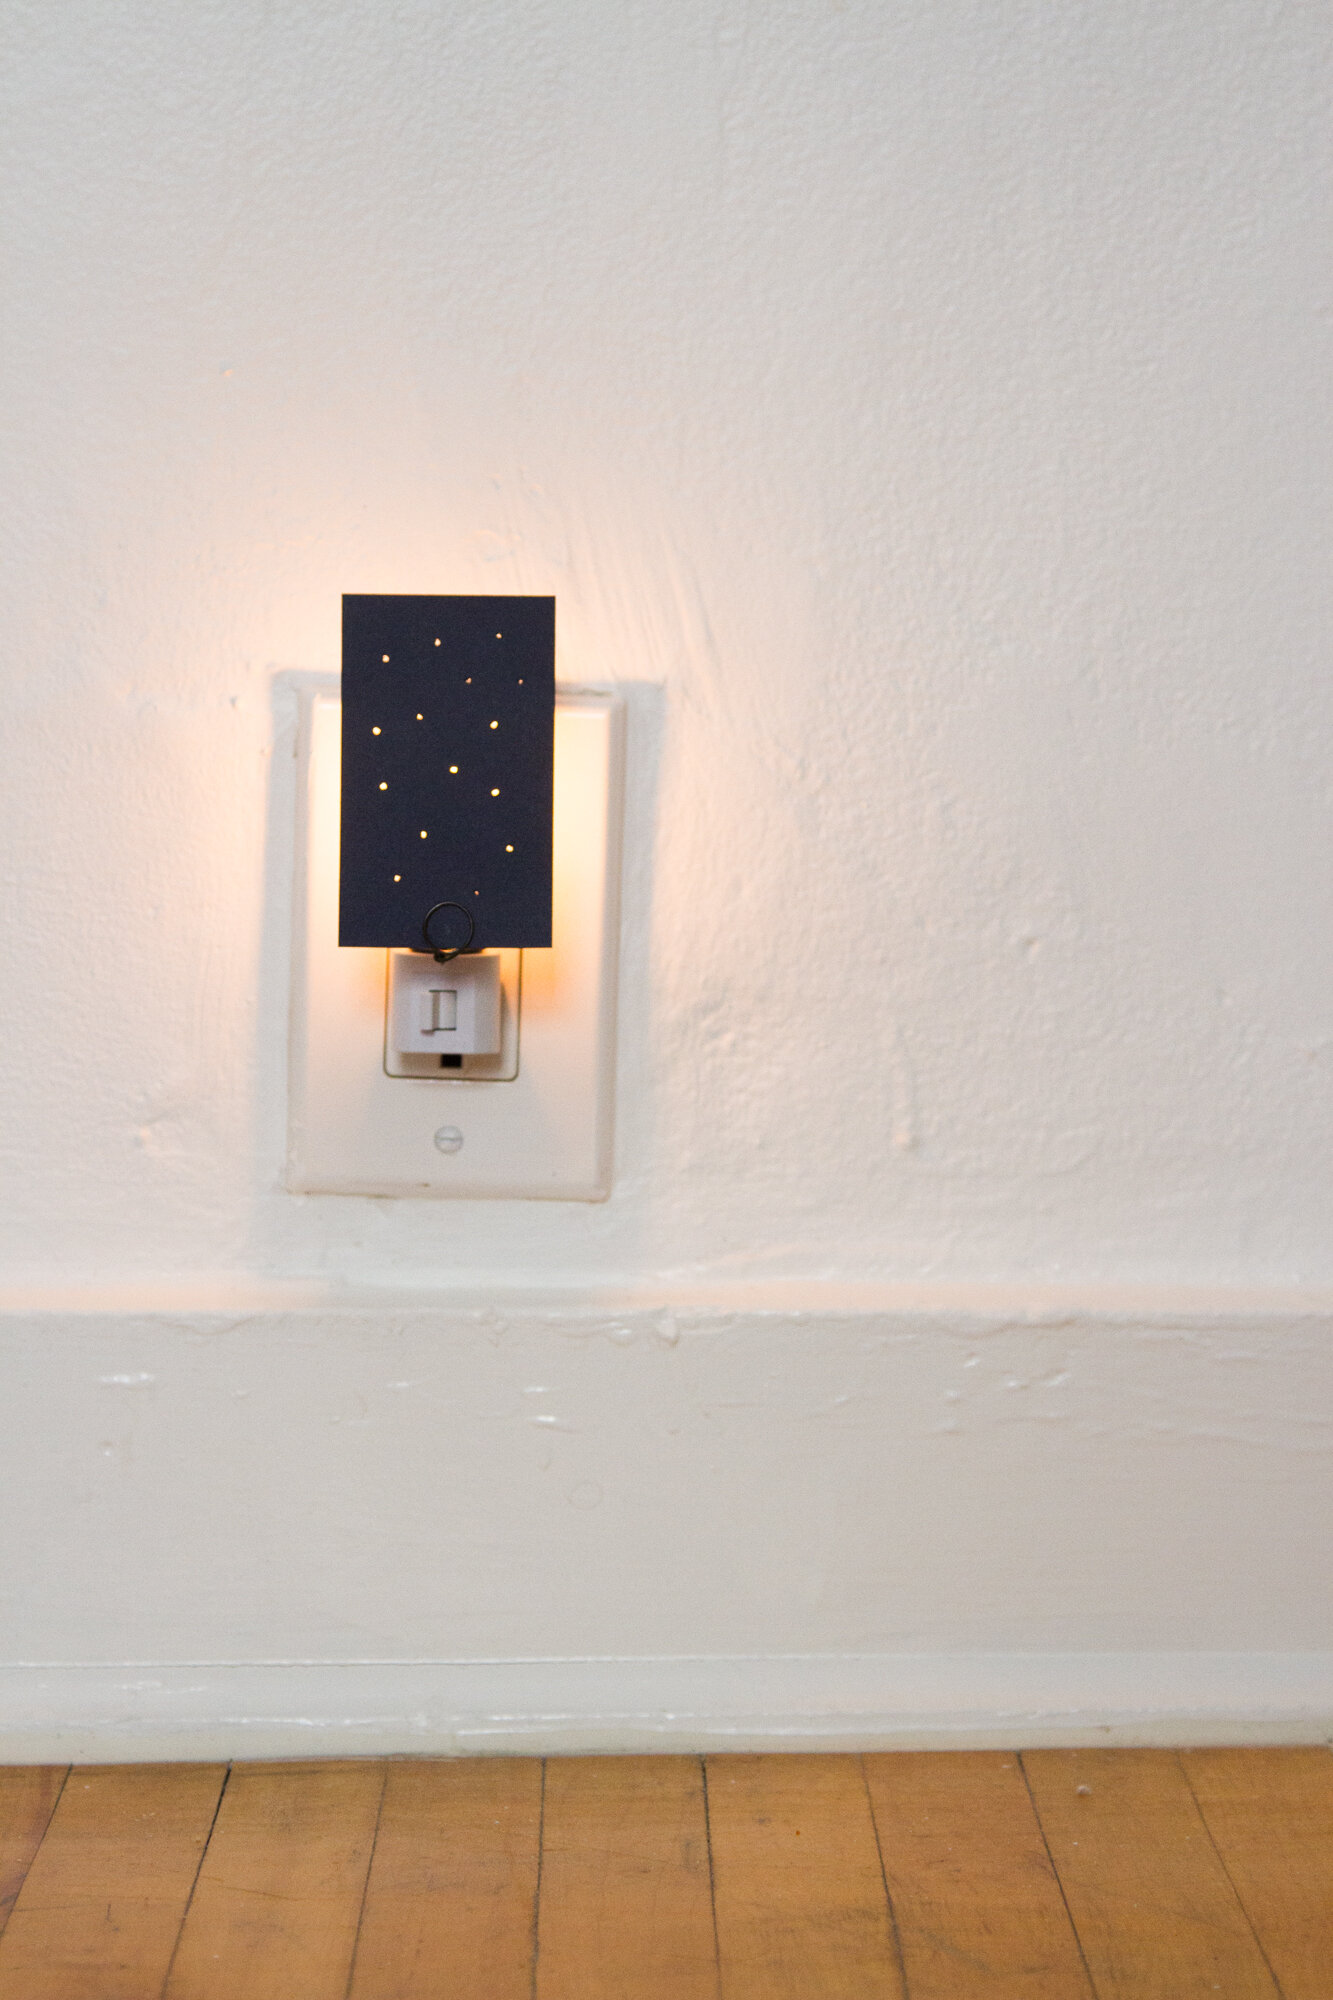
If you wanted to be extra fancy you could easily poke a constellation into your starry scene instead.
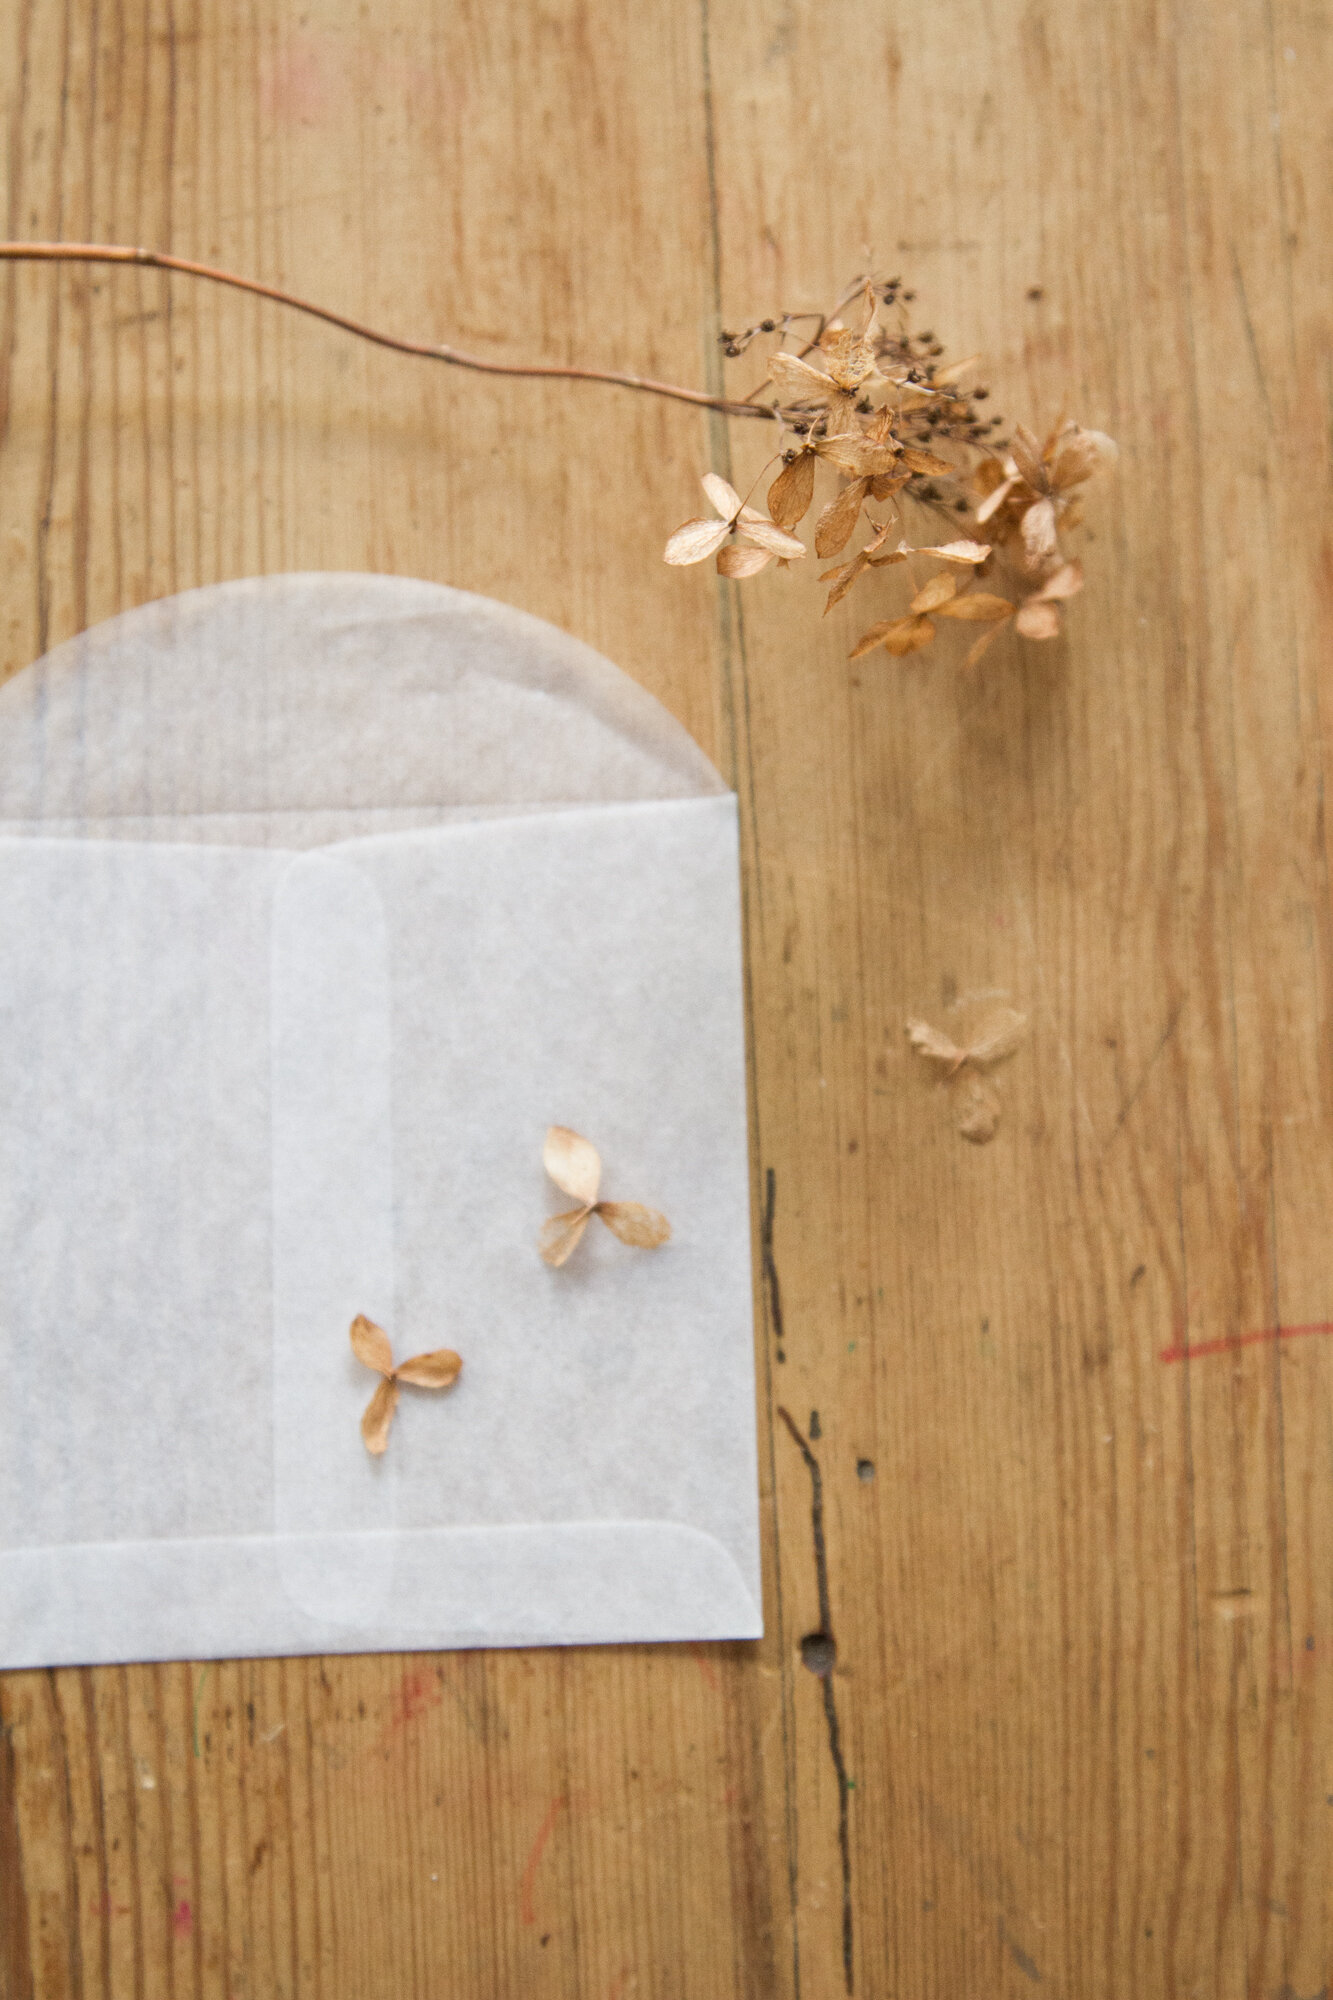
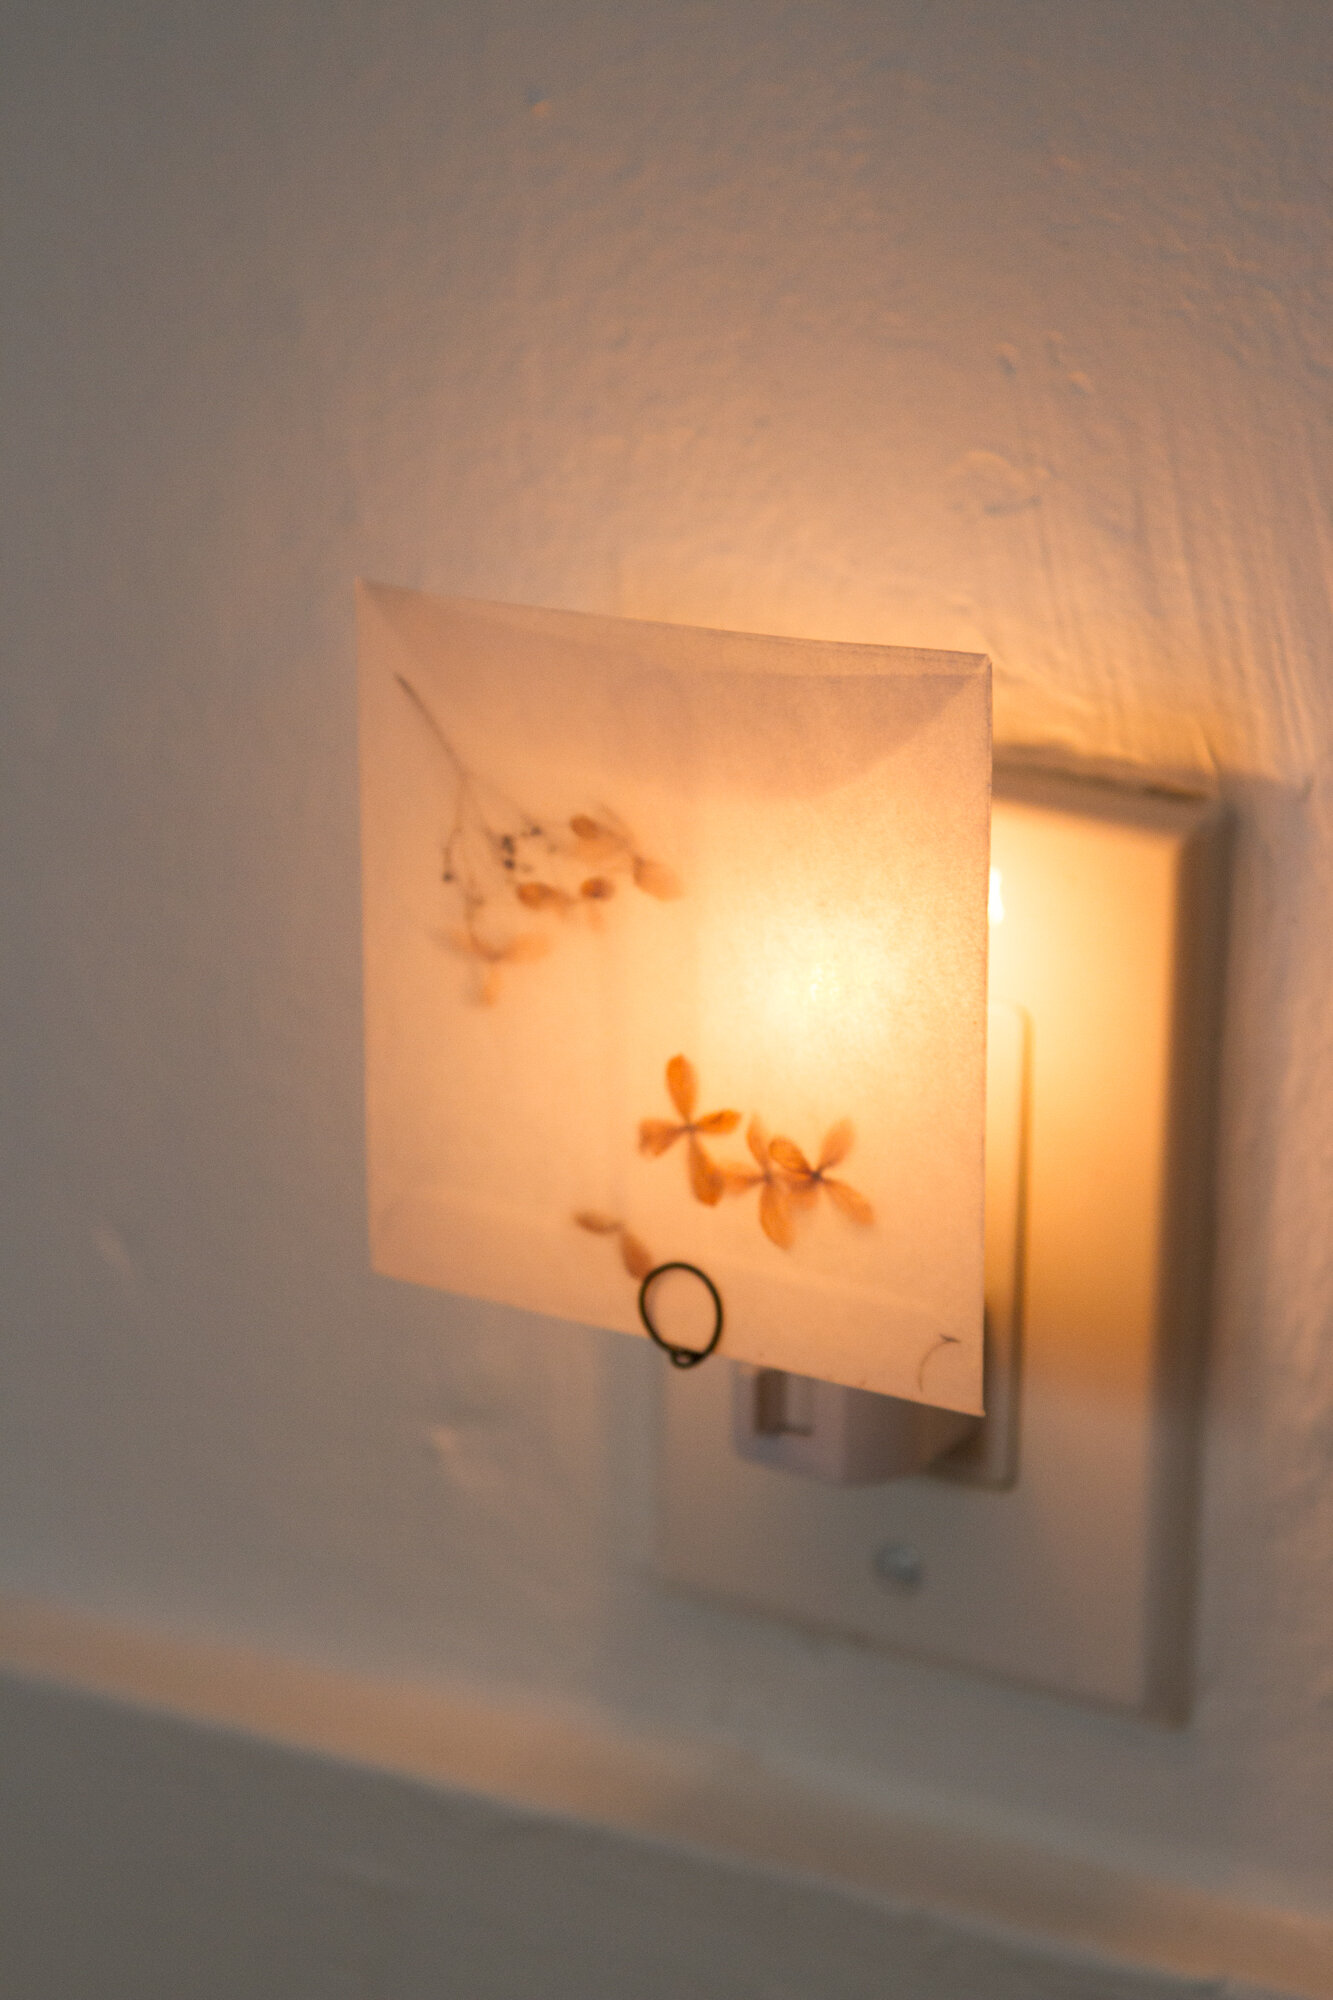
I tried a few different ways to attach dried flowers to my lamp, but I most loved the look of the petals loosely held in place in a velum envelope.
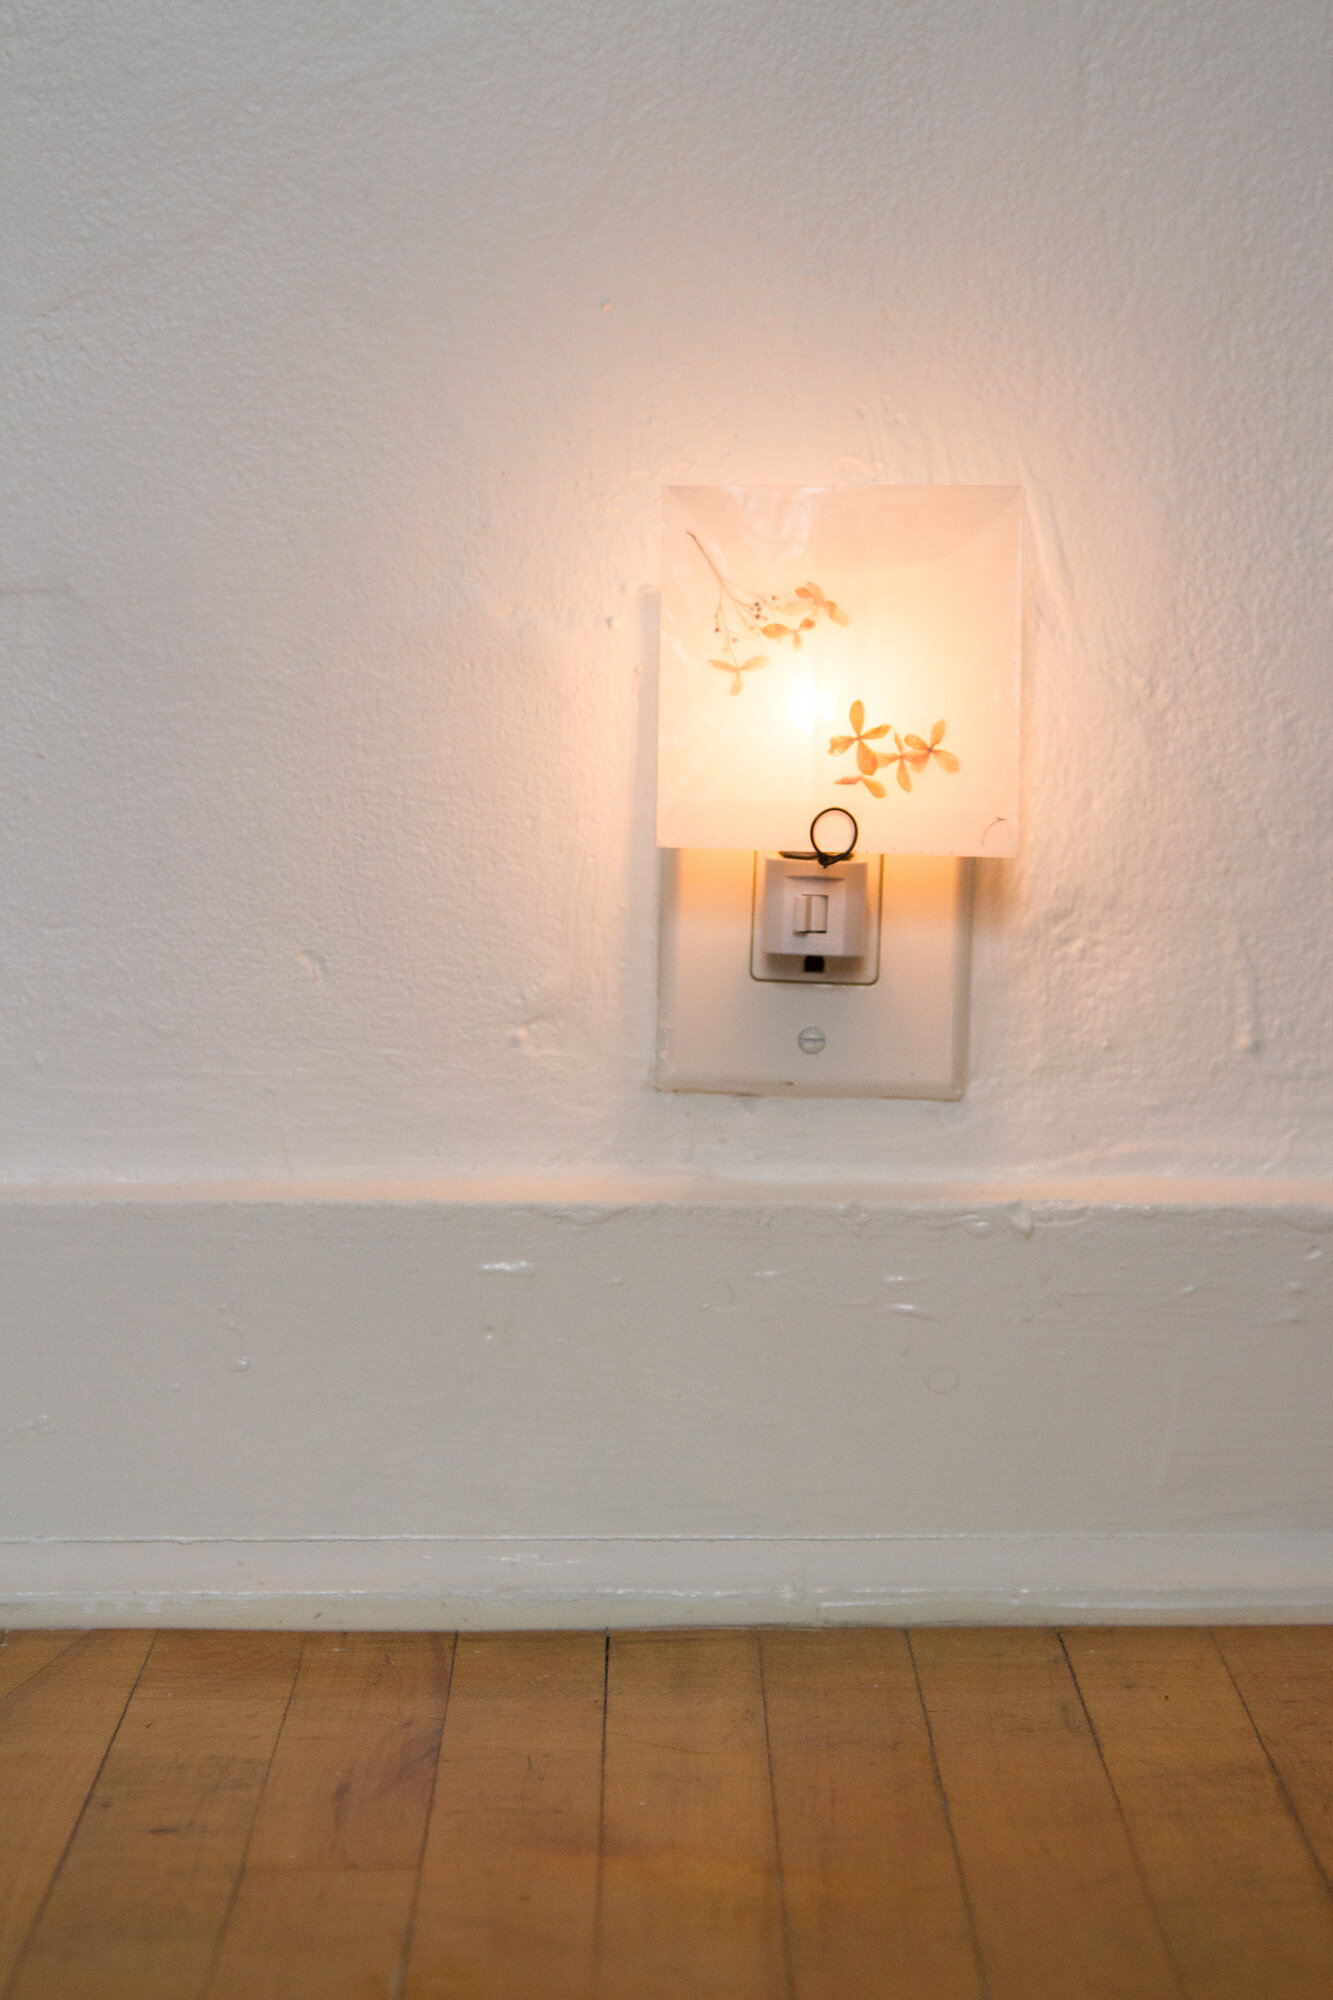
(Especially when it’s all lit up.)
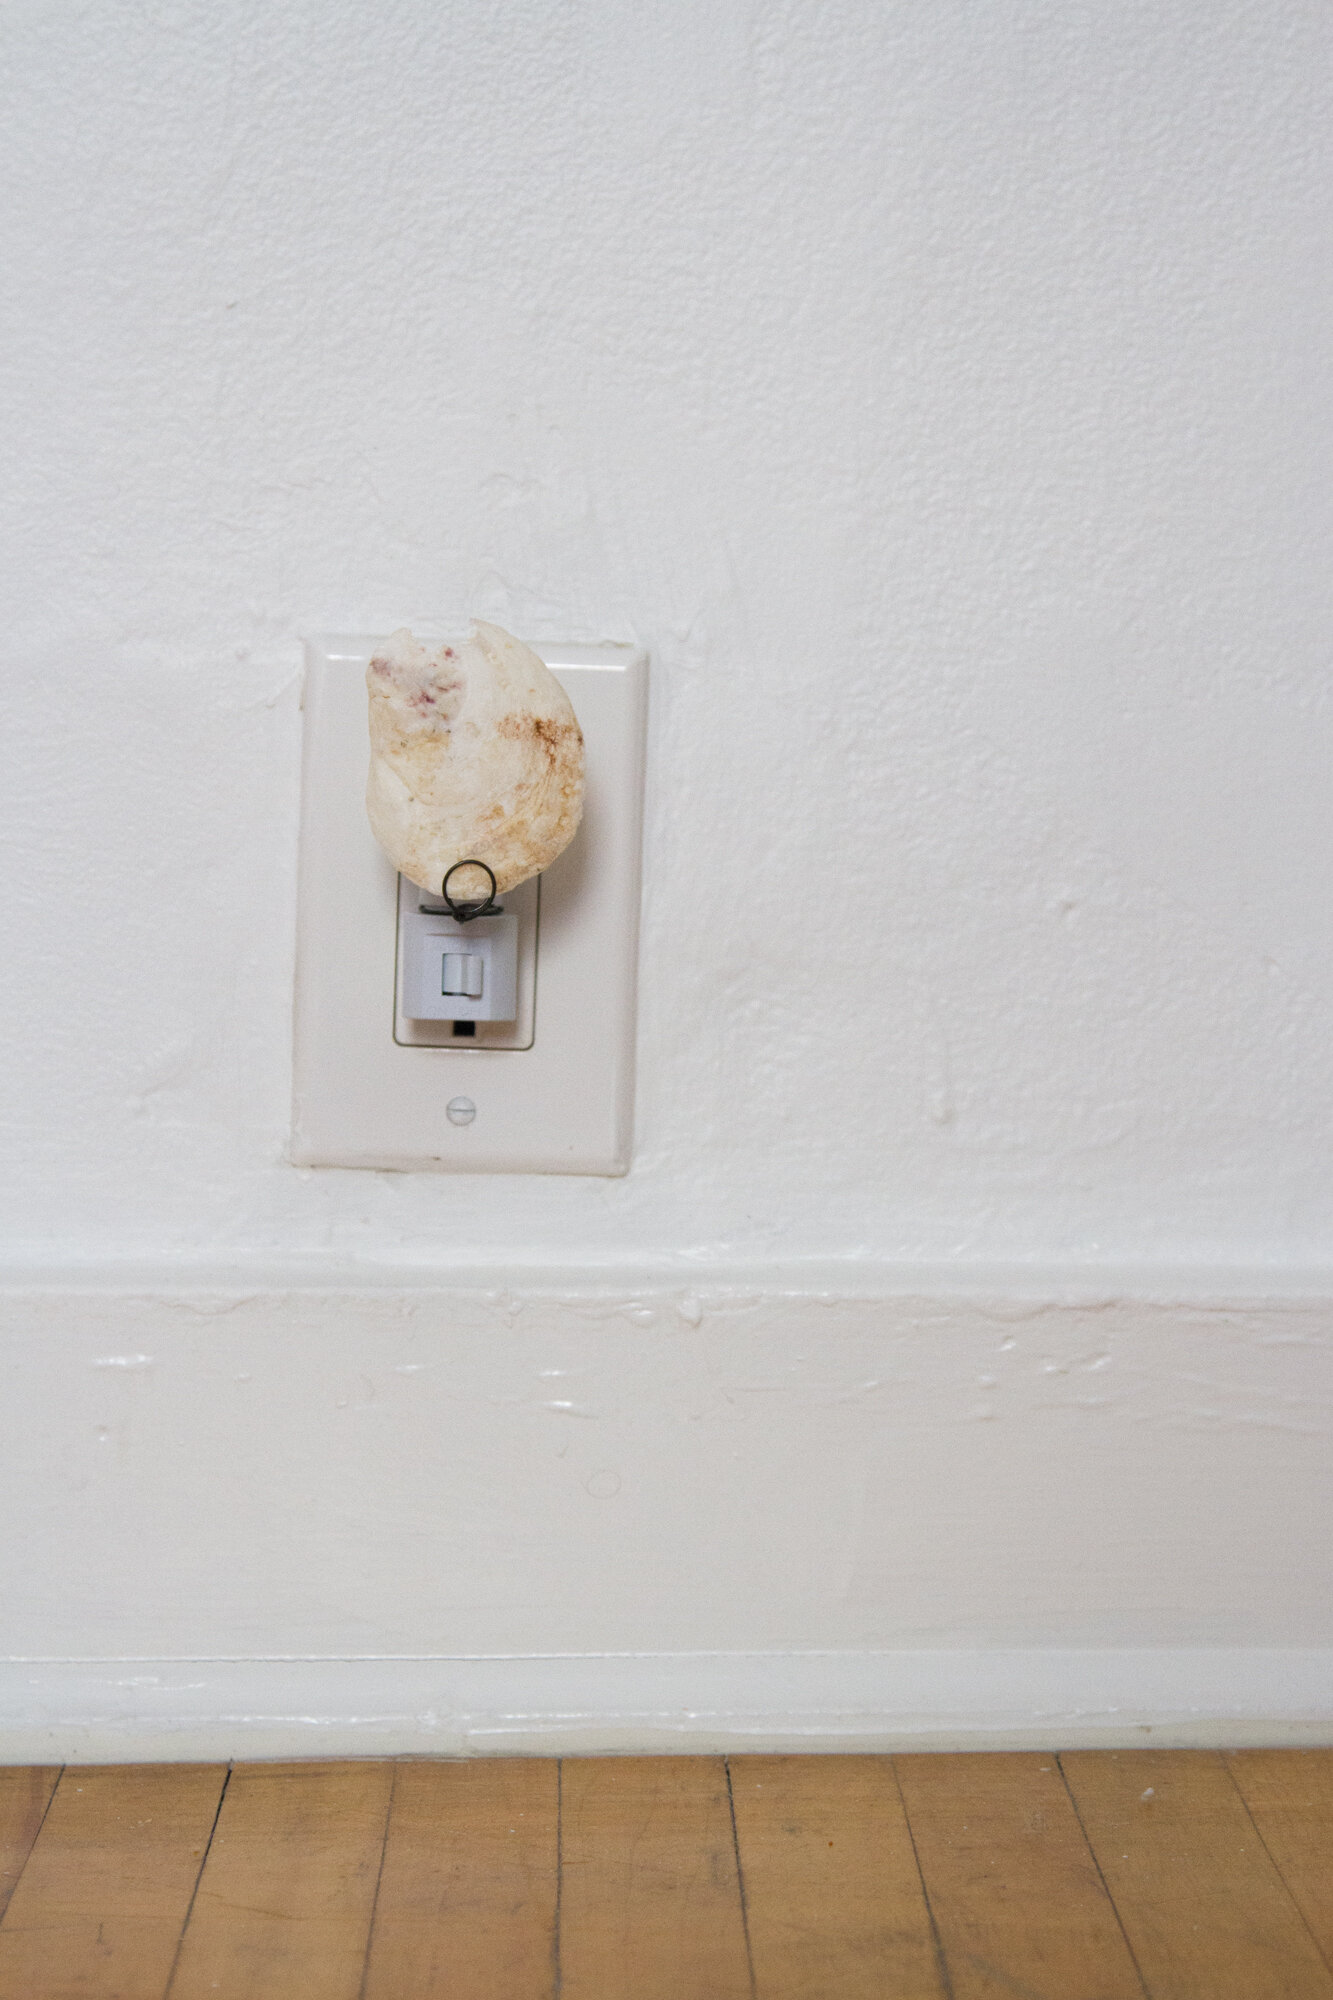
This oyster shell was thin enough to slip right into the bracket that I made, but I also experimented with a thicker mussel shell. In that case, I poked a hole in the bottom of the shell and strung my wire directly through it to secure it to the lamp.
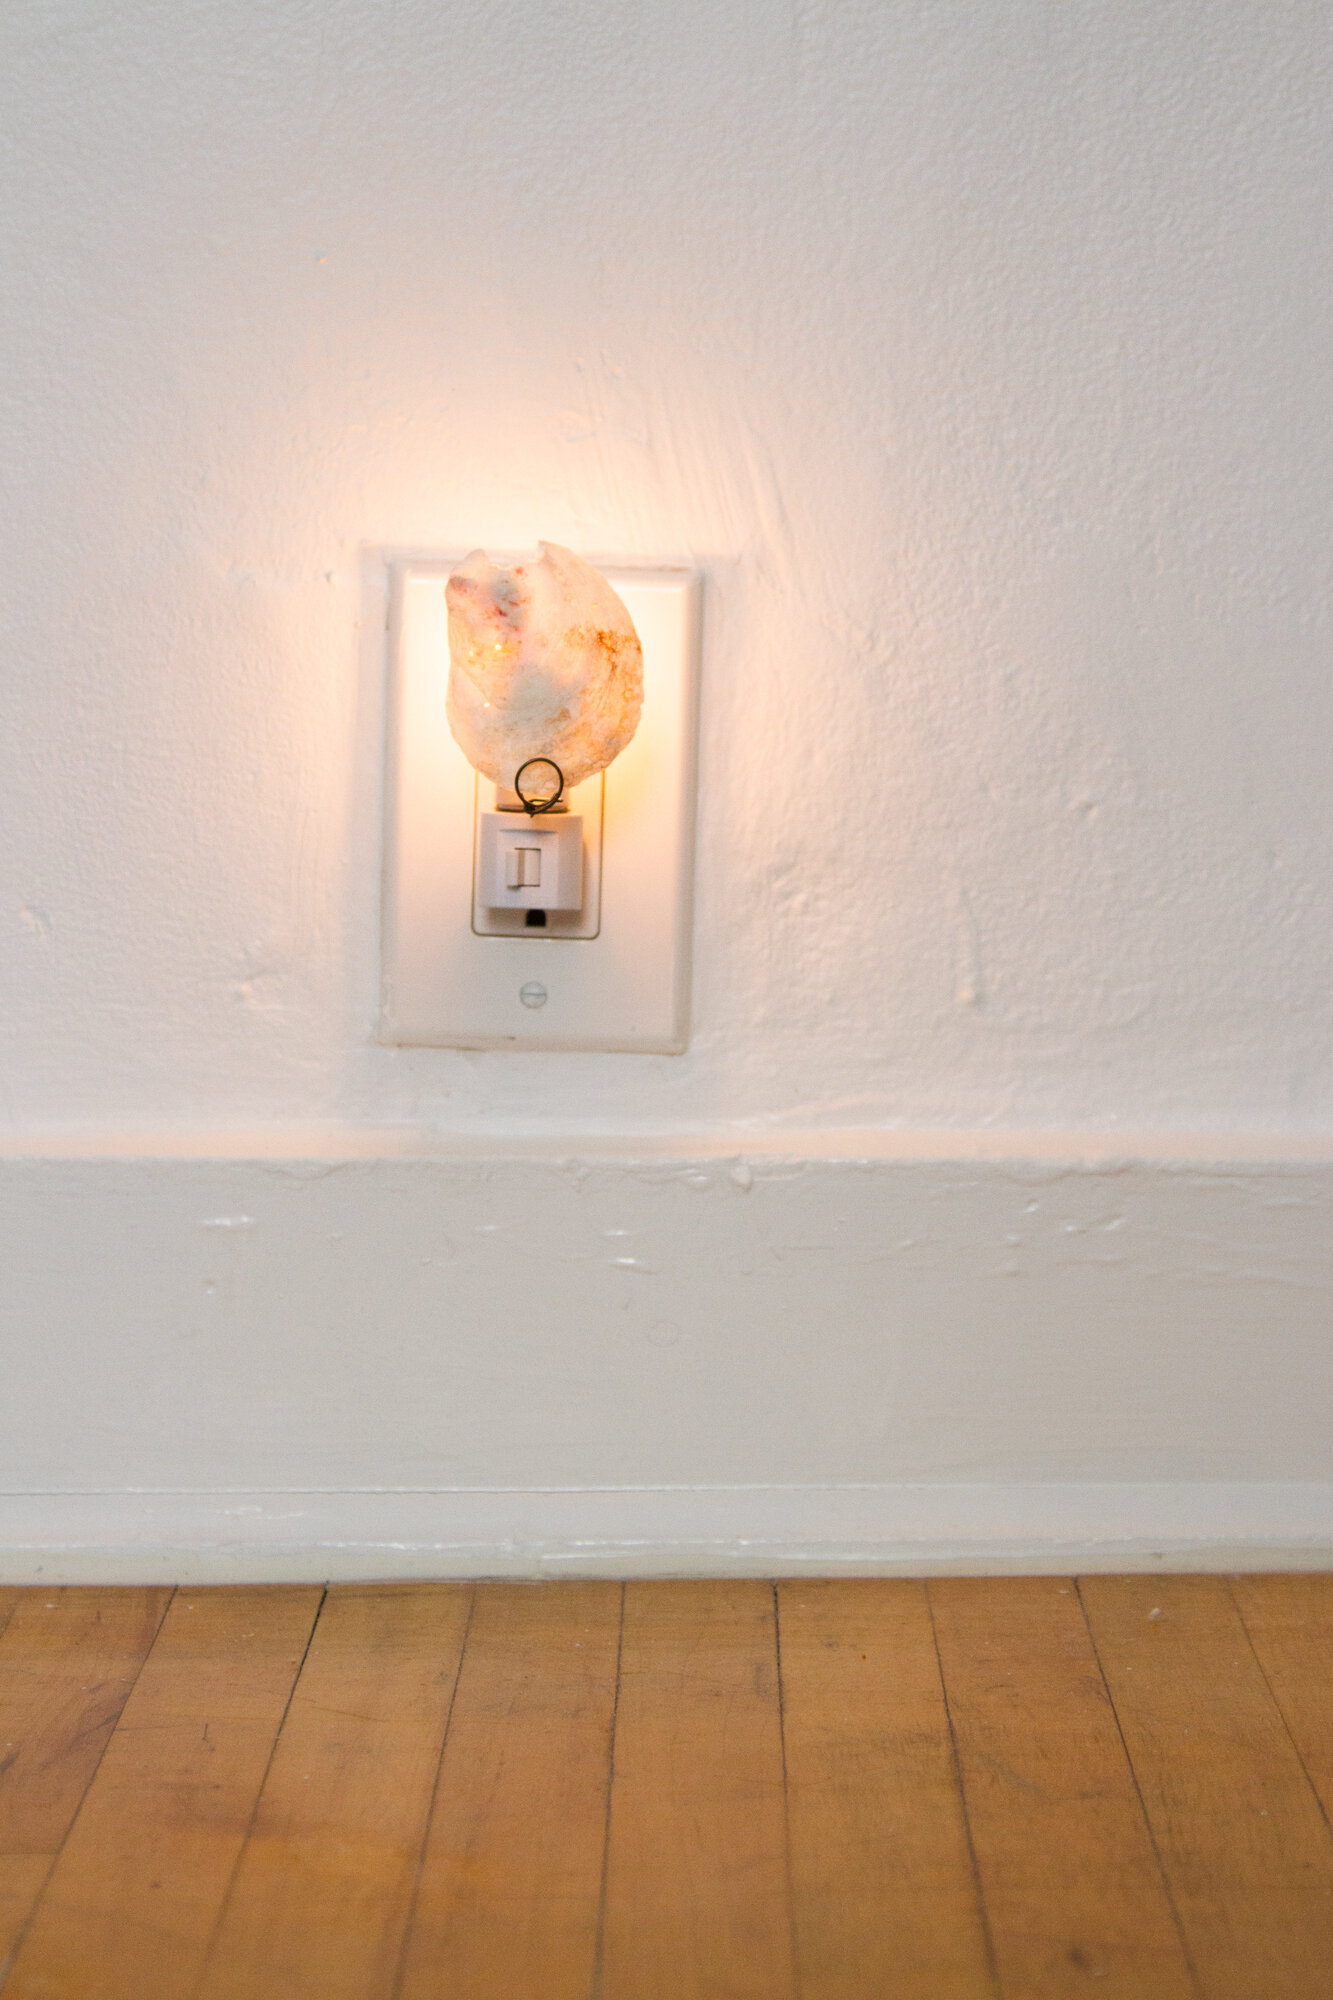
I was afraid the shell would look too twee or crafty, but I think the funky oyster shell helps here. I ended up really liking the soft glow and especially how the light glints out of the tiny holes some tiny mollusk must have drilled through.
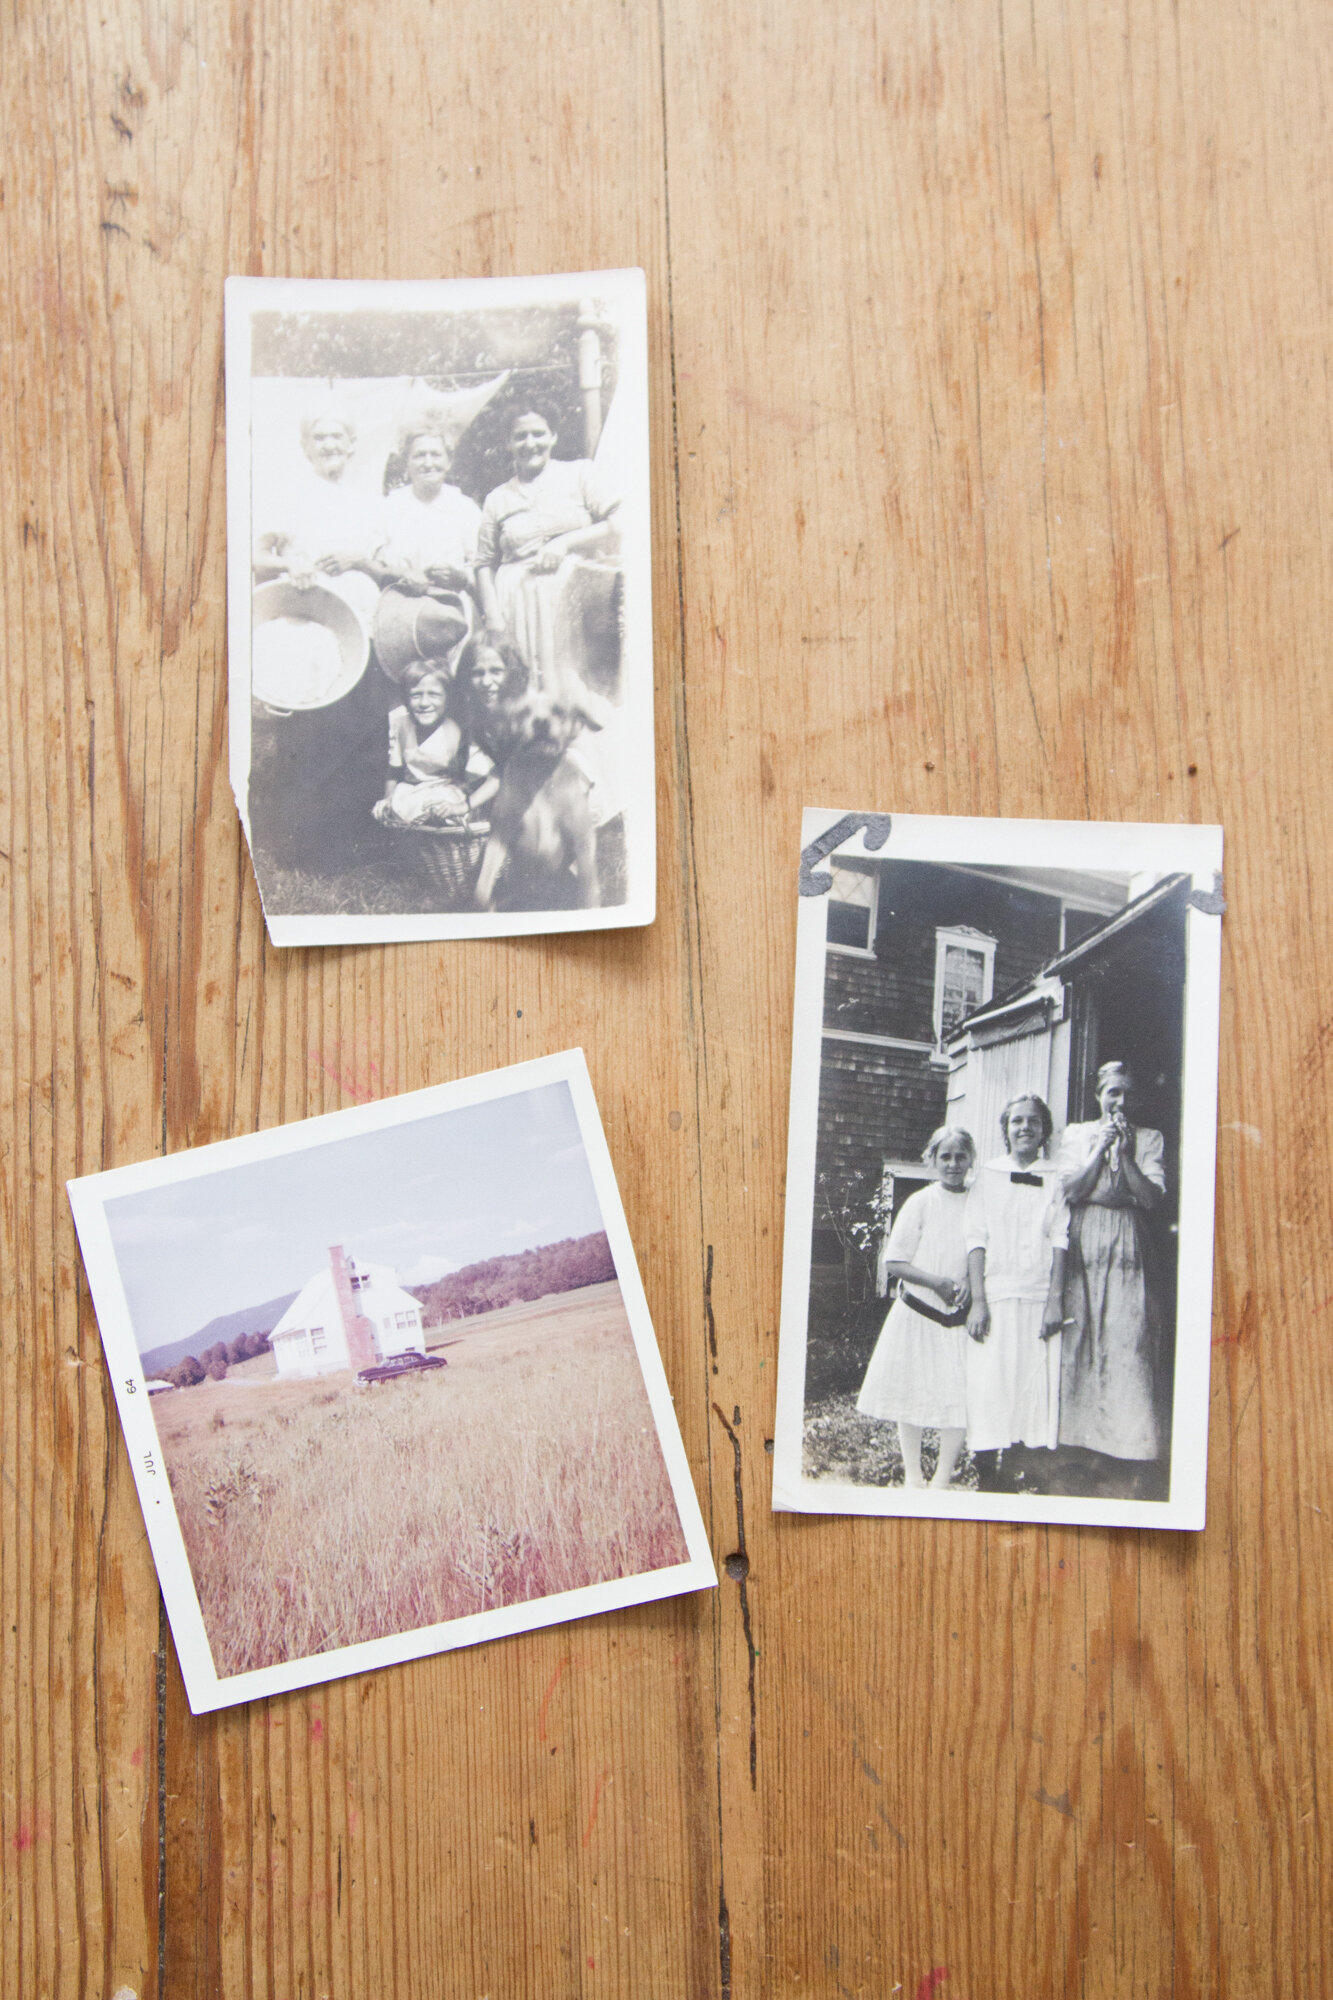
So many old photographs are the perfect size for this project. I loved sorting through my pile of family photographs to find ones that would work.
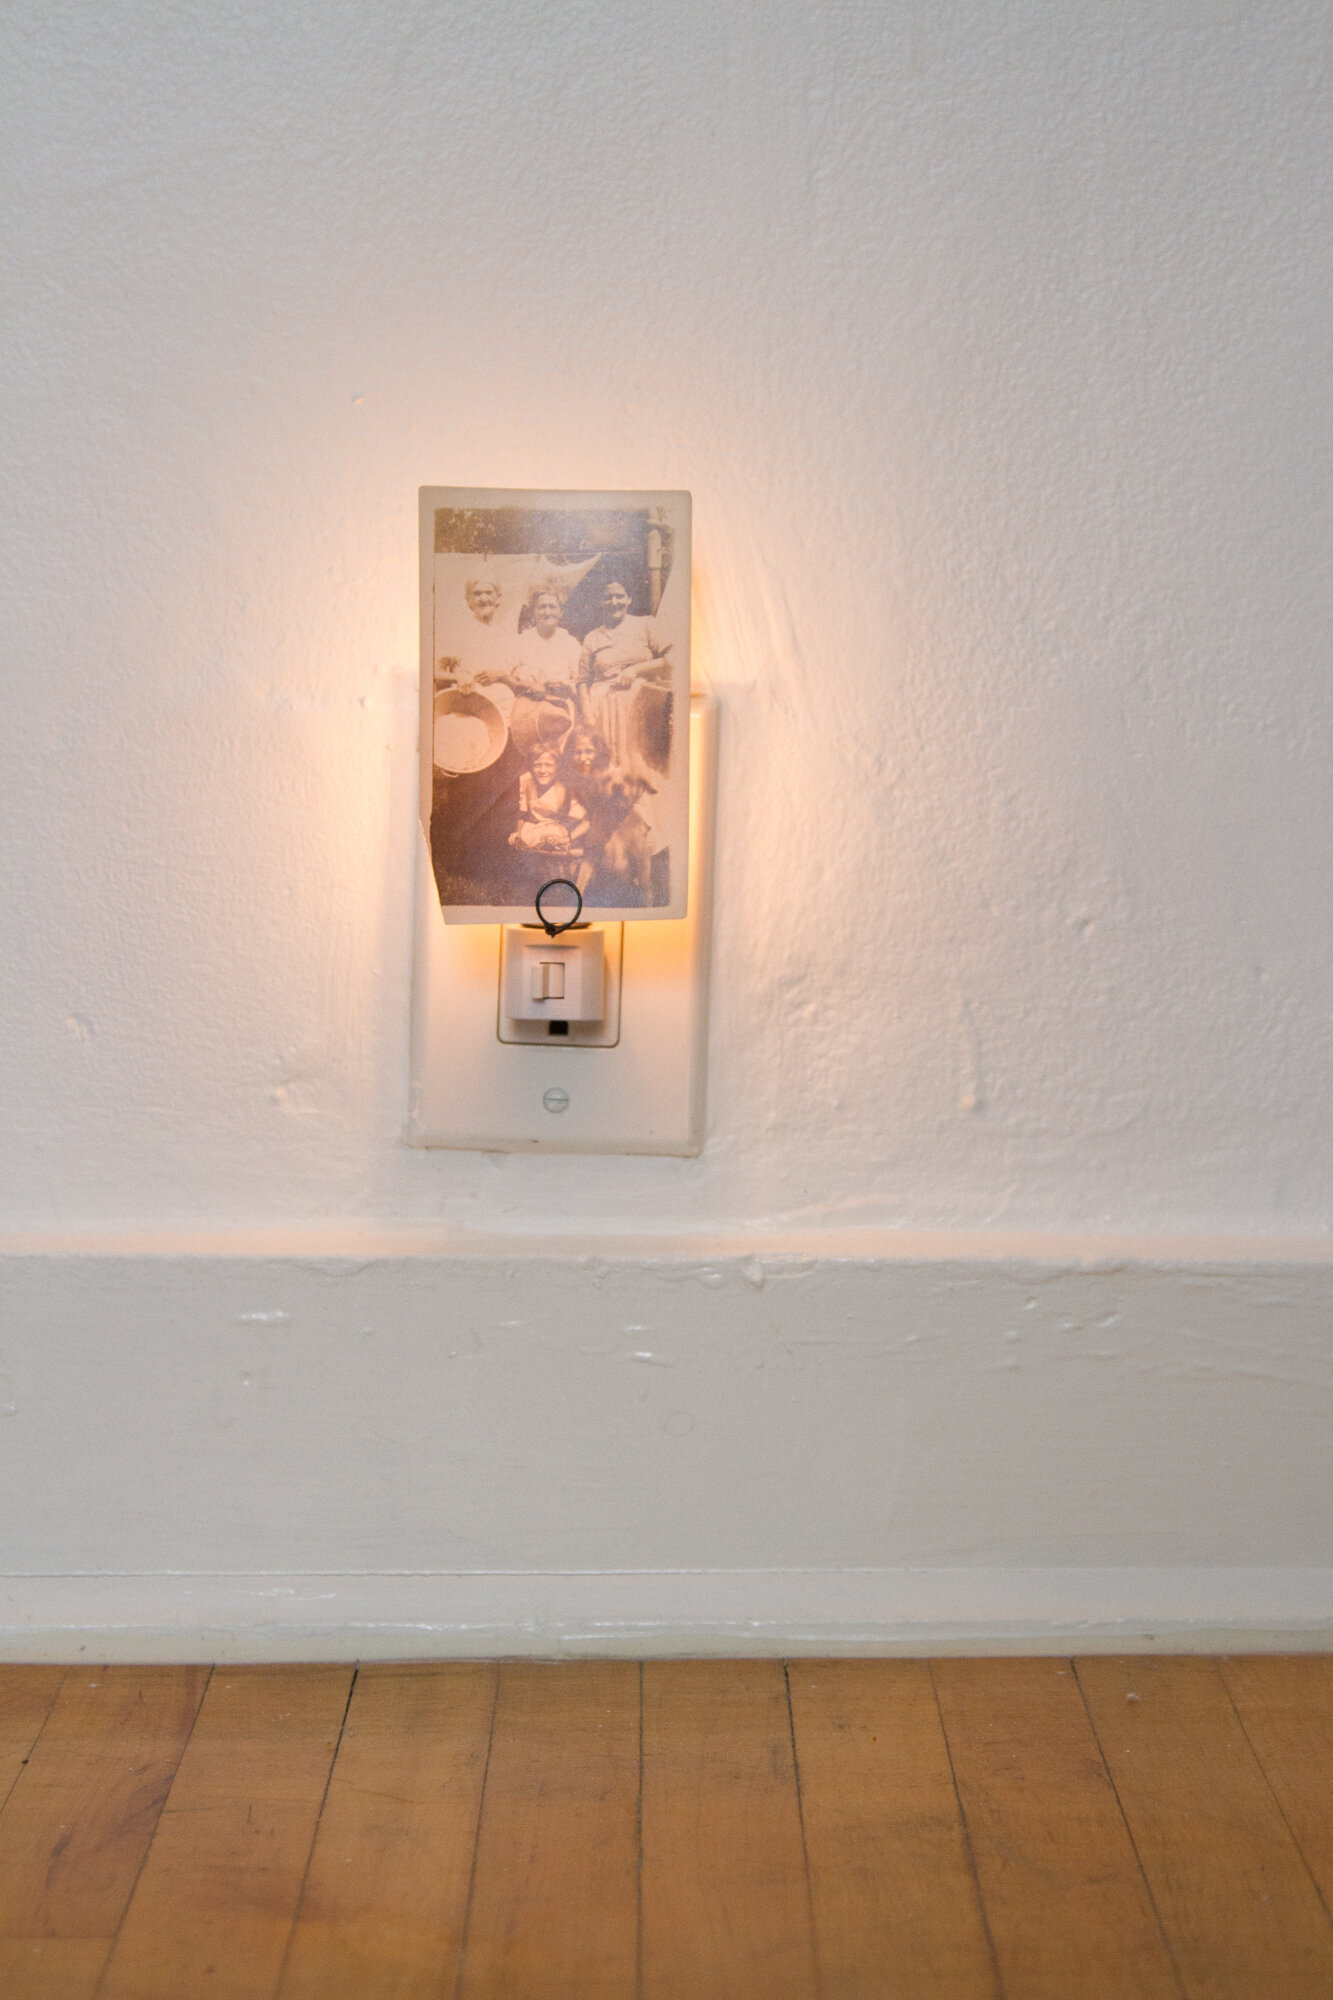
Just one bit of advice, unless you want to look at the writing, try to choose photographs that haven’t been written on, otherwise the handwriting from the back will overwhelm the image.
Truly, the possibilities here are many. What do you think?
If anyone decides to experiment, I’d love to see!
This post includes affiliate links. Reading My Tea Leaves might earn a small commission on the goods purchased through those links. Several of the items above are from RMTL banner advertisers, but this editorial coverage is not sponsored.

24 Comments
So simple and beautiful. I love them all! ❤
What a beautiful idea! I love the stars and shell. Bookmarking for future needs 🙂
absolutely lovely! One of those small who-would-notice-? details that are special and charming. Thank you.
So clever! I love this idea.
very cute! But some concerns about the fire hazard of the papers. Maybe a family walk to the fire station for an opinion would be wise.
the light is only on for a minute or two at a time and the paper quite far from the bulb, but for sure you could use a cool LED bulb if you’re worried!
I would only be worried about the photographs. Specially the old ones, back in the days a lot of regular stuff was made with even more flamants then today, for example some old film is even dangerous to be out in the sun or in a hot room. But if you only light it one or two minutes and not the whole night that’s different. Anyway, Erin you always do the most simple and delightful diy. Their are so charming and feed the soul ❤️
Oh I had already left this post when it occured to me how wonderful it would be if you would publish a book with projects like this Erin! That would be a dream, because there are days when it would be so nice to head up to the book shelf instead of Pinterest and see beautiful inspiring things like this!
Thanks so much, Rita! Nothing beats turning those crisp pages, hunh?
So much joy and inspiration in this post. I’m looking forward to scavenging for materials around my home.
Lovely idea! Love the way you swap it out. Where was the photo of the house from? Curious what those hills are in the background!
The house was in Vermont! Not sure off the top of my head where exactly!
Love this idea and always love how you transform the simplest need into a project that feeds the soul vs. one-click ordering. The hardware shop stroll, culling items from home, trying out a variety, and telling us about it: perfect. I fully expect you’ll change out your ephemera with the seasons or as the mood strikes. I read you not so much for small space living but for a life well lived. Thank you for providing so much inspiration.
Thanks so much, Cynthia!
Erin, i love this! especially the shell. im in a season where i don’t want to buy anything new, so when it was time for a planner i took an old notebook that was sitting around and made one. Mindful, creative, customizable – I love that a sustainable life encourages solutions like these. you can take a peek at my planner here : https://tps-steph.blogspot.com/2019/03/0031-tps-make-your-own-planner.html
So great!
Brilliant!!
This reminds me of how bright our house was before using light dimming shades. They are semi opaque stickers that go over the time on your clock or all those annoying lights on your router to make the room darker.
Wonderful! Simple, charming, functional. Equally wonderful? You’ve potty trained both your children before they are 2 1/2. So rare these days. Kudos to mom and dad!
Ha! Thanks! (Two before two, if we’re getting literal!)
I love it! Especially love how customizable it is. Thanks, Erin!
tellement mignon!
love this idea so much!
I love this idea! It is very useful and creative.
Comments are moderated.