A bit of whimsy never hurt anyone.
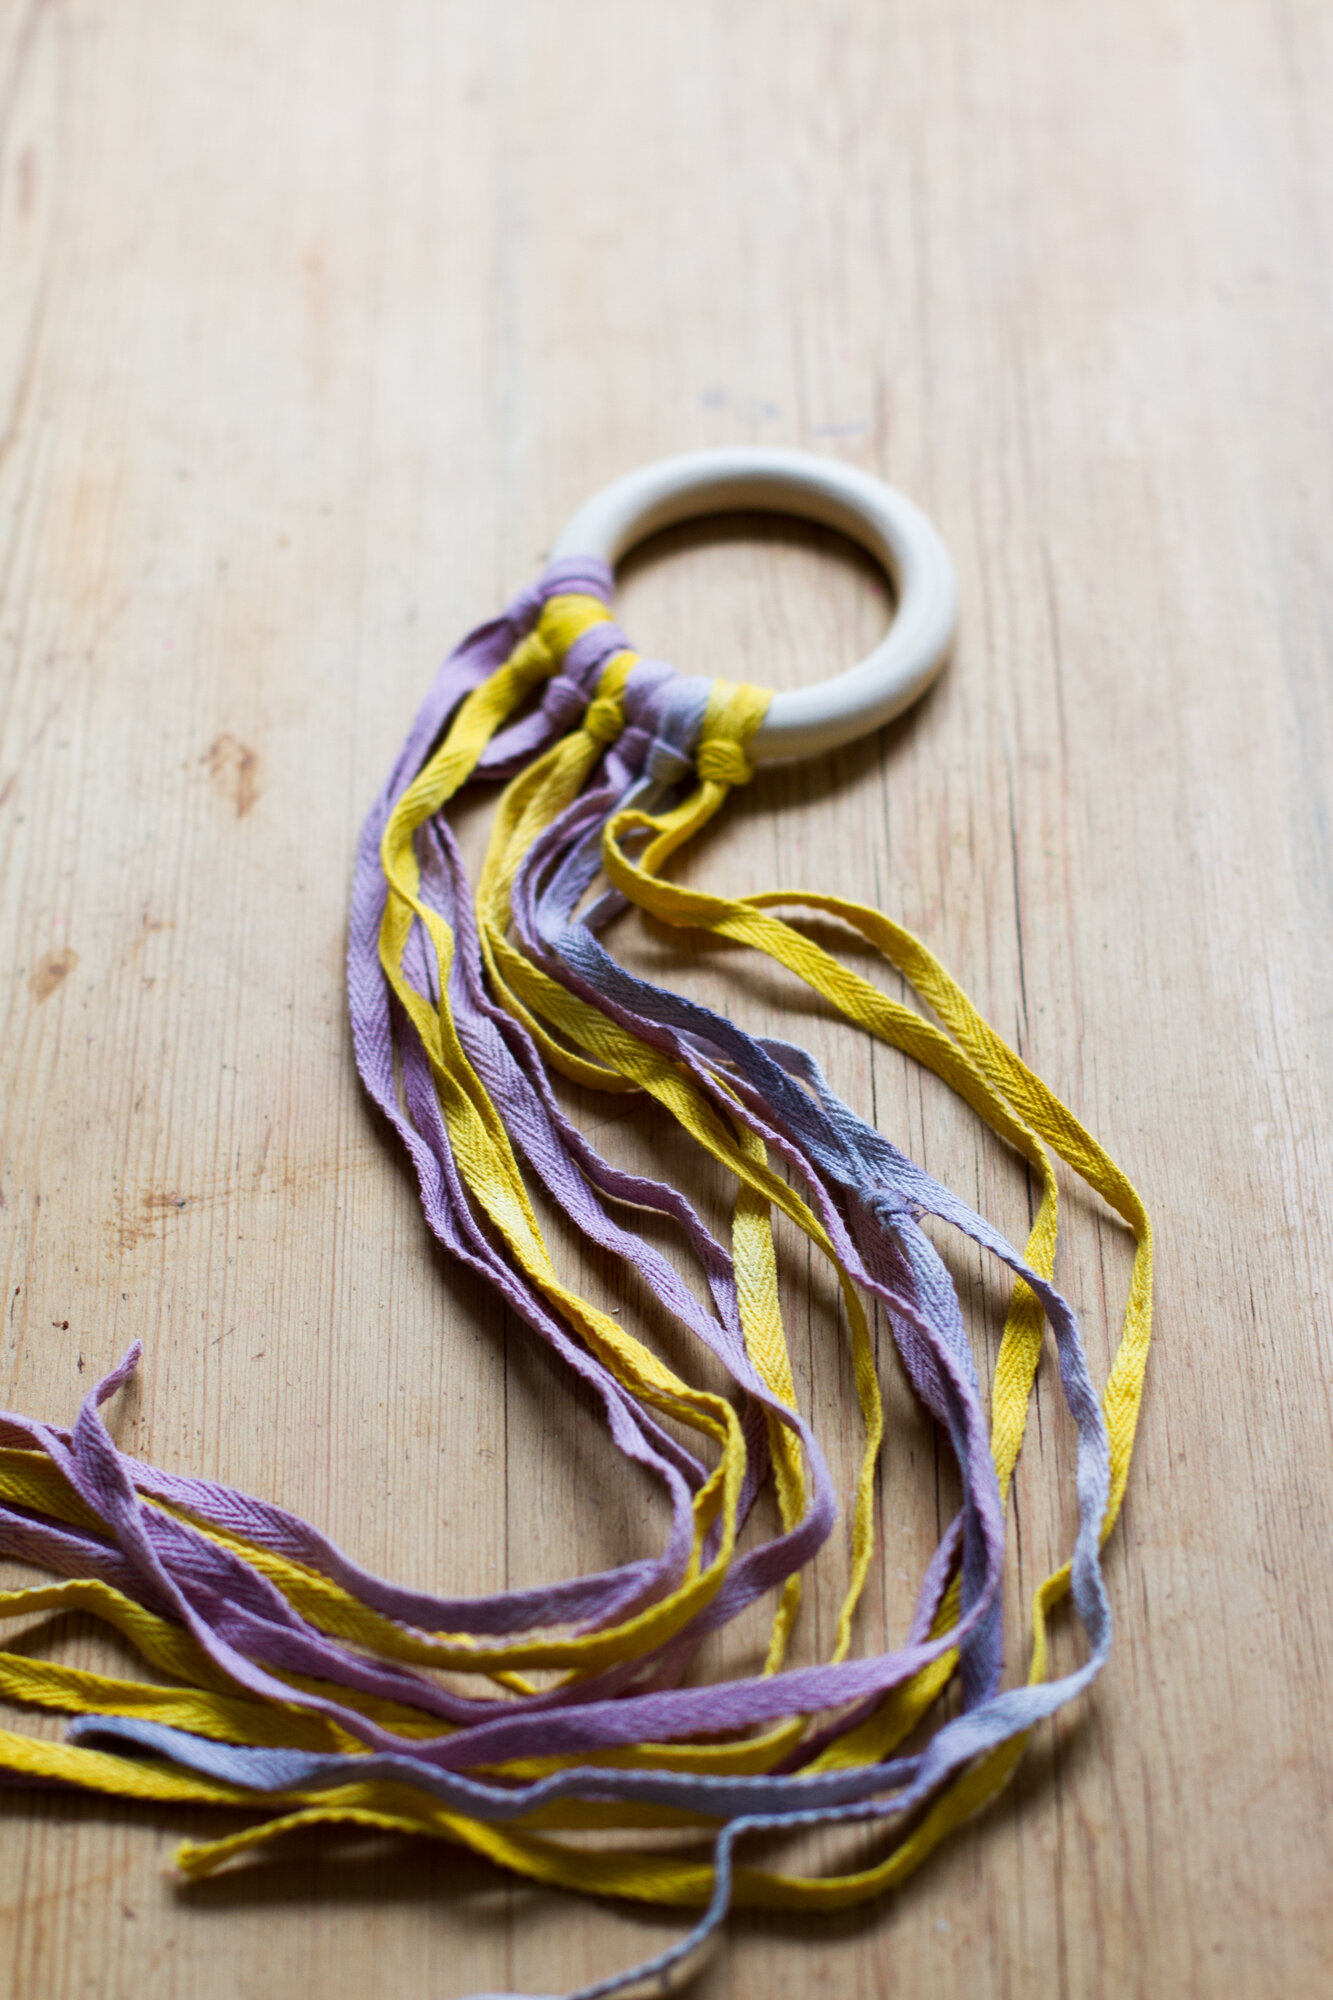
The only detail of Faye’s birthday party that she really seemed to care about was the execution of a Fairy March, fairies (friends) marching behind their queen (Faye), wielding wands. Of course I was on board. But in the name of simplicity, and lest the wands be turned into Lord of the Flies-style weaponry, I suggested the simple and sweet concept of the hand kite instead. Also called a ribbon ring, the idea behind a hand kite is exceedingly simple: a wooden ring, with ribbons attached to it, made for waving about. (A wand not so easily used for thrashing a younger sibling, you might say.)
One of my aunts gave Faye and Silas hand kites for Easter last year. They adore them and use theirs for all kinds of imaginative play and pageantry in our tiny apartment, and out of it. When inspiration strikes, Faye likes to loop them on to her scooter handlebars and fly down the sidewalk, ribbons flapping in her wake.
On the day of Faye’s party, I brought the materials down to the park with us (ribbons + rings) and had kids select their own combinations of ribbons to tie onto their rings. The briefest of instructions are below, plus ample encouragement to take the concept and run with it.
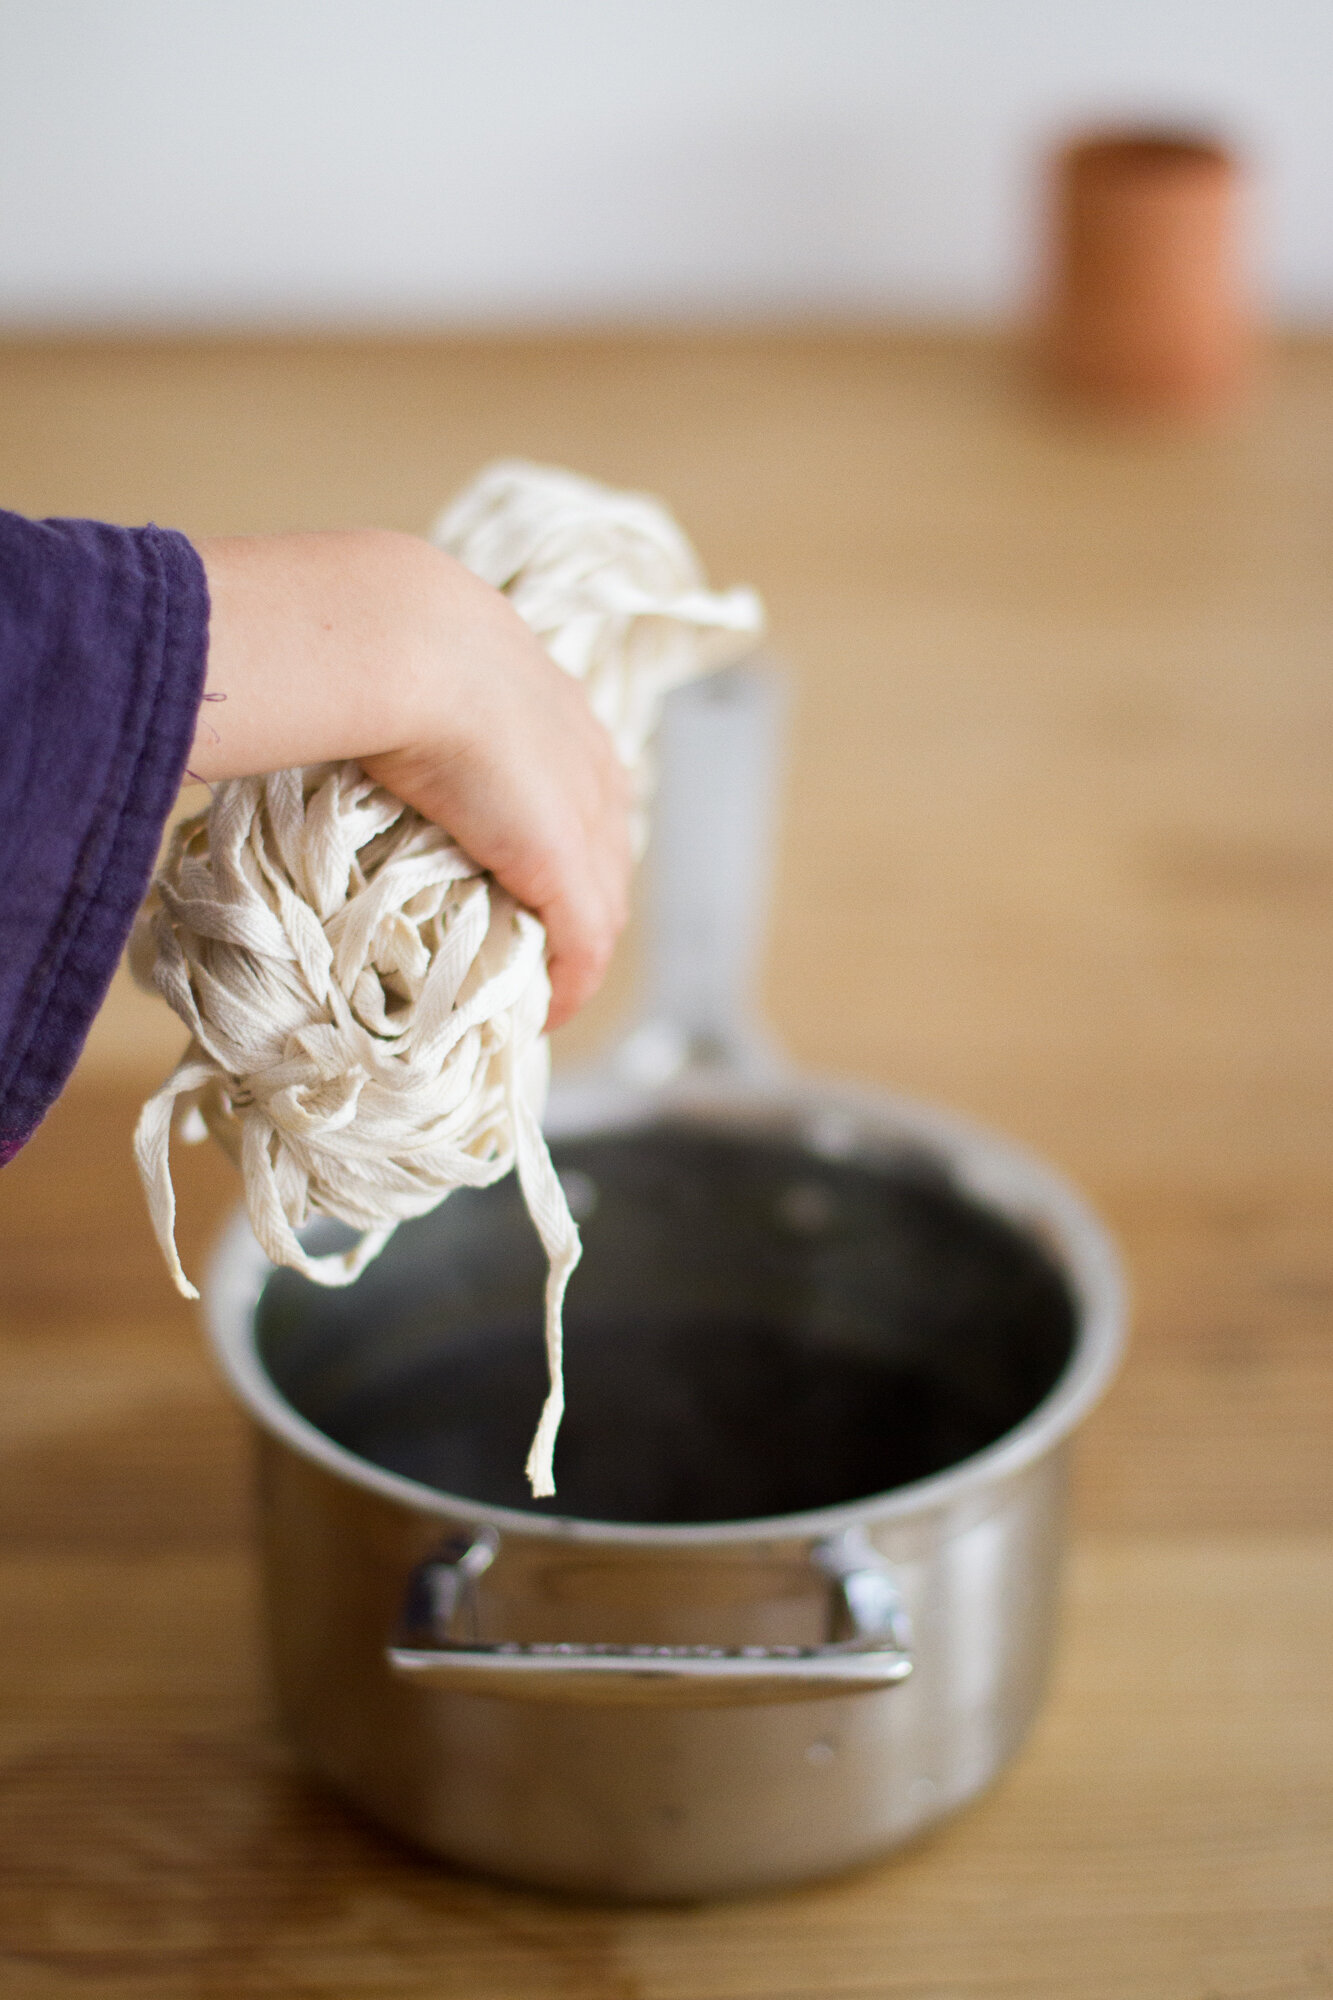
For Faye’s party, I decided to buy one large spool of cotton ribbon and dye it different colors myself. I wanted to try to avoid plastics and polyesters for the party generally and I never say no to an opportunity to embrace a natural dye project at home, but there are no rules here. You can use whatever ribbon or strips of fabric that you might have on hand or most like.
Materials:
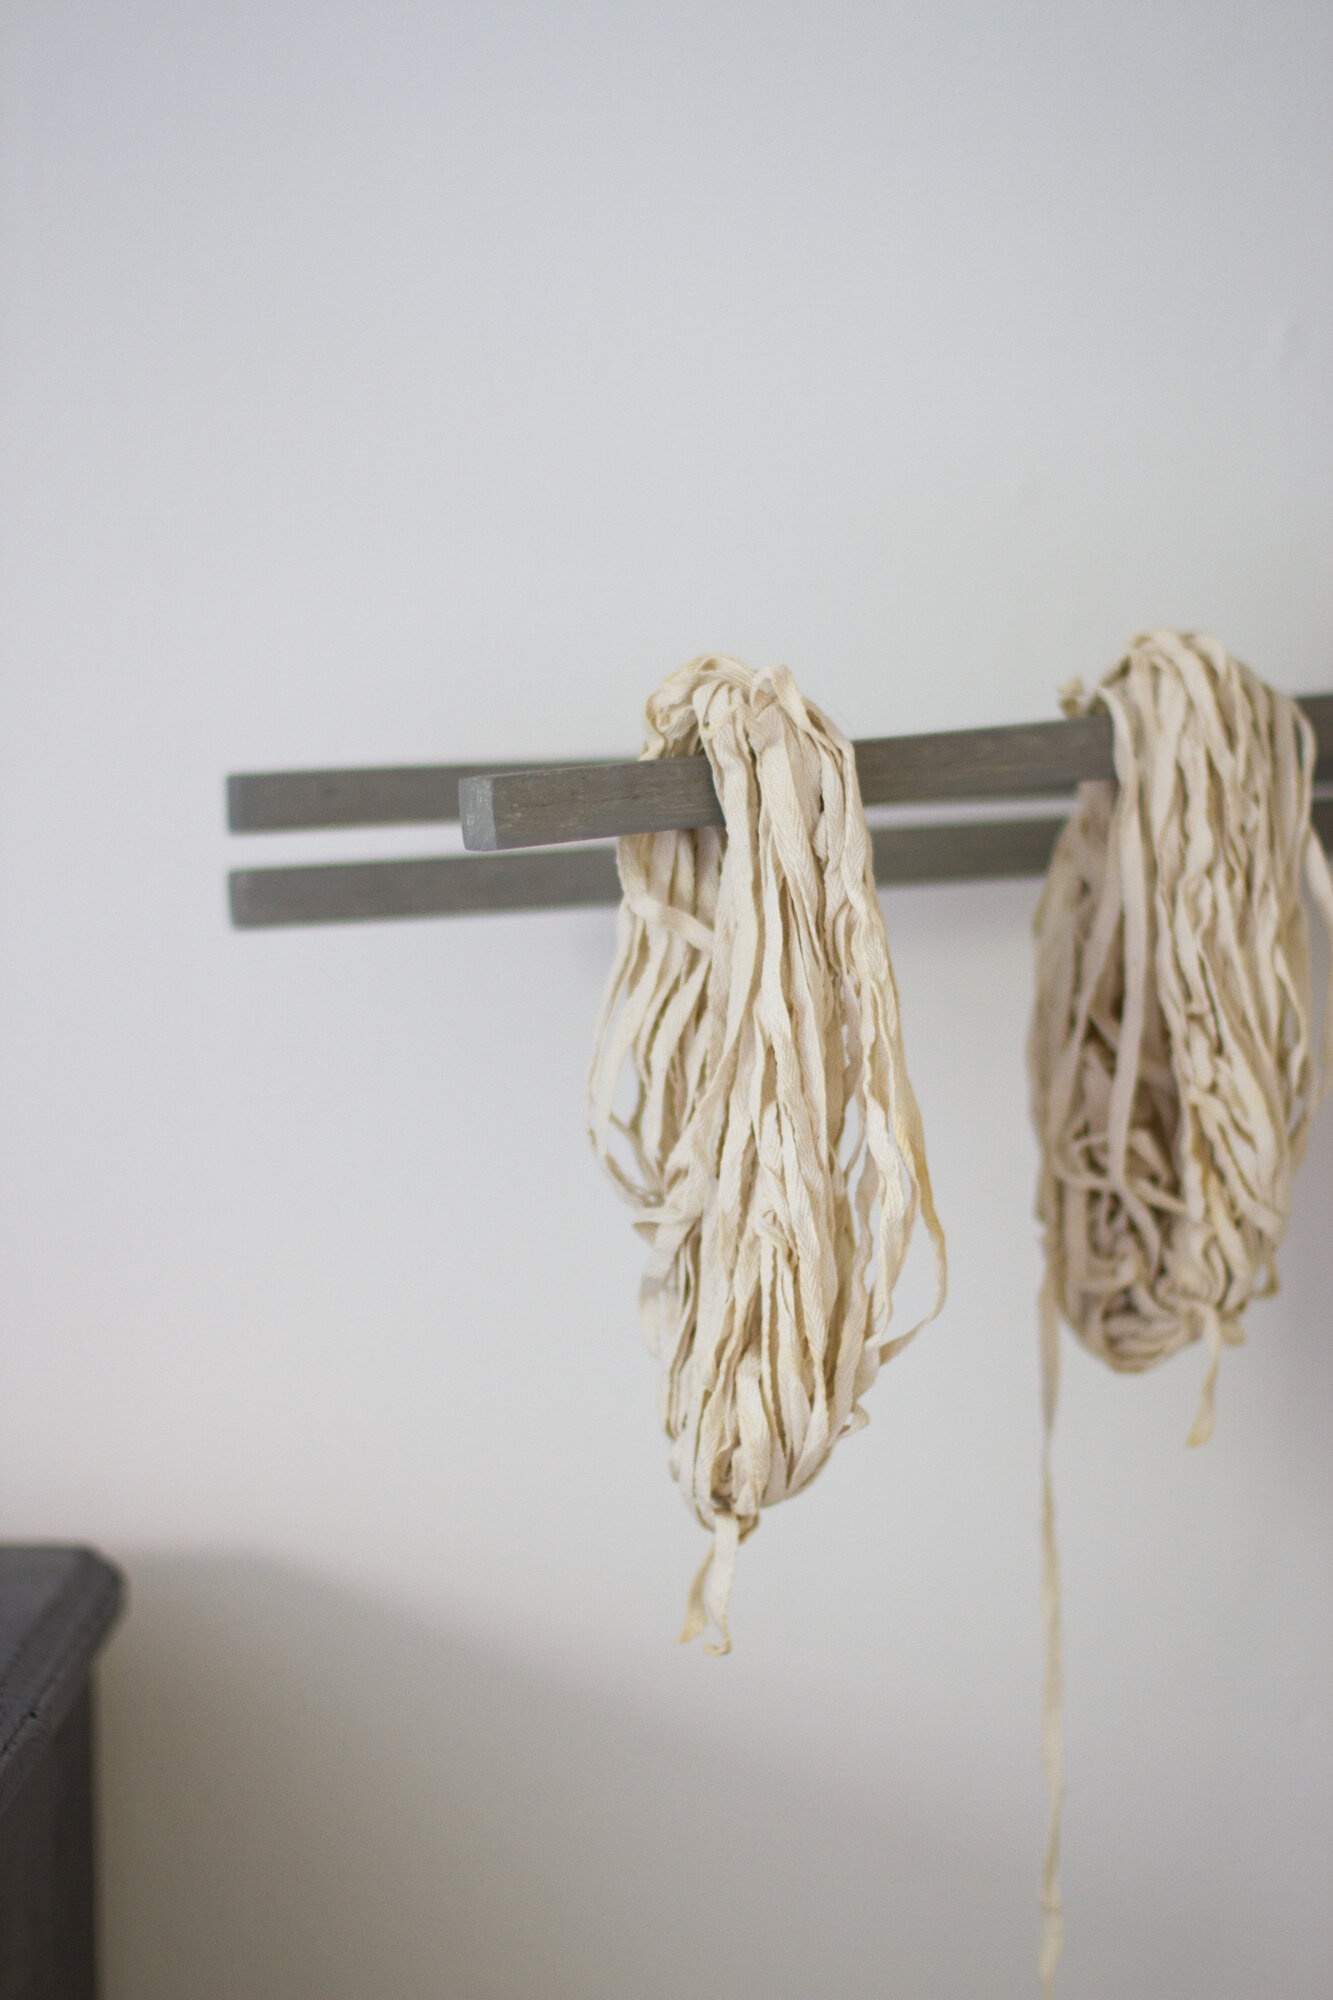
+ Assorted ribbons, cut into lengths approximately 40-inches long. I used natural 1/4-inch twill tape.
+ Scissors
Directions:
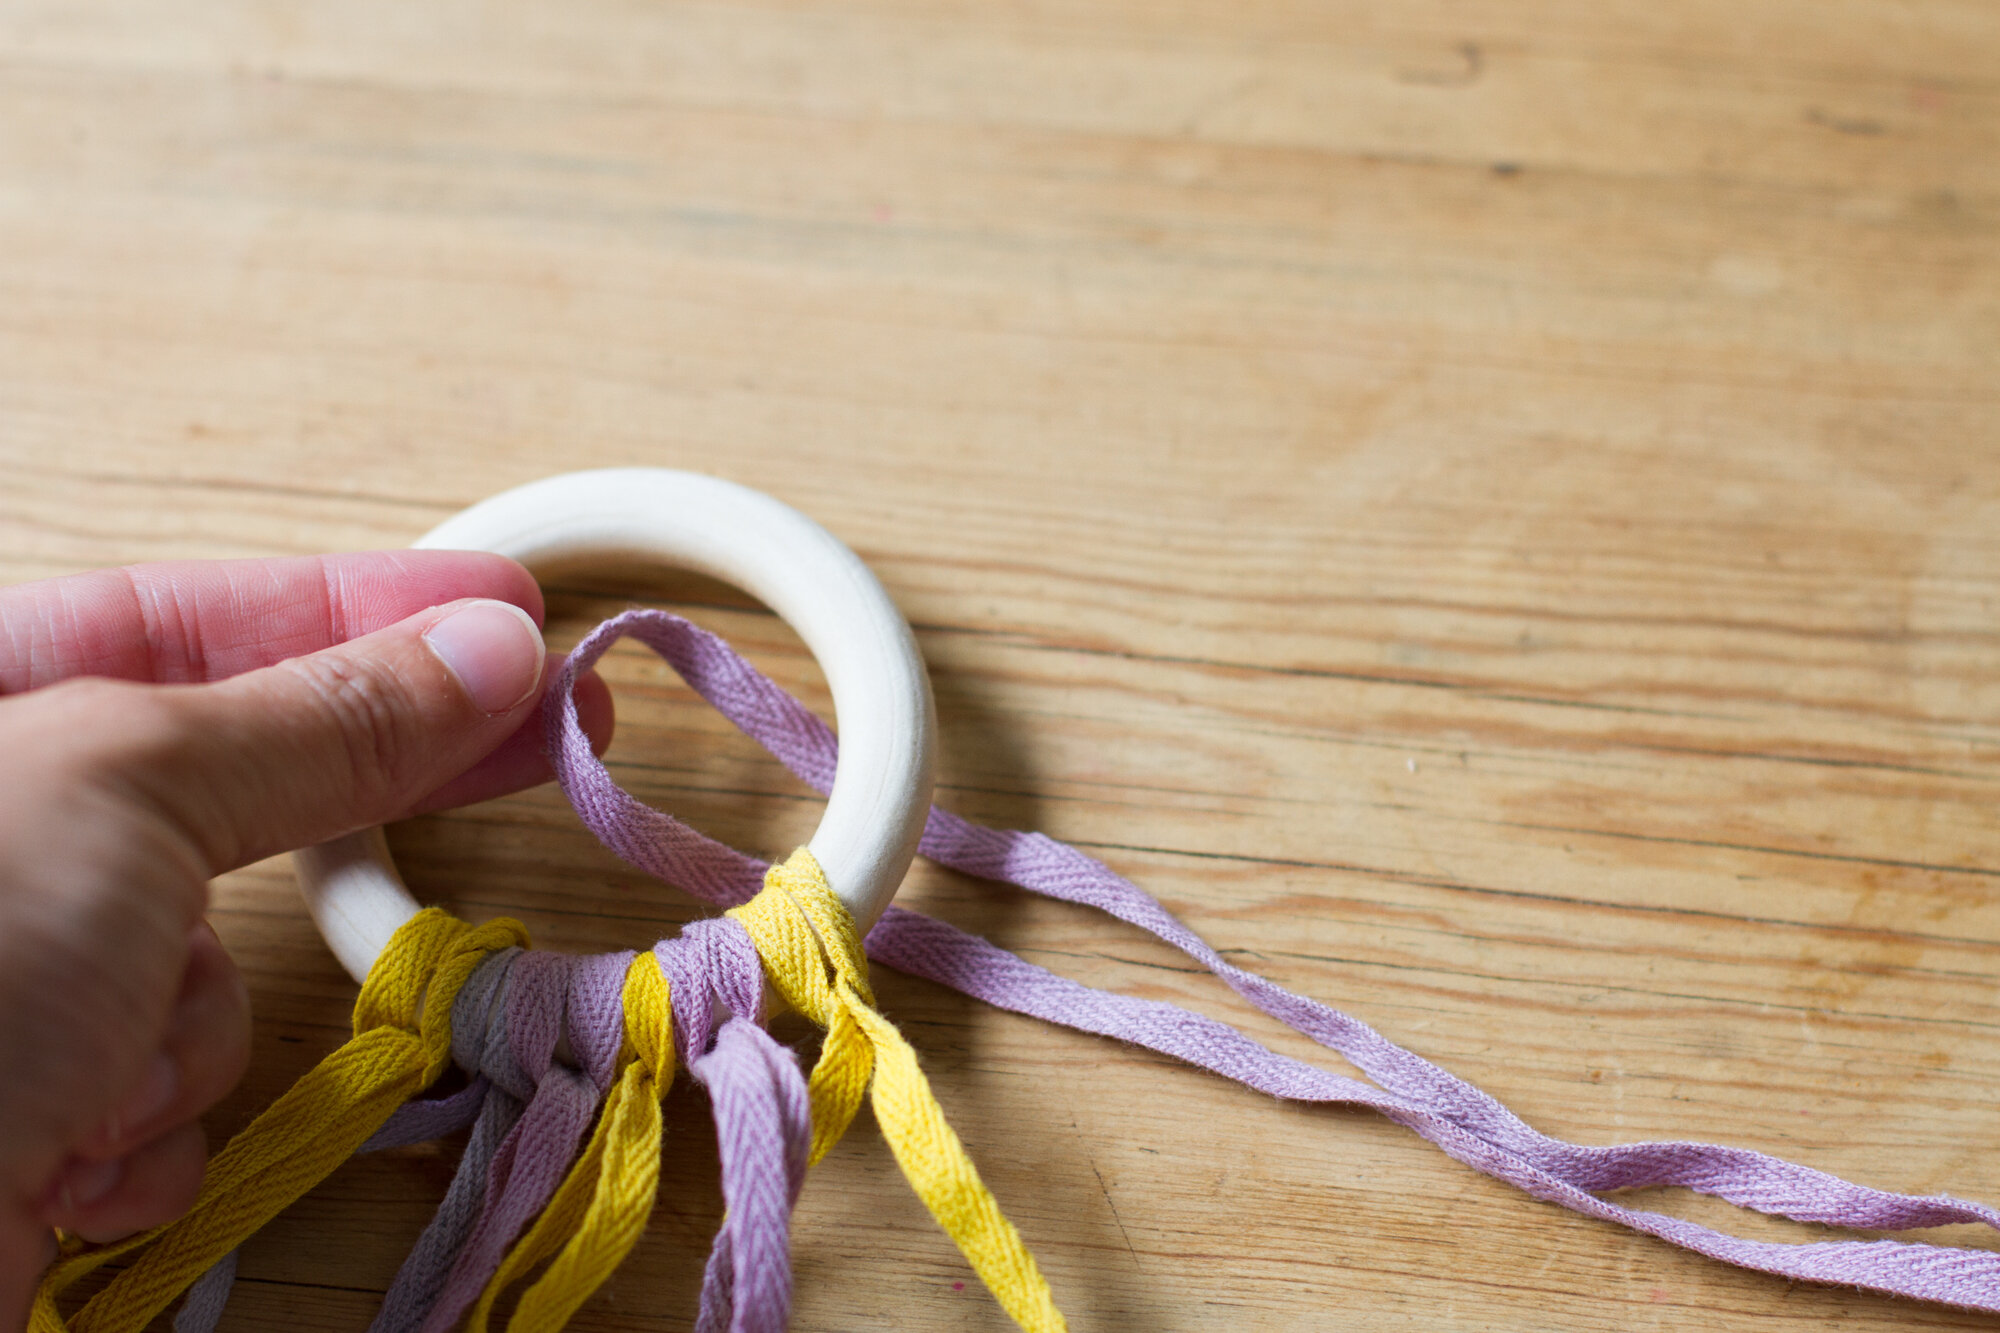
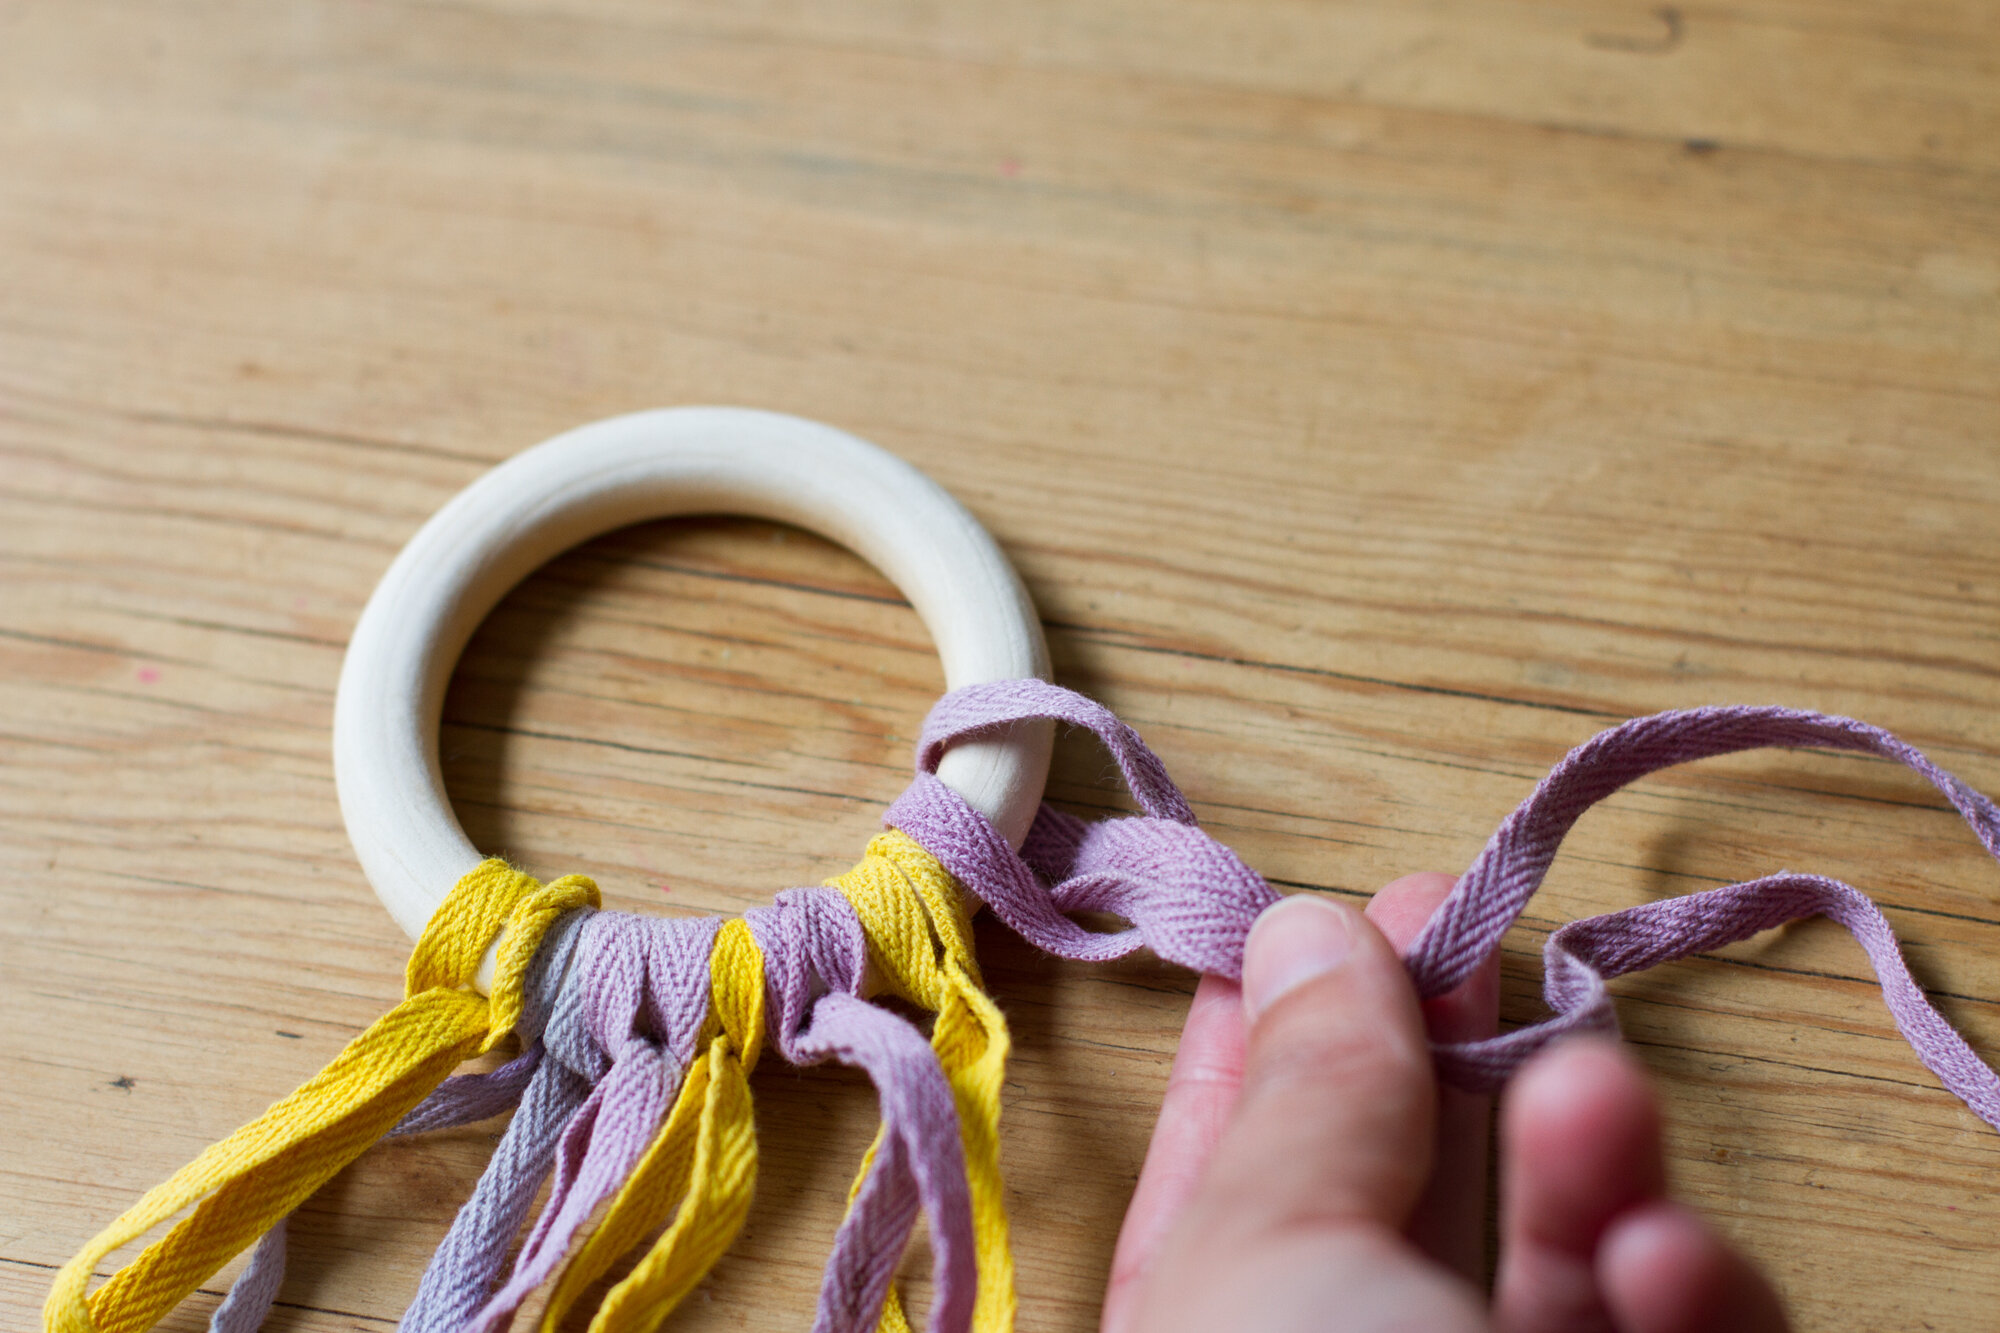
+ Attach ribbons to the ring with a simple loop. To do this, I folded each ribbon in half, placed the ribbon against the underside of the ring and pulled the ribbon ends up and over the ring and through the loop I’d made, until it cinched in place.
For the curious:
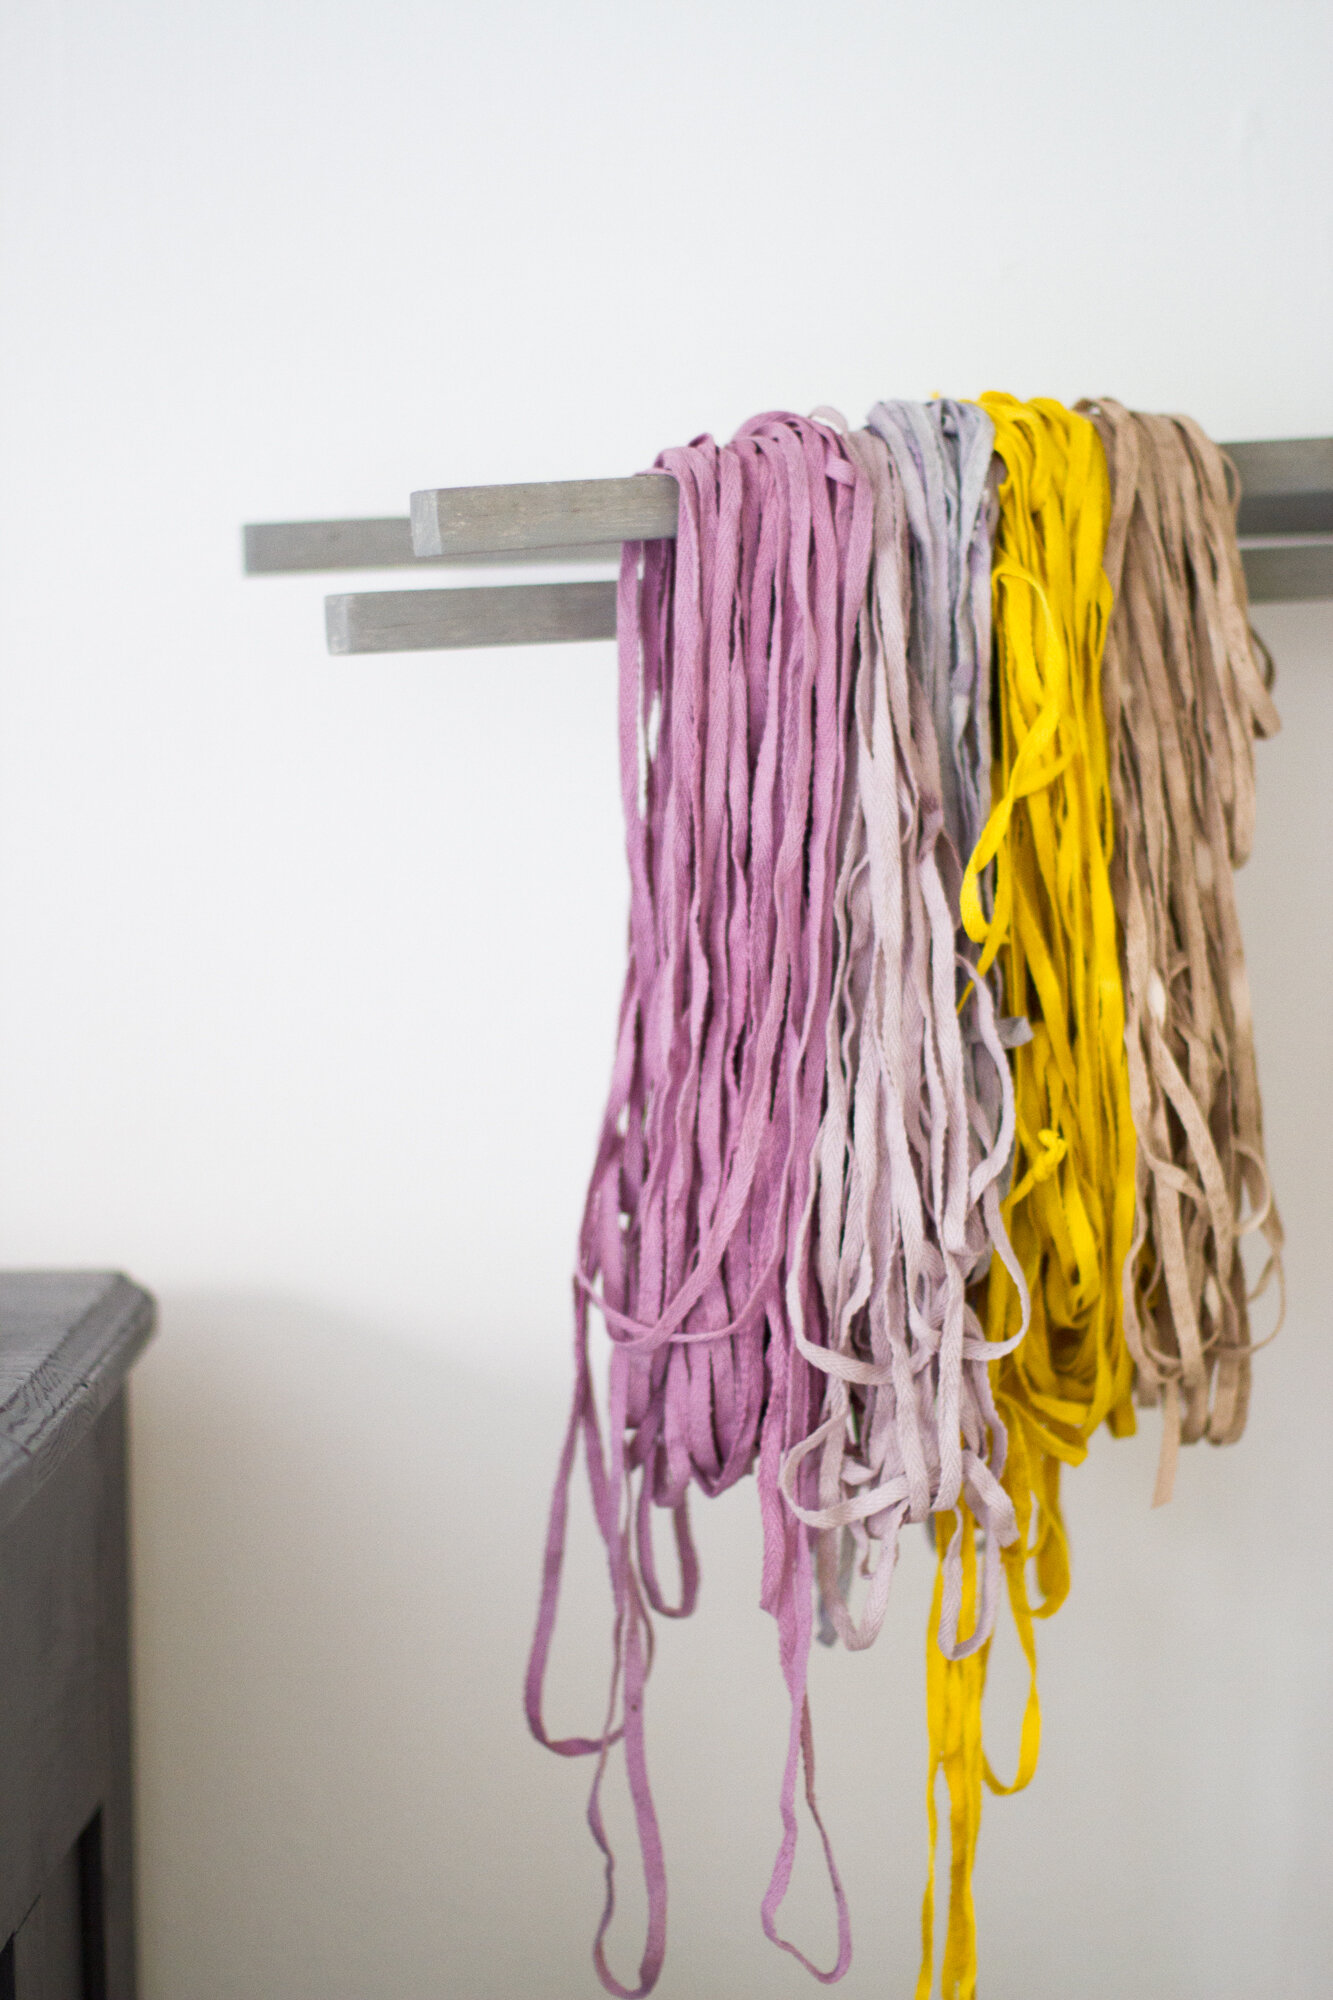
For anyone interested in tackling natural dyeing, simply, I highly recommend both Maggie Pate’s The Natural Colors Cookbook and Rebecca Desnos’s Botanical Colour At Your Fingertips. I have both and consulted them both for this project. I ended up using turmeric, red cabbage, beets, and blueberries for these ribbons. In case anyone else has a purple-loving kid, the blueberries helped us land on the brightest shade of violet seen here.

7 Comments
Wow! Love the colors of those ribbons. They turned out beautifully.
Thank you!
Thanks so much for this post, Erin. Those hand kites are so beautiful! Would you be able to give some brief guidance on how to use soy milk as a mordant?
It’s pretty simple–mostly soaking and drying and dipping a few times–but Rebecca Desnos gives excellent instructions in her book! It’s an e-book so quite affordable and I’ve found it to be so helpful!
Thanks Erin, that’s really helpful!
Such a cute idea! Doing these for my daughters birthday and wondered what you used to get the tan color on the end?
Don’t remember exactly!
Comments are moderated.