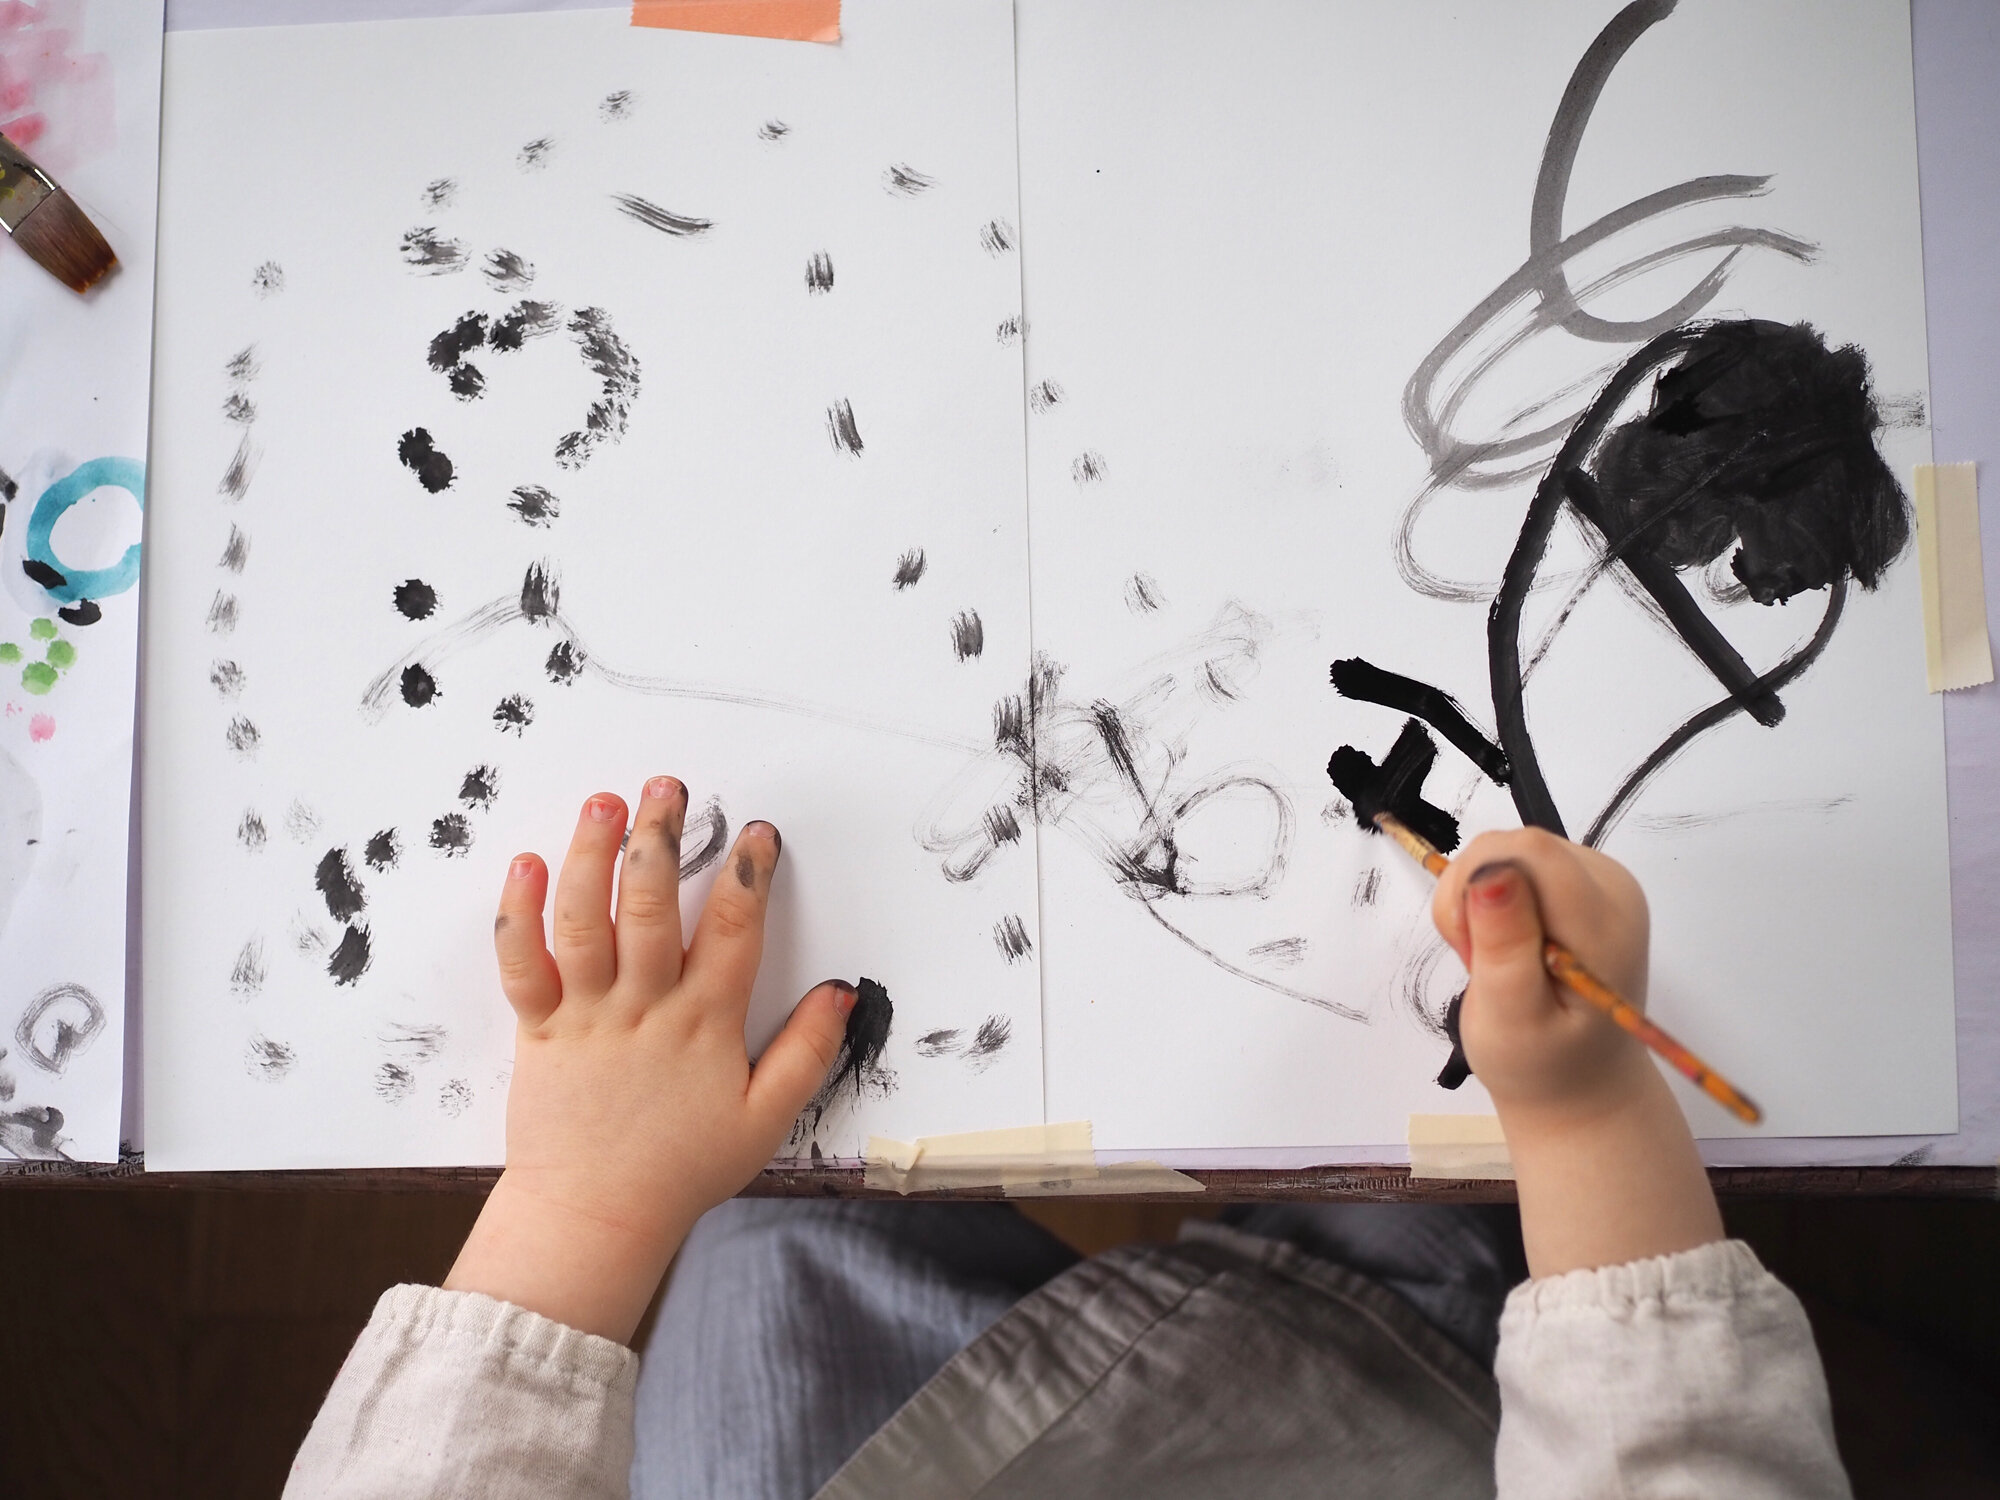
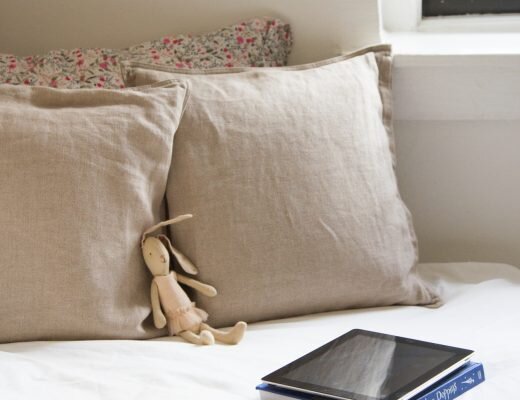
I’ll hazard the guess that many parents of young children have seen their homes transform into artist studios in the past few weeks. The artists currently occupying my apartment are extraordinarily prolific (and very demanding regarding snacks). Pre-dawn, they roll large sheets of paper onto the floor and set straight to work on their latest chef-d’œuvres, maneuvering themselves on all fours across their crinkly canvas, leaving behind a path of hearts and rainbows and curlicues. Their preference is to paint in the nude, though that’s neither here nor there. When they’re finished, they flip the paper over and begin again on the reverse side, happy just to have a place to leave their mark.
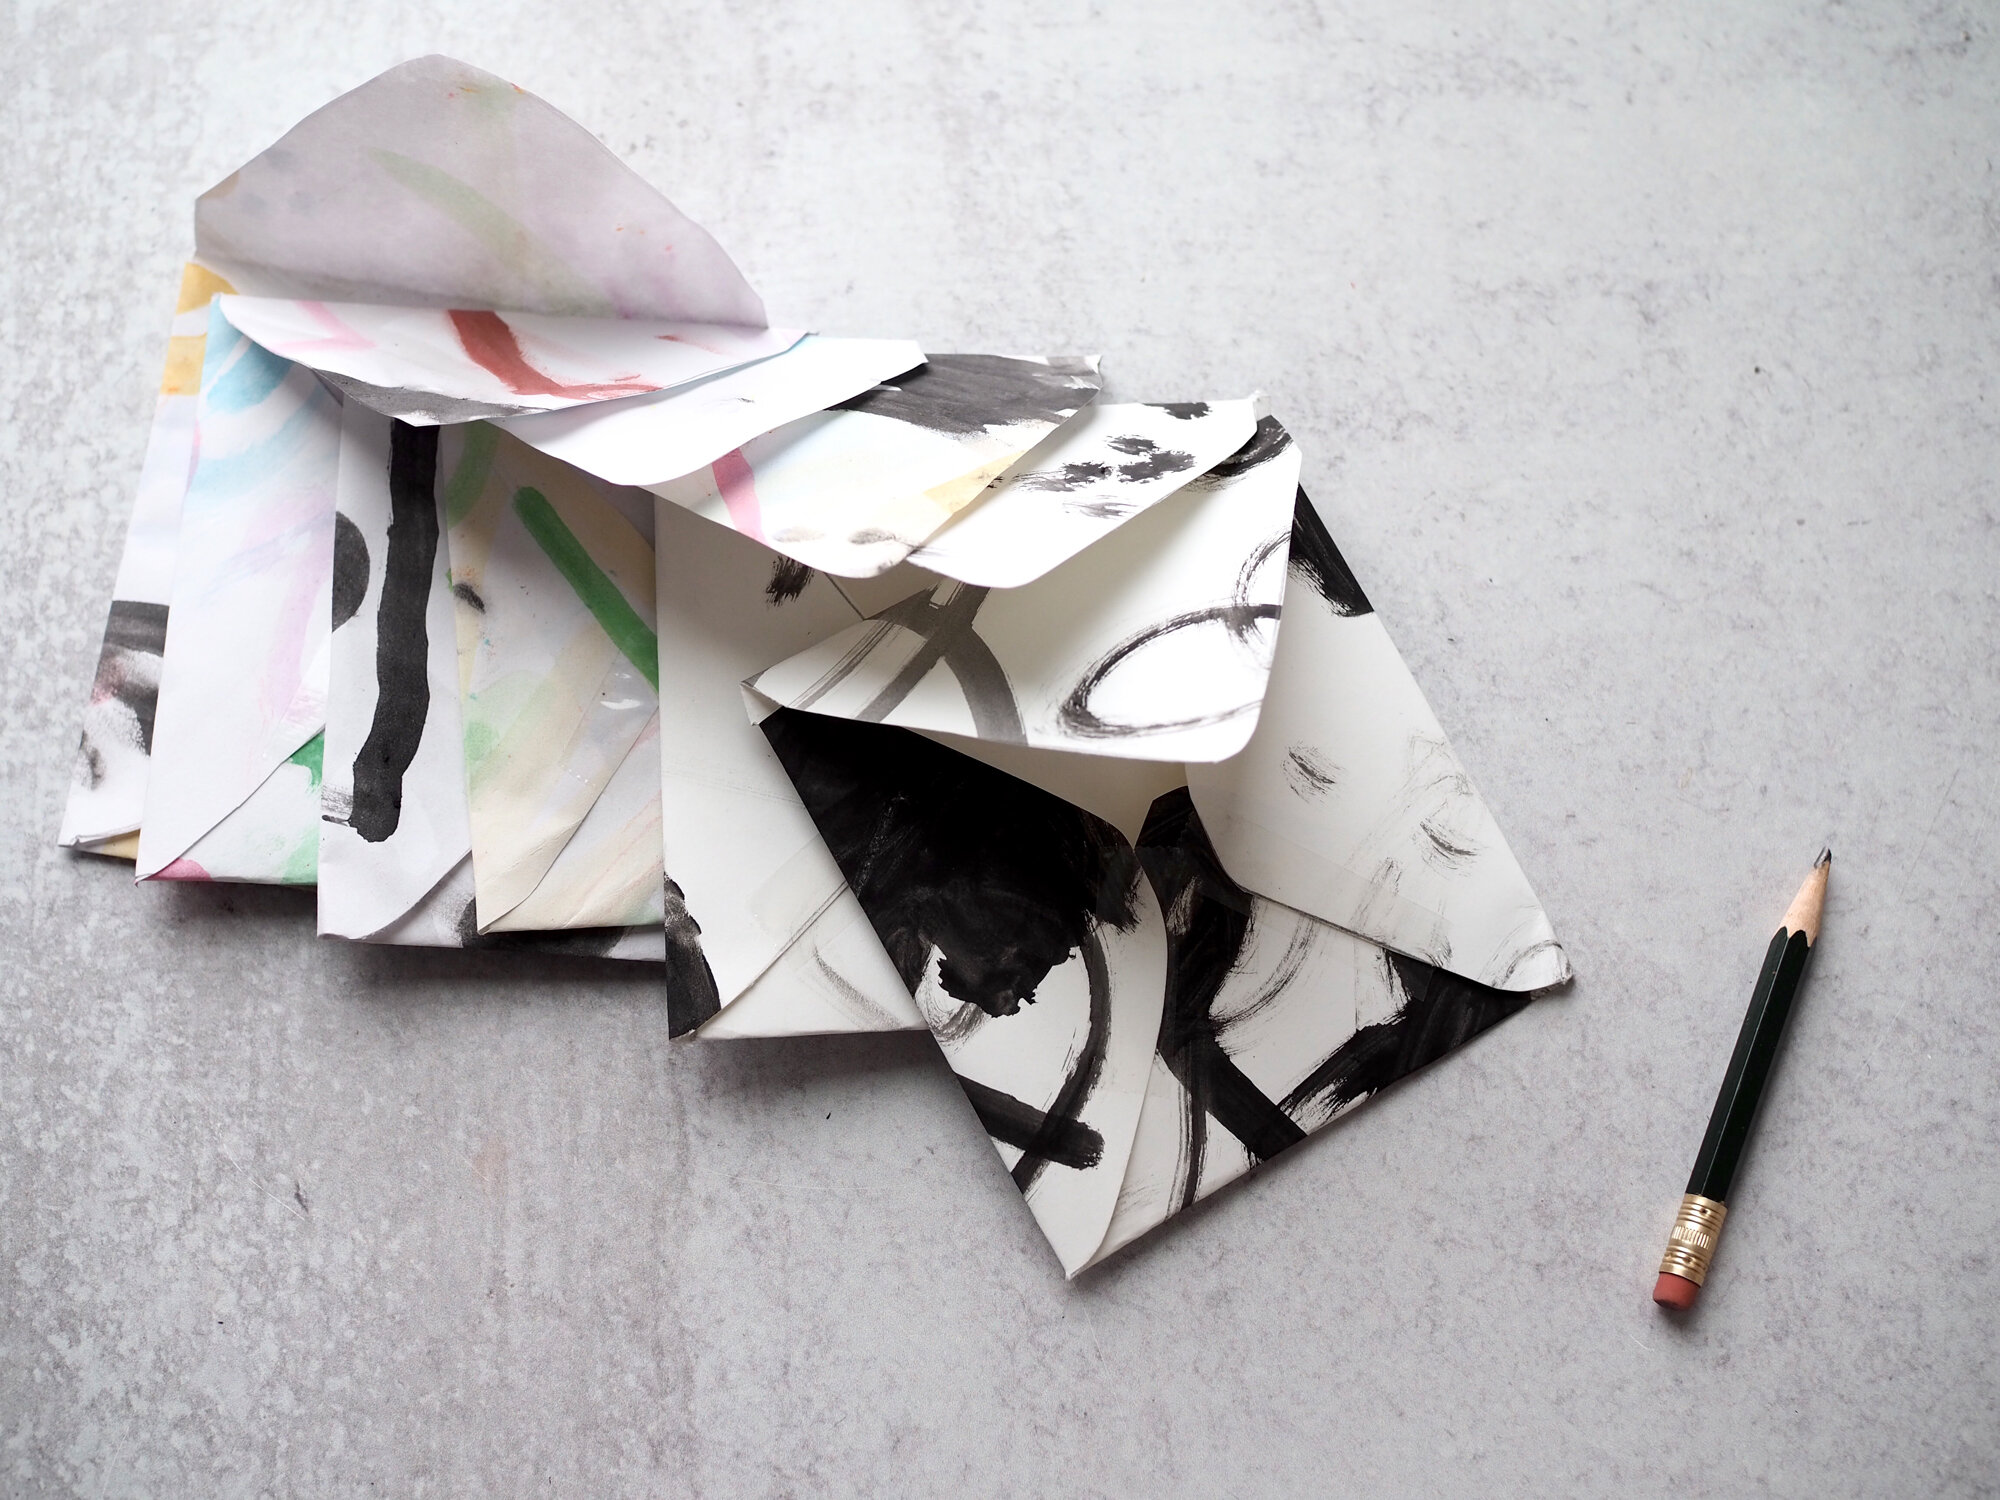
In an effort to put so much production to good use, we’ve been following Rose Pearlman’s lead and making paper envelopes from some of the lesser works in the collection. We’re planning to stuff them with letters to post to far-flung family.
In case anyone finds themselves with a preponderance of artwork and an overflowing recycling basket, here are Rose’s simple instructions for making a paper envelope:
Materials:
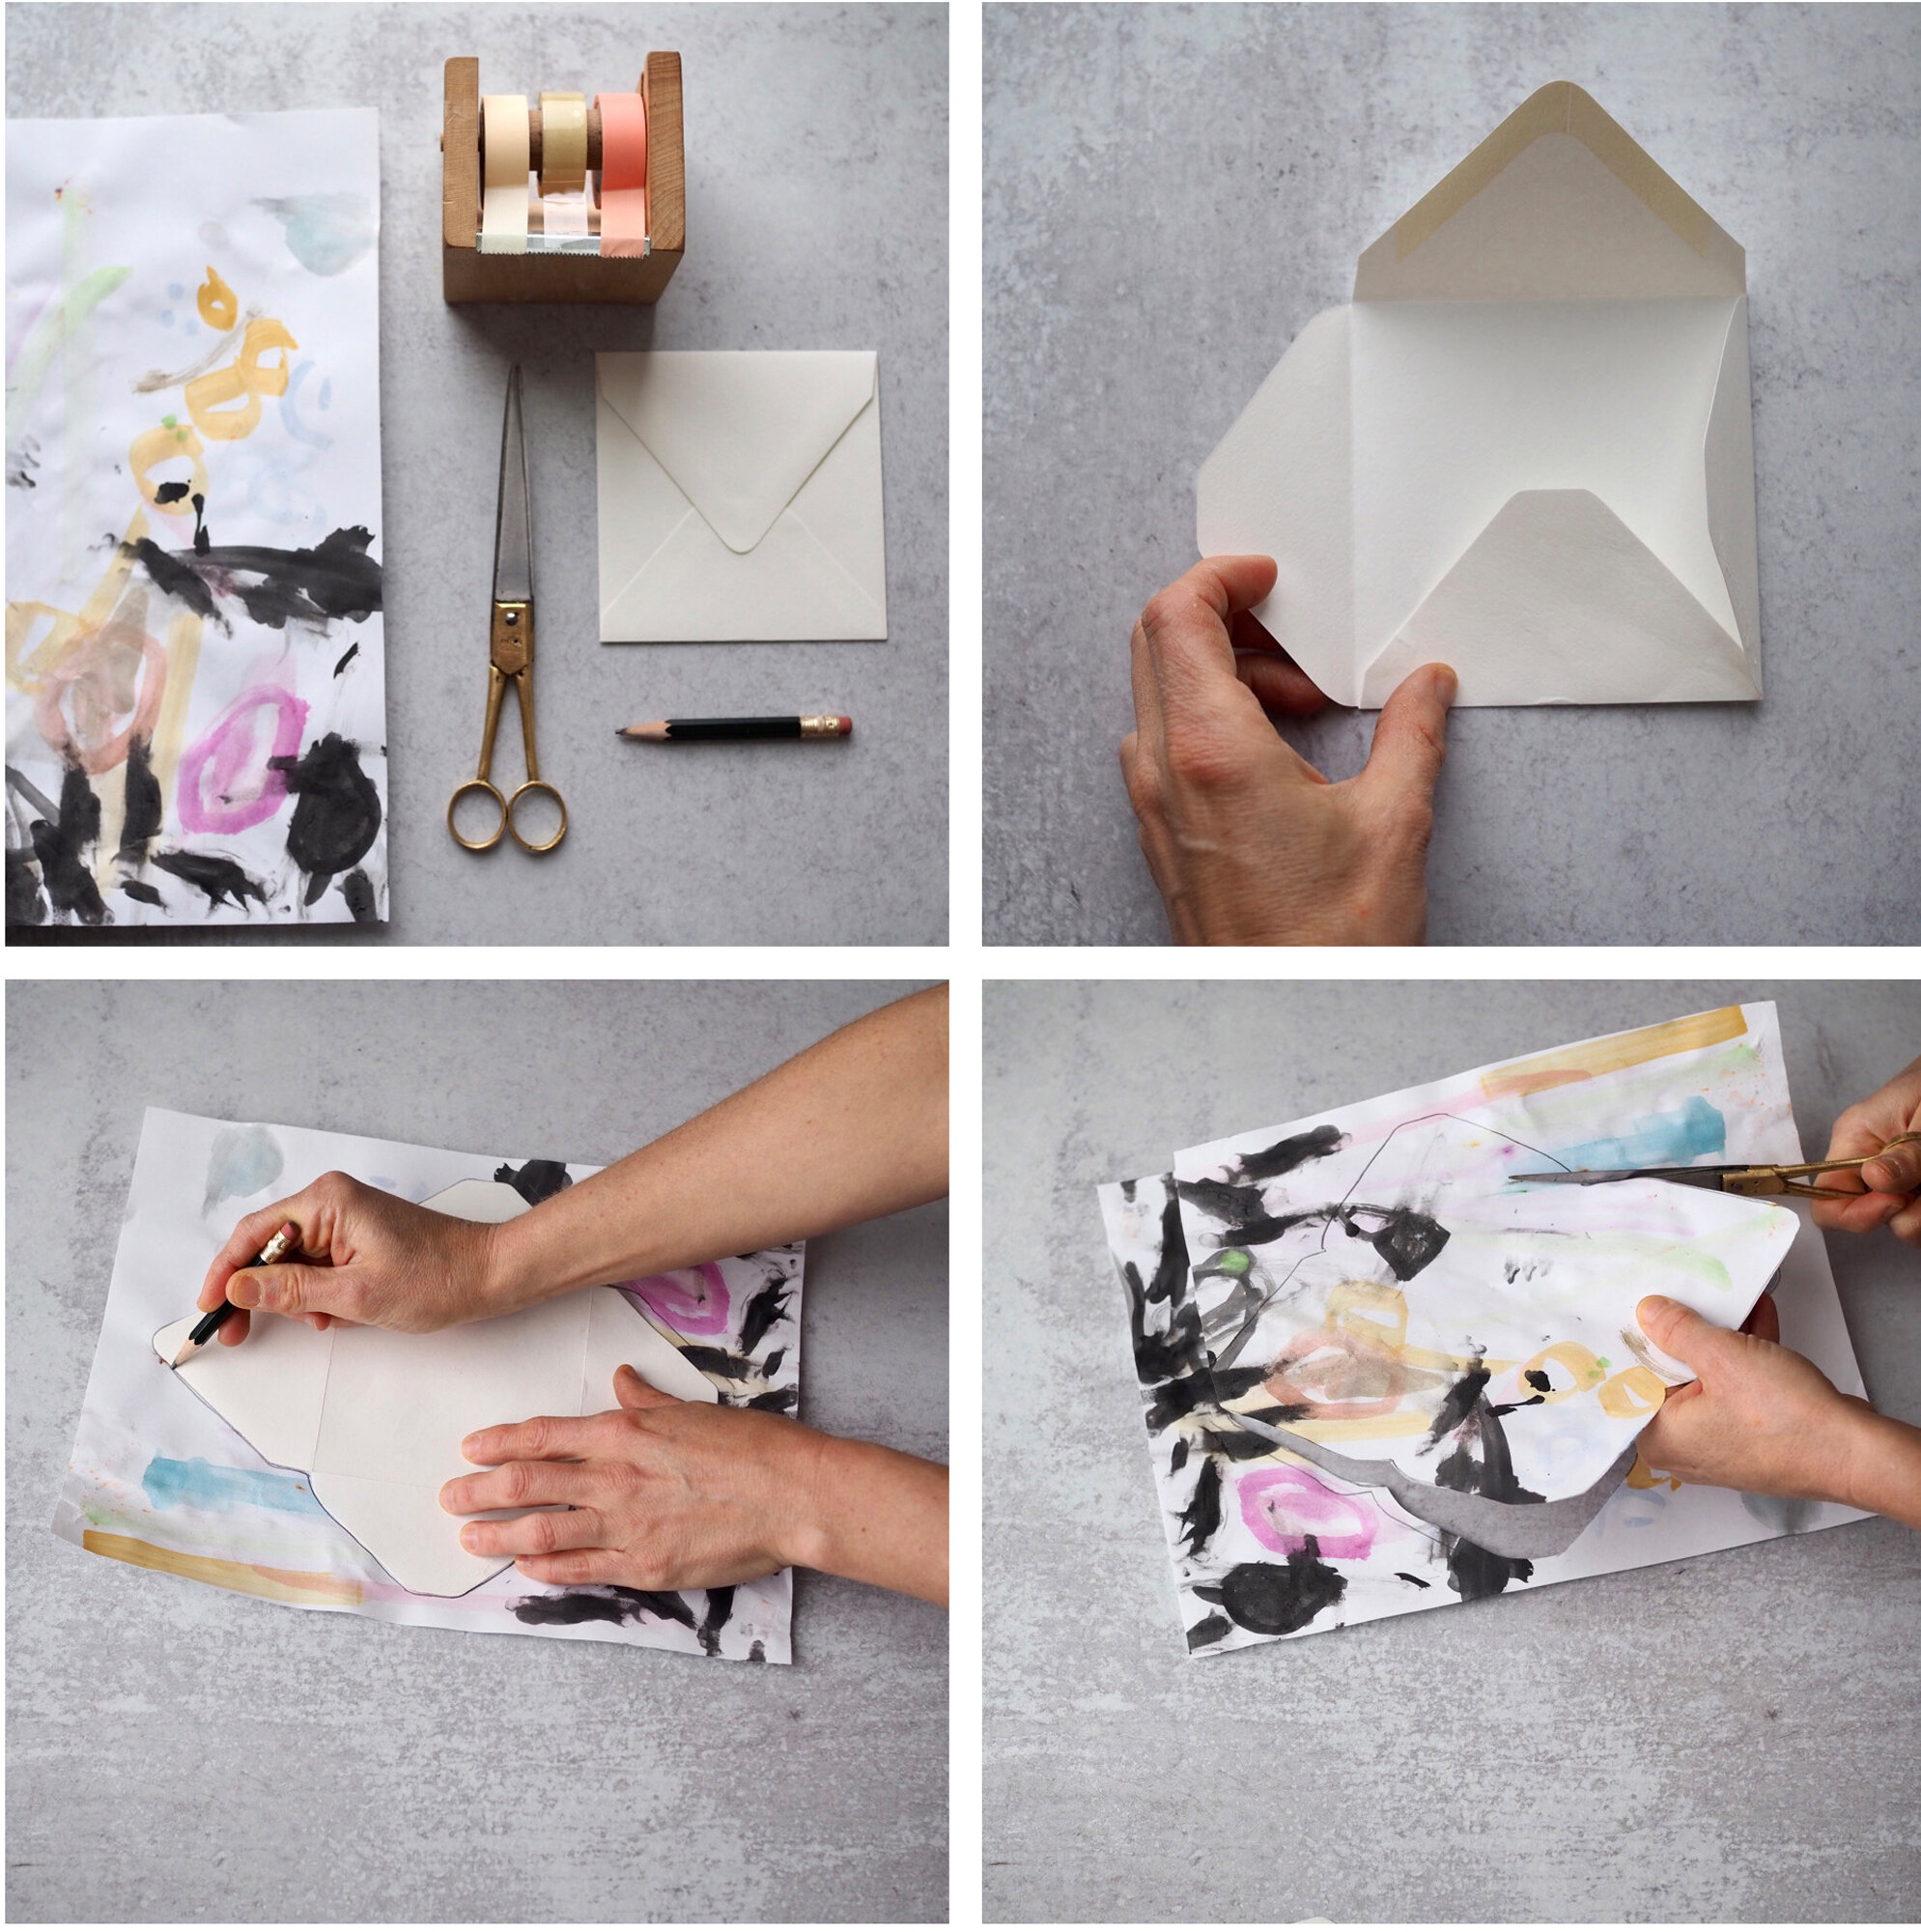
+ Mixed media kid art on paper 8”x10” or larger (thin to medium weight paper or Kraft paper works best)
+ Existing envelope to use as a template (the envelopes pictured are 4 ½” x 5 ¼”- and fit on an 8”x10” sheet of paper)
+ tape or glue
+ scissors
+ pen/pencil
+ white sticker labels (optional)
TIPS: Open your envelope to determine the size of the artwork needed. No kid art? Use your water colors, pencils, pens, markers etc, and make some art on paper. It all looks great when folded into an envelope.
Directions:
+ Carefully open up the seams of an existing envelope, trying not to tear where the paper is sealed with glue. (Sliding a pair of open scissors under the seams makes this task easy.)
+ With a pencil, trace your opened, flattened envelope onto the existing artwork.
+ Cut out the shape you traced with scissors.
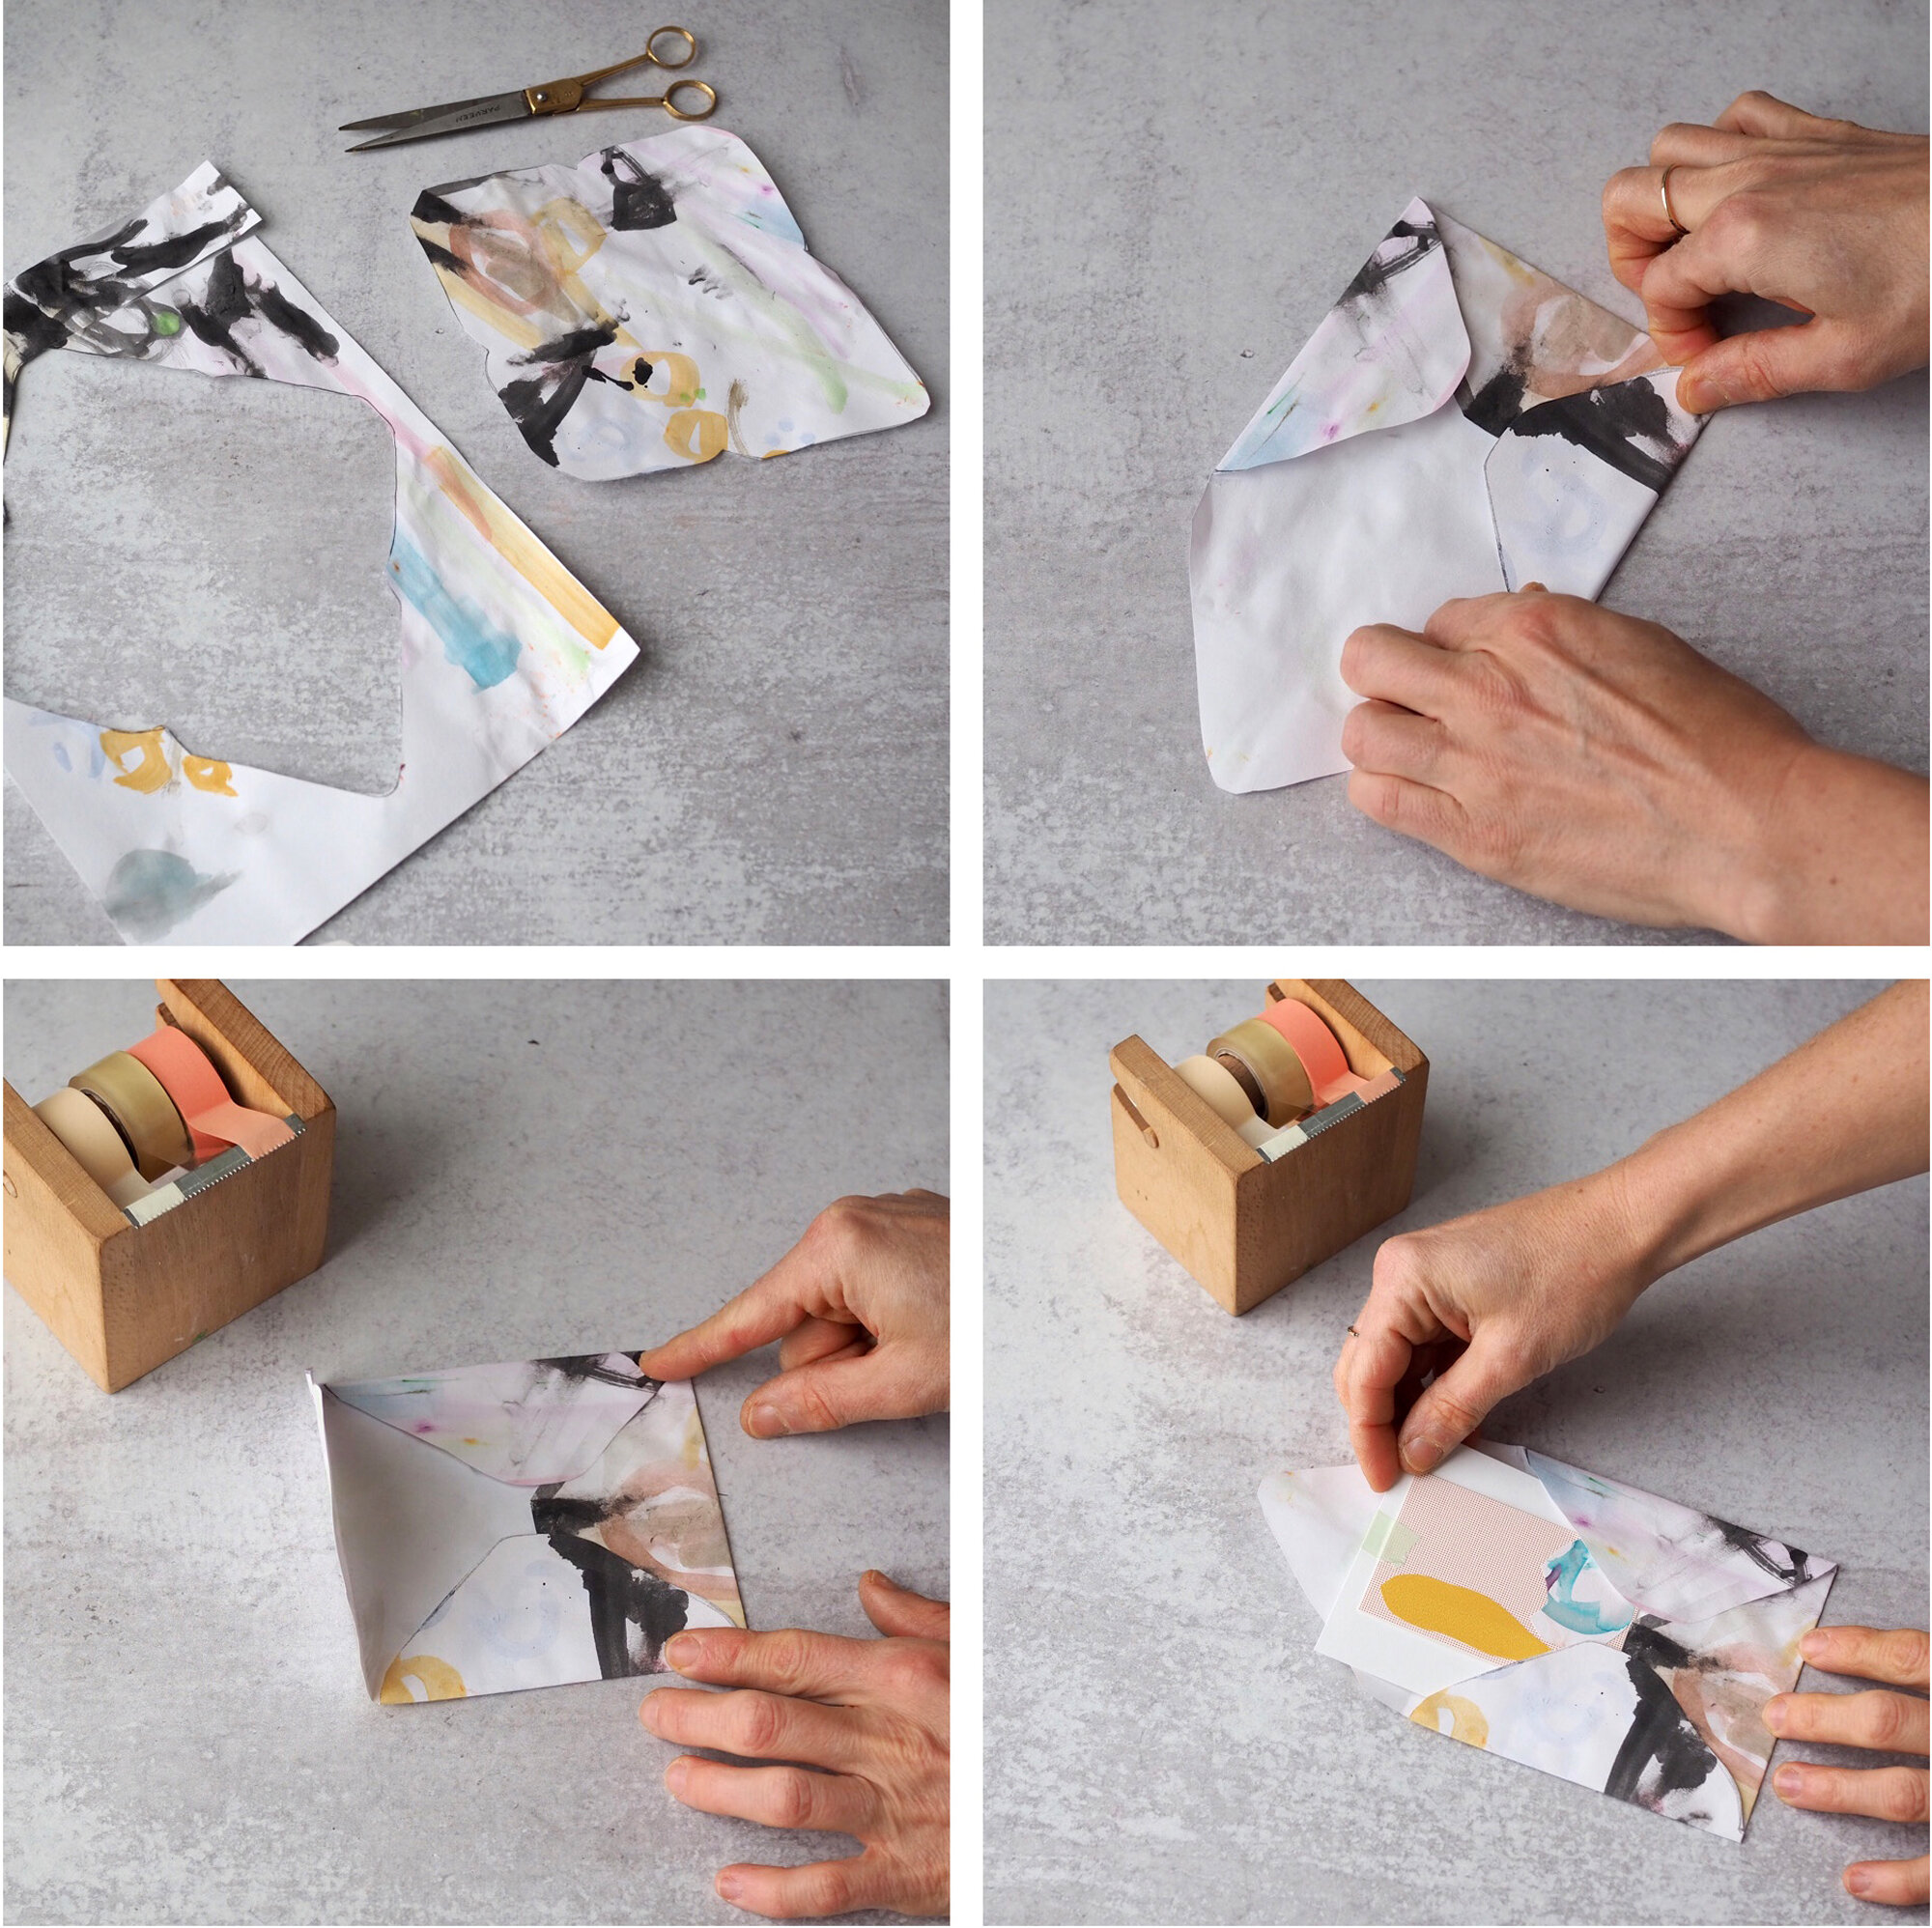
+ Fold all the flaps (top, sides, bottom) into the center to touch. You can refer to your envelope template to locate the flap folds.
+ Tape or glue along the edges where the side flaps intersect with the bottom flap.
+ To send; seal to top flap with tape or glue.
+ If the artwork is very dark or dense on the cover you might need to write the recipient’s name and address on a white label and and attach it to the front (optional!).
Thanks to Rose Pearlman for developing this project, writing the instructions, and capturing the step-by-step instruction imagery. Rose is an artist, teacher, and textile designer. With a background in fine arts and a love of well designed functional objects, her creations blur the lines between art and craft and pushes the boundaries with non-traditional techniques and materials. Rose teaches monthly rug hooking workshops in and around her home in NYC, and also welcomes commissions for one of a kind constructions in decor and home furnishings. Her work has been featured in fiber magazines, galleries, and numerous online design sites. Her new book Modern Rug Hooking came out in December 2019 and is available wherever books are sold. She lives in Brooklyn, NY with her family.

10 Comments
Erin, you have such a knack of making even the most humble things beautiful. I love this idea and may even tuck it away for this year’s Christmas cards. Thanks so much for sharing it.
These shots are all Rose! Kindred spirits!
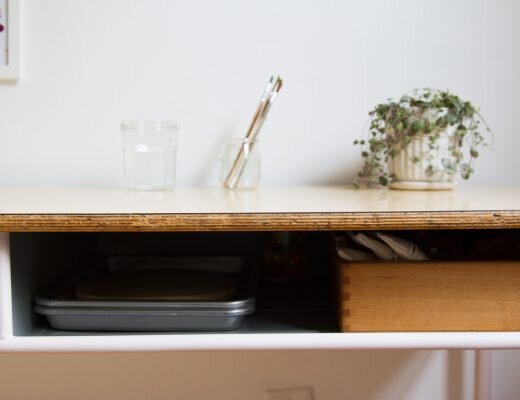
the wooden tape dispenser!!!! i’ve been dreaming of making such a thing……
yes! where can we find that lovely little thing!?
that belongs to rose! will have to ask!
Brilliant! And I agree about the wooden tape dispenser.
Brilliant, beautiful, and just in time…. We’ve been creating lots of art, and our envelope stock is dwindling with all the letters my kiddos have been sending out. Thank you!
Oh what a sweet idea!.
Also living with a little artist that prefers to be nude no matter the temperature in our apartment!
We used to fill entire afternoons with envelope making as kids. We collected pretty paper, tore up a few different shapes of envelopes, and created templates using cardbord. Then the tracing, cutting and glueing begun. Surely, we where probably older then your kids now. I have a toddler and usually I cut up her art to glue on cards (mixed media style, with washi and stamps, so we make even the uglier stuff shine). I’ll do envelopes with the lighter papers next!
Great idea. I also use the kids art as wrapping paper–it’s a really sweet touch and always looks good! I hope you are staying well and healthy in the city–at least you have a little one to cuddle. I had my third the end of October (he’s 5 months now, first boy) and it’s made it easier to stay home. Many hugs to your family.
PS Also would love the source of the wooden tape dispenser–I’ve only found cheap plastic ones or ones that fit 8+ rolls of tape, which is too much. 3 rolls is perfect for our little kiddos.
Comments are moderated.