I’m a tinkerer by nature, and certainly by nurture. As I kid I loved helping my parents fix things around our house. There was always a weekend project to tackle—some small improvement to be made or a finishing touch to add in the name of form or function and typically both.
The move to this new apartment means my tinkering tendencies have gone into overdrive and now I’ve got small apprentices of my own by my side. In the weeks since our move, I’ve repaired window screens, primed doors, and removed more bits of ancient painted-on hardware than I can remember. With kids by my side I’ve painted the insides of closets, hung hooks, swapped doorknobs, and transformed an old corkboard. I’m sure Faye and Silas will soon be able to handle my electric drill as well as I can (they’re more than eager for any opportunities to try).
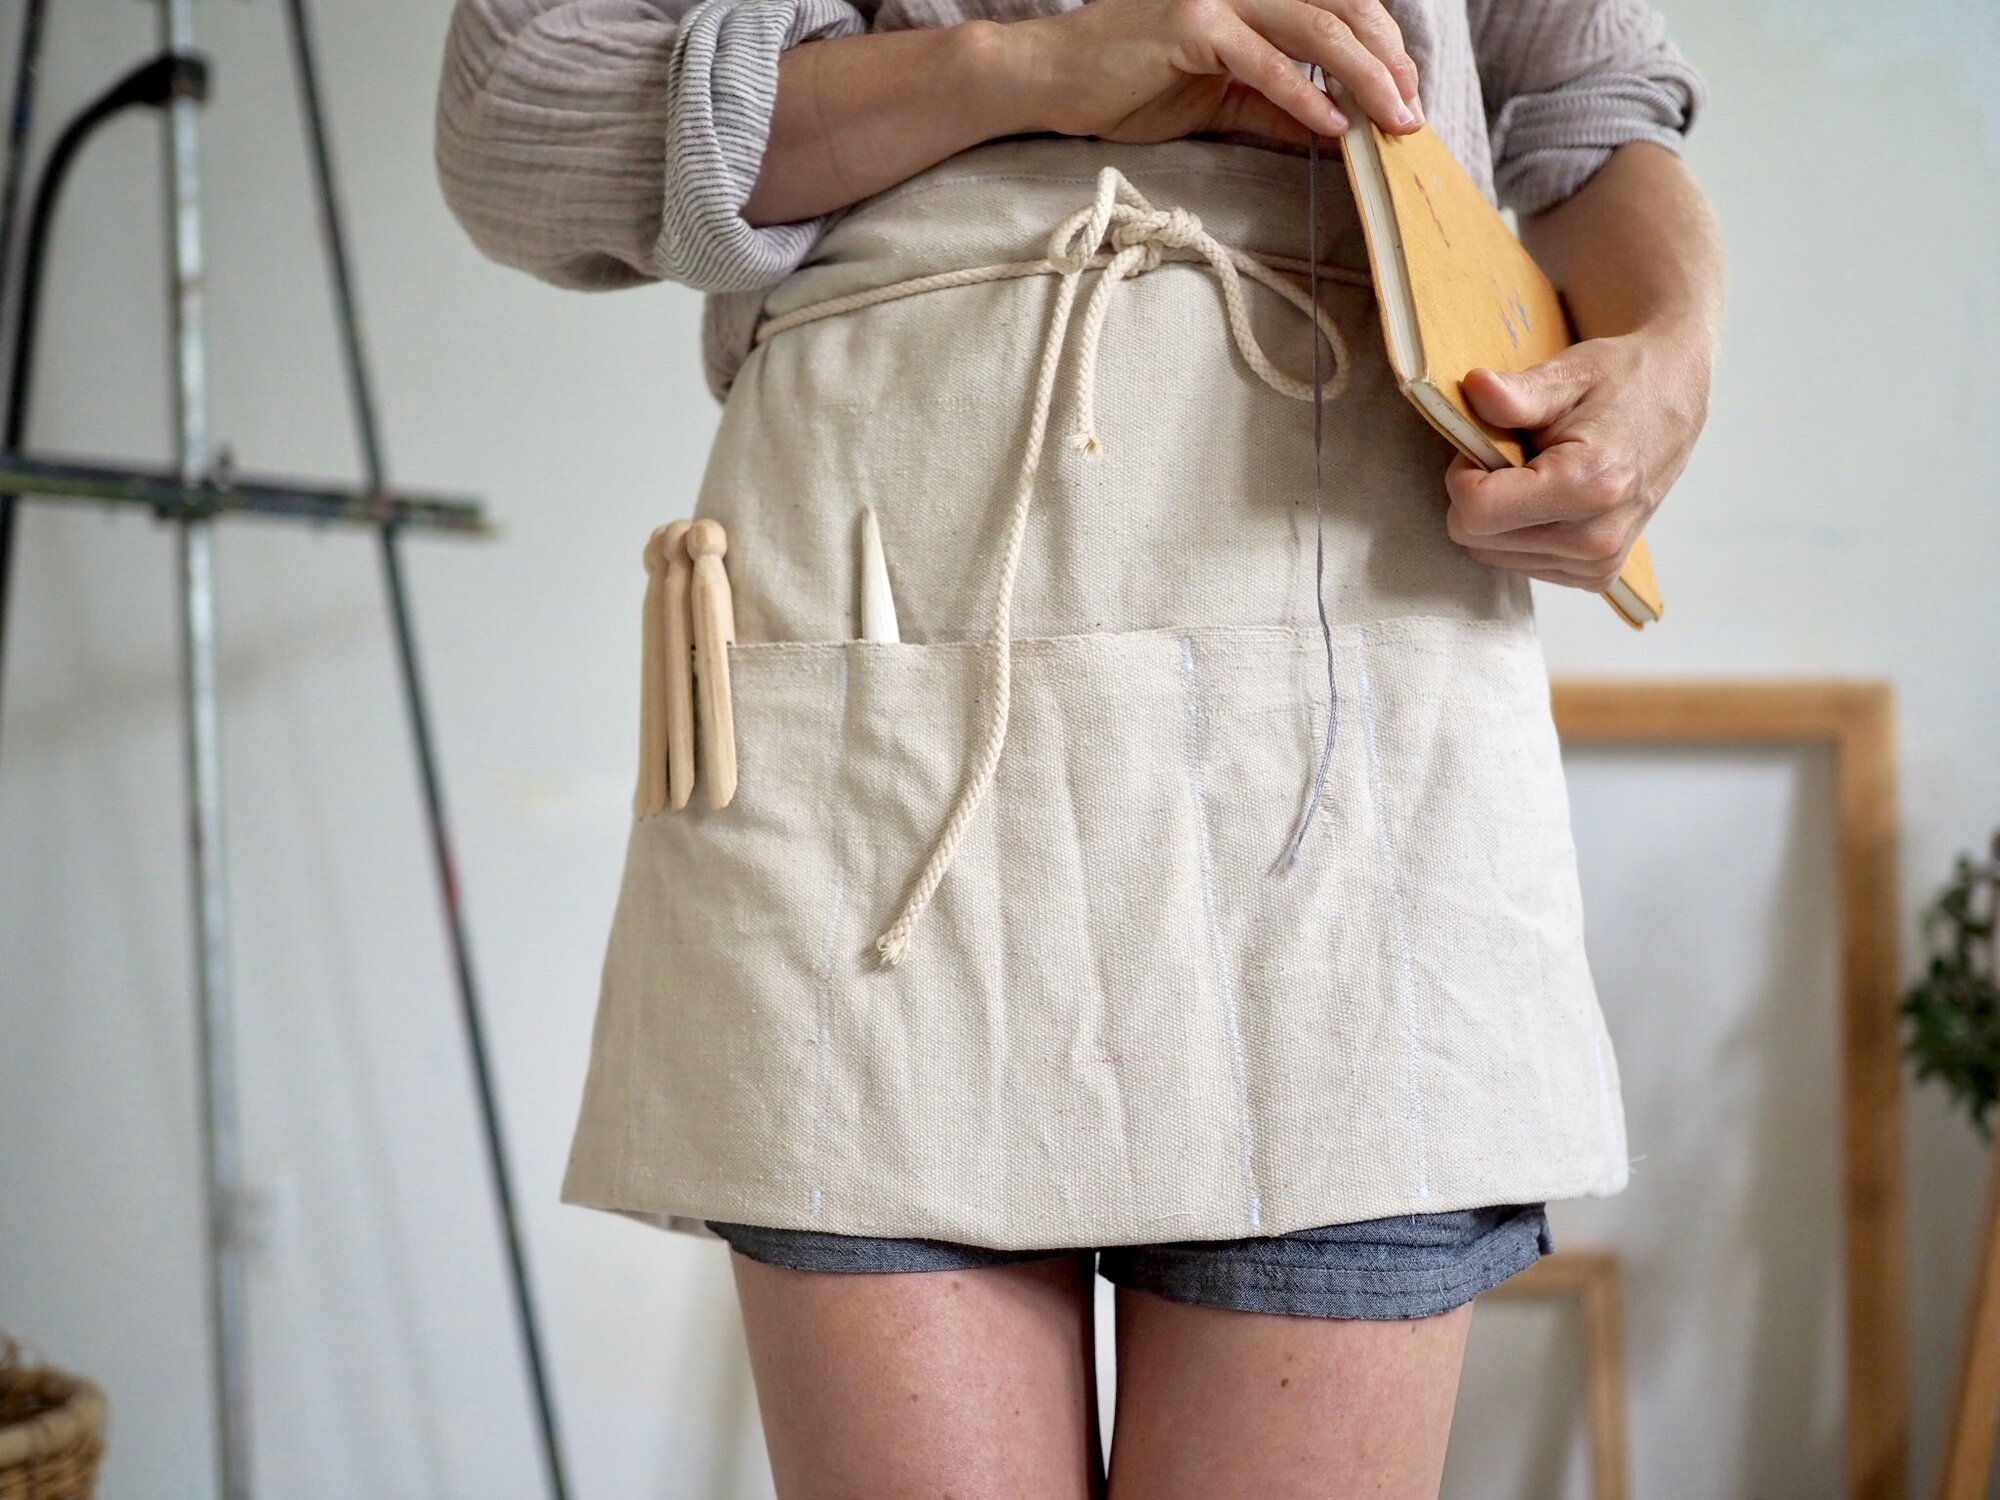
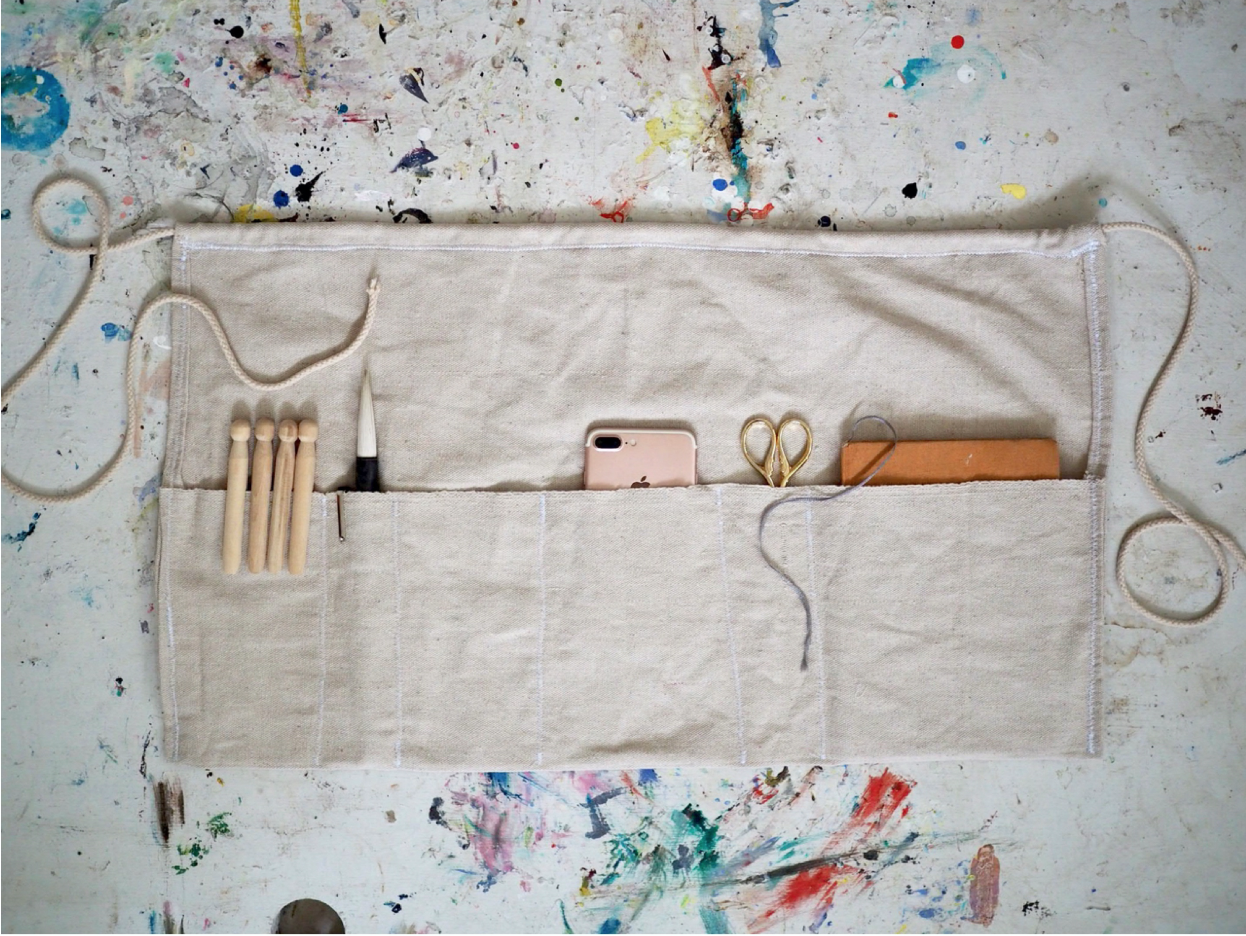
Last week, I took a break from my tinkering to meet Rose for coffee. It was our first time seeing each other since March and we tried to squeeze seven lost months of catching up and project planning into a stolen hour. As always, she came bearing gifts, among them an apron to match the one she’s wearing in the photo above. It’s a tool roll and work apron in one—the perfect accessory for a tinkerer like me.
I’ve been tying mine around my waist in the morning and filling it up with the tools I need to have handy throughout the day. Below are Rose’s simple instructions for making one for yourself (or one for your friend!).
From Rose:
While the tutorial for this apron comes with measurements, you are welcome to self adjust to create a more personalized fit, especially if this is a gift for a child. I have made many of these aprons and honestly spend little time making perfect measurements. Don’t let the sewing diagram deter you; the project is as simple as folding a rectangular piece of fabric, creating seams for pockets, hemming the edges and attaching the cord. No need to overthink it. Even with wonky edges and uneven seams, it will still be hard wearing and great looking.
Materials:
25” x 28” of canvas drop cloth (available at any hardware store)
90- inches of cotton clothesline size 5 or 6 (available at most hardware stores)
Sewing thread and needle or sewing machine*
Ruler
Fabric marker or chalk
Sharp scissors
Pins
* A sewing machine, while not necessary, will save you a lot of time on this project. A zigzag stitch from a machine will better conceal the raw edge of a seam. However, if you are not in possession of a sewing machine, hand stitching will work just fine. Refer to the back stitch technique to ensure your stitches are secure.

Directions:
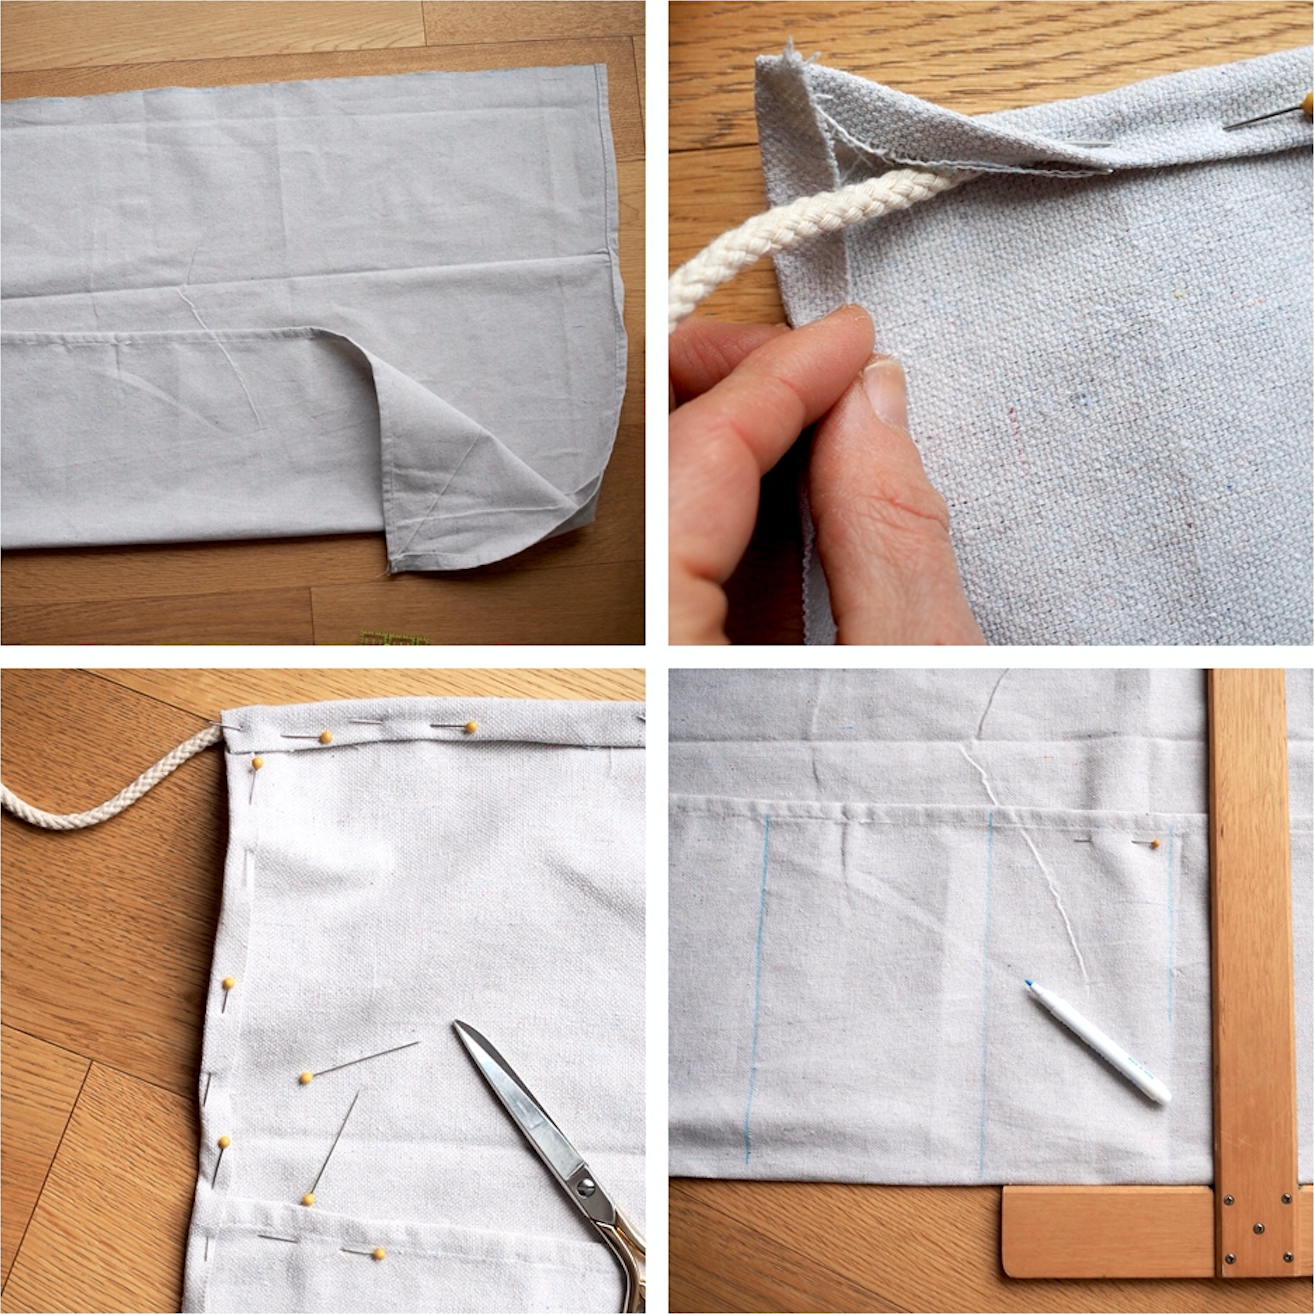
+ Measure a 25”x28” rectangle from your canvas drop cloth. If the drop cloth comes with a pre-hemmed edge, use it for one or two of the rectangles edges. A pre-hemmed edge along the bottom 25” will save you a step when hemming.
+ Fold the 25” bottom edge up 8” and pin in place, matching the side seams of both layers as best as possible. If the cloth has a hemmed edge here, make sure the right side is facing out when folded. If there is no hem, tuck the frayed edge under before pining in place.
+ Fold in a ¼” seam allowance on both of the short sides of the rectangle. Be sure to include both layers of canvas where the two sides overlap. Pin in place.
+ Place the center section of your rope along the top long edge of the rectangle. Make a small fold to conceal the frayed edge of the fabric, then fold again over the the rope and pin in place. You want to make sure the frayed edge is concealed inside the fold.
+ With a ruler or a straight edge and a fabric marker, mark off vertical lines for the pocket openings. You can take into account the different supplies you use to determine the size. Make small pockets for pens and narrow tools, and some wider pockets for notebooks, scissors, etc. It is up to you how many pockets and what size they are.
+ Using either a needle and thread or a sewing machine, stitch all the seams together. If using a sewing machine, use a zigzag stitch and sew to conceal the frayed edges.
If hand stitching, use the ‘back stitch’ technique to secure along the seams.
+ To sew separate pockets of your apron, sew up the vertical lines you sketched. Make sure to secure backstitch at the beginning and the end when using a sewing machine.
+ Cut all loose threads and you are finished.
To use:
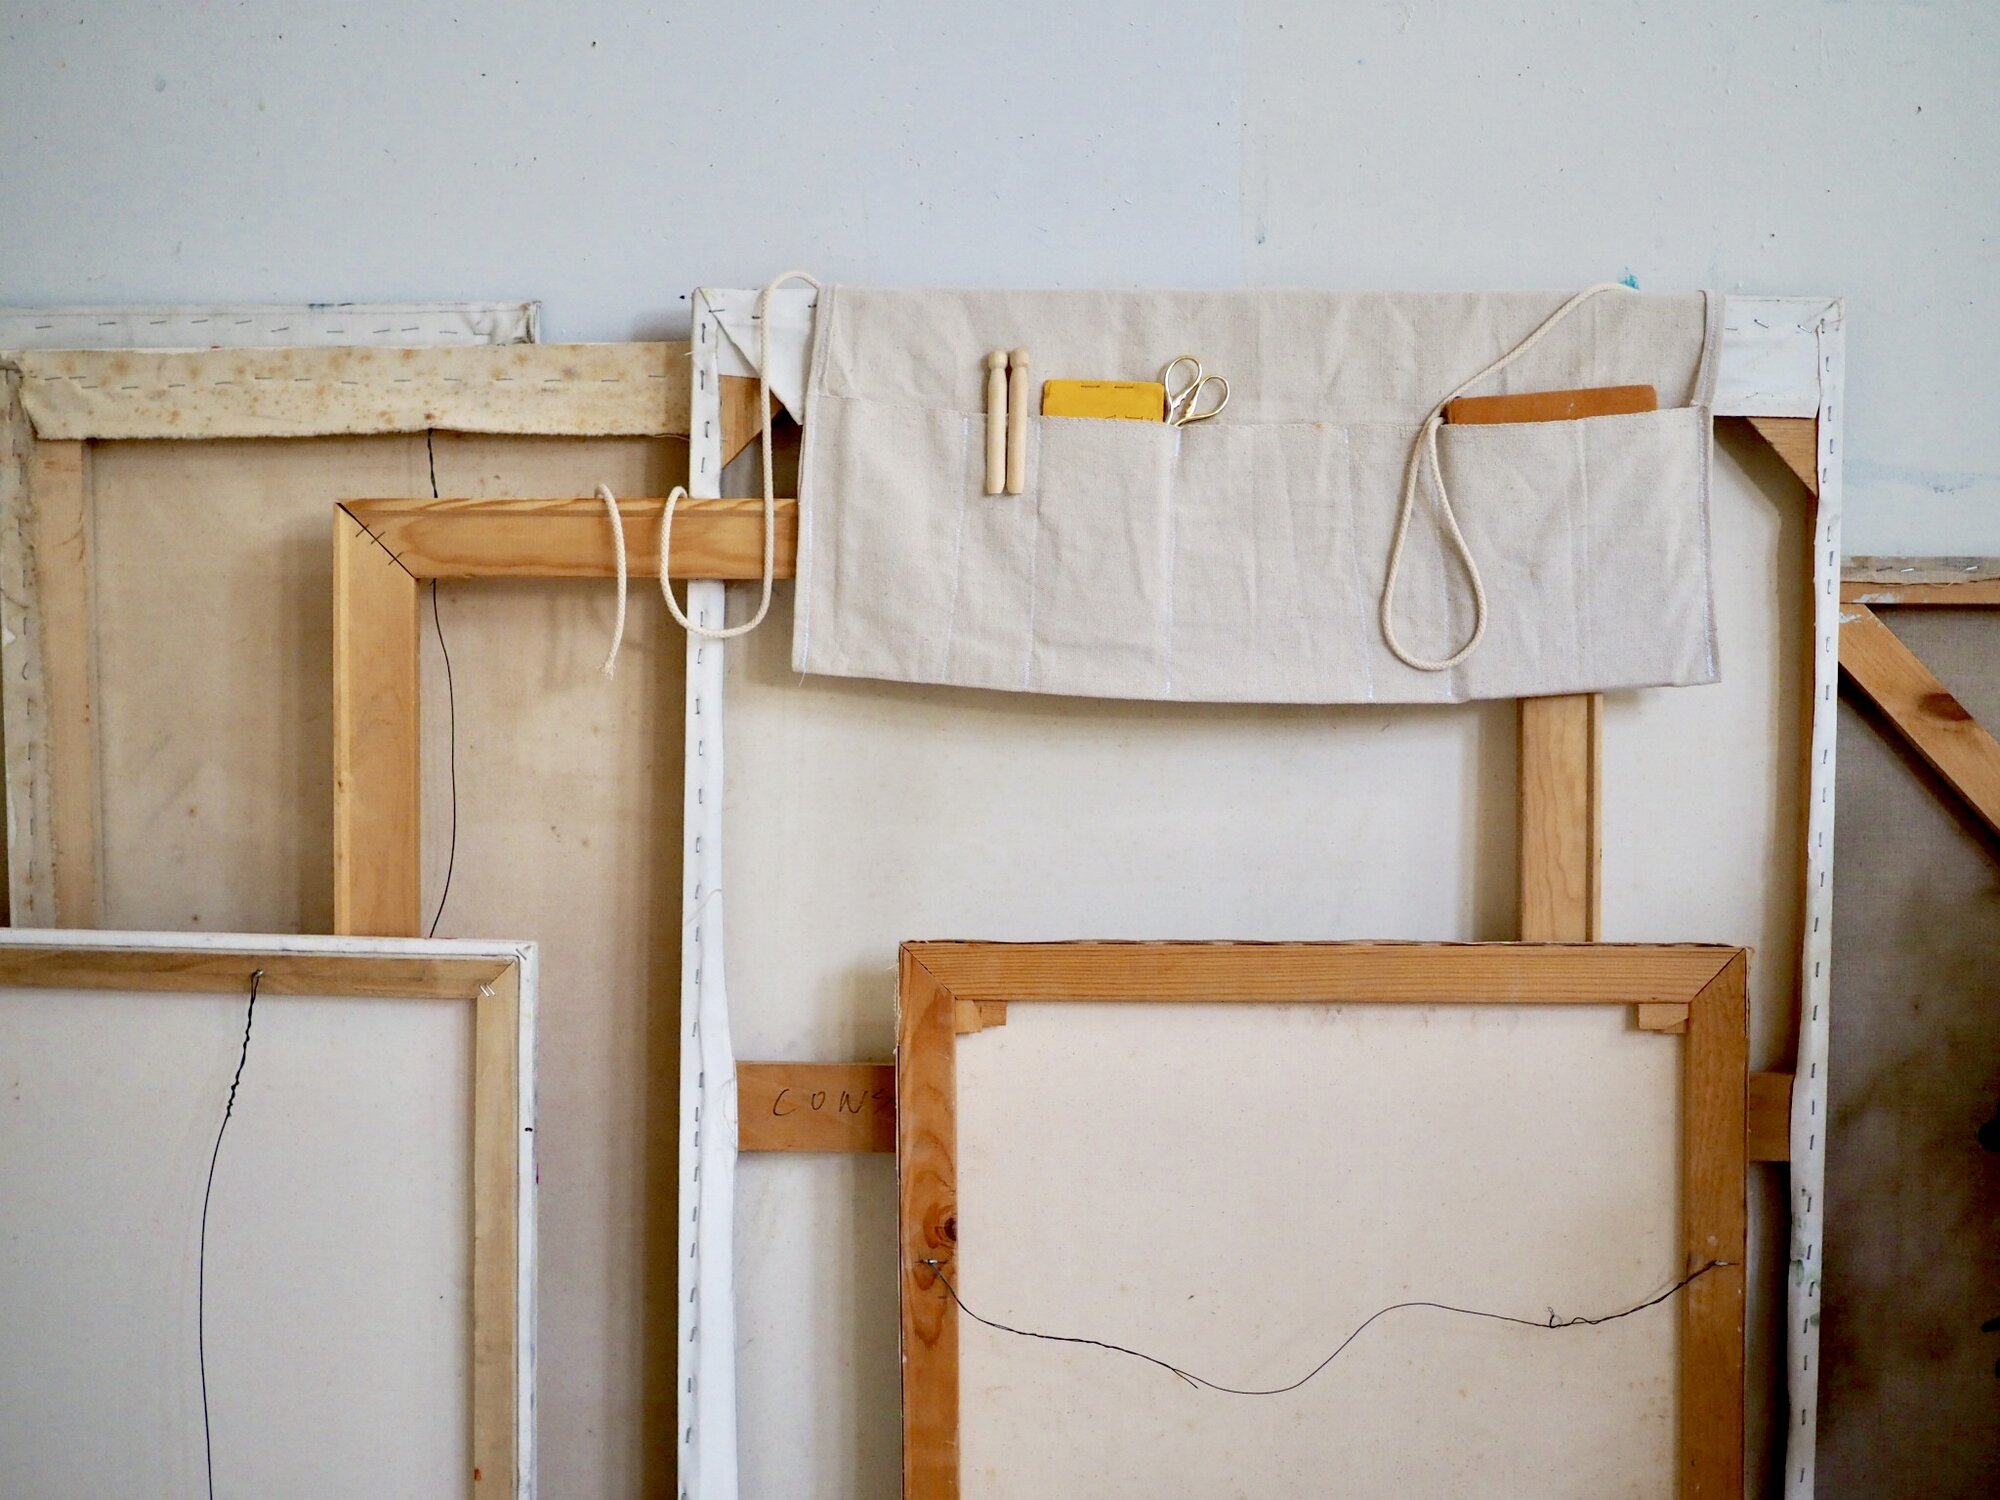
Wear your apron by wrapping the cord once or twice around your waist and knotting. Fill the pockets with whatever tools and supplies you like to keep on hand.
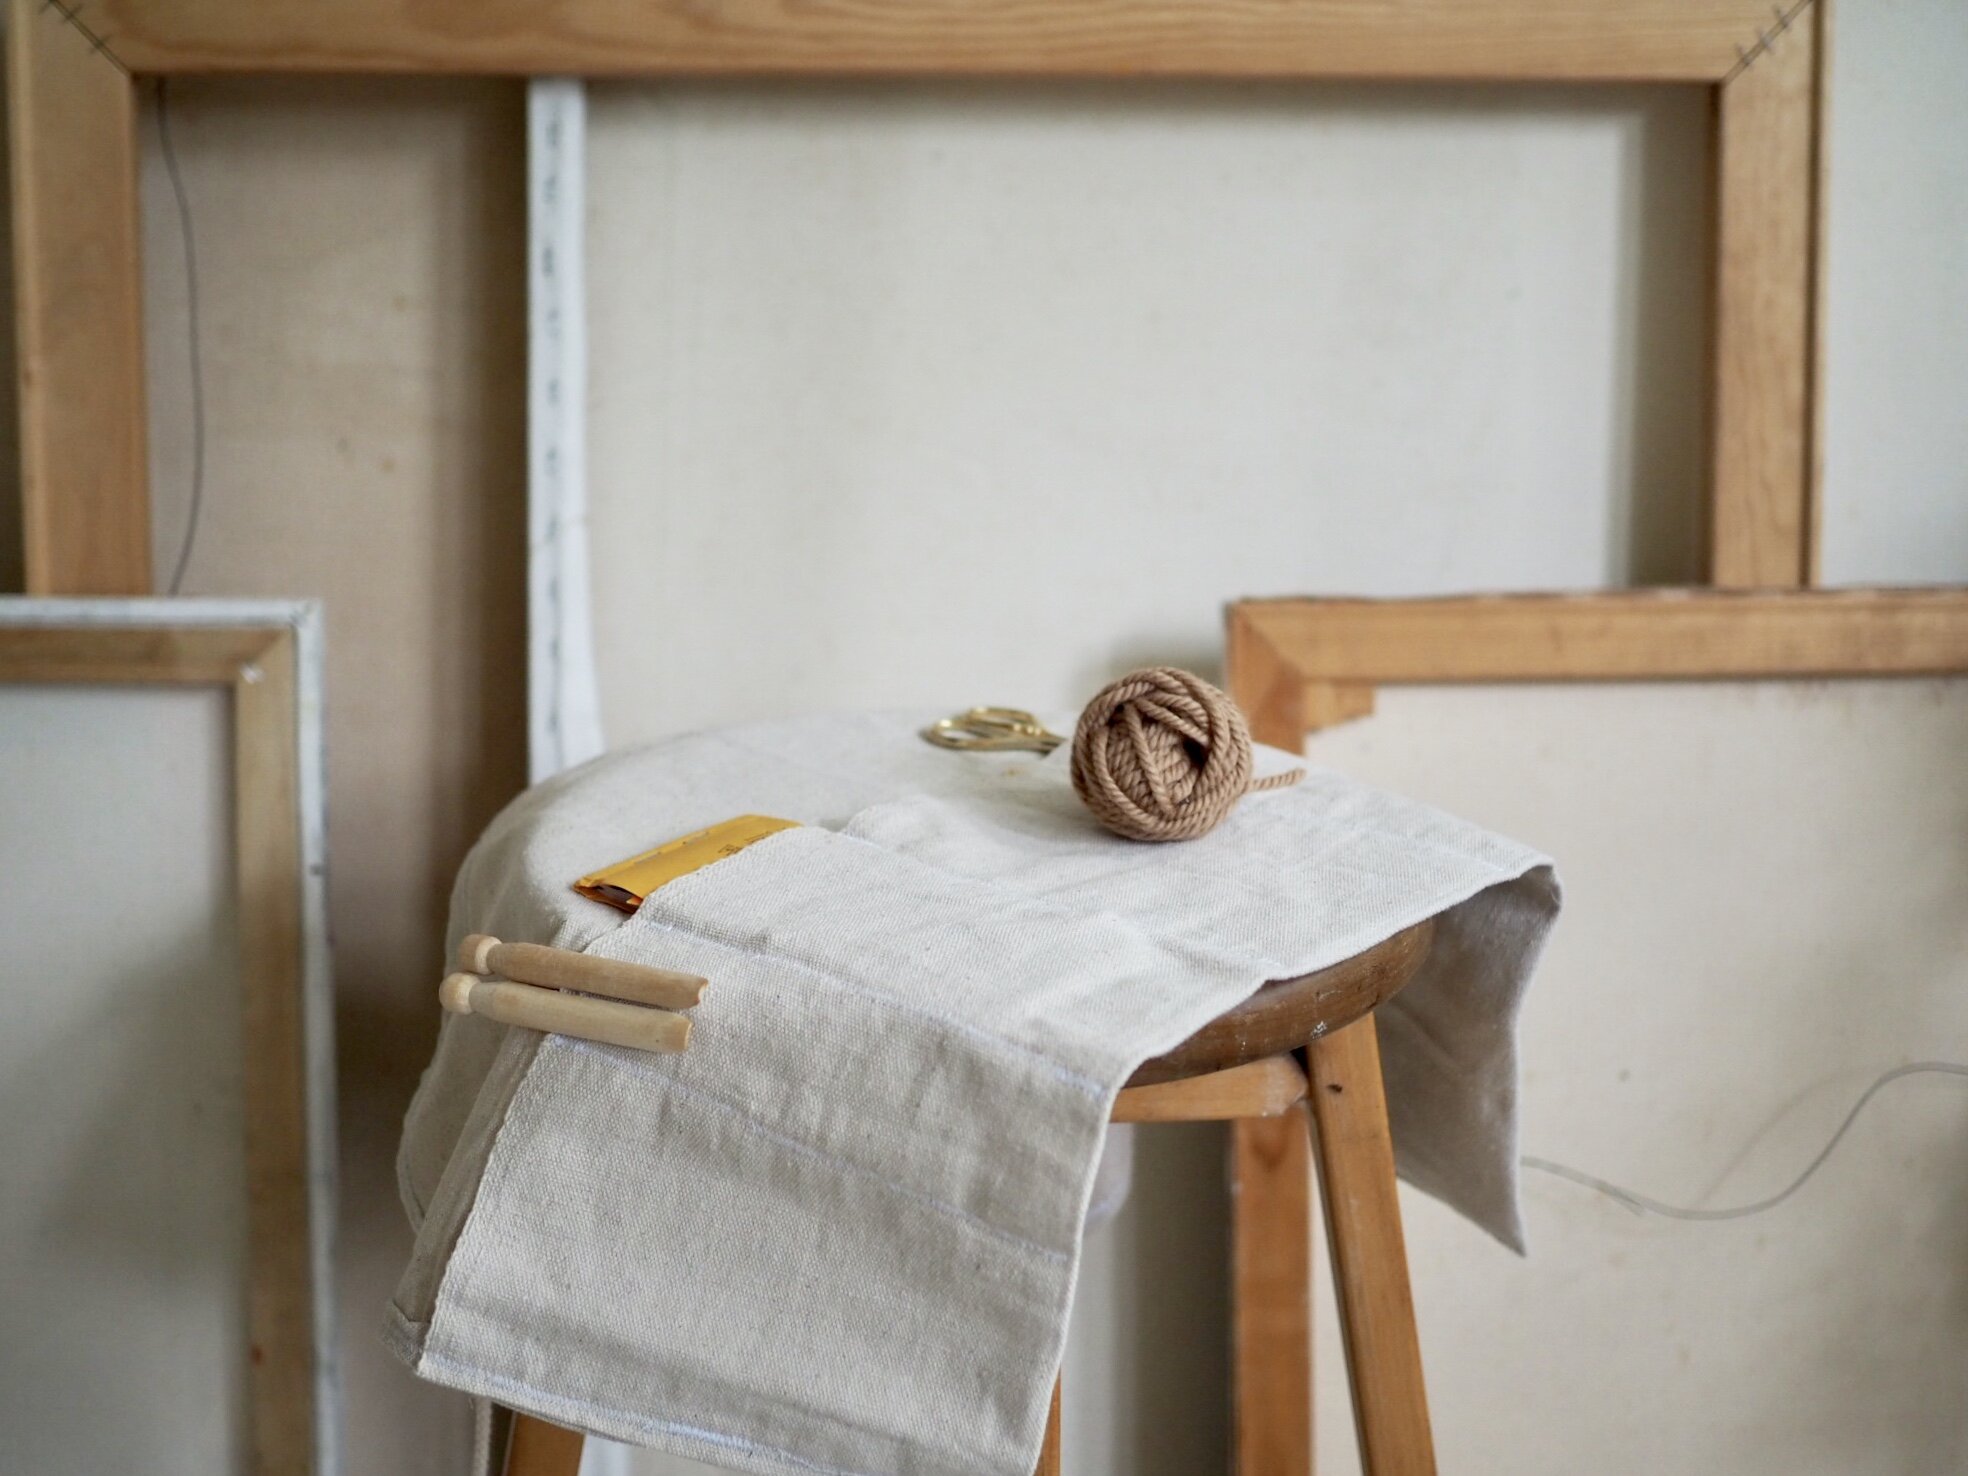
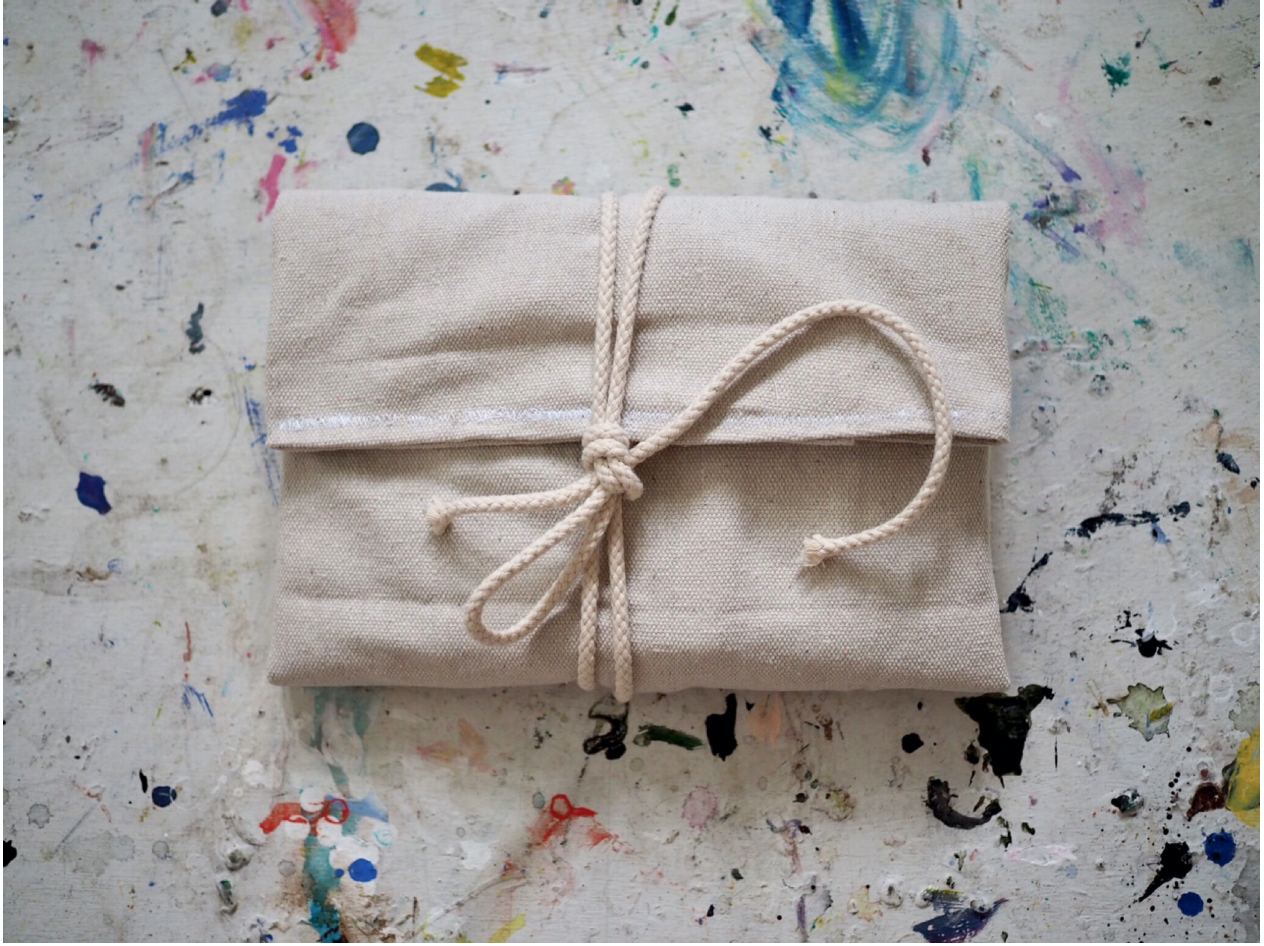
To use as a tool roll: Lay the apron flat and fold the top flap with the cord over the pockets and their contents. Starting from one side, roll or fold the apron towards the opposite side. Wrap the cord around the roll and and tie a simple knot to secure.
Thanks to Rose Pearlman for developing this project, writing the instructions, and capturing the step-by-step instruction imagery. Rose is an artist, teacher, and textile designer. With a background in fine arts and a love of well designed functional objects, her creations blur the lines between art and craft and pushes the boundaries with non-traditional techniques and materials. Rose teaches monthly rug hooking workshops in and around her home in NYC, and also welcomes commissions for one of a kind constructions in decor and home furnishings. Her work has been featured in fiber magazines, galleries, and numerous online design sites. Her book Modern Rug Hooking is available wherever books are sold. She lives in Brooklyn, NY with her family.
5 Comments
Better than any hand bag. Thank you.
Love this! I think my own little tinkerer needs this in her life. Thanks for the diagram too, very helpful.
This would be great for all my fellow ceramists! Thank you for sharing.
Did you know you can remove paint from door hinges etc. By putting them in boiling water for 10 minutes that has a lot of baking soda in it? Fyi from This Old House.
Love this. You and Rose Pearlman are a dream team. 🙂
Comments are moderated.