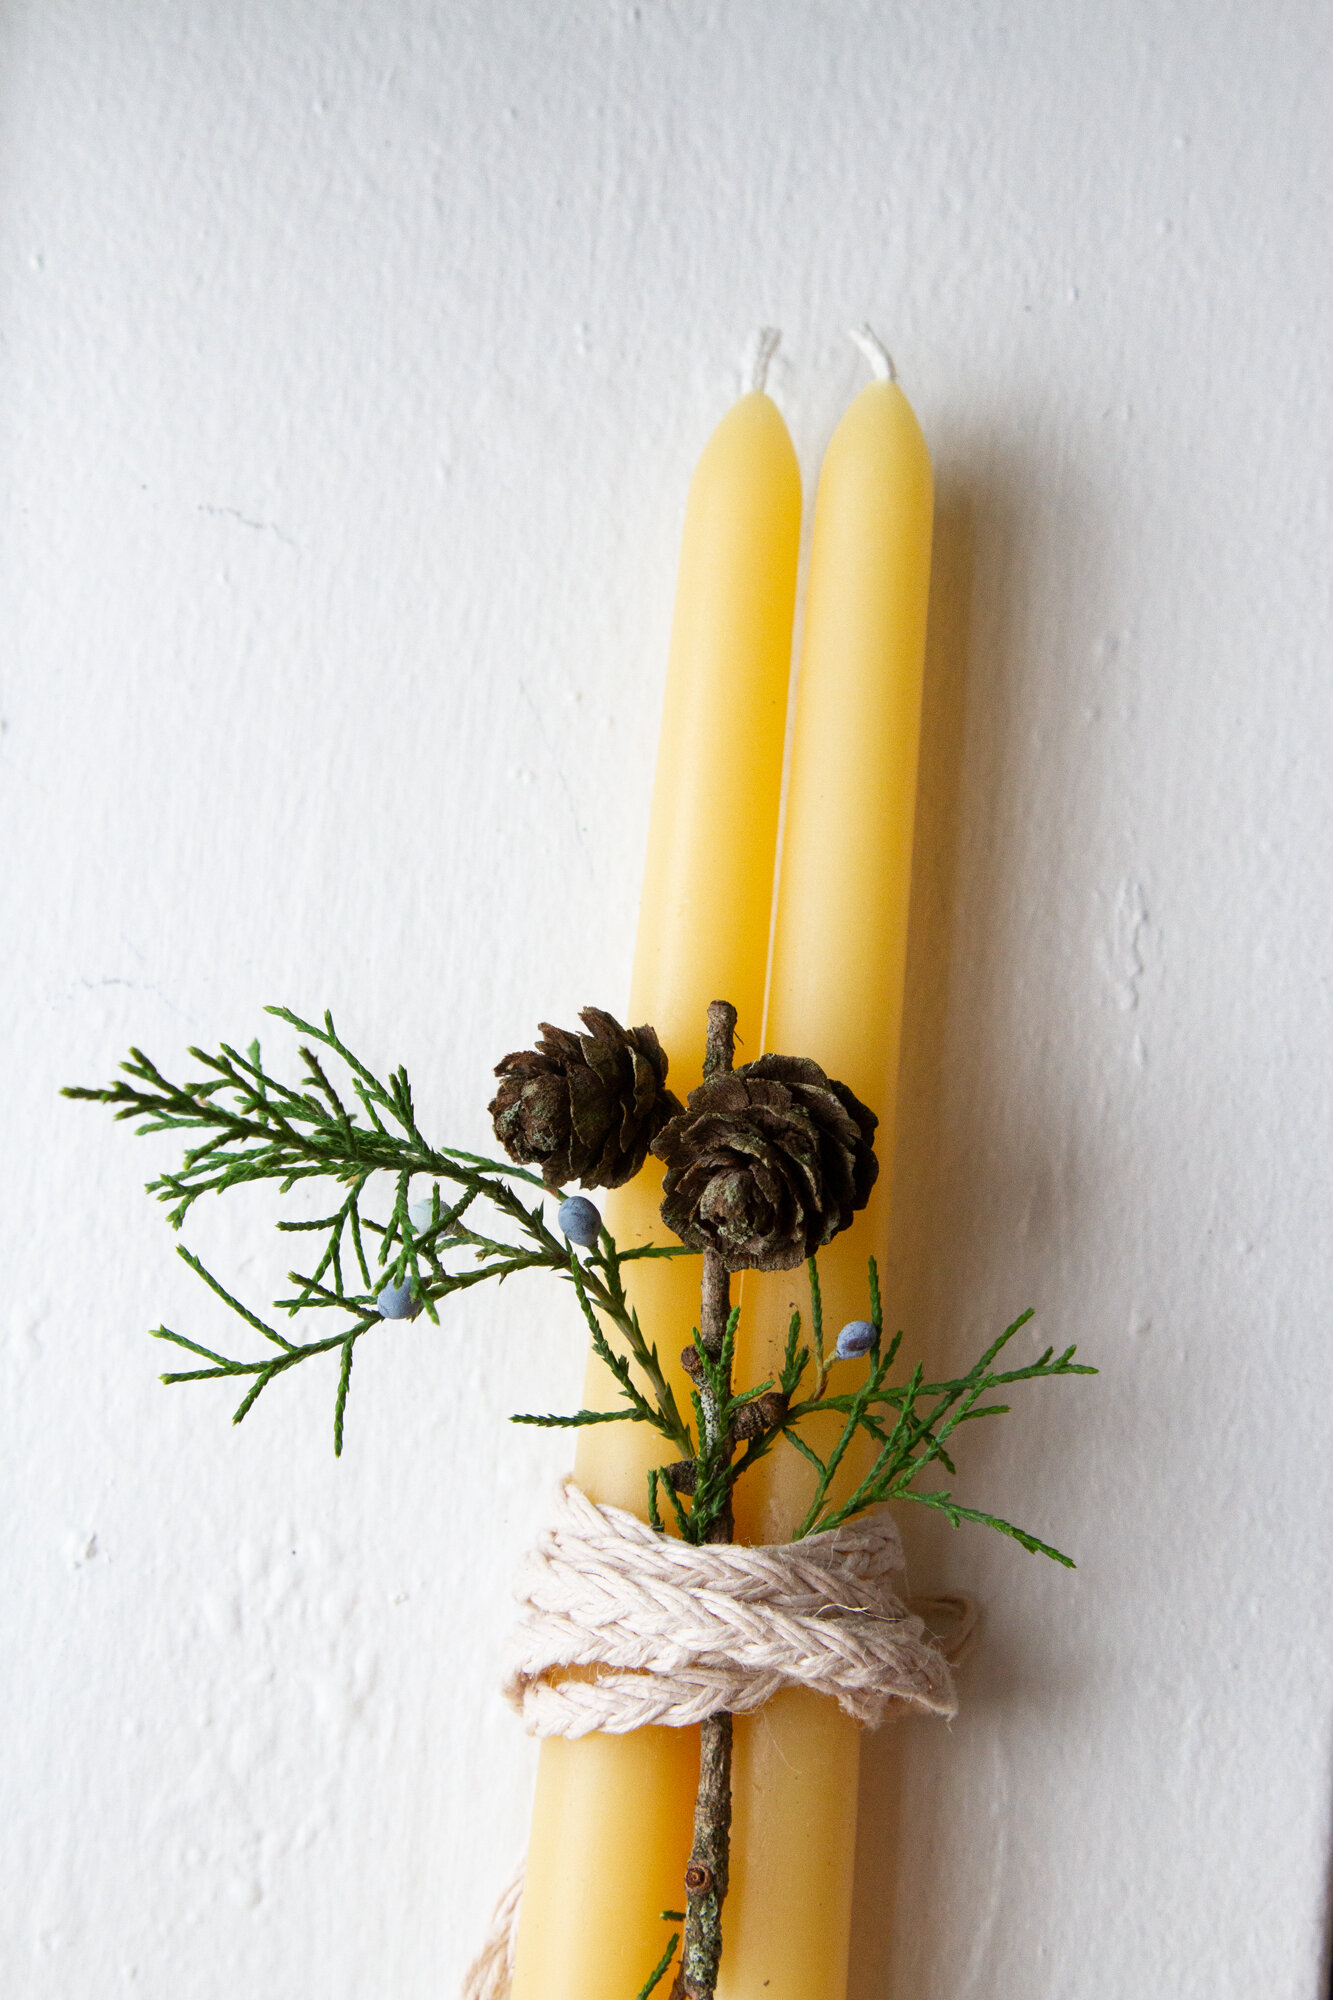
As it is with all things sourdough, our humble homemade beeswax taper operation is entirely James’s domain. I’ve long been the wax scrap hoarder and re-melter and tea light pourer and I’ve rolled more tapers from sheets of beeswax than I could count, but a few years ago for Christmas, James decided to pull out the stops and keep me supplied with candles via a slightly more robust candle-making operation. He ordered molds and wax and secreted them away at work where he could let the wax heat up slowly in a water bath in the lab while he worked. On Christmas morning he presented me a dozen 12-inch tapers and I’ve been rich in hand-poured candles ever since.
Before Calder was born James decided to bring his supplies back to Brooklyn so he could keep us supplied with candles through the duration of his family leave. The extremely dark joke on us was the fact that just three weeks later that family leave would include all three kids and he wouldn’t be returning to the lab for the rest of this year and into the next. But every single plan for a new baby and 2020 being turned upside down aside, we’ve gotten our footing back a bit since March. The biggest indicator? Last week we received an 11-pound block of wax and James has been churning out candles again.
Here are some answers to the sometimes asked questions (SAQs?) I get about our candles. As with his bread baking habit, James isn’t an expert here, just a self-taught beeswax candlemaker helping me get through the winter one taper at a time.
Beeswax Tapers FAQ:
Where do you get your wax?
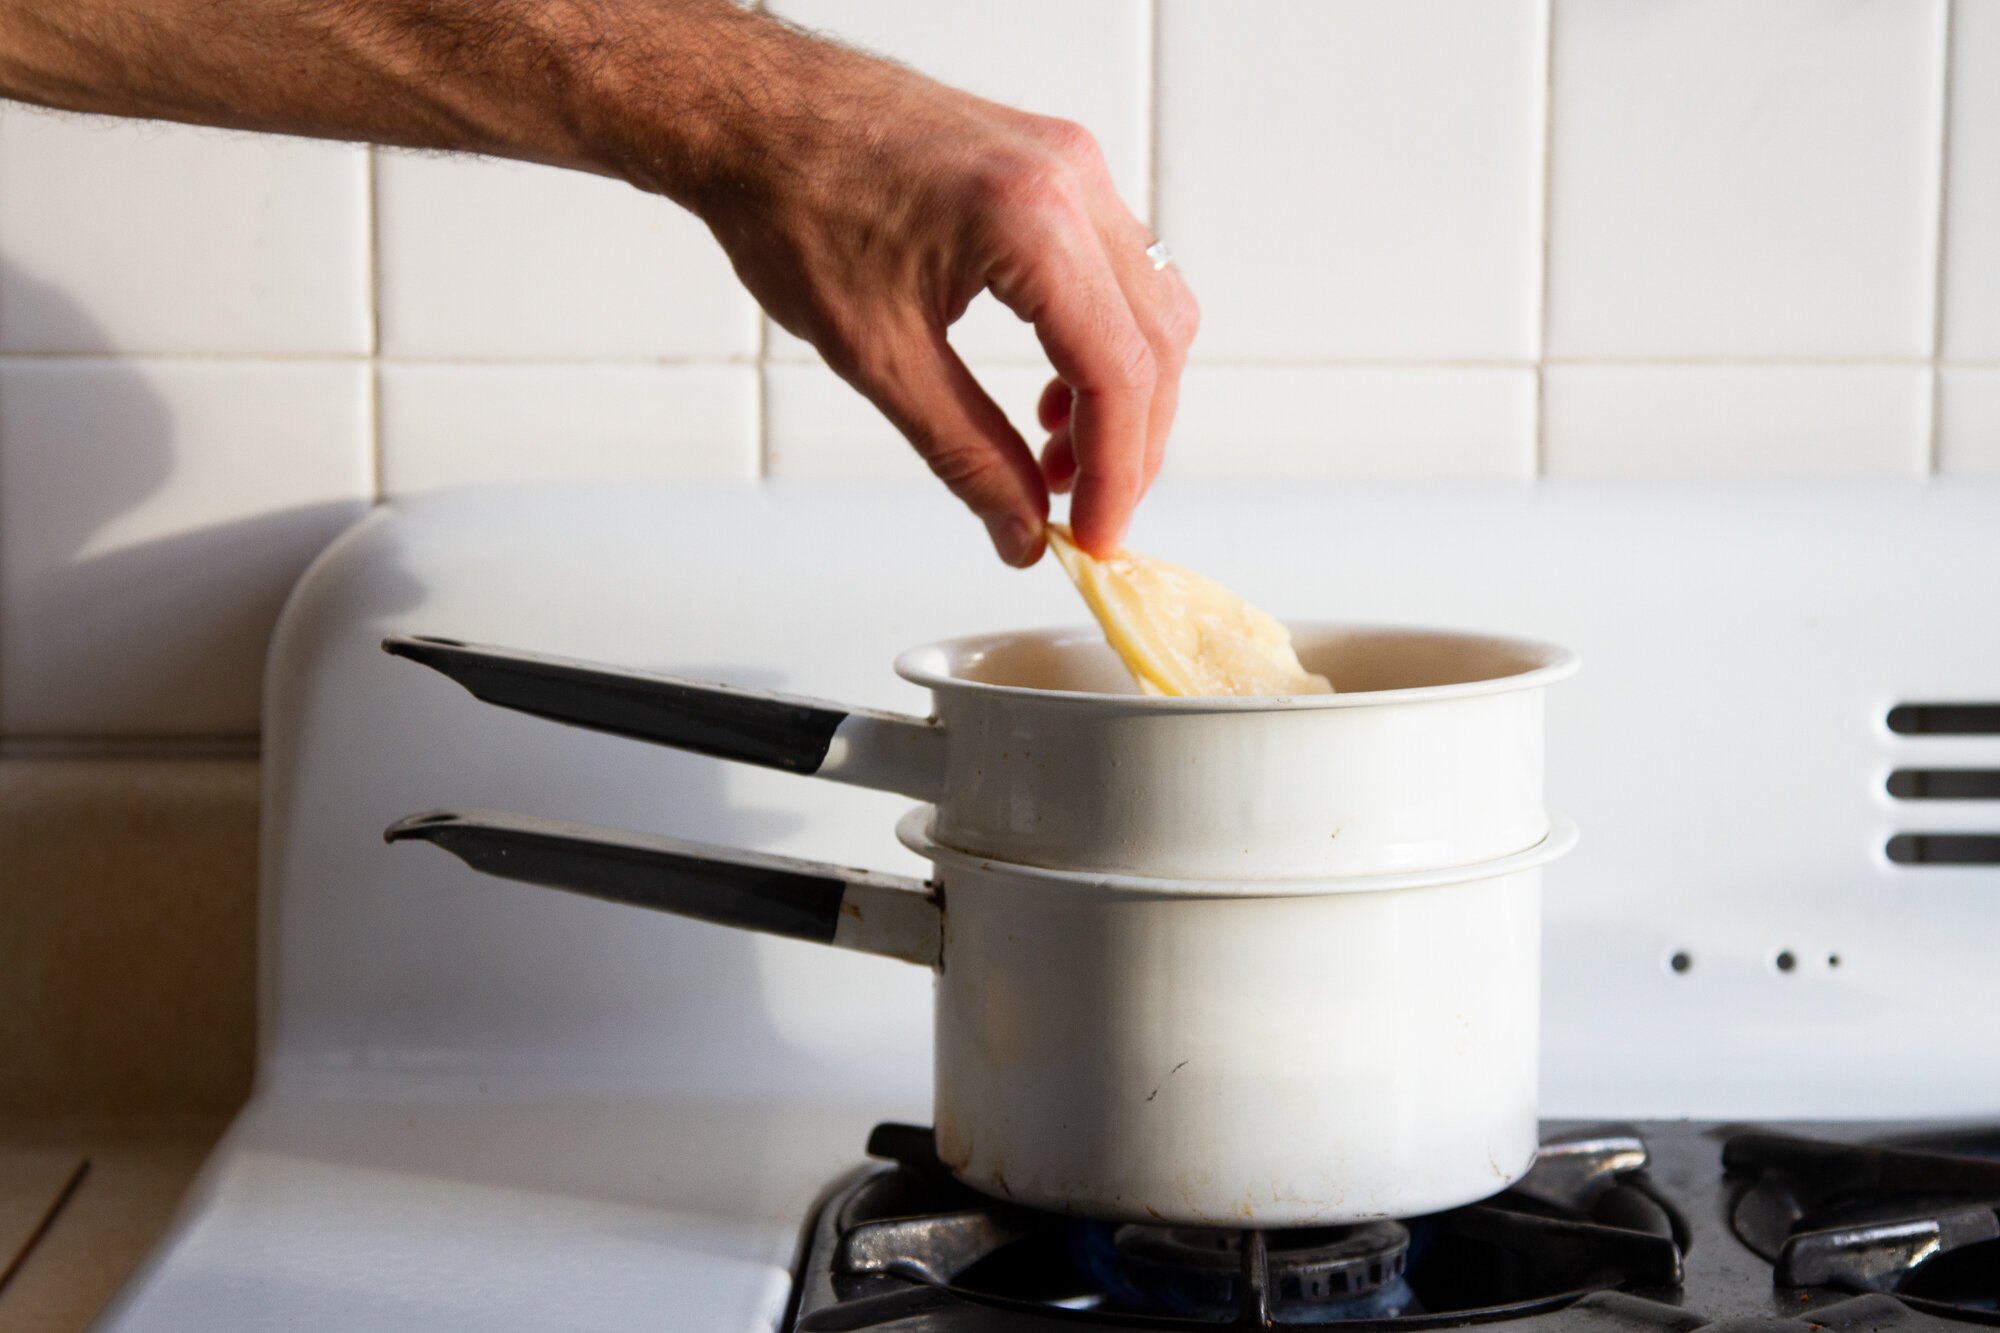
James buys his wax in bulk from the beekeeping supply shop in Greenwich, NY called Betterbee.
What kind of molds do you use?
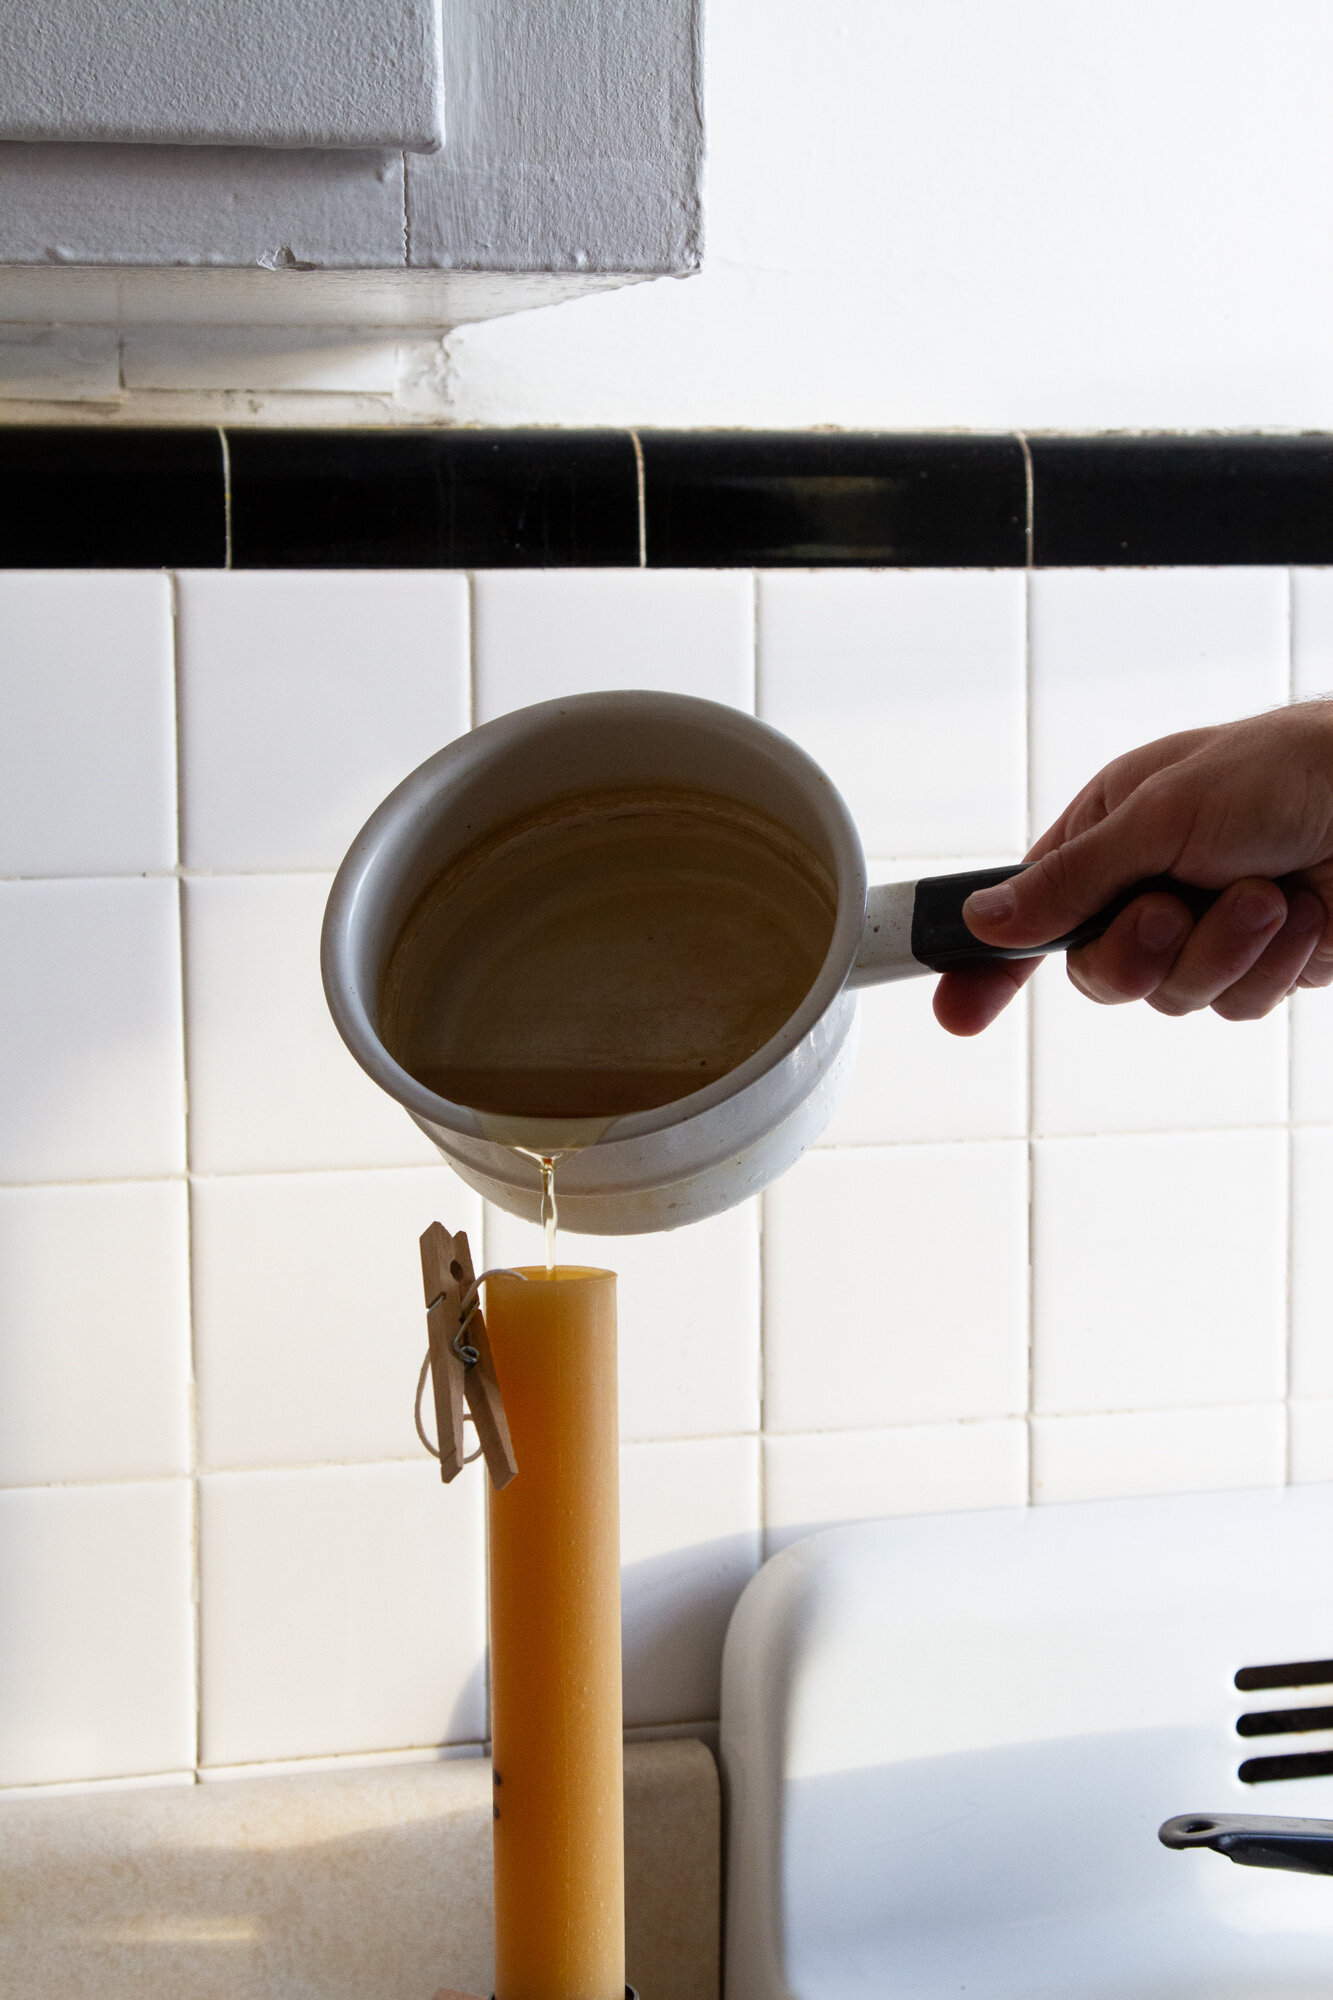
If you’ve been around this blog for awhile, you probably know that had I been one to embark on this journey, I would have sleuthed a ye olde vintage candle mold and gone about things in the old-fashioned way, filled with grit and determination and a blind eye to modern conveniences. James took the path of least resistance and bought two polyurethane candle molds from Betterbee, 10-inch Standard Taper Mold and a 12-inch Standard Taper Mold. They’ve been practically foolproof for him to use and very enjoyable for me to reap the benefits of. Win-win.
Do you need other special supplies?
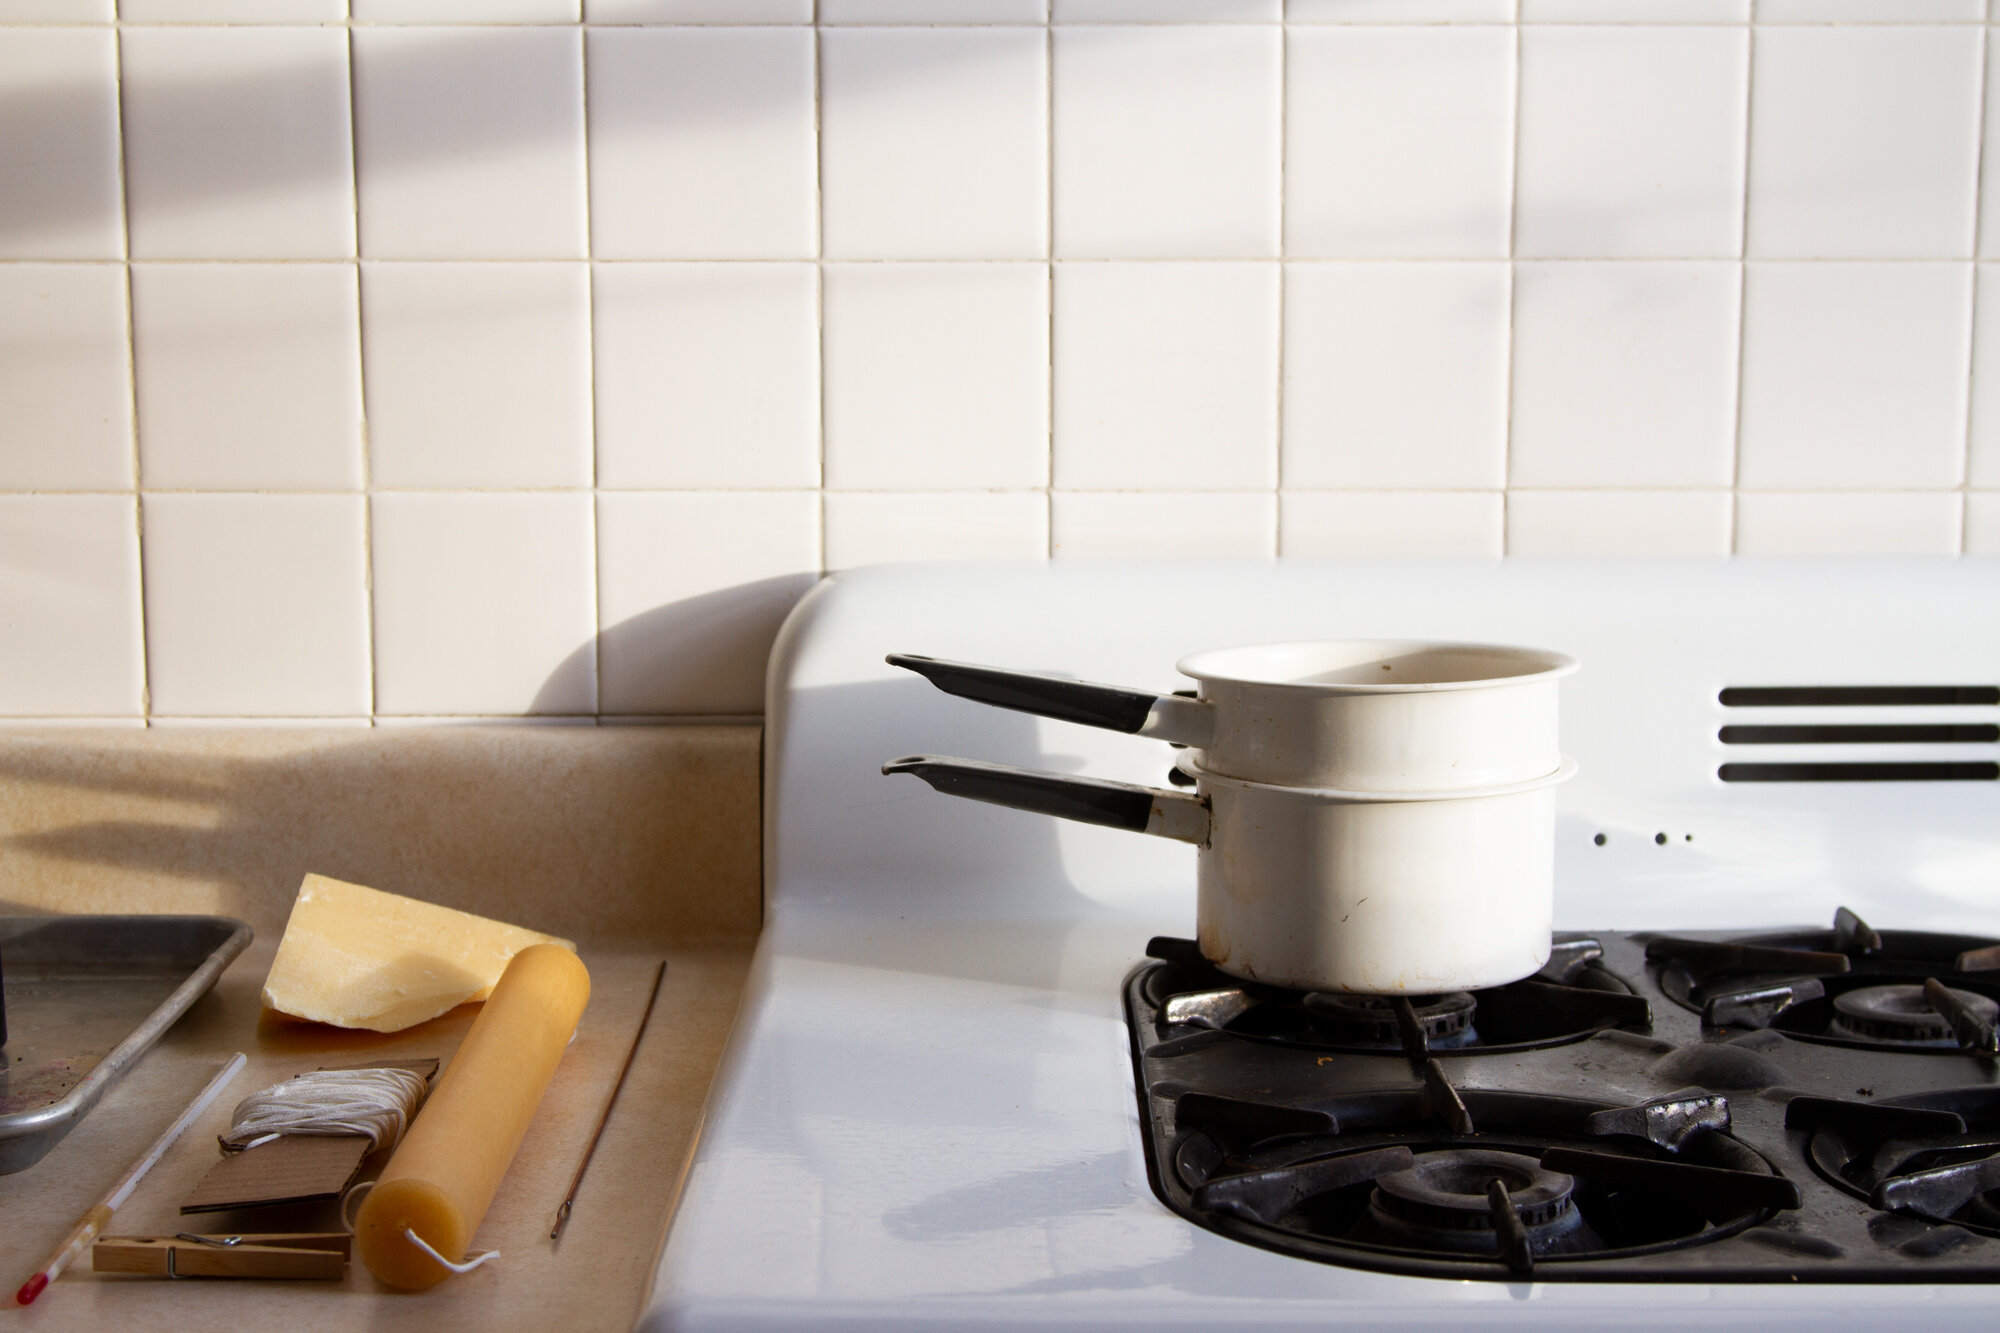
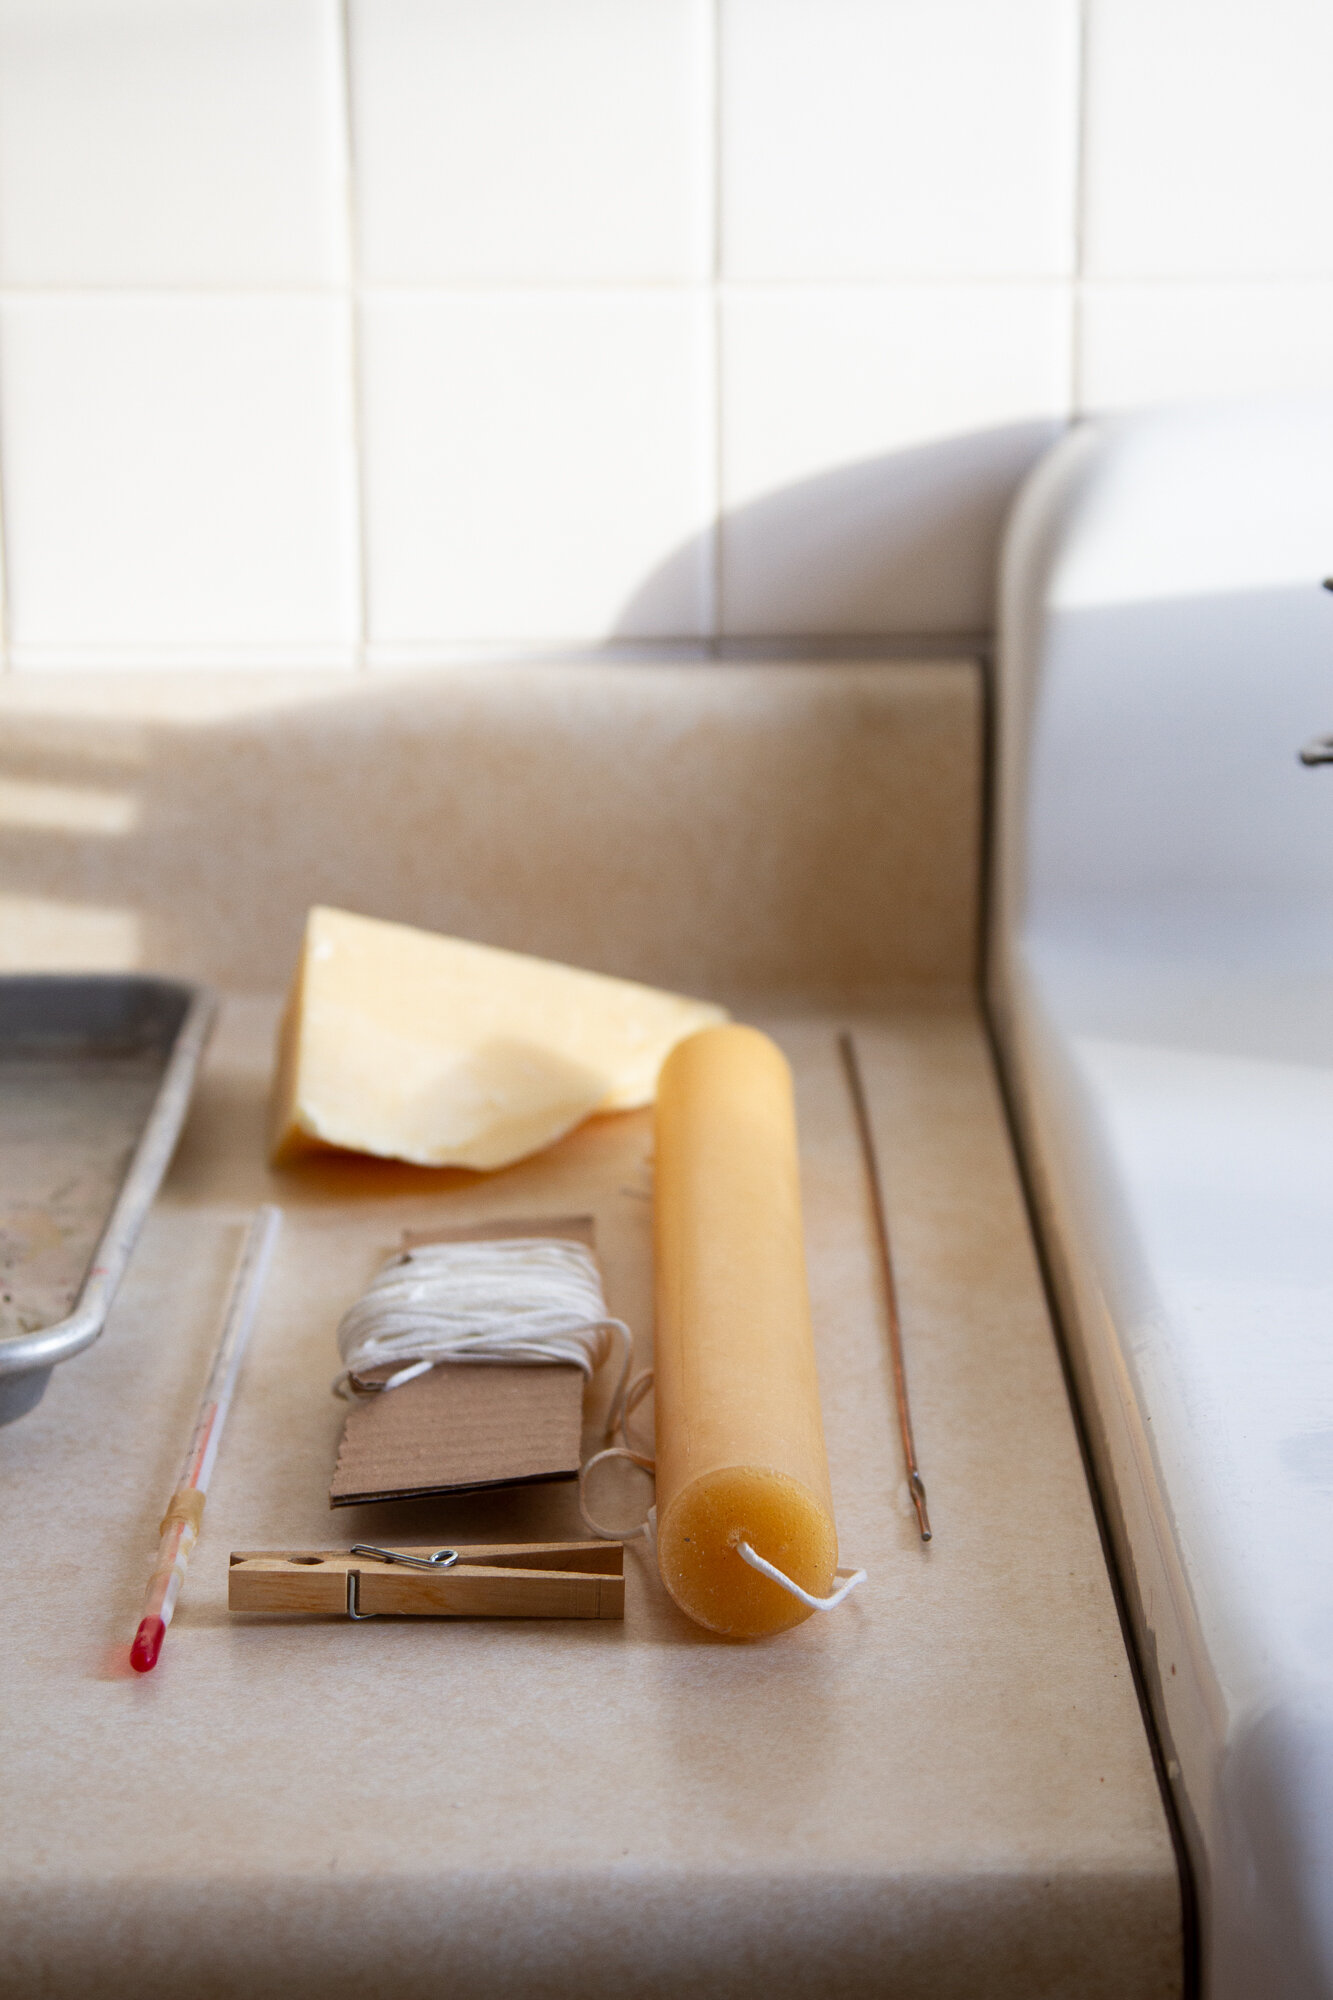
+ Cotton wicking, size #2 One of the best parts about making our own candles is knowing what’s going into them. James uses 100% cotton wick for a clean, safe burn.
+ Wicking needle James tried to go rogue and jury-rig a wicking needle of his own, but eventually came around to this very affordable and game-changing needle for threading the wick.
+ Clothespin Or anything that helps hold the wick taut and centered while cooling.
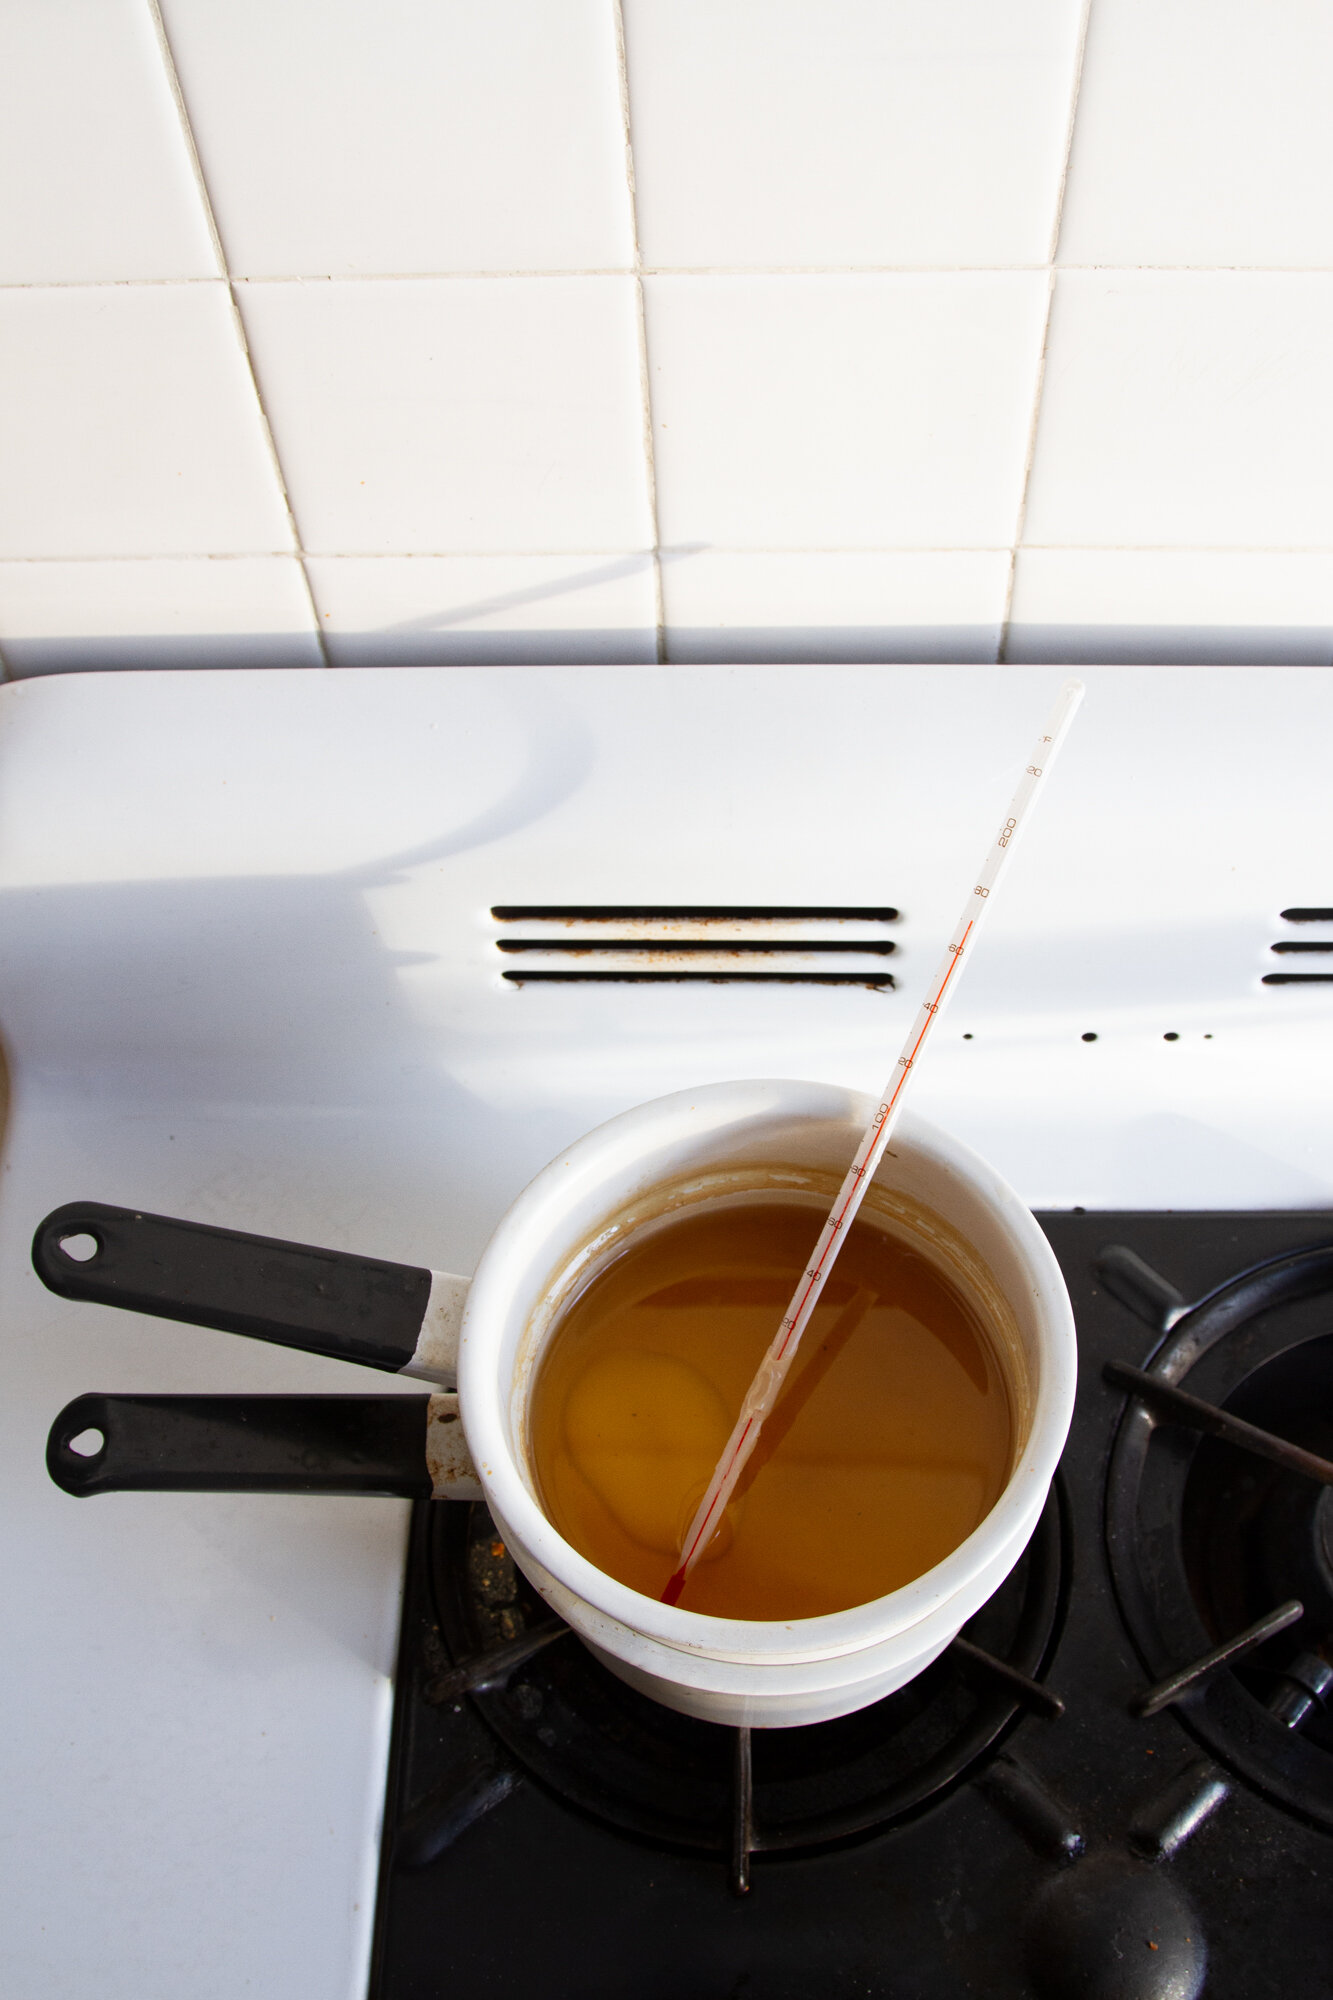
+ Glass thermometer James uses a glass non-mercury thermometer to keep an eye on the temperature of his melting wax.
+ Cup or other narrow vessel James uses an old 10-factor urine analysis test strip bottle from his biology labs as containers to make sure his mold can sit upright without tipping. If you don’t have anything as elegant as a urine analysis test strip bottle, don’t worry. Anything that provides a bit of stability and that isn’t too precious would work here: a mason jar, a tin can, etc.
+ Double boiler I really love having a dedicated double boiler for this purpose—in our case, a beat-up old enamel double boiler I bought on Etsy years ago—but you can also make your own with a large tin can in a sauce pan of water. Just be prepared that cleaning spilled wax can be a big bummer and that pouring out of a tin can get messy.
+ Safety Lest it be forgotten, wax is combustible and this is a hobby involving fire! Proceed at your own risk and with an eye toward safety! Don’t leave your melting wax (or burning candles) unattended and make sure you’re never heating wax directly on the heat source so that the temperature doesn’t rise to high or too quickly.
Does it make a big mess?
So far so good! If one of those molds were to tip over onto our laminate kitchen countertop, the cleanup would not be fun, but James has been pouring the candles over one of the kids’ art trays and I have been staying out of the kitchen and so far so good.
Does it take up a lot of room?
The molds themselves are about the size of very large tapers, or roughly the size of an empty paper towel roll. The wicking needle is tall and sharp, but can be easily stored. Storing a big block of wax is most space consuming part of the enterprise. Right now our block is elegantly stored in a cardboard box shoved under the bed. No matter! We’ll have tapers to last the winter!
Wait. Is this cost effective?
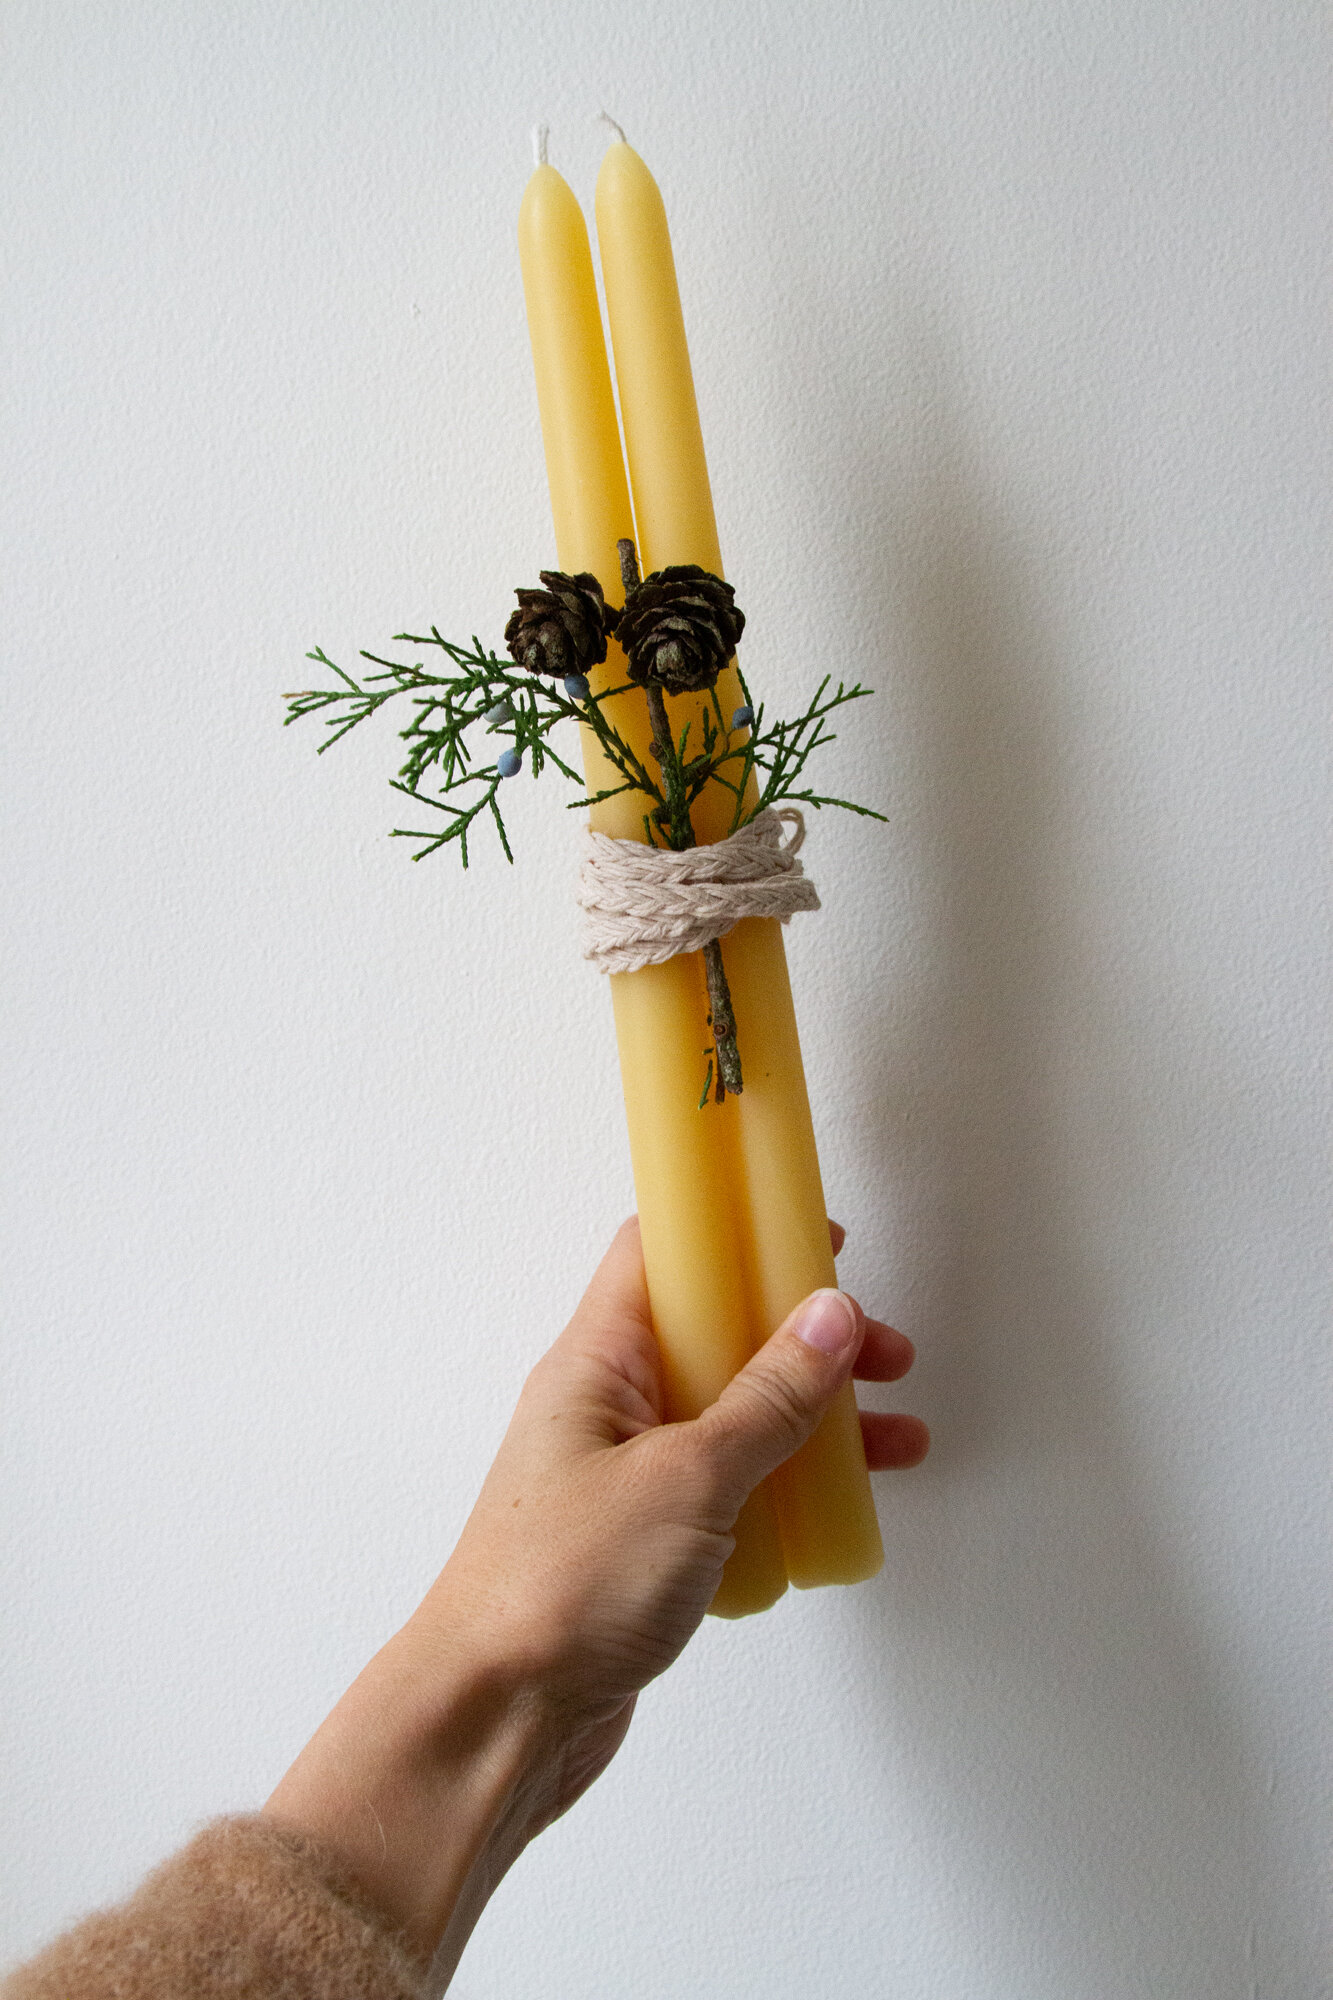
Yes! 100% beeswax tapers are expensive and can run anywhere from $12 – $30 a pair. An 11.5 pound slab of clean beeswax costs just under $100 and makes about 70 candles. Even with the upfront cost of the molds and wick, there’s a huge savings. That said, while the candle making itself is mostly passive and James enjoys the process, it’s not exactly zippy, so keep in mind your own labor and time when deciding if this would be right for you.
I’m into it. How do I do it?
Remember, he’s not a professional over here, but here are the steps to James’s tapers:
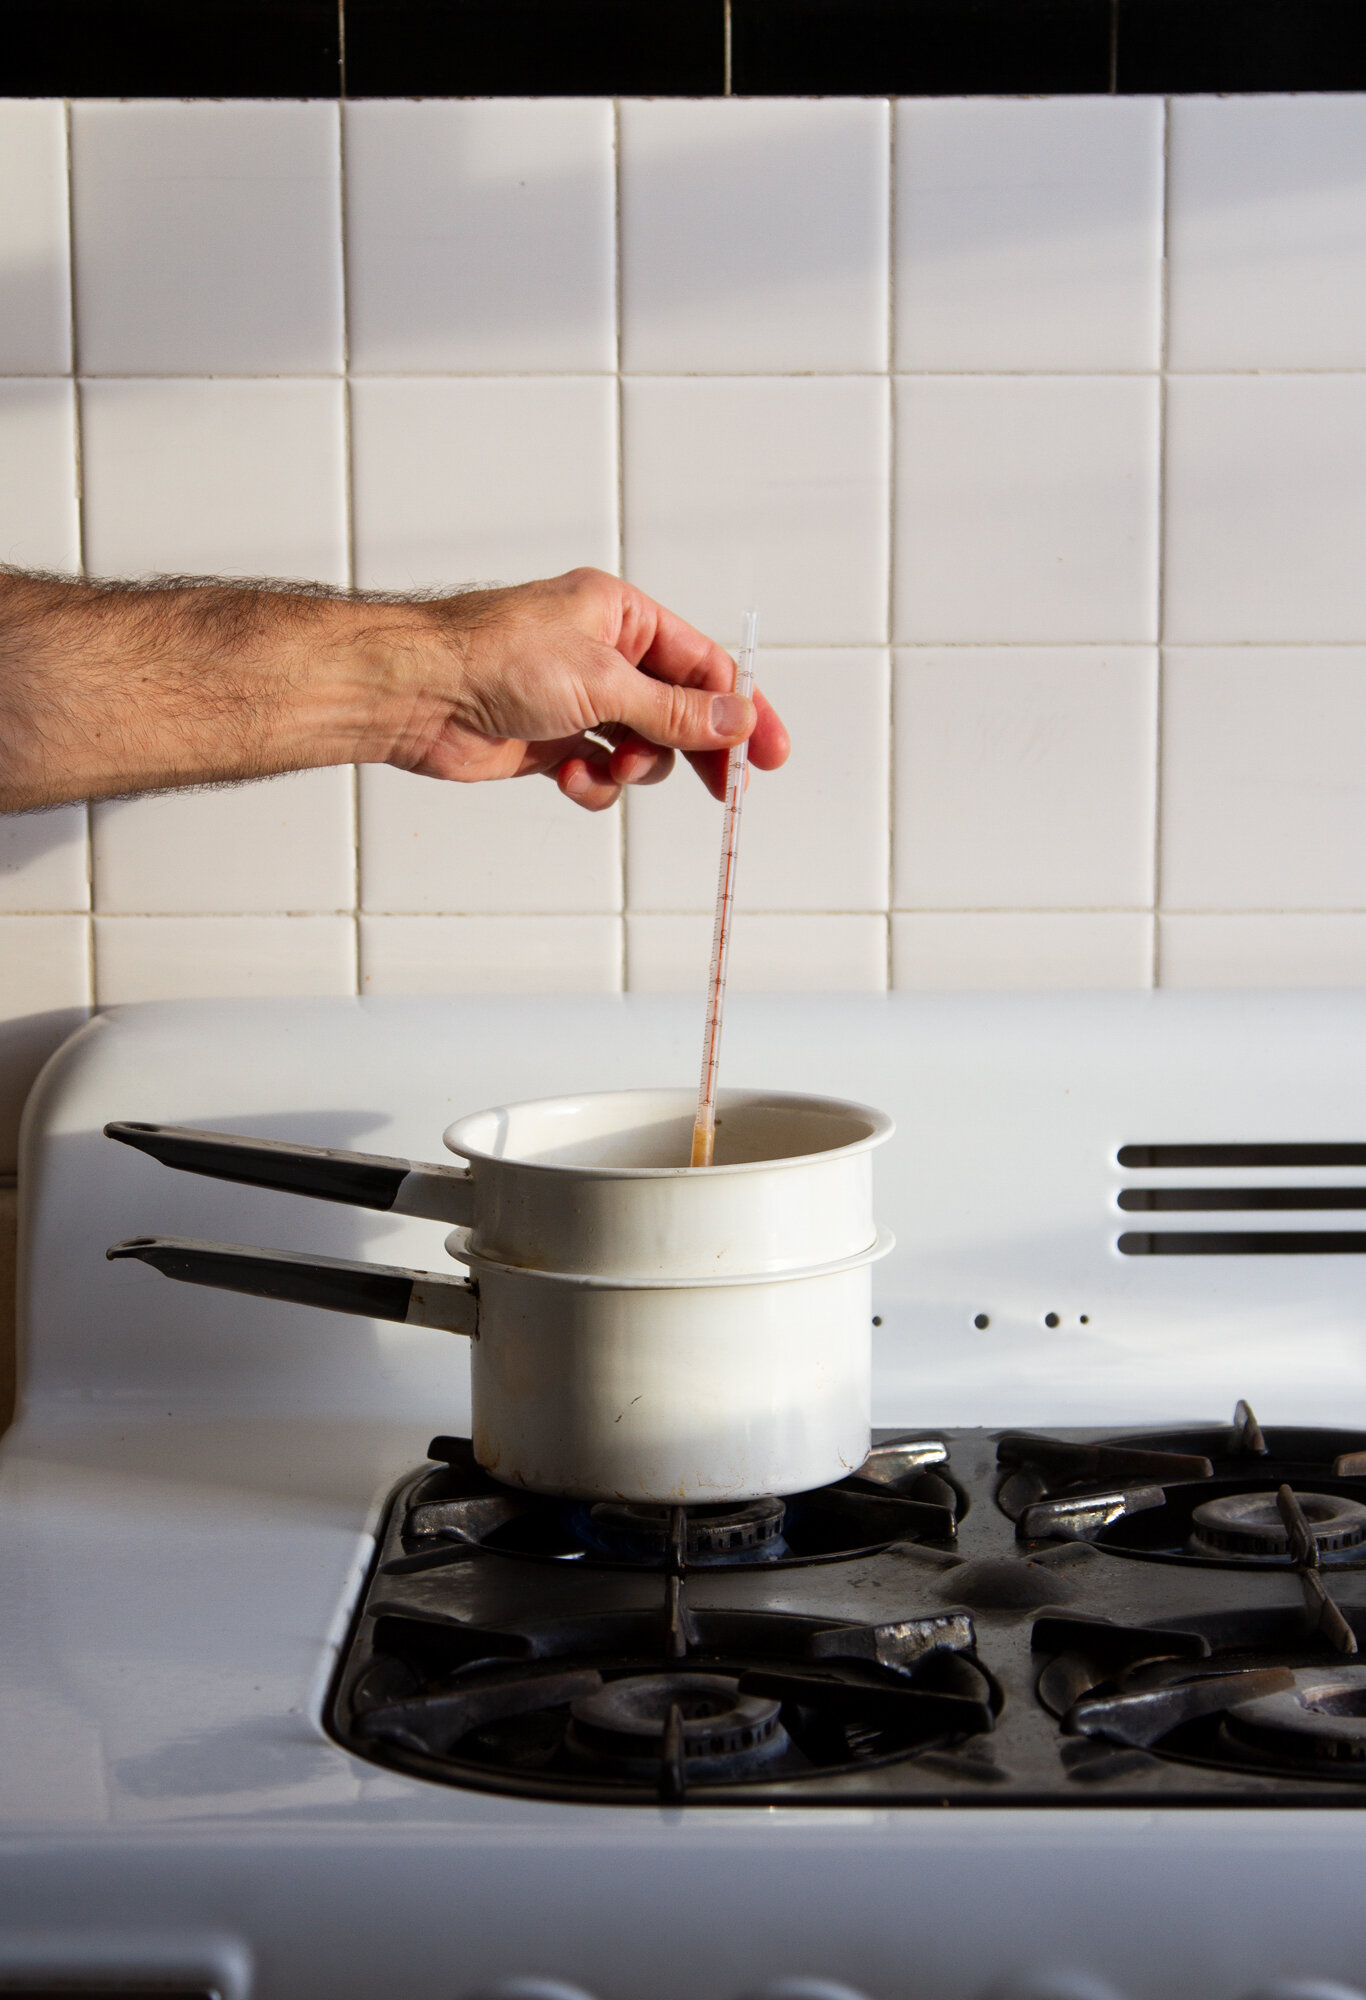
+ Heat your wax slowly in a double boiler until it reaches about 175° F.
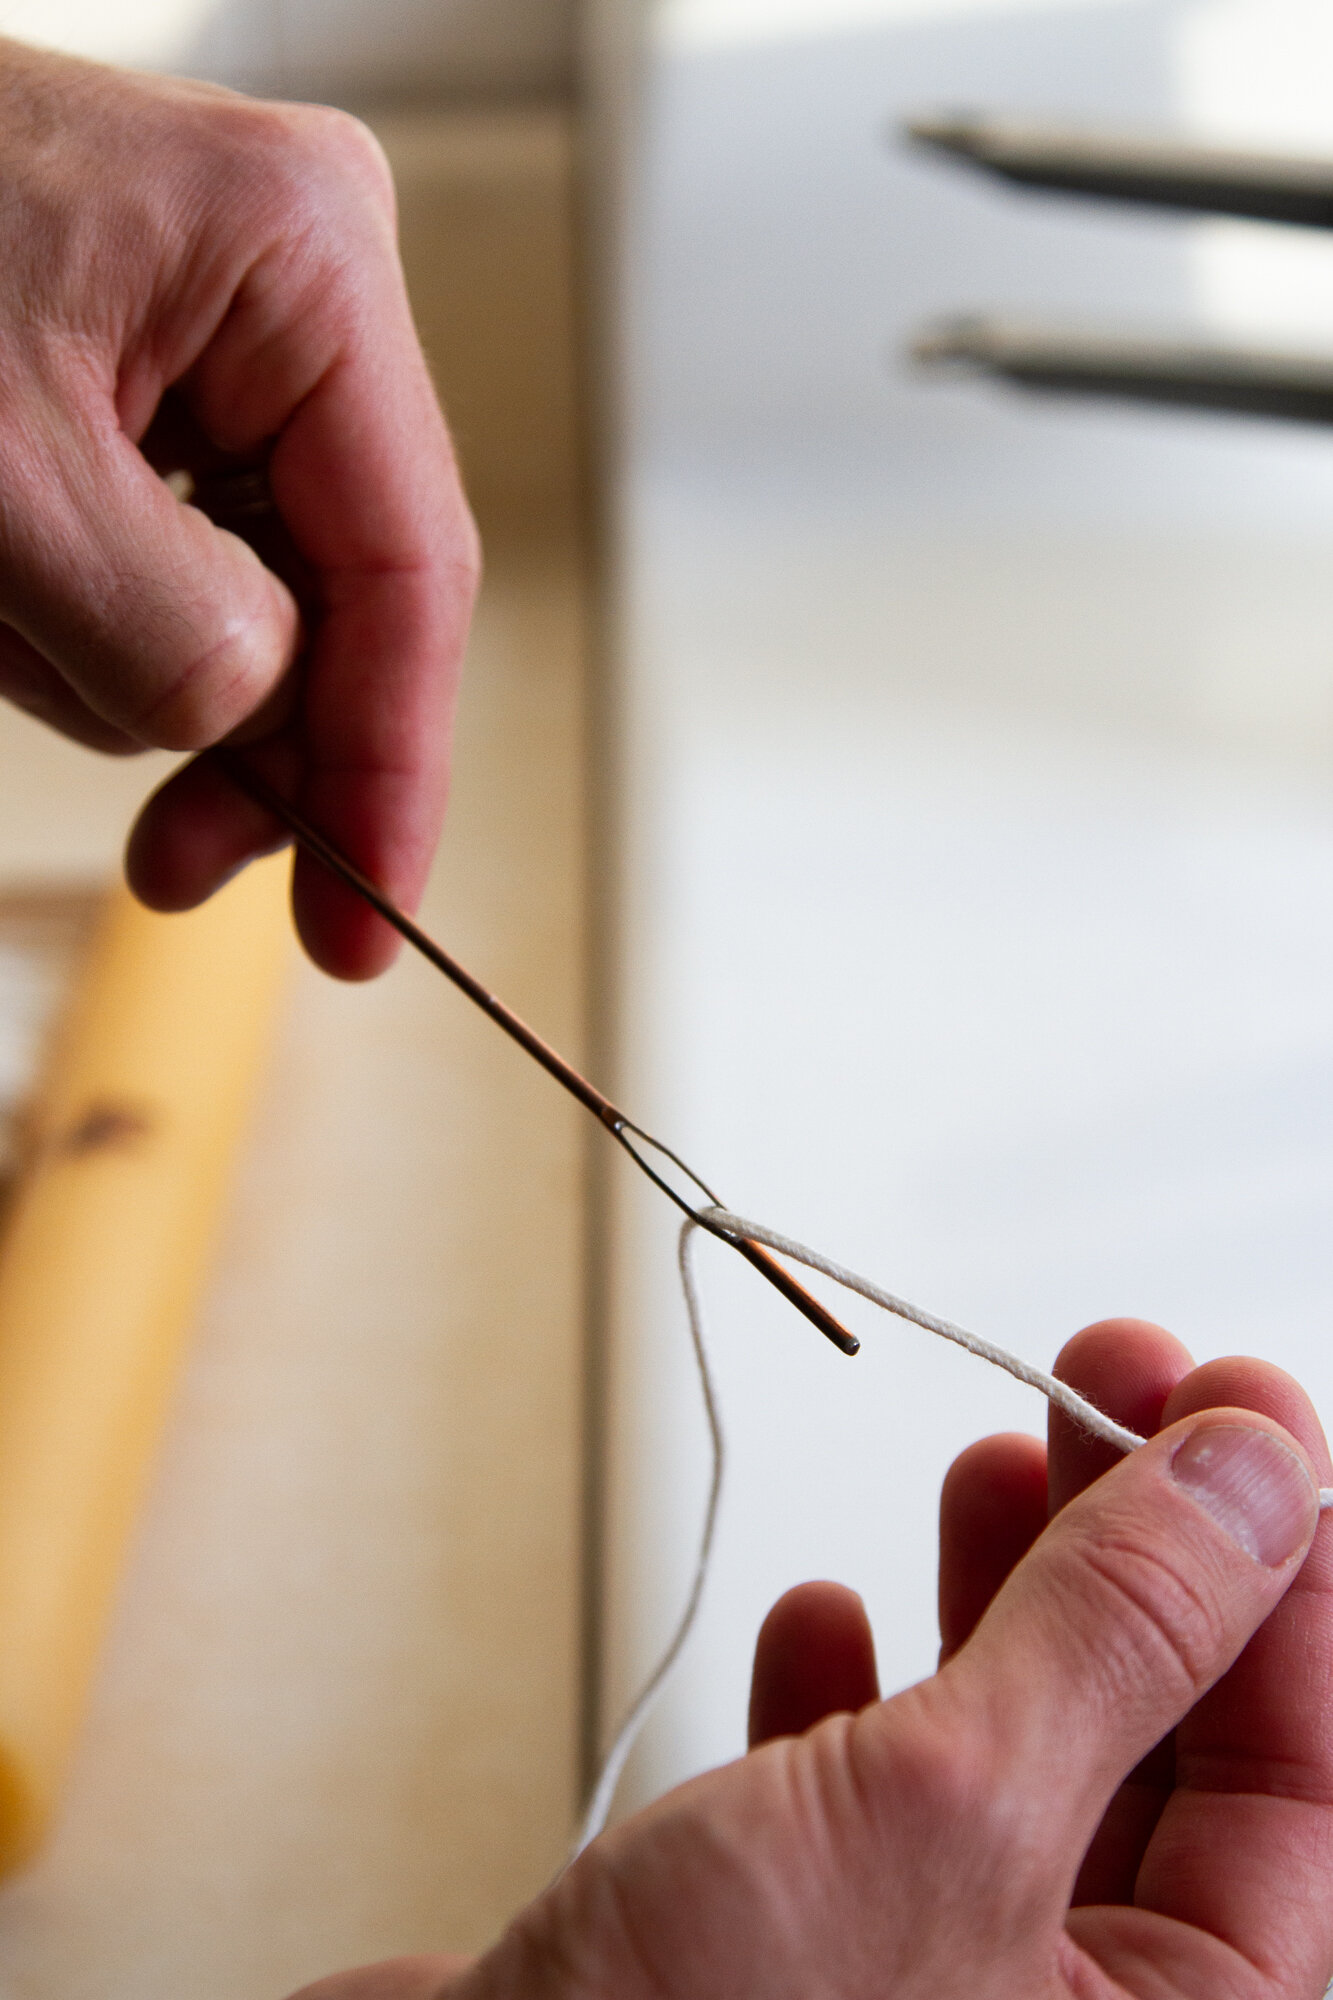
+ While your wax melts, thread your cotton wick through the eye of the wicking needle.
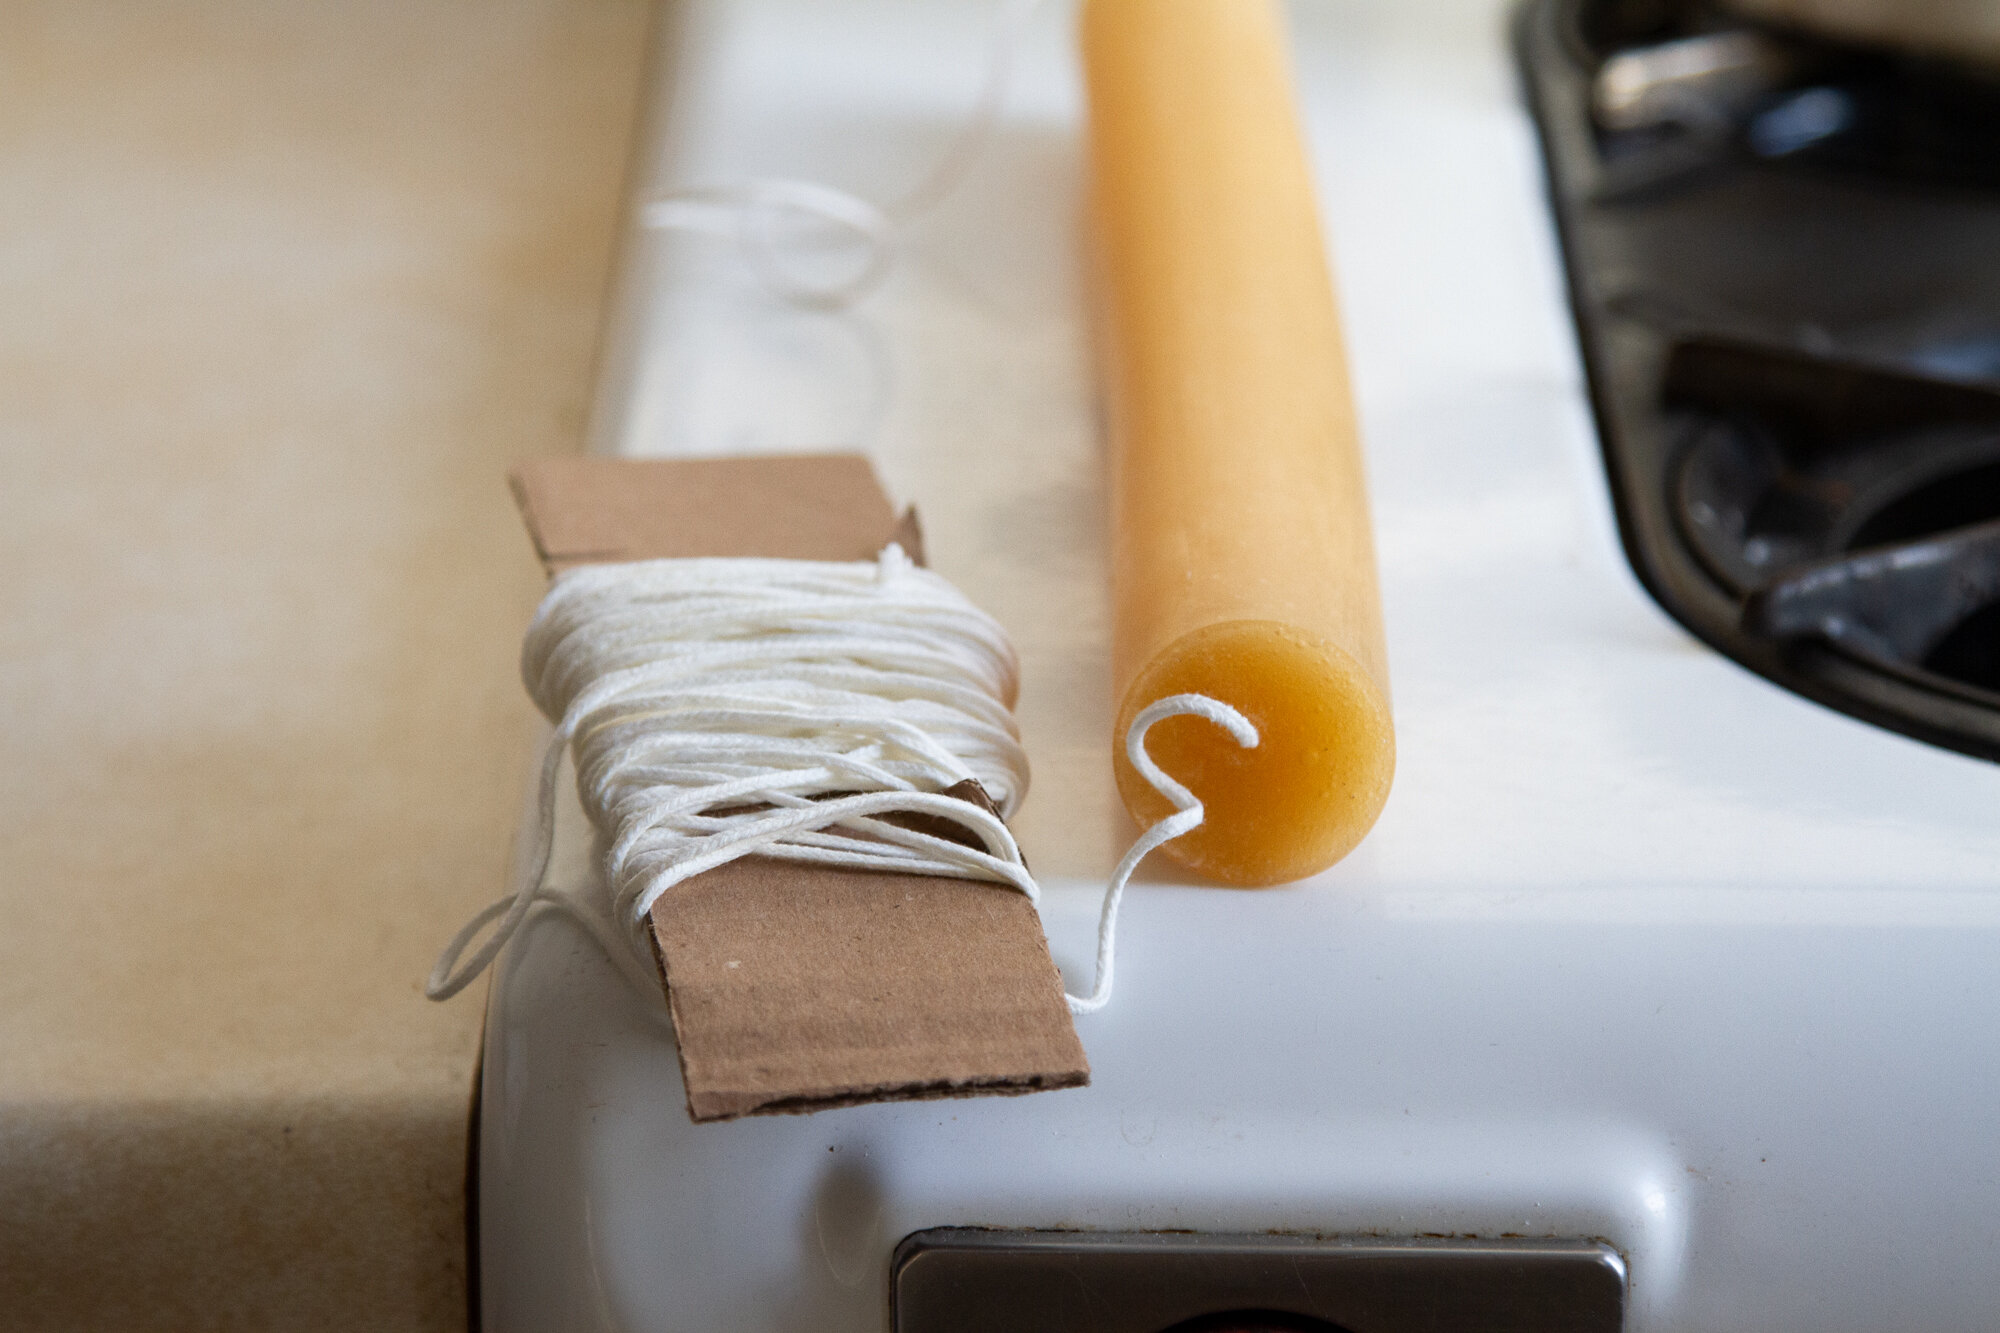
+ Push the threaded needle through the small hole in the center of the mold.
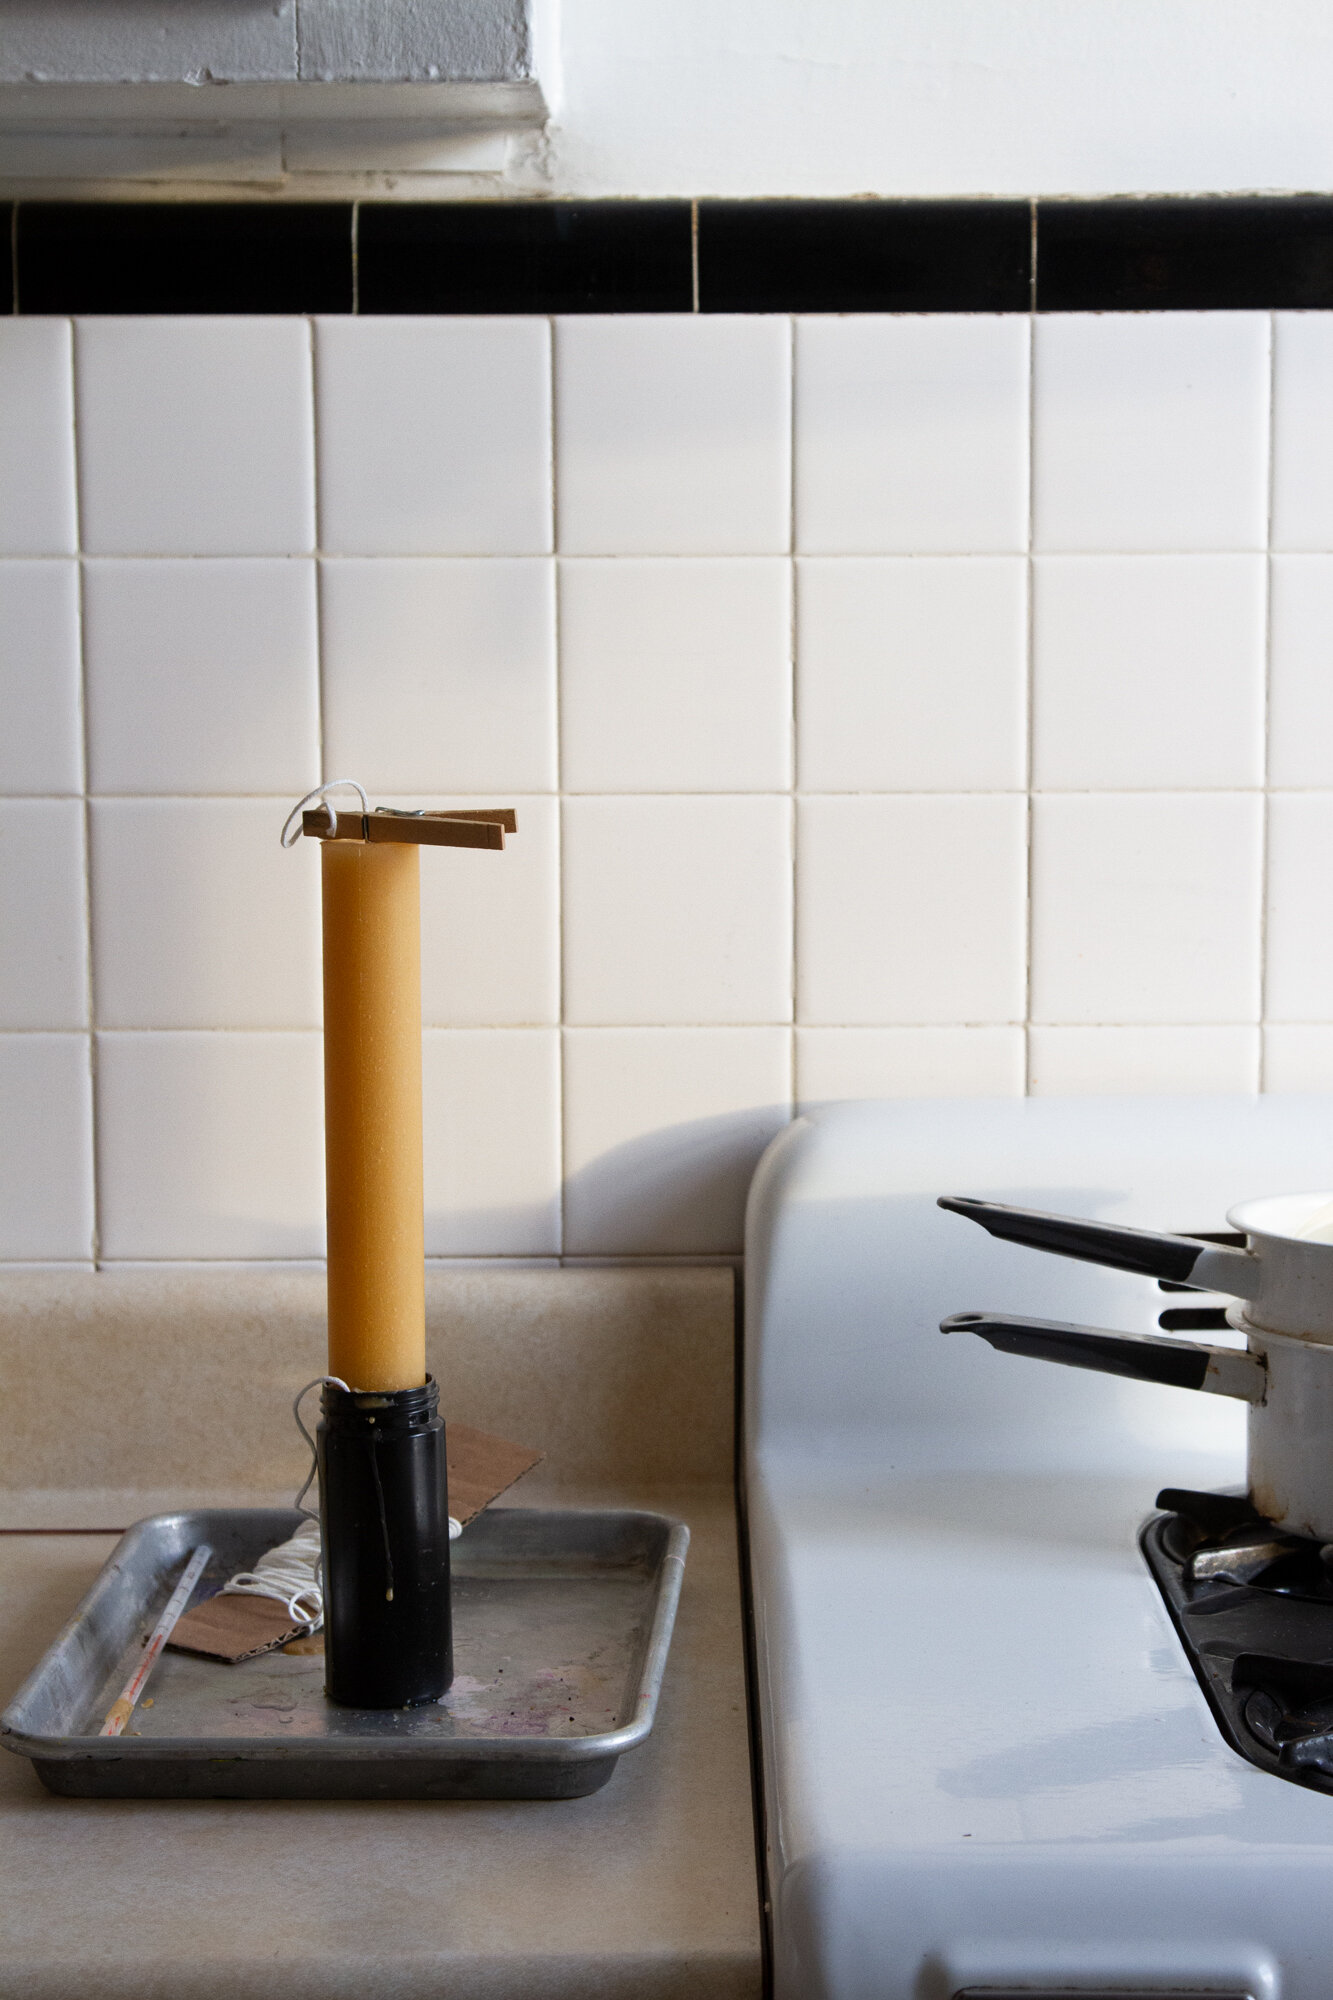
+ Stabilize the threaded mold in a cup or can so it doesn’t tip over while pouring the hot wax. Attach a clothespin to the top of your wick.
+ Pour slowly into the mold when the melted wax has cooled to between 150° and 160° F.
+ Adjust the position of your clothespin so that the wick stands straight and taut and centered.
+ Allow poured wax to set for ~30 minutes.
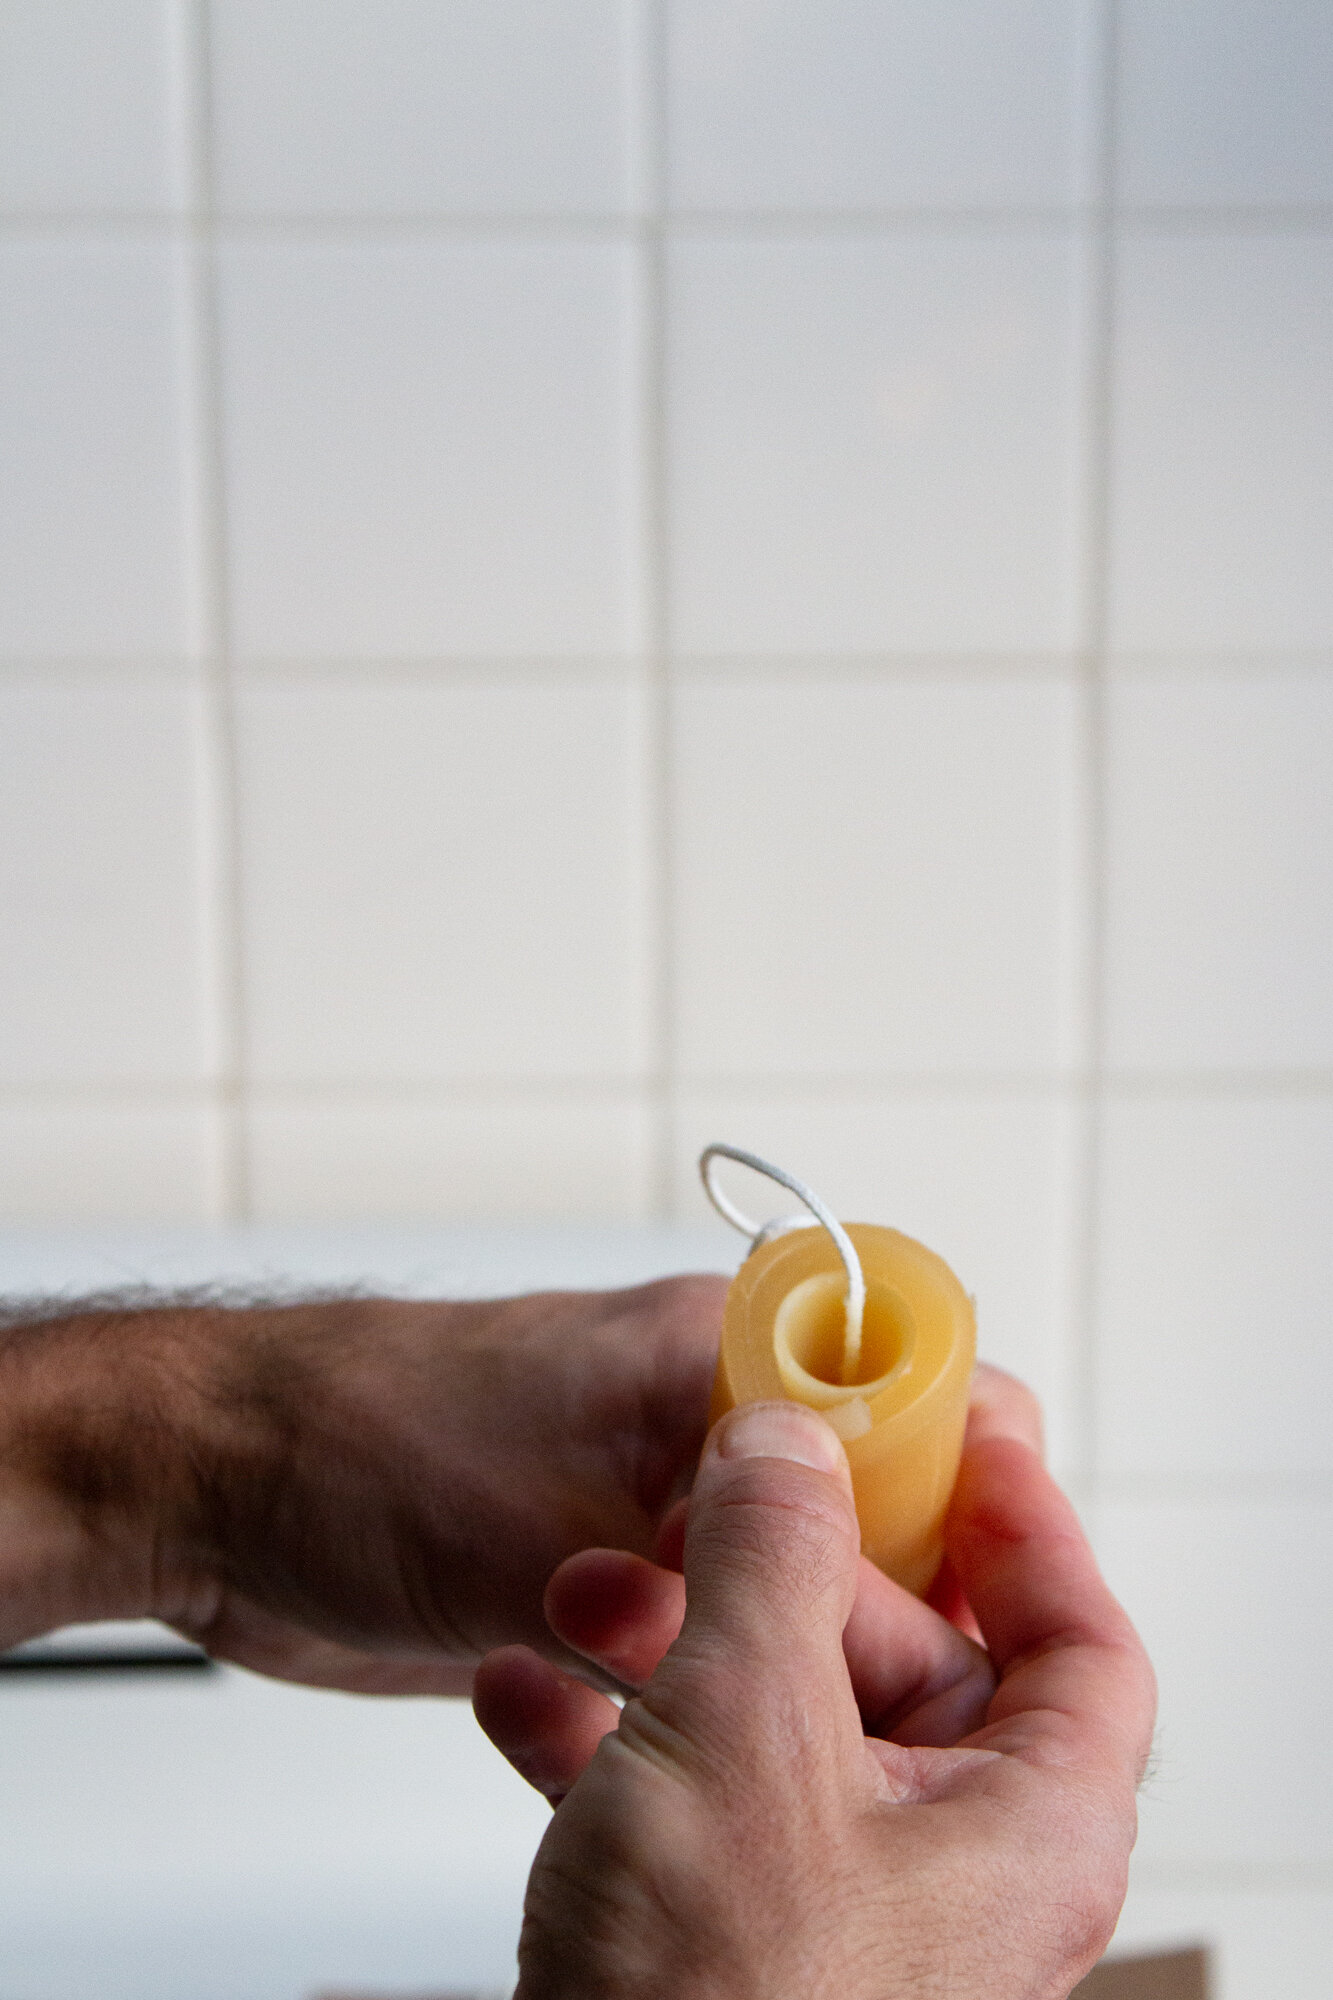
+ Once set, use your thumb to gently pull the mold from around the base of the candle.
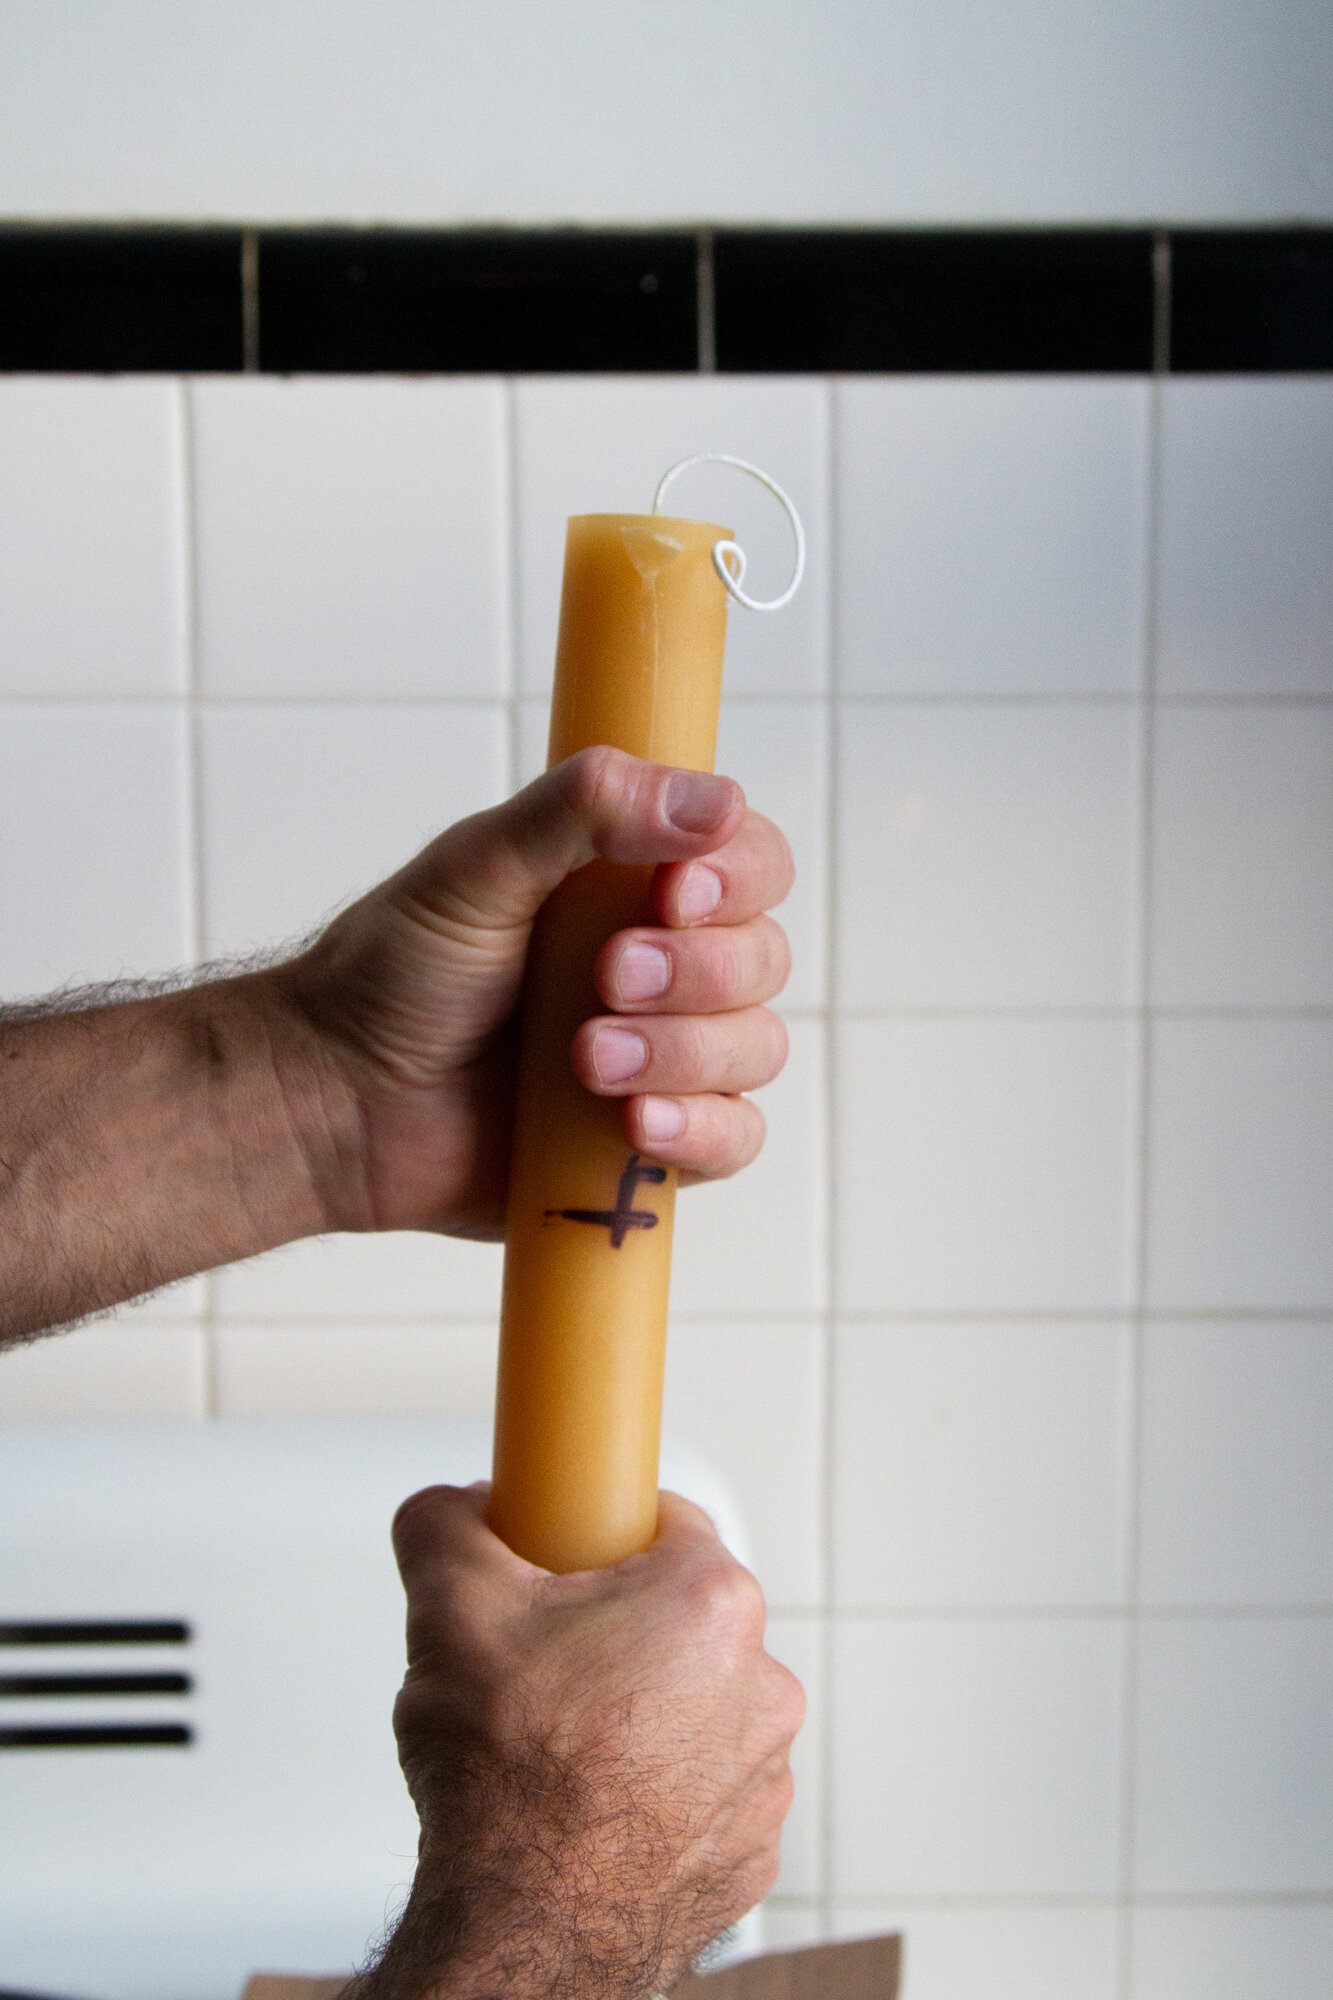
+ Next, hold the mold in two hands and twist your wrists in opposite directions to release the candle. You don’t need to use much resistance and you should quickly feel the candle loosen inside the mold.
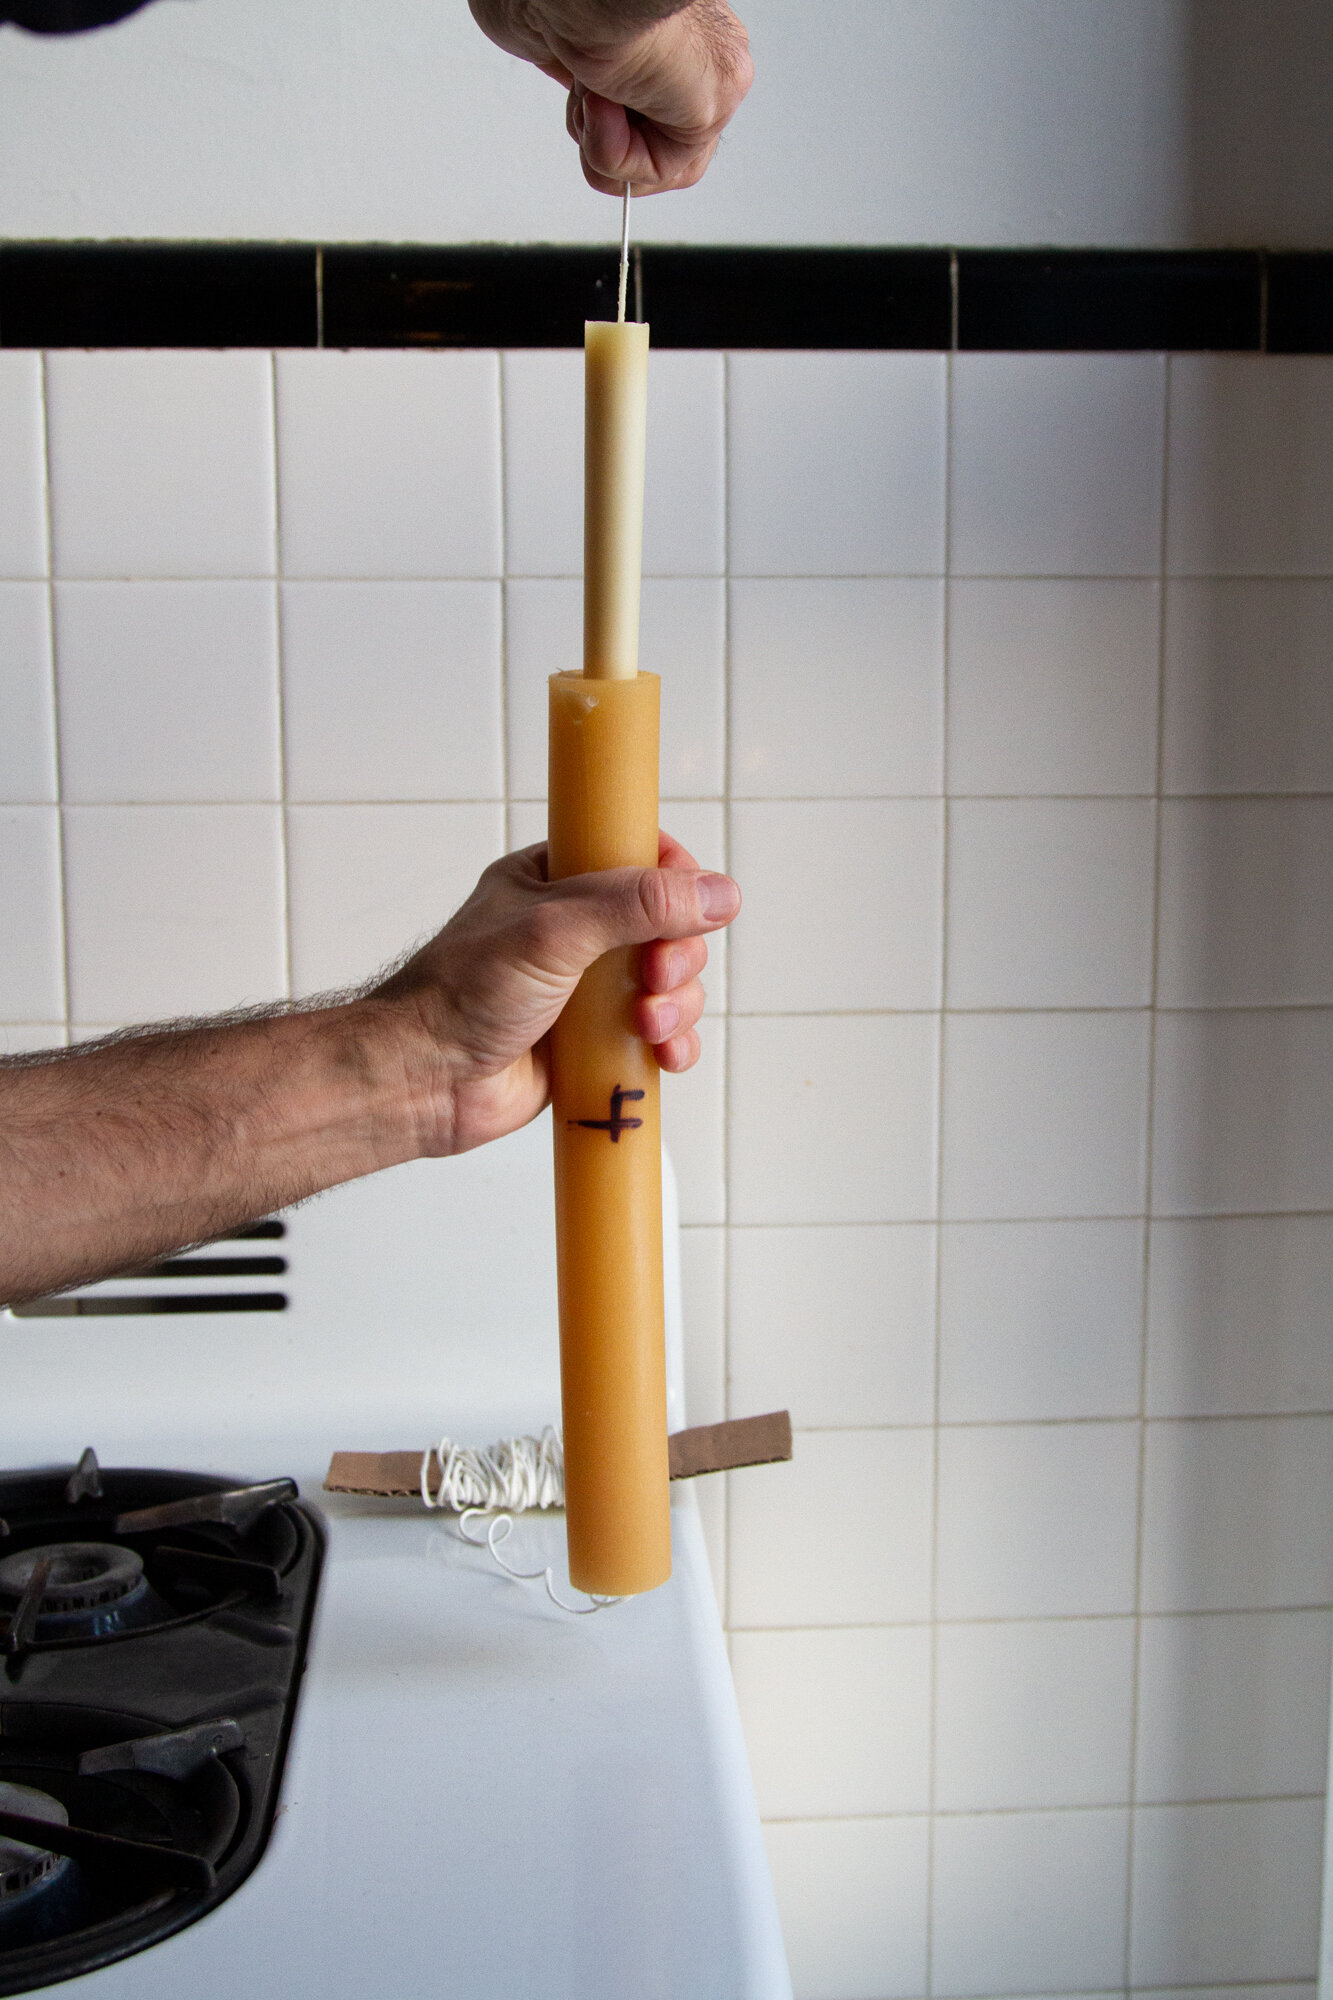
+ Holding the top of the wick tightly in your hand, gently pull the candle out of the mold.
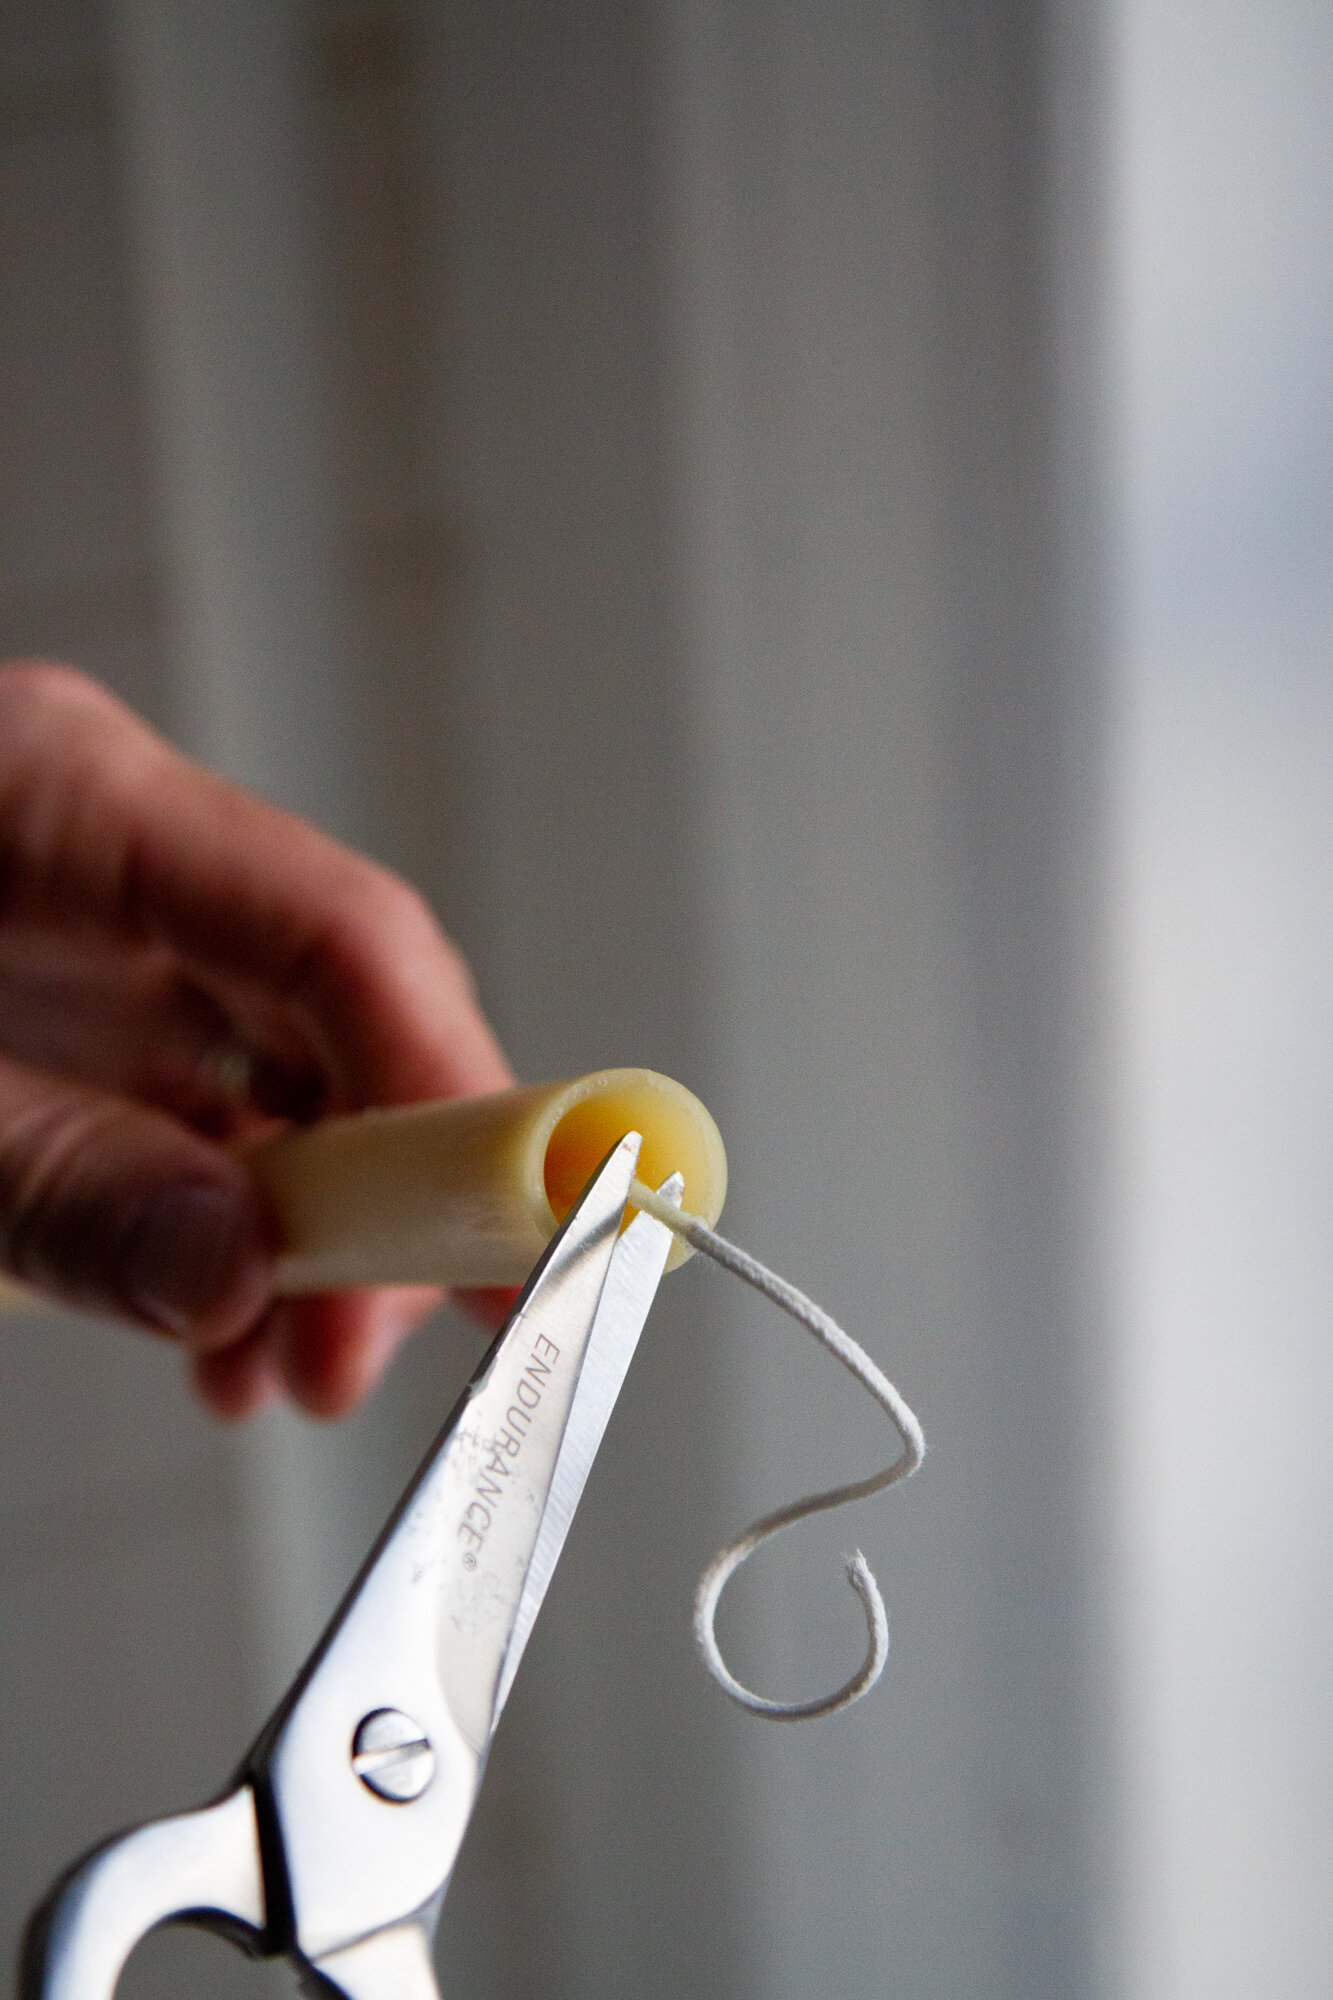
+ Once removed from the mold, trim the wick at the base of the candle.
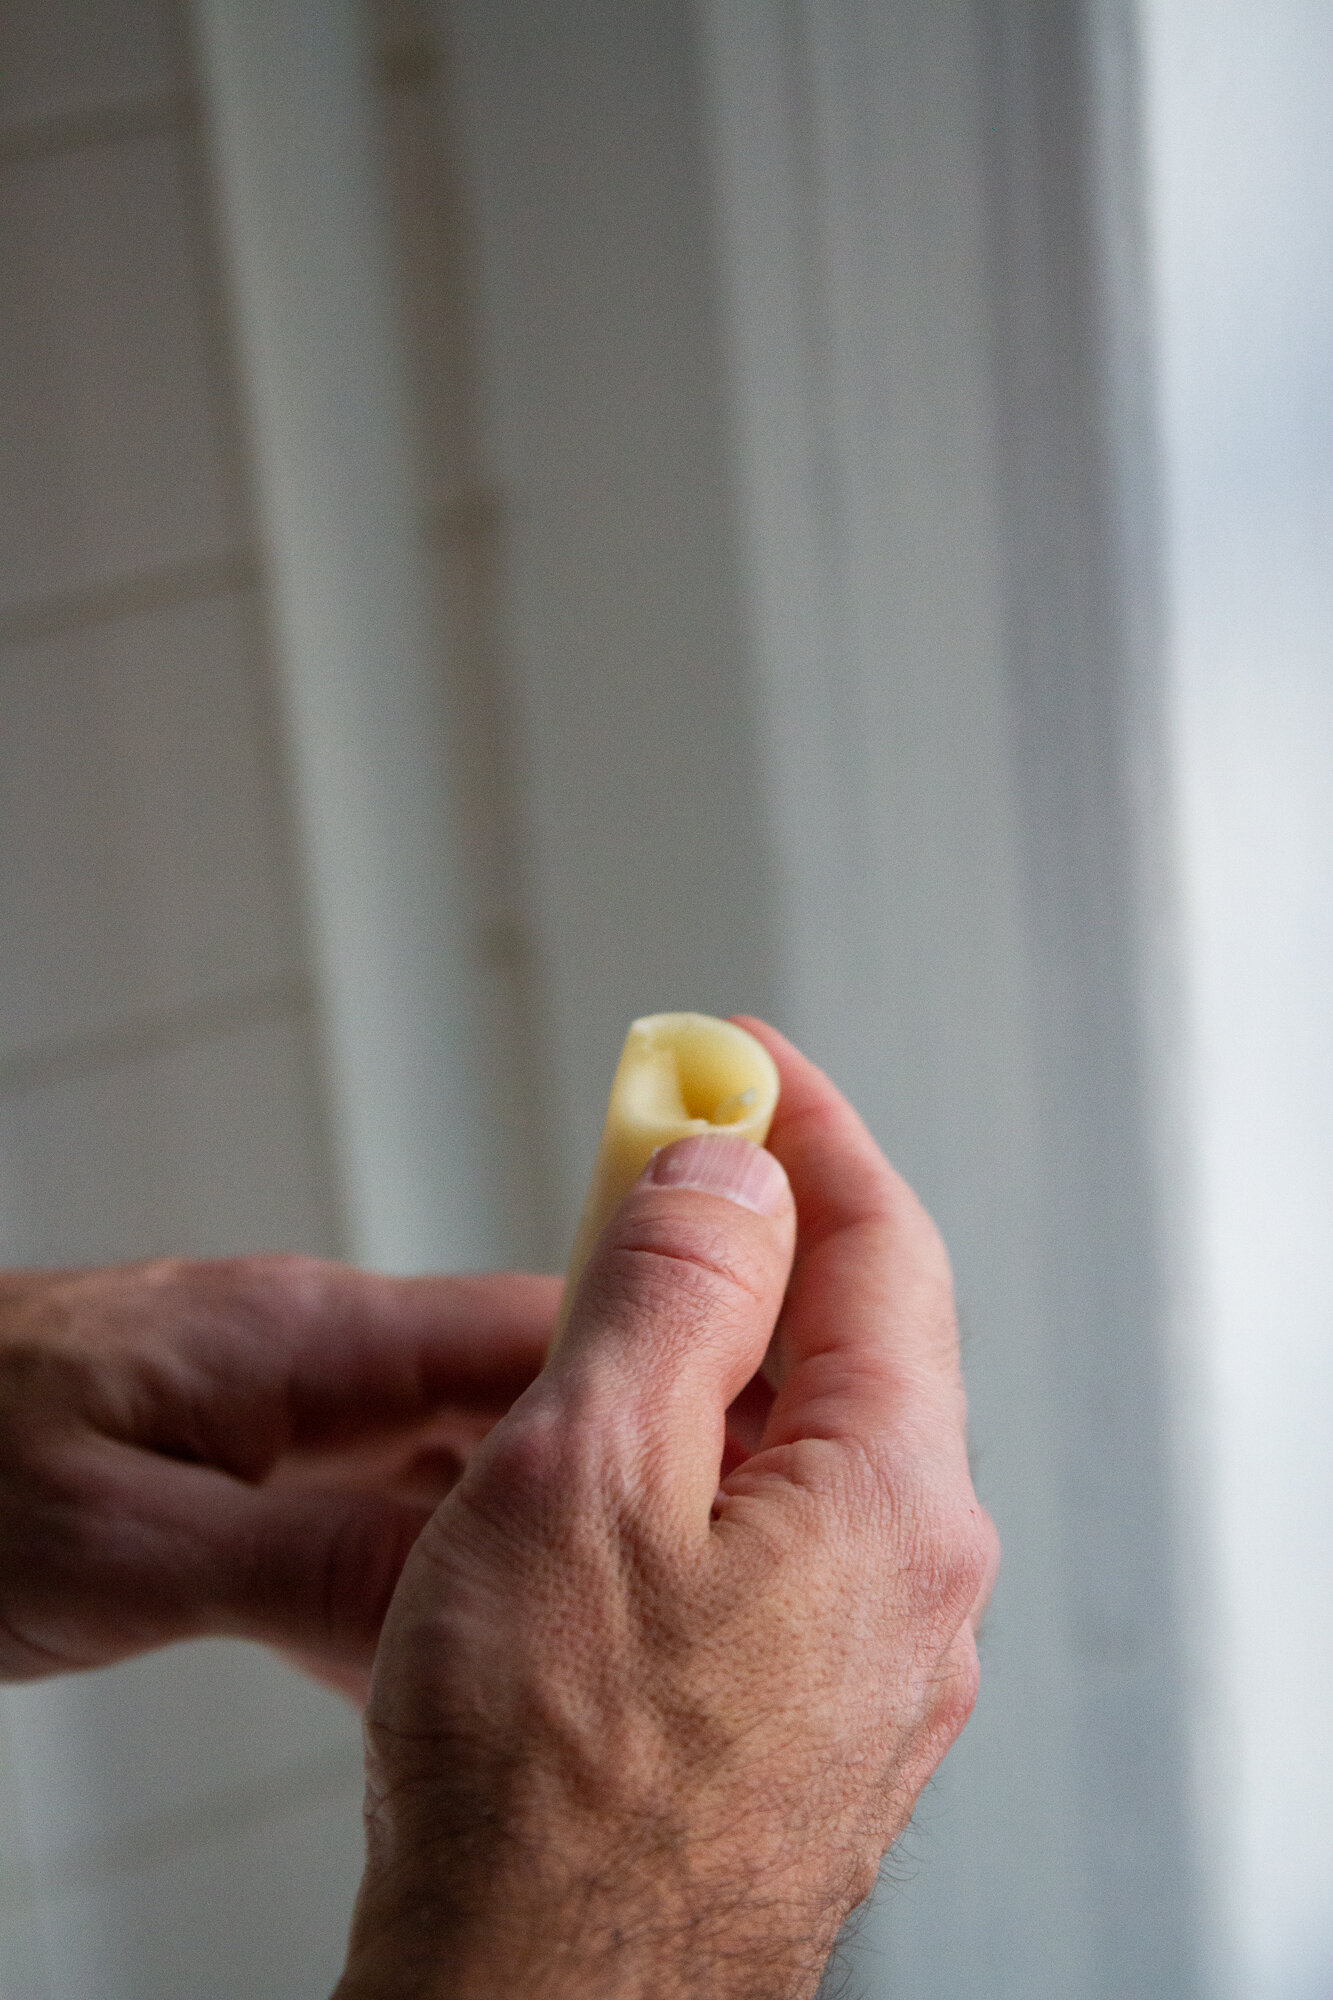
+ Use your thumb to press the wax on the bottom of the candle inward onto itself. You can also buy a special candle base former tool for this step, but James takes the warm wax plus warm thumb approach instead. (I like to call it rustic.)
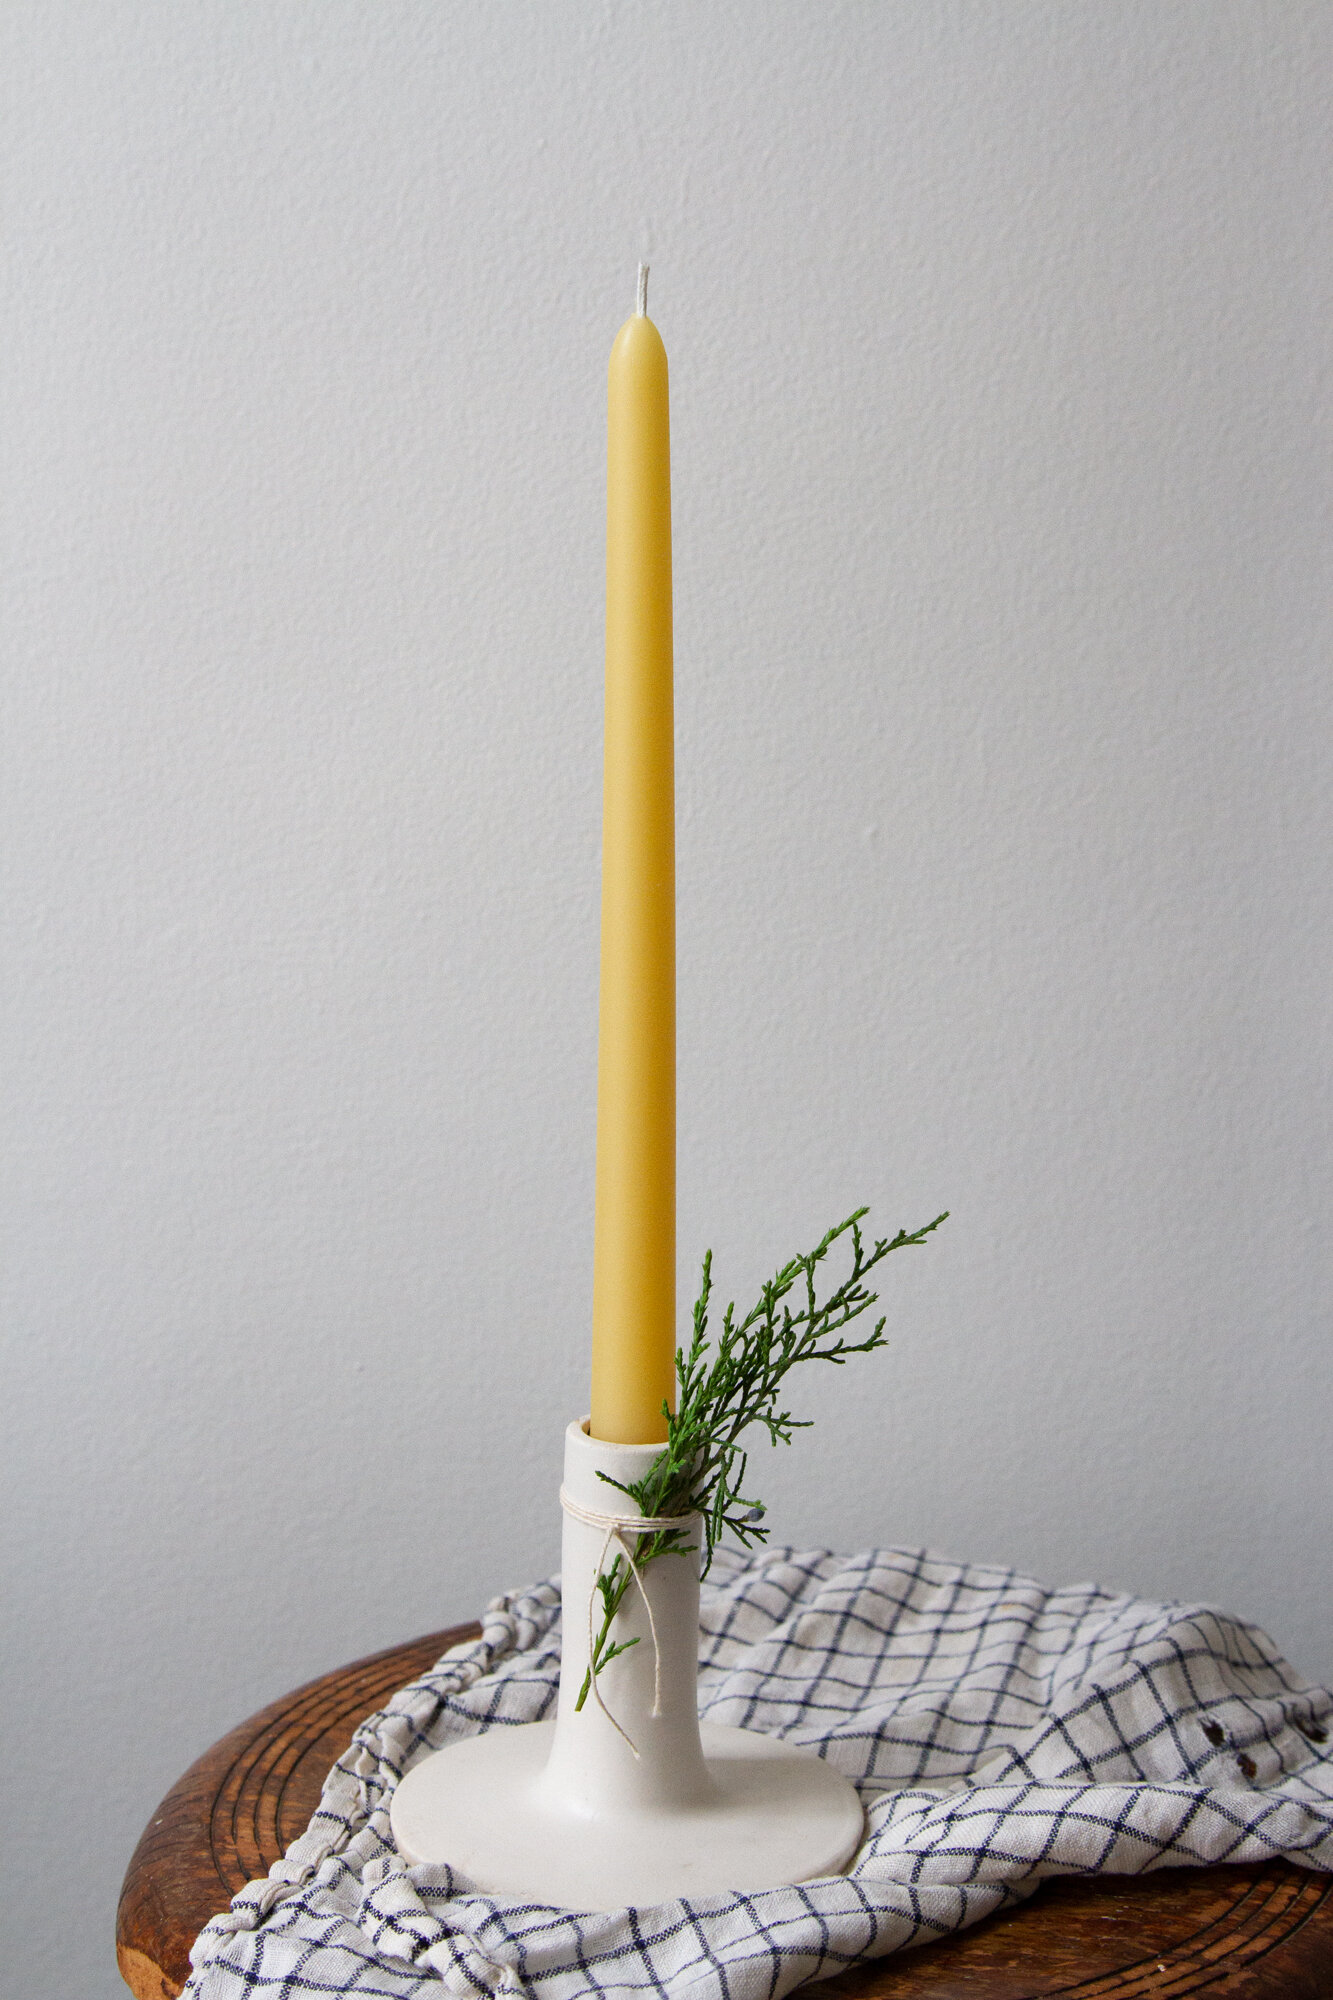
+ For best burning results, allow the candle to set for another 24 hours before burning.
NOTES:
+ Betterbee is a small operation and they’re currently sold out of a lot of their waxes and molds. You might not be able to buy all of these supplies there right this minute, but it’s the place that James uses and loves so I’ve directed you there for all your needs. Winter is long and dark and it hasn’t even started yet; there’s plenty of time for candle making!
+ In case you’re wondering: here’s how to make the pretty eight string braid in the first shot; plus five other ways to offer it.
+ My favorite candlesticks are made in Portland, Oregon at Notary Ceramics.
+ Natural beeswax ranges in color from pale yellow to deeper, darker near-orange hues so it’s always a bit of a surprise your next batch will be. Next in my sights: mixing in bayberry wax!
+ If this all sounds too labor intensive, remember that you can always roll your own candles from beeswax sheets! Or you can buy your favorite candles from your favorite local shop! Or turn on a lamp! Whatever gets you through winter with a little more light!
More questions? Just ask!

38 Comments
Thank you so much for this! I just rolled a full set of Hanukkah candles for a friend and was thinking I really should do it more often for myself.
How long would you say each candle burns? I roll beeswax sheets with my kids; do these burn at roughly the same rate?
These burn much slower, tho I’ve never done a side by side comparison! will try to next time I have sheets at home!
That’s what I was hoping to hear! This definitely sounds like a project I’d be interested in. Thank you for the resources!
I’ve long been hoping this tutorial would appear on your blog. Hooray! Thanks so much for taking the time to put this post together.
So happy to see this post! Quick question, has James ever found it necessary to use the release spray mentioned in the mold description? I’ve looked at these molds before but spray component always made me hesitant to buy.
Nope! He’s never used the spray!
If someone finds themself to be all out of urine test strip bottles I’m wondering if a prescription pill bottle might work?
Would be shocking! I’d say it would have to be a rather big one! Probably easier to find and use a regular 15 oz tin can!
Thank you for the tutorial! Having a December birthday, I always (heavily) hint at wanting beeswax candles. I love the light and subtle scent that they bring to a dark day! I think there’s a reason one of my daughter’s first words was “hot!” and she loves pointing out the fire on every possible page in Goodnight Moon. 🙂
Do you repurpose the used beeswax?
They make the best gifts! Even with James making them I can never have too many! As far as repurposing and/or unused wax, we keep a tin can with the very ends of tapers or any wax that falls off the candle as it burns and when the can gets full we melt that down and make new ones!
After reading your previous post on your beeswax tapers I ordered molds, wax, wick and the wicking needle from Betterbee. I have really enjoyed the process of making my own tapers. Thanks for the tip about twisting the mold to release the candle. I haven’t had any problems getting my candles out of the molds but will try this to make it a bit easier. I’m currently making tapers for holiday gifts. Thank you for inspiring me to try something new!!
Ah! I’m so glad to hear that! Just posted a little video on Instagram of the twist in action if you’d like to see!
Thanks Erin!
My tip for you all is one that was in with my molds – use a paper towel roll to hold the mold upright. Of course you have to have an extra roll of paper towels! I posted a picture of my candles on Instagram @drcorgi.
I grew up in Greenwich, NY and despite living in another state now, I still order my candles from them. They are owned by a lovely family!
Would he consider selling candles?
Just a tiny operation over here so not for sale!
I was going to ask the same thing!
The tutorial I’ve been dreaming of for…ever? Thank you both, the grey months at our house will be a little less dim now.
Wonderful post! I’ve been making my own beeswax tapers since last winter, using silicone molds from this fabulous shop https://www.etsy.com/shop/Latviancandles?ref=cart_shop_name_click&cart_id=3948182437
As for centering the wick, I’ve developped my very own trick which consists in poking holes in a strip of cardboard that I then put over the mold, securing the wick with a hairpin that rests on the strip. Classy!
How does pouring compare to rolling beeswax sheet tapers in terms of cost efficacy? I assume these burn for longer than the rolled sheet type? Thank you for the great info!!!
Have not worked out the math, but these definitely burn for longer and I imagine are quite a bit more cost efficient!
Recommendations for candlestick holders?
Yes! Included at the bottom of the post!
This made me want to start making candles, so congrats on a successful post!
I’ve found a small local seller of beeswax sheets , but am still working on sourcing the regular ole beeswax (which tbh I thought would be an easier find). Onwards!
Thank you so much for these great tips and sources. It is my favorite project to do at this time of year. Enjoy the snow and the warm glow.
Thanks for this! As a beekeeper, I have wax around but the process of refining it and then making candles always feels like…too much, but this seems more doable. And truly, there is nothing like the clean sweetness of beeswax!
How does James separate the wax from the block? I have some clean beeswax in blocks from a local keeper that I use for making lotion bars. Cutting it with a big knife always feels hazardous. I can grate what I need for the lotion bars, but it’s laborious and would take forever to have enough for a candle.
Ours came in a large plastic bag (inside a cardboard box) and he took the block outside with a hammer and thwacked it into smaller pieces inside the bag!
I wonder if this mold is much easier to use than the old fashioned metal ones? I like that the metal ones have their own standing power, and I can make many at once….
Totally! Have always wanted to try one!
Thanks again for this post, Erin! My husband surprised me with a set of molds, wax, wick and the wicking needle from Betterbee and it’s been great! I’ve been remelting wax scraps into an assortment of candle jars for years, but have always hated cleaning the jars to reuse. The molds are GREAT! He ordered a pillar candle mold as well and we’re loving it.
A question about your Notary candlesticks — do you find wax runs off the base on onto the table? I’ve been eyeing these as a replacement for my old thrifted sticks but am weary of scraping wax off the table. I did see Notary’s lovely CRADLE CANDLE BOWL as well, which would certainly solve the issue of drips.
I’d say it has happened but not frequently!
Where can I find wicking needles?!
We got ours at BetterBee!
Thank you for this post Erin! Useful, cost-effective, and relaxing! Happy to have a new winter hobby for the months to come. I’ve been lighting candles many nights right when I get home from work and it’s a lovely change to ease into the evening with a warmer glow. Can’t wait to send a few sets home to my parents and sister.
Hi Erin,
Thanks for this detailed post! Your candles are lovely. I have a notary ceramics candlestick too and the inside got black stains on it from burning a candle deep in the stick; has that happened to you and did you find a way to remove the dark stains? Thanks for any suggestions!!
We have a few too! Try to snuff the candles before they reach that point but don’t always manage!
Planning to make these to gift to friends over the holidays. Thank you for being such a wonderful resource!!
Comments are moderated.