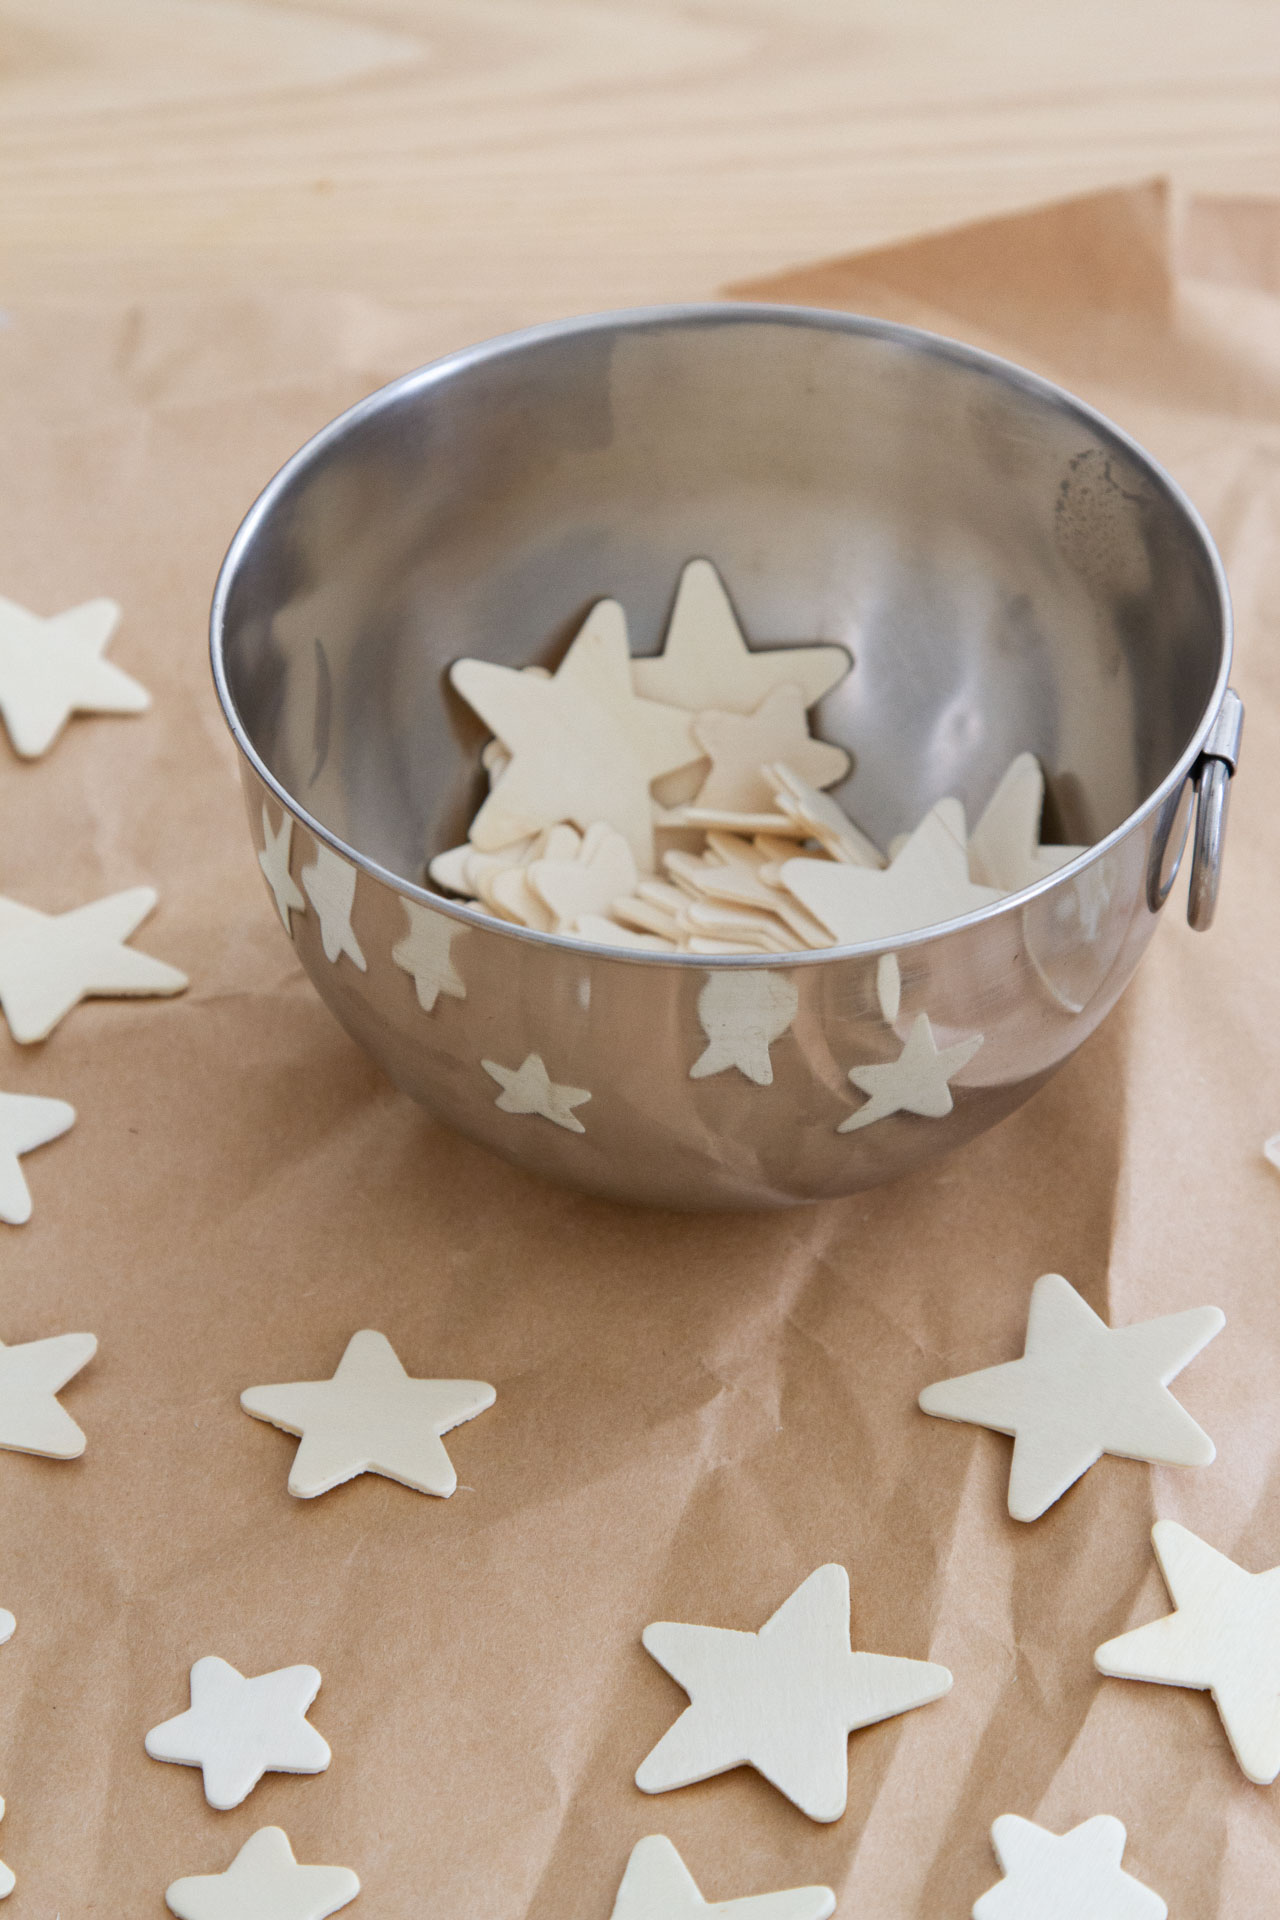
Adding glow-in-the-dark stars to the ceiling above your bed feels like something of a childhood rite of passage. Faye has been begging to take the leap for weeks, but I felt reluctant to buy a new package of plastic stars or stickers and I didn’t want to add anything to the still-to-be-painted ceiling that would be too tricky to remove. Instead, we decided to use wooden craft stars, glow-in-the-dark paint, and a package of sticky tack to make our own.
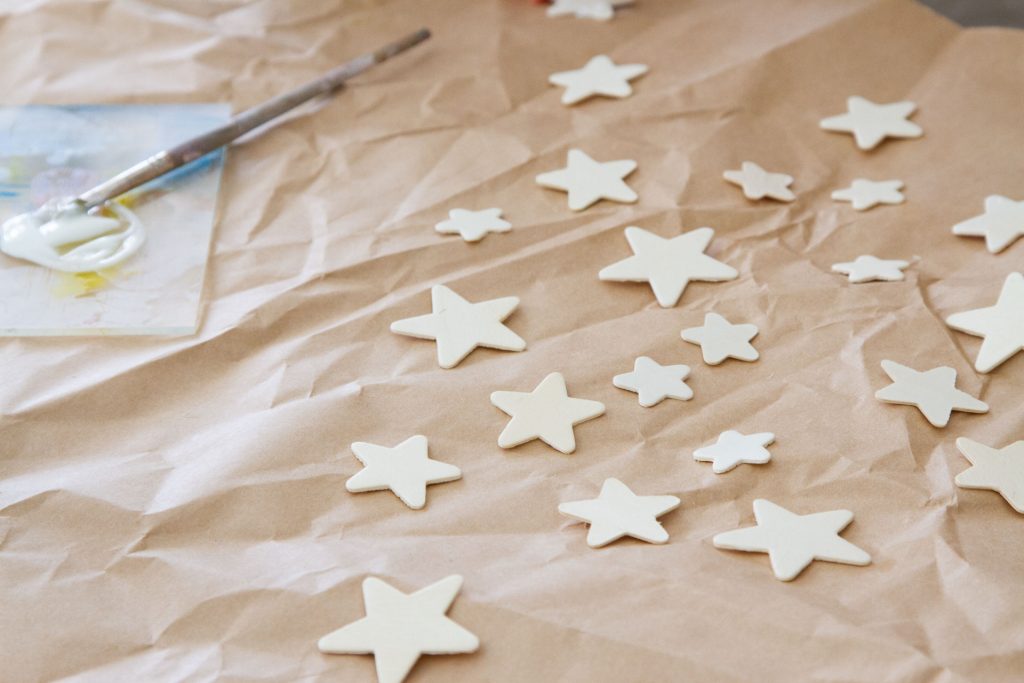
I like that the glow-in-the-dark paint dries relatively clear so that the stars look sweet and neat and add their own subtle magic to the room by day. It can also be layered over another color of your choice, should that be what you prefer. Faye nixed my original idea of raiding our recycling bin and snipping our own stars from cardboard, but you would be quite right to forgo buying the pre-cut stars altogether and to cut stars from the inside of a cereal box or an abandoned child’s watercolor painting instead.
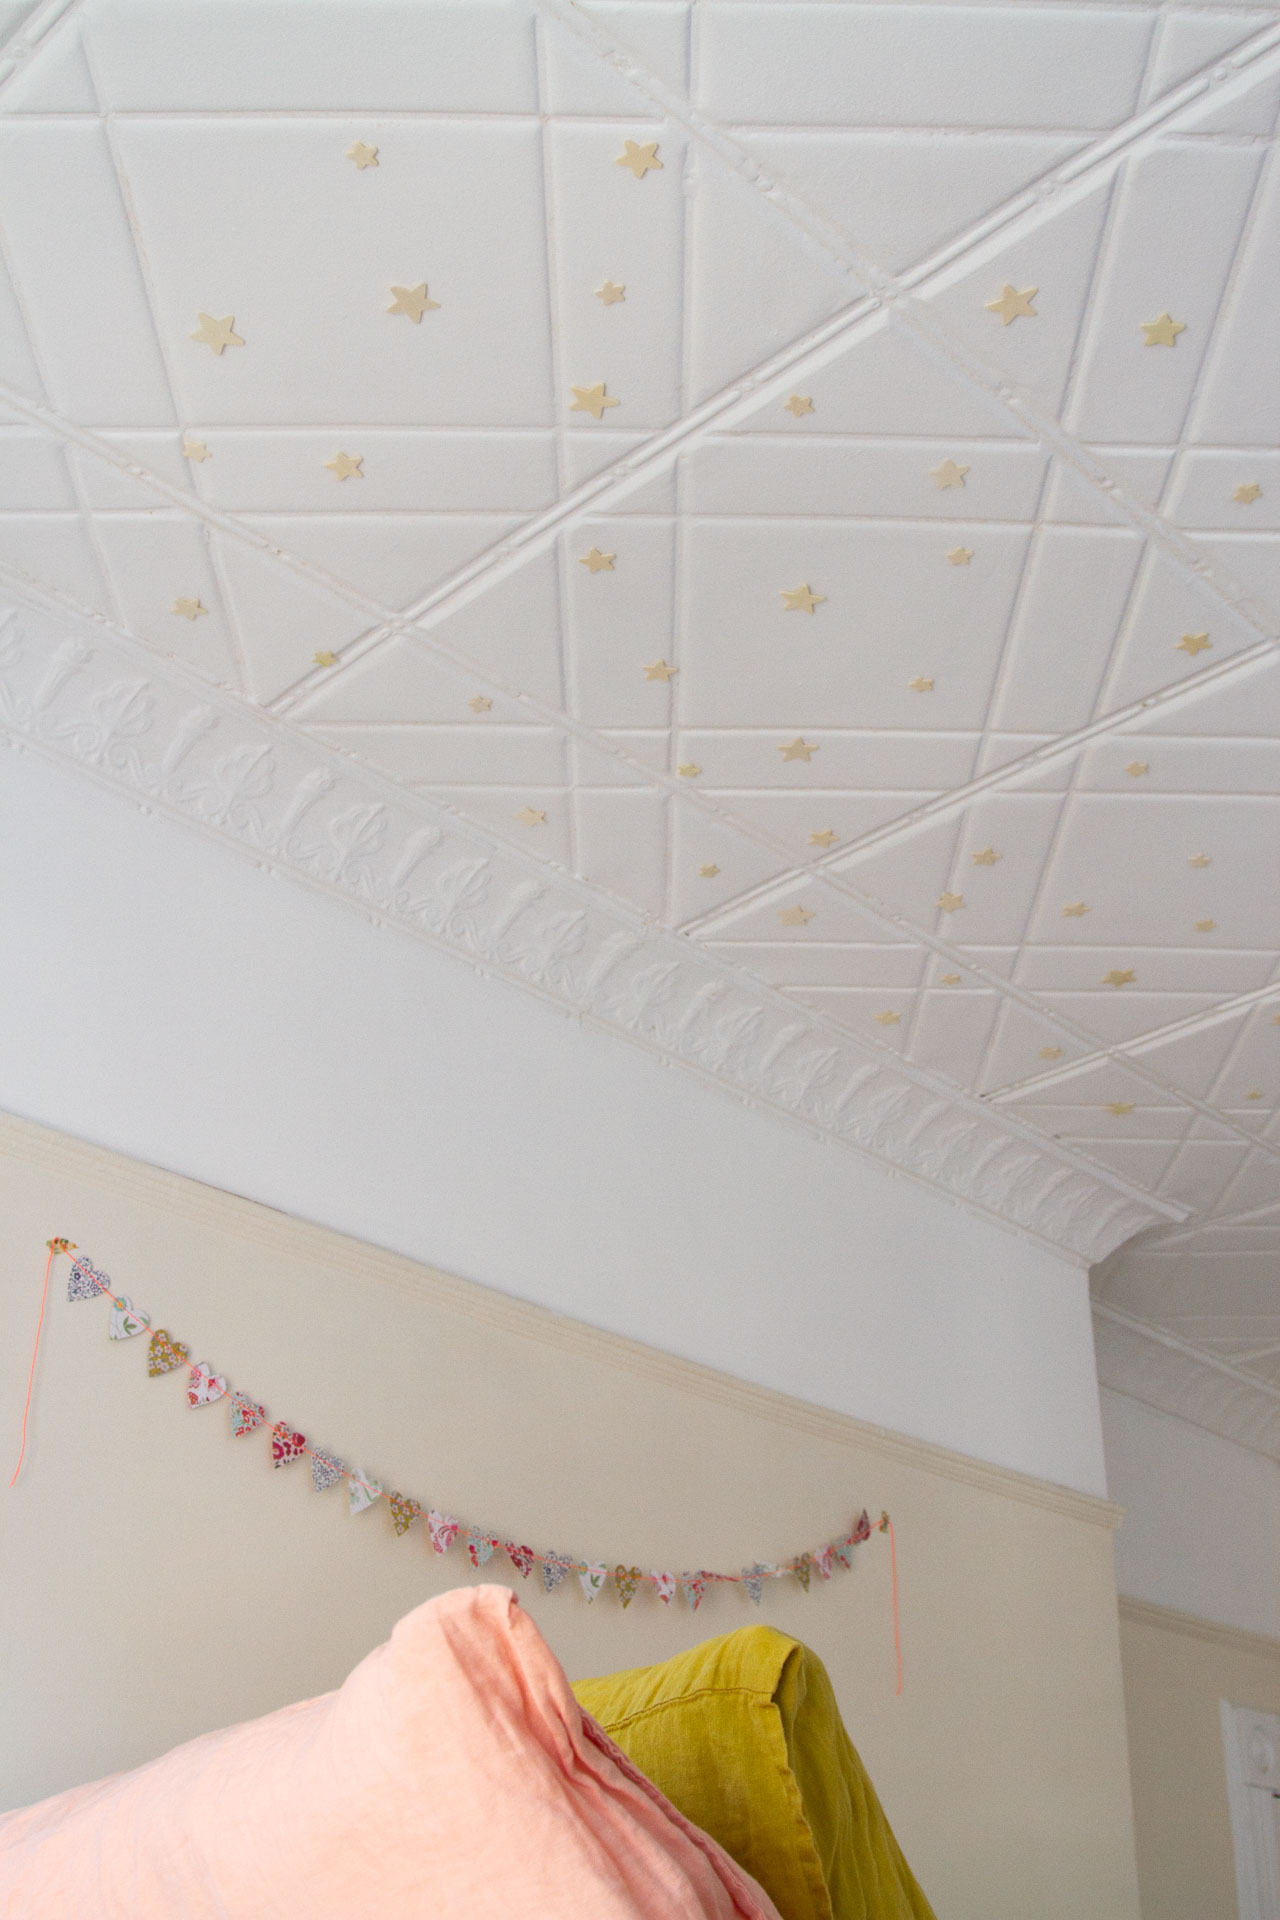
Like the best projects, these were easy to make with kids and pleasing to look at for everyone. And while I’ve gotten myself into a bit of a nightly hassle of making sure the bedroom light has been on long enough to properly “charge” them before bed, the stakes are still relatively low and the joy is still relatively high and that’s really all I can ask for in a child’s craft project or ever. We covered the ceiling above Faye’s bed and the slats underneath the bunk so that both big kids have a starry sky to sleep under.
This is probably not a project that merits a full tutorial, but as far as finding a solution that pleases both parents and children, this felt like a win. And, if I do say so myself, a little pouch of painted stars would be a perfect offering for an Easter basket.
Materials:
+ Wooden craft stars (Or cardboard and scissors if you decide to cut out your own stars.)
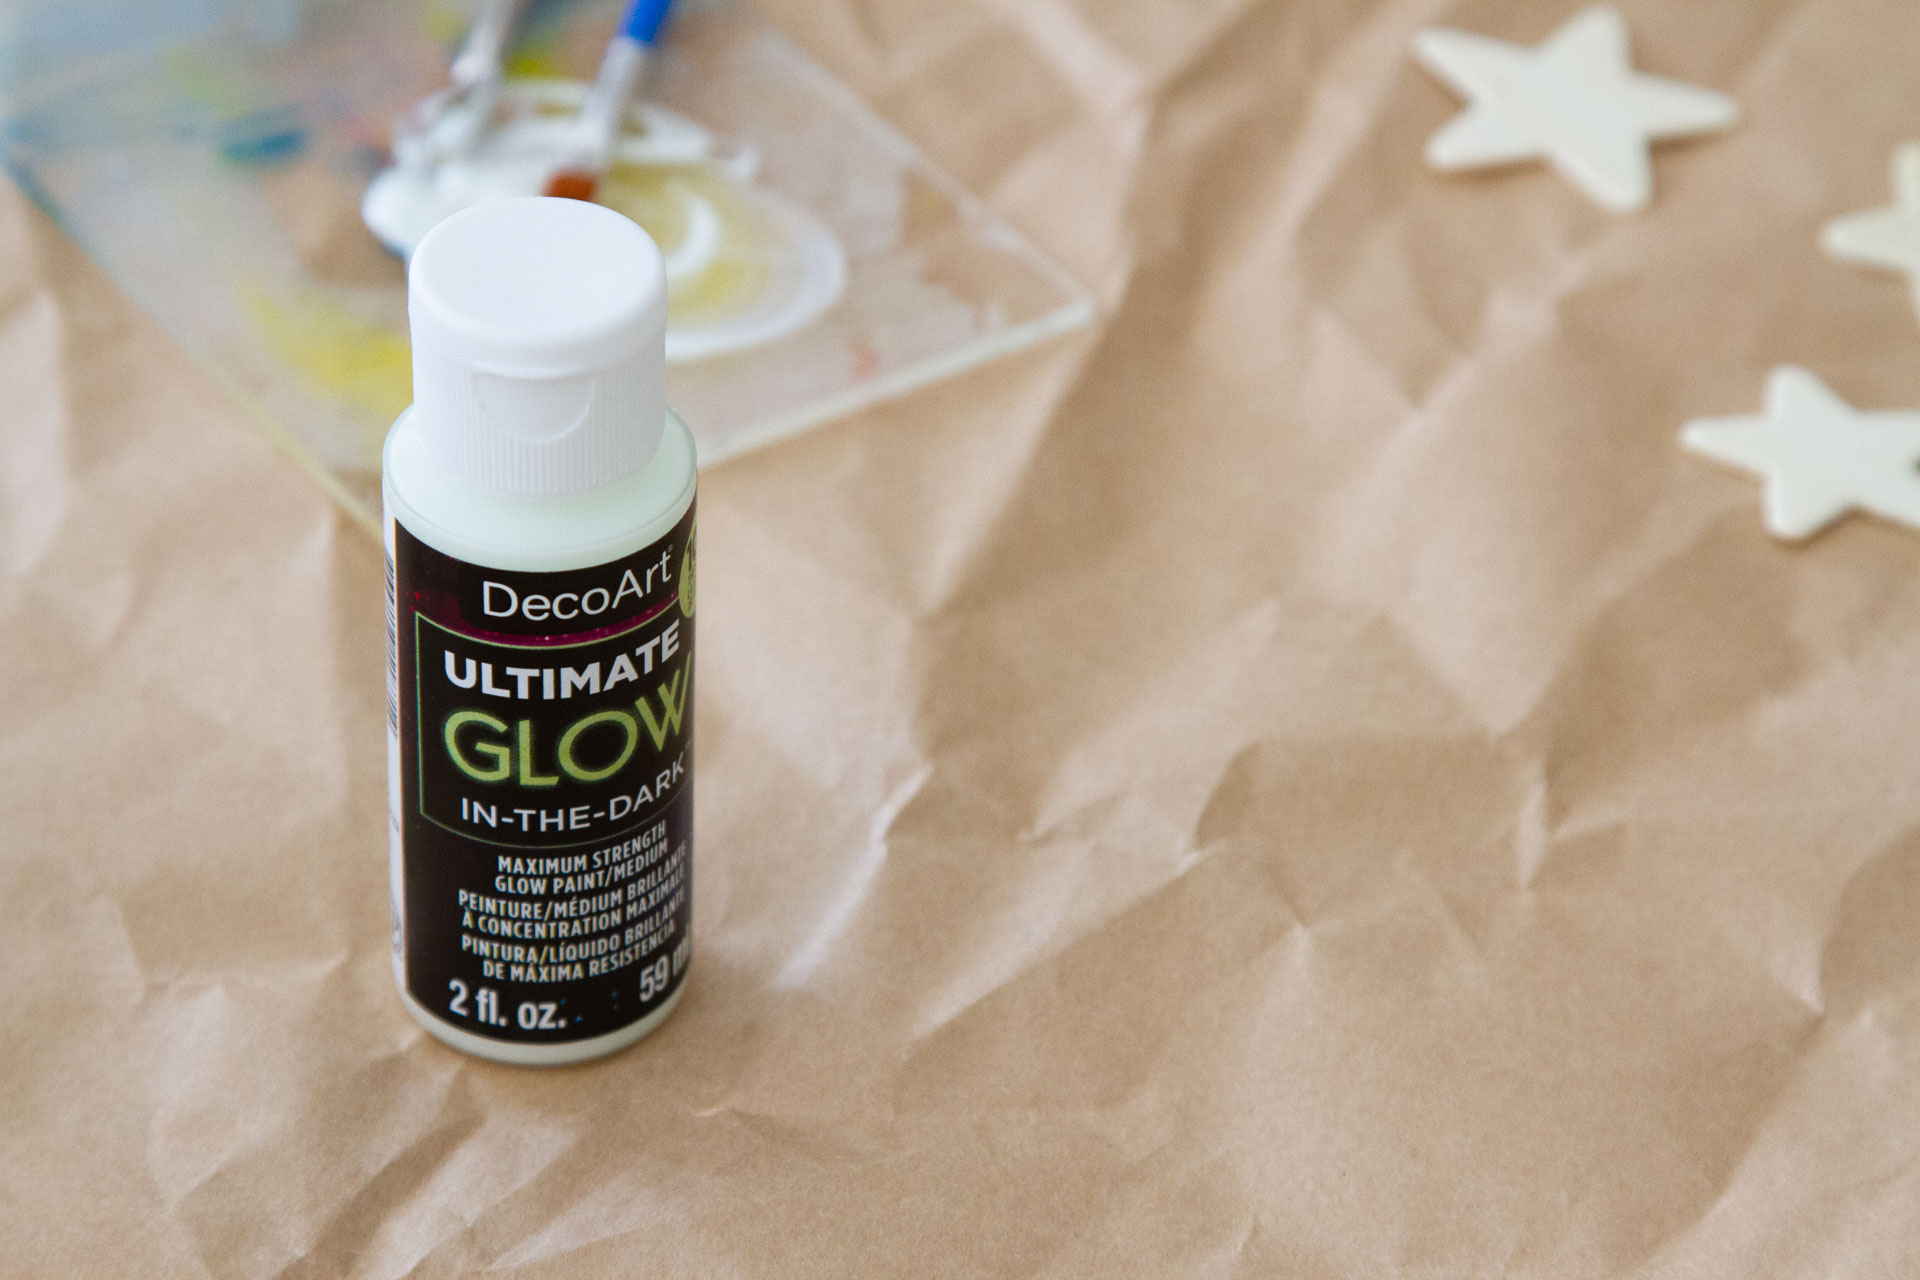
+ Glow-in-the-Dark Acrylic Paint
+ Paintbrushes
+ Sticky Tack/Removable Mounting Putty
Directions:
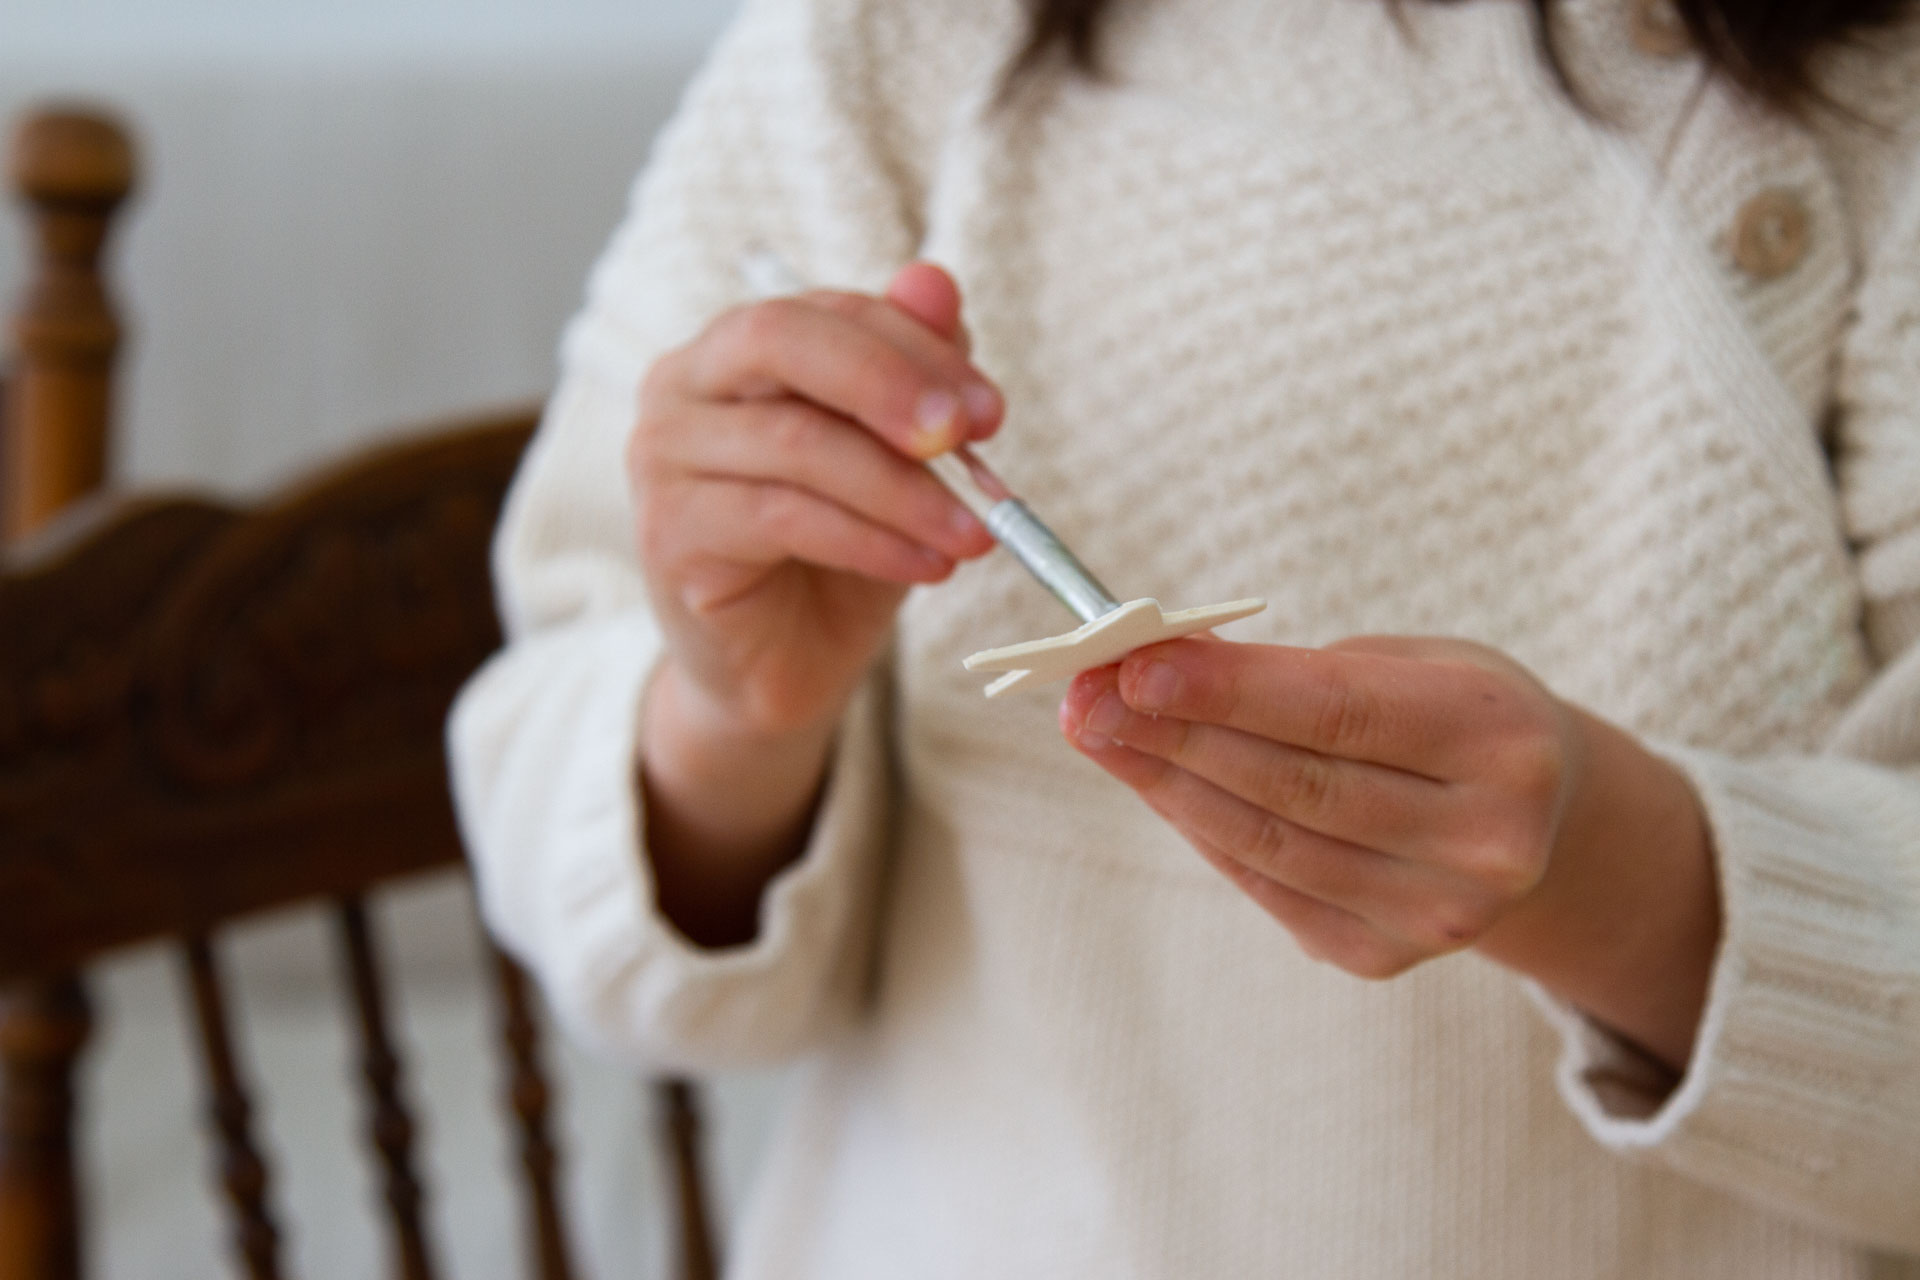
+ Squeeze a small amount of glow-in-the-dark paint onto a palate or small washable surface.
+ Use a paint brush to coat one side of wooden craft stars completely. (The paint dries relatively clear so if you’d like to keep track of which side is which, make a small tick mark on the unpainted side of star with a pencil so you know which side goes ceiling-up.)
+ Allow the paint to dry and paint a second coat.
+ Affix the dried stars to the ceiling or walls or underside of bunks with small rounds of removable mounting putty.
That’s it. It’s not rocket science, but it is fun.
This post includes several affiliate links. Reading My Tea Leaves might earn a small commission on the goods purchased through those links.
12 Comments
I would have never thought to paint our own stars please excuse me while I run not walk to get the glow in the dark paint. Thank you thank you.
Great idea and beautiful result! I love how you always find an alternative for plastic things, faithful to your lovely aesthetics. It is a pleasure to read you!
Perfect timing! I was just thinking that I needed some Spring break activity ideas. Thanks for reading my mind 🙂
This has been a battle with each of my children, so this simple project just blew my mind. Thank you!
I *just* bought an on-sale bottle of glow in the dark paint in an effort to please my children who think I’m a super buzzkill for not buying into a plastic-and-stuff heavy childhood and lecturing them on stewardship SO this is magically timely. Thank you for the idea! Now to try to convince them to go for those recycled cardboard stars ;).
the struggle is real. faye was a v hard no on the cardboard stars but i’m rooting for you!
This seems like a magical idea, but I was wondering: is the glow-in-the-dark paint toxic?
I linked to the one I used so you’re free to take a look and decide if you’d be comfortable using it!
I had stars on my ceiling for years, long into adulthood. When I got married, my husband chided me about them and really all of my decor/personal touches. When he moved out, the first thing I did was put my starts back 🙂
Love this! Where are those beautiful pillowcases from? I love the colors!
They’re from a few places: I think everything here is from either Collyer’s Mansion or Magic Linen
About the toxic point question :
because it is Acrylic paint it contains Micro-Plastic which is toxic.
I think one can teach a child from 5 yrs not to lick the paint. (Here is an adult licking paint from brushes,
because my silly adhd-brain tells me it is the coffee spoon -.- ; so have an eye on your child)
I never thought of acrylic paint as plastic contaminated.
That’s why my coloring water gone down the sink every time.
Now I learned to tip it out carefully; just the water without the acrylic mud.
If you use unpaper towels, wipe the color-plastic-mud away with an old (news-)paper and you can throw it in the trash. In Germany we don’t have landfills. The so called “Restmüll” is burnt (and used for energy / hot water). So there will get less micro-plastic into our tap water (Trinkwasser).
If you or your teenie have Glow-in-the-Dark nailpolish, use this instead of buying the paint ;o)
Comments are moderated.