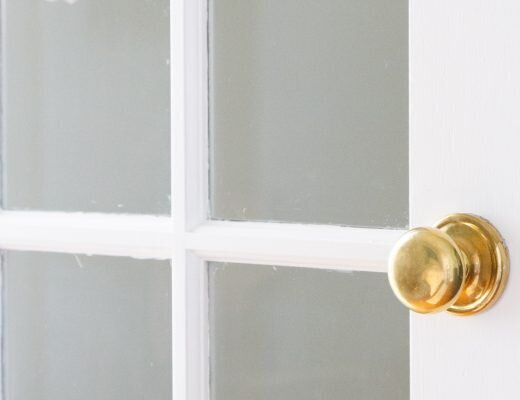
About a month ago we painted our deeply honeyed kitchen cabinets white. This is not the first rental apartment I’ve lived in with truly lackluster cabinets. But it’s the first time I ever plucked up enough courage to do something about it.
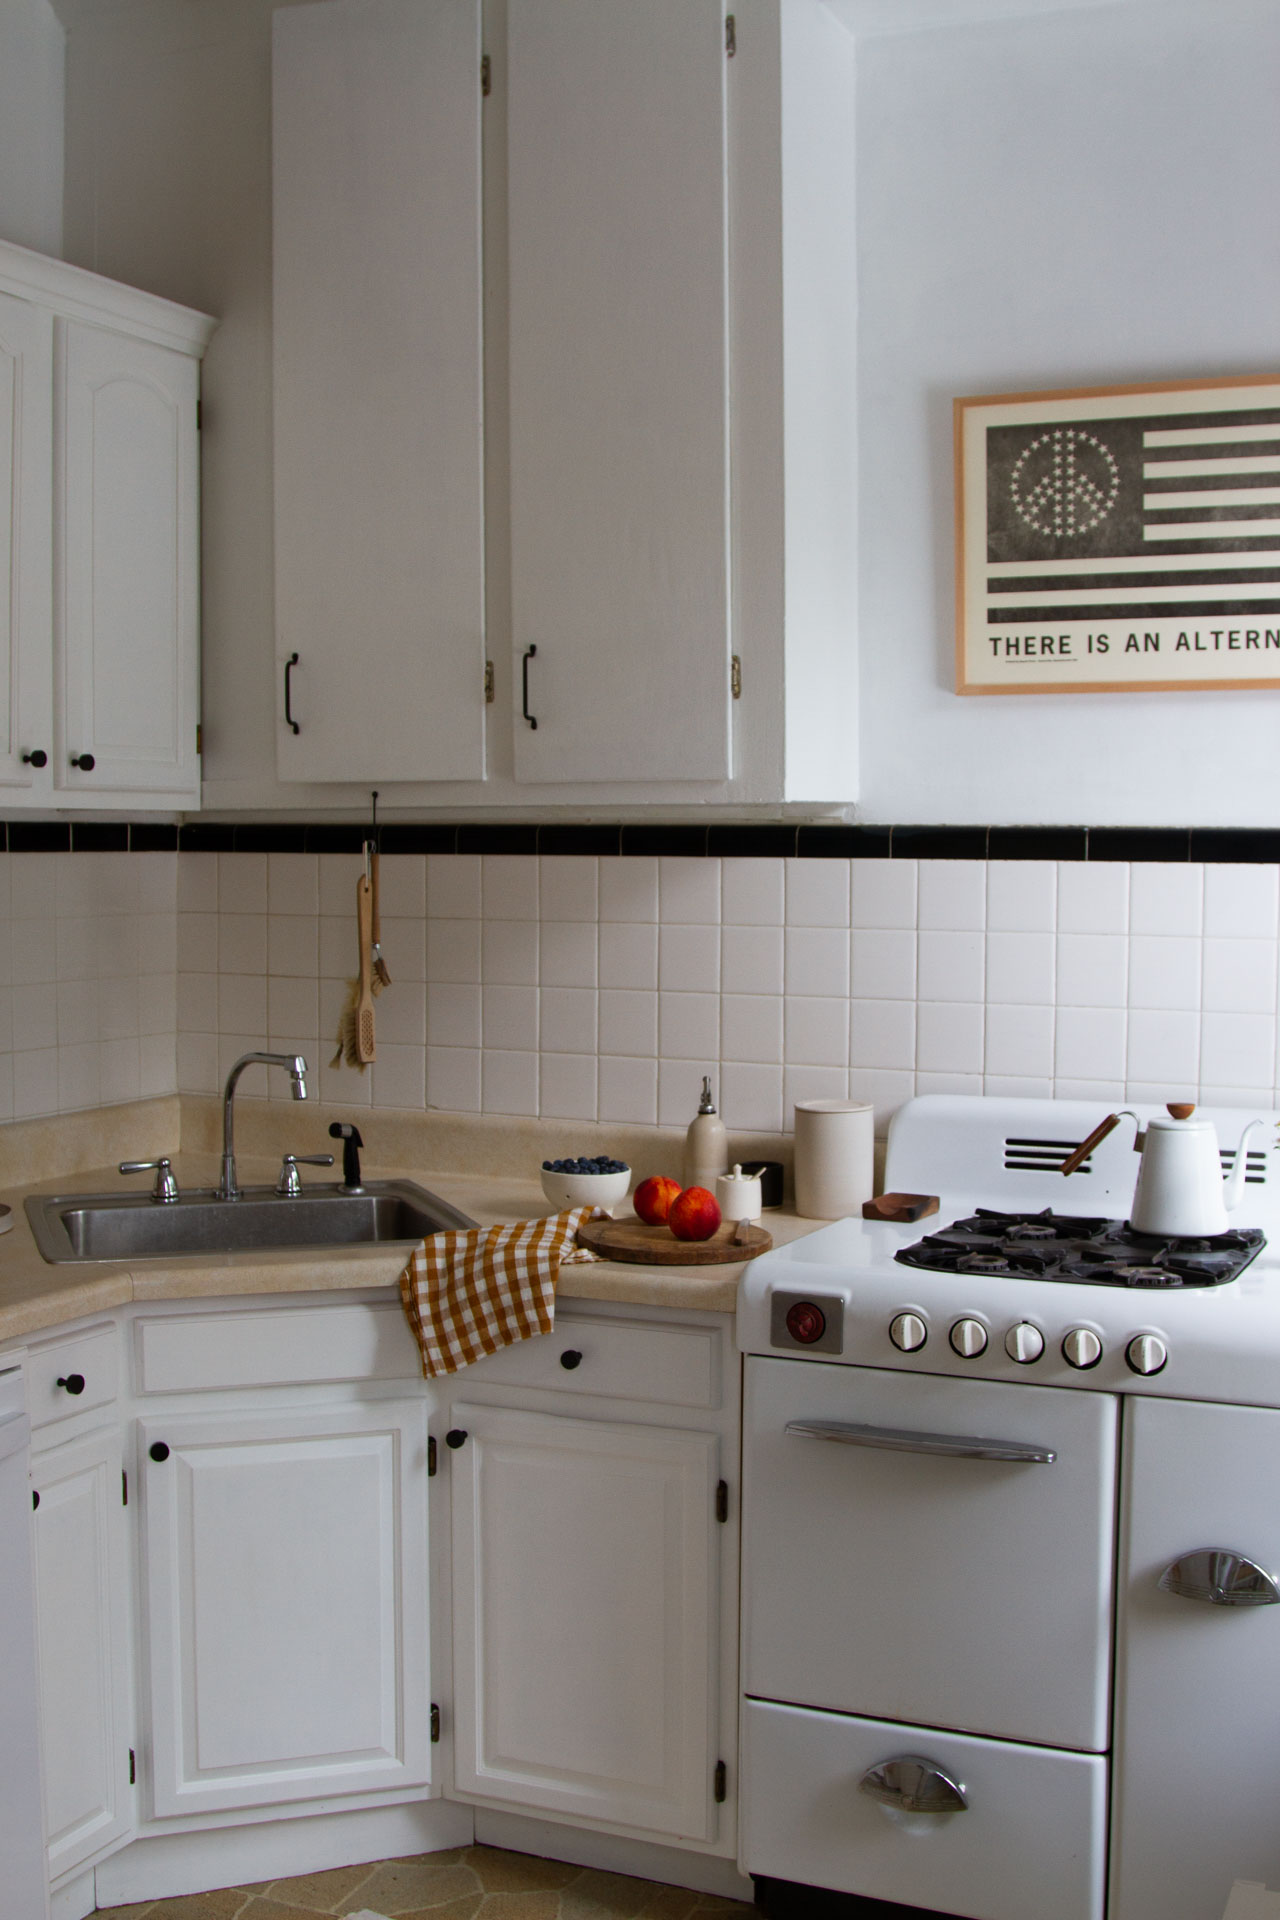
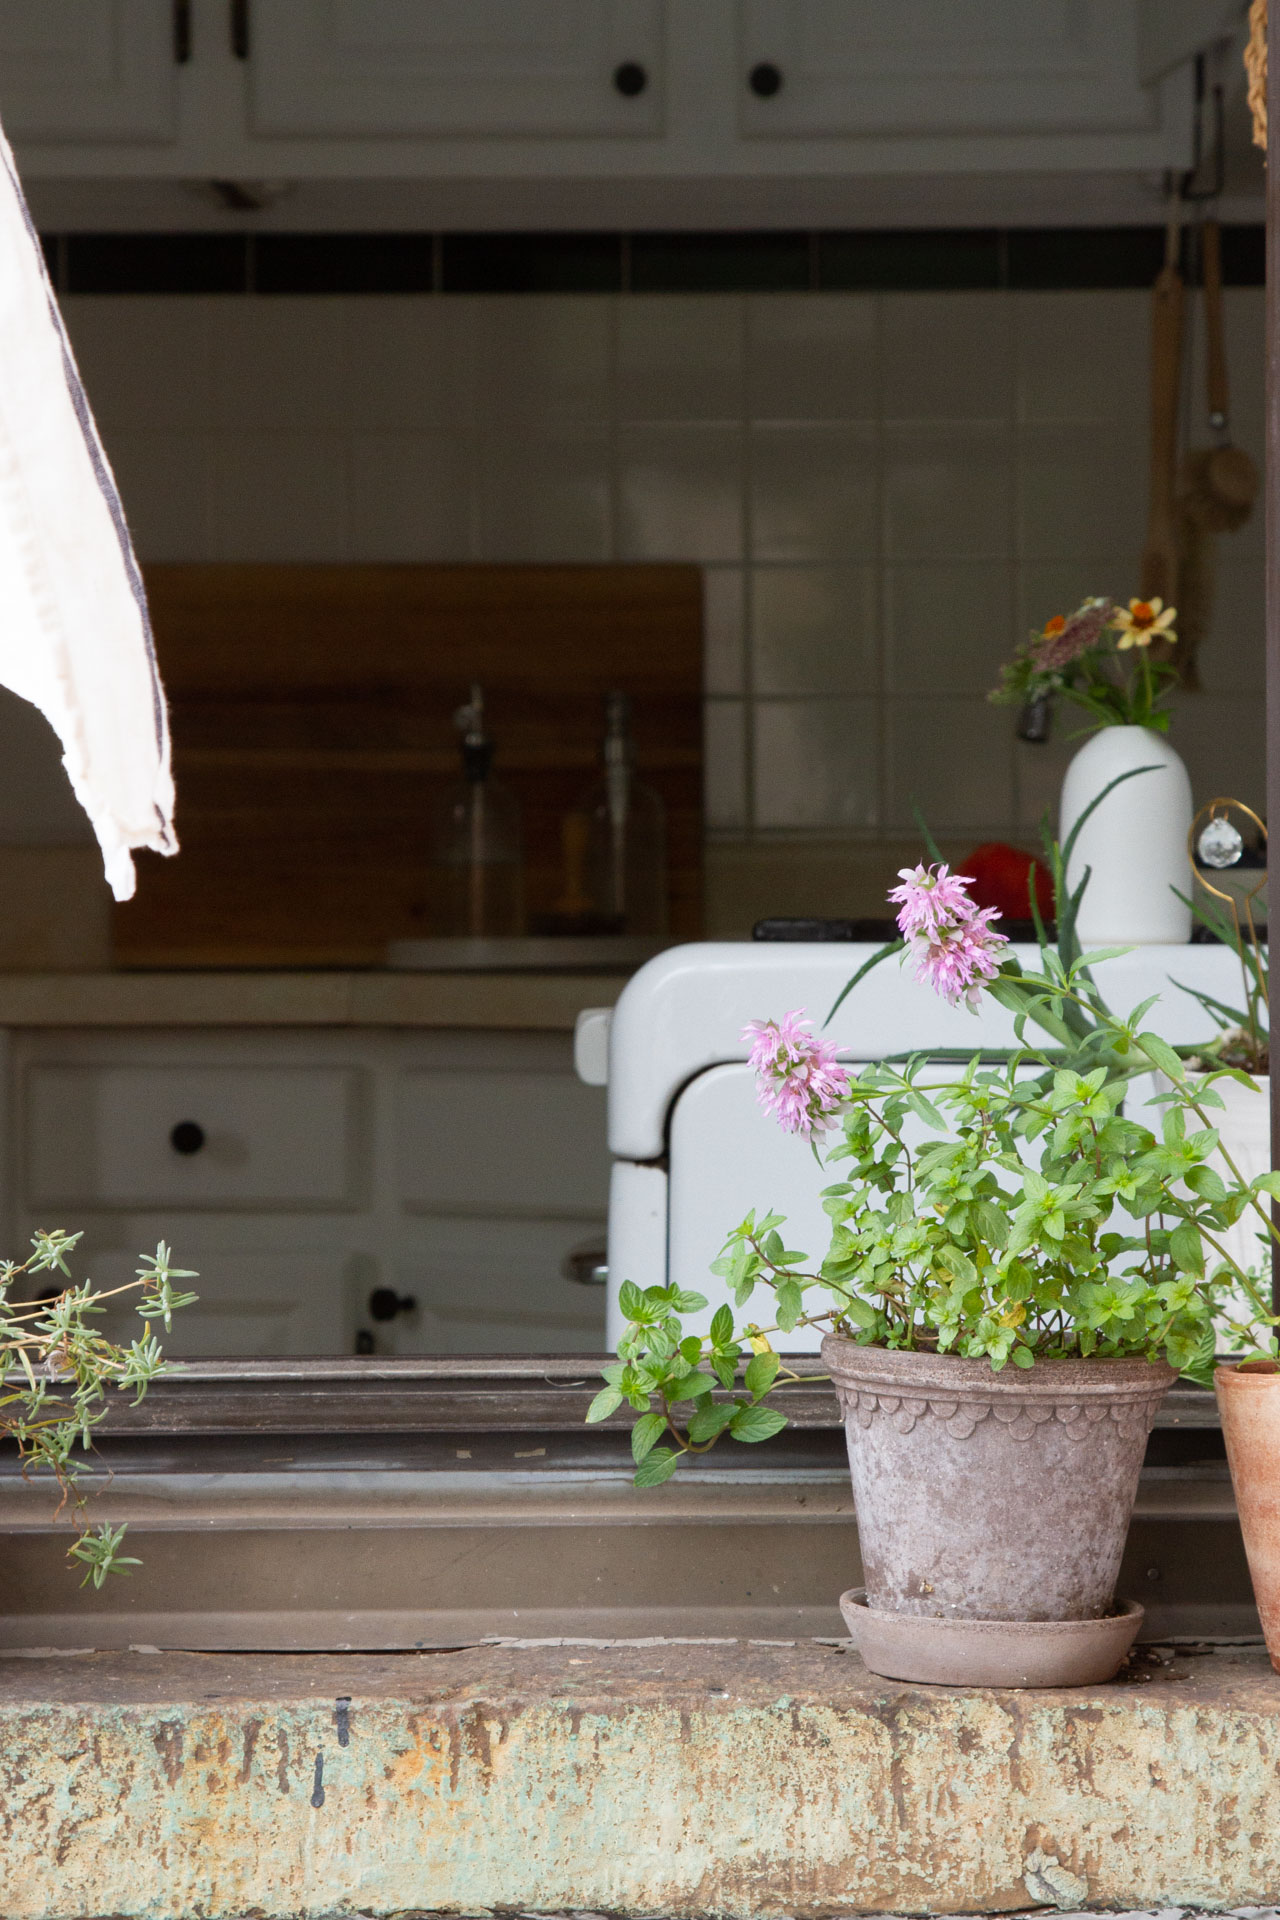
When we moved into this apartment, the kitchen was the first thing to catch my eye. Indeed, when I saw the delightfully bulbous 1950s gas range next to a gigantic, sunny window, I knew things were over for me. There’d be no turning back. I was falling in love. Of course, like most love stories, after the infatuation stage wears off a bit, there are things to sort out: incompatibilities and rougher edges and differences of opinion.
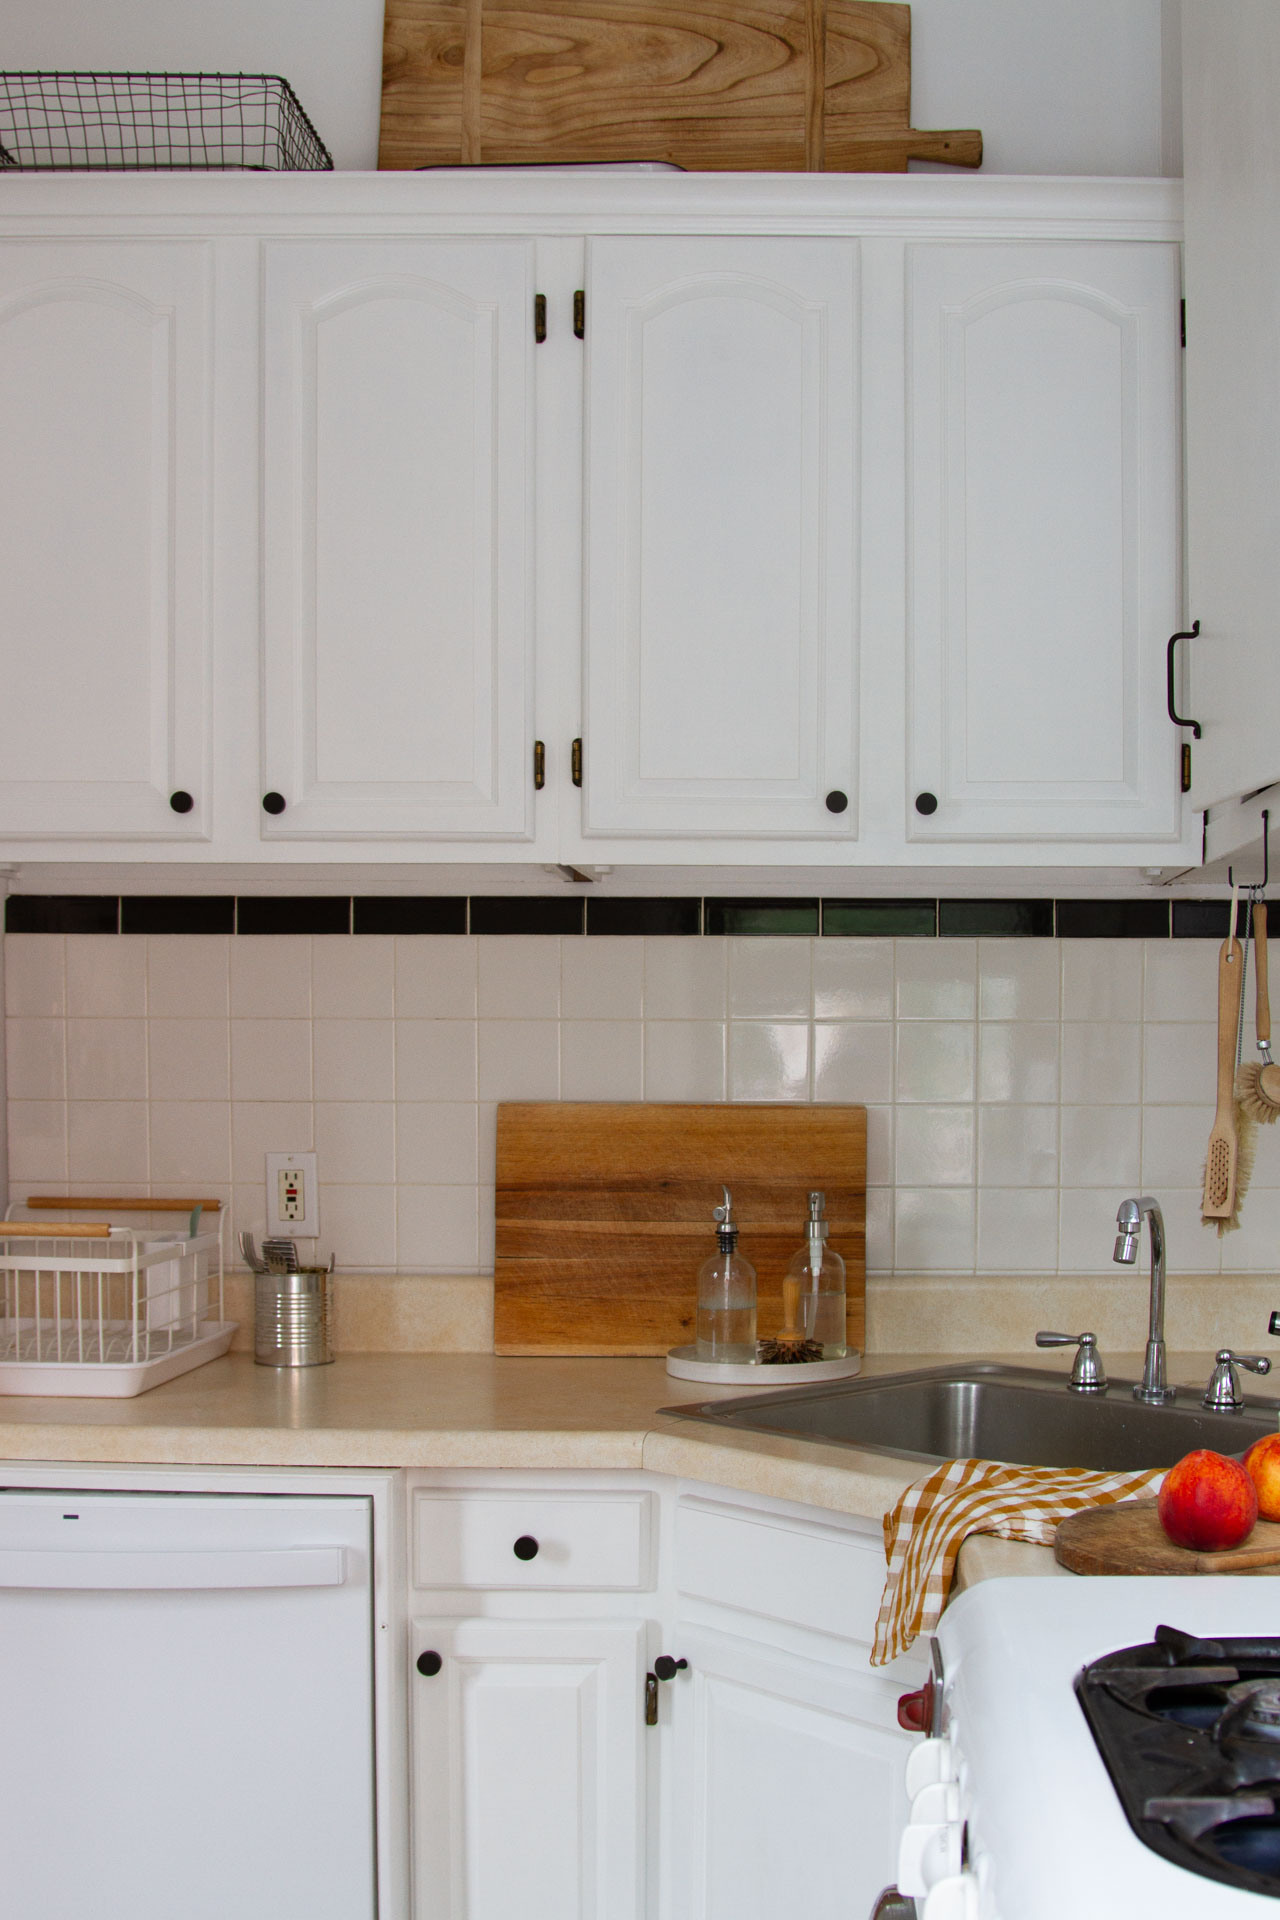
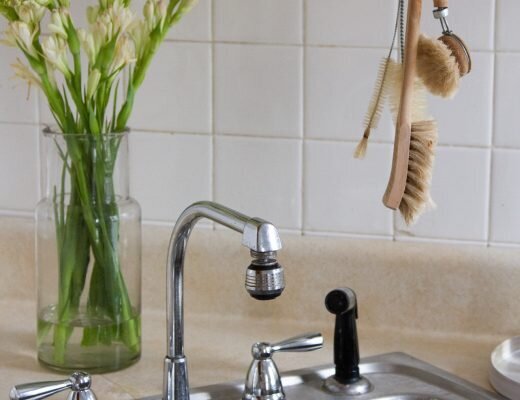
Immediately less delightful than the old-timey stove and glorious sunshine was the laminate countertop with bubbling seams and a crumbling underbelly. The fridge in this kitchen is twenty years old and complete with cracks and stains and rusty bits that simply don’t scrub away. The builder-grade stainless steel sink and the vinyl floor leave something to be desired and that’s without mentioning the cabinets, which were mismatched three ways: color and style and quality. An original set of three solid-wood ceiling-height cabinets hang on the same wall as the stove and at and angle perpendicular to those is the second set of builder-grade oak cabinets you see above, added sometime later (and blocking the third cabinet), likely in the late 1980s or early 1990s.
In the fall, when our landlords agreed to replace our broken washing machine with a truly sanity-saving dishwasher, they had to build a wooden surround for the machine to retrofit it into the old kitchen. They’d have to stain it, they said, which I took as my chance to make an ask if I could save them the trouble and paint everything myself. It was a three-minute conversation that resulted in a yes and so if you’re a fellow renter and feeling wary about asking permission for something, just do it.
In case anyone else is thinking about embarking on the task of painting kitchen cabinets, I’ve compiled our process below. I’ve tried my best to keep this succinct but still helpful by breaking things down into steps. For full transparency, I’ve also included a list of things we didn’t tackle, which we might have, had reserves of energy and time been endless or circumstances different.
Step one: Take everything apart
Maybe this is obvious, but if you’re serious about doing the job well, the first thing you need to do is remove the doors and the hardware and label everything as you go so you can get it back in place again. Upon the advice of every cabinet painting tutorial I could find, I made a quick sketch of the cabinets and labeled the doors with numbers that corresponded to my sketch. We used masking tape to number doors and paper bags and to sort hardware. (We also removed everything from the cabinets so we could properly clean and prep and paint.)
Step two: Wash
Before we did anything, we scrubbed our cabinets. We filled up a bucket and used a dilution of Dr. Bronner’s Sal Suds, which is what we use to clean most everything. Kitchens get greasy and grimy and we needed to get things sparkling before we could begin to think about anything else. We washed the cabinets with the doors removed, so we could know that no inch was being left unscrubbed. James found an old sawhorse on the sidewalk the week we started the project, so we put that to use for the doors in an effort to try save our backs. We scoured the doors with a scrubby kitchen cloth and dried them quickly with an old cloth baby diaper so that the wood never got too saturated.
Step three: Sand
Our landlord was kind enough to let us borrow his electric sander for the project. Kitchen cabinets take a huge beating and suffer the indignities of grease the way few other household items do, so we wanted to make sure that if we were going through the effort of painting them, that the paint would really stick. Because we knew we’d be using a heavy-duty primer designed to stick to anything, we didn’t take the cabinets down to their barest wood, but we did go over each door and each cabinet box to get off a good layer or two of gloss. We did this work outside on the roof and wore masks with filters. (See note below re: sanding the painted doors.)
Step four: Prime
Using the right primer for the cabinets seemed like the most important piece of the cabinet painting puzzle. We needed a superior bond and cabinets where the paint wouldn’t get scraped up over time. I’d used and loved Stix Primer from Benjamin Moore when I painted over four stained doors in our apartment, so we used the remainder of what we already had. (All four doors plus the whole kitchen took a little less than the a quart of primer.)
Step five: Paint
Our landlord agreed to white cabinets and we had an extra gallon of Farrow & Ball’s modern eggshell paint in All White, so we decided to put it to use on the cabinets. I’m pleased that they’re not overly glossy, but so far at least, and crucially, they’re still easy to clean. We did need an enormous amount of paint—nearly an entire gallon—to fully cover the dark wood of the cabinets, even after priming. In all, we painted six coats of the eggshell paint and if I’m being totally candid, there are still a few spots that I know could use another coat. This was the part of the project that was most unexpectedly time consuming (and paint consuming!). Because we wanted to make sure the paint really had time to cure between coats, this took several long days of painting. A note: There are many, many choices for paint out there. We used what we had, and this is the first time I ever tackled this project, so I won’t make any claims that it was the absolute best option for cabinets, but with a bit of time and a bit of people power, it worked out and it’s been holding up beautifully.
Step six: Put everything back together again
Once everything was painted and cured, we rehung the cabinet doors. I was grateful to have James’s help with this step, because hanging the doors straight was trickier than I would have guessed and another set of eyes and arms was helpful.
Of the two sets of cabinets we painted, the newer set didn’t have any existing pulls or knobs so for reasons of aesthetics, cleanliness, and preservation of the paint job, we decided to add them. This meant needing to drill holes into the wood. We did this after hanging the cabinets to ensure we didn’t make any placement mistakes. We also drilled starter holes with a small drill bit and widened them with a larger one to avoid splintering. On our drawers and smaller cabinets, we chose 1-inch Riverwood knobs in true black from Schoolhouse. I’m so glad we went with the smaller knobs despite advice to go bigger for cabinets. Trust your gut, et cetera!
The older set of cabinets had ornate pulls that we decided to replace with something simpler: iron handles from Fog Linen. (The existing handles were placed high on the already high cabinets and so before priming and painting, we used wood filler to fill the existing holes and help smooth out the surface and re-drilled holes at a more reasonable height.)
A few things we didn’t do:
+ Replace the hinges: The current hinges on the newer set of cabinets have a kind of aged bronze finish. They’re not something that I would choose myself, but when thinking about improvements and how much money we wanted to invest in this project, I decided we’d add the knobs first and decide what to do regarding hinges later. Because I was investing a fair bit on the knobs, I decided to go with the true black finish I really wanted and not with what matched the existing hinges (which will also be less expensive to replace if I ever decide to). So far, the mixed metals is not bothering us a bit and we’ll likely keep them as is. On the older set of cabinets, I removed as much of the paint off the art-deco hinges as I could and left them in place.
+ Paint the interiors: The cabinet faces and doors are solid wood that had been heavily polyeurethened over the years. The interiors are fiberboard or otherwise composite. They’re not particularly attractive, so painting them was tempting but it would have also been a ton of additional work and since they’re not real wood, I couldn’t be sure the paint would stand up well against constant use and moving around of plates and bowls and jars of dried goods. We did however paint the undersides of the upper cabinets, which are also composite. Leaving them unpainted would have been jarring and since they don’t see any real traffic, I’m not worried about them getting damaged.
+ Fill the wood grain: Some of these old 90s oak cabinets can have a very defined wood grain. There are lots of cabinet painting tutorials that suggest filling the grain with wood filler or Aquacoat or spackle and then sanding it down so that the paint doesn’t further exaggerate the deep grain. We tried this on one door, but found that our grain was not pronounced enough to merit the extra effort. This is certainly particular-cabinet-dependent, but no regrets here on skipping that step.
+ Sand the older set of cabinets: During the cleaning stage of the prep process, we discovered that our older set of cabinets had a layer of acrylic paint directly on top of oil. When we began to clean the cabinets, the acrylic paint began to peel off in long strips. Because the cabinets were thick with paint, much of it likely put there before the lead ban of 1978, we chose not to sand the doors or cabinet faces of the original set of kitchen cabinets. Instead, I worked outside and used soapy water and a sponge along with a metal scraper to gently remove the top layer of acrylic paint. Then we primed over the oil paint with Stix bonding primer and painted them to match the oak cabinets.
If you have questions, don’t hesitate to ask. And if you have cabinets you think you’d like to paint, don’t hesitate to get started. It took some planning and quite a bit of time, but now that we’re on the other side of things, I don’t regret doing it for a single minute. PS: If you’d like to take a behind-the-scenes peek at some of the step-by-step, head to the cabinet highlight on Instagram.
For the curious:
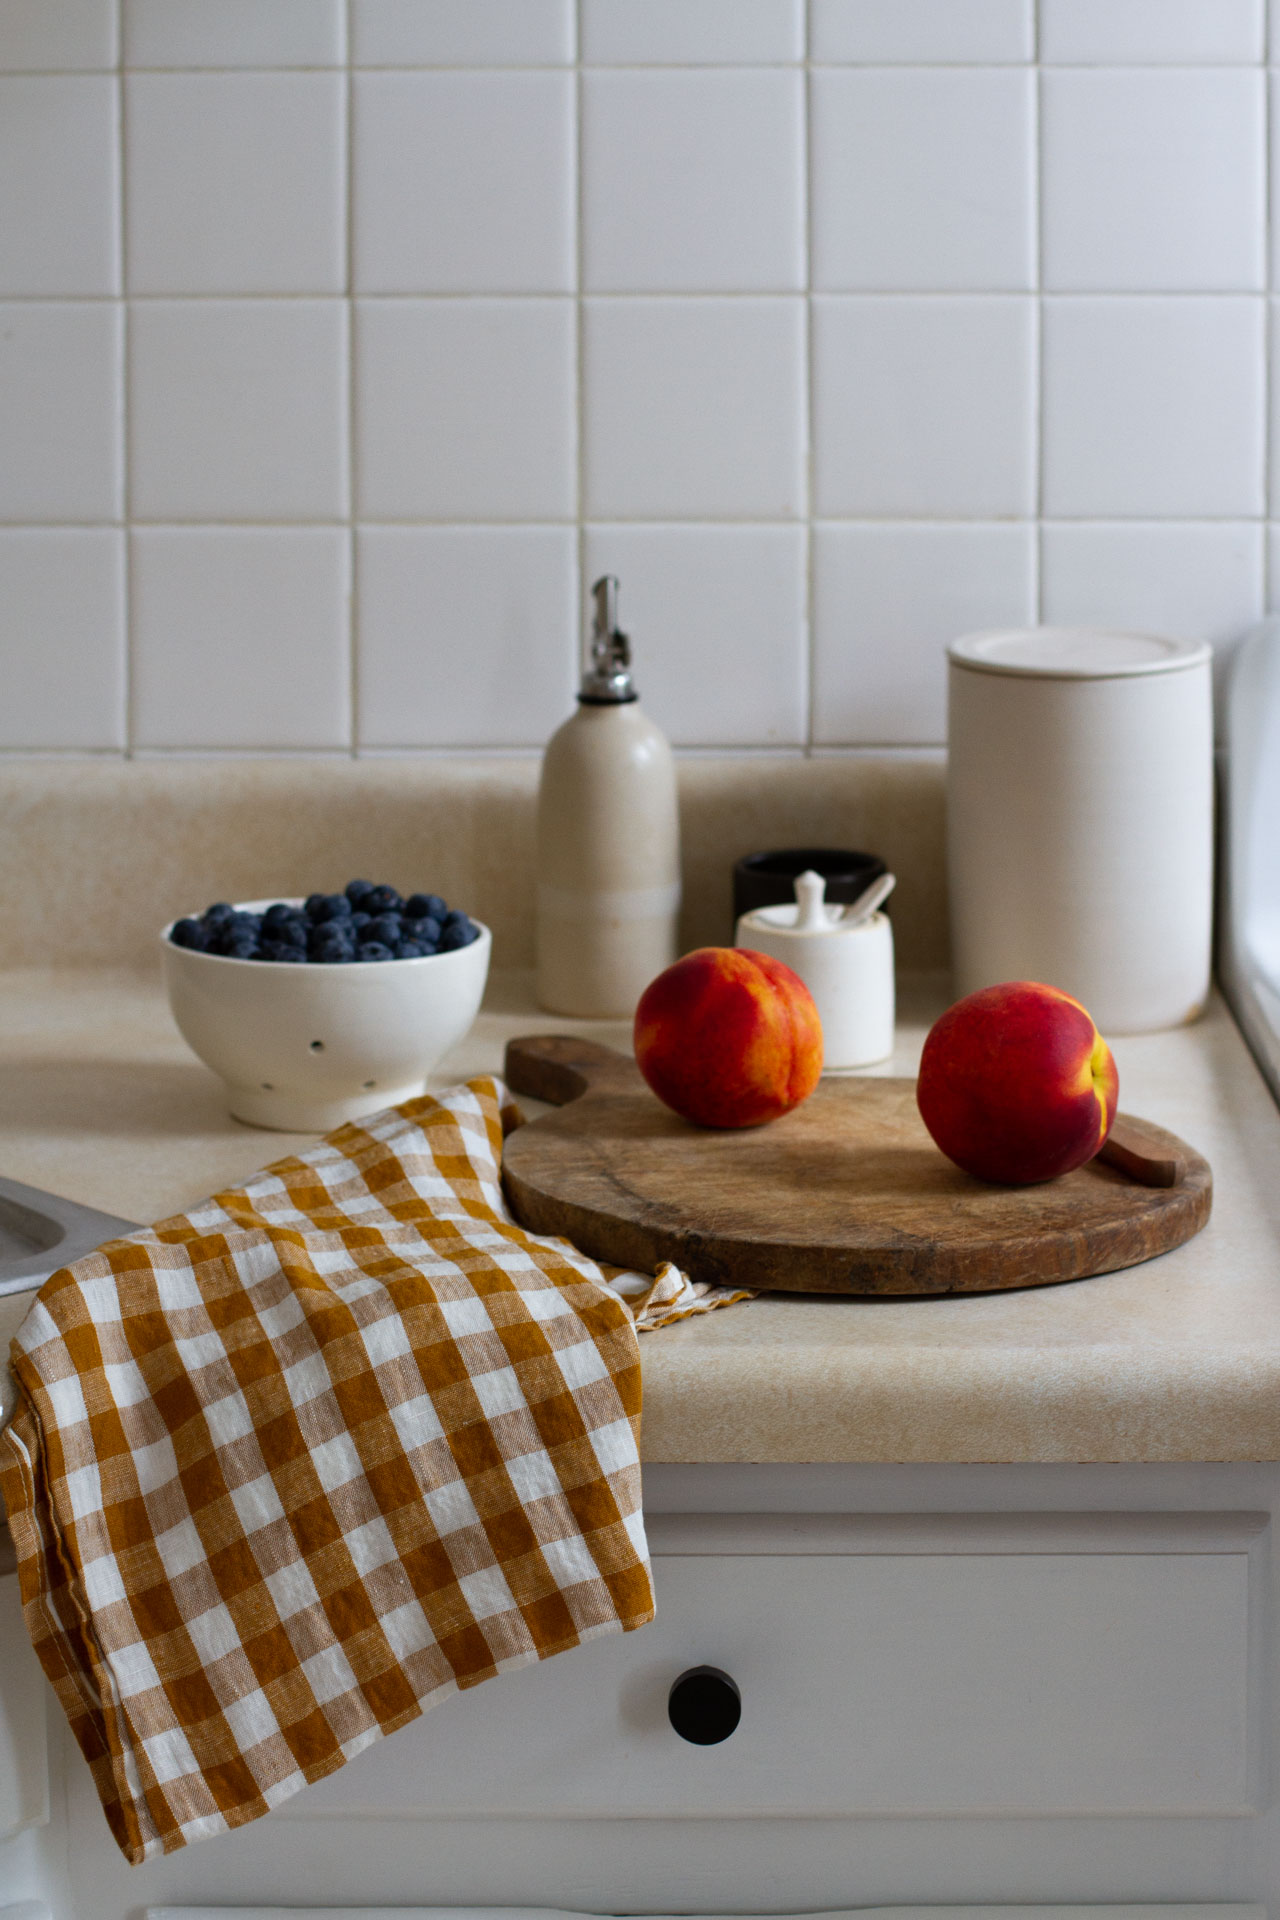
+ Our gingham dish towel was a gift from Morrow Soft Goods, which launched a new kitchen collection this week.
+ Our oil cruet and coffee canister are both from Notary Ceramics. My tiny sugar pot was made by Sheldon Ceramics; the little black vessel was a Norden candle pot-turned-salt-cellar.
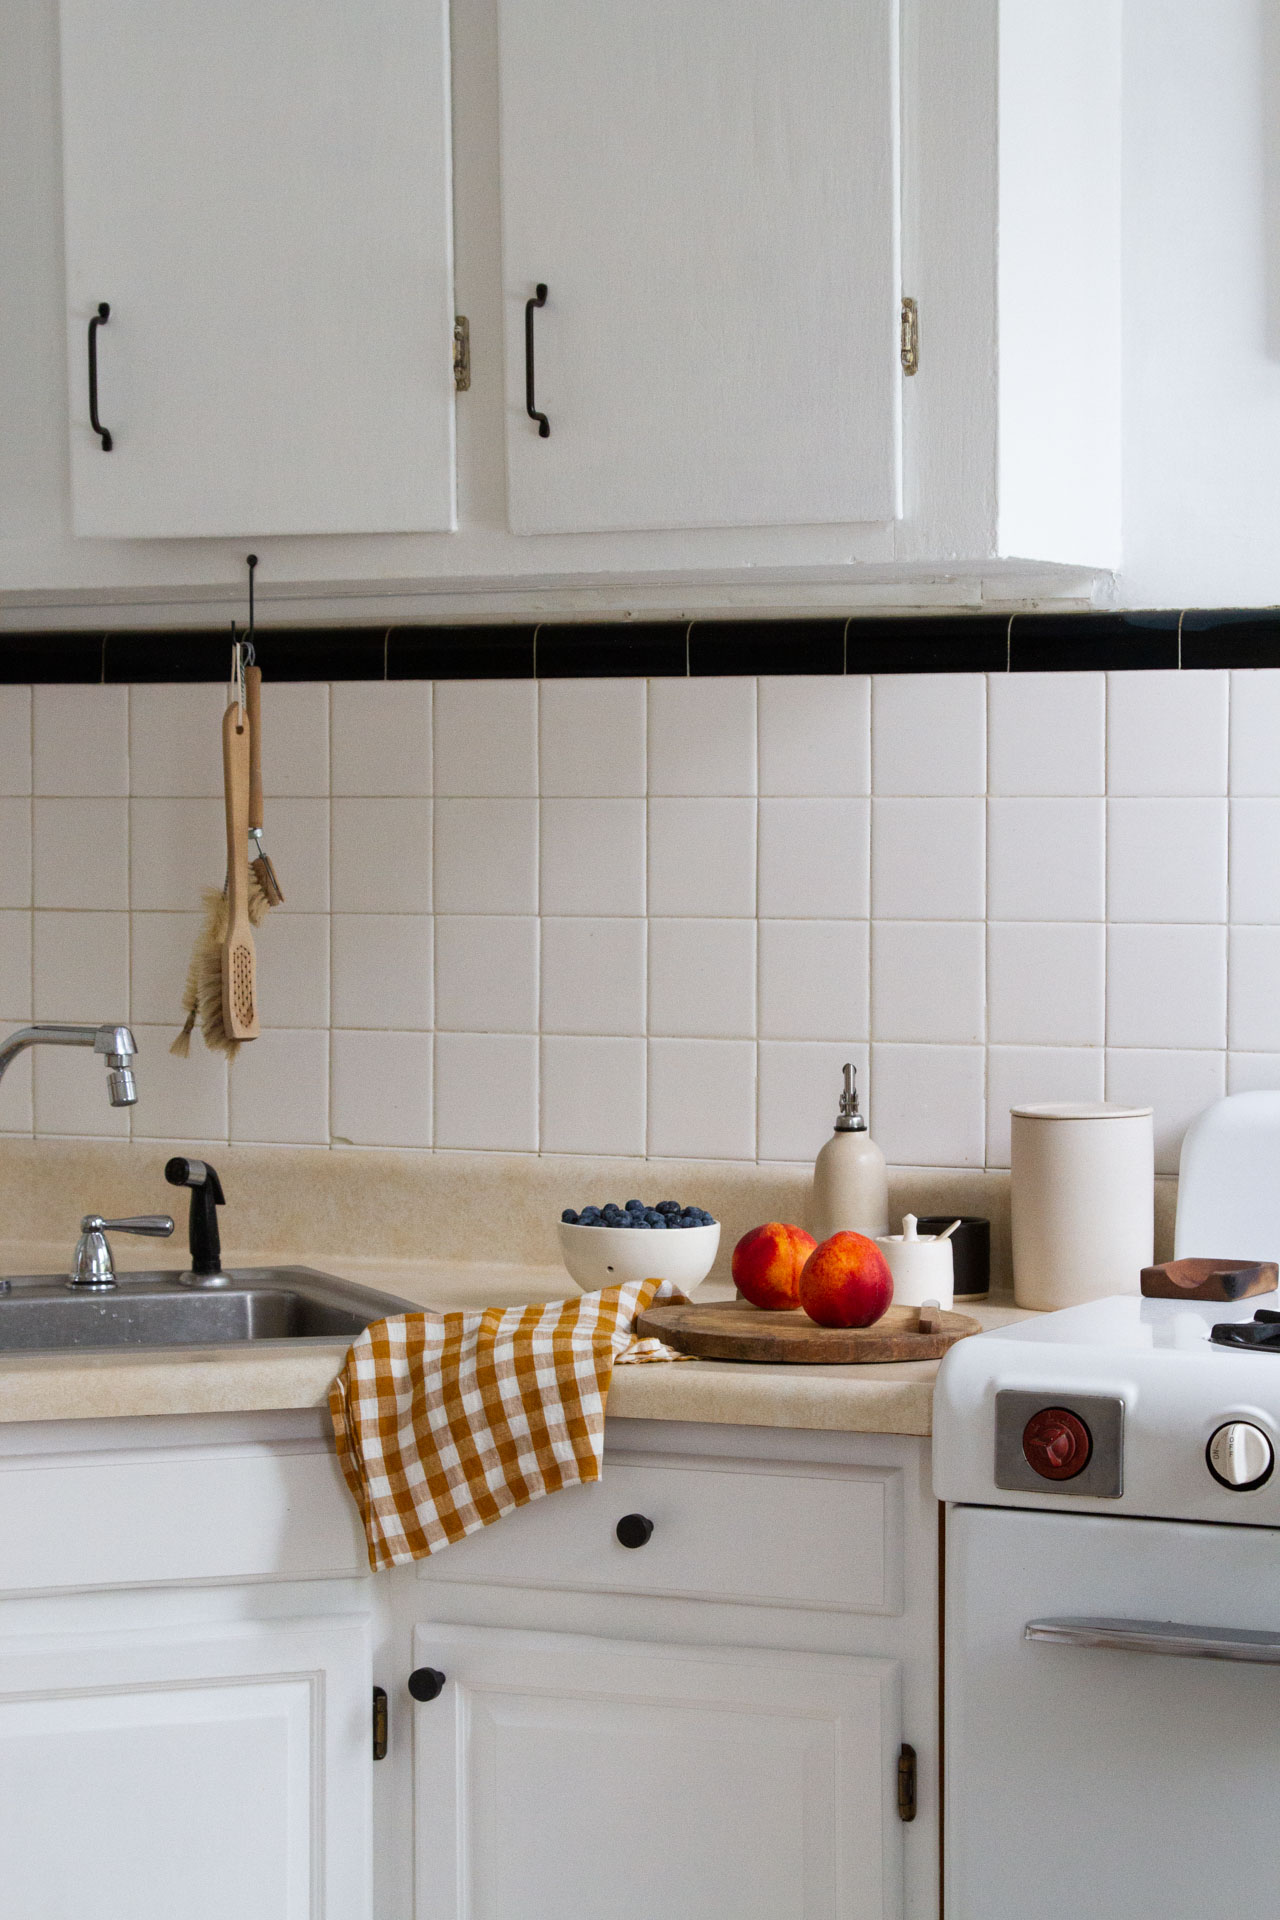
+ Dish brushes are all from Salter House; iron hook is from Fog Linen; soap dispensers are old kombucha bottles; ceramic tray is by Tracy Hervé via Bloomist.
This post includes affiliate links. Reading My Tea Leaves might earn a small commission on the goods purchased through those links.

17 Comments
Lots of steps but they look awesome! 🙂
Jenna ♥
I finally took the plunge and painted my cabinets at the start if lockdown last year, and I am still so so happy I did. I went the chalk paint route, which requires no sanding, and was, for me, the simplest option. Over a year later, and with heavy use by lots of kids, there are chips and scuffs, but still no regrets. Totally worth it! Yours look great too!!
Oh no, now I need these gingham towels! Thank you for this extremely detailed write-up, the cabinets look incredible!
Will you take all the hardware with when you move?
I don’t think so! (Certainly wouldn’t leave them without hardware!)
I have been following you for a long time and have always loved how you improve your surroundings. You live out the motto: If you can’t realize your ideal, idealize your real. DIY is empowering, satisfying and takes a good measure of resourcefulness. No better way to live the fullest life and such good lessons for your kids!
First time commenter, long time reader, with terrible oak cabinets in ditmas park! It looks beautiful. I’m wondering, how did you deal with the tops of the 80s/90s installed set of cabinets? I find those have the most insidious grime – did you also sand (!) and paint up there, inside the upper rim where the wire basket is? Thank you 🙂
I hear you! The tops are definitely the worst! We did not sand or paint, but we did try to clean as best as we could. I have considered layering thin plywood over top to make an even and paintable surface that would hopefully get less scuzzy and have fewer bumps and valleys, but so far we haven’t!
We are currently looking for a new home and your blog is such a good reminder when wading through homes that just feel “ meh” but might meet most of our other needs. Your blog reminds me that good things take time, that even if it isn’t my ideal style, I can make small choices and live simply and that’s beautiful in itself. It’s an antidote to the masses of instant ( seeming) makeovers that leave normal humans ( which is most of us), feeling dissatisfied with what we have. We have enough, if we can choose to live simple and make little changes that bring us joy. Being afforded the ability to renovate and re-do everything actually makes you feel less satisfied, because too many options and too many funds somehow always equals dissatisfaction. I’ve seen it first hand in the lives of friends who’ve been blessed ( cursed? Lol) financially and it makes me so content with my little life:)
So, thank you for not trying to do earth-shattering things every blog post, it matches the rhythm that we all live, day to day. There are pockets of beauty in everyday life, thank you for sharing yours.
i’m so glad to hear that! here’s to the baby steps!
Looking good. Painting cabinets is not easy and you did a great job!
Looks lovely. I am wondering where your dish drying rack is from? It’s pretty.
it’s made by yamazaki home!
Hi, Erin! Do you have any plans or recommendations to tackle the laminate countertop? thank you for all the amazing ideas you are sharing! Sibila
none for the immediate future! i was thinking of painting but I think I’ll regret it!
Erin! Did you do a light sand in between primer + paint or each coat of paint? About to embark on this myself!
Nope! Just did as described!
Comments are moderated.