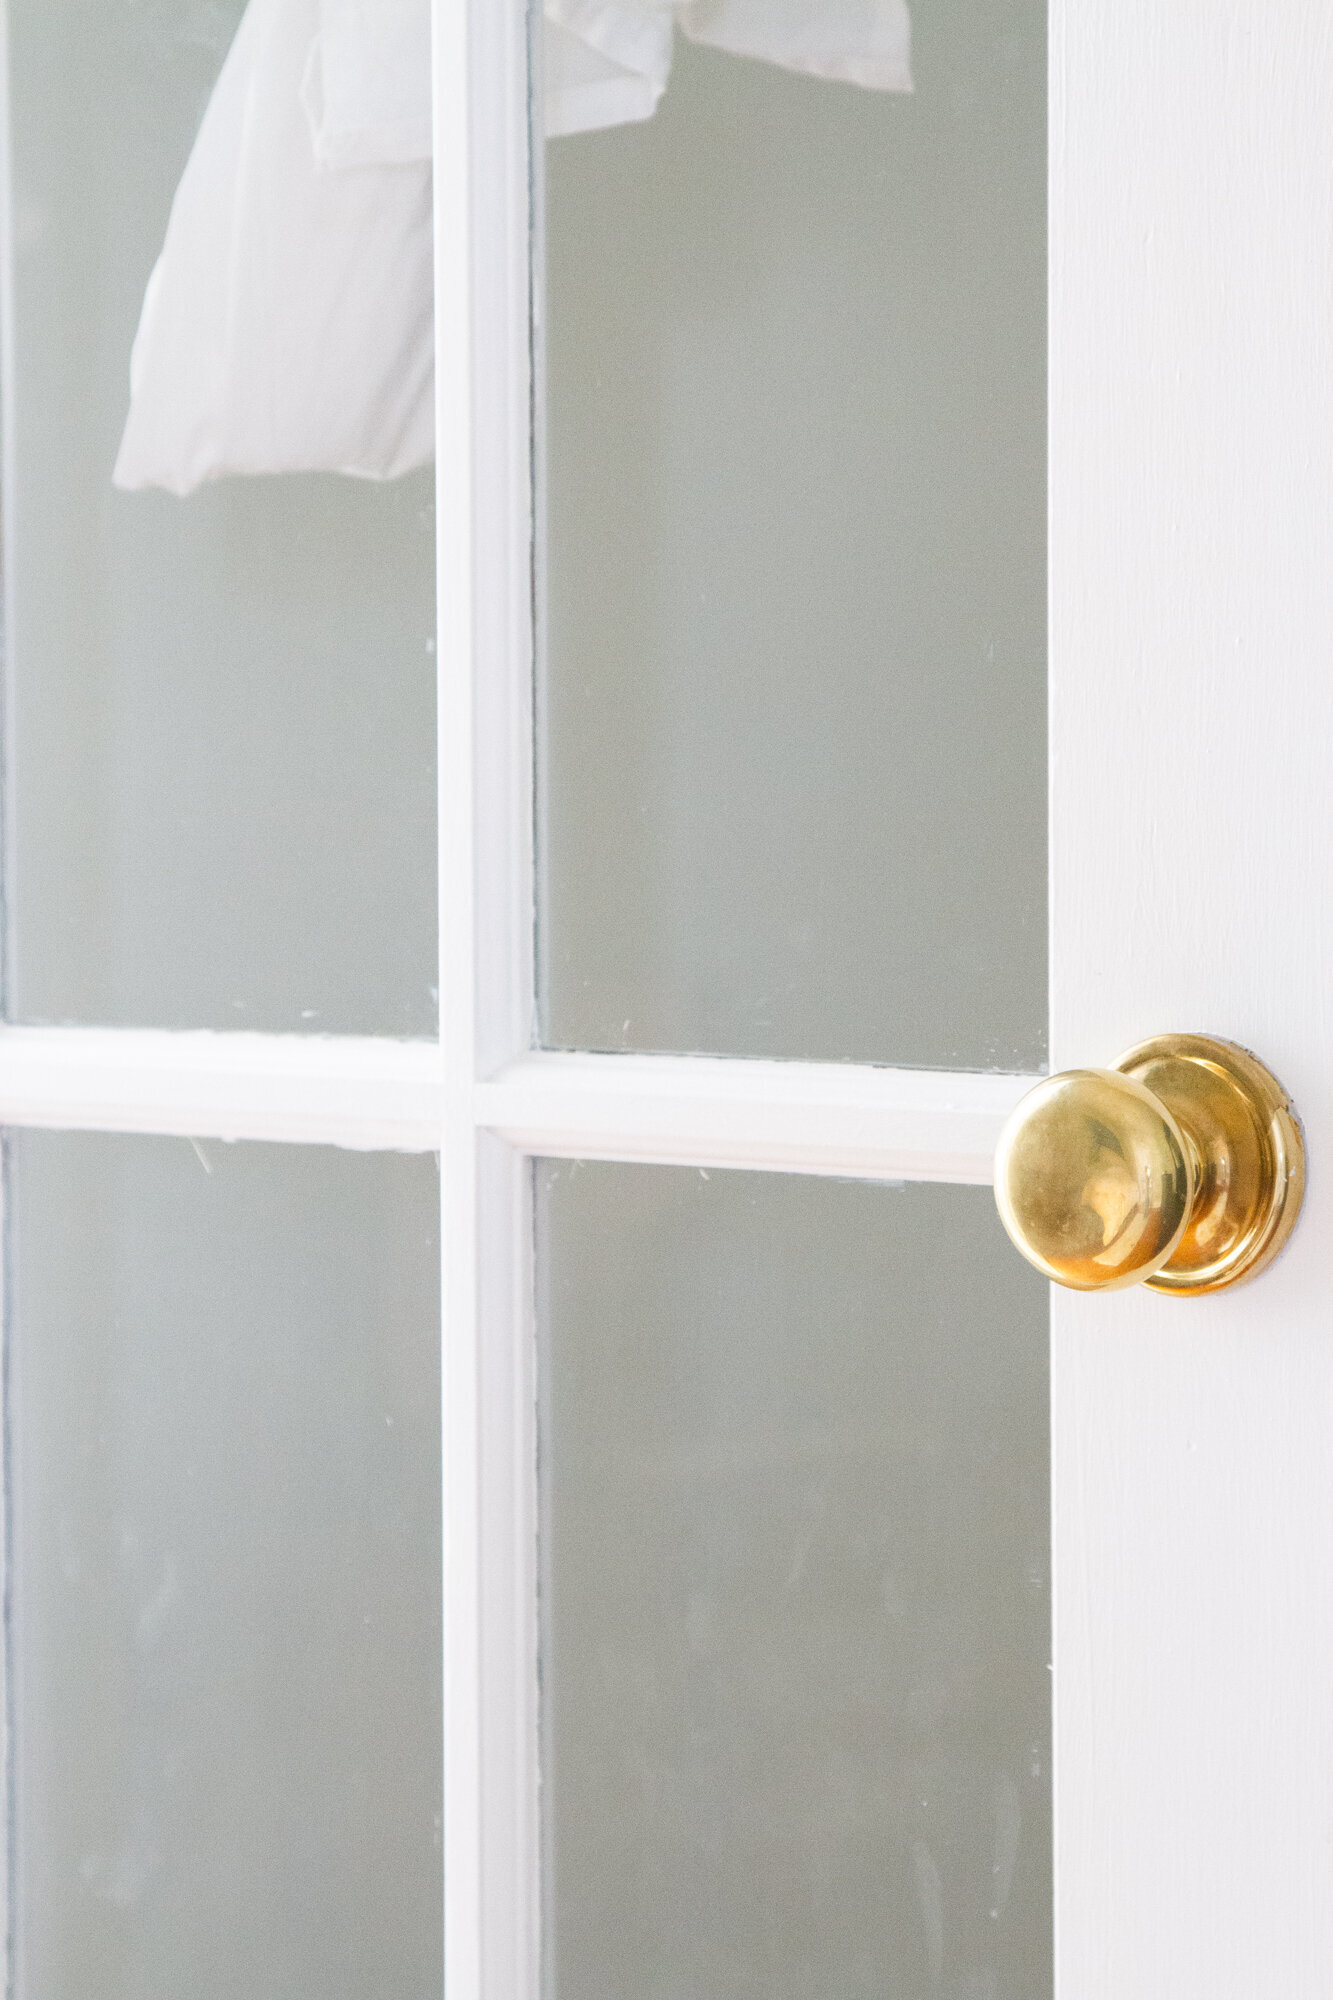
Nearly all of the door knobs in our apartment are mismatched. Some are lovely and look quite original to the home, if very painted over. Others are clear modern replacements. Three of them are brass doorknobs of the exceedingly generic style that many of us might associate with the 1980s or 90s, but which, like the acrylic faucet knobs of my last small improvements post, are still ubiquitous in the world of basic hardware store finishes. When we moved in, those polished brass doorknobs were bright and brassy because a plasticine lacquer was keeping them that way.
I prefer things to have a little patina. I like to see the way that time and the weather and use changes things. I don’t really want my brass to shine. Lucky for me, and maybe for you, delacquering brass doorknobs to reveal the natural brass beneath is easy and costs exactly nothing.
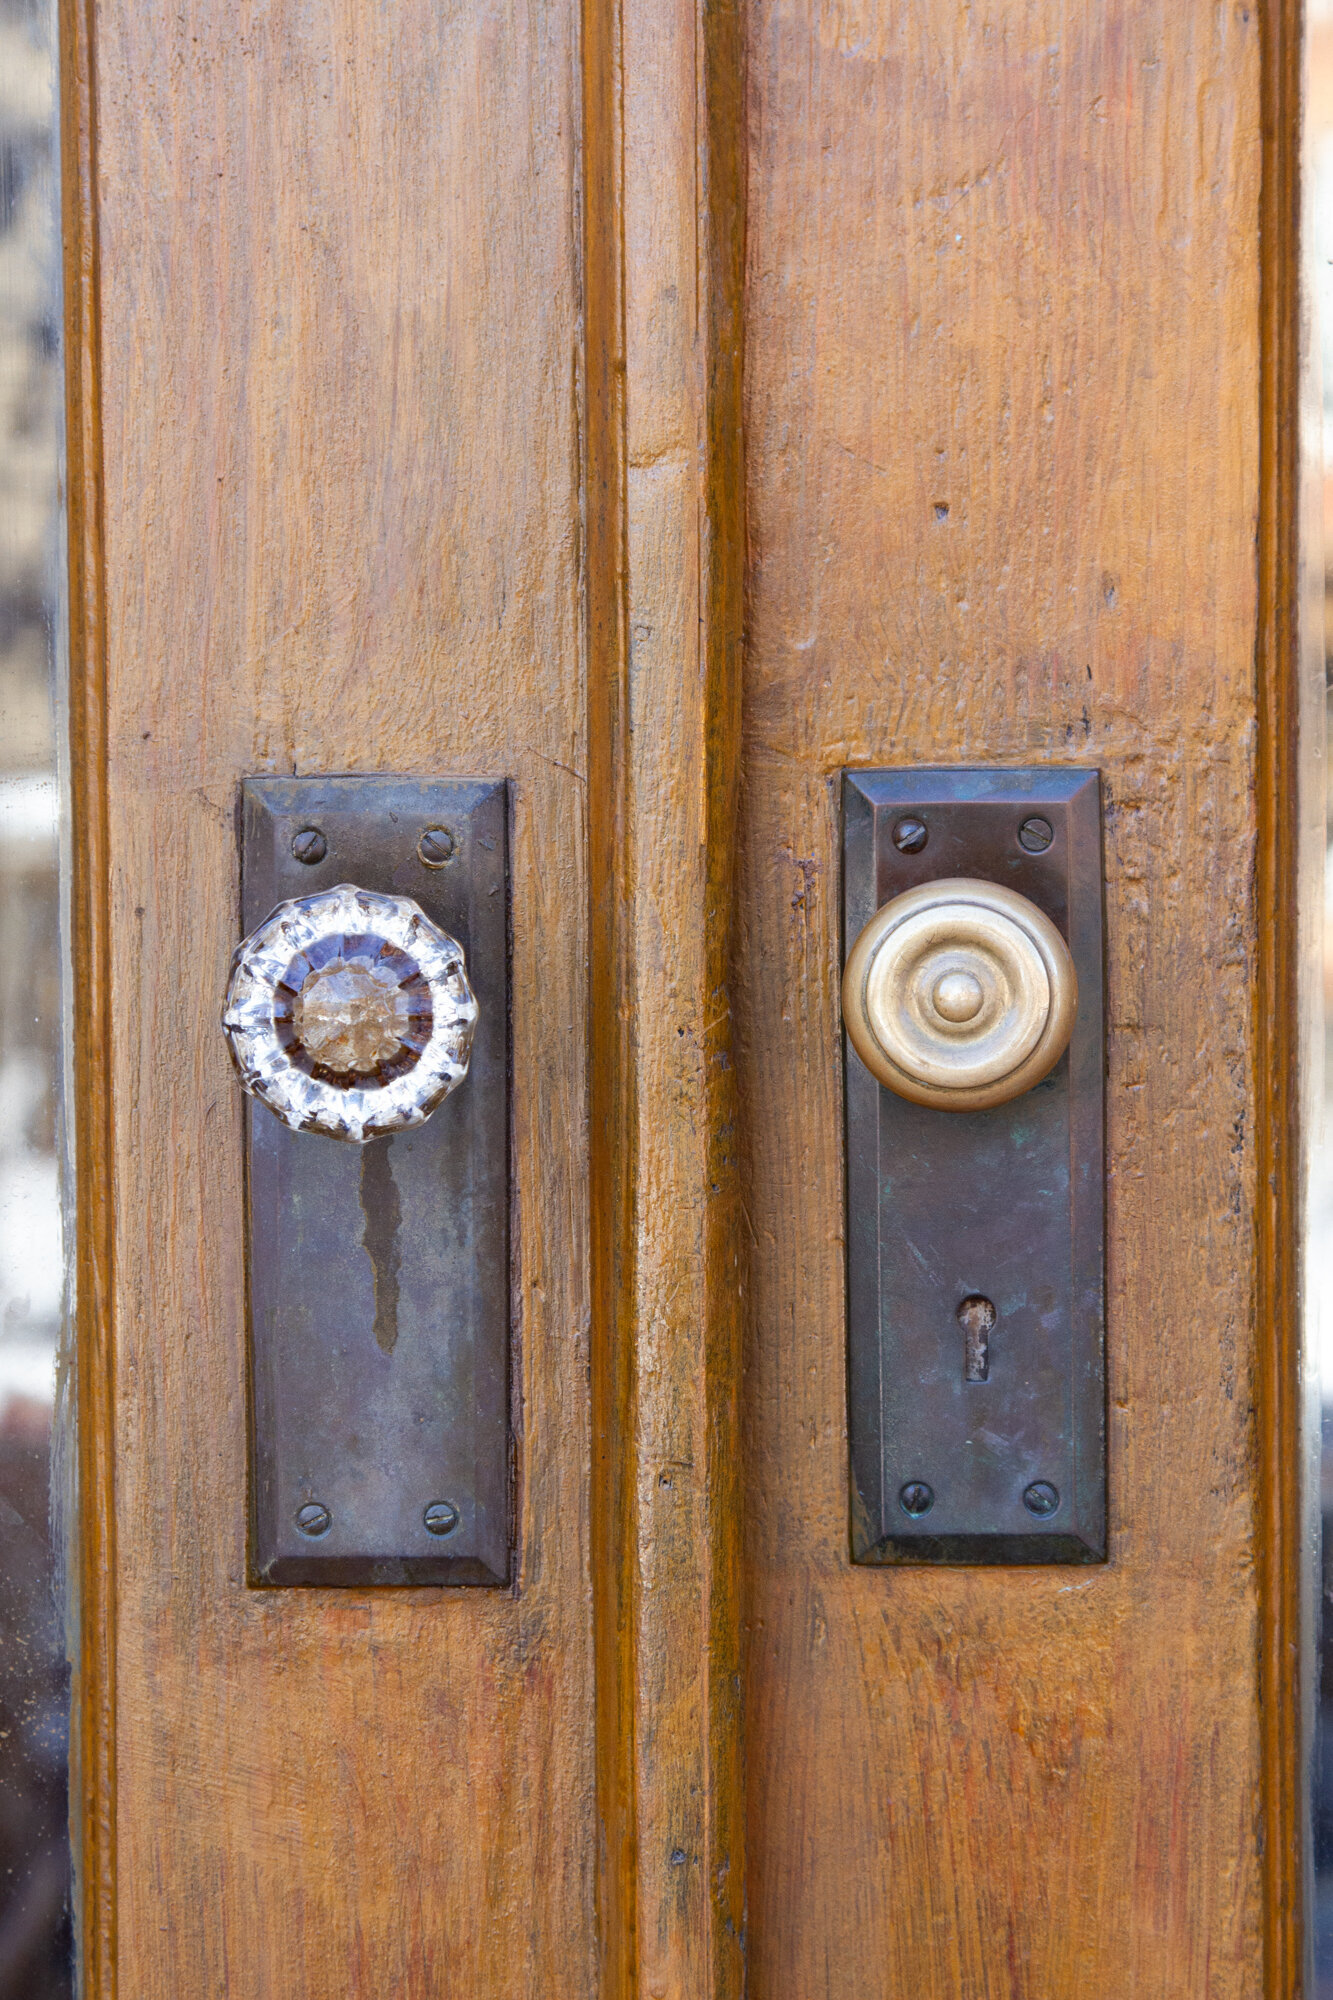
Inspiration for this particular project came from beautiful old knobs that can be found in other places in our building. These brass knobs are unlacquered and they’ve developed the kind of warm luster that develops with metal that’s been in use for awhile and exposed to the elements. In the weeks after we moved in, I considered scouting for vintage replacements that would more closely resemble the old knobs, but a bit of research led me to a take a different approach that has kept our perfectly functional knobs in place and just made them lovelier to look at. I don’t have perfect before and after imagery. This was one of those dive-in-now-or-forever-hold-your-peace situations. I tackled the project on an afternoon in November when peeling cracked plastic off hot metal felt like the best use of my spare nervous energy, and finished it after nightfall.
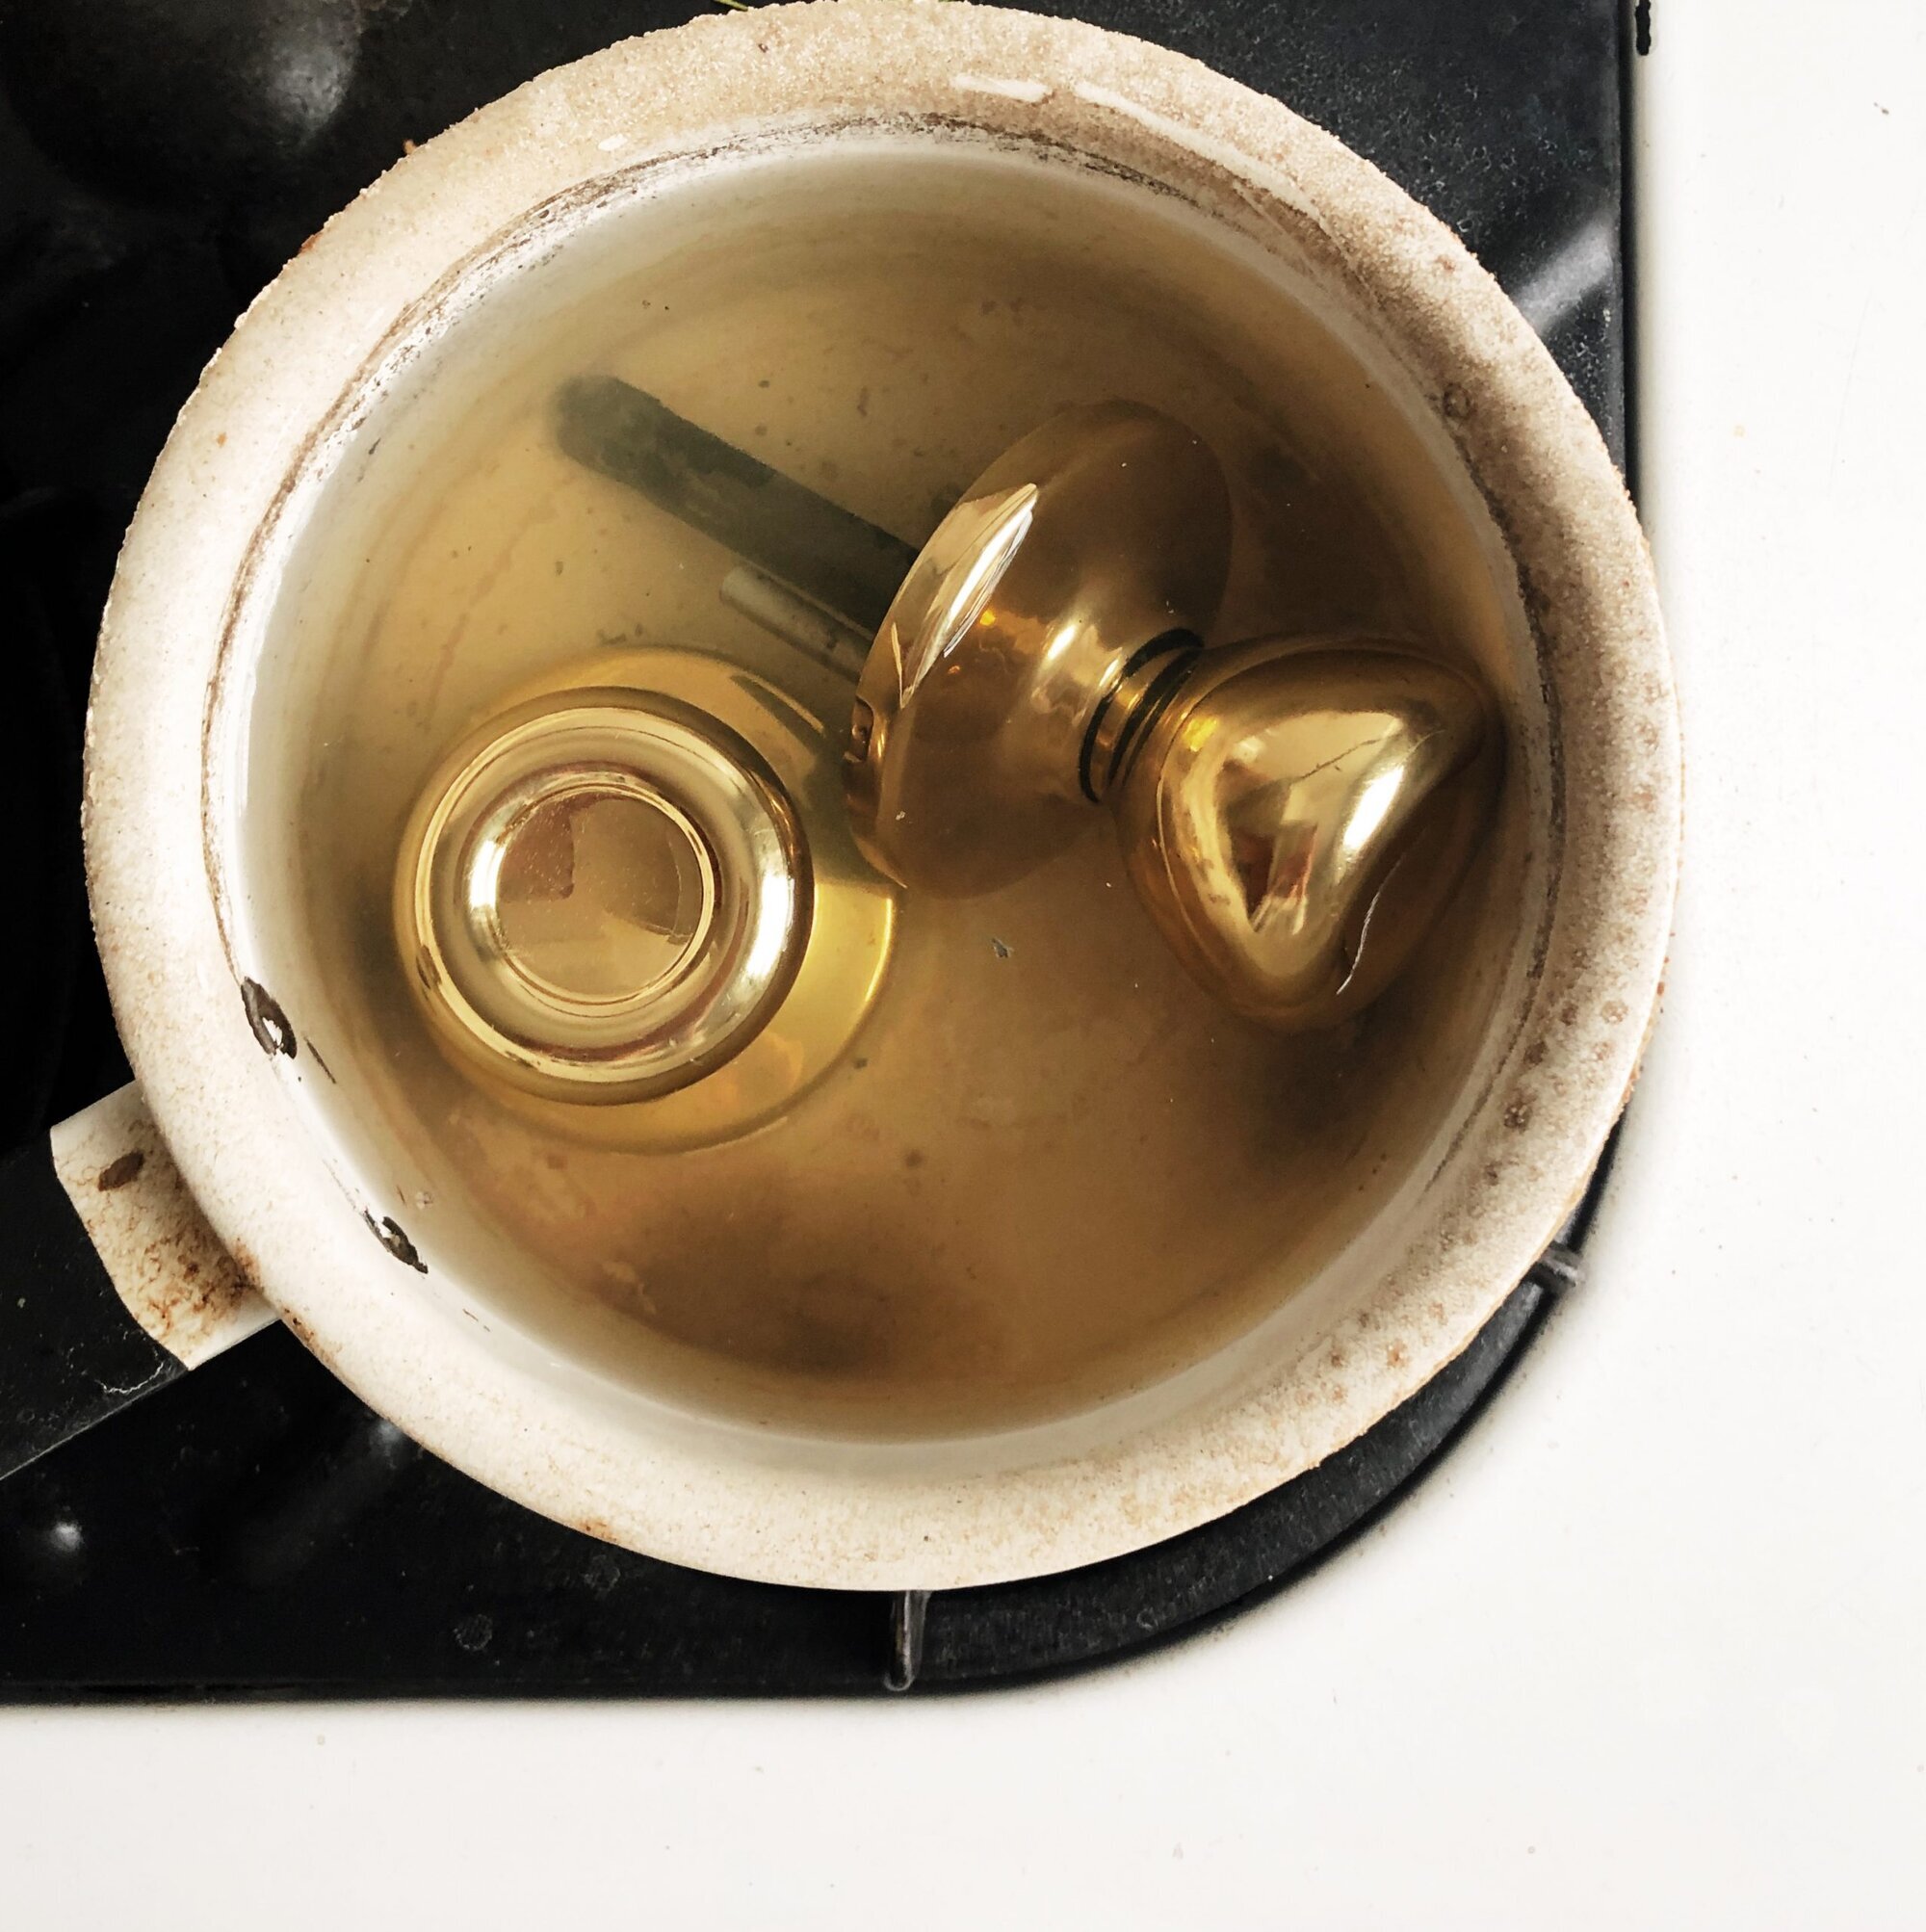
The process is relatively simple if a bit surprising: Simmer your doorknobs until the lacquer heats up and can be peeled off. (A similar process also works for removing paint from doorknobs or hinges or other metal objects that may have been painted over once upon a time. More on that soon though; today we’re just talking lacquer.)
If you’d like to try this for yourself, you’ll need your lacquered doorknobs, an old pot that you don’t use for food prep, and some water. Place your doorknobs into the bottom of a pan and cover them with water. I used the bottom pan of the double boiler that we use for melting beeswax. For good measure, I opened the kitchen window all the way and simmered the doorknobs on an afternoon when the rest of my family was out of the apartment. (Some folks use an old crockpot, which has the added advantage of being able to be used without much supervision and, with an extension cord, outdoors.)
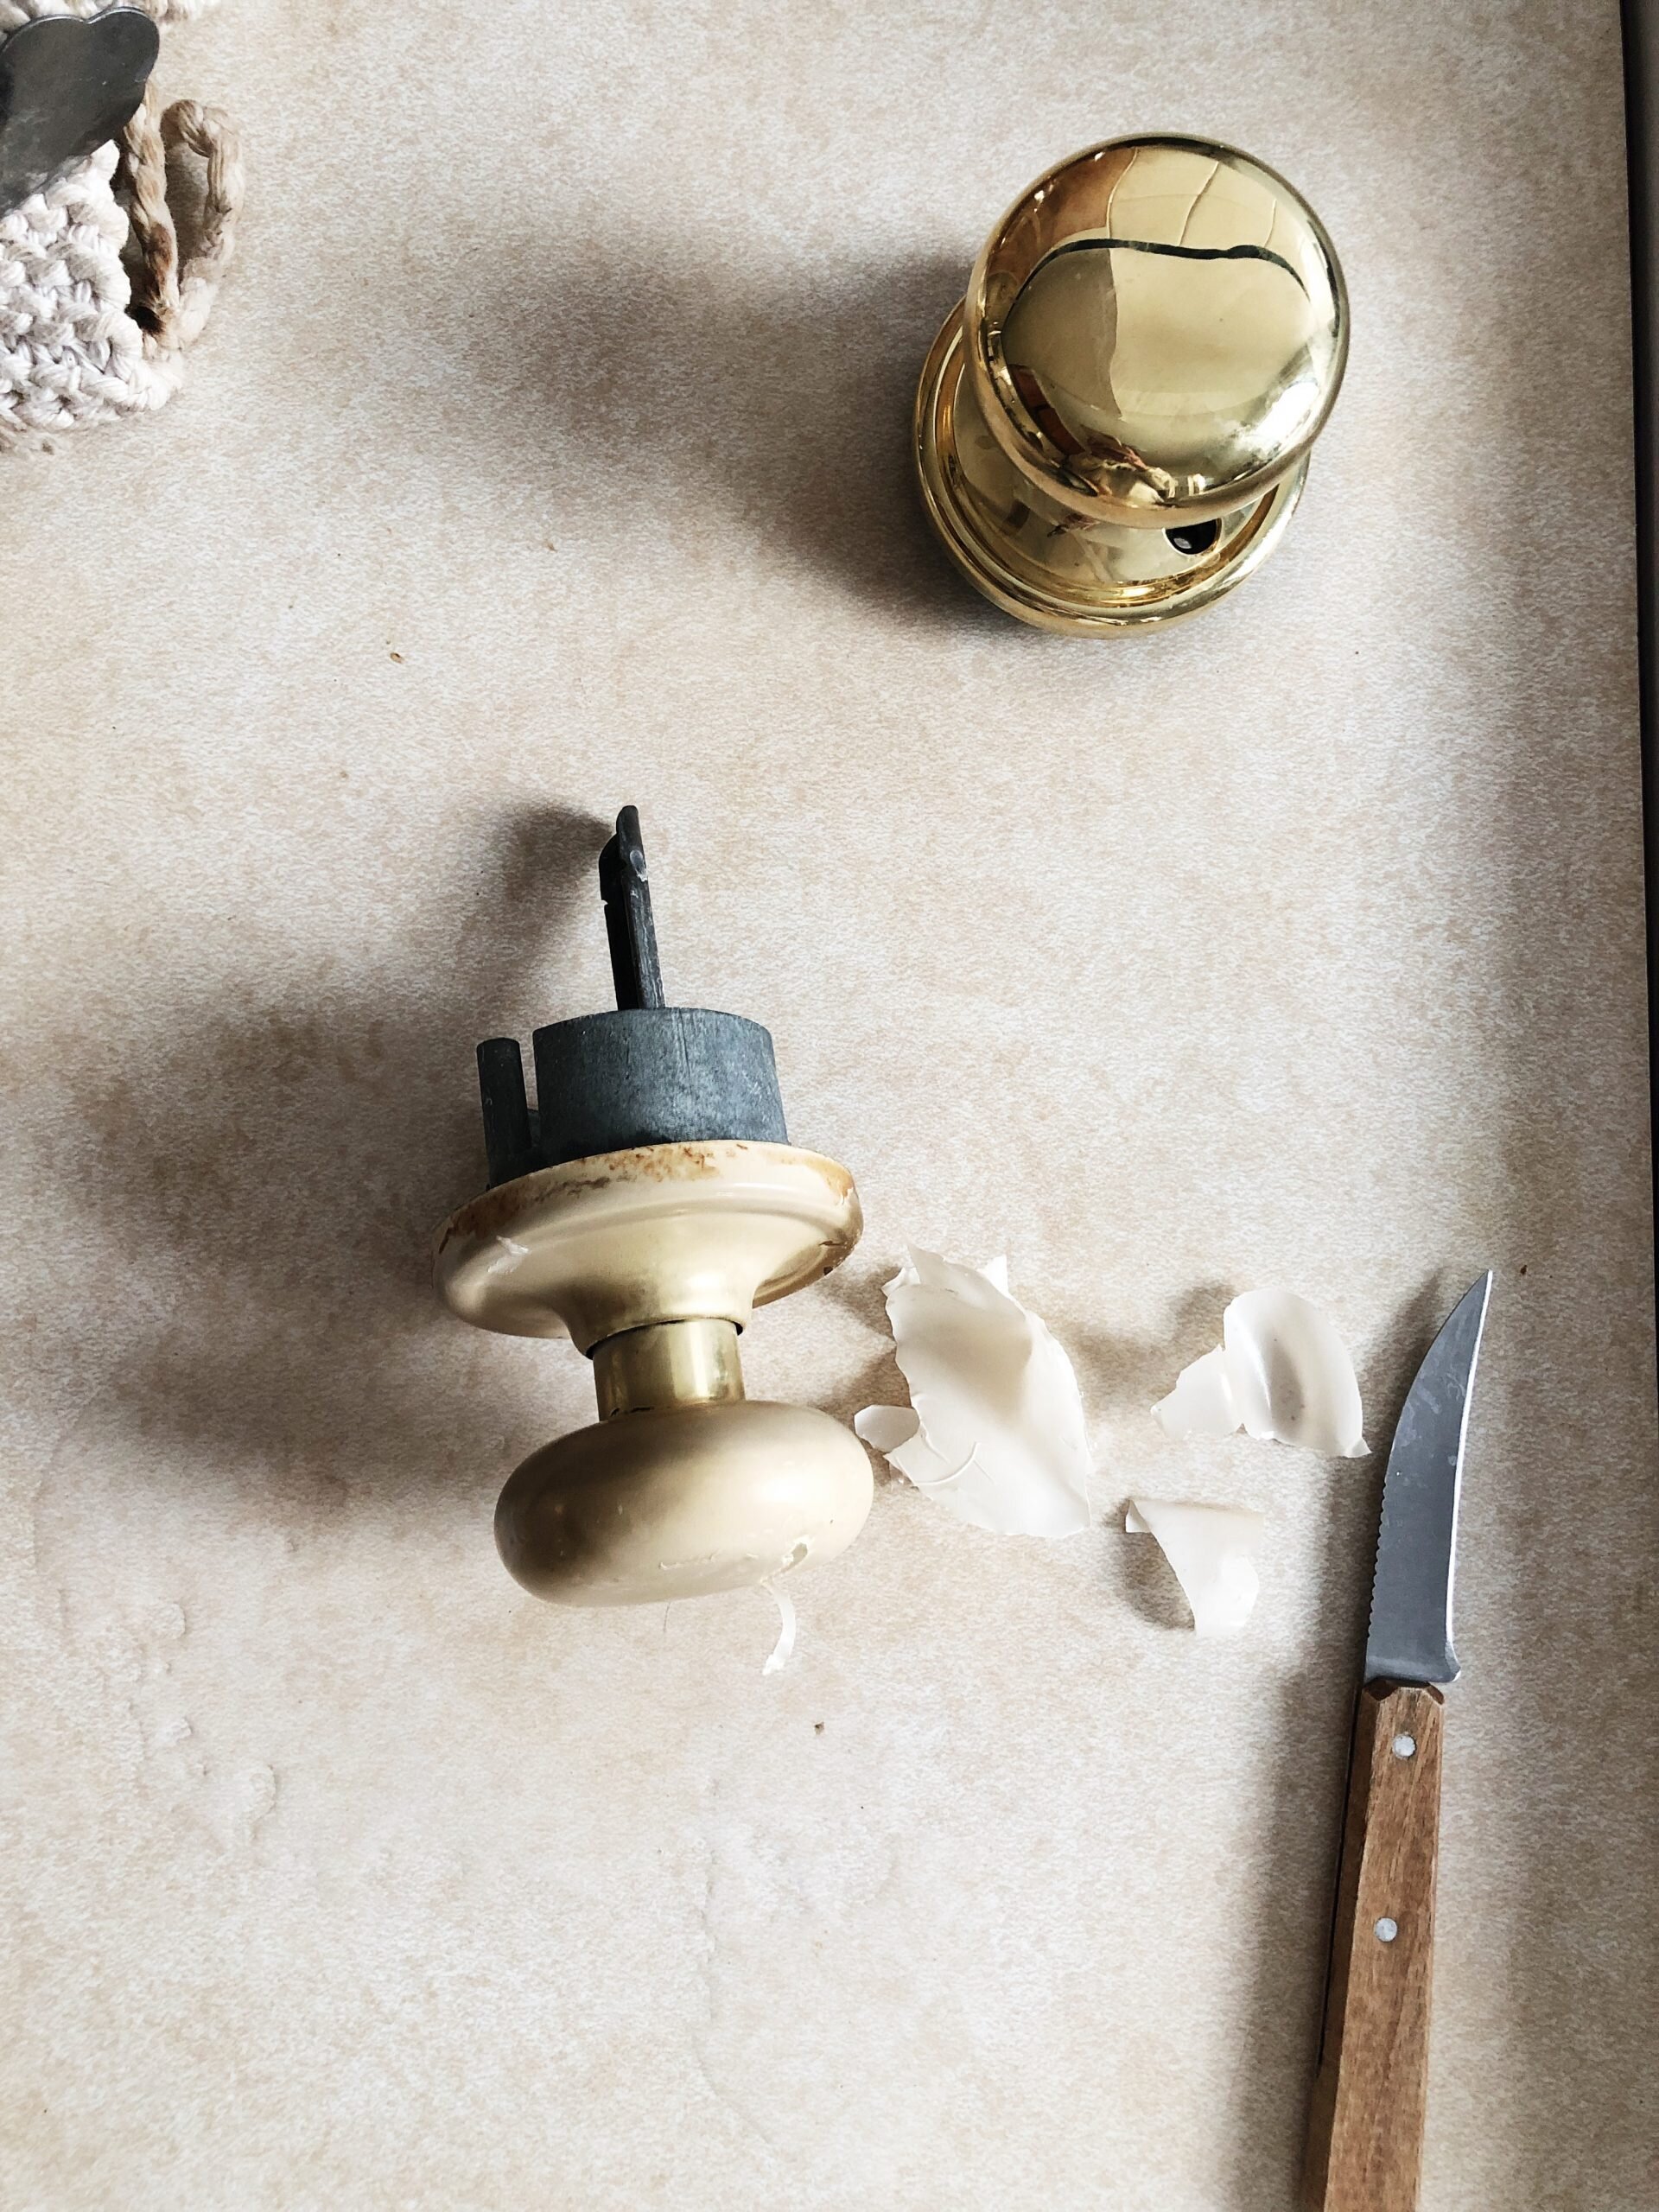
I “cooked” the doorknobs for 15 minutes and removed them from the pot with metal tongs once they’d taken on a kind of milky cast. Then I scored the lacquer with a sharp knife and peeled the brittle plastic away, piece by piece with my fingernails. On one doorknob that had a few tenacious pieces (where I believe the doorknob had been accidentally painted over with wood stain), I used a bit of non-acetone nail polish remover to coax off the stuck-on bits. When I first removed the lacquer, the brass underneath was gleaming, But without its protective layer, it began to morph, however subtly, nearly immediately. Remember: The natural evolution of the unlacquered brass as it’s exposed to the elements is the allure of this project. If you’re someone who doesn’t like uncertainty, or who prefers things to be shiny, this is probably not the project for you.
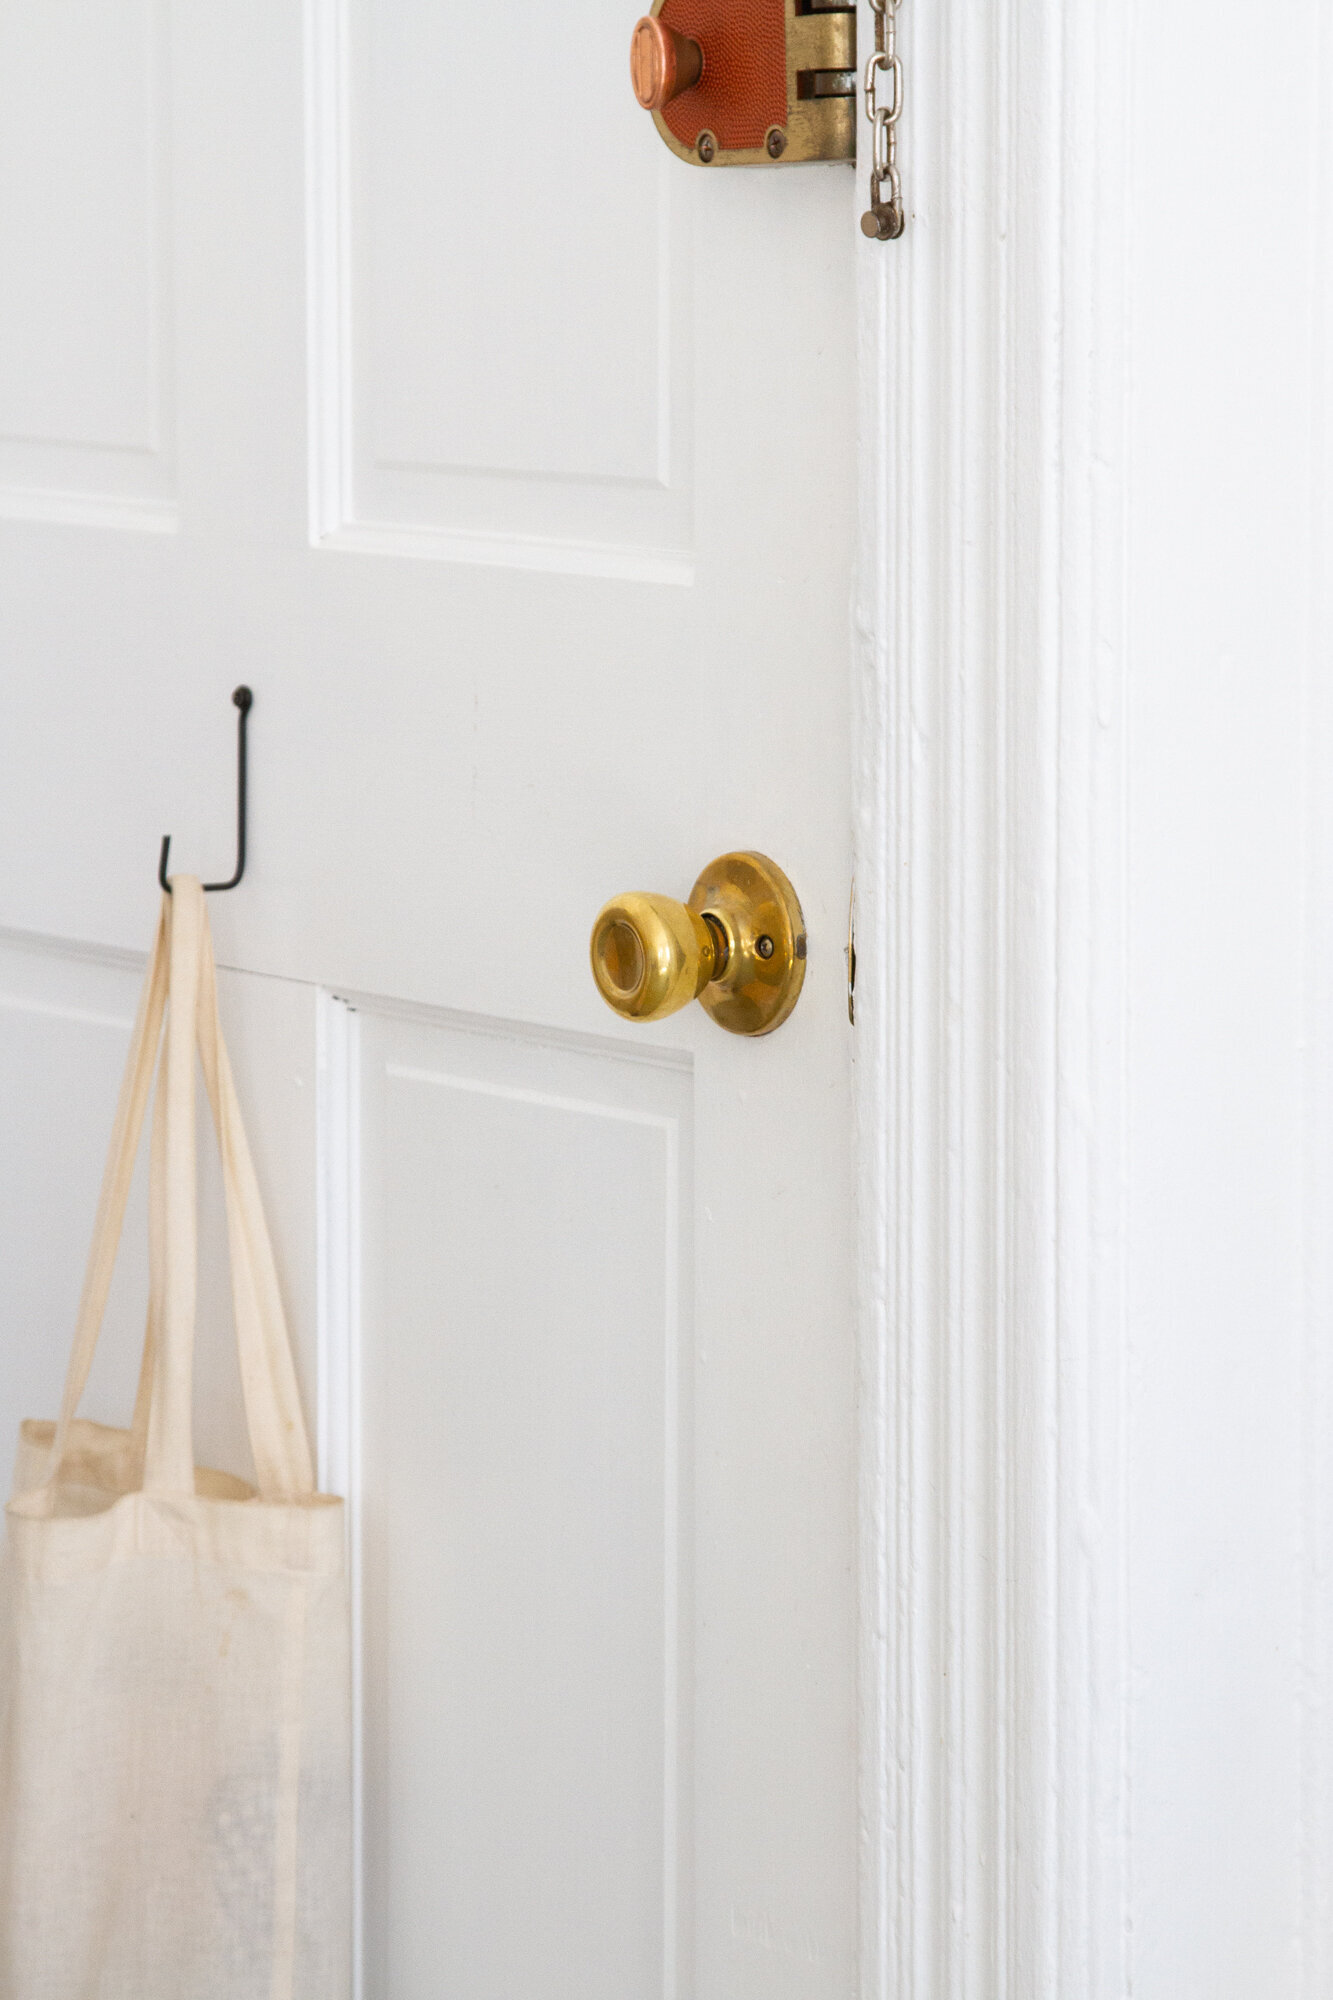
I also think patience is key here. It’s possible to speed up the brass aging process with various products, but for me, this was a project defined by stripping things down, not adding anything else. I wanted to see how the natural brass changed on its own and for the past two months I’ve been very pleased to watch the evolution in progress. Pardon the dramatics, but it’s taken this generic rental apartment hardware from being mostly unremarkable and a little bit ugly, to living, breathing spots of beauty.
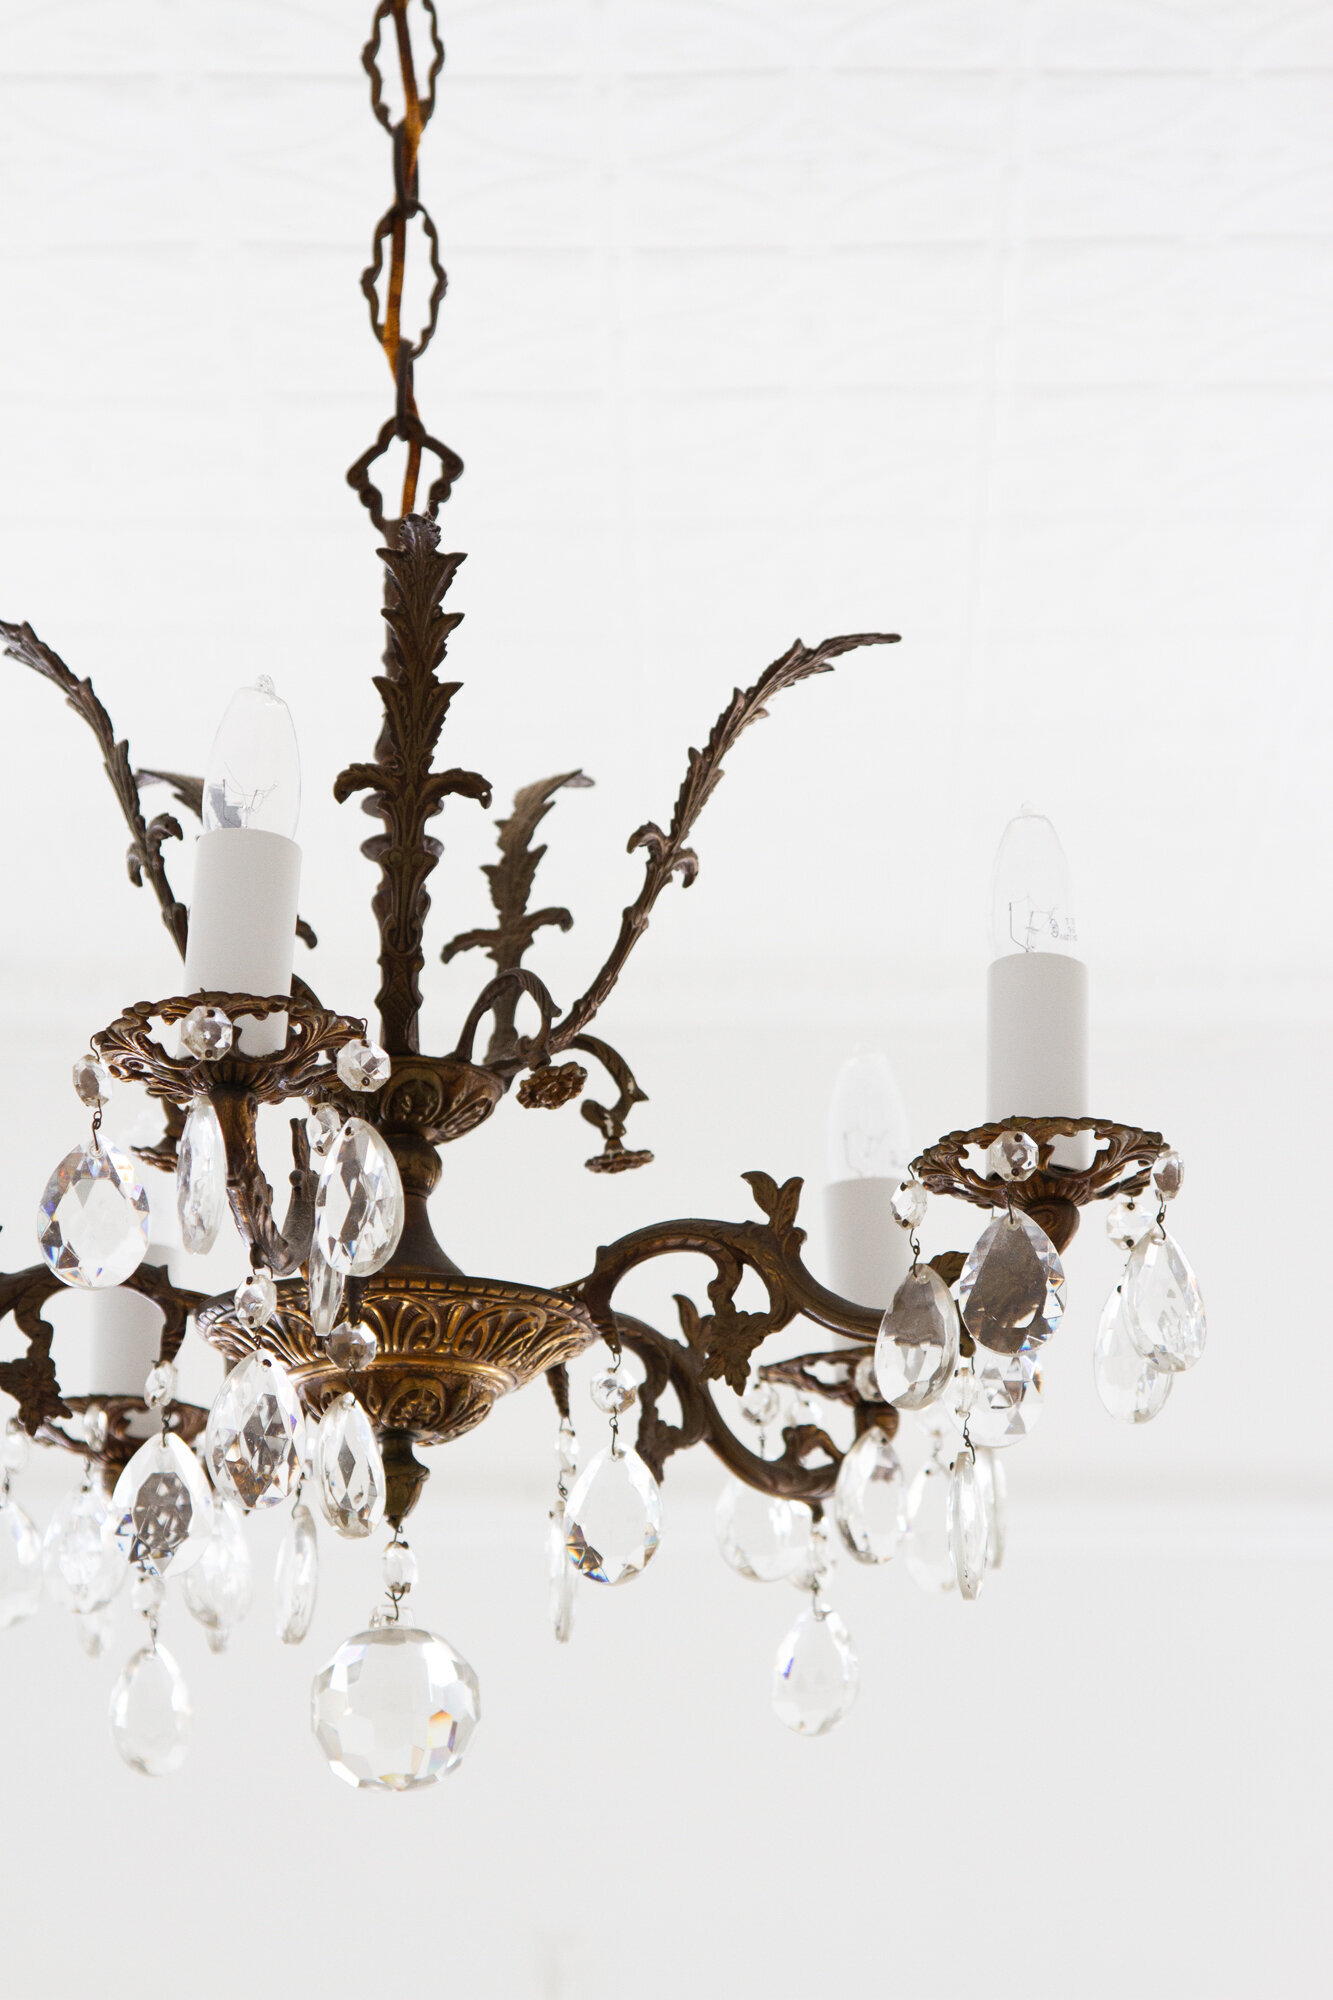
The ornate crystal chandelier that hangs over our dining table is also brass, also unlacquered, and it’s taken on a such a rich patina over the years that depending on the light, it looks practically black. I imagine that if left untouched the door knobs might eventually darken to a similar hue, but because they’re used daily by every member of our household, they’ll probably soften more than they’ll darken. In seasons when our windows are open, they might still change still more. I’m looking forward to following along.
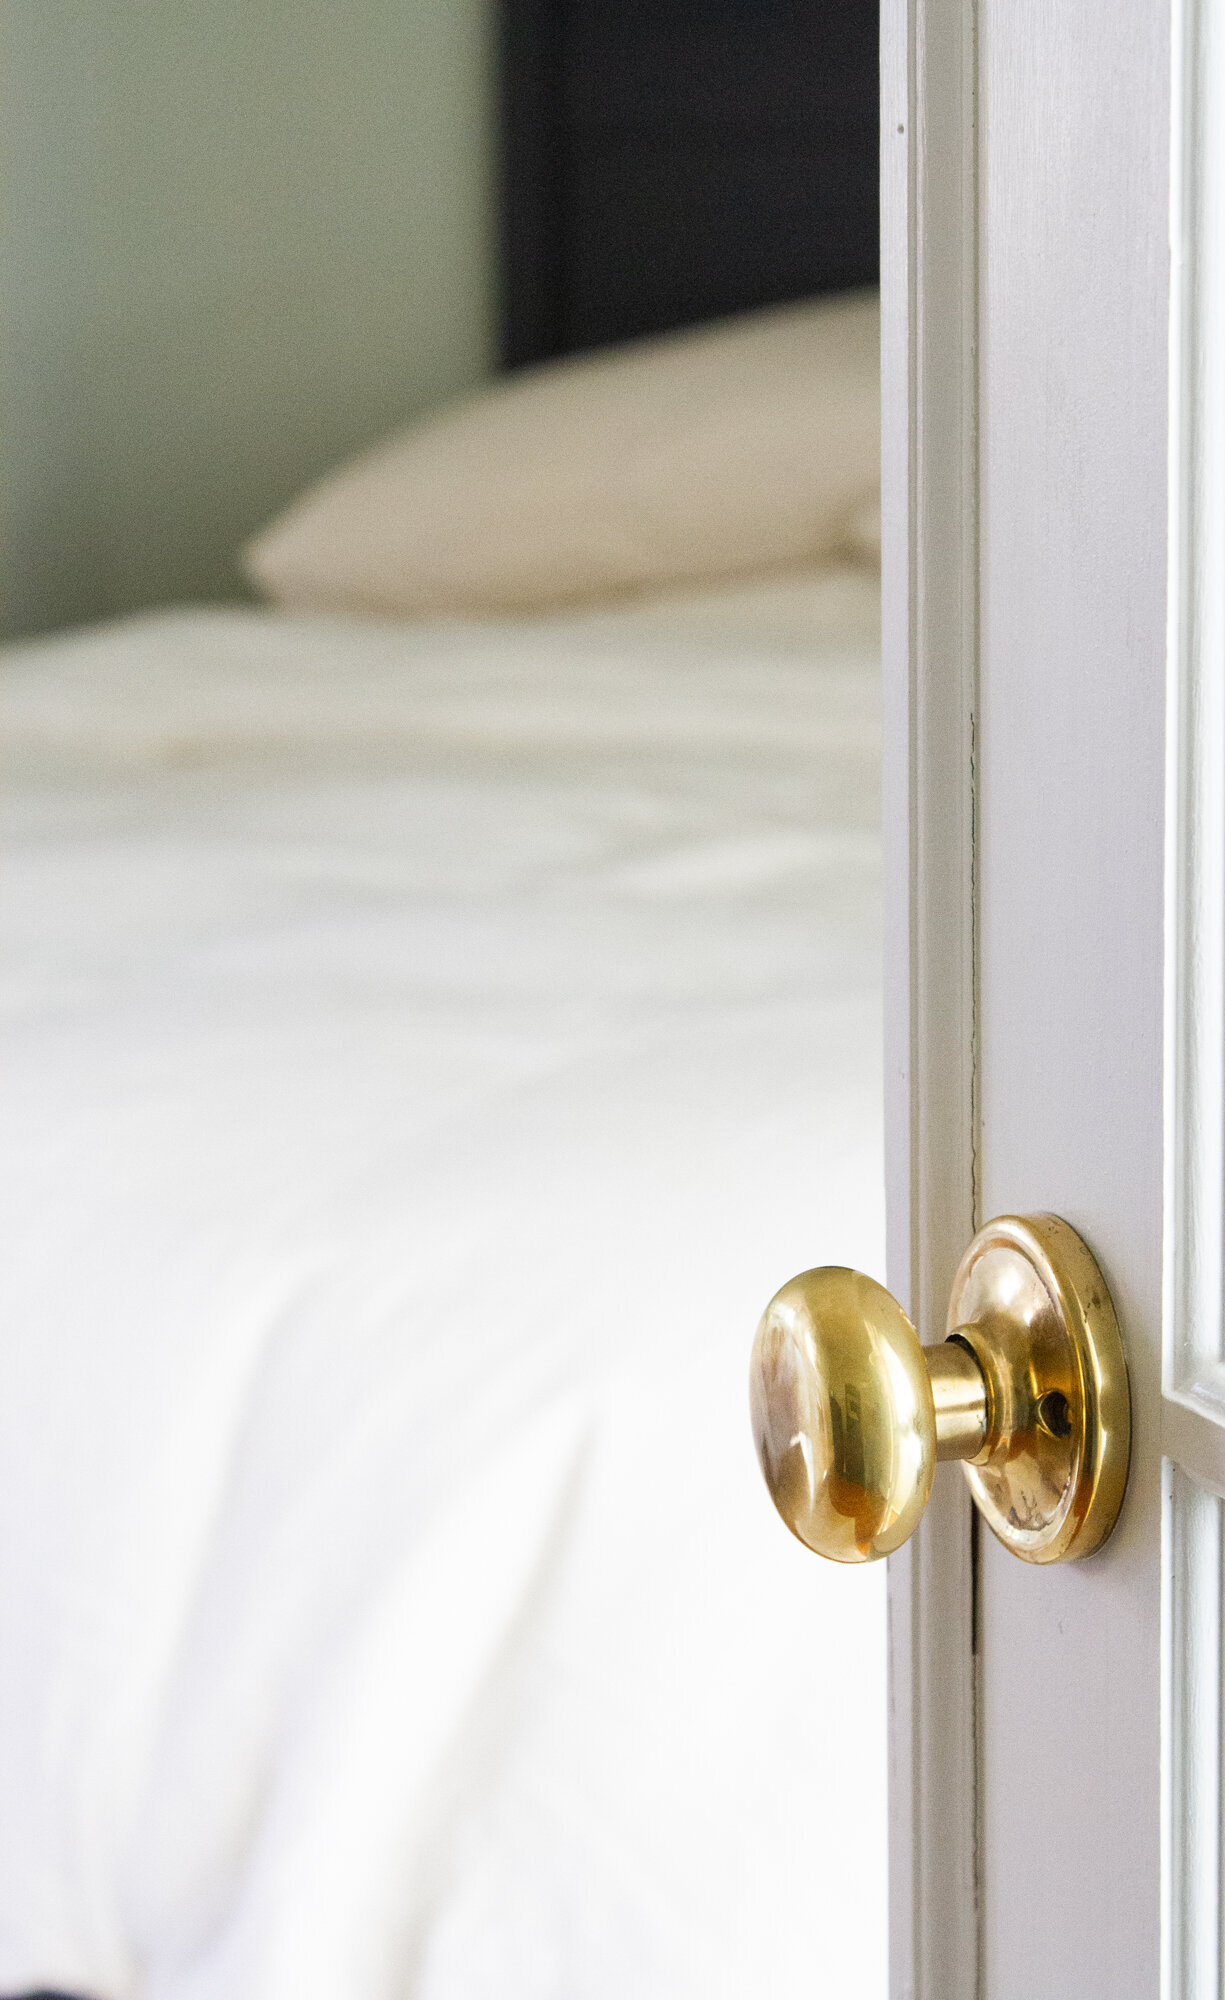
Like all of these small improvements, the doorknobs have not drastically changed the apartment as far as it appears in its photographed form. But this isn’t so much about how the apartment looks, as it’s about how it feels. And unlacquered brass? It just feels good.
Made any small improvements lately? I’m all ears.

31 Comments
This isn’t free and not nearly as creative, but my biggest small improvement in our rental apartment was wrapping rope around a heat pipe. Previously we’d had an ungainly peeling sticker insulation over it, which always made me nervous that my kids would poke through it. For $20 worth of rope, it’s a lot more durable and, I think, a lot prettier.
Ah, yes! I’m sure it made a huge difference!
Drawer dividers. We bought bamboo pre made drawer inserts and now the chop sticks have their own place separate from tiny toddler utensils.
Nothing better than a good drawer organizing session!
Do you have a recommendation for where to buy doorknobs that this works with? We tried it a while back but they weren’t solid brass and turned a mixture of brass and silver looking- it was a pretty solid failure of a project. Any sources would be great!
I think if I were starting from scratch I would definitely just start with unlacquered brass rather than going through this process.
Beautiful and inspiring as always. How can you tell if your doorknobs are lacquered? Ours are definitely not this nice yellow brass color but rather more brown (but definitely without any kind of patina or signs of aging), but I have no idea if they are lacquered. Either way i never thought there was anything i could do about them so thank you for the inspiration!
I don’t know of a surefire way to test—ours were very shiny and quite yellow!
Ha! I actually did something similar over the Christmas holidays. I was given a stainless steel colander with a bright red coating on the outside years ago by my mom. Turned out that red coating was some sort of plastic that started coming off in places soon after. I lived with it for a while (it didn’t affect the use since it was on the outside and didn’t touch the food), but at some point at the end of last year I had enough of the ghastly sight (even my boyfriend wanted to get rid of it). Refusing to let go of a perfectly practical and useful object, I gave it a treatment in our kitchen sink, with boiling water from the kettle. It took me two sittings and I had to use tweezers to peel everything off , but it was so SATISFYING! Now I have a decent, as good as new, shiny colander that makes me happy whenever I look at it. It’s the little things, isn’t it?
Yes! Amazing!
I took off the sliding, tinted, golden trimmed 80s glass doors of our hallway closet and painted the inside of the closet a charcoal gray. I didn’t replace the doors, just left it open and used pretty secondhand baskets to organize our linens. Feels updated without spending too much!
sounds brilliant!
Love this idea!! Our little apartment (430 sq ft) was built in 1961, and though the carpeting and vinyl “tile” are more than enough to try my patience, all the brass knobs are original and have the loveliest 60-year-old patina on them. In the past few months I also replaced the knobs on some of our built in drawer and cabinets with similarly aged vintage brass hardware (rather than their cheap, modern, orangey mystery-metal precursors…!), and I can’t believe what a difference it’s made. Even the tiniest improvements in a small space can lift spirits and bring joy to everyday life. As always, thank you for sharing your wisdom and ideas on simple, happy living ♥️
I recently removed the blinds from all the windows in my bedroom/office/everything-in-one room and hung simple, white curtains instead. The blinds had blocked several inches of the top of each window and I’m really appreciating the additional light this time of year.
game changer! we took down the blinds in our back room and i hung very simple curtains i made from a drop cloth and it made such a huge difference. (still have to find a replacement for the front windows, where the kids sleep!)
Erin! Can you give any hints about the chandelier candle-like covers? I am also in a rental with a very similar chandelier and it has never occurred to me that I could replace the very yellowed candle-things. But yours look shiny and new. What do I search for to find replacements??
Yes, I replaced the cracked plastic covers when we moved in. Will add to my list of small improvements to write about! I think I might have snapped some photos of the “before” too!
My mind is blown – you can replace those?!? Adding to my long list of things to do . . . (do you have a good source for those?)
a source for which? the doorknobs?
Brava! I can’t believe all that you manage to accomplish through difficult and distracting times.
Oh, the chandelier candle covers. And I’m super inspired by the doorknobs. Now I have to see if any of ours are eligible candidates.
Often when I read an instalment about your small and steady making of your homes, I think “How lucky the folks who move in will be, after Erin’s family moves on.” I wonder if they’ll know about all the work and elbow grease that went in, and now that I’m thinking about it I wonder about all the tenants who’ve come before me in my own homes, and they that come after. I hope the weather-stripping I put on the beautiful-but-drafty patio doors keeps them a little bit warmer too.
I recently took 5 minutes to move the catch on our garden gate latch down just a few millimeters, which sounds silly, but it’s made all the difference. It’s now properly aligned for the first time ever, and latching the gate no longer takes struggling and swearing and rage. Hooray!
Also…I just wish I’d known of this lacquer removing technique earlier. A few years ago de-lacquered a copper mixing bowl with acetone…which worked, but urgh it was messy and poisonous and slow. Using your technique from here on out!
ah! latch fixes are the best fixes!
It’s not pretty, but I put a nail in the wall in the bedroom so I have a place to hang my robe before getting into bed. Its former home was in a pile on the floor. It feels much more dignified now – for the robe and for me! A fifteen-second improvement that makes me smile every day.
While doing some updated electrical work in our attic, we discovered an old wooden ironing board! We repurposed it as a shelf and now we finally have a way to keep things out of reach from our climbing toddler (we think)!
love this! i’m obsessed with the craigslist free section and recently missed out on a wooden ironing board that i think we could use as a table. the search continues 🙂
love this series. it’s truly the small things that add up. i’m working on my studio corner, reorganizing and actually setting up a nice place to plan bigger projects and work. sometimes just moving things feels like a very big improvement. more here: https://tps-steph.blogspot.com/2021/02/0061-2021-planning.html
I love this. I’m having trouble making myself do the small things at the moment (covid, isolation, not sure if I’m going to stay in this apartment after July), but this inspires me to get going a bit on the little things I can do!
I’m removing all the tv antenna and data cable sockets and patching up the holes. Clean, uncluttered walls.
I really like this! I don’t think my door knobs have the coating but I’m definitely going to check. They also need a little lube to keep them from squeaking so much when we turn them. Any suggestions? Also, I’m really looking forward to see how you tackle the door knob painted plates!!
I did this! But, water didn’t work for me. The lacquer was a brat and would only peel off in teeny tiny bits. So I googled and learned hot vinegar is another option and it worked like a charm. Depending what you’re doing it to, the vinegar could have a negative effect so people should watch for that but it helped in my case!
Comments are moderated.