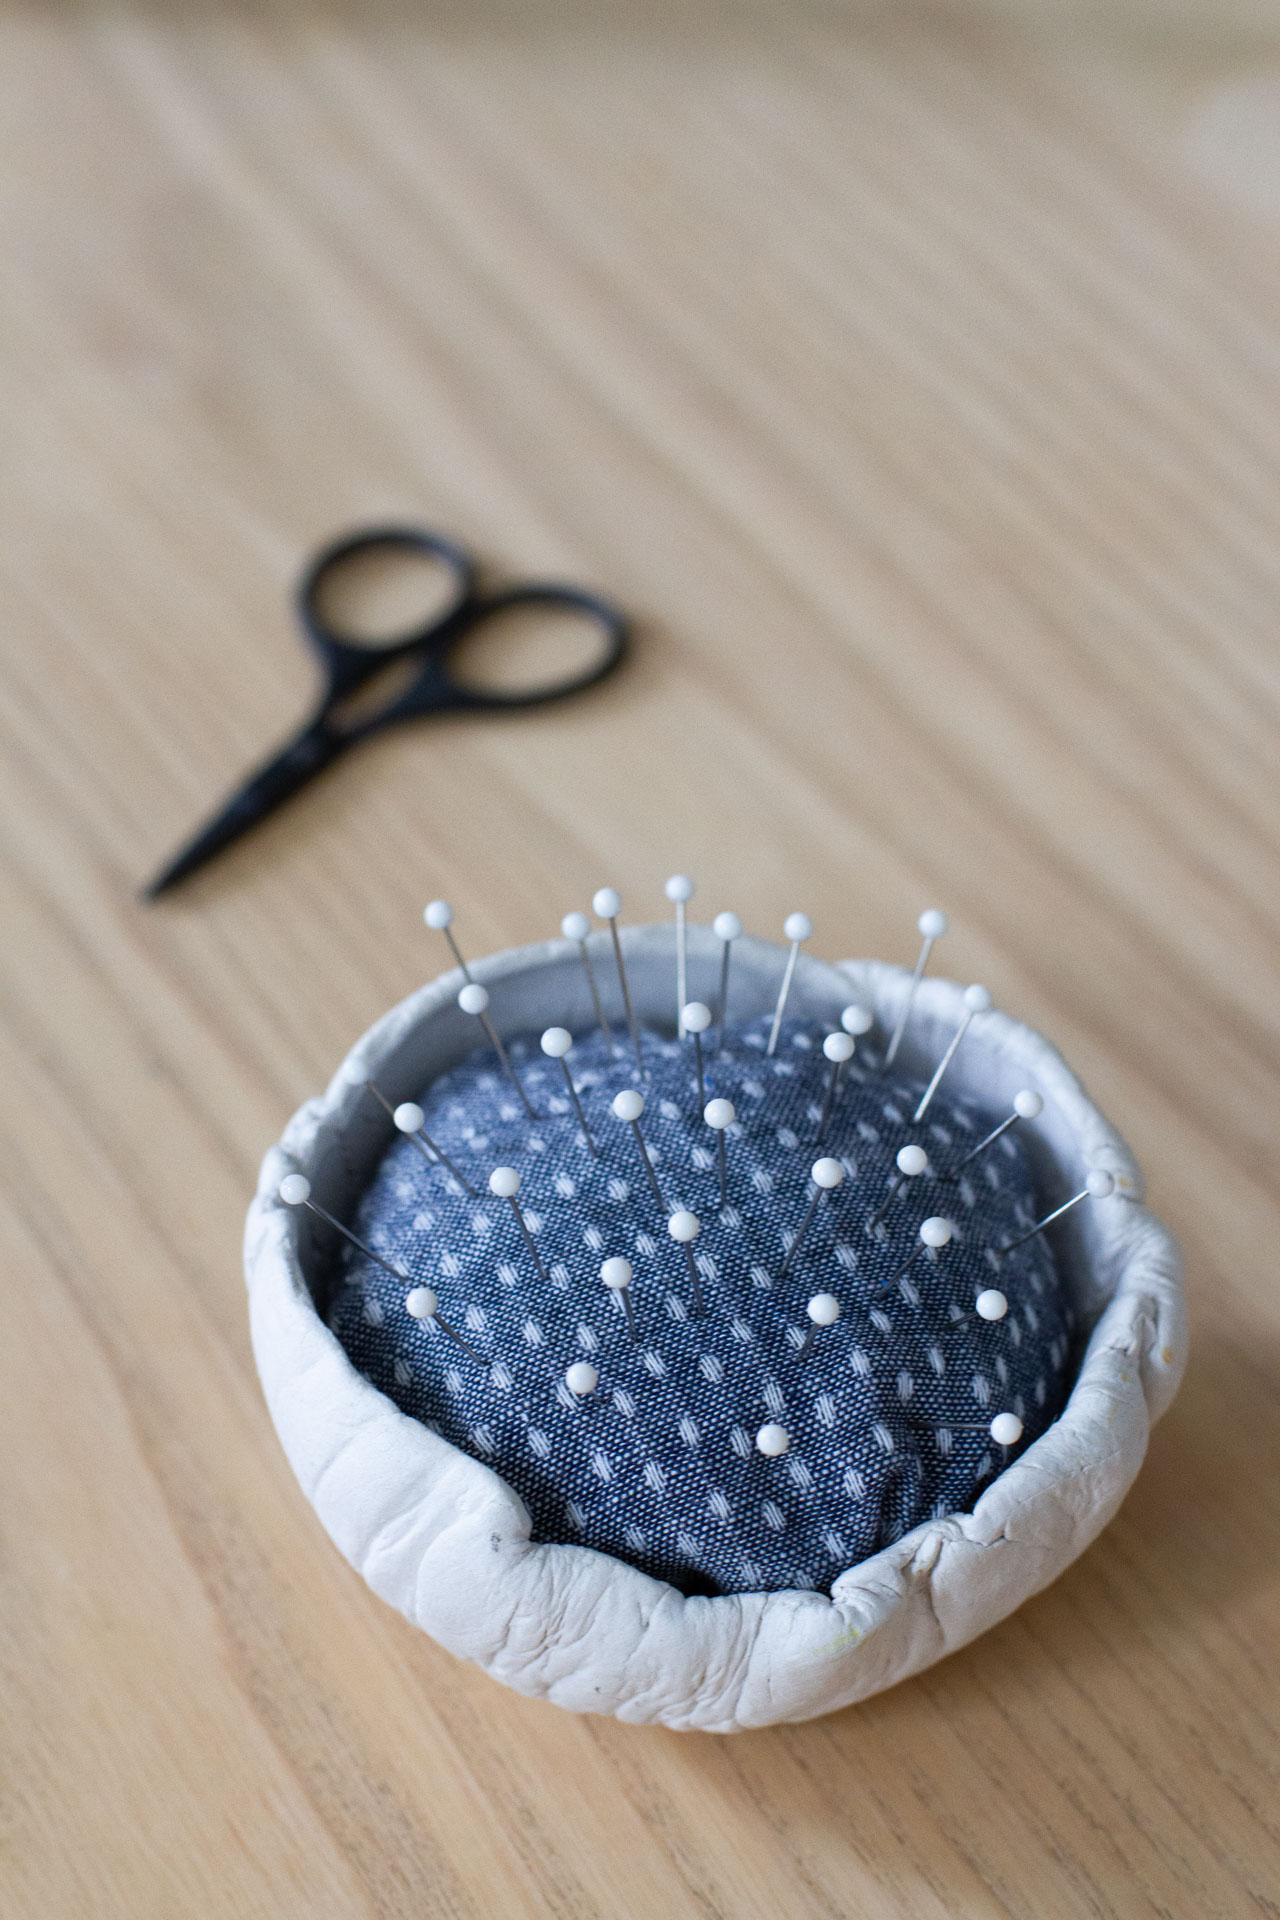
I’ve been busy with sewing projects and have come to realize how much of sewing involves ironing and pinning things into place. Precision in crafting is not exactly my strong suit, but I’m learning to adapt and as I find myself increasingly reaching for pins (and the iron) I decided to do something to at least mitigate the numbers of times I stick myself.
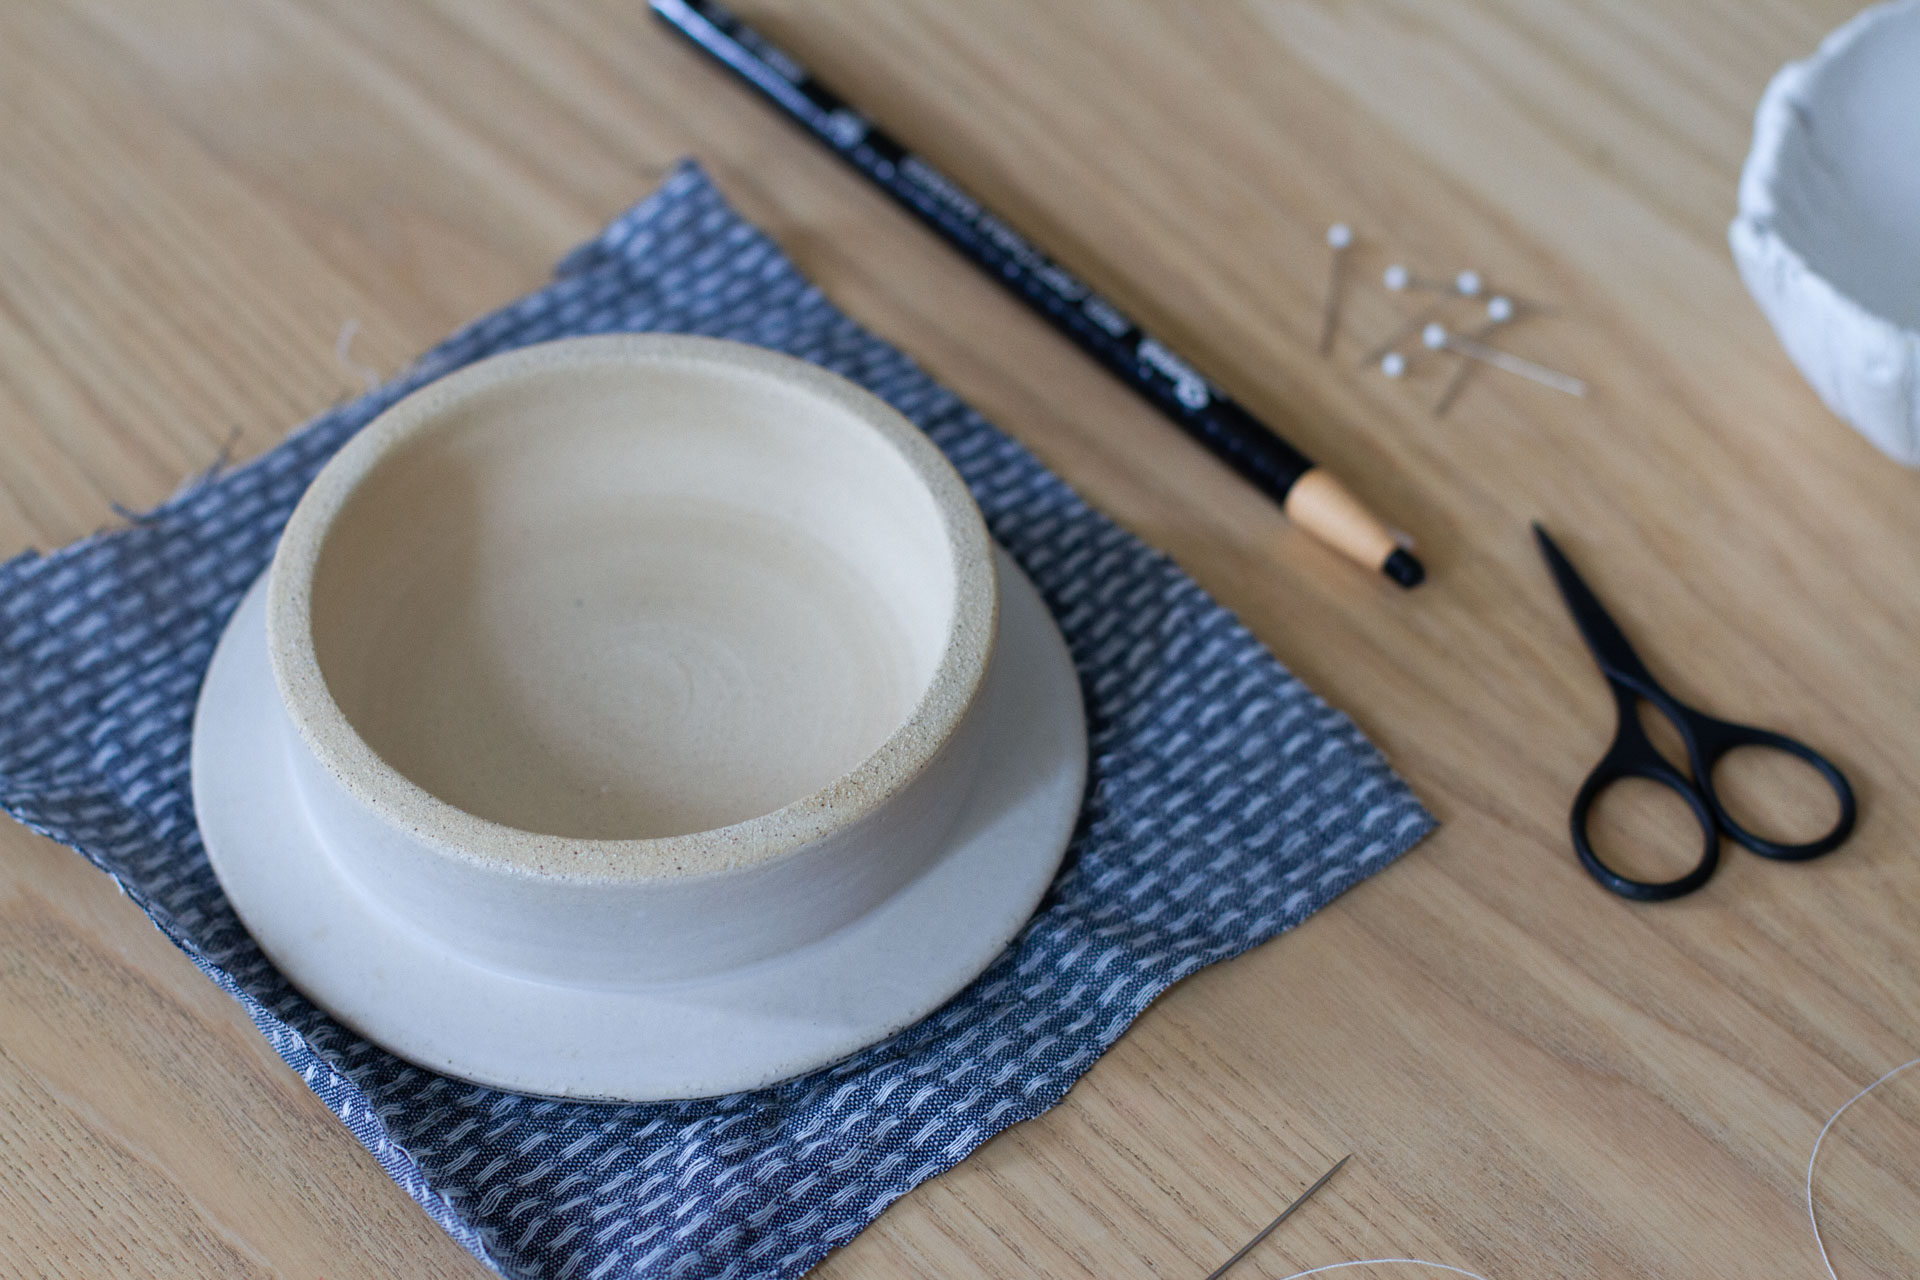
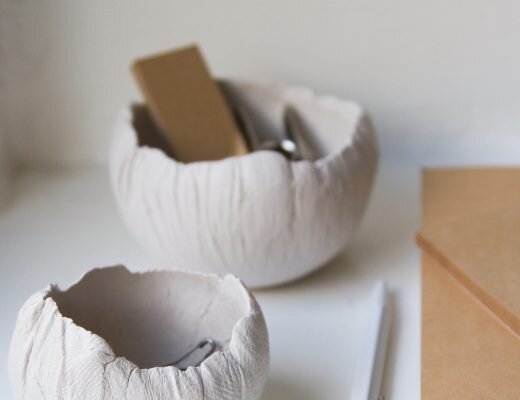
In case it’s helpful for anyone else, here are some quick instructions for making an exceedingly simple pincushion. Any scrap fabric and small, round vessel will work here, but if you’d like to recreate a pincushion like mine, I used a small clay vessel that I made using Rose’s tutorial from a few years ago. It’s the perfect size and shape and the vessel itself is only marginally more complicated to make than the cushion. (The fabric I used was saved from a baby dress of Faye’s made by a friend!)
Full instructions for Rose Pearlman’s clay vessel this way. Full instructions for a simple pincushion down below.

Materials
Small round vessel/bowl
Scrap fabric
Batting or wool roving
Pencil or marker
Scissors
Needle and thread
Craft Glue
Instructions
+ Start by cutting a circle of fabric that’s twice as large as the diameter of your bowl. (I used the lid of a ceramic container as a guide.)
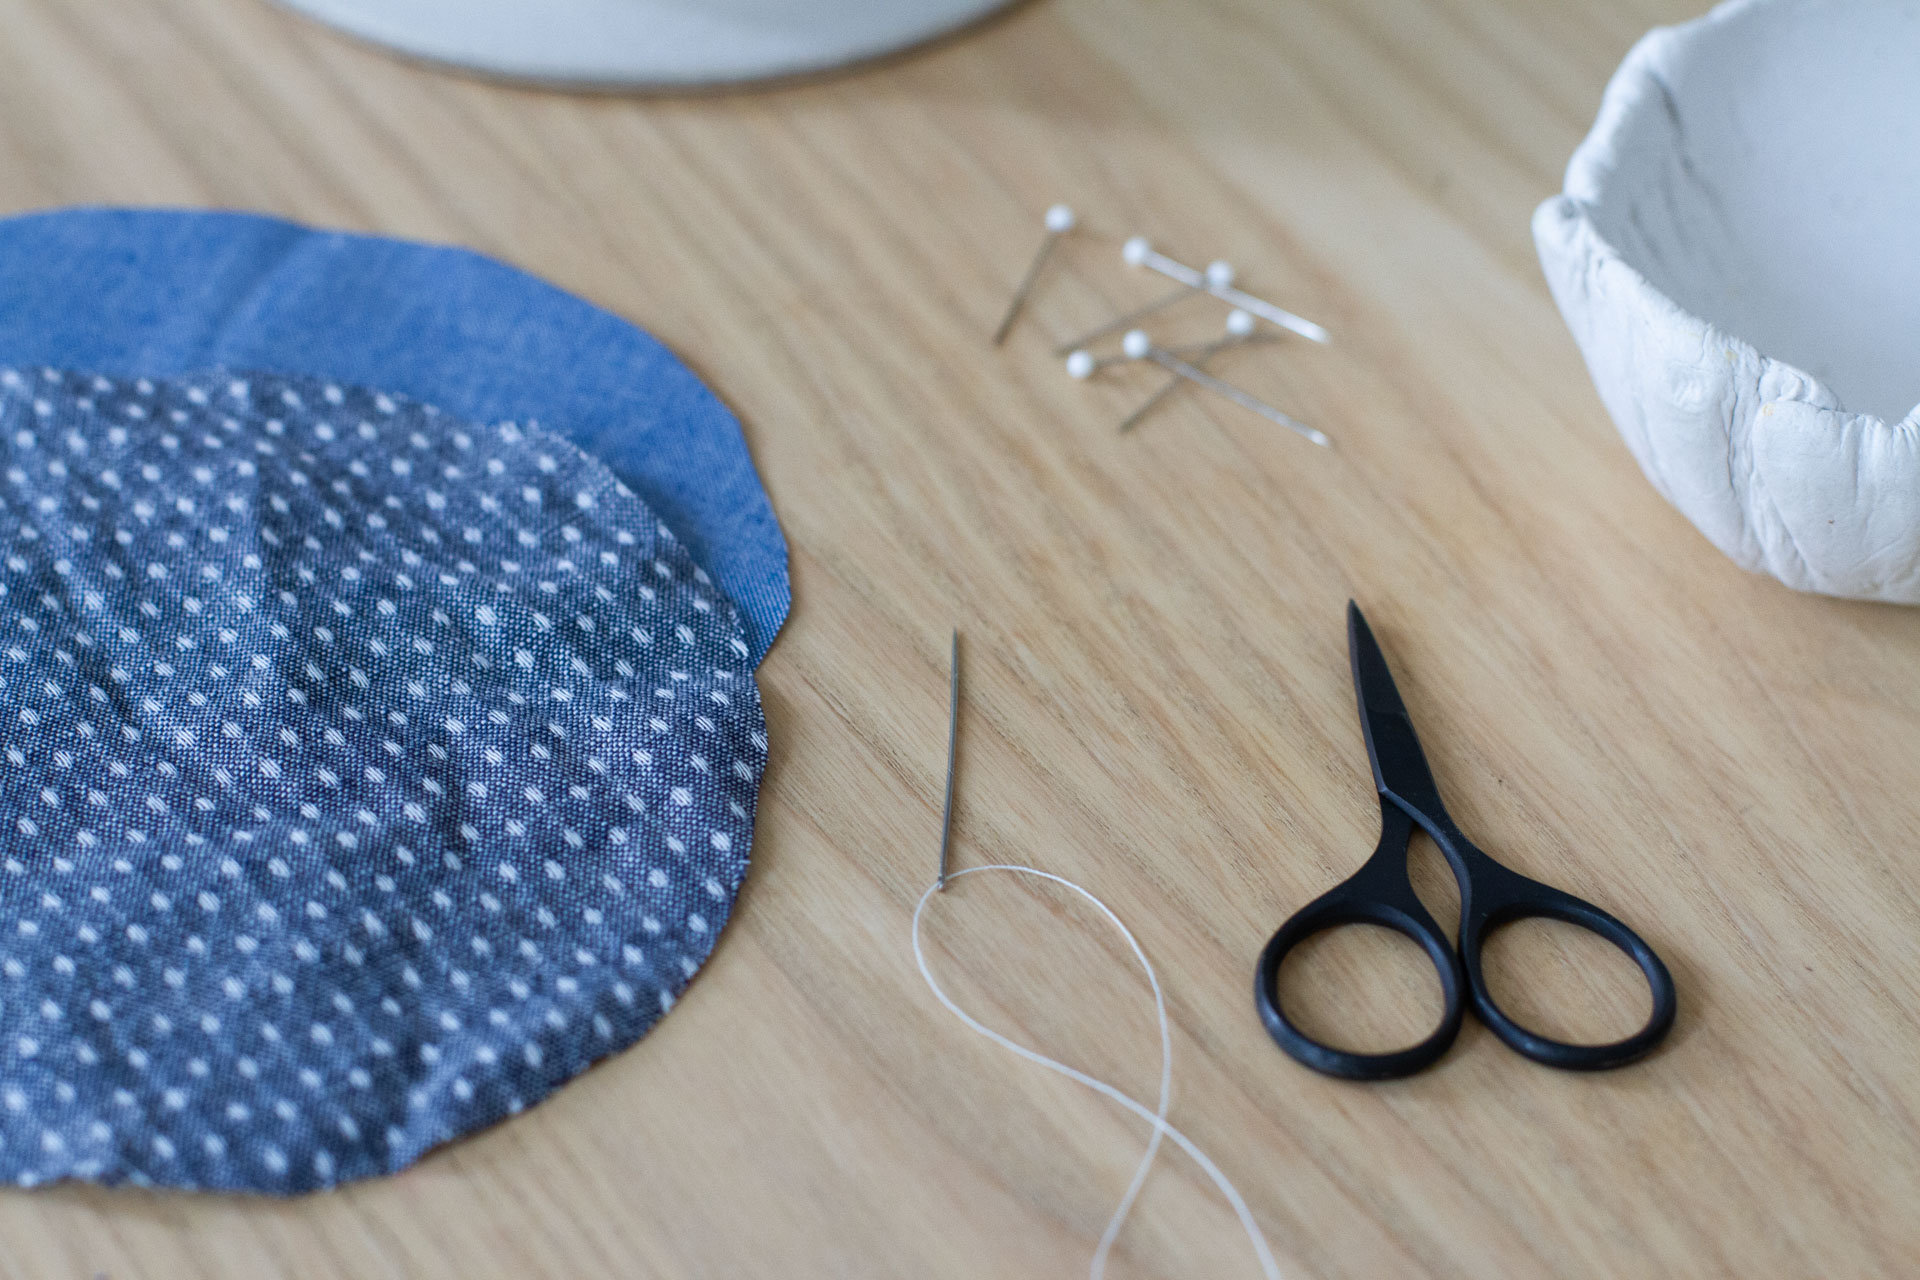
+ If your fabric is thin, you might decide to use two layers.
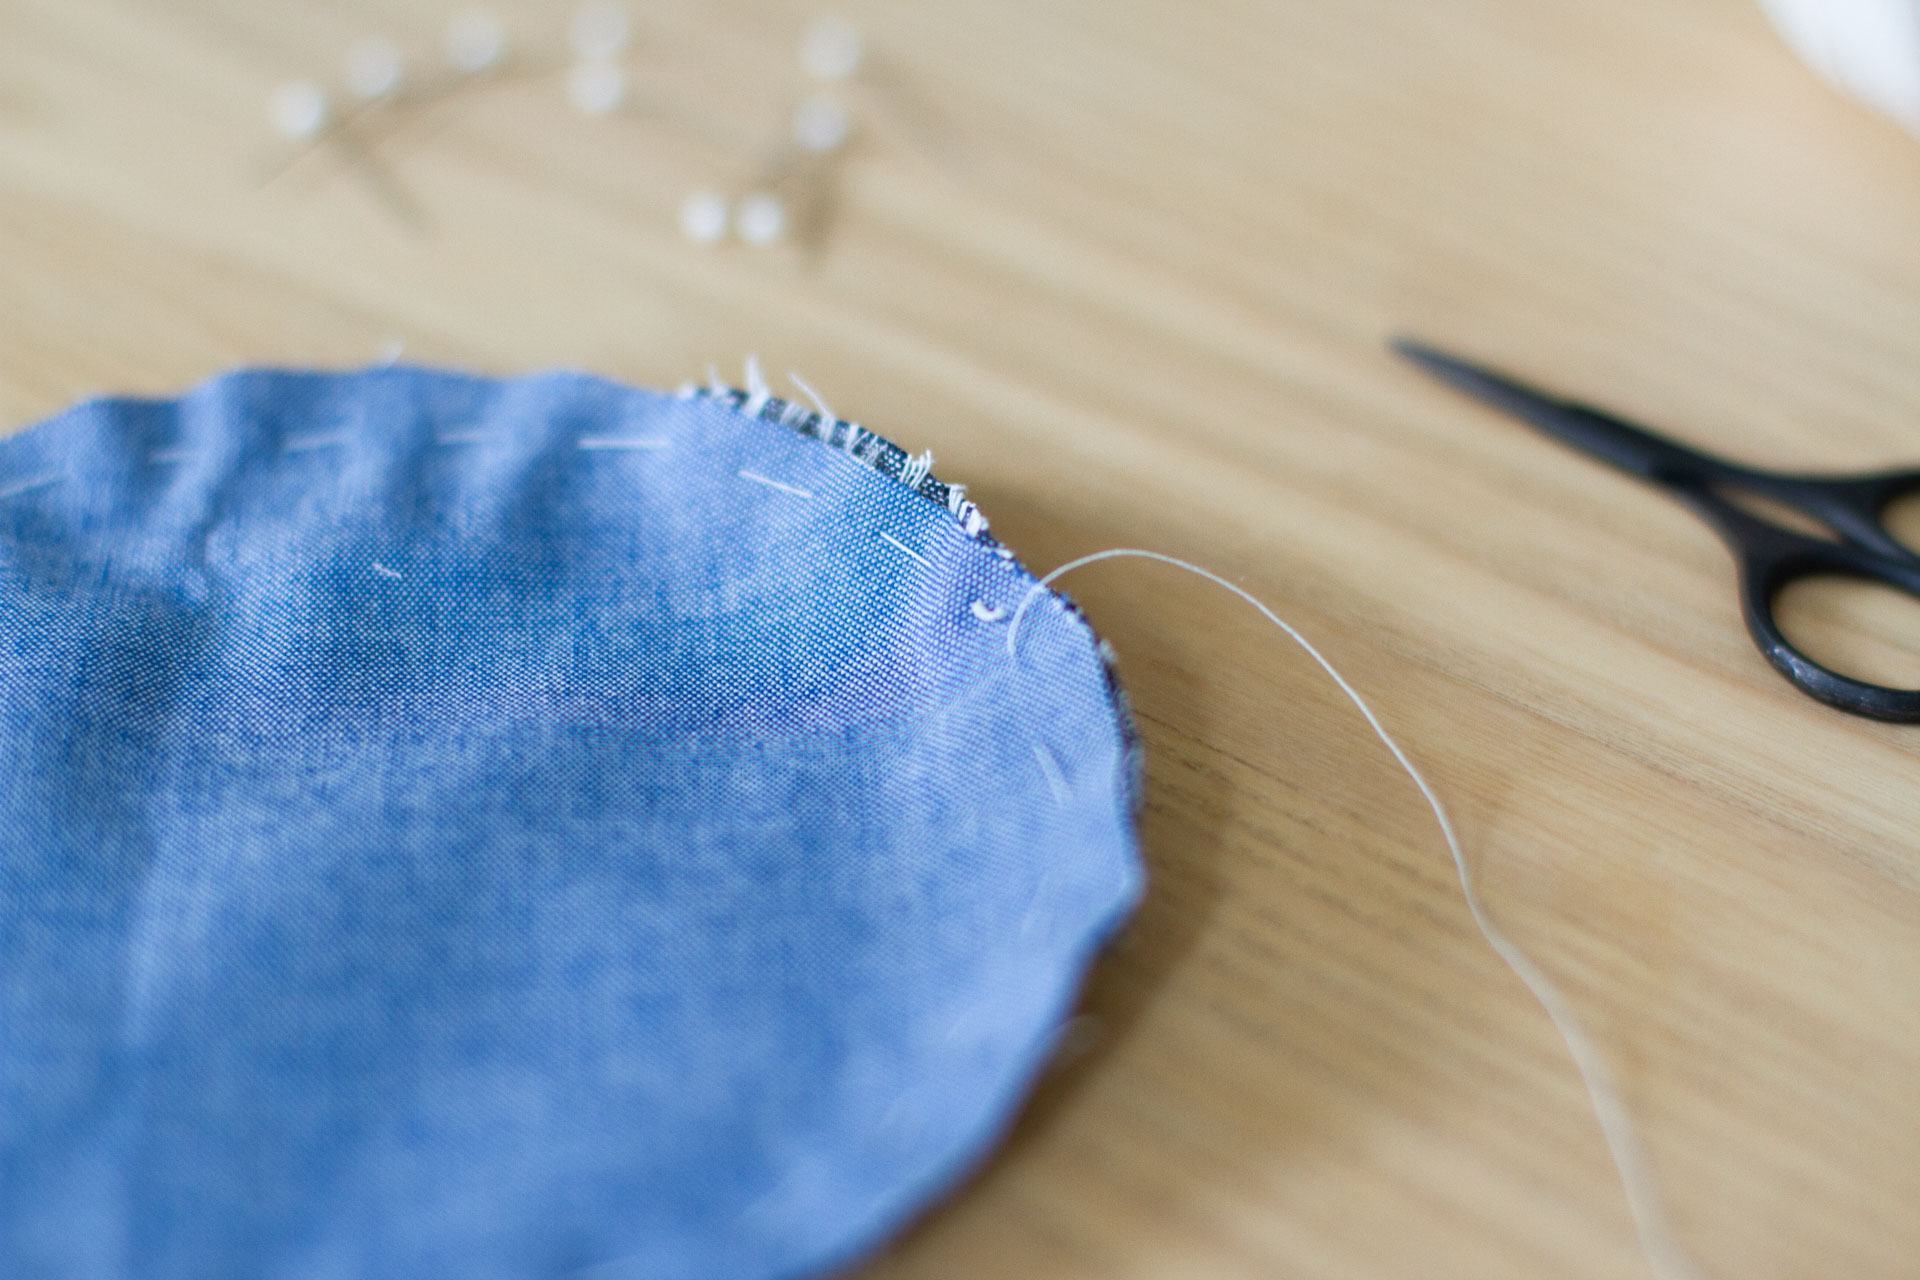
+ Using your needle and thread with a knot tied on one end, create a loose basting stitch around the outer edge of your circle.
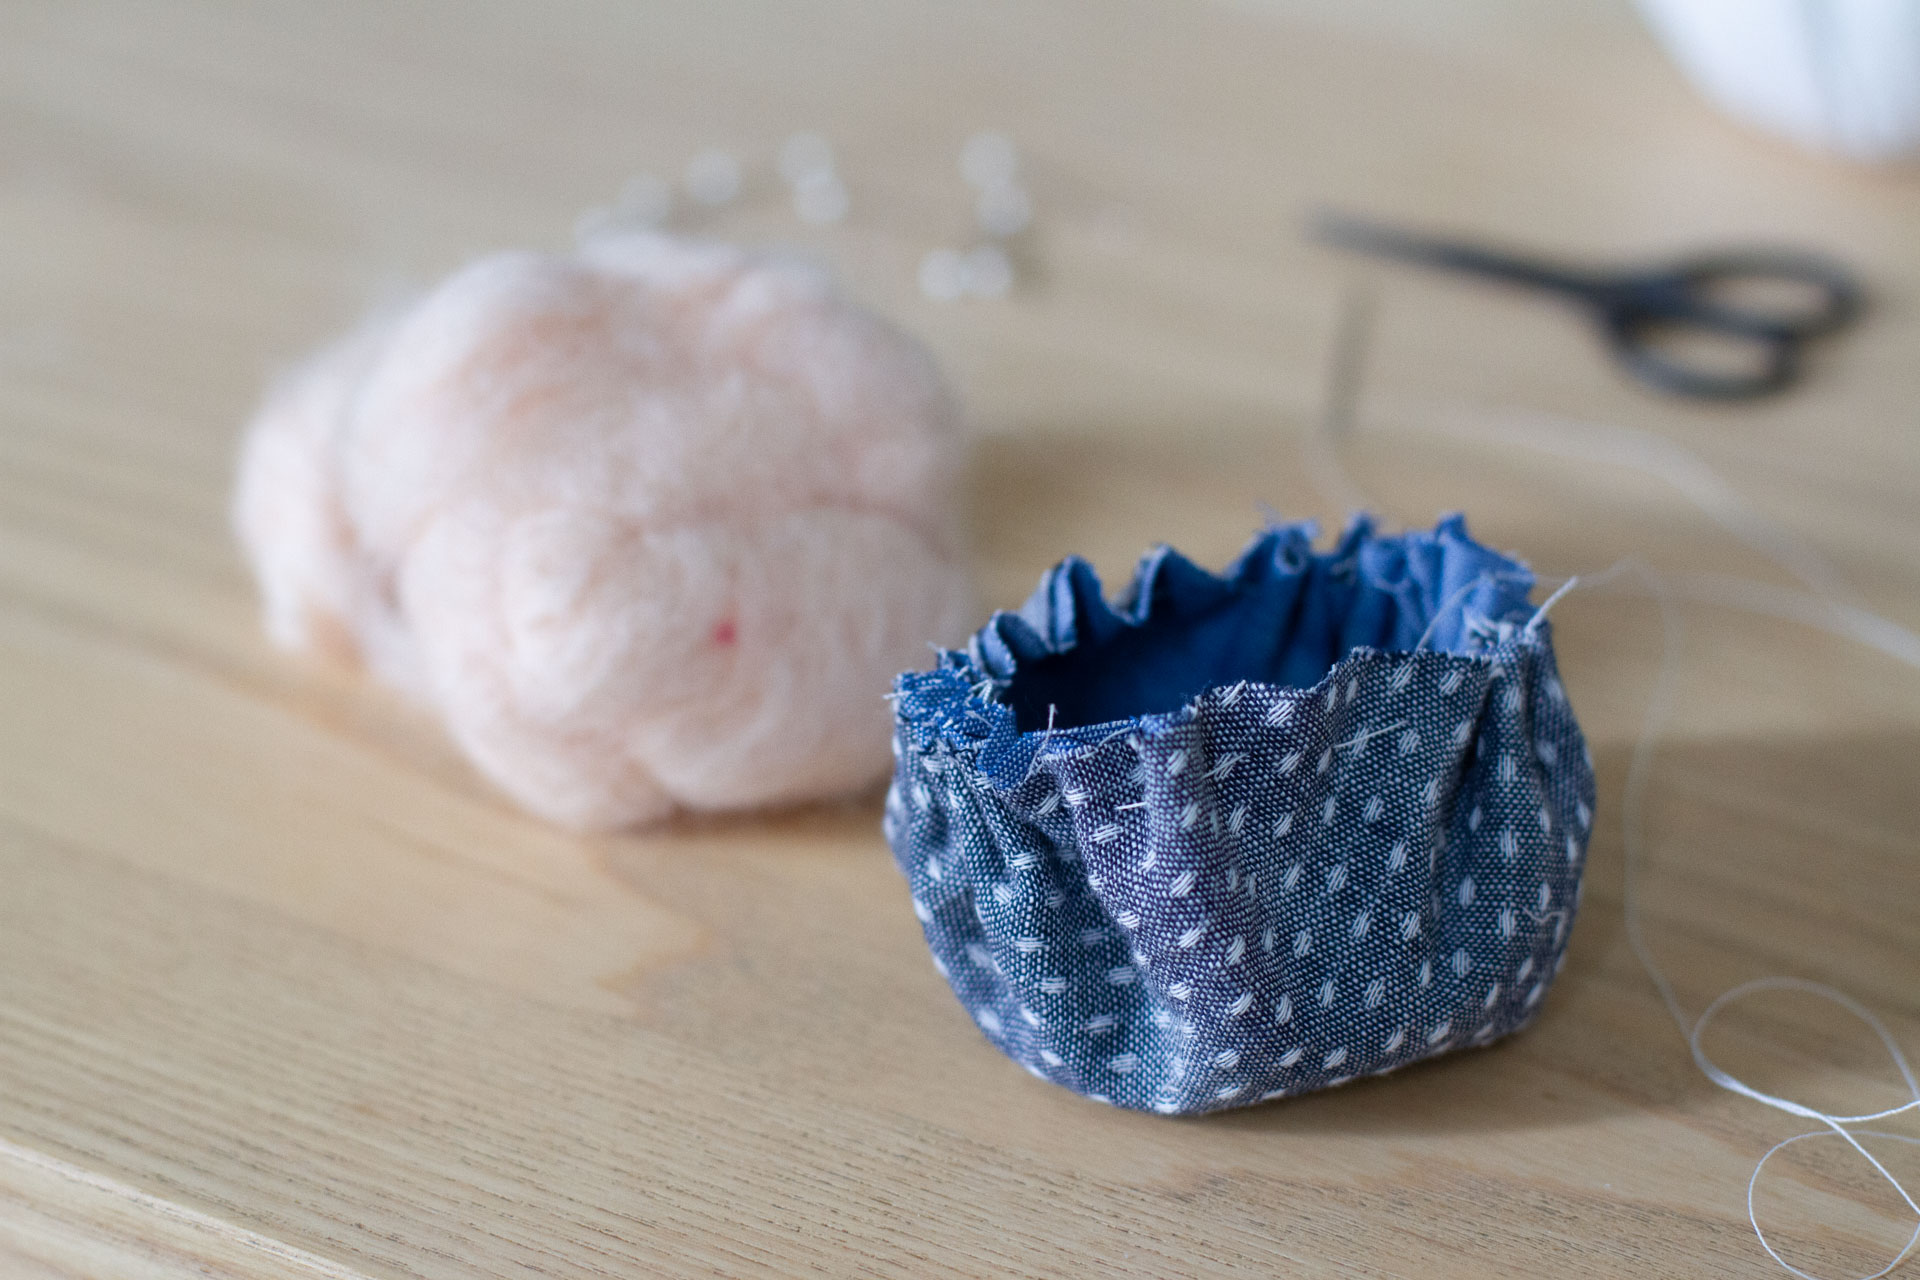
+ Carefully cinch the fabric along the string, drawing the fabric circle into a loose bowl shape.
+ Stuff the interior of the fabric bowl with wool roving or batting (wool, cotton, or poly will all work).
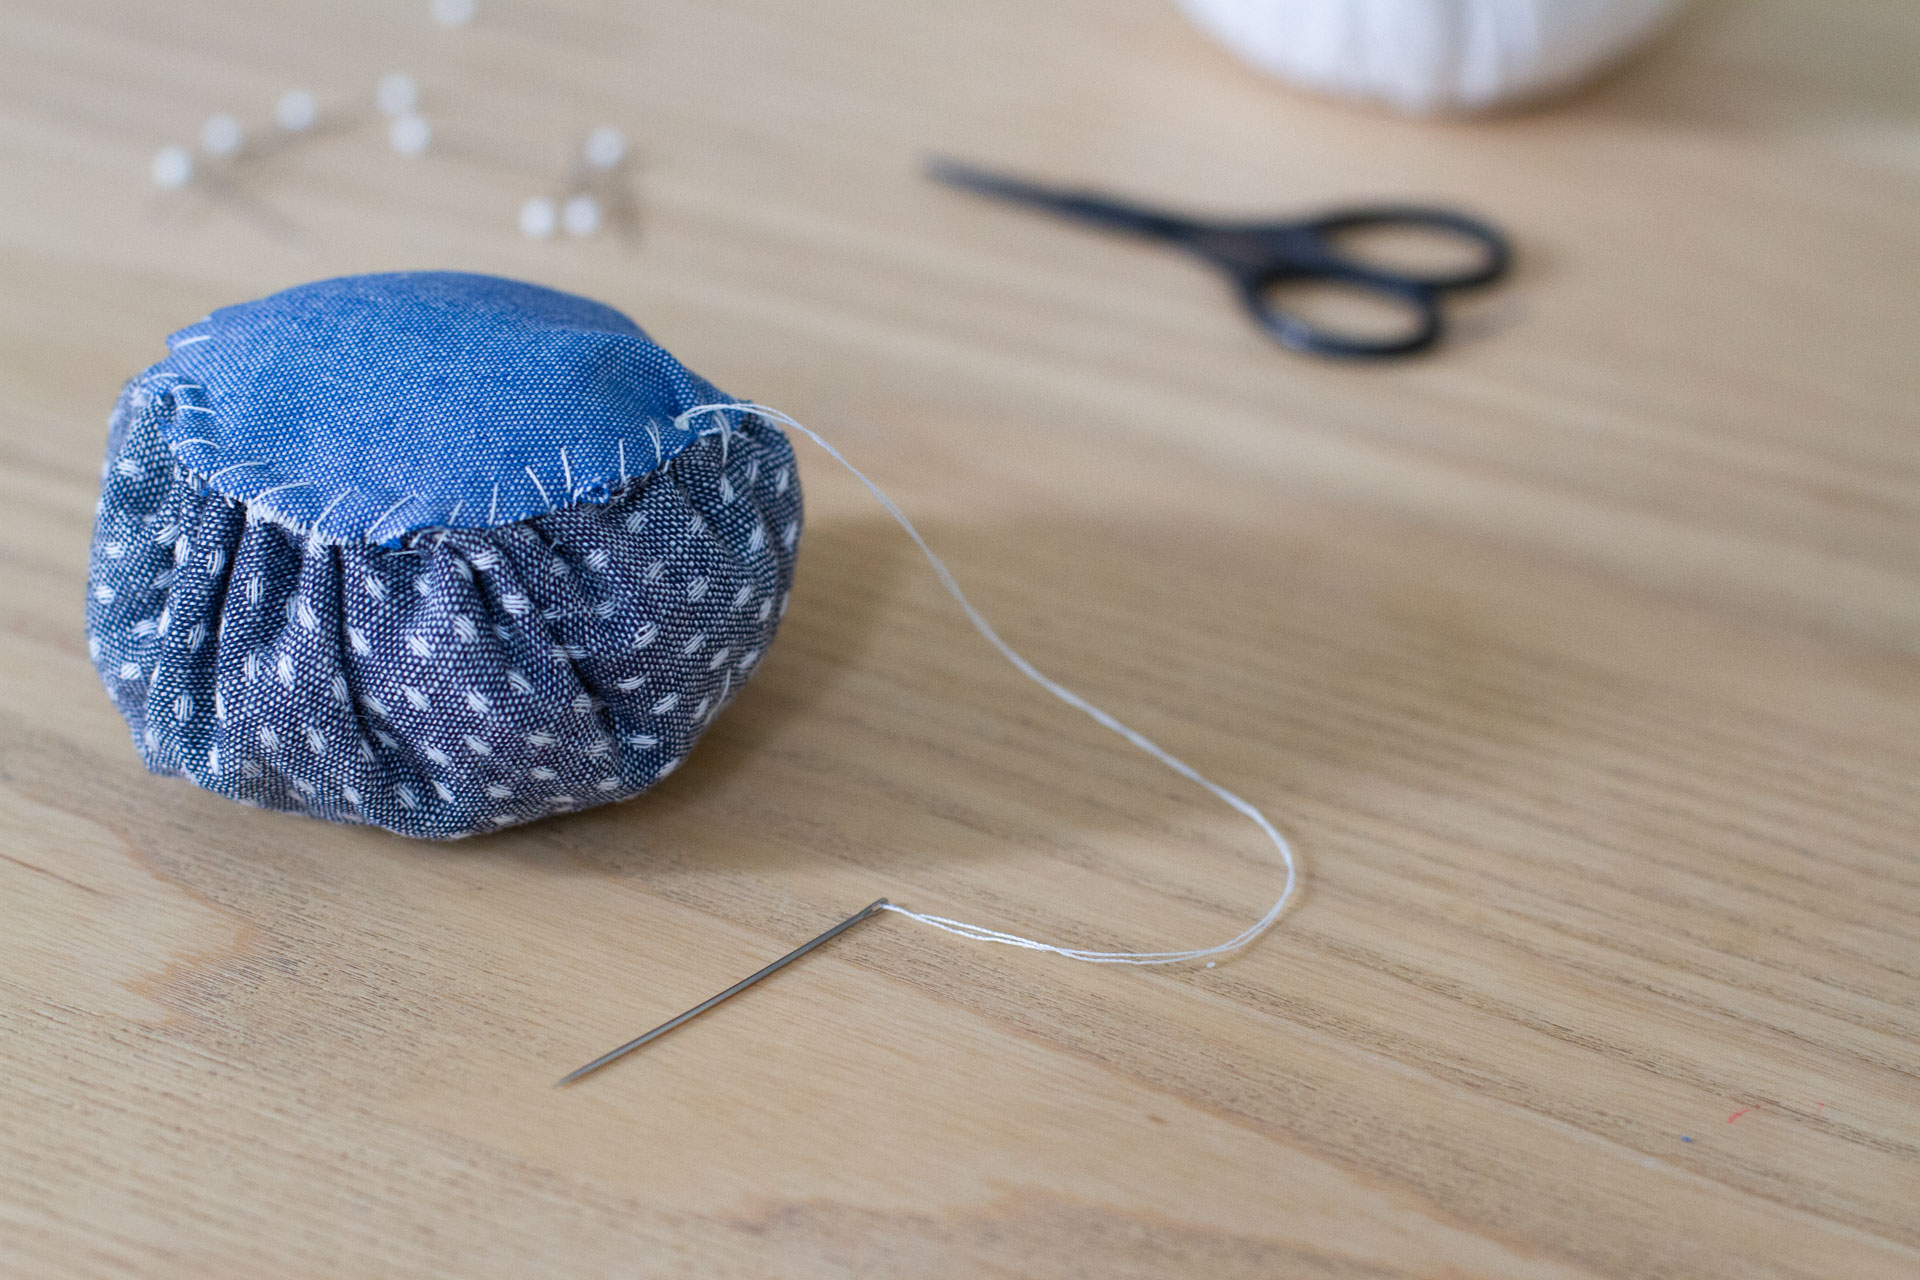
+ Cinch the fabric closed and tie a second knot in the thread to keep it shut tight.
+ If you’d like, cut a second smaller circle of scrap fabric and stitch it over the gathered side of your cushion to create a smooth bottom.
+ Add a small circle of craft glue (I used Aleene’s Tacky Glue) to the cushion bottom and place it bottom face- down into the vessel.
+ That’s it! Stick in your pins and carry on!
3 Comments
Going to invite my 5 y old to make this for her grandma’s birthday present! You are always in the sweet spot of simple and attractive
This is great! My DIY pincushion is a pile of strange leftover wool bits that I felted together into a half-sphere and then glued down to the top of a Bonne Maman jar with a magnet so it sticks to the side of the sewing machine when I need it. It was a great way to use up leftover roving from various little felting project gifts that I’ve made for friends. I also saw instructions for doing this with half of a wool dryer ball, which would probably look a lot more calm and collected, but I kind of love my little bit of chaos. 🙂
I have been making similar pin cushions for years. I find a suitable ceramic container at a flea market or thrift store (I have used tea cups, candle holders, little flower pots, and vases). Wool stuffing (or roving) works much better for me than anything else. The only other thing I would say is that it’s best to just wrap your fabric around the lump of wool and stuff it into your container. Then when you have lost needles in your cushion, you can just pull it out and empty it by (carefully) squeezing the wool together and removing the needles. Maybe you only use your cushion for pins, but I am always losing needles in mine.
Comments are moderated.