Folks will try to tell you that minimalists are void of sentimentality, but allow me to introduce myself. For me, I think have the reason why I end up eschewing lots of things is precisely because I’m sentimental about what I decide to let in in the first place. If it doesn’t have a story, I can’t generally get excited about it, and if I can’t get excited about it, why make room in the first place?
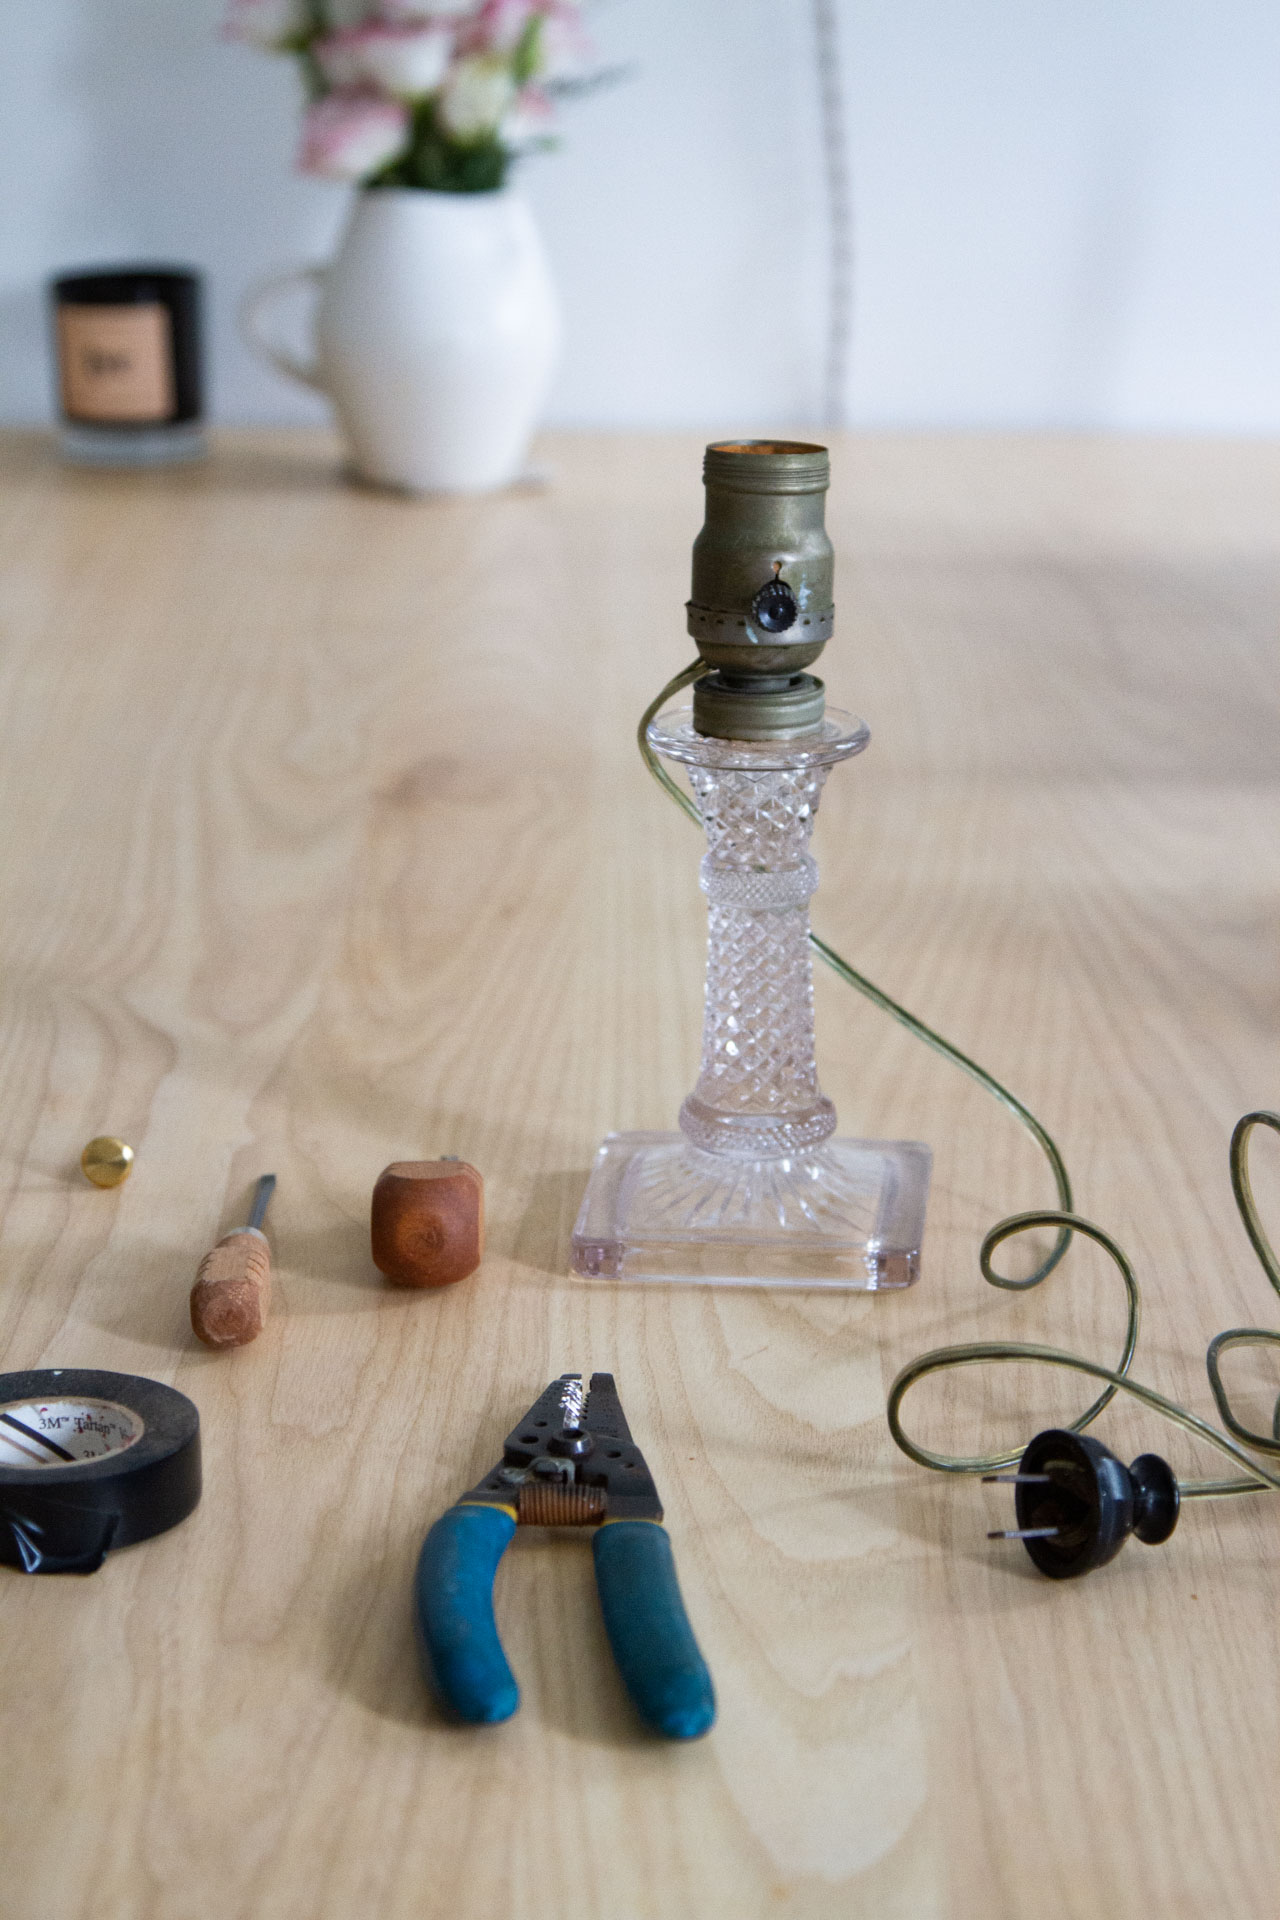
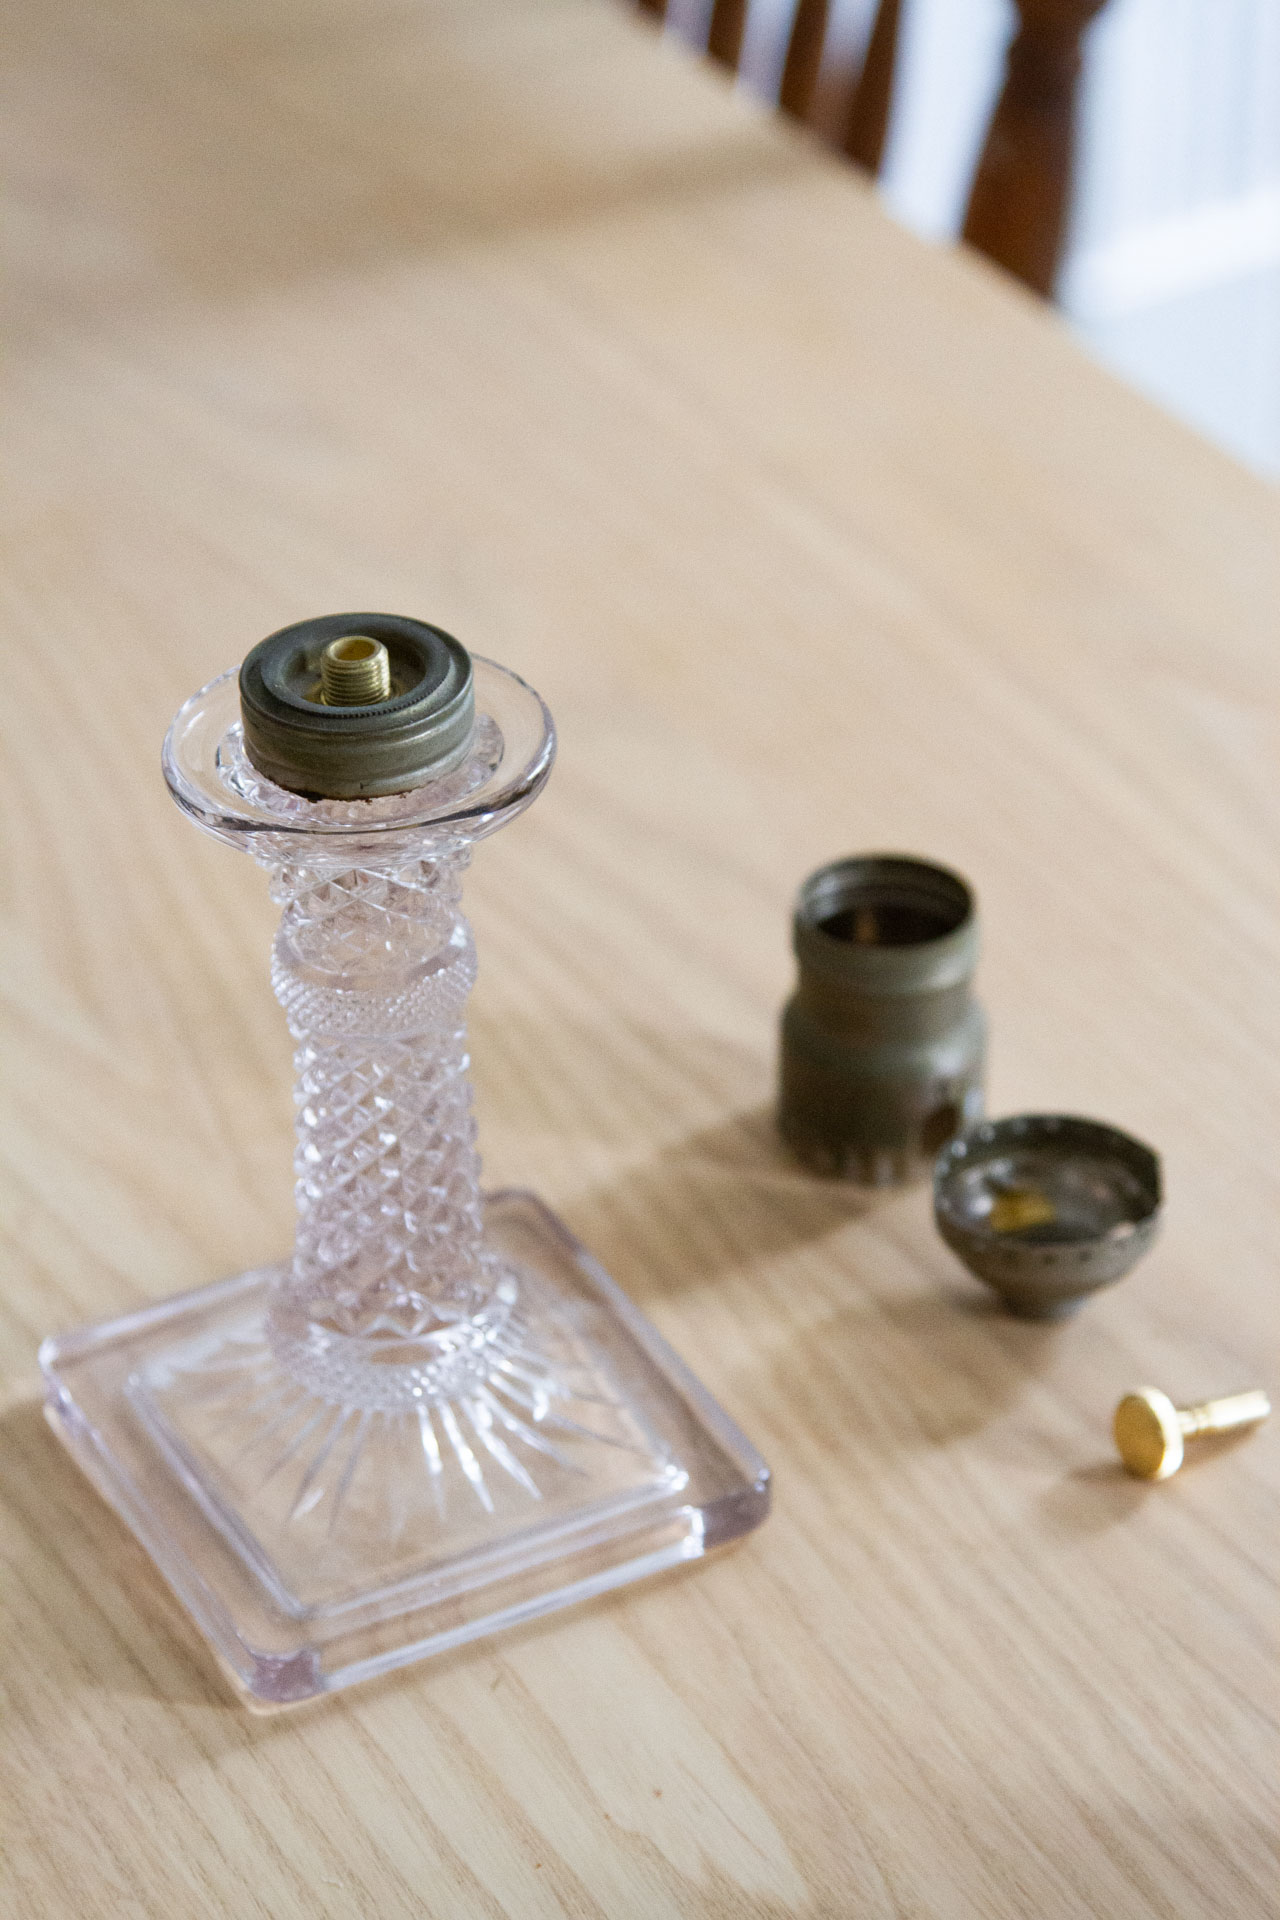
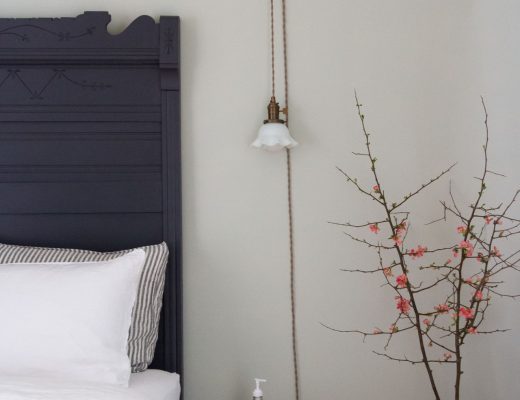
For me, one of the more sentimental items in our apartment is this old crystal lamp. I don’t tend to be much of a crystal enthusiast, but this square little candlestick-turned-lamp by my dad’s mom is a rare bit of connection to a grandmother I didn’t really know. It was my bedside lamp as a kid and I spent more than thirty years click-clicking it on and off every night. After our move last year, the always-faulty switch finally click-clicked for the last time. Lucky for me, and maybe for you, replacing lamp parts is a simple and extremely satisfying fix that will leave you feeling part electrician, part magician and all the way handy. You can find most of the basic parts you need at your local hardware store or online through shops specializing in antique lamp repairs, like Snake Head Vintage and Antique Lamp Supply.
Specifics aside, this is less a post about the step-by-step process of rewiring an old lamp, and more encouragement to just do it already. I’ve supplied some details of my process below, but as with most household fix-it projects, much of this depends on what you have in front of you. You might need to do some poking around of your own, diagnosing your own lamp woes and finding solutions, but I hope this post might give at least a few people some encouragement to lean into fixing what’s old rather than replacing it altogether.
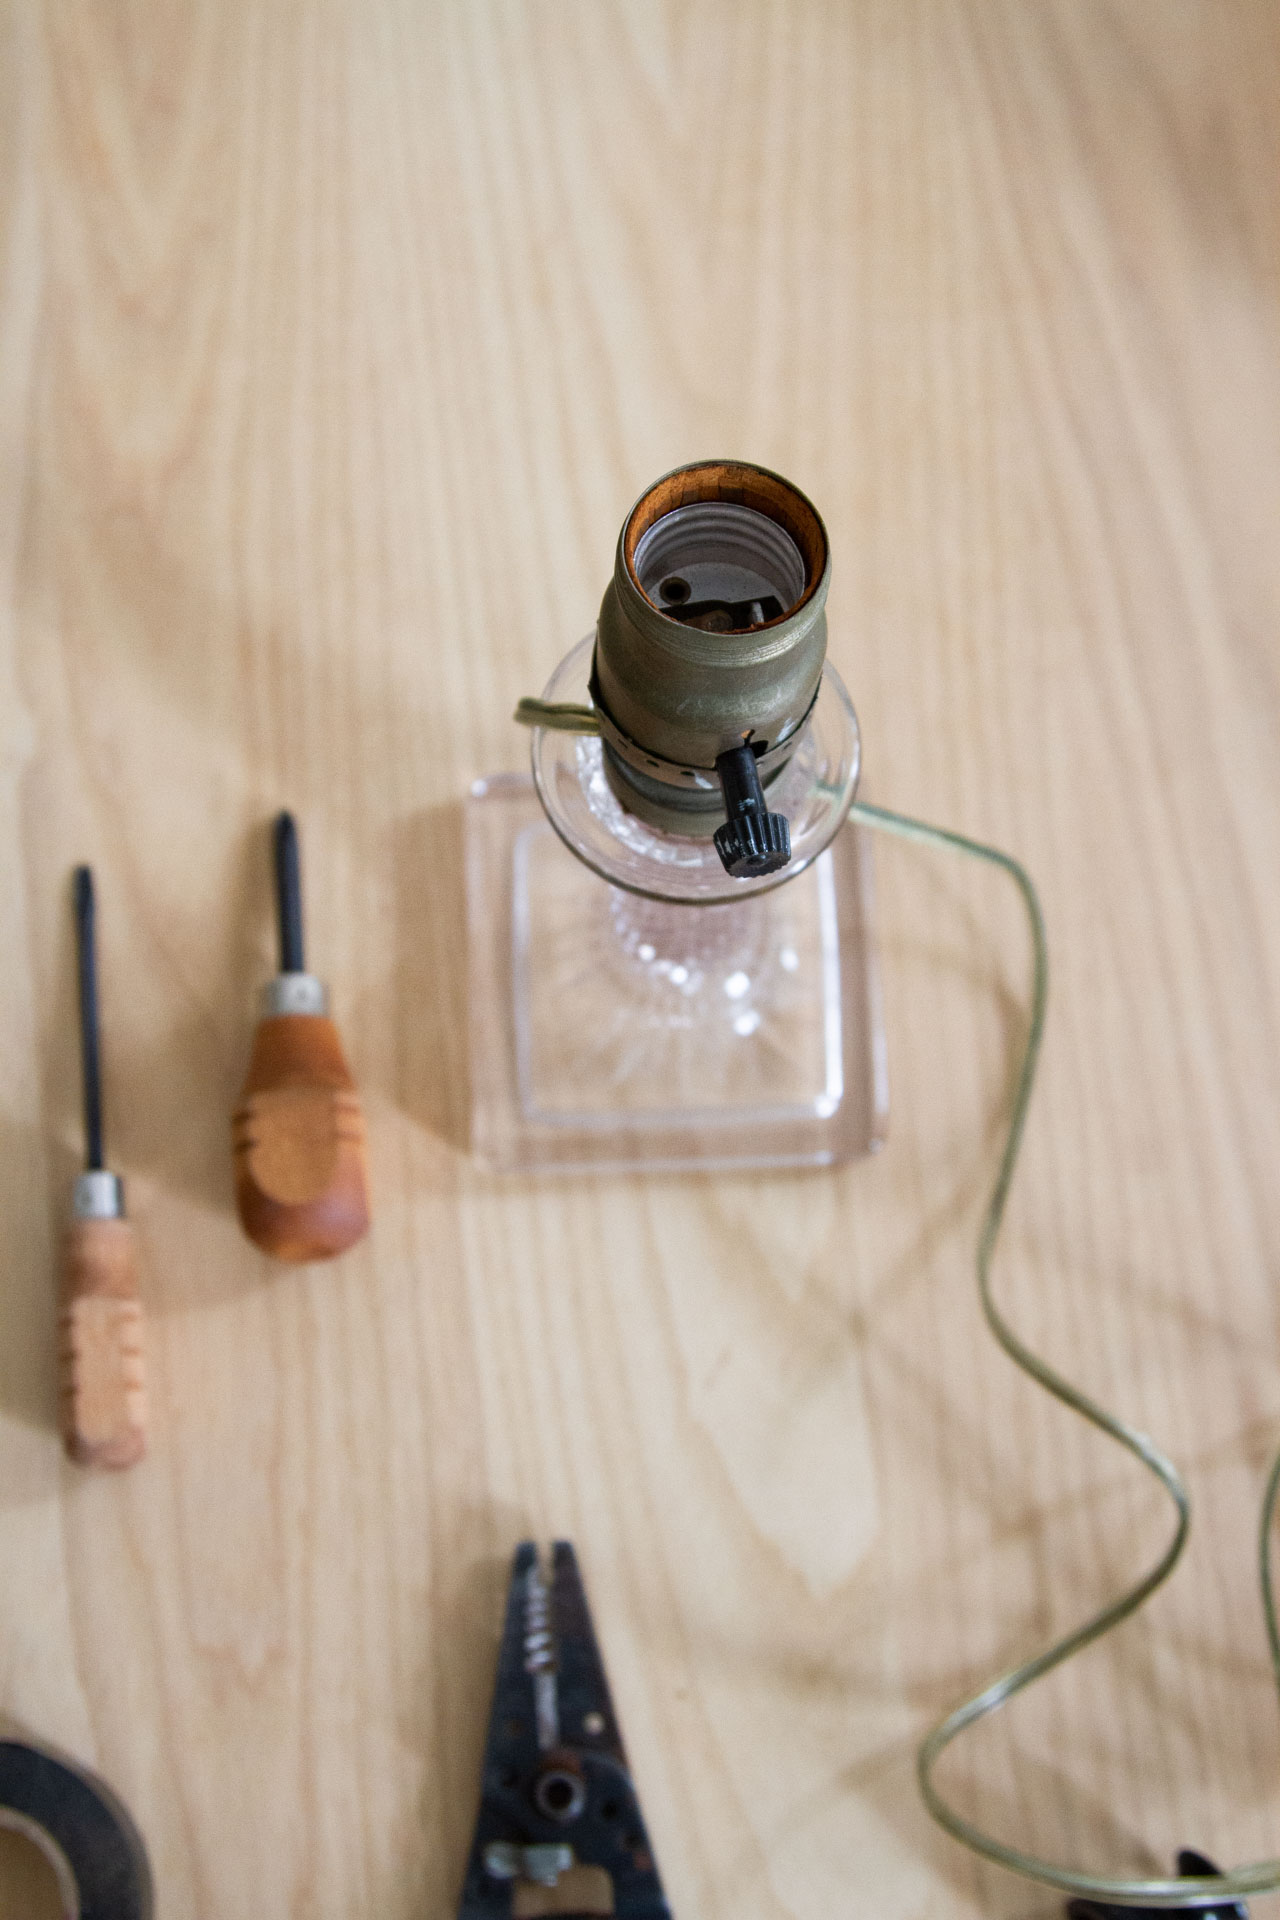
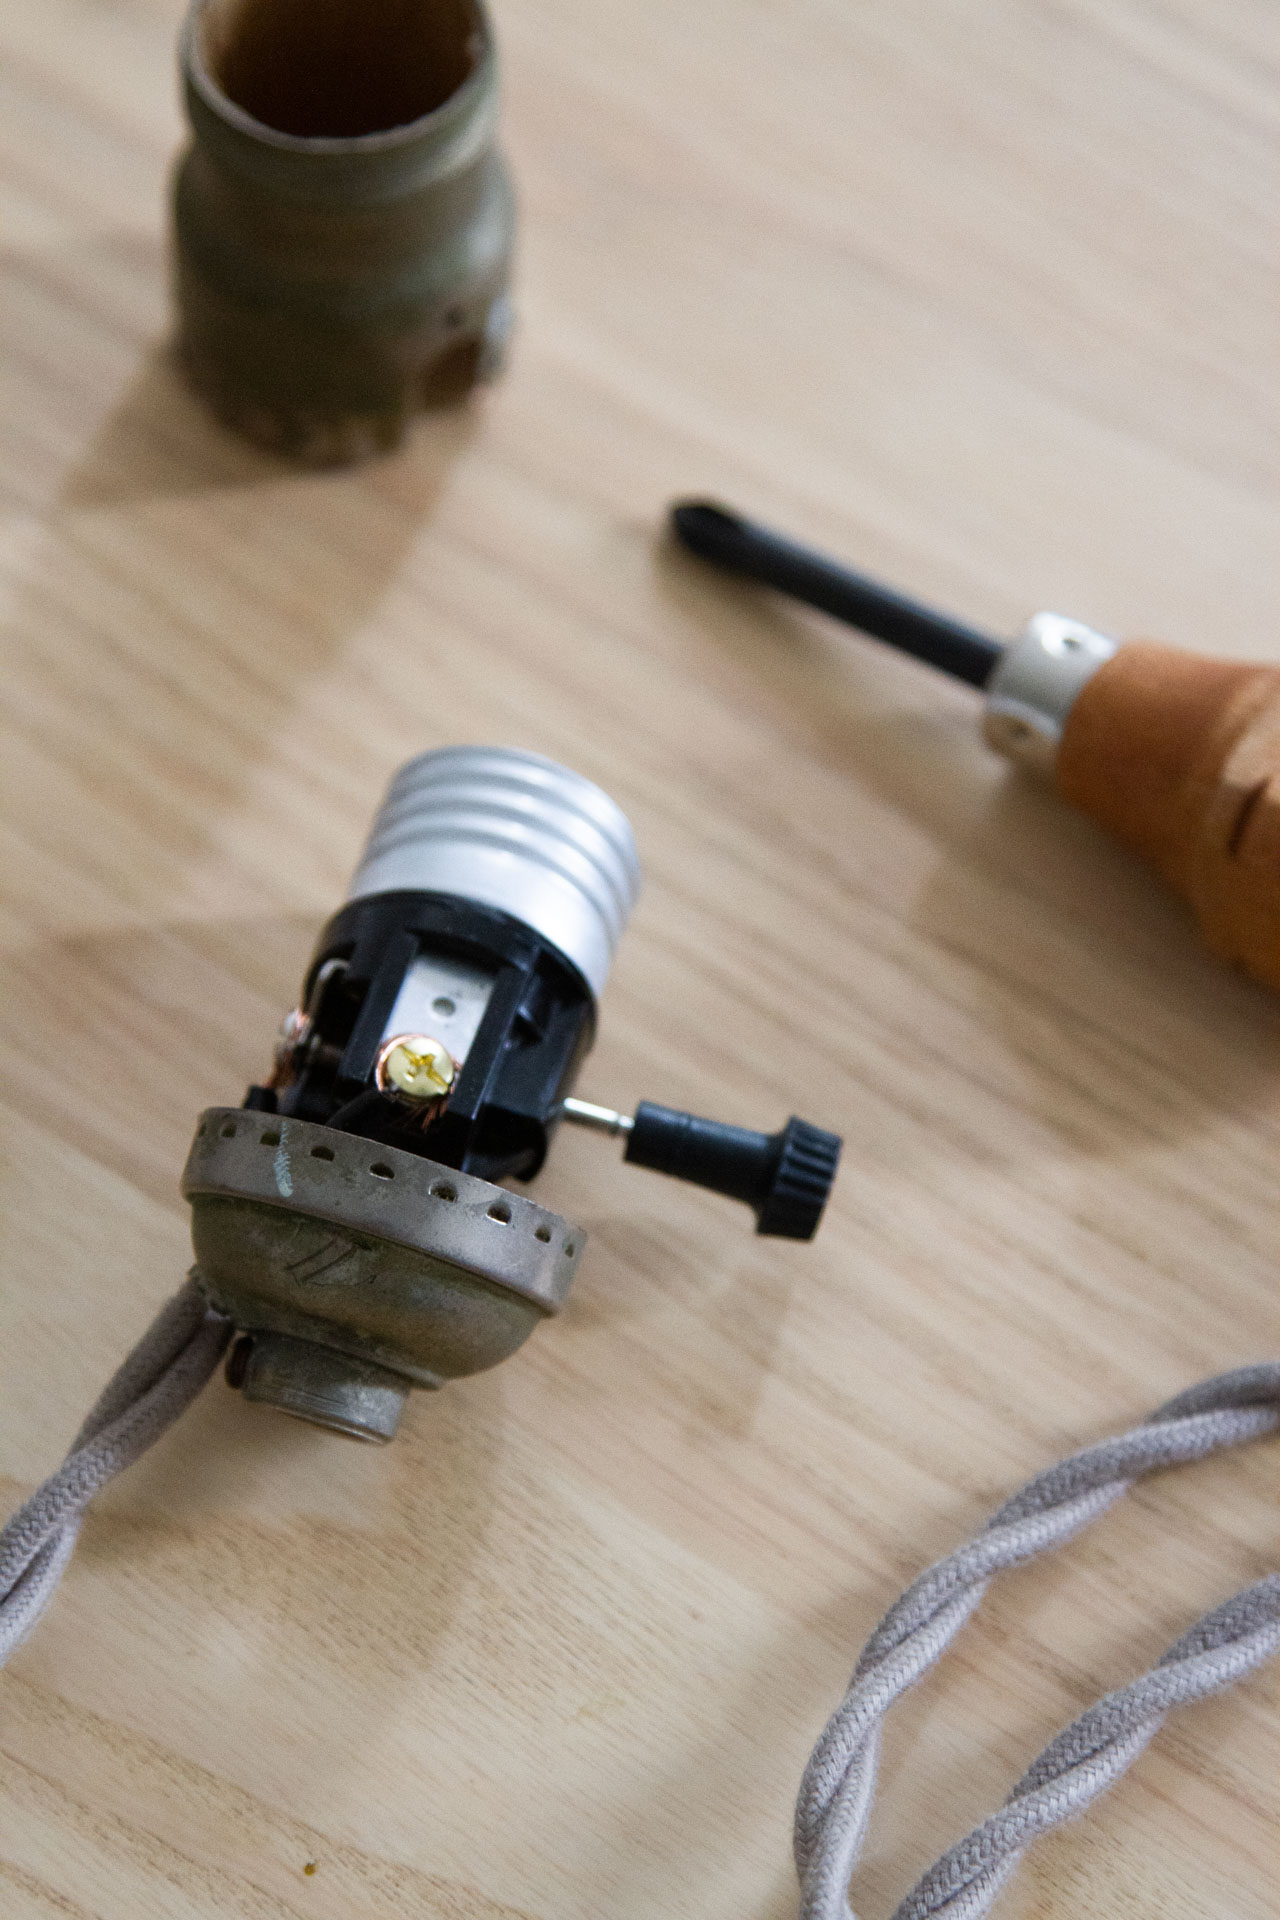
I started by taking my lamp apart to see if I could figure out what had made it stop working in the first place. Some socket sleeves, like this one, have the word ‘press’ printed right on them. If this is the case, press on that spot with your thumb to loosen the top of the sleeve from the base. All you likely need is a firm squeeze to remove the top of the socket cover from the bottom, but a flat-head screwdriver can help you pry them apart if you run into trouble.
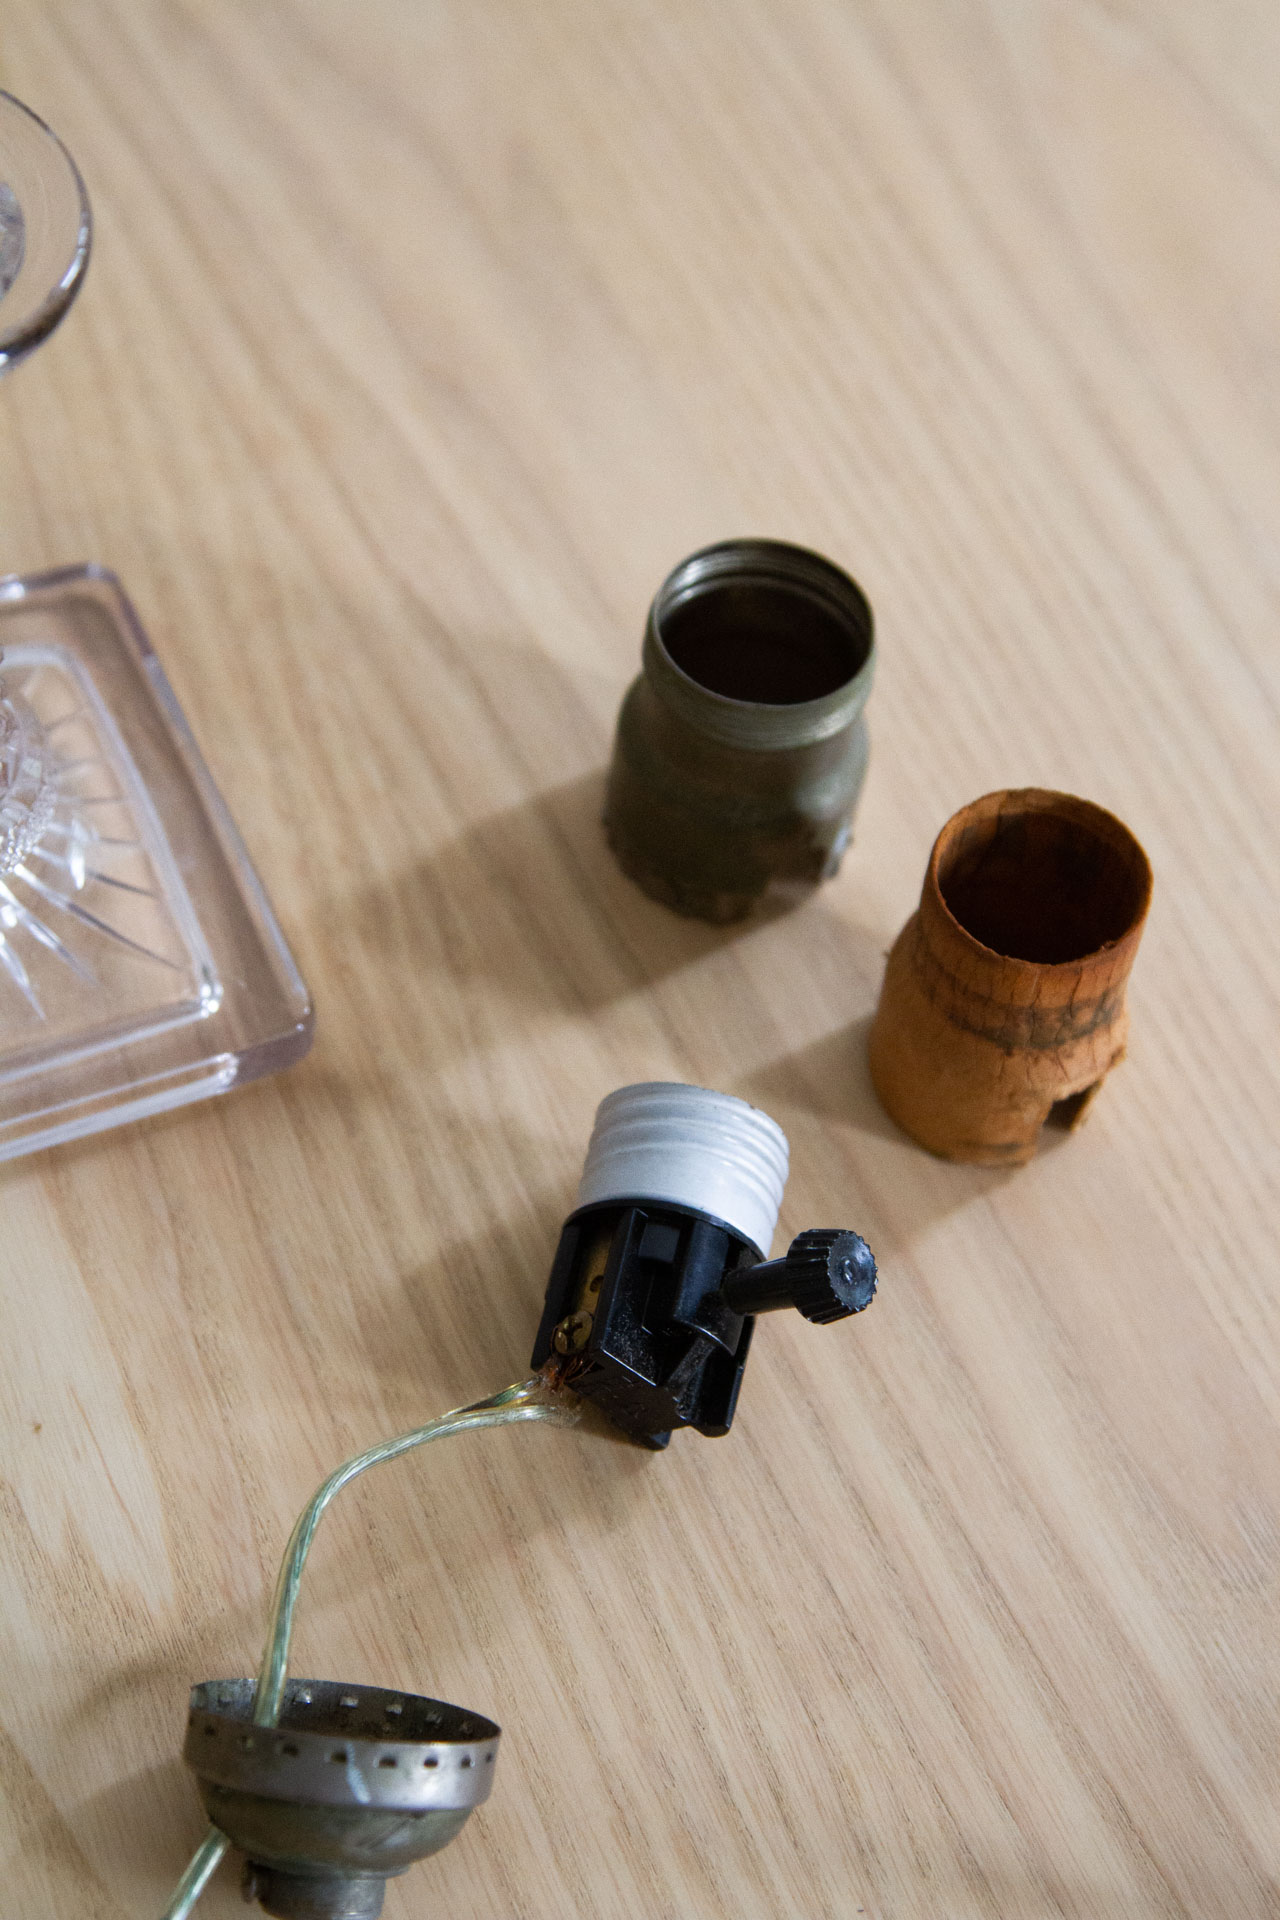
Inside I found some gunked up wires around the interior socket and decided to replace the interior socket and insulator along with the cord and plug.
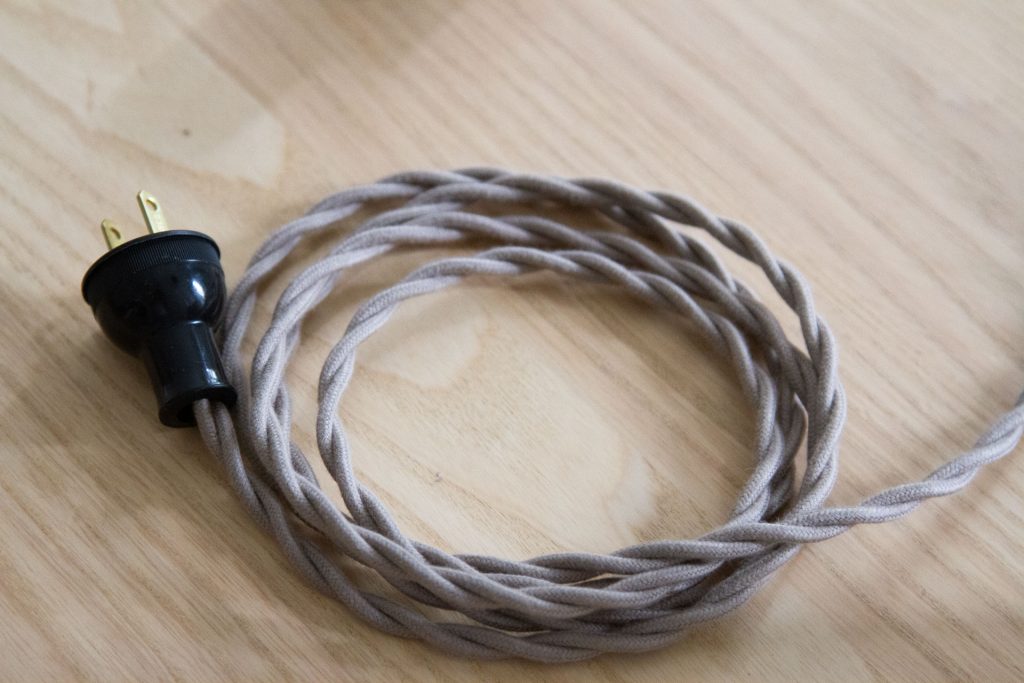
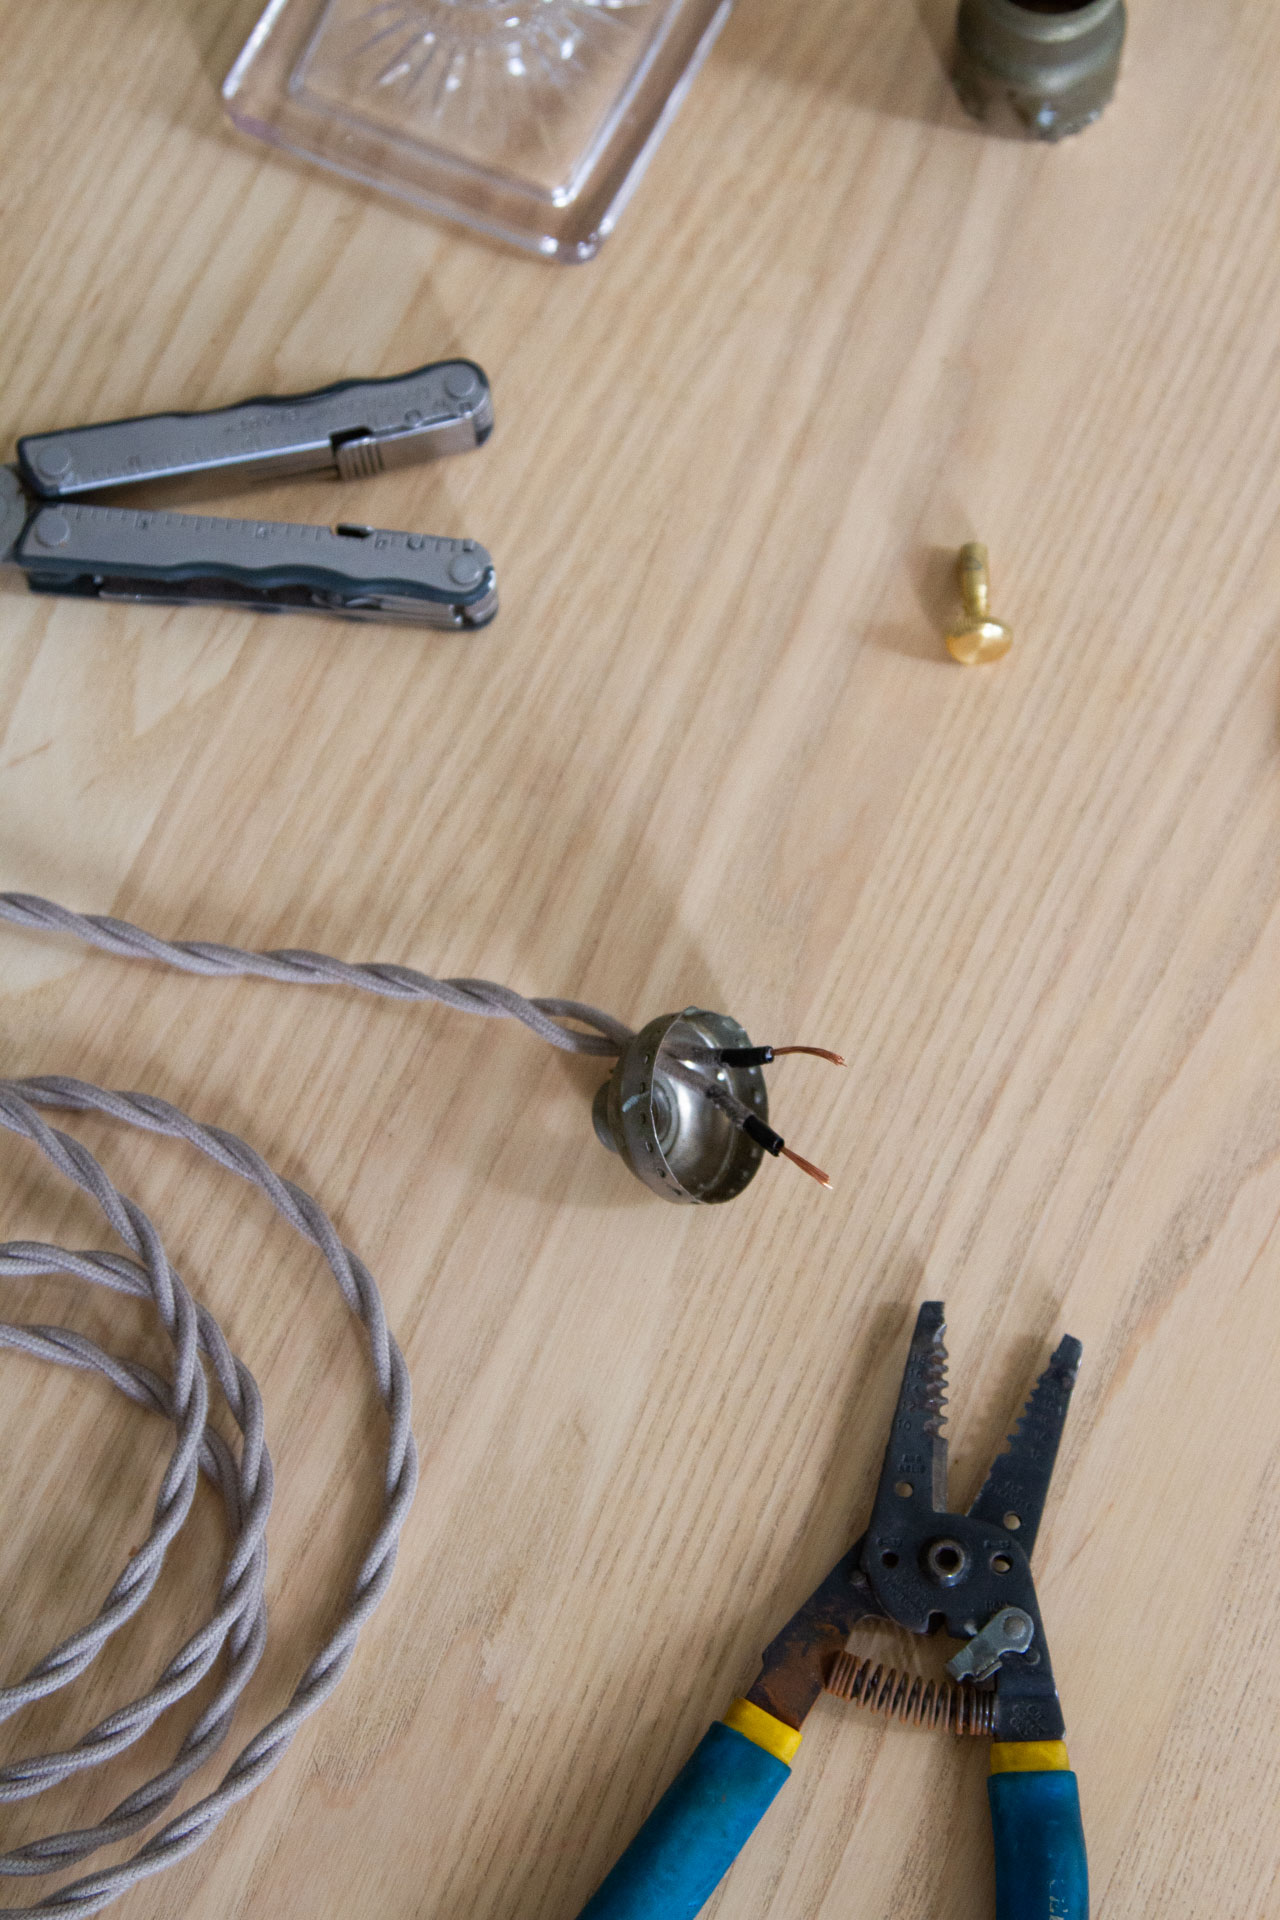
To replace the plastic cord, I bought a 6-foot length of clay-colored cloth cord with a black plug attached from Snake Head Vintage. For folks hoping to hear directly from the experts themselves, this video tutorial gave me the confidence to tackle this project myself. (Note: As a lamp repair novice, I found it was easier to gently snip the cotton covering from around the wires with nail scissors before stripping them.)
I wanted to reuse the vintage socket casing that was on the lamp so I decided to replace only the interior socket and cardboard insulator. For good measure I also decided to replace the generic black plastic knob on my new socket with a new brass knob.
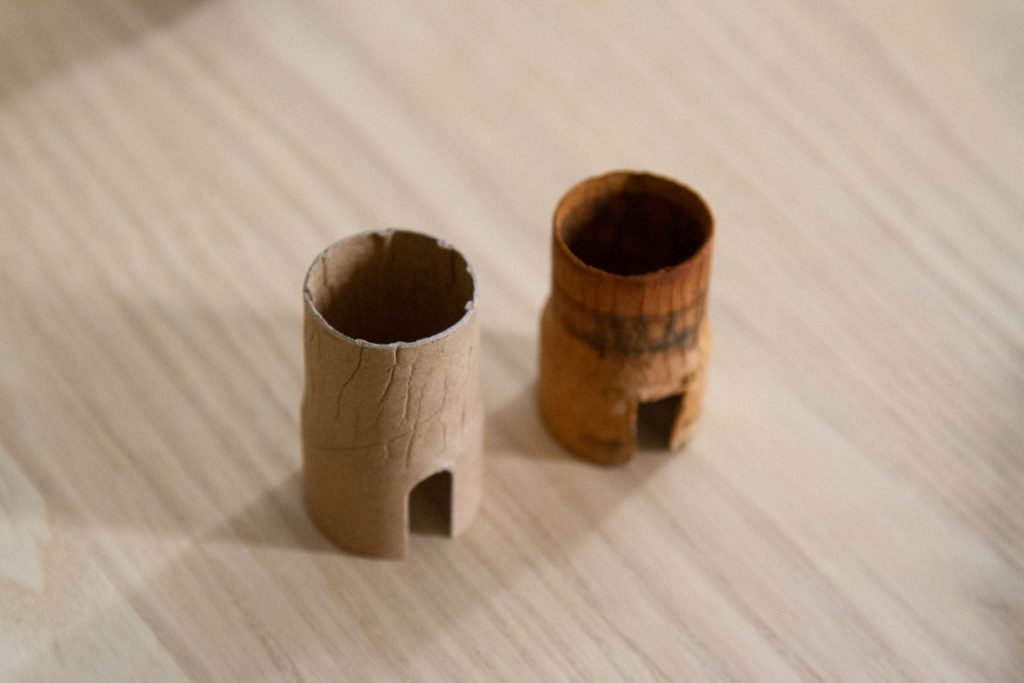
I suspect my lamp originally had a different interior socket that required the extra-wide “fat-boy insulators” you see above. I don’t think replacing mine with an extra-wide was ultimately necessary, but in case it was I found a replacement through Antique Lamp Supply. They have tons of different options depending on your specific needs and that might not be available at your local hardware store.
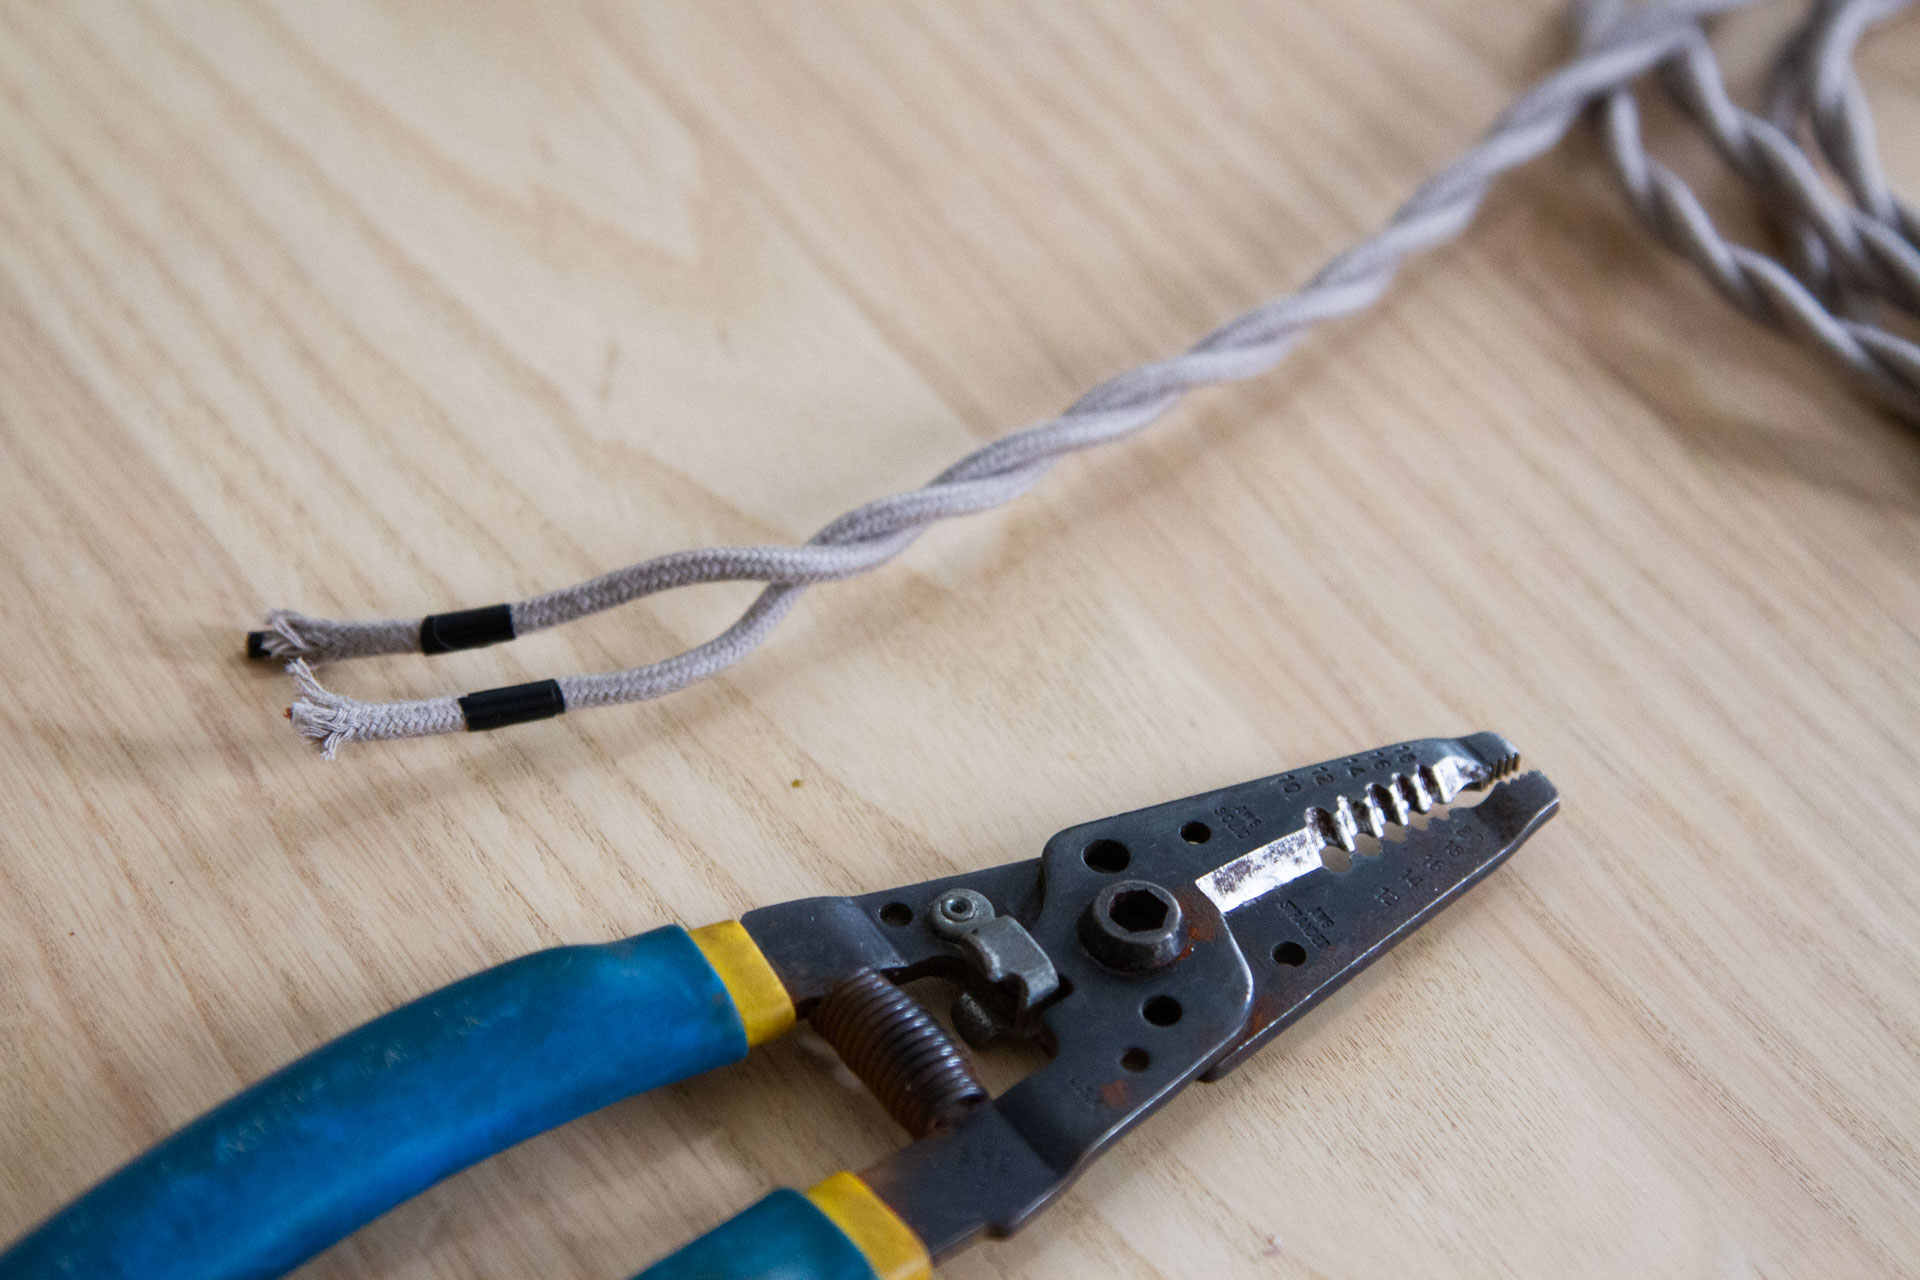
I borrowed a pair of wire-strippers and a round of electrical tape from my neighbor who’s a retired electrician, but should you not live next door to Al, wire strippers are easily borrowed from other handy neighbors or relatively inexpensively purchased from any hardware store.
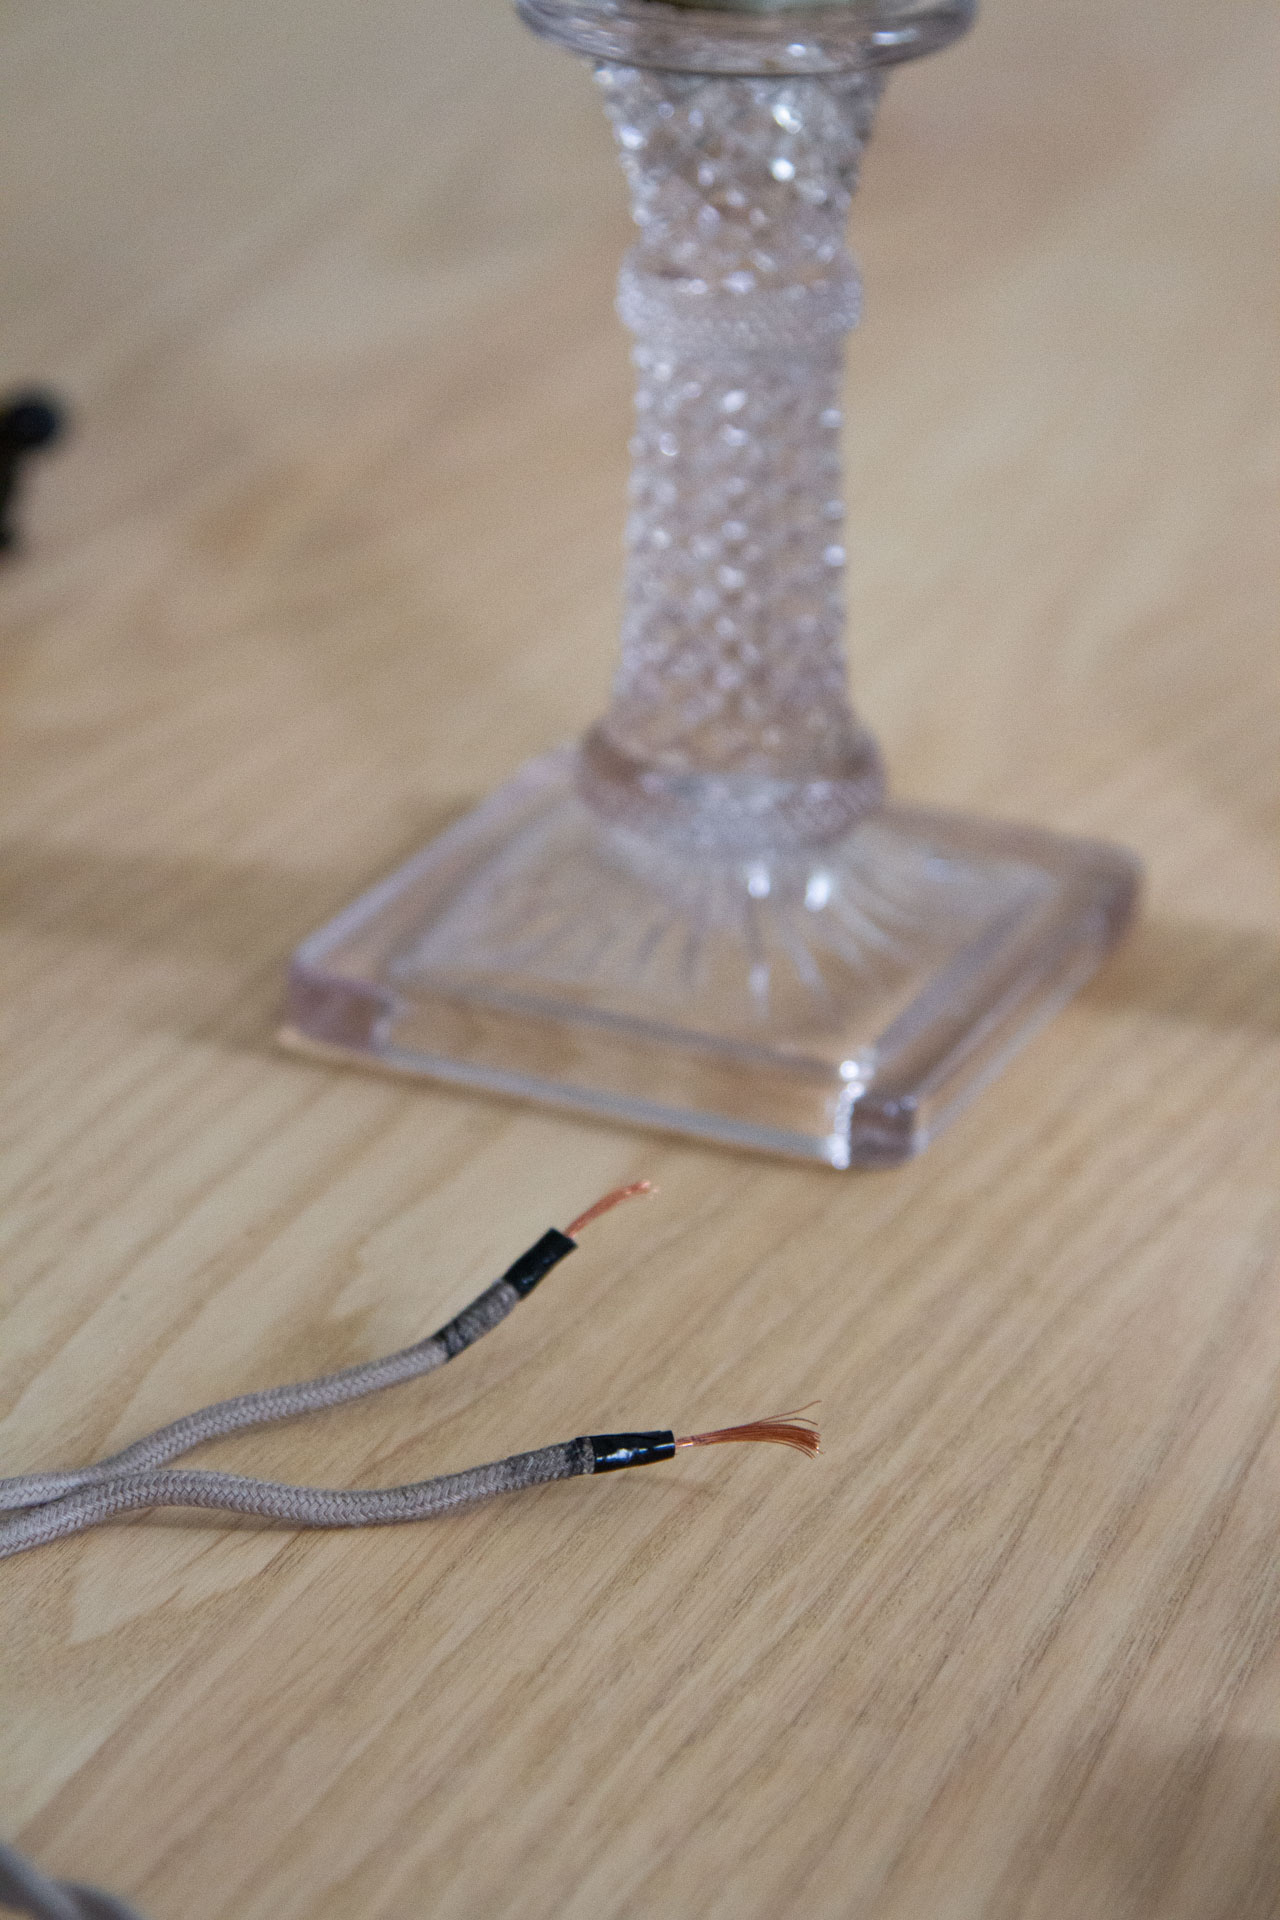
It took me a few tries to get the wire stripped properly and sealed up with electrical tape, but I got there. Here’s that solid tutorial if you’d like specifics.
I reused the original socket cap which had a hole bored into it for the cord to fit. I suspect this might have been an original DIY job required of turning this candlestick into a lamp as I haven’t found an exact replacement socket cap of this sort for sale, but digging might get you there.
Once I had stripped the coated ends off my lamp cord, rewiring the socket was extremely easy. I wrapped the exposed copper wires around the screws on either side of the socket and tightened the screws closed again.
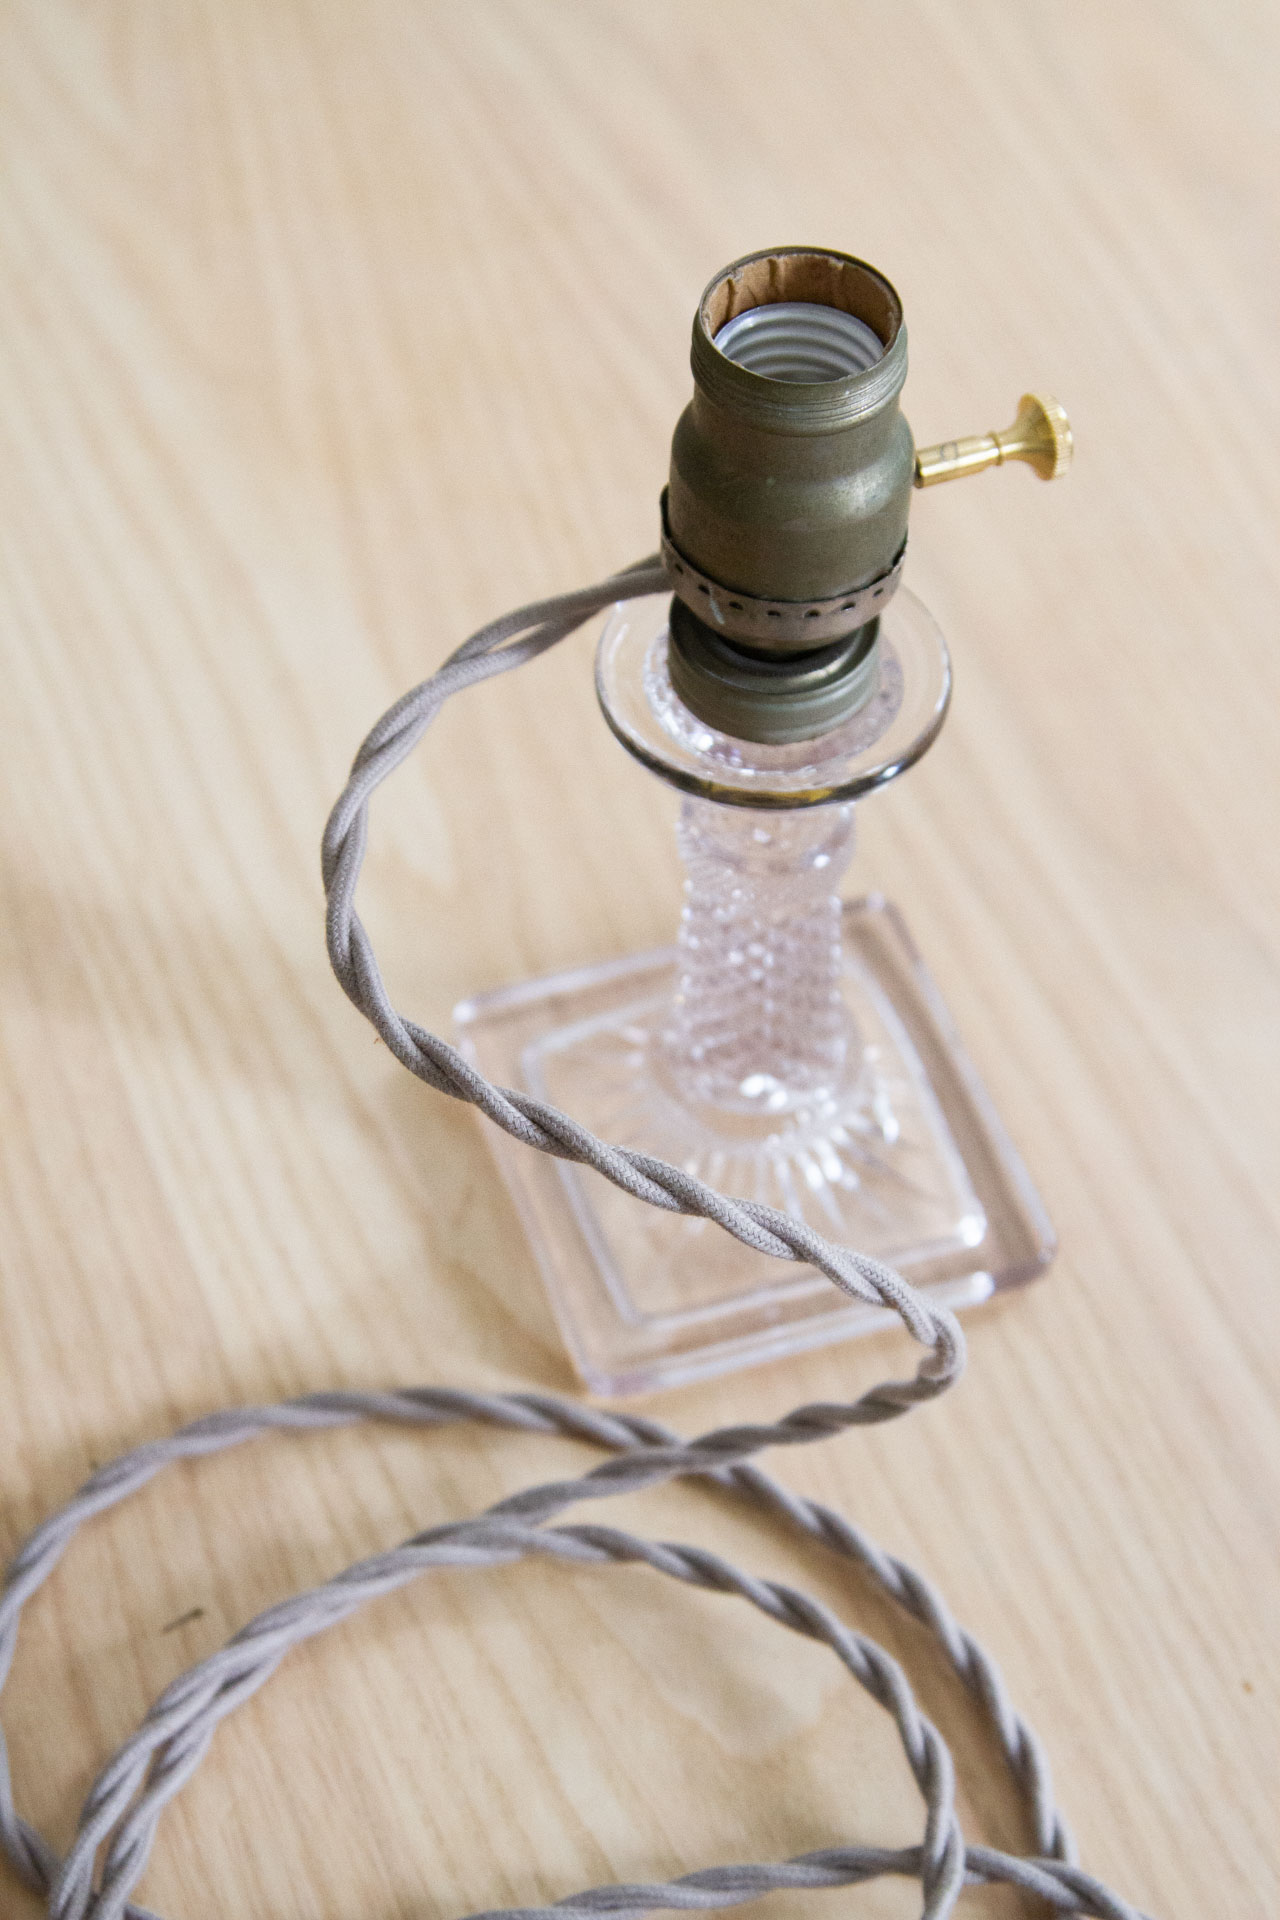
Then all I had to do was fit the socket cover back into the socket cap and replace the plastic knob with the brass one.
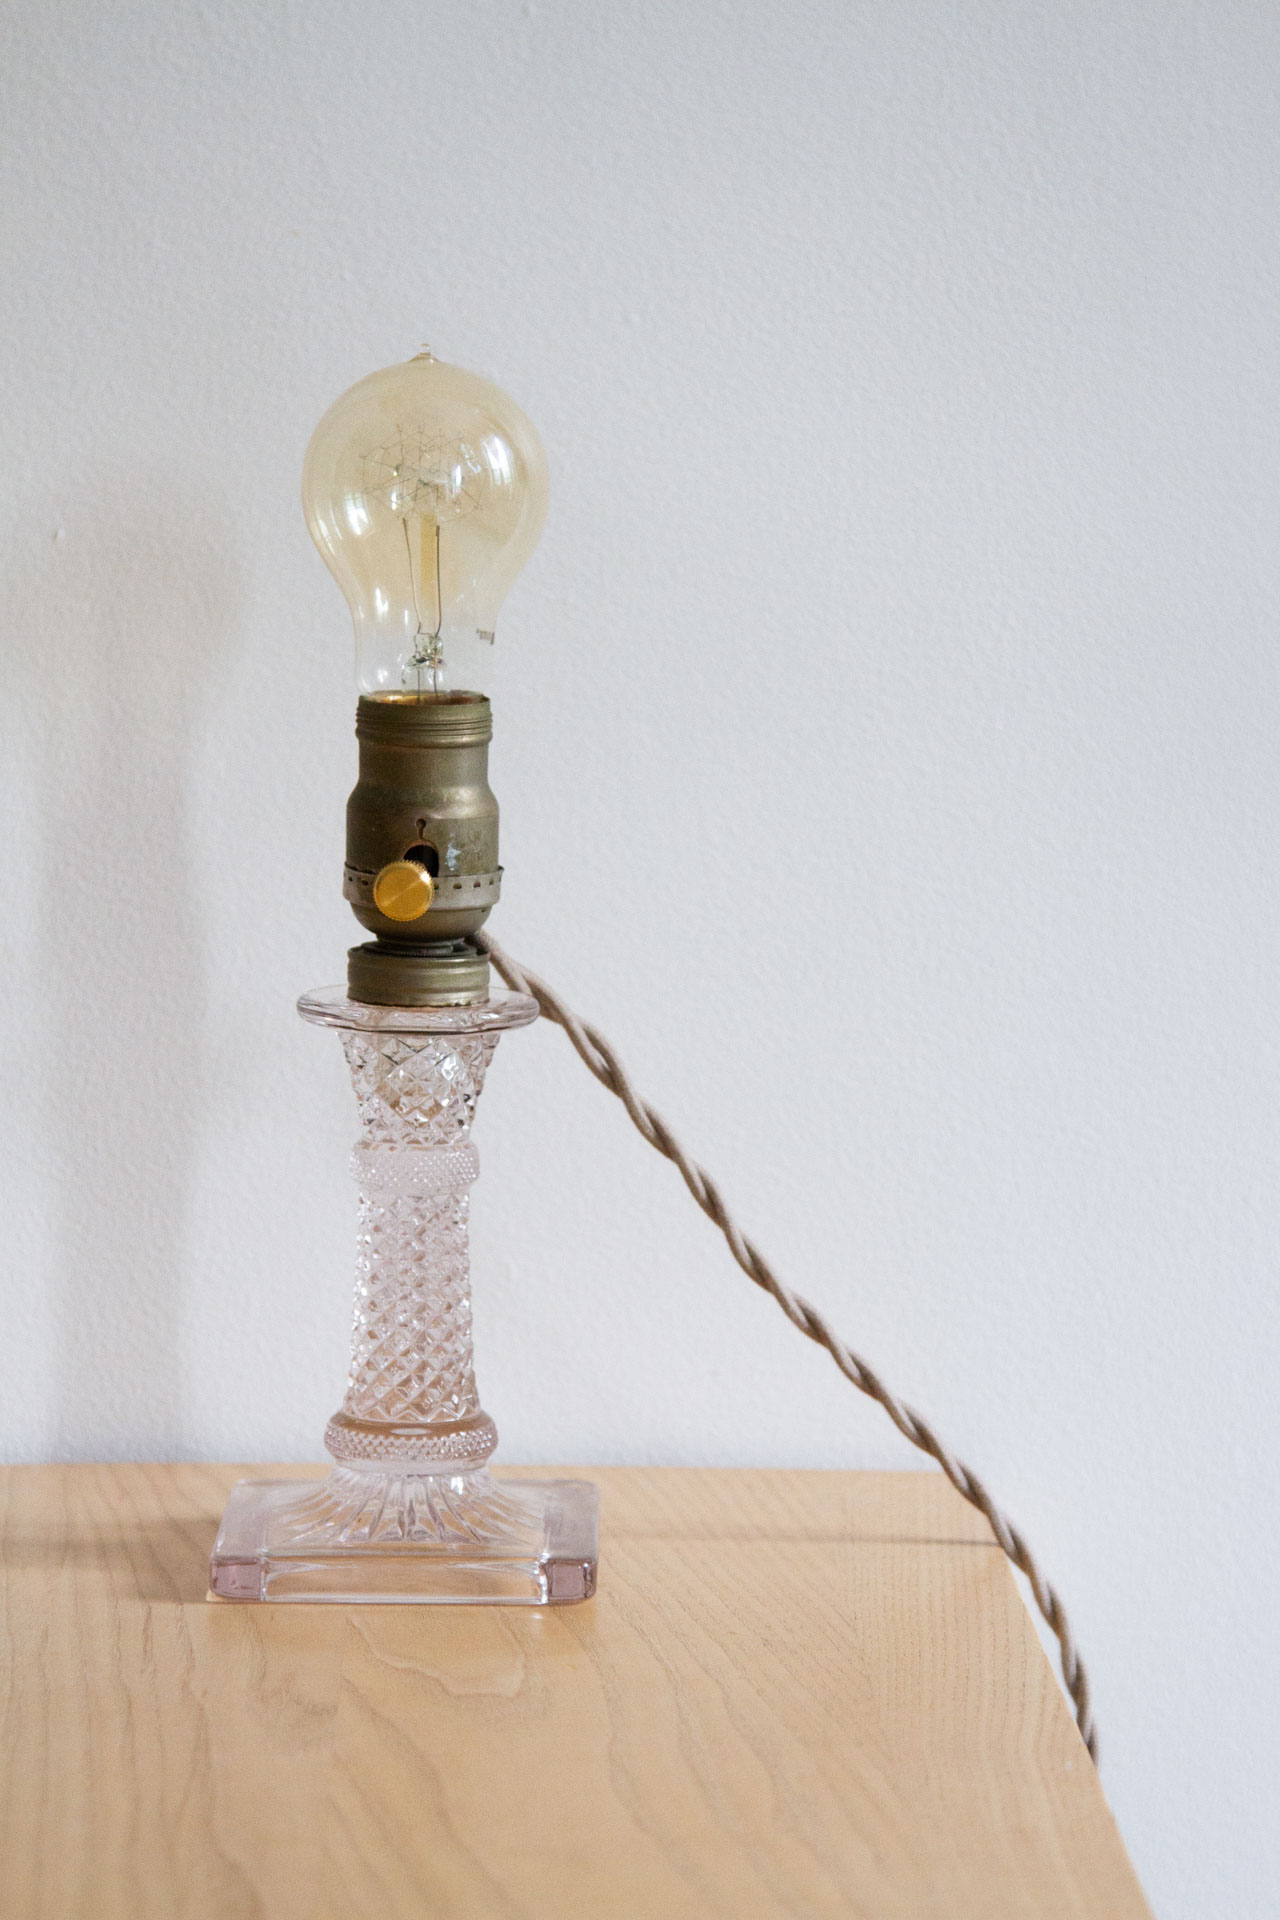
And now she’s good as new, which is to say, still old and wonky and just the way I like her.
If you’re not sure you’re up to tackling lamp repair yourself, it’s worth ducking into your local hardware store to see if they offer the service. Lots do!
Materials:
Cloth-covered lamp cord with plug
Electrical tape

11 Comments
Well done you! Most impressive!
It’s a beauty. I love solarized glass. Maybe this will inspire me to fix the old desk lamp I have on my to-do list.
What a beauty!
Thank you for this, you’ve given me the confidence to tackle a couple of old lamps that have been languishing in an attic. In 1984, when I moved from France to the UK when I was 20, I found that all small electricals (lamps, hairdriers etc.) were sold without plugs – you had to buy a plug separately and fit it yourself at home! Eventually this changed but I remember dire warnings from consumer associations about the safety risks of factory-fitted plugs!!!
Fellow 100% not-an-electrician/tinkering life-re-breather into old things who just rewired a lamp rescued from my grandmother’s house: might be worth mentioning the existence of neutral and hot wires/that some lamps ask that you attach a specific one of the two wires to a specific one of the two screws for safety. I also love how simple and practical those markings often are…like on your old lamp wire, it’s likely the silver side that’s “neutral” and the green side that’s “hot” (or on an opaque plastic wire, there sometimes is a little ridge along the hot wire) and sometimes in the socket, the hot screw is silver colored while the neutral is brass…like so many things to discover, it’s like it speaks a hidden language waiting to be learned.
So beautiful!! Impressed as always by your handiness and can-do attitude, Erin 🙂 Question: what kinds of light bulbs do you like to use in your home? I get so overwhelmed these days.
Oh gosh, we have all kinds. I have tried every LED under the sun and have yet to find one that I really love. This is an old edison-style bulb I’ve had for years–not sure where from!
Recently we found a lamp at an estate sale that has a tiny night light bulb in the base as well as a standard bulb up top. It turned out the switch was faulty, and after some macguyvering led to a dramatic electrical short, it was definitely time for a top to bottom rewire. I found the very specific lamp rewire kit for this style of lamp on ebay from the aptly named lamppartsguy. It was such a wonderful feeling to finish the project and flip to switch to see the coziest glow!! I felt like I had scored a touchdown.
What a lovely lamp! 🙂
Such a beautiful lamp! I’m much too afraid of sparking myself to be hands on with the electrical side of things (last time I did that was in primary school during science class lol), but if it means restoring such a pretty lamp, I’d give it a go! x
If you’d rather not rewire yourself, definitely look into taking it somewhere! An inexpensive fix!
Comments are moderated.