Ever eager to cut down on disposables, a small collection of compostable beeswax wraps have been among my small-kitchen essentials for the last decade. For the uninitiated, a beeswax wrap can be used in place of plastic cling wrap in a lot of different applications, they’re relatively easy to clean, pretty long-lasting, and easy to come by, but they’re not all created equal. The original Beeswrap wraps have been my favorites and I’ve kept them in rotation the longest but I’ve had others that have gone grody almost immediately and had to be sent to a proverbial farm upstate. This is the first time time I attempted to make my own.
I should probably start by saying that I avoided this project for a long time. There are roughly one million of these tutorials already on the internet and I wasn’t sure that the world needed to see my particular take on it or if this was even something I wanted to make. When I set out to nail down a recipe I was overwhelmed by choice and variation. I’d see the words “pine resin” and my eyes would cross and my browser would close.
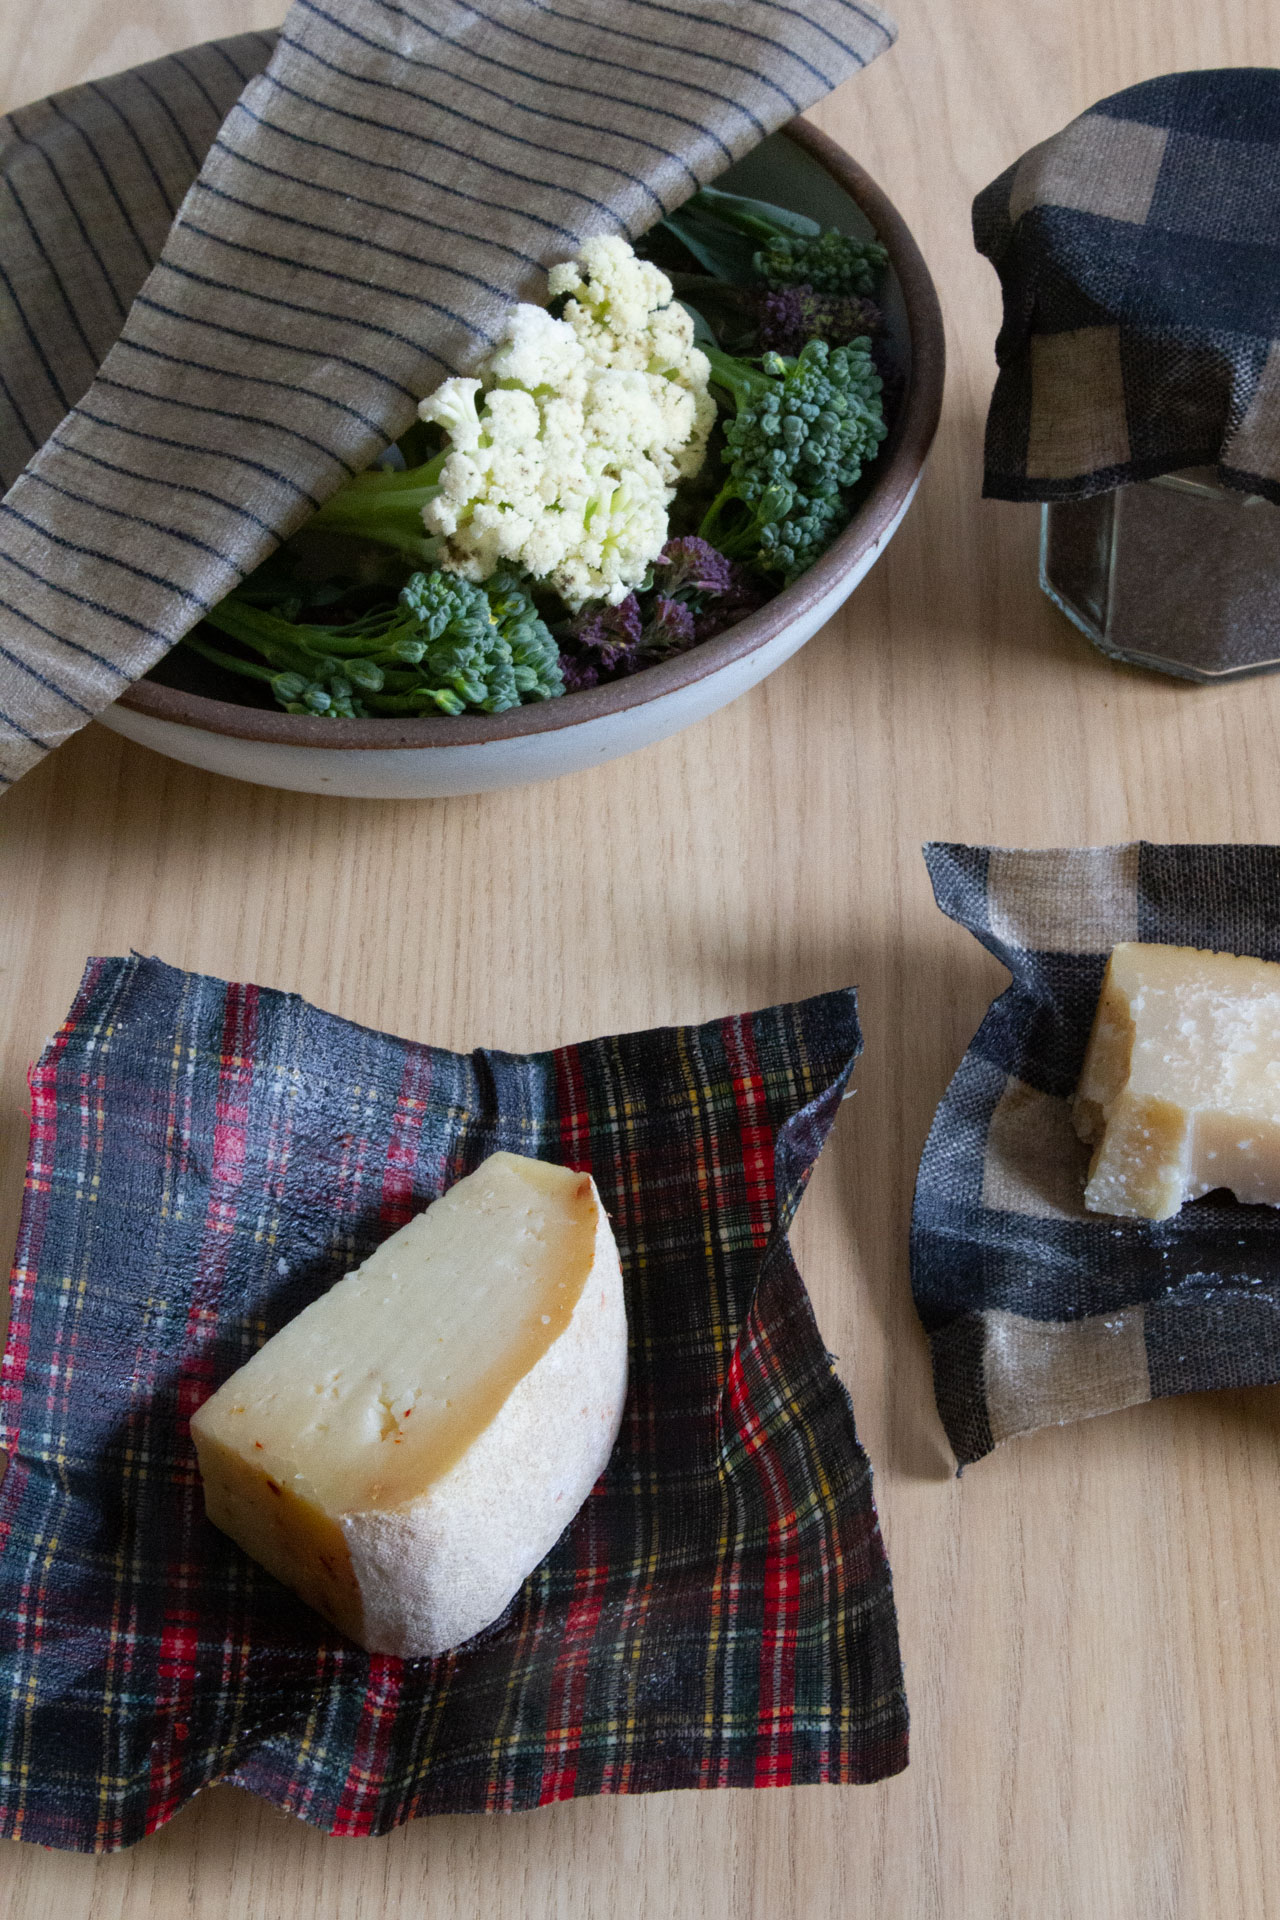
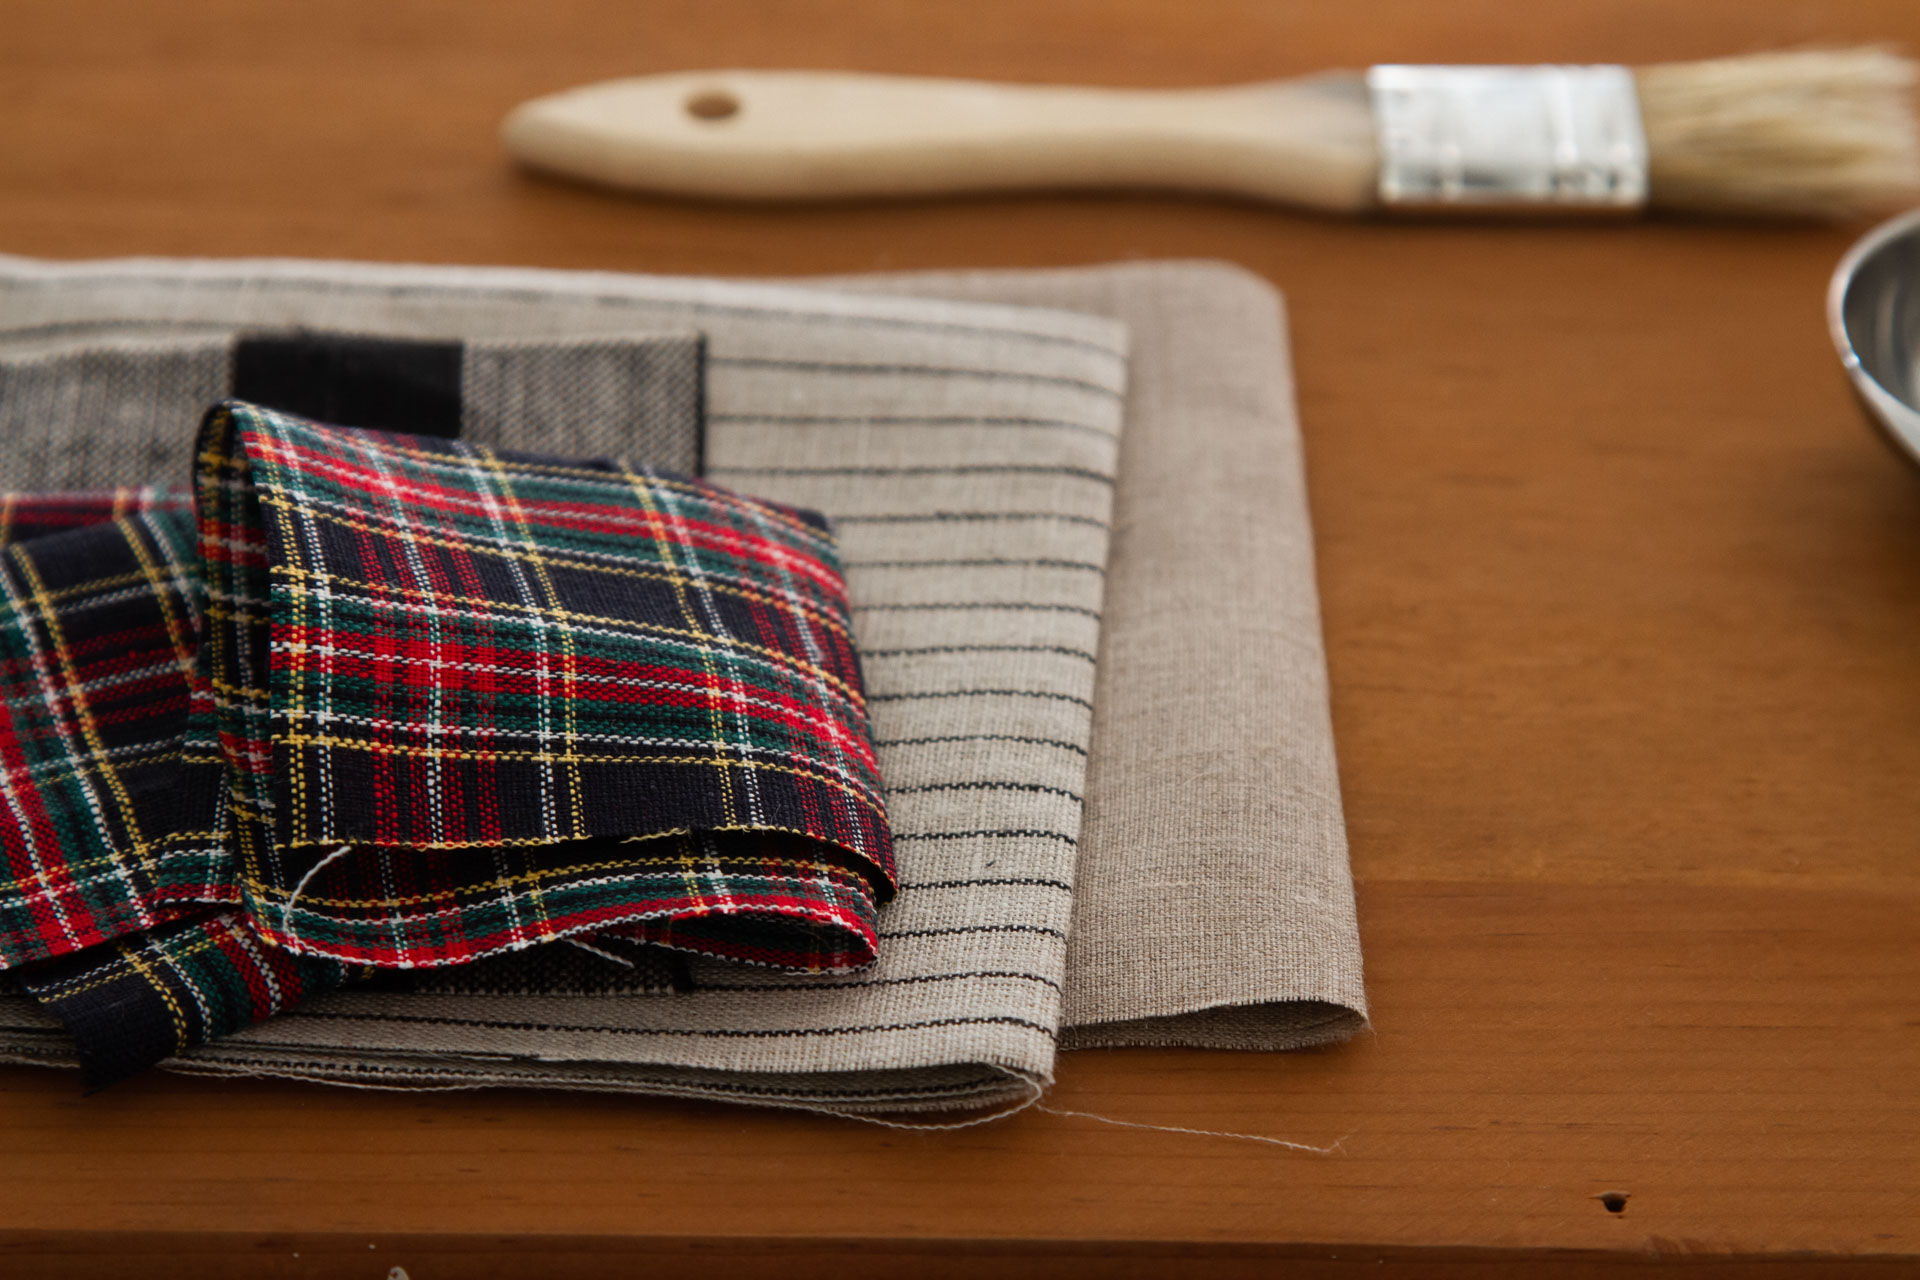
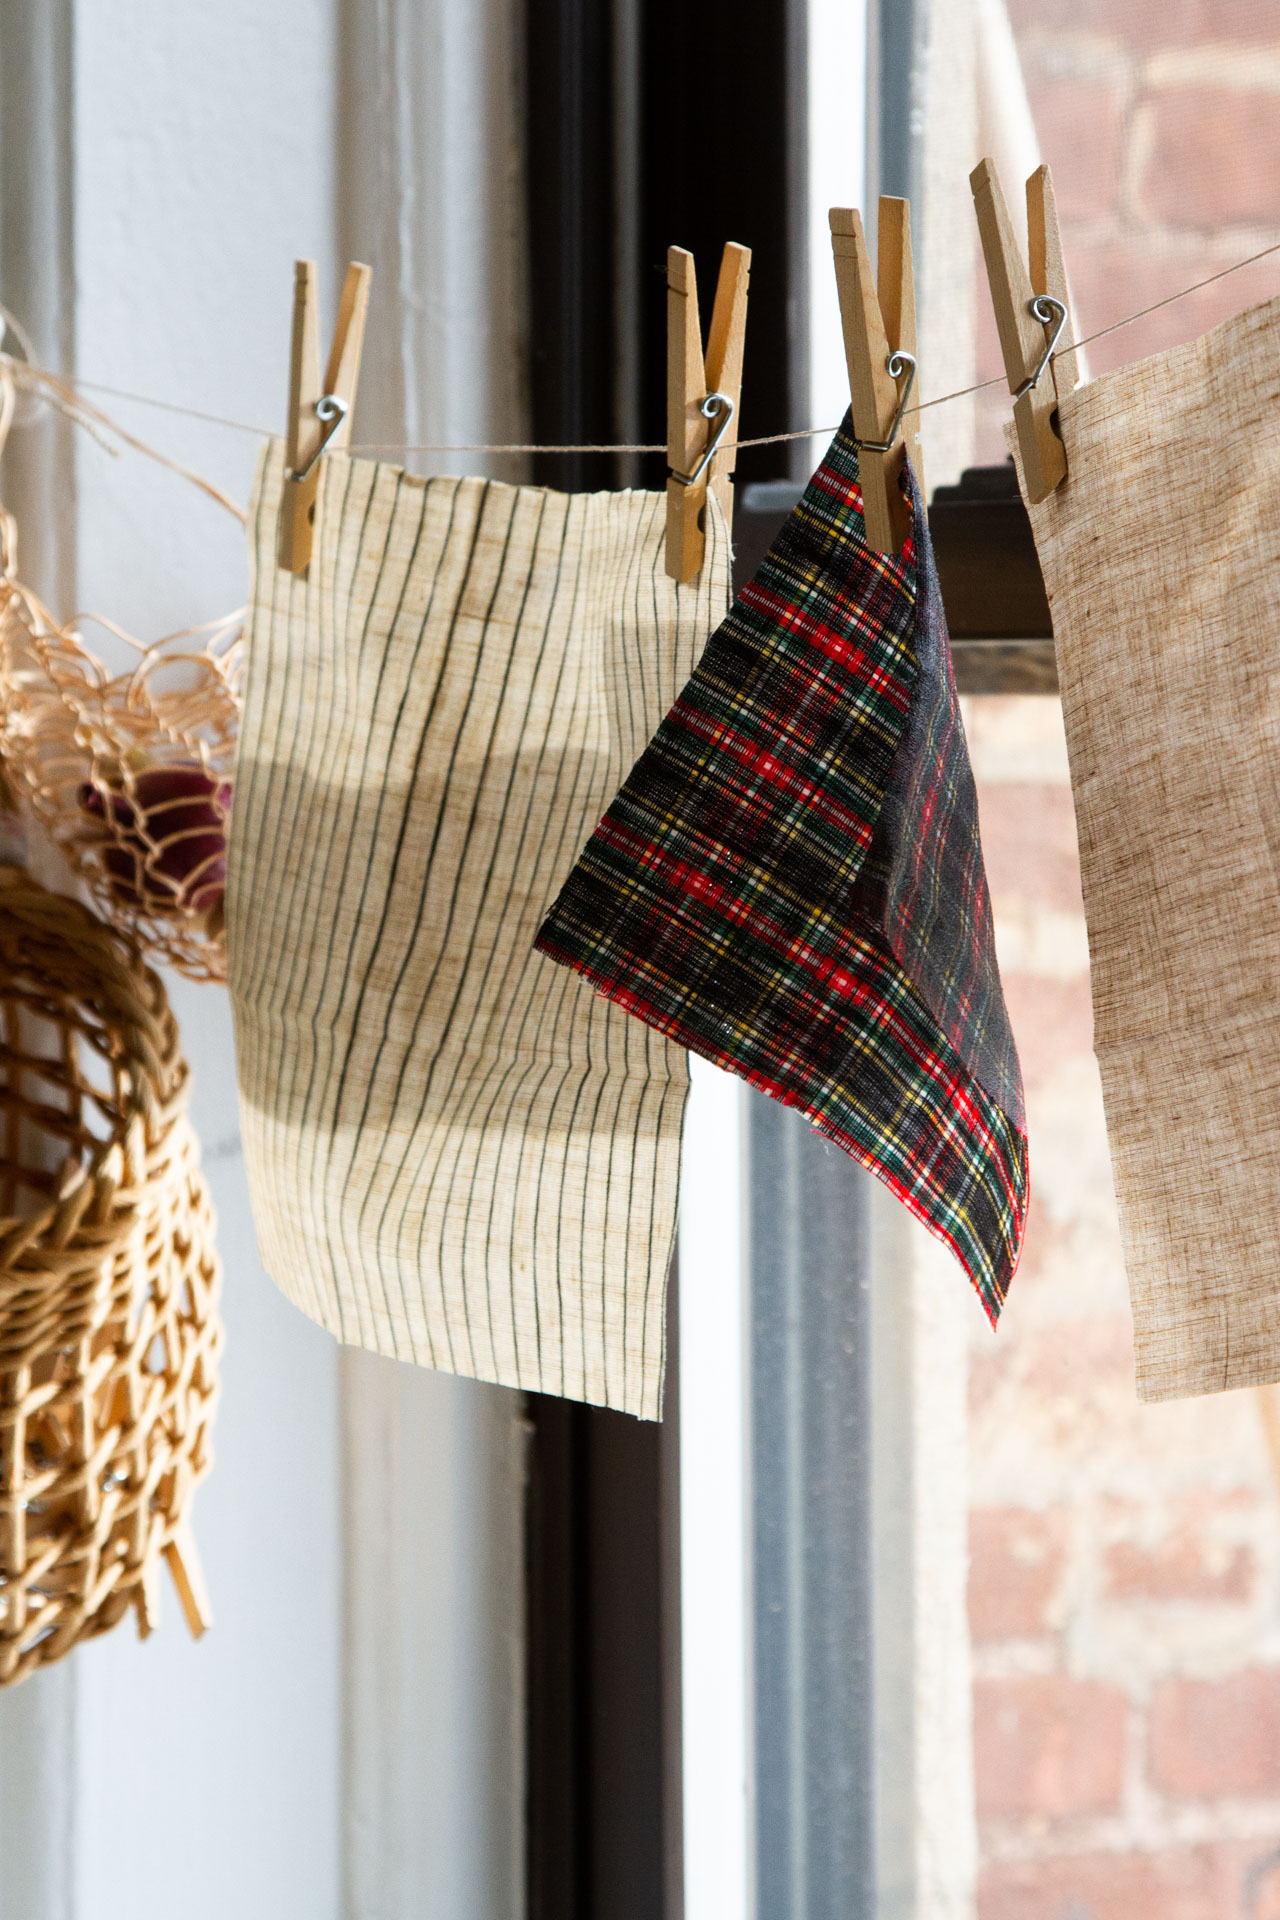
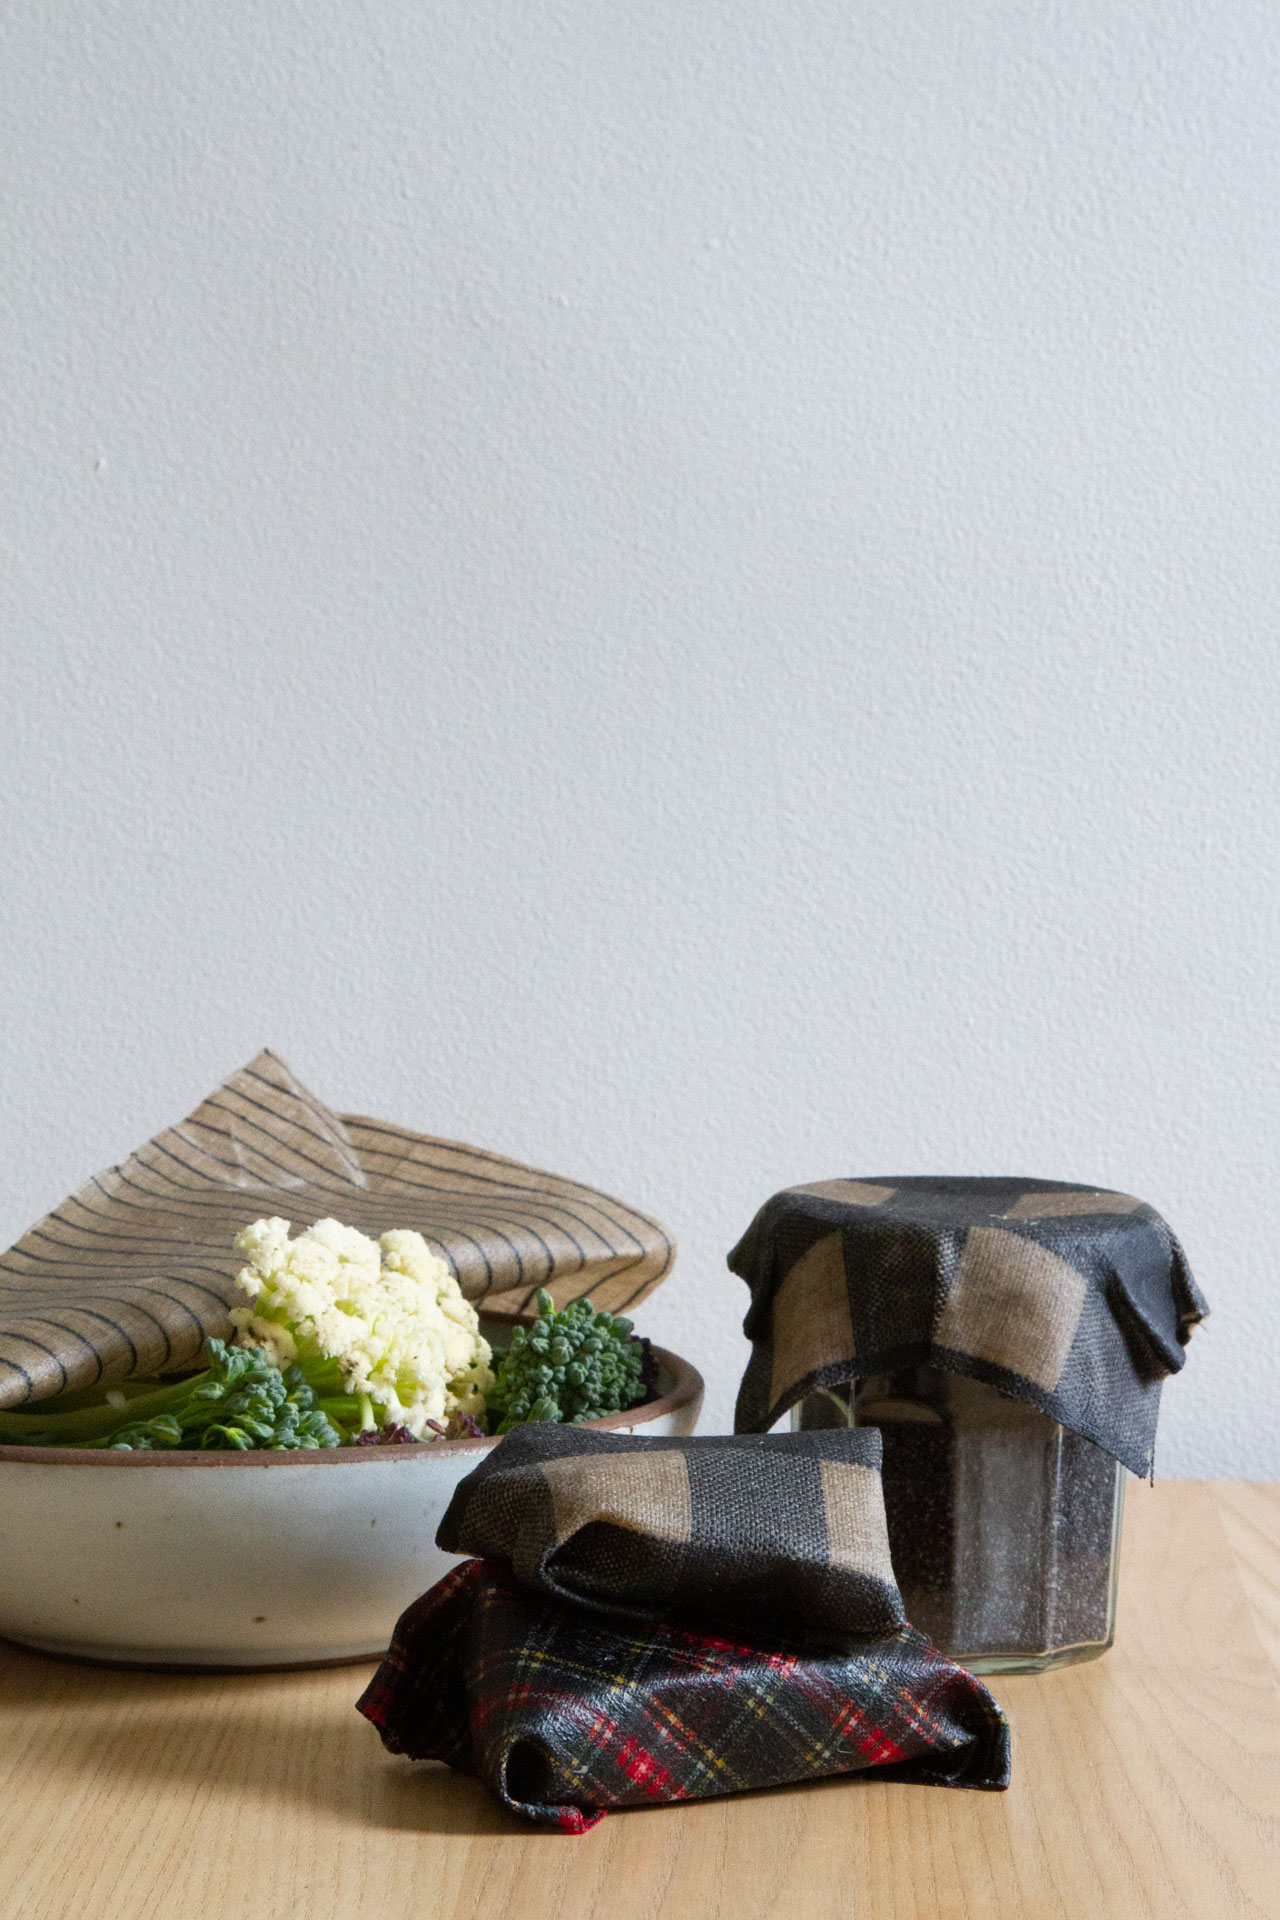
But reservations aside, I’ll admit I really liked tackling these myself. The most appealing part of the project by far was getting to choose my own fabric and cut the right-sized pieces for me, my hunks of cheese, and my bowls. What a delight! I once again dipped into my Fog Linen remnant stash and experimented with lightweight linen and heavier weight and even used a leftover square of kala cotton from my kitchen shade. I found them all to work equally well.
Once I landed on a recipe and a technique, the concept was simple and straightforward and like so many handmade things, meditative to make. If pressed I’d say that my handmade version is not quite as refined as the original Beeswrap and doesn’t cling with exactly the same efficacy, but the personalization gained by making my own felt worth the extra effort.
This is the kind of autumnal project that it’s worth inviting friends over to make (in part because you might otherwise have a lifetime supply of pine resin on your hands). Gather in a kitchen warmed with a low-temp oven and the pleasant smell of beeswax wafting in the air, pour glasses of wine or hot tea, and trade off painting melted wax and oils onto favorite scraps of fabric and blotting up the excess. By the end of the night you’ll have strings of beeswax-scented sheets hanging from all available surfaces and you’ll send folks home with a little bit of useful magic to put to work in their own kitchens or to give as gifts.
Beeswax Food Wraps
I adapted this recipe from posts by Mountain Rose Herbal and Our Essential Living.
Materials:
+ light- to mid-weight fabric scraps cut to the size and shape of your preference
+ double-boiler dedicated to wax projects and/or small saucepan and empty tin can or glass jar
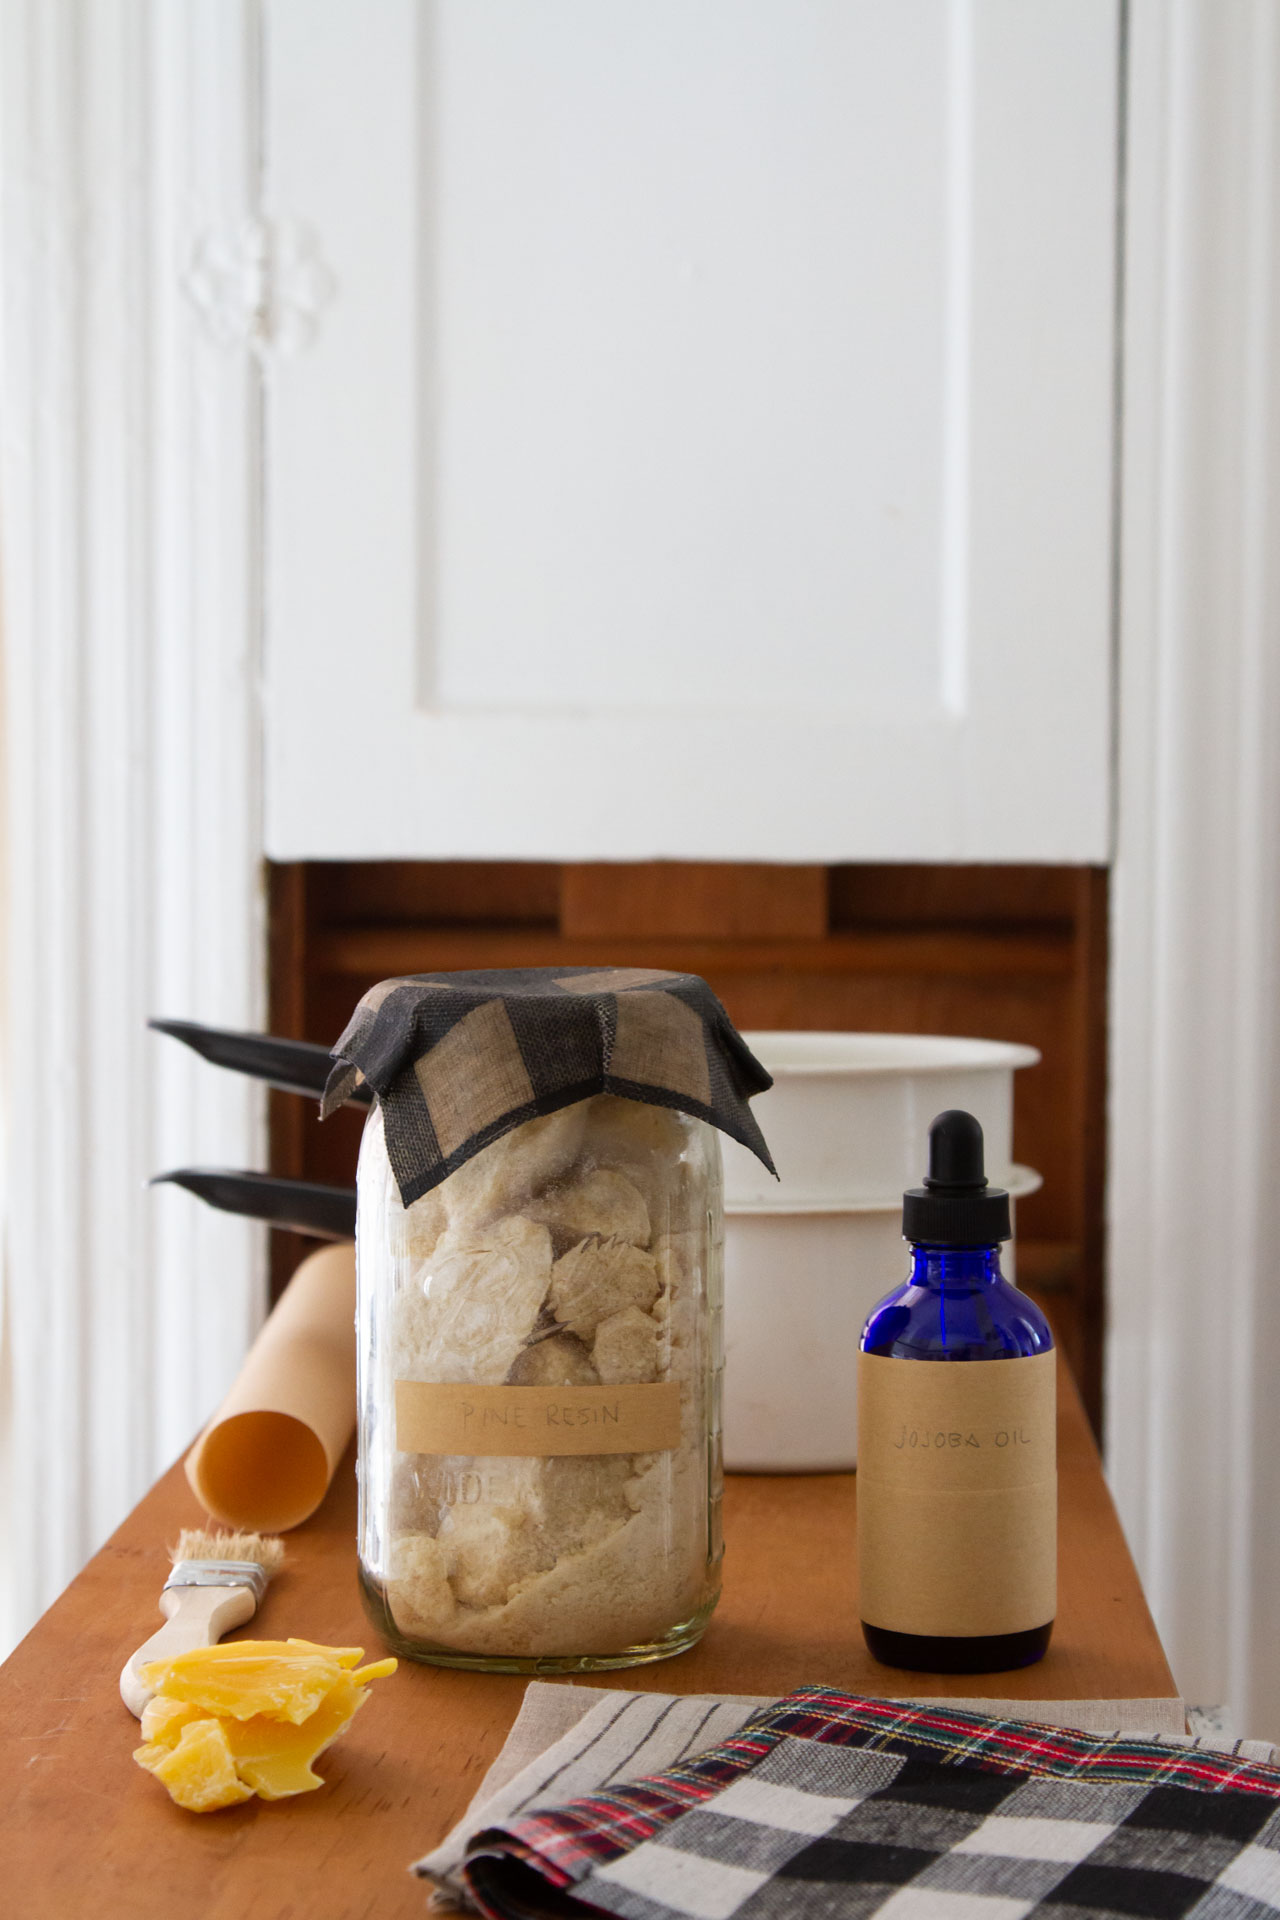
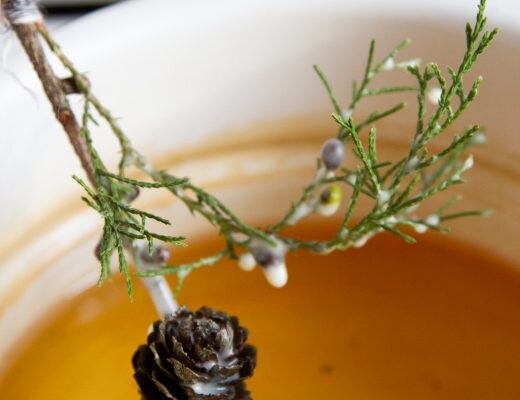
+ .33 ounces pine resin
+ 1.25 ounces beeswax
+ sheet pan or cookie tray
Directions:
+ Preheat oven to 250° F.
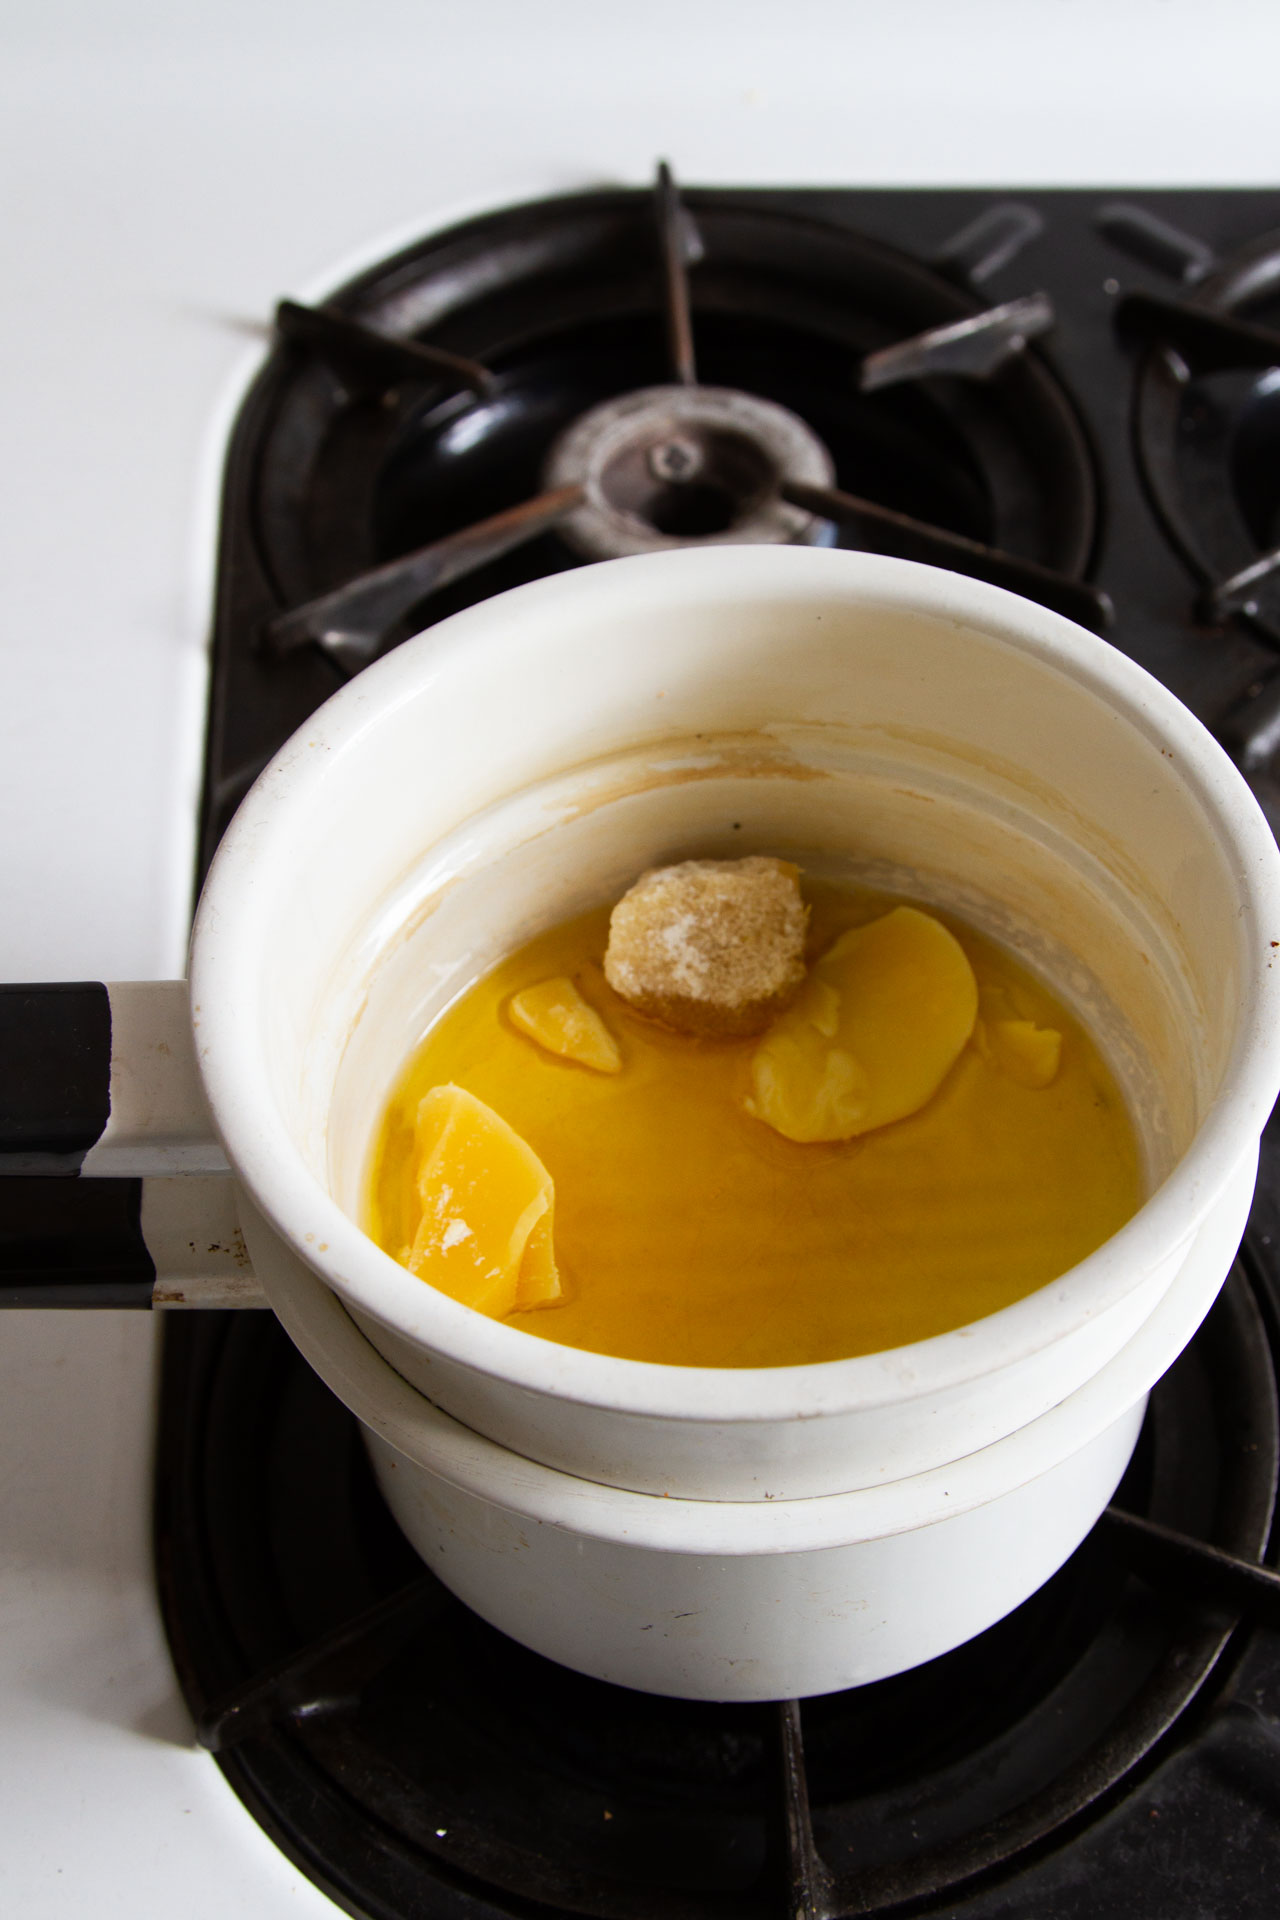
+ Place pine resin, beeswax, and jojoba oil in a double boiler or glass jar set inside a small saucepan with about an inch of water.
+ Turn burner to medium and bring water to a simmer, allowing the pine resin, beeswax, and jojoba to melt into each other and liquefy. (This takes about five minutes.)
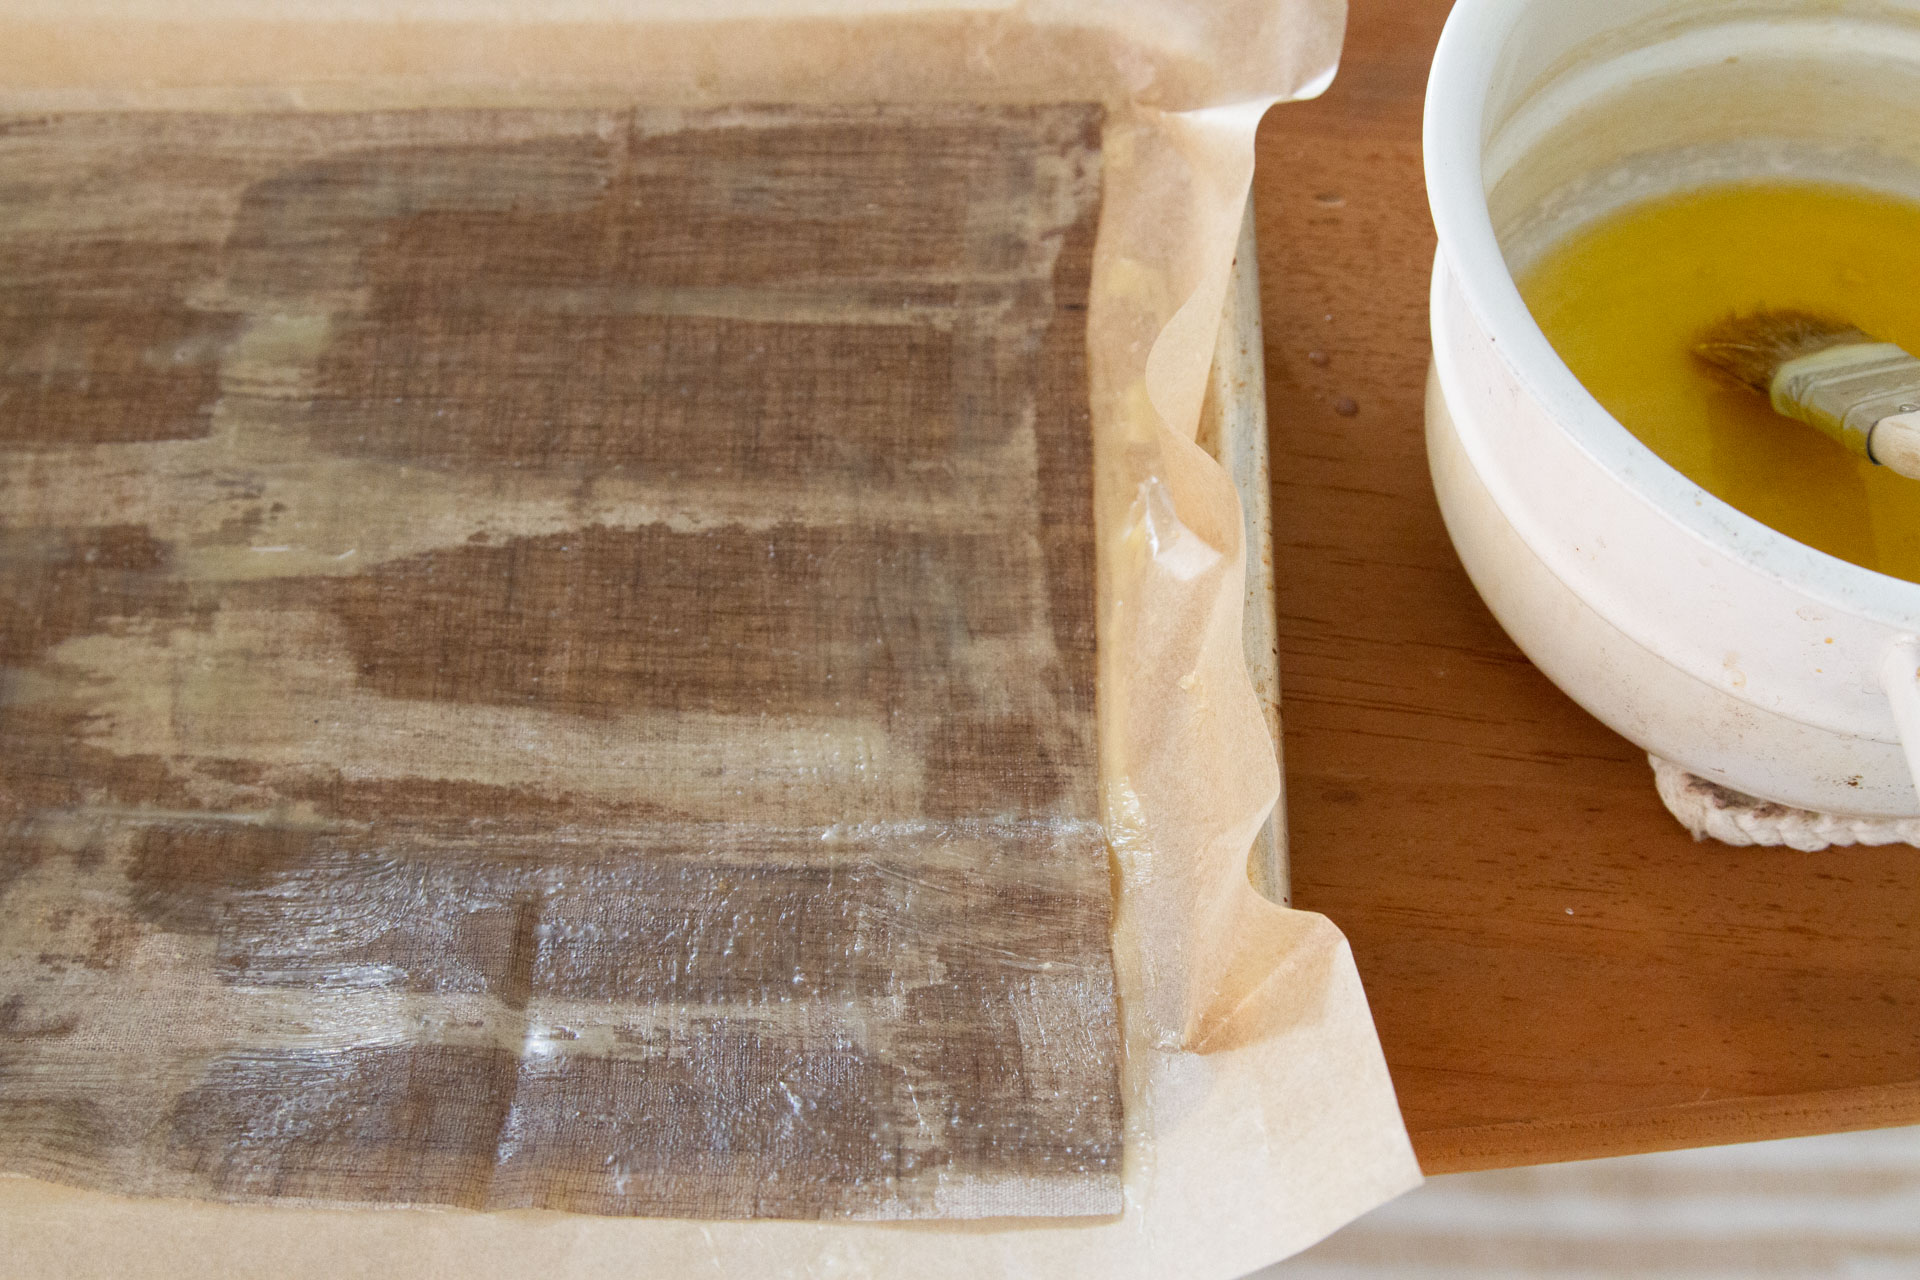
+ Cover sheet pan or cookie tray with a sheet of parchment paper larger than your biggest piece of fabric.
+ Spread square of fabric (or multiple squares, depending on the size) flat on the parchment paper.
+ Using the chip brush, coat the dry fabric with the melted mixture. (The mixture you spread will start to solidify slightly as you work, but this will remedied in the next step.)
+ Once the fabric is coated, place the tray with fabric in the warm oven for about 2 minutes, or until the brushed-on mixture has remelted and the fabric appears to be evenly wet.
+ Remove the tray from the oven and look for any dry spots on fabric. Brush additional mixture over any dry spots. If you notice unevenness or lumpiness, return the tray to the oven to remelt and smooth the beeswax mixture.

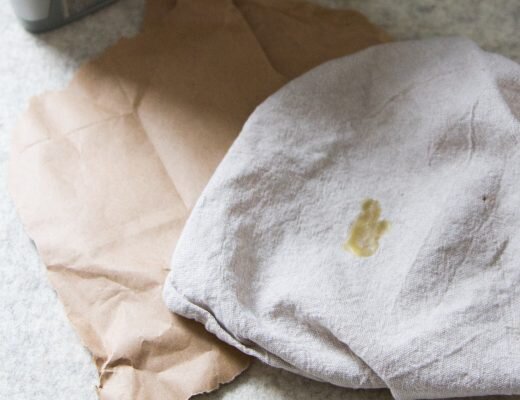
+ Remove the tray from the oven again and cover the first square with a fresh, dry piece of fabric. The new square of fabric will act as a blotter, soaking up any excess mixture from the first.
+ Once you’ve pressed excess mixture onto the new cloth, peel the two sheets apart and hang the first completed wrap to dry on a line with clothespins.
+ Return the second square of fabric—which should be somewhat but not entirely coated with wax—to the tray and continue the coating process with the second sheet. Repeat all of the steps until you’ve used up your mixture. You should have enough to make approximately two 12″ squares and two 6″ inch squares.
//
This post includes affiliate links to online shops. Reading My Tea Leaves might earn a small commission on the goods purchased through those links, but most of these supplies can be found locally right in your own community. If you’d like to support this site directly, you can contribute directly here. Thanks so much for supporting this work.
6 Comments
Sincerely, the tutorial I’ve waiting for
What a wonderful ideas…to make one’s own beeswax food storage wraps AND have friends over, how I have missed that!! We will show you the results!! xo
May or may not now have to re-beeswax our wraps that have been mistreated over the years. Thank you!
Thank you for this! How do you clean yours?
soap and cool water; hang to dry!
I saw someone in Germany wrapping their Christmas gifts in these! A project for me for next year! I have harvested the pine resin from our 18 very old Pine trees but it is quite a job to clean the bark pieces out of the resin. Pine resin is very expensive in Australia and I assume it is because of this cleaning project. Will be só worth it though!
Comments are moderated.