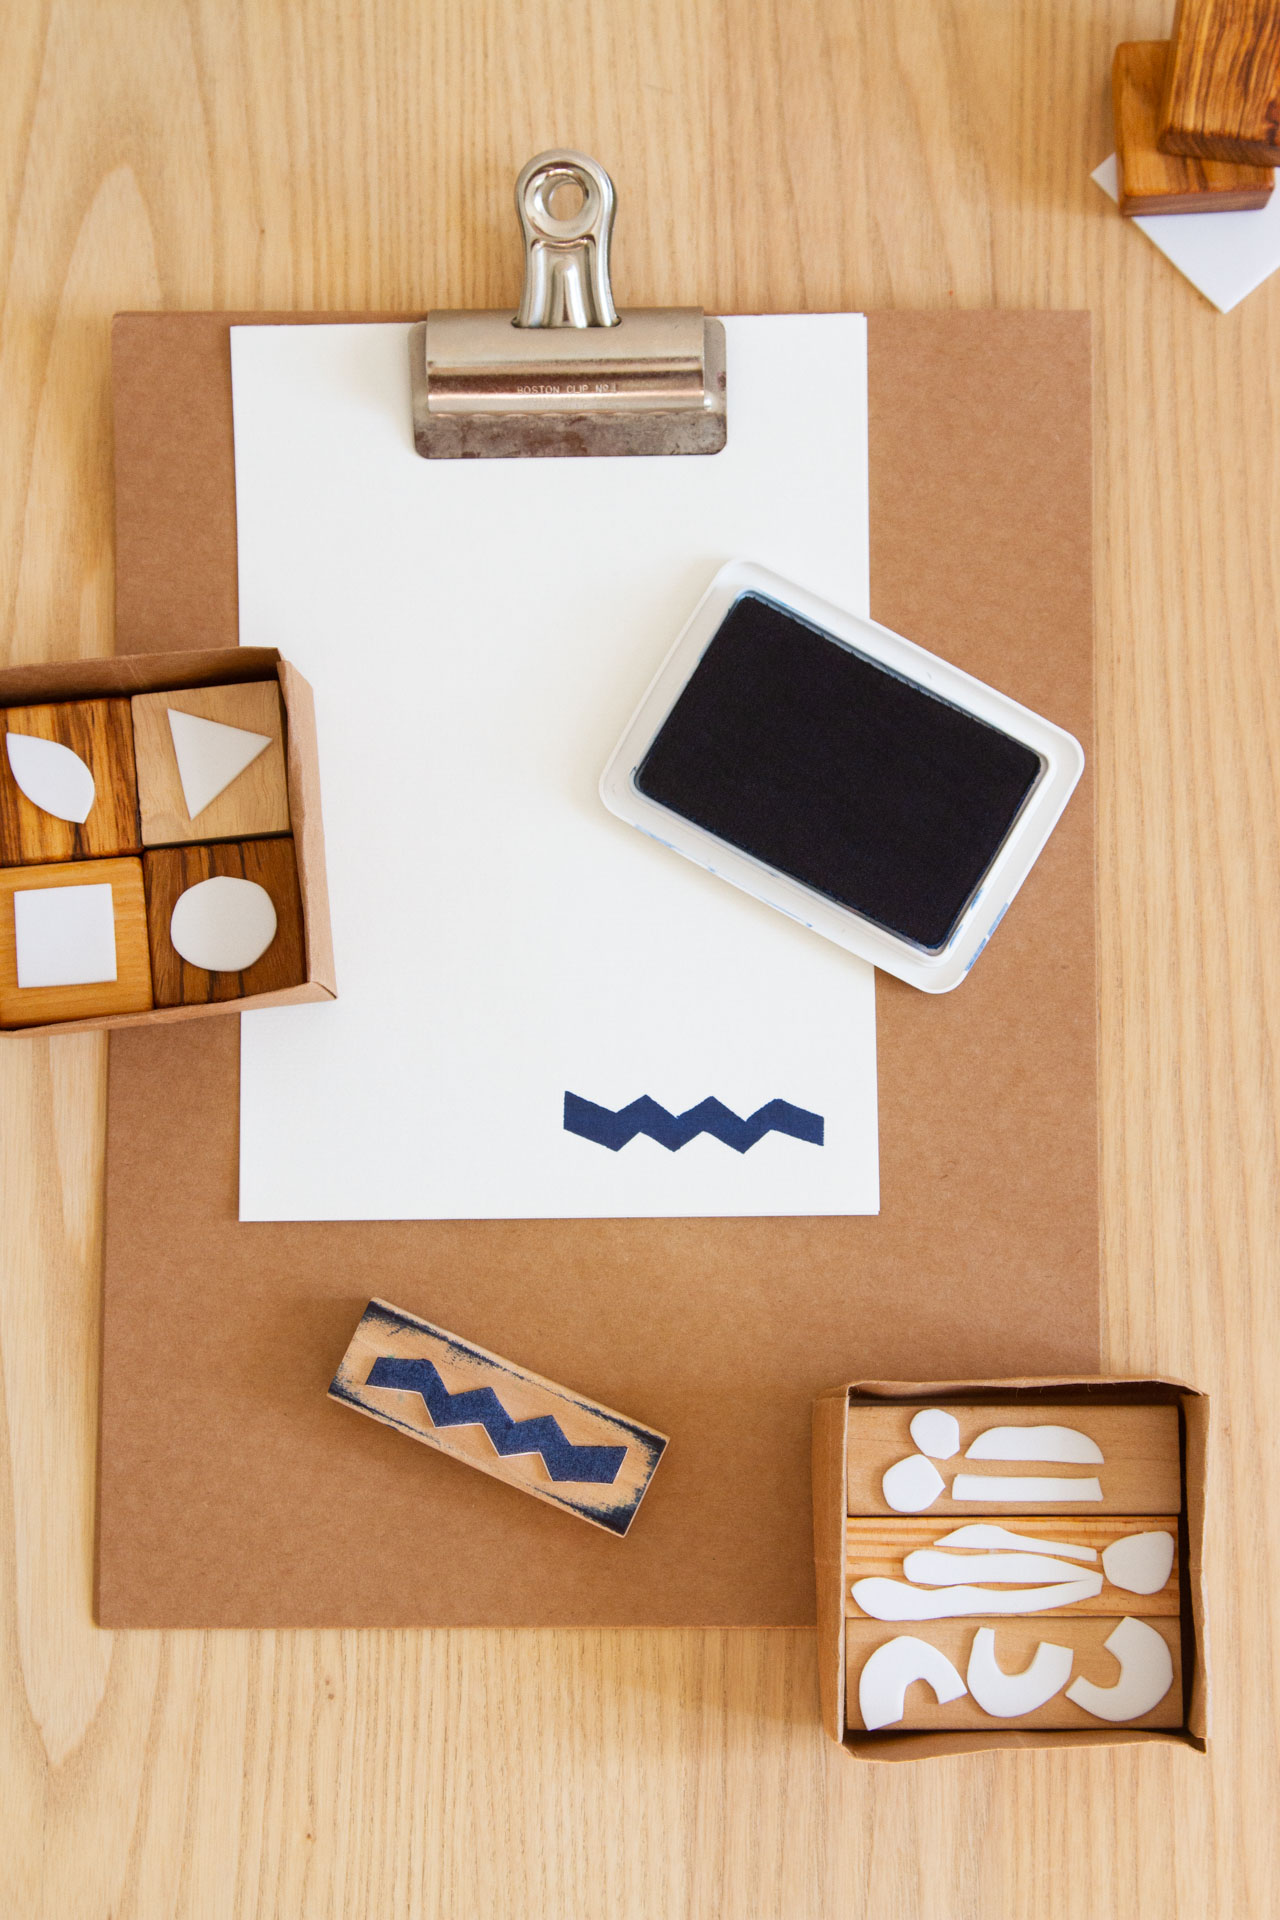
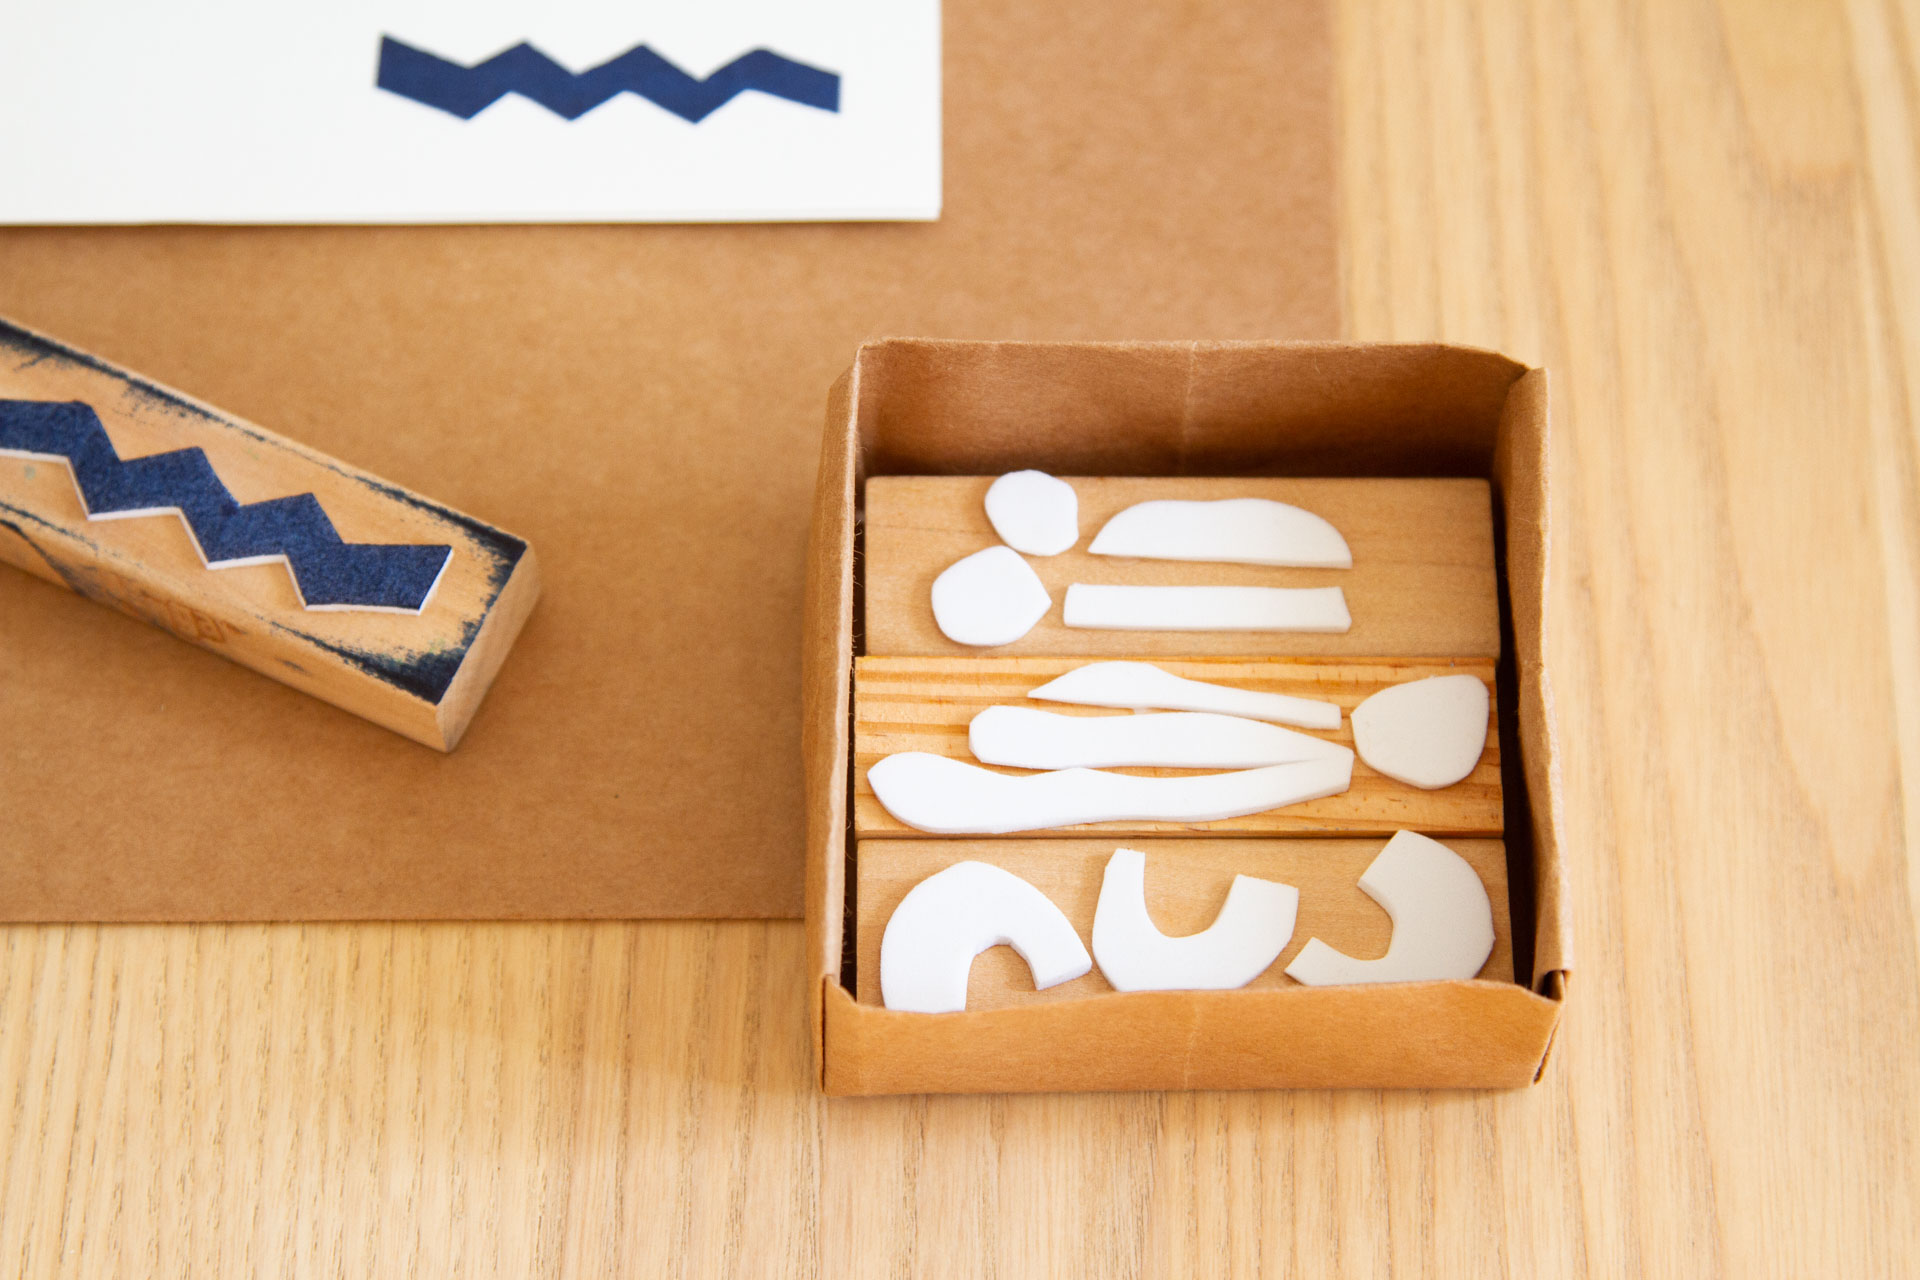
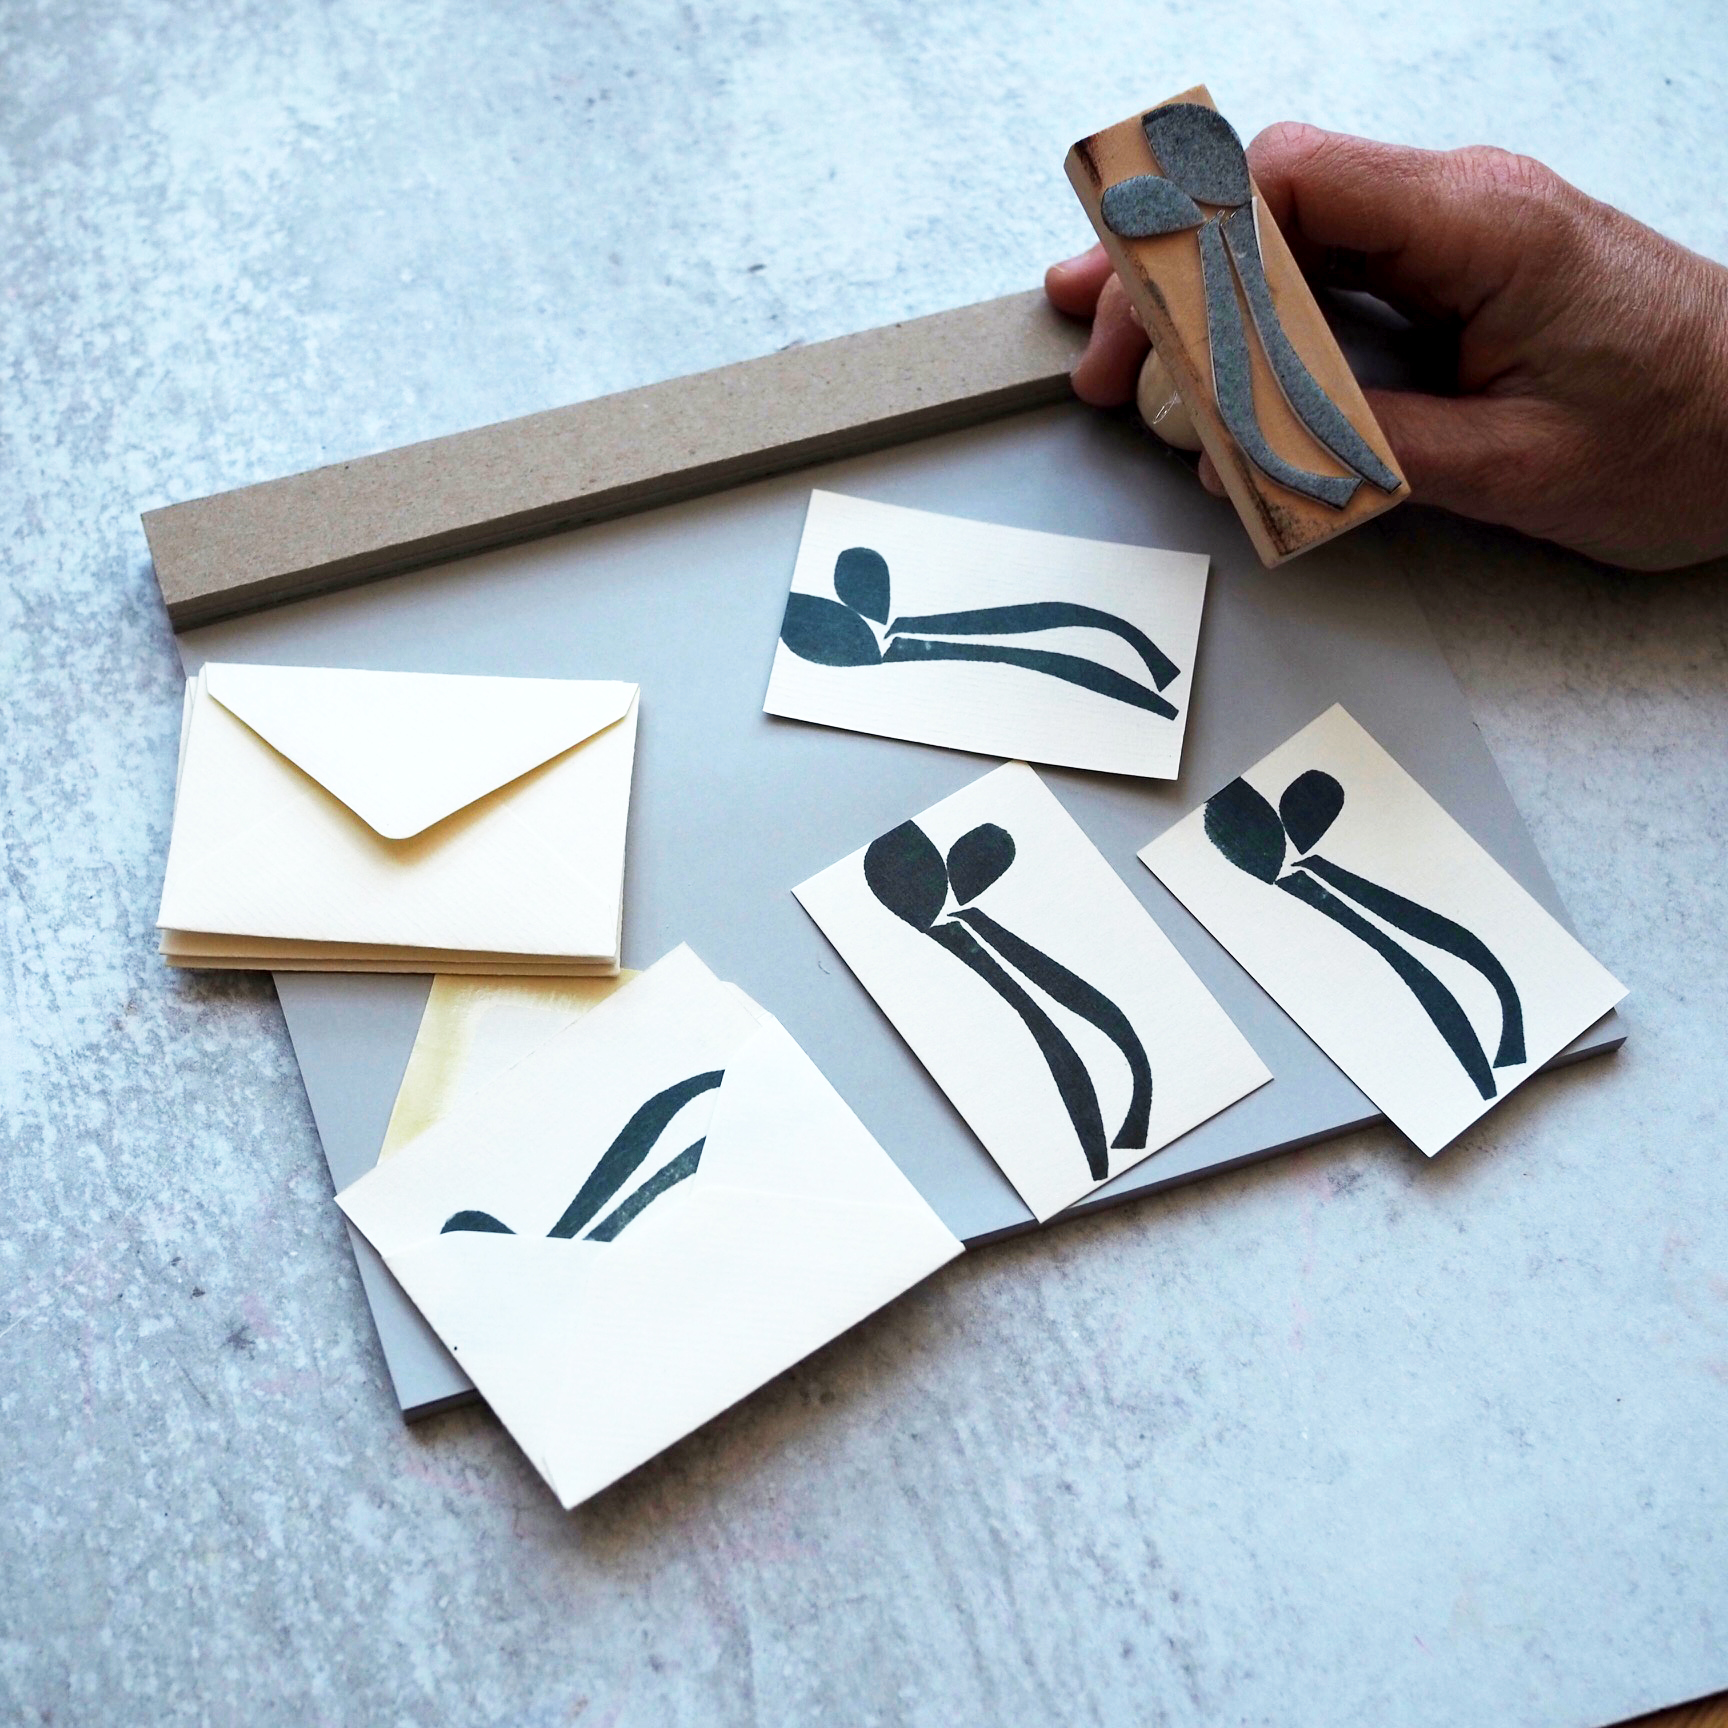
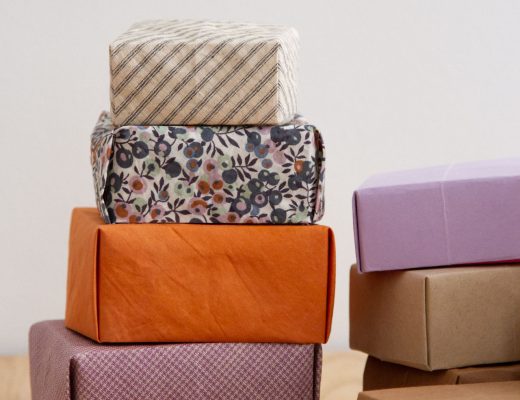
I have a mostly hate/hate relationship with the amount of craft foam that comes into my house via kids crafting these days, so it took me some convincing to run this craft. But once I got my hands on the materials and made them for myself, I could see why Rose was convinced that these could be a craft closet staple. The foam used here serves a solid purpose and it isn’t destined for the waste bin. Even better, in Rose’s experience, it lasts through years of stamping use. Skeptic at first, I’m finding myself something of a super fan. In fact, these handmade stamps made from whatever wooden blocks you might have underfoot and a bit of craft foam, are so quick and easy that in an uncharacteristic move, I’ve already made and boxed up several little sets to give as nibling gifts this year. Four small squares or three rectangles set inside an origami masu box is a present waiting to be given.
Here’s more from Rose:
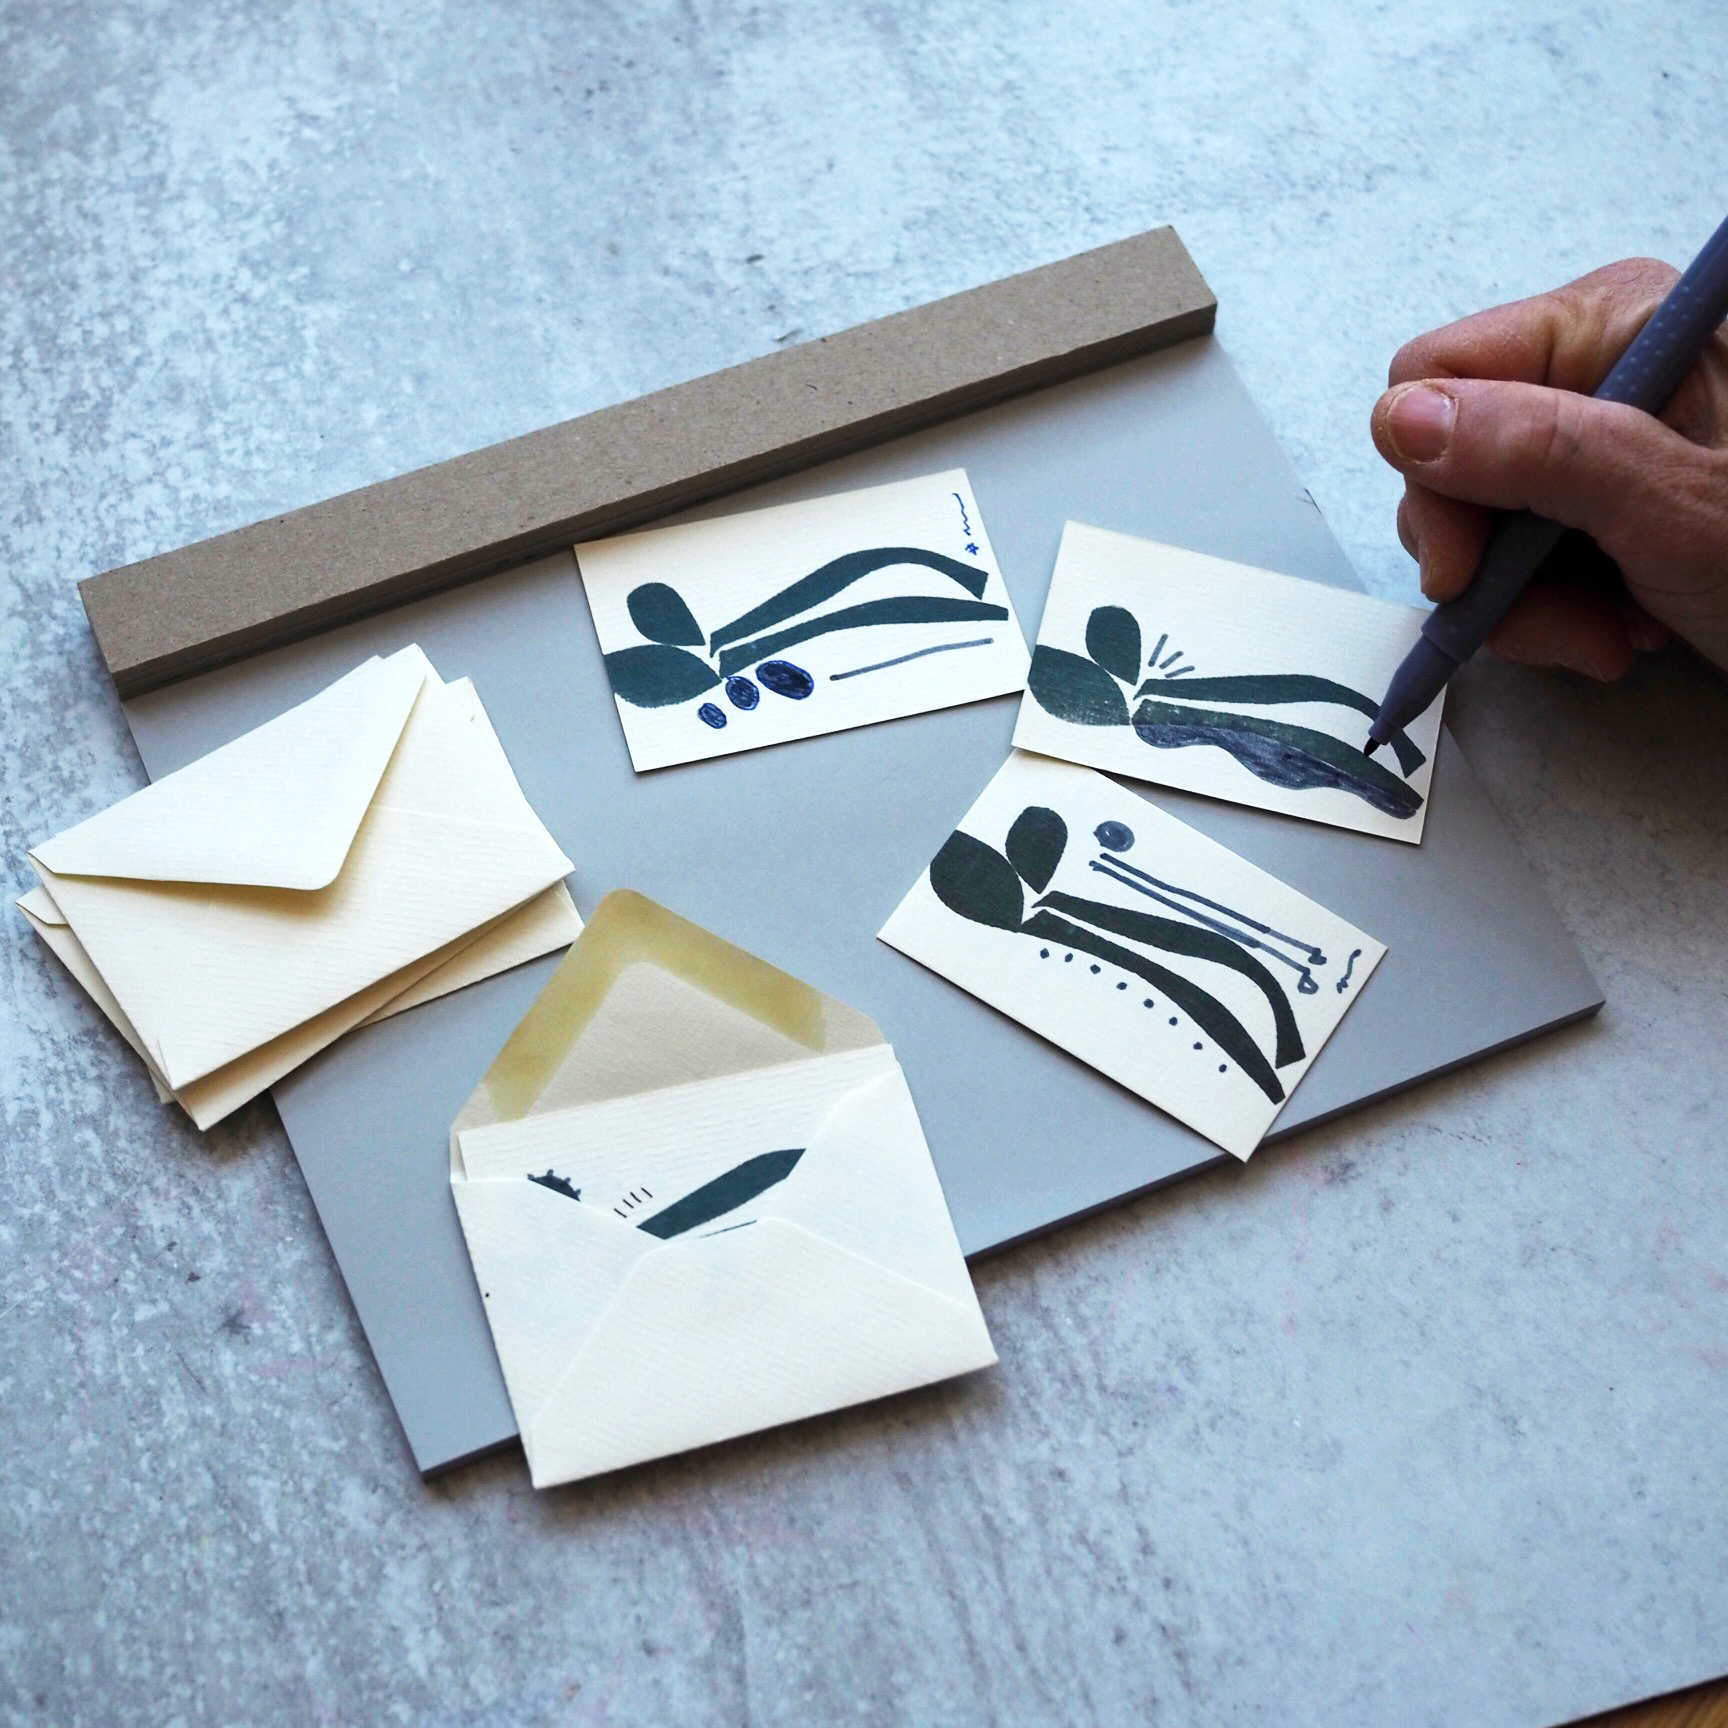
While these stamps are a cinch to whip up and made with mostly upcycled parts, it does not make them disposable. I’ve had the same foam stamps for many years and still use them with as much success as when I first made them. The thin foam cuts easily and beautifully (even with kid scissors), and will absorb and print ink without a mess. With these stamps, I customize gift wrapping paper, homemade stationary and gift tags, and even use them on fabric to make personalized cotton totes and t-shirts.
For a great kids’ gift, give a set of simple geometric stamps (square, circle, triangle, leaf) and pair with a marker or ink pad for all kinds of illustration fun.
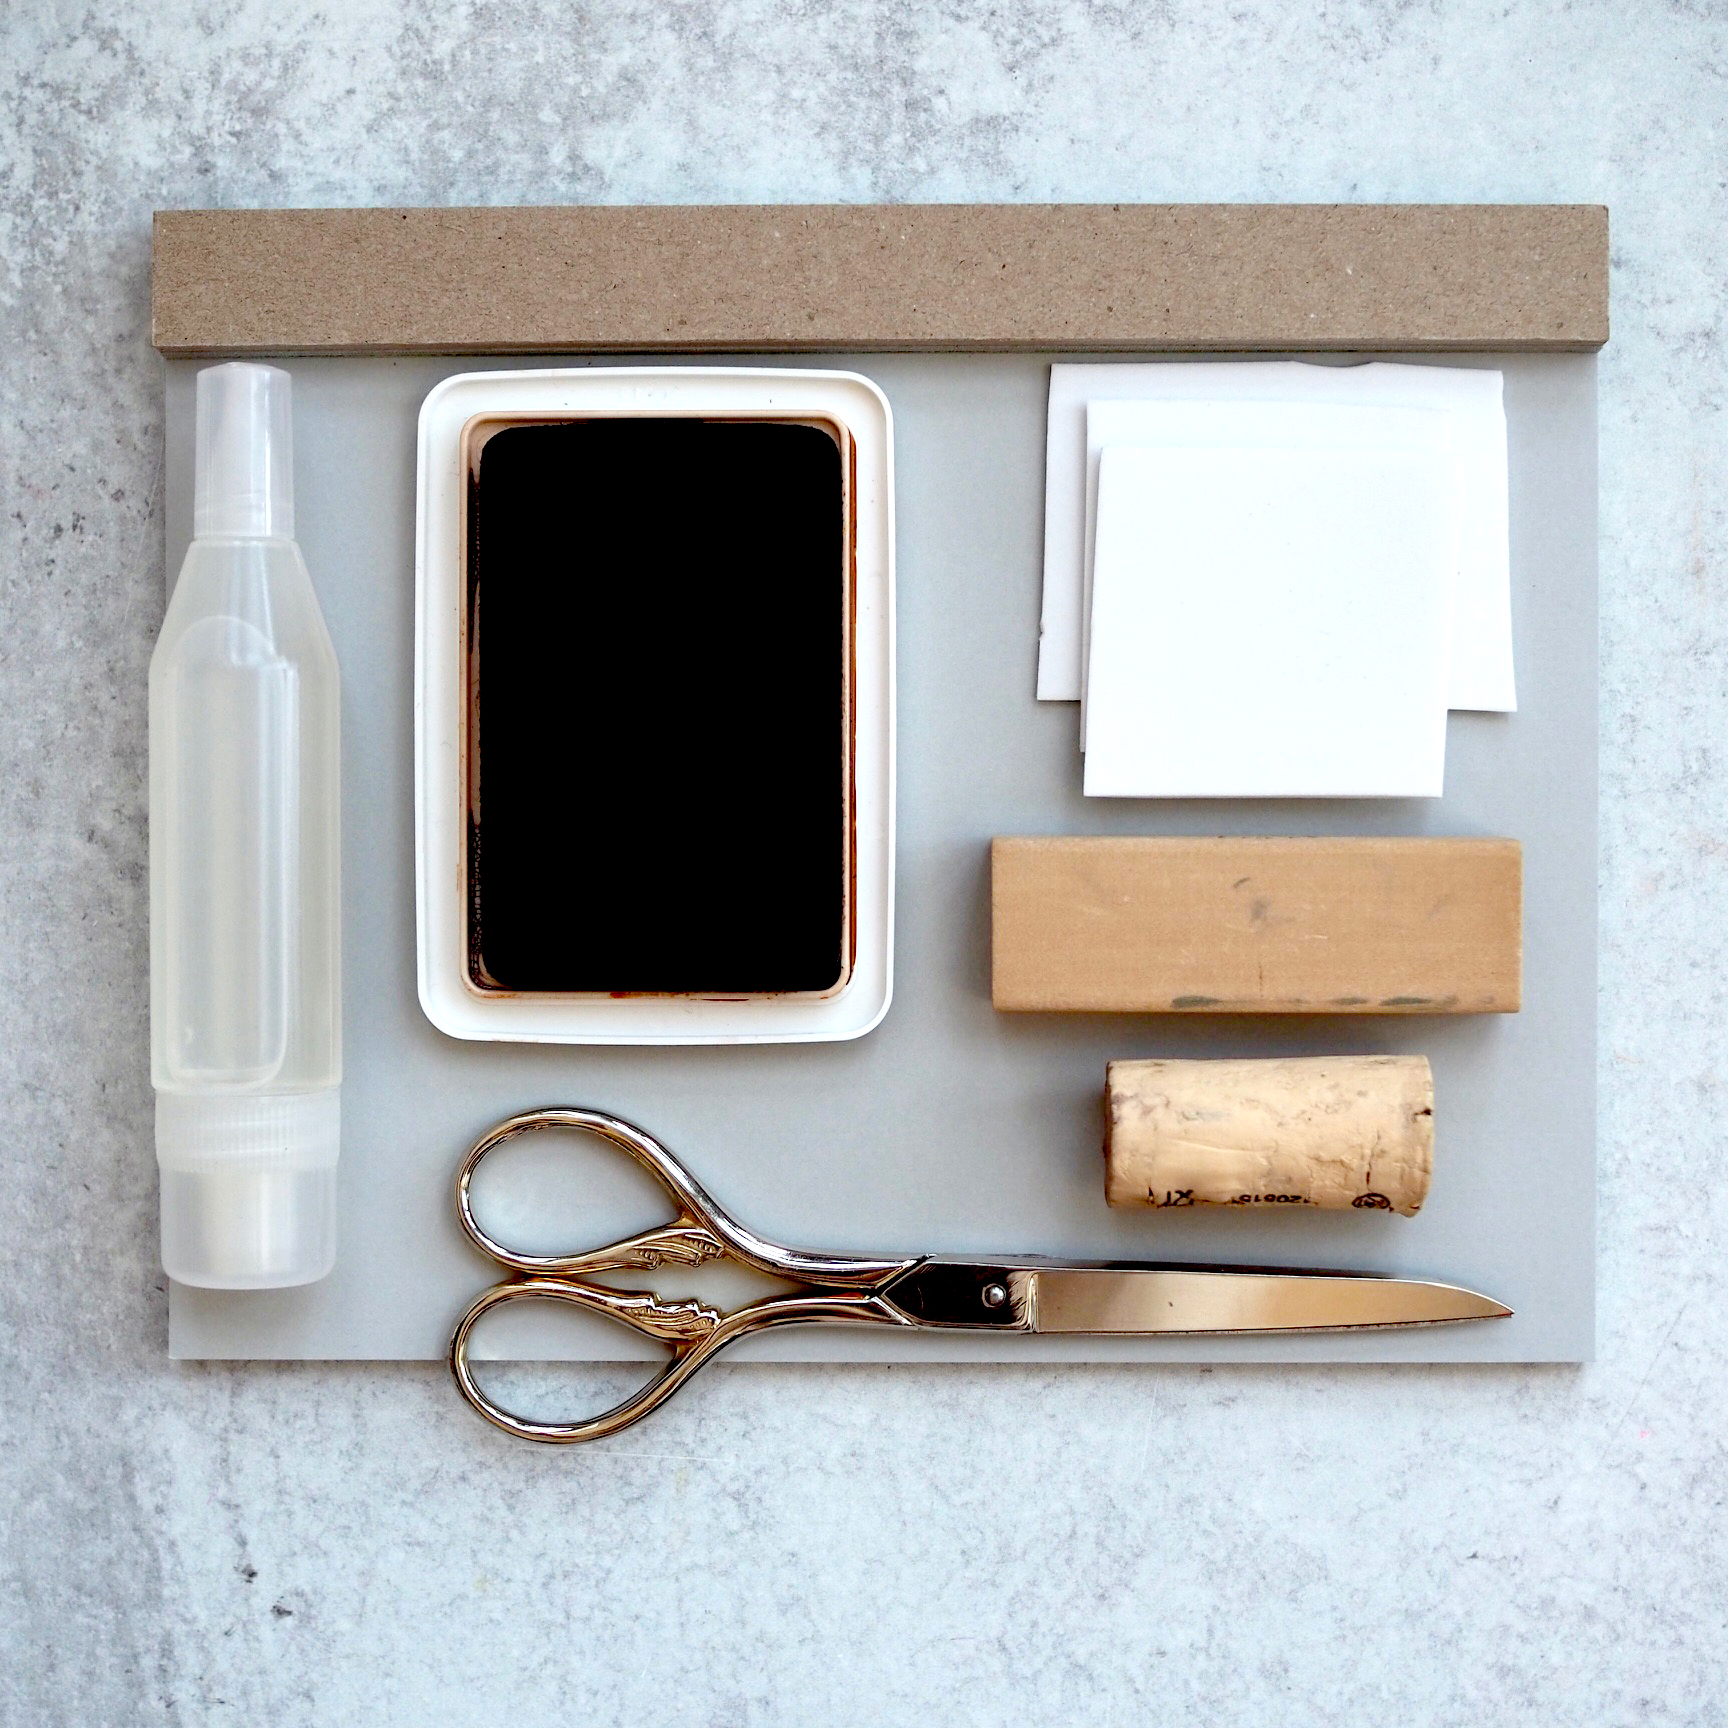
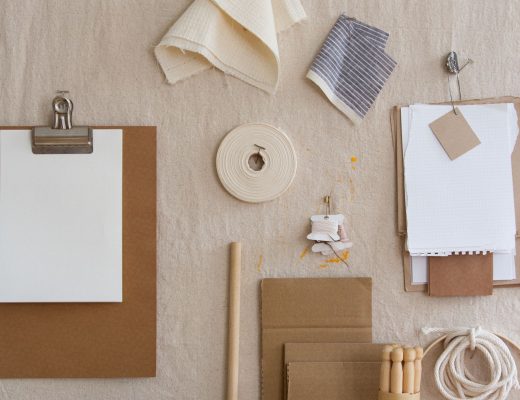
Materials
+ small wooden blocks (root around in collections you already have; old Jenga blocks are perfect for this)
+ craft foam (you just need a small piece)
+ wine cork (optional)
+ ink pad
+ glue
+ paper (smooth paper works best but feel free to experiment)
Alternate materials:
+ instead of wooden blocks you can use scrap cardboard
+ if you buy the craft foam with an adhesive backside you won’t need any additional glue
+ instead of an ink pad you can saturate the foam with a marker
+ if you want to make a quick craft faster, swap out the clear glue for hot glue
+ if using permanent ink you can print on paper or fabric
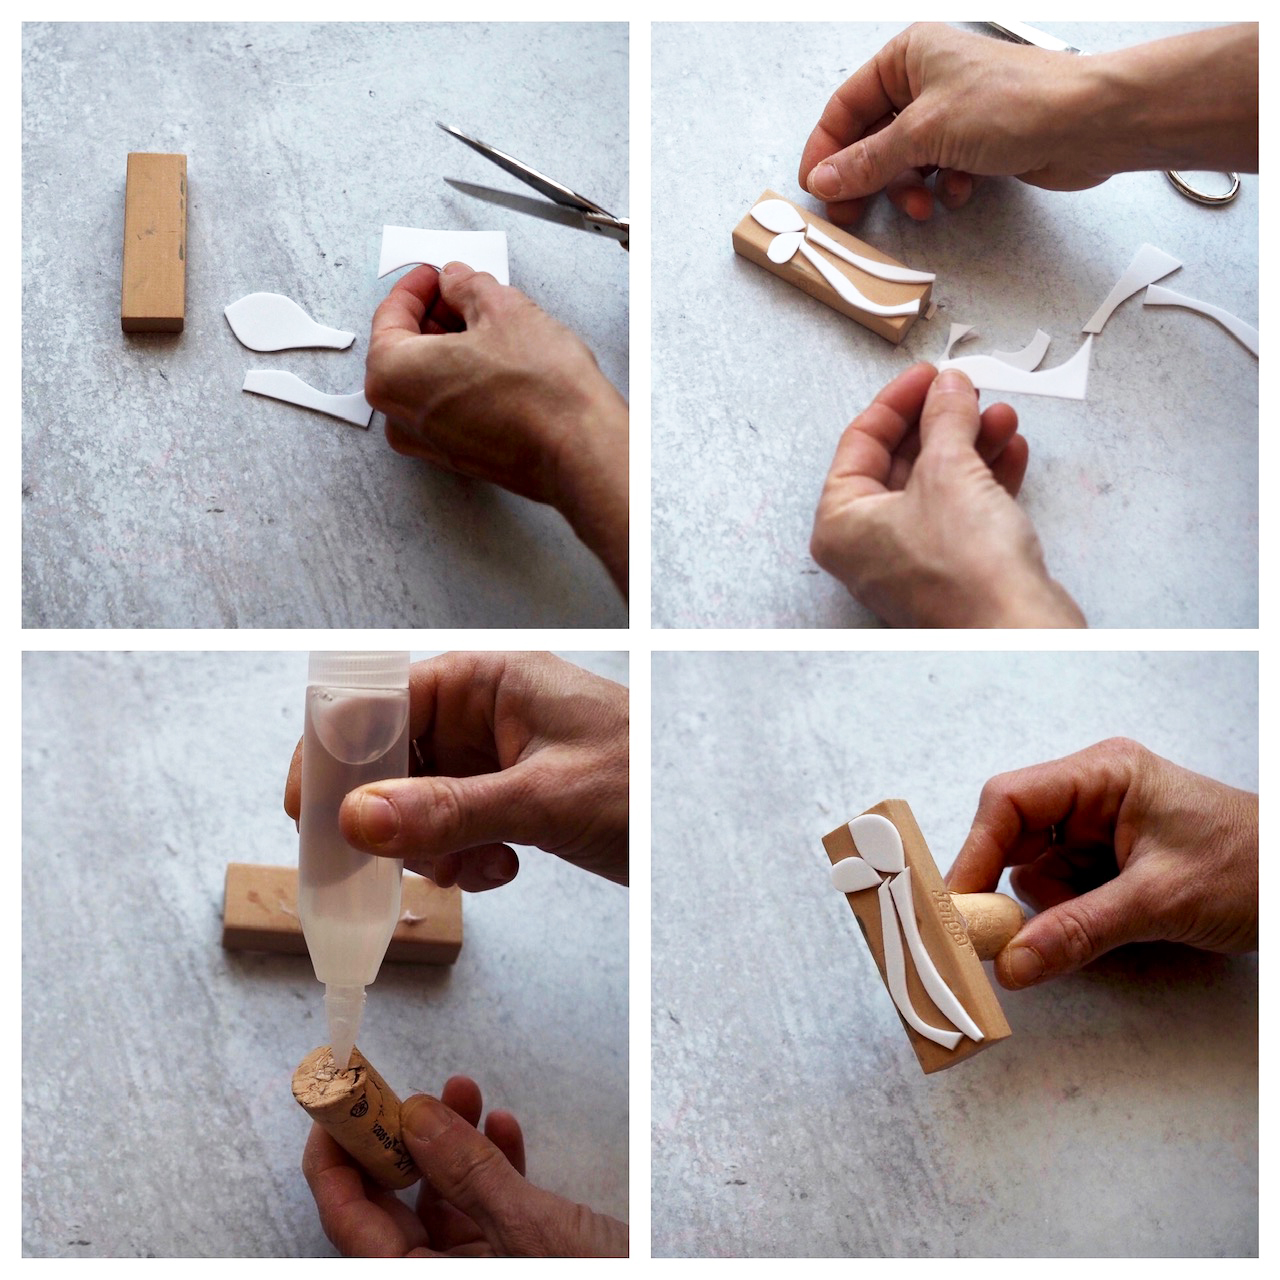
Instructions:
+ With scissors cut out shapes from your foam and arrange them onto your block. (Any foam that hangs off the edge of a block will not print, so be sure all the pieces are positioned on the blocks surface.)
+ Secure your foam design onto the wood block with glue.
+ If using a wine cork for a handle, secure it with glue to the backside of your block (a strong glue works best for securing the cork). Make sure it is centered on the back.
+ Let the glue dry and you’re ready to stamp.
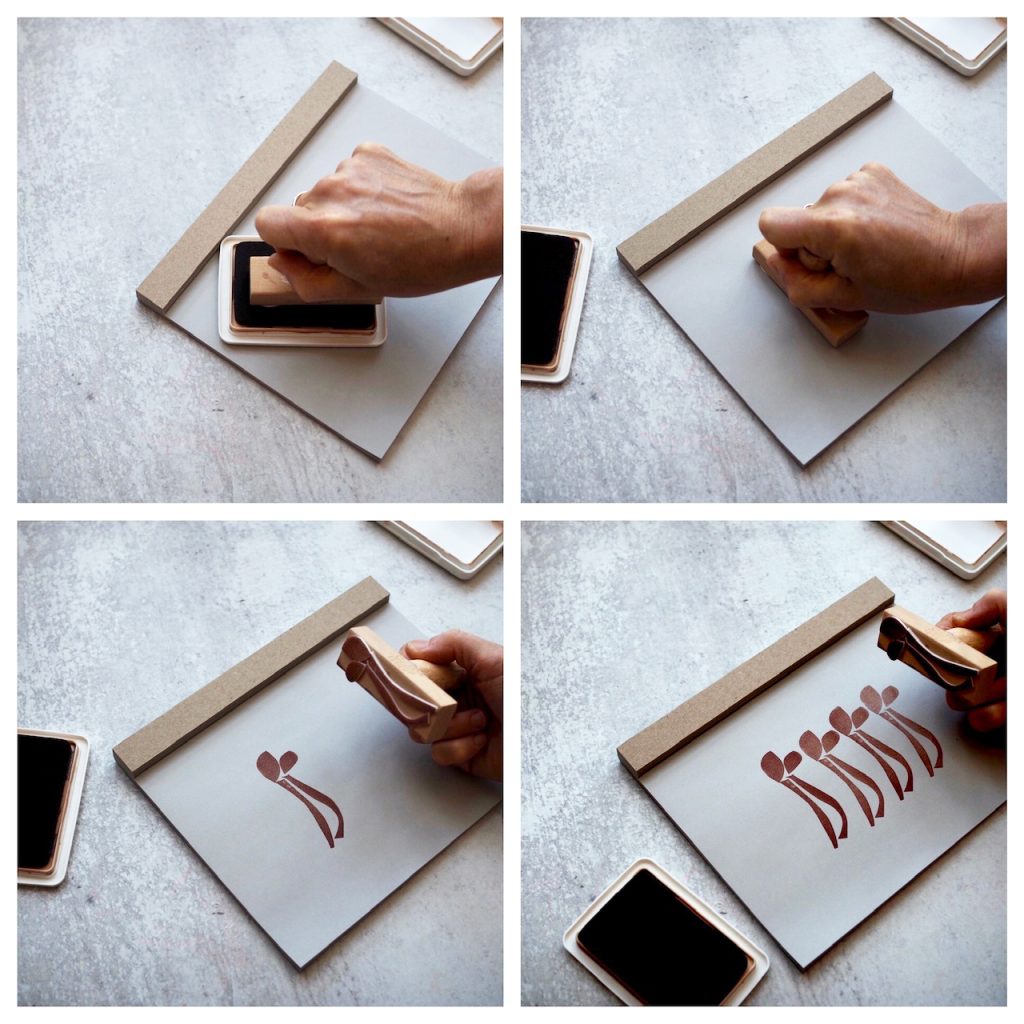
A few printing tips:
+ Test out the first print on scrap paper to make sure it is properly inked up and you are happy with the design. (You can always add to your design with extra foam)
+ Press the stamp down firmly onto your printing surface. A gentle rocking motion (without moving the stamp) will help get an even print.
+ When printing with different ink colors, be sure to let the stamp dry out before using a different ink pad (or else you get muddy prints and stamp pads).
//
Thanks to Rose Pearlman for preparing this tutorial. Rose is an artist, teacher, and textile designer. With a background in fine arts and a love of well designed functional objects, her creations blur the lines between art and craft and pushes the boundaries with non-traditional techniques and materials. Rose teaches monthly rug hooking workshops in and around her home in NYC, and also welcomes commissions for one of a kind constructions in decor and home furnishings. Her work has been featured in fiber magazines, galleries, and numerous online design sites. Her book Modern Rug Hooking is available wherever books are sold. Follow along with her functional craft projects at @art_objects_ She lives in Brooklyn, NY with her family.
This post includes some affiliate links to online shops. Reading My Tea Leaves might earn a small commission on the goods purchased through those links, but most of these supplies can be found locally right in your own community. If you’d like to support this site directly, you can contribute directly here. Thanks so much for supporting this work.
18 Comments
Ooo, this one is GOOD! Thank you.
This is amazing. That’s it. 🙂
This is awesome!! 🙂
Love this! I wonder how it may work with a cellulose based dish cloth, as a foam substitute? I will give it a try!
Report back! You’ll def get some different texture and probably eventual wear, but worth a shot!
yes- will do! thanks so much for continuing to inspire!
My preschooler and I made simple class valentines last year with stamps made just like this. I had him draw a couple hearts in foam, made a stamp, and let him stamp his heart out. It was pretty easy to make enough for the whole class!
these are so cute and i love that they perfectly fit in the box! i love making stamps and it’s true one sheet of foam has lasted me for years. cardboard backing works just as well if you’d like them to be less blocky 🙂 (and it allows my tiny collection to fit in a mint tin). i made a panda stamp years ago that i love so much it’s the logo of my ‘trash panda’ blog: https://tps-steph.blogspot.com/
i also used it to stamp onesies for my niece and i’ve loved keeping the tradition going as she grows out of them – not just for paper if you use some fabric paint.
oh, i’m so excited to do this as an adult for holiday postcards to friends and family. 🙂
Love this one, so cool!
Finally a DIY that my patience and skills could actually handle! 😉
Yesss!
This is brilliant! I switched to blank occasion cards awhile back, and I think a few custom stamps would be a wonderful way to create a last-minute card (instead of just literally waiting for my paint designs to dry!).
Would felt work as a foam substitute?
You could definitely try!
These are amazing! Especially since I have a collection of foam “stickers” in various shapes and (maybe I just spend too much time with boys) but that second last pic of the greeting card the stamps just look like a man’s lower torso, walking legs and a “happy ahem” . Fair warning if you have any boys that have hit a certain age around. I realize it’s not what I’m supposed to see. I’ve been corrupted.
Good idea! can I use them to make a pattern on the wall?
Sure!
Comments are moderated.