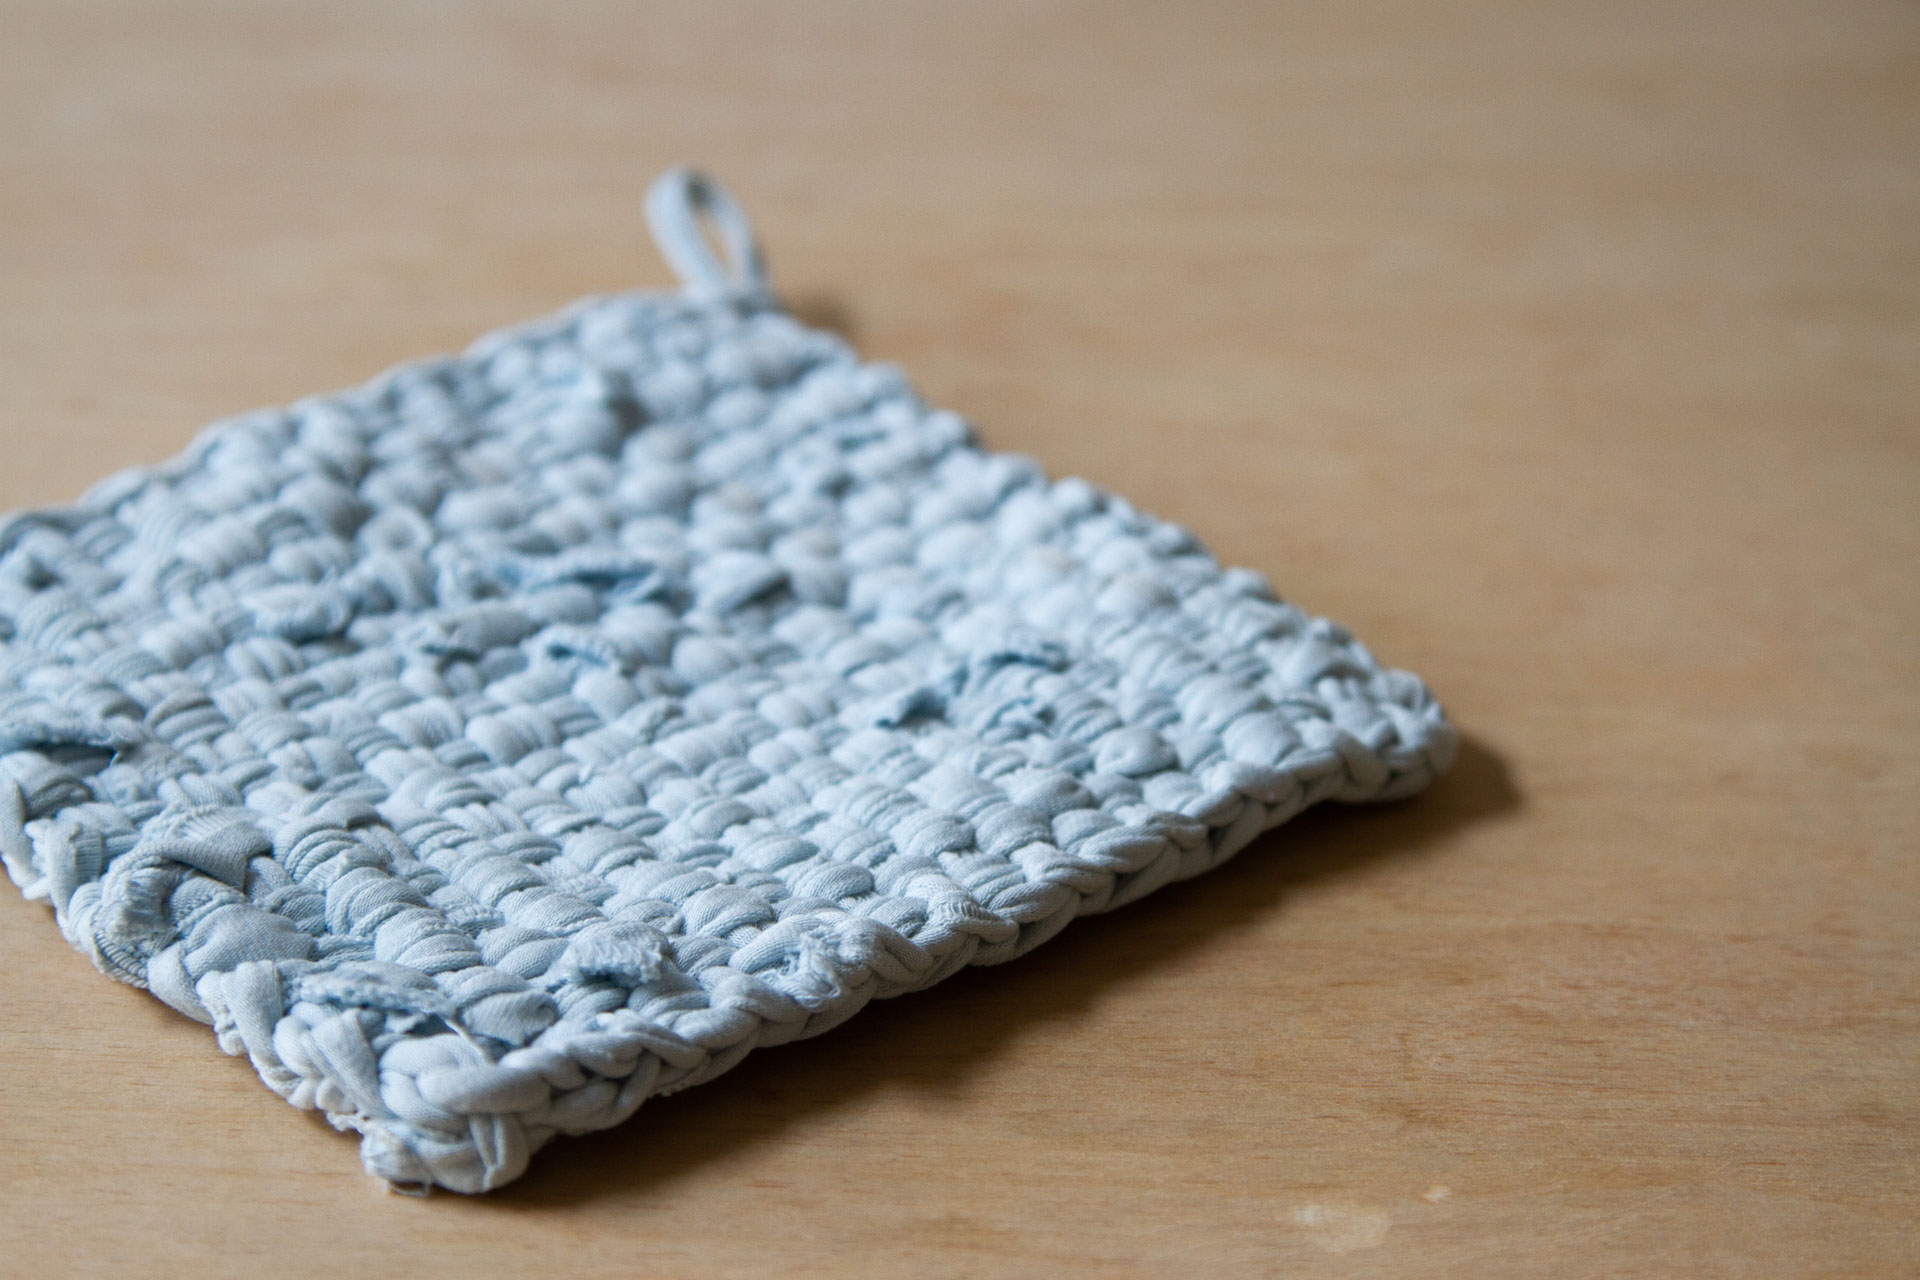
Recycled legging leg potholders is a bit of a mouthful, but that’s what these are. In the case that any of you have offspring like mine, you’ll be familiar with the astonishingly short life cycle of children’s leggings. They arrive brand-new and full of promise, they are trashed sometime between the first and third trip to the playground. The knees rip, the knees are mended, the knees rip again, and they briefly take a turn as bike shorts before the crotch grows holes, and then there’s no coming back.

Why don’t I dress my children in heartier stuff that will better withstand the wilds of rooftop playgrounds and New York City pavement? Well, you try reasoning with a five year old who wants to wear soft pants only. I’ll be taking Rose’s advice and turning our too-far-gone leggings into potholders.
Children’s leggings, Rose points out, create perfect weaving loops for classic potholder looms as they are typically made out of knit jersey fabric, a material that will not fray when cut and can easily stretch to accommodate a seven-inch loom of the sort you might have hanging around from your own childhood.
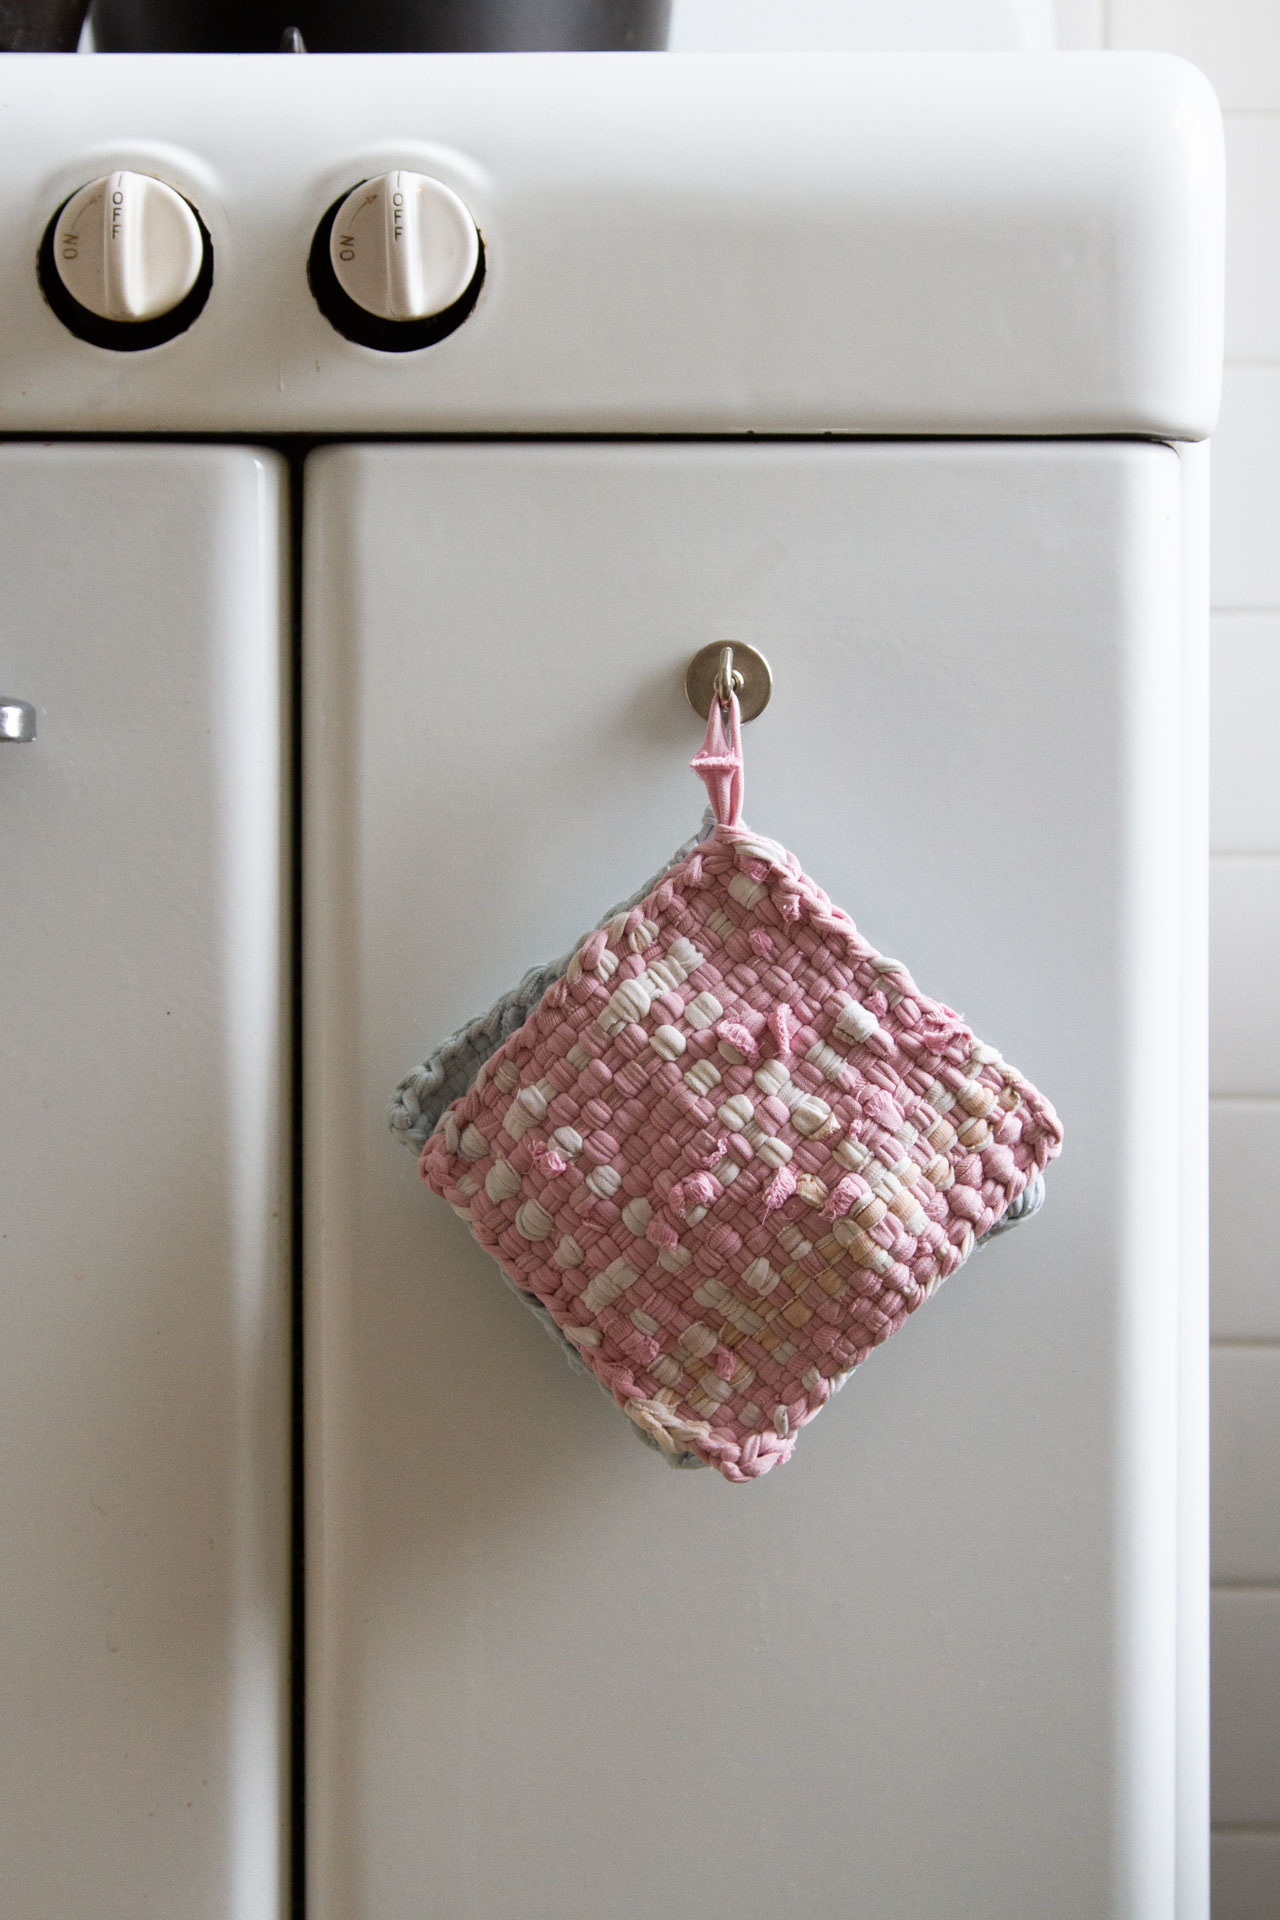
What’s kind of remarkable about legging leg potholders is that the combination of playground grime and the wobbly rolled edges of cut jersey manages to subdue even the flashiest kid leggings into something that looks as soft and homespun as it actually is. And of course there’s the sweet satisfaction of making something new and useful from what would otherwise end up in the landfill. Below are the step-by-step instructions from Rose. As ever there will be more videos and photos on my Instagram page.
Supplies:
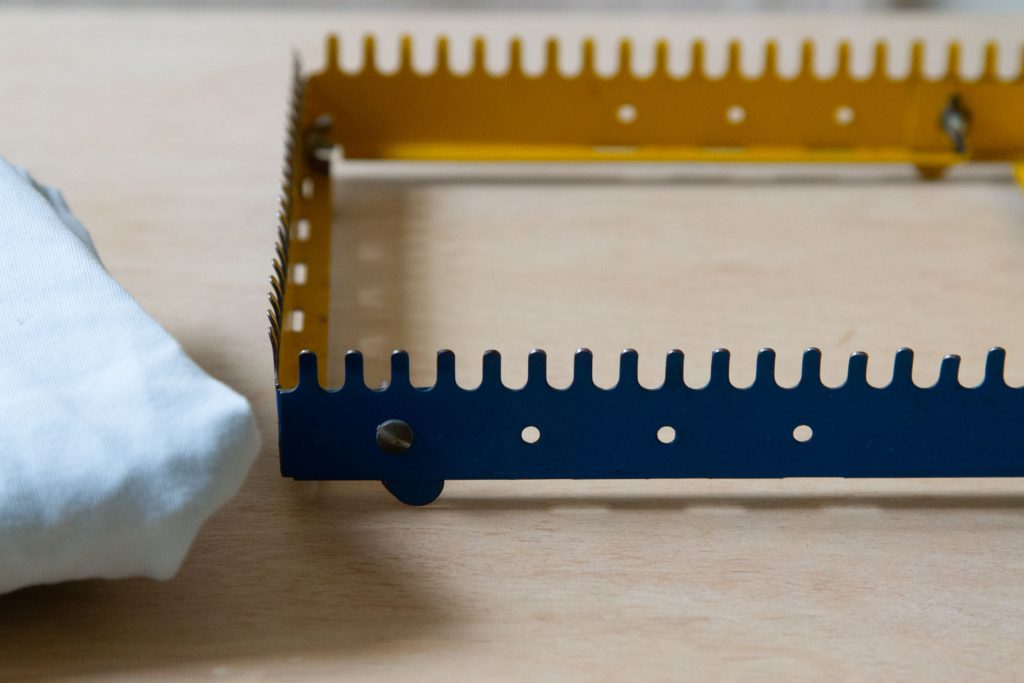
+ 7-inch potholder loom and hook (the above is a now-vintage loom belonging to Erin’s mom)
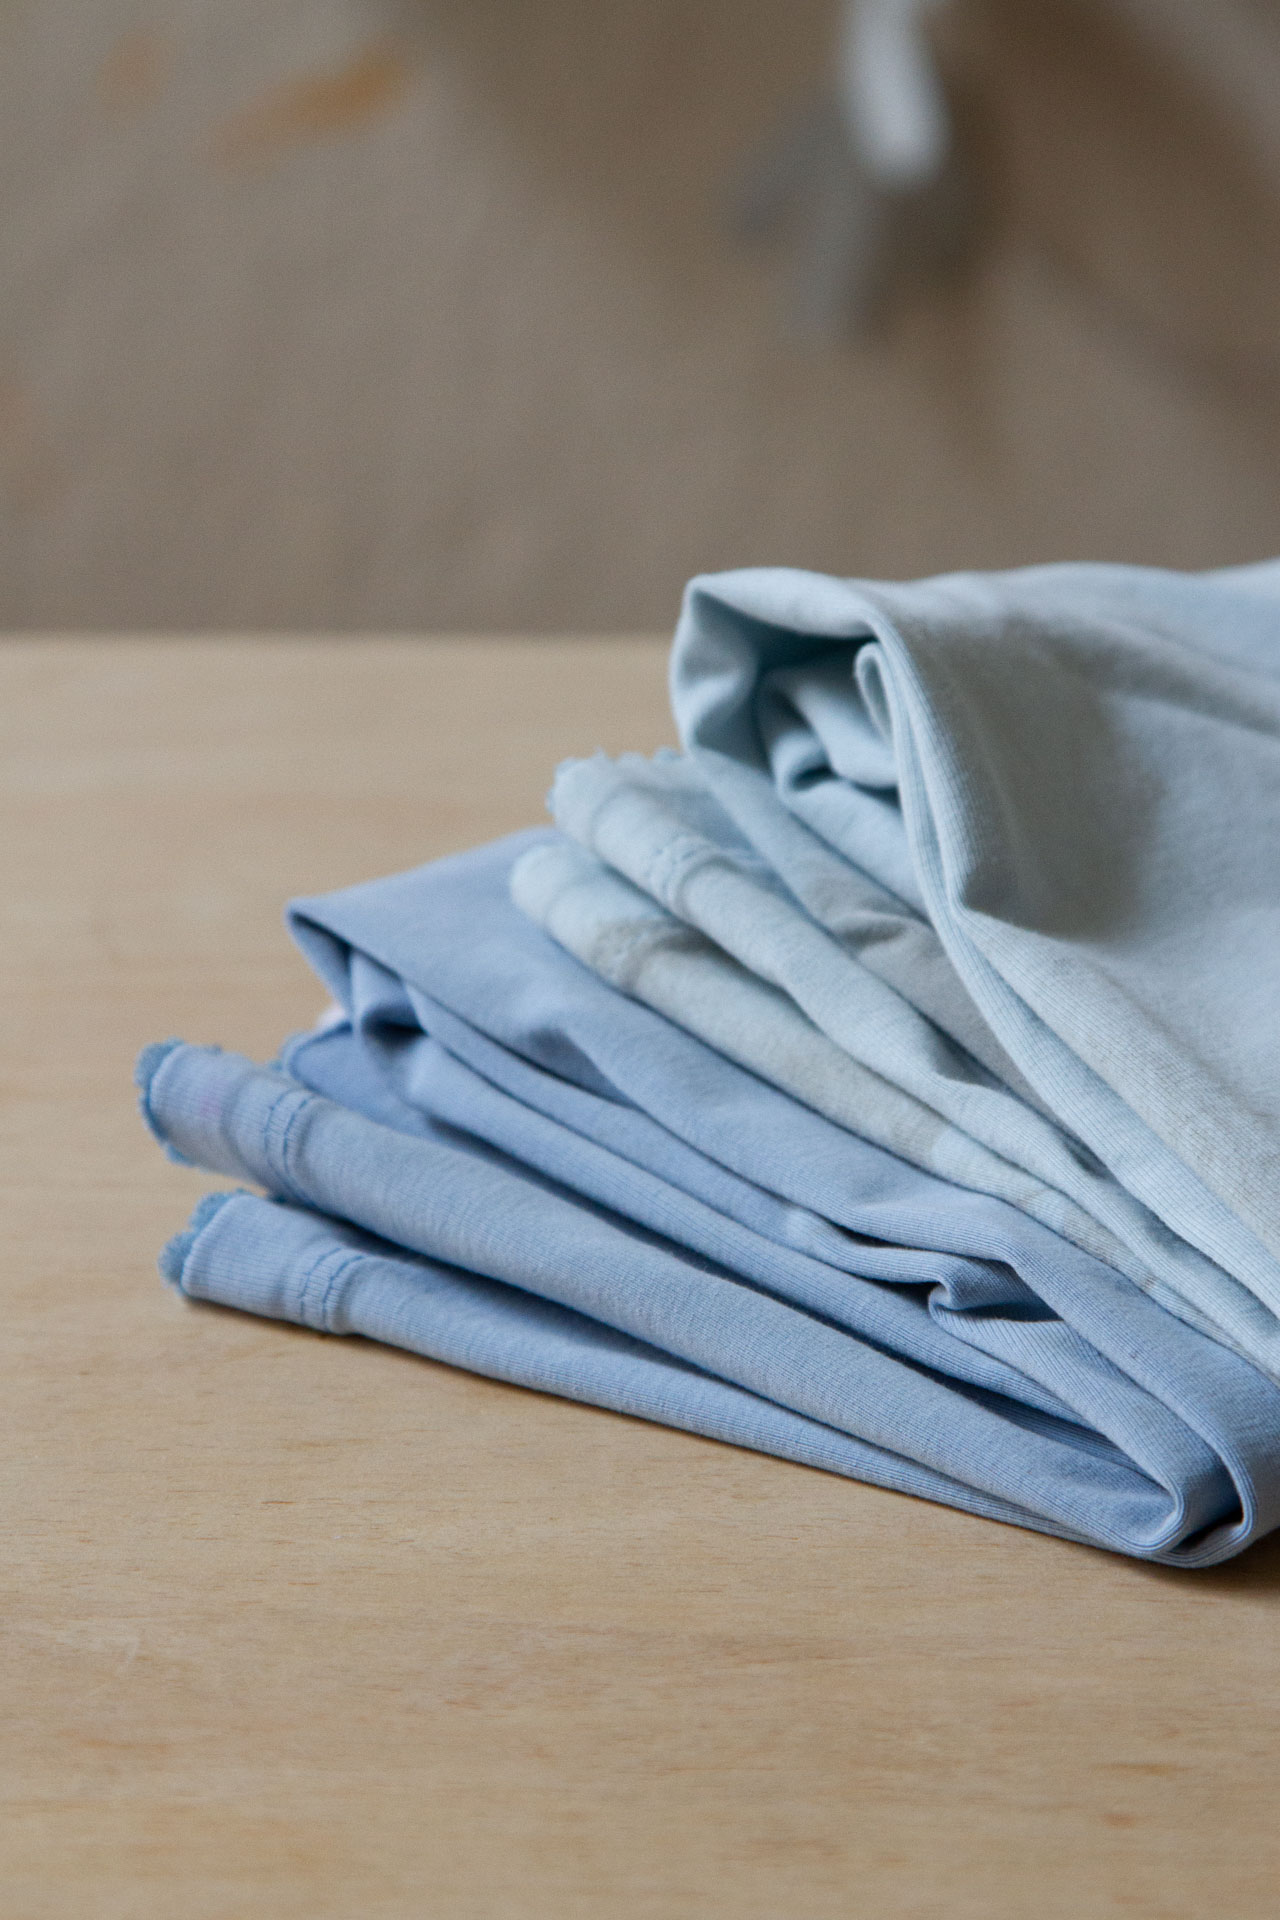
+ one small (clean) pair of used children’s leggings (we used leggings ranging from kids’ size 4 to 8)*
+ a sharp pair of scissors
*As an alternative material, you can also cut up tights and large adult socks, both of which have the added advantage of no sewn inseam. Note: If using clothing from an older child or adult, a larger loom might be necessary.)
Instructions:
Cutting the leggings into weaving loops:
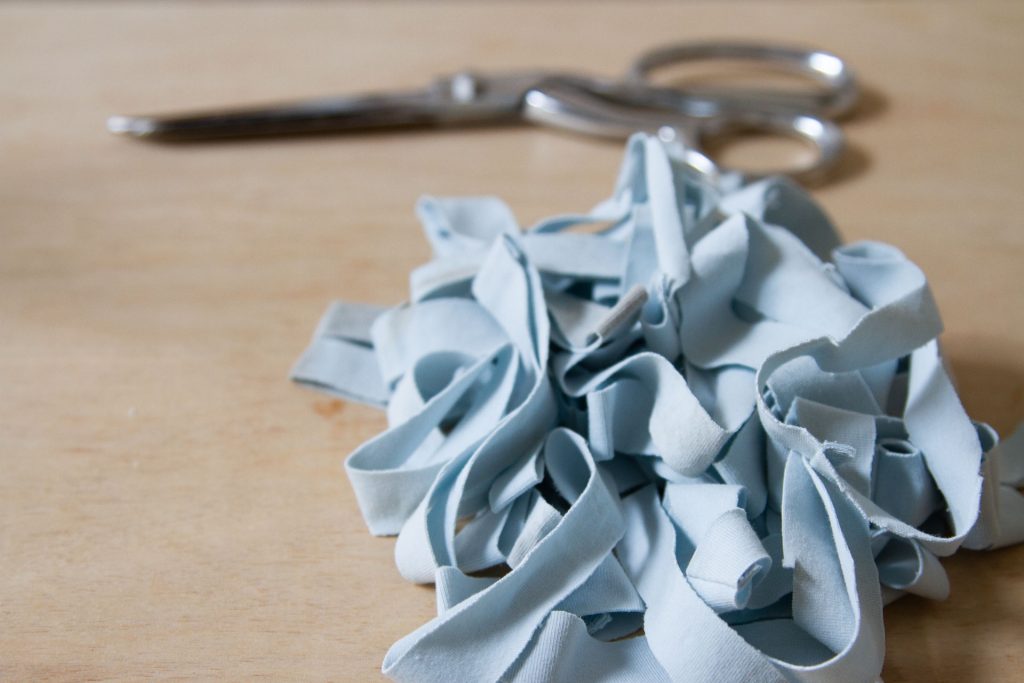
+ Using sharp scissors, cut off the sewn cuff.
+ Working in roughly ½” increments and starting from the bottom edge, cut width-wise through the pant leg, from one side to the other. This will create round fabric bands that will curl in slightly once cut.
+ Continue to cut loops from the ankle all the way up to the top of the thigh. If there are rips in the leggings, simply cut around the hole when making your loops.
+ Repeat for the second leg. Depending on the size of your loom you will need 36-40 loops. (Although it’s always nice to have a few extra…just in case.)
Note: Size of the fabric rounds will depend on where on the pant leg they come from. You will want to alternate using the wide bands (loops cut around the thighs) with the narrow ones (loops cut below the knees) while you weave to create a more even, woven surface.
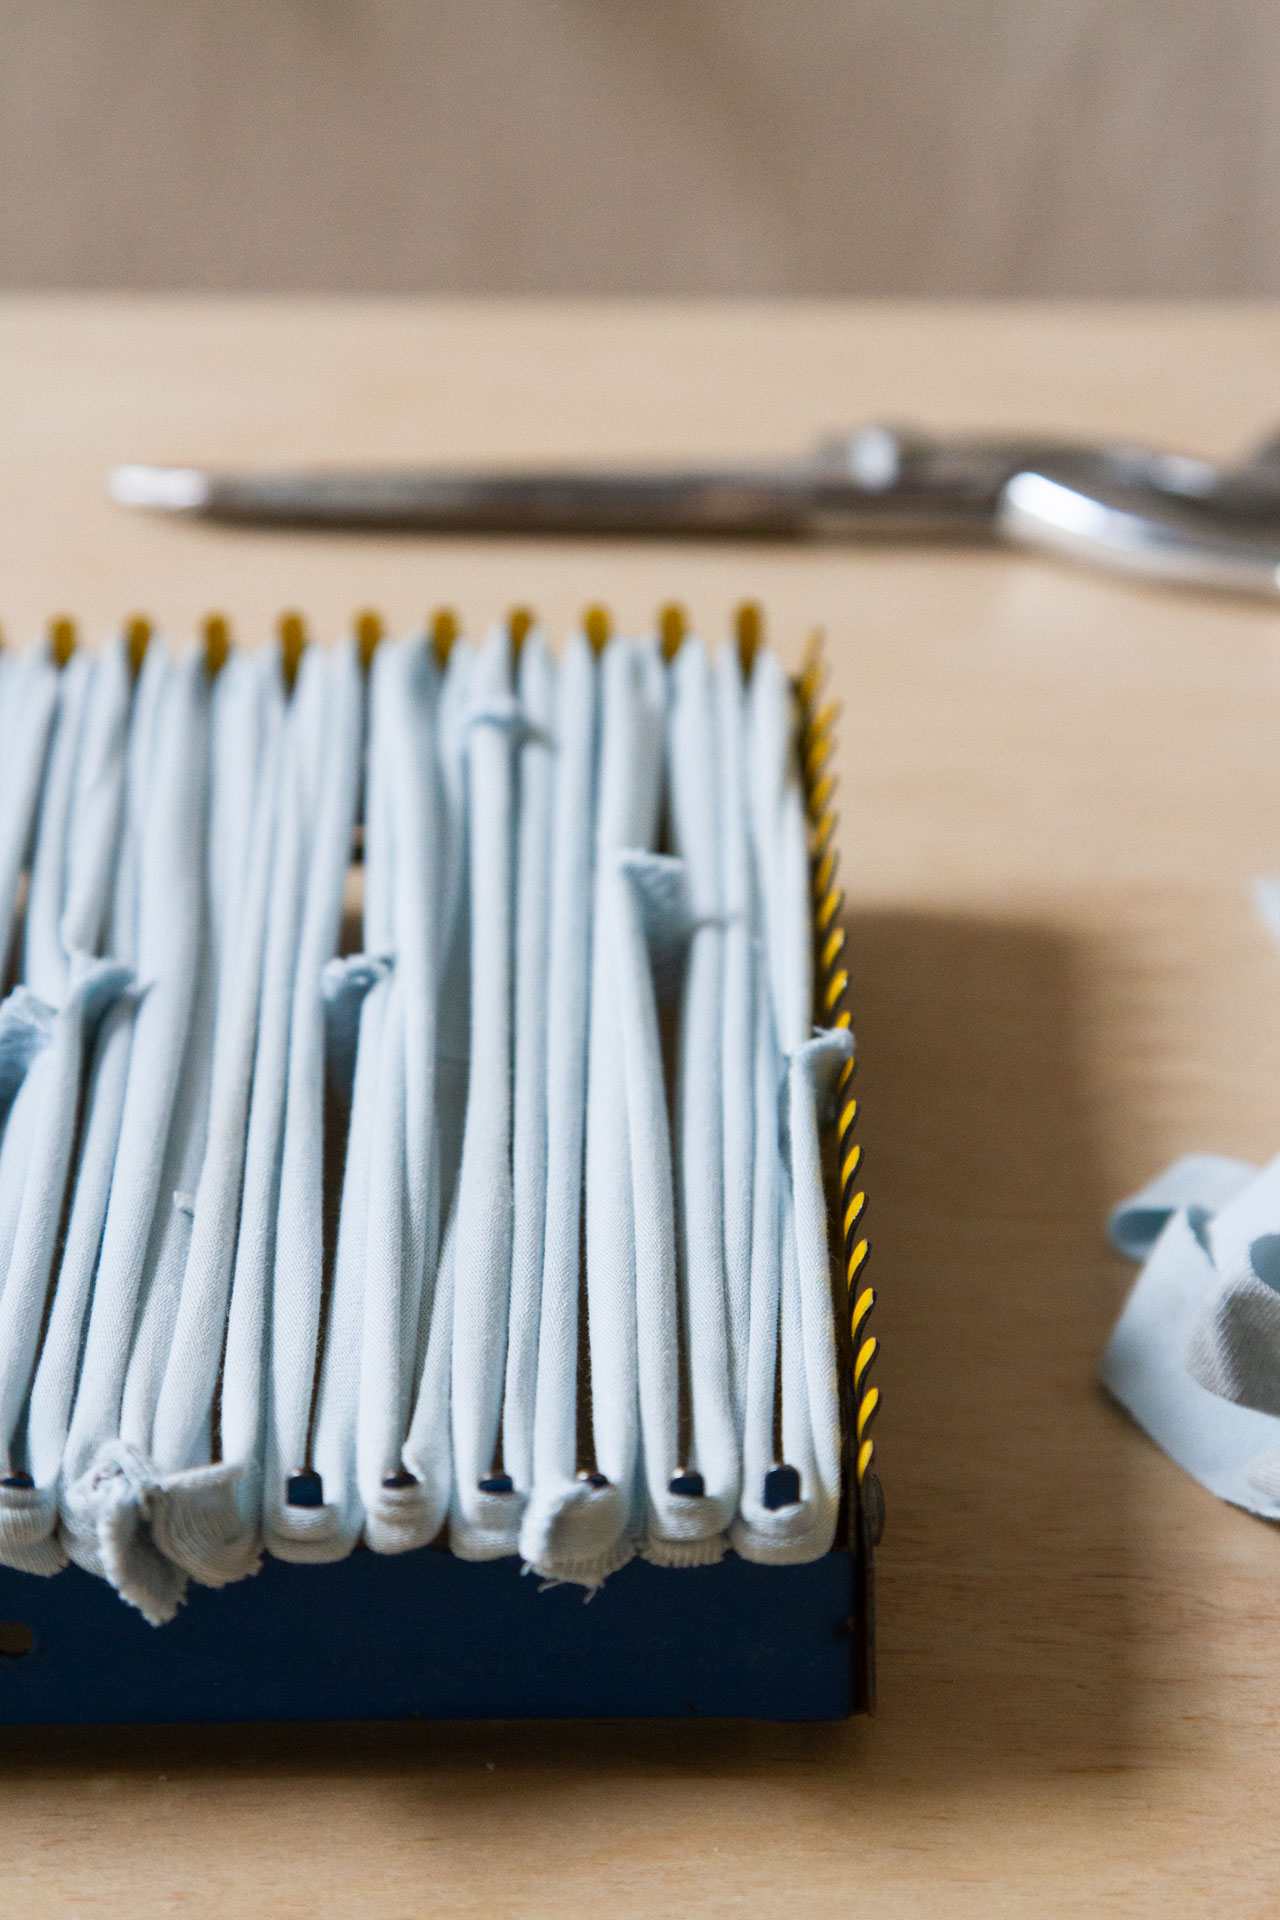
To set up the loom (also known as your ‘warp’):
+ Place your cut loops from one peg directly across the loom to the opposite peg.
+ Once all loops are stretched across the pegs you will begin to weave (or create your ‘weft’).
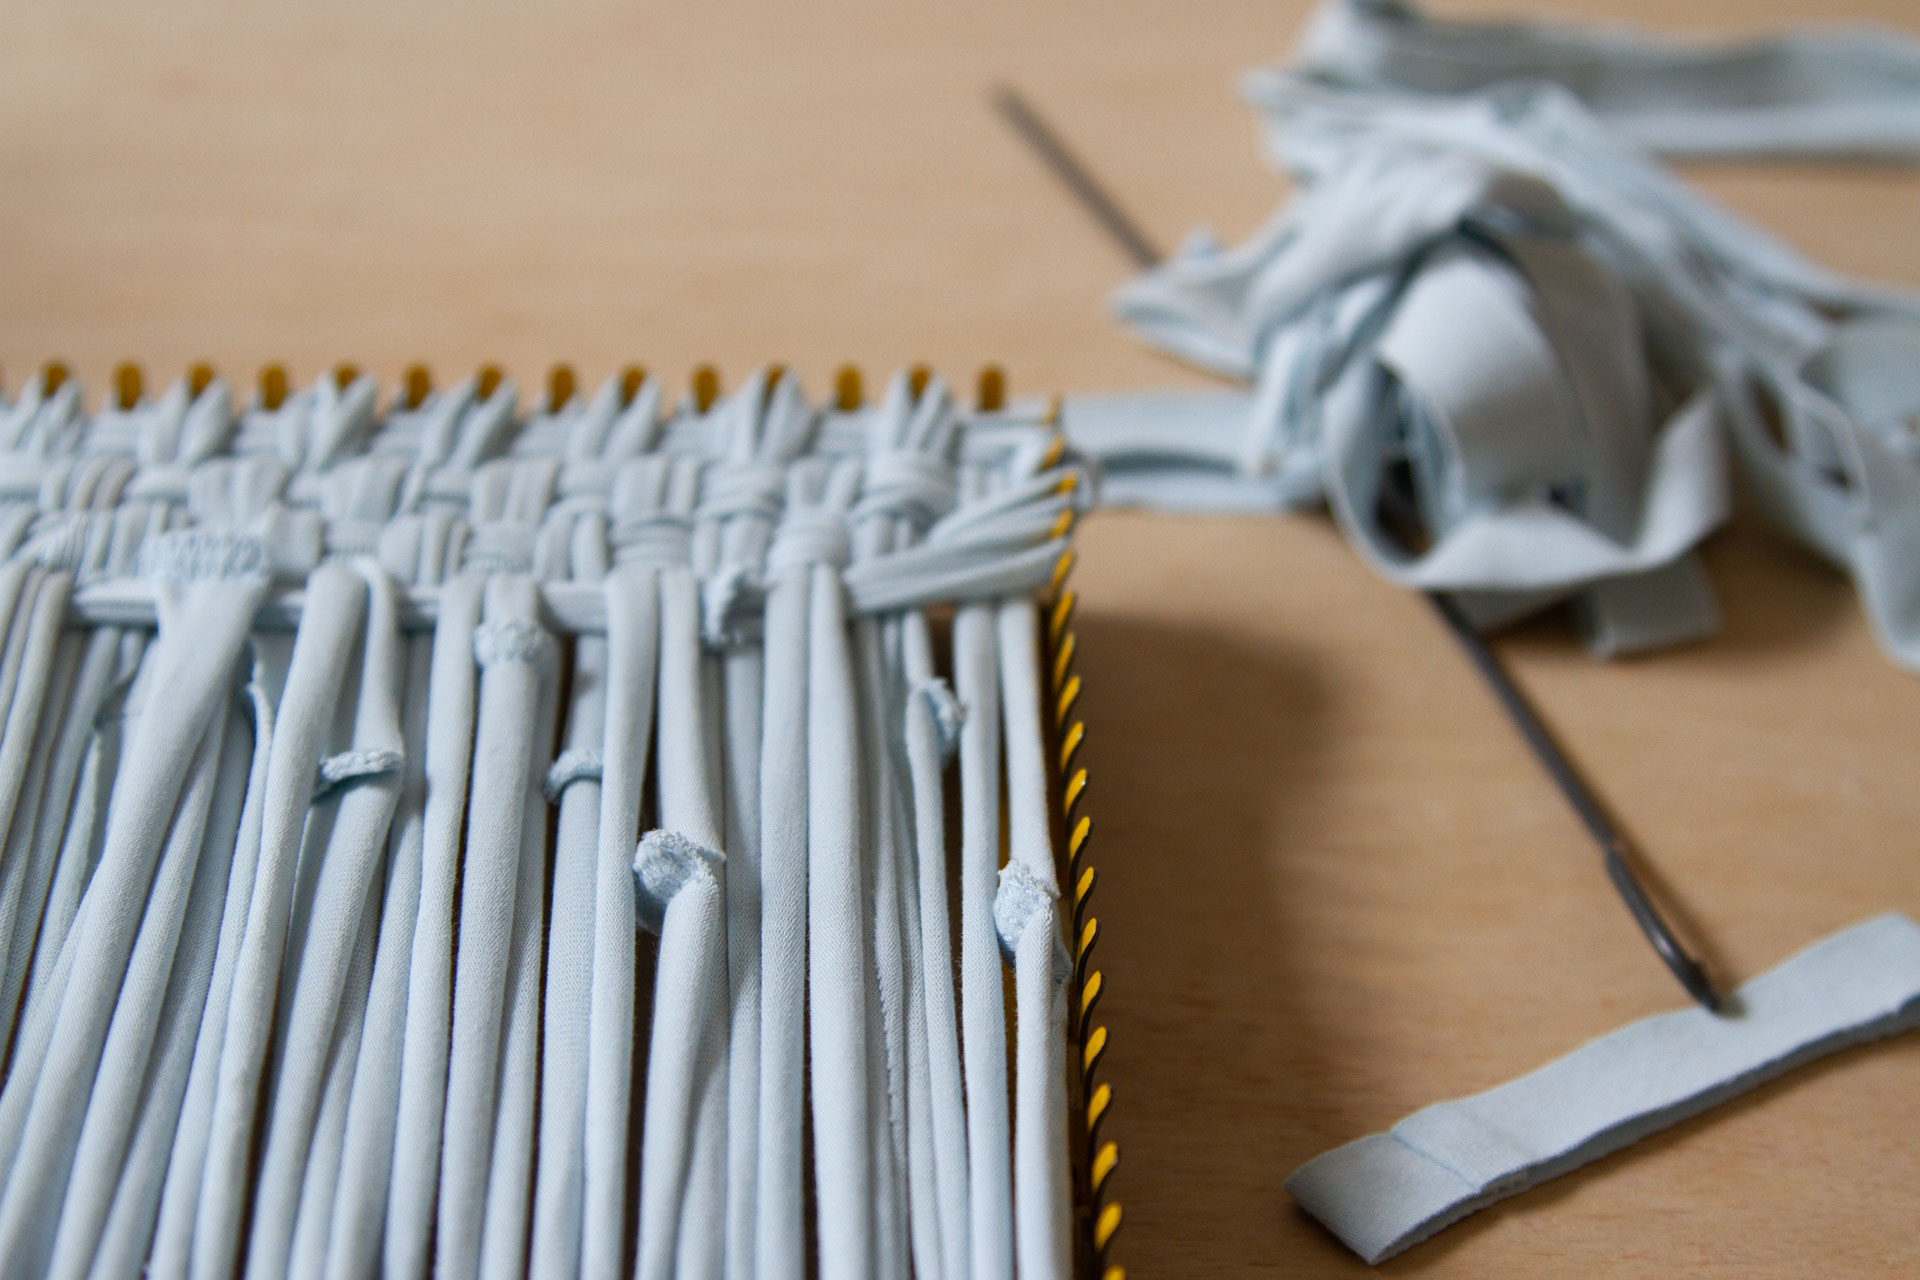
Weaving the pot holder:
+ Weave the metal hook alternating going over and under all the loop strands from once side of the loom to the other.
+ Place a fabric loop onto the hook and carefully pull the hook with the loop back through the warp. As you pull the hook and fabric back through the warp, secure the end of the looped fabric onto the first peg. Once the hook reaches the opposite side, secure the loop to the first peg on that side.
+ For the next row, reverse the weave, going under where the previous loop was over, and over where the previous loop was under. Again, attach a fabric loop on the hook and pull the hook with the loop back through to the other side. Fasten the ends of the fabric loop to the second pegs on each side of the loom (directly underneath the previous loop).
+ Continue to weave, until all of the pegs are filled, making sure to alternate the weave on each row until you complete every row.
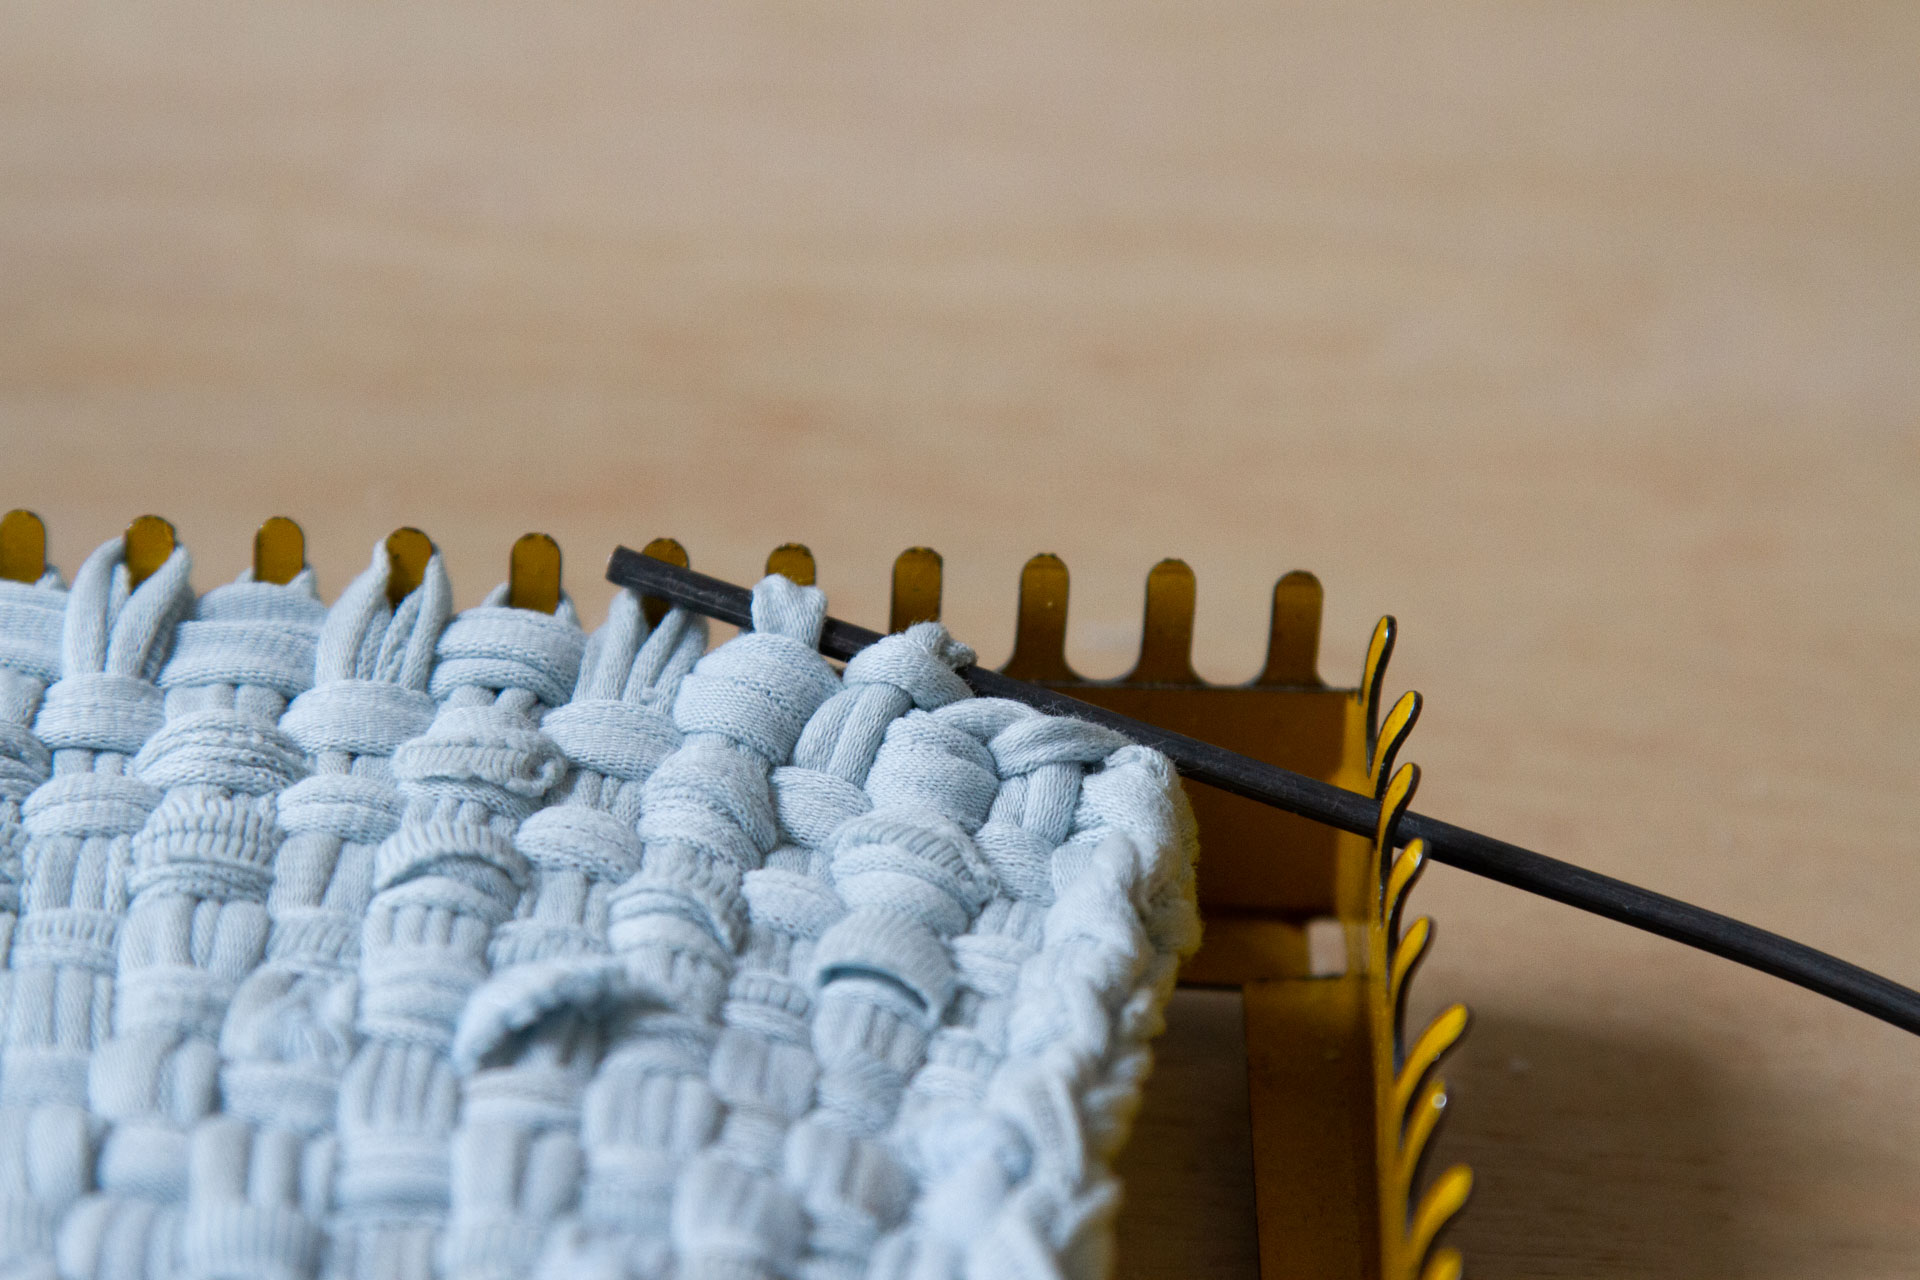
To finish the potholder:
+ Starting on a corner edge, take the last loop (before the corner edge) off the peg, and pass the following loop (the first loop after the corner edge) through the first one. Release the first loop once the second one is passed through.
+ Next take the third loop and pass it through the second loop, releasing the second loop once the third loop is through.
+ Repeat until all the loops have been feed through the previous one. If you have a small crochet hook, it will be helpful here, otherwise the straight end of your metal weaving hook or your own fingertips will also work.
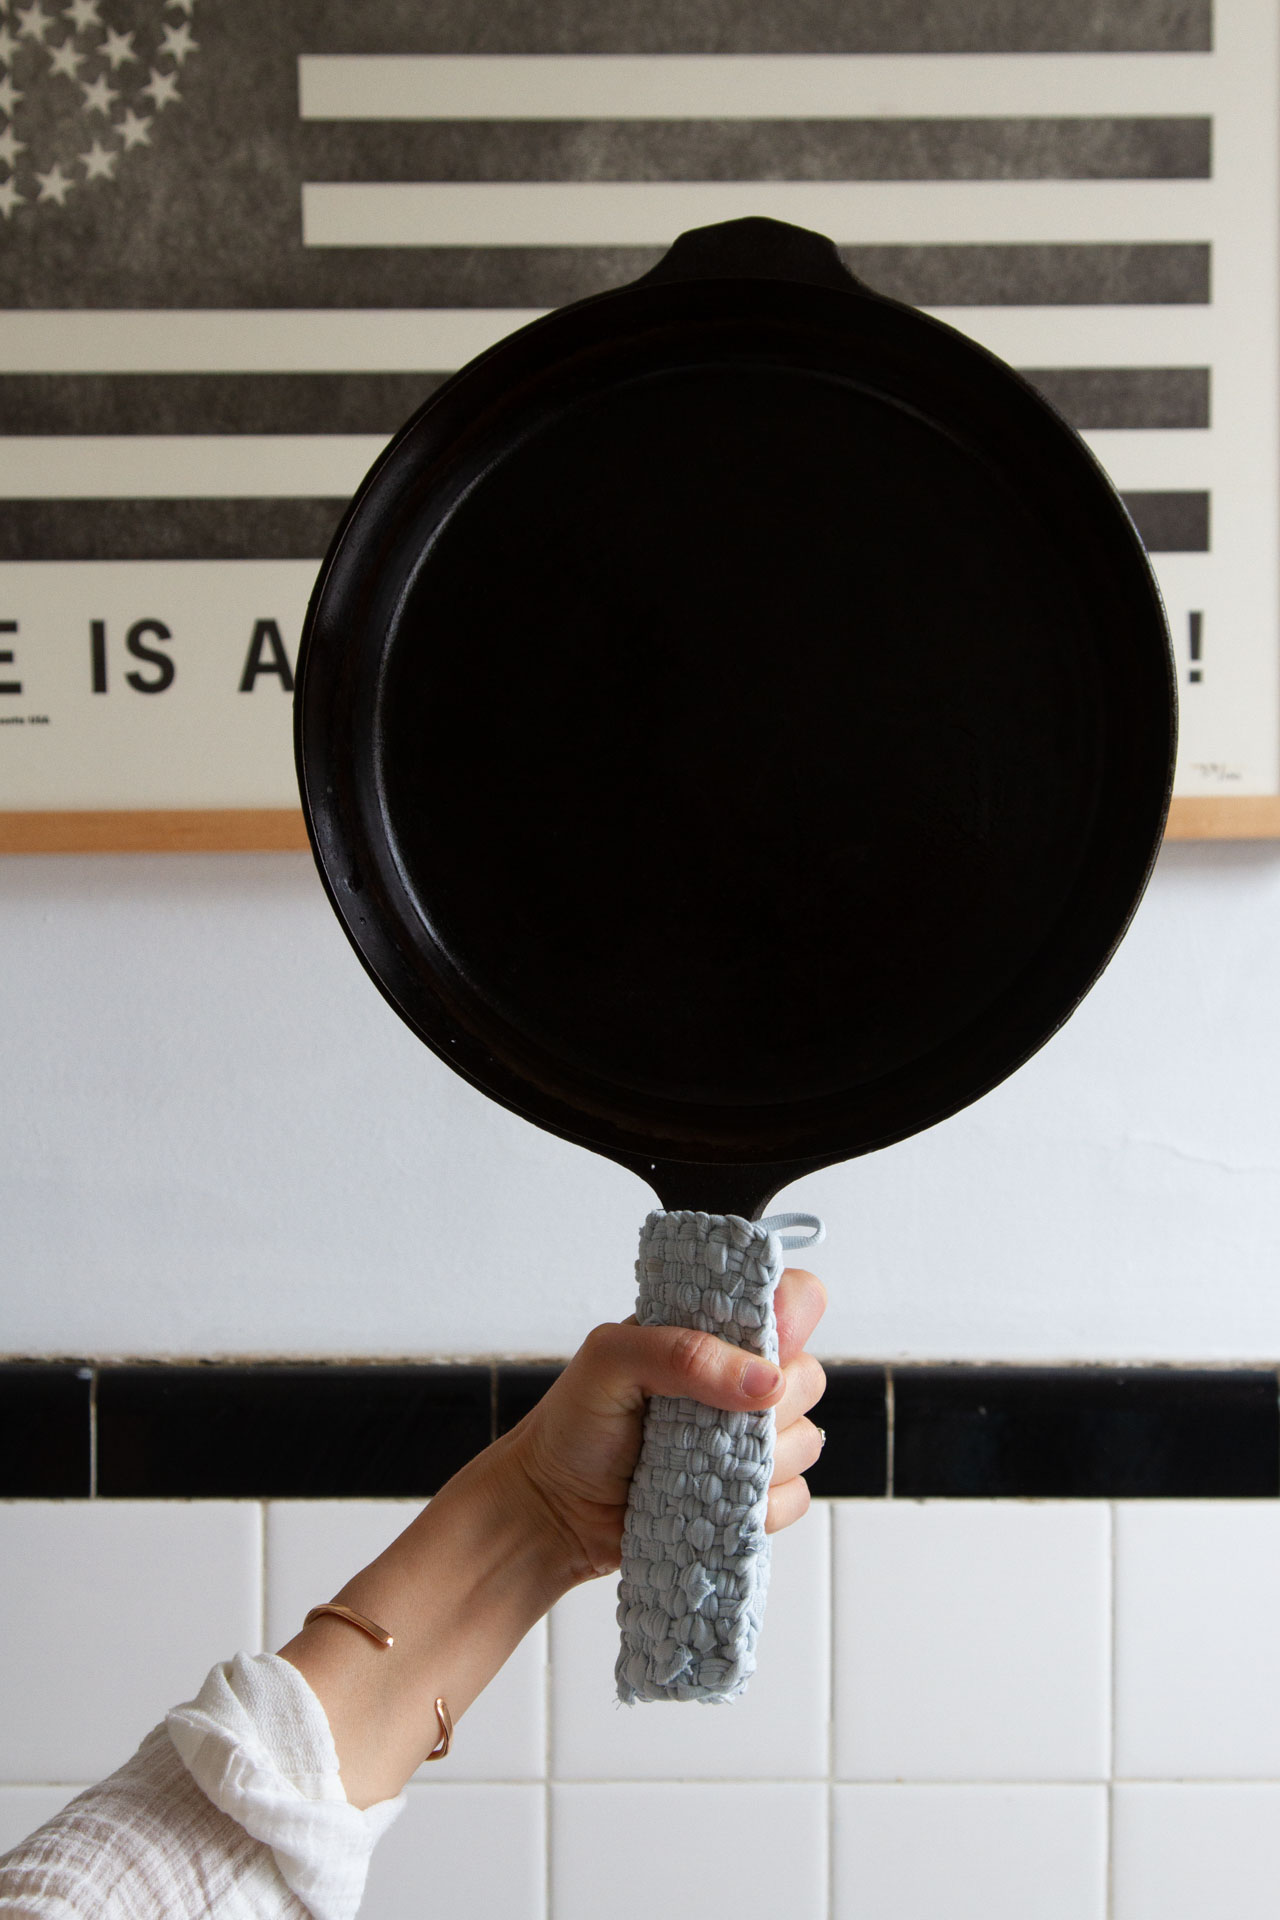
+ When you reach the last two loops, pass the last loop through the previous loop as you’ve done throughout. Pull this last loop tightly so that it extends from the rest of the potholder; this will become the loop used to hang your potholder.
A few more notes:
+ It’s good practice to carefully press up the woven rows as you work. This will create space for additional rows and make it easier to get your hook tool through the foundational loops.
+ The last few rows of weaving can be difficult! If needed, you can carefully unhook the warp (foundation loops) one at a time to carefully tuck each loop individually over or under.
+ The sewn hem on each loop will be slightly apparent in the final pot holder. To create neat potholder edges, keep the sewn seam to the interior of the loom while weaving.
+ If going over under every individual fabric strand is too difficult, try a slightly thicker weave by going over and under every two loops. This will be easier to weave but will create a smaller potholder as you’ll be binding off two loops at a time in the final stage.
+ Remember that both the joy and the difficulty of working with reclaimed materials is that no two pairs of worn out children’s leggings will be exactly the same. Expect to make some minor adjustments to the instructions above, but mostly, rest easier knowing there’s life after leggings after all.

//
Thanks to Rose Pearlman for preparing this tutorial. Rose is an artist, teacher, and textile designer. With a background in fine arts and a love of well designed functional objects, her creations blur the lines between art and craft and pushes the boundaries with non-traditional techniques and materials. Rose teaches monthly rug hooking workshops in and around her home in NYC, and also welcomes commissions for one of a kind constructions in decor and home furnishings. Her work has been featured in fiber magazines, galleries, and numerous online design sites. Her book Modern Rug Hooking is available wherever books are sold. Follow along with her functional craft projects at @art_objects_ She lives in Brooklyn, NY with her family.

17 Comments
Love this! You didn’t ask for pants advice, but in case it helps: my soft pants only kid loves the sweatpants and wide leg jersey pants from Hanna Anderson and they’re fairly hard-wearing.
Same, Jessica! Hanna Andersson and Boden are the only ones that survive my girl’s love of nature hikes, scrambling over boulders, AND soft pants.
This is 100% goals! Have you ever read the picture book Something from Nothing? Probably the reason I have several pairs of kids pants tucked away with neither sentimental nor re-wear value, but I know I’ll have a use for them someday! There’s nothing more magical for me than creating something useful out of “nothing”. I will keep this project in mind.
Oh my I just realized I already recommended that book on your rug post! I guess it’s been on my mind lately (and your beautiful projects are just so aspirational in the best of ways).
Nylon fabric is not very heat resistant. Can easily cause a burn if not extremely careful when handling the potholder
For sure caution is always best when handling anything hot or close to a flame, but most leggings are only made of a small percentage of nylon. Our legging potholders are still going strong and no burns yet!
I love this! Only bummed that I recently tossed a bunch of kids’ leggings after holding onto them for months trying to figure out what could be done with them. But more ripped leggings are definitely in our future, with three little pairs of legs to bust them up!
Thank you! Wonderful idea. Also, just turning old leggings into loops for my children to craft with is a huge bonus. They find all sorts of uses for cotton loops. I have a stack of children’s leggings with holes that I thought would be useful at some point. And yes, we have also found holes in leggings after one use – caught on the wire of a bunny cage. Thankfully it was small enough to sew securely.
Oh so maybe THIS is what I’ve been saving sock-legs for all these years!!
The soft colors are so lovely! I want to find a loom and give this a go. Thank you as always for ways to re-use!
This is awesome!
I love this!! My mom makes these, and they look similar to yours! She’s very crafty, at least with crochet and knitting. I love her handmade potholders and fridge door handle covers. 😀 But now I got a tutorial to make my own thanks to you – woo!
love those blues and the varied chunkiness! i’m guessing i could use tee sleeves as a person w/no kid leggings?
as long as the stretch and/or tension is right, should work!
AMAZING. I’ve also found that needle felting as knee-hole mending method has extended the life of soft pants around here (lasts longer than just stitching and is cuter to boot) but inevitably even that blows out. Love this so much and thank you always for this genius generosity!
You can also sew these squares together to make a rug, if you’re willing to plan out your colors and/or if your people mostly wear the colors you like. I’m working on one and have been shocked by how much I enjoy it. A little slice of childhood crafting.
I used to make these in grammar school. My mother used my creations for years. Thank you for the reminder!
Comments are moderated.