I’ve often said, “life isn’t always simple, but the curtains can be,” and then I moved into an apartment with six whole windows soaring to heights that aren’t reachable without a ladder and realized that even simple curtains can get slightly complicated.
There are many possible options when it comes to dressing, treating, or whatever it is you want to call covering up your windows. Specifics have to be weighed against personal matters of light and height and views and neighbors to say nothing of personal taste, budget, and bandwidth for thinking about these kinds of things. There’s quite literally no one-size-fits-all solution, despite the claims to the contrary.
When I first wrote about window treatments several weeks ago, the range of reader suggestions highlighted the range of possibilities—from blocking light with cardboard boxes or clipping up paper shades, to investing in custom-measured roman blinds or honeycomb shades with insulating properties. For my part, I’ve been trying to avoid excessive expense, even if warranted, and excessive off-gassing of toxins, even while understanding there’s nothing that’s truly pure except, perhaps, the shade of the oak tree outside the window. Lots of window dressings, especially ones with light-blocking properties, are made from materials that I tend to avoid: PVC or vinyl or other kinds of synthetics that are fairly toxic to produce, that off-gas once in the home, and that hang around long after their useful life is finished. Roman shades custom sized to fit sound simplest from a materials perspective, but they top the list in terms of investment and the expense of getting these custom made for large windows felt cost-prohibitive for me. EarthShades is a small company specializing in low-emission shades and their website include lots of transparent details re: their materials ranging from whether they’re compostable, recyclable, Greenguard and Oeko-Tex certified, formaldehyde-free et cetera but pricing is somewhat less transparent, and I knew it wouldn’t be in the cards for me without a partnership.
After a few weeks of research, I’ve landed back where I usually do: I’m going to do this myself. Turns out, this DIY enthusiast has seen her limits and determined to blow past them. After looking through the recommendations and the research for store bought options, I couldn’t get myself excited enough to invest in any of them.
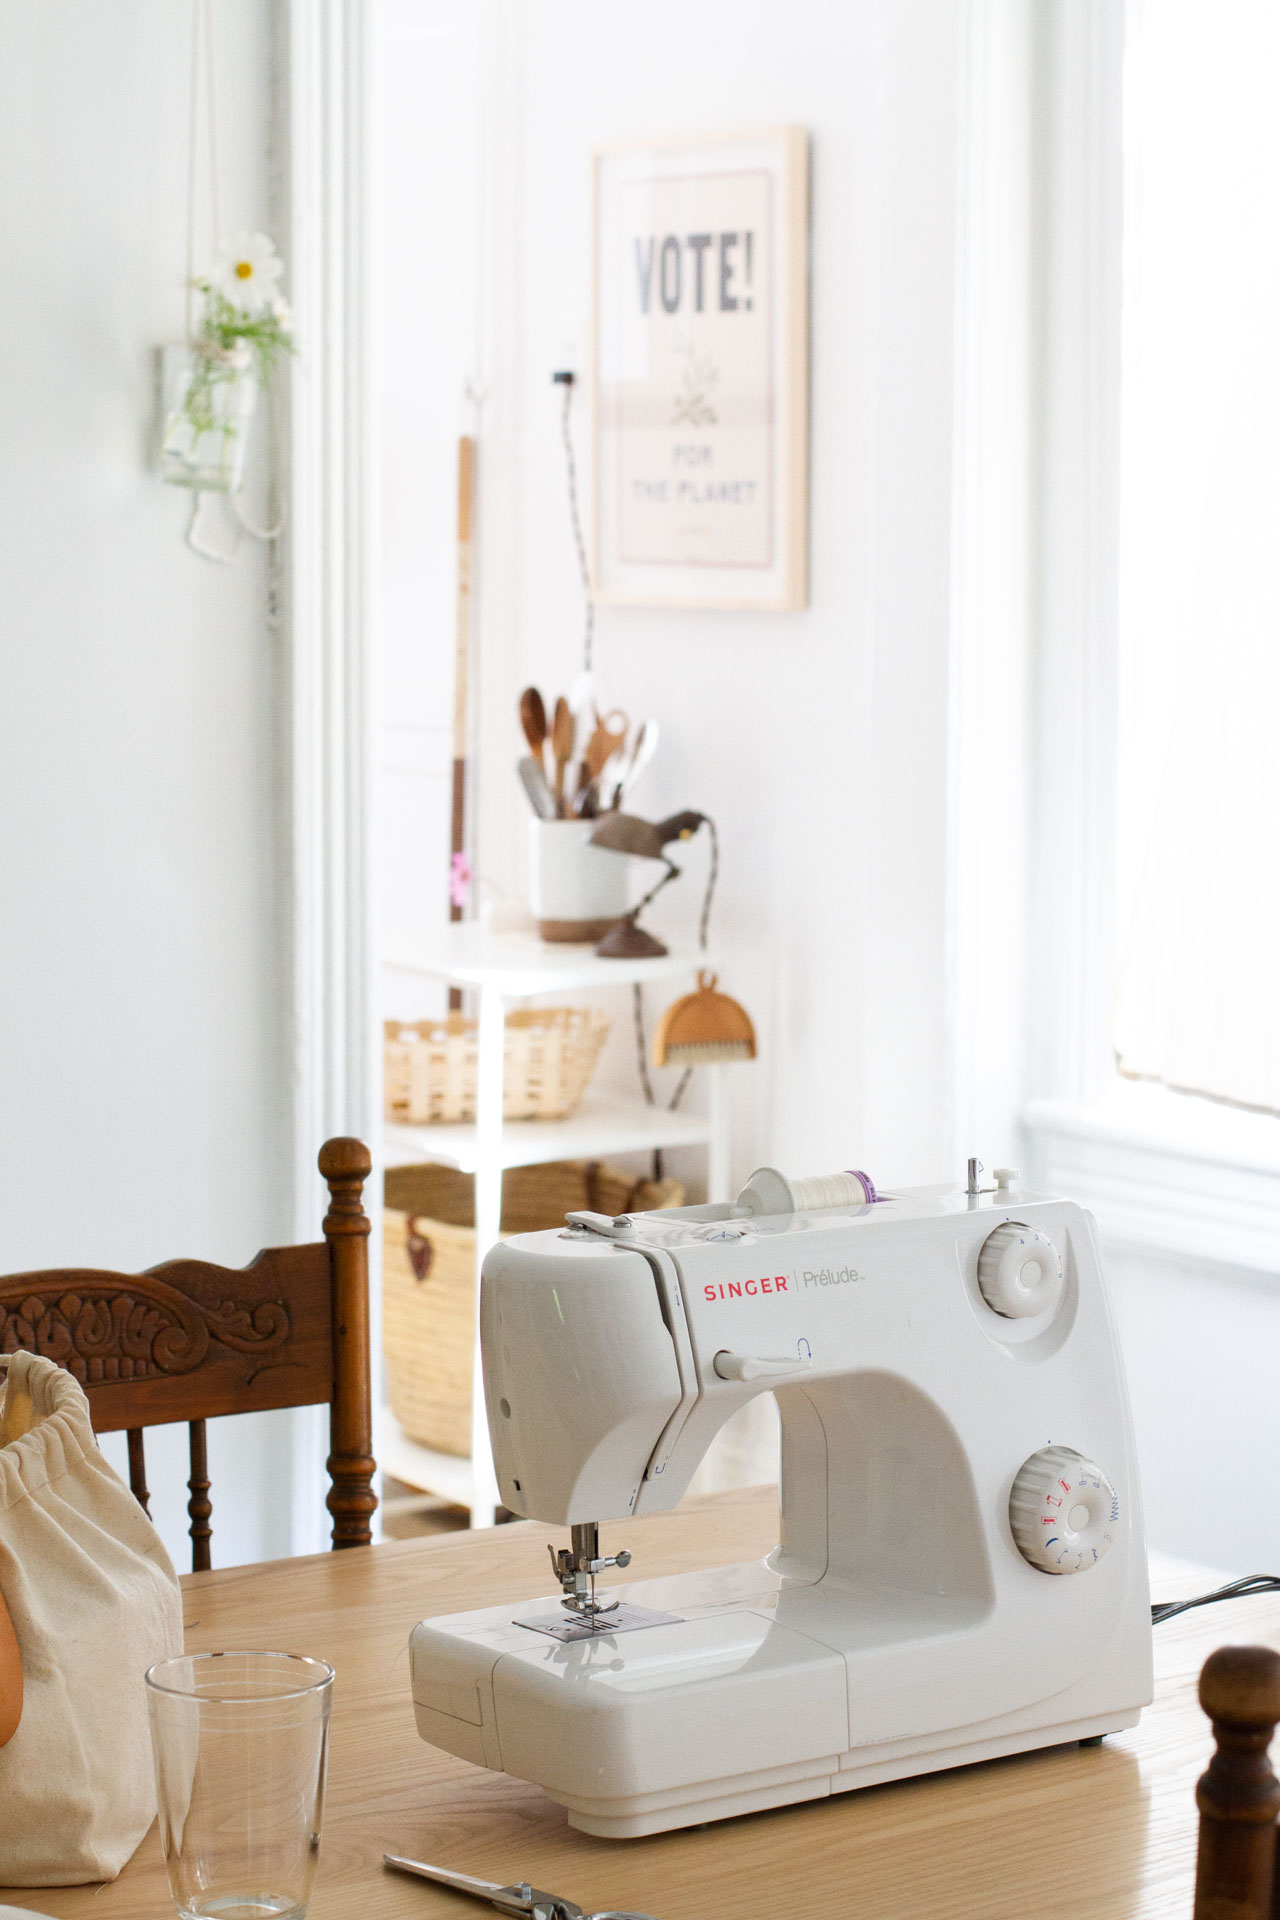
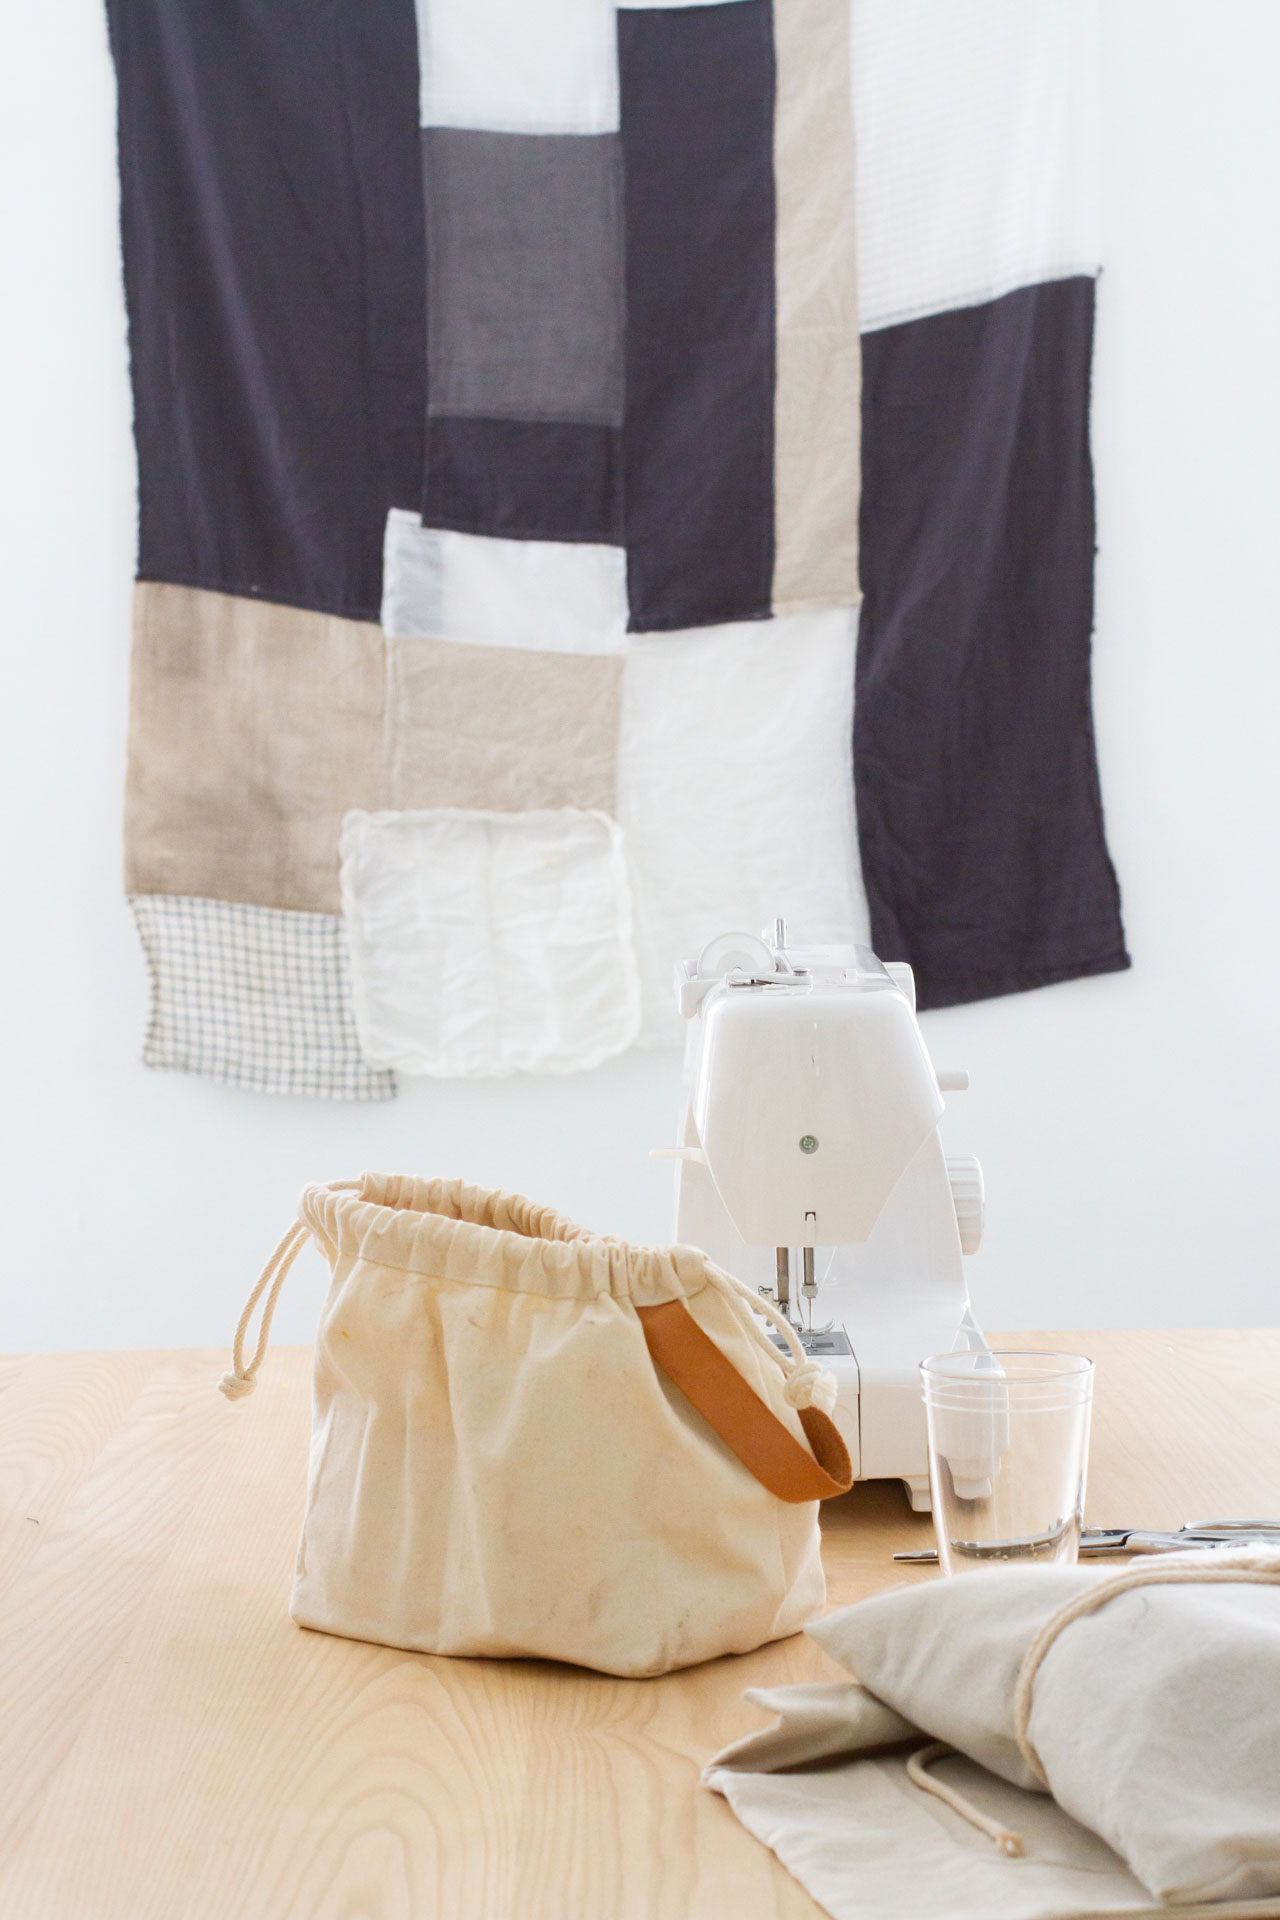
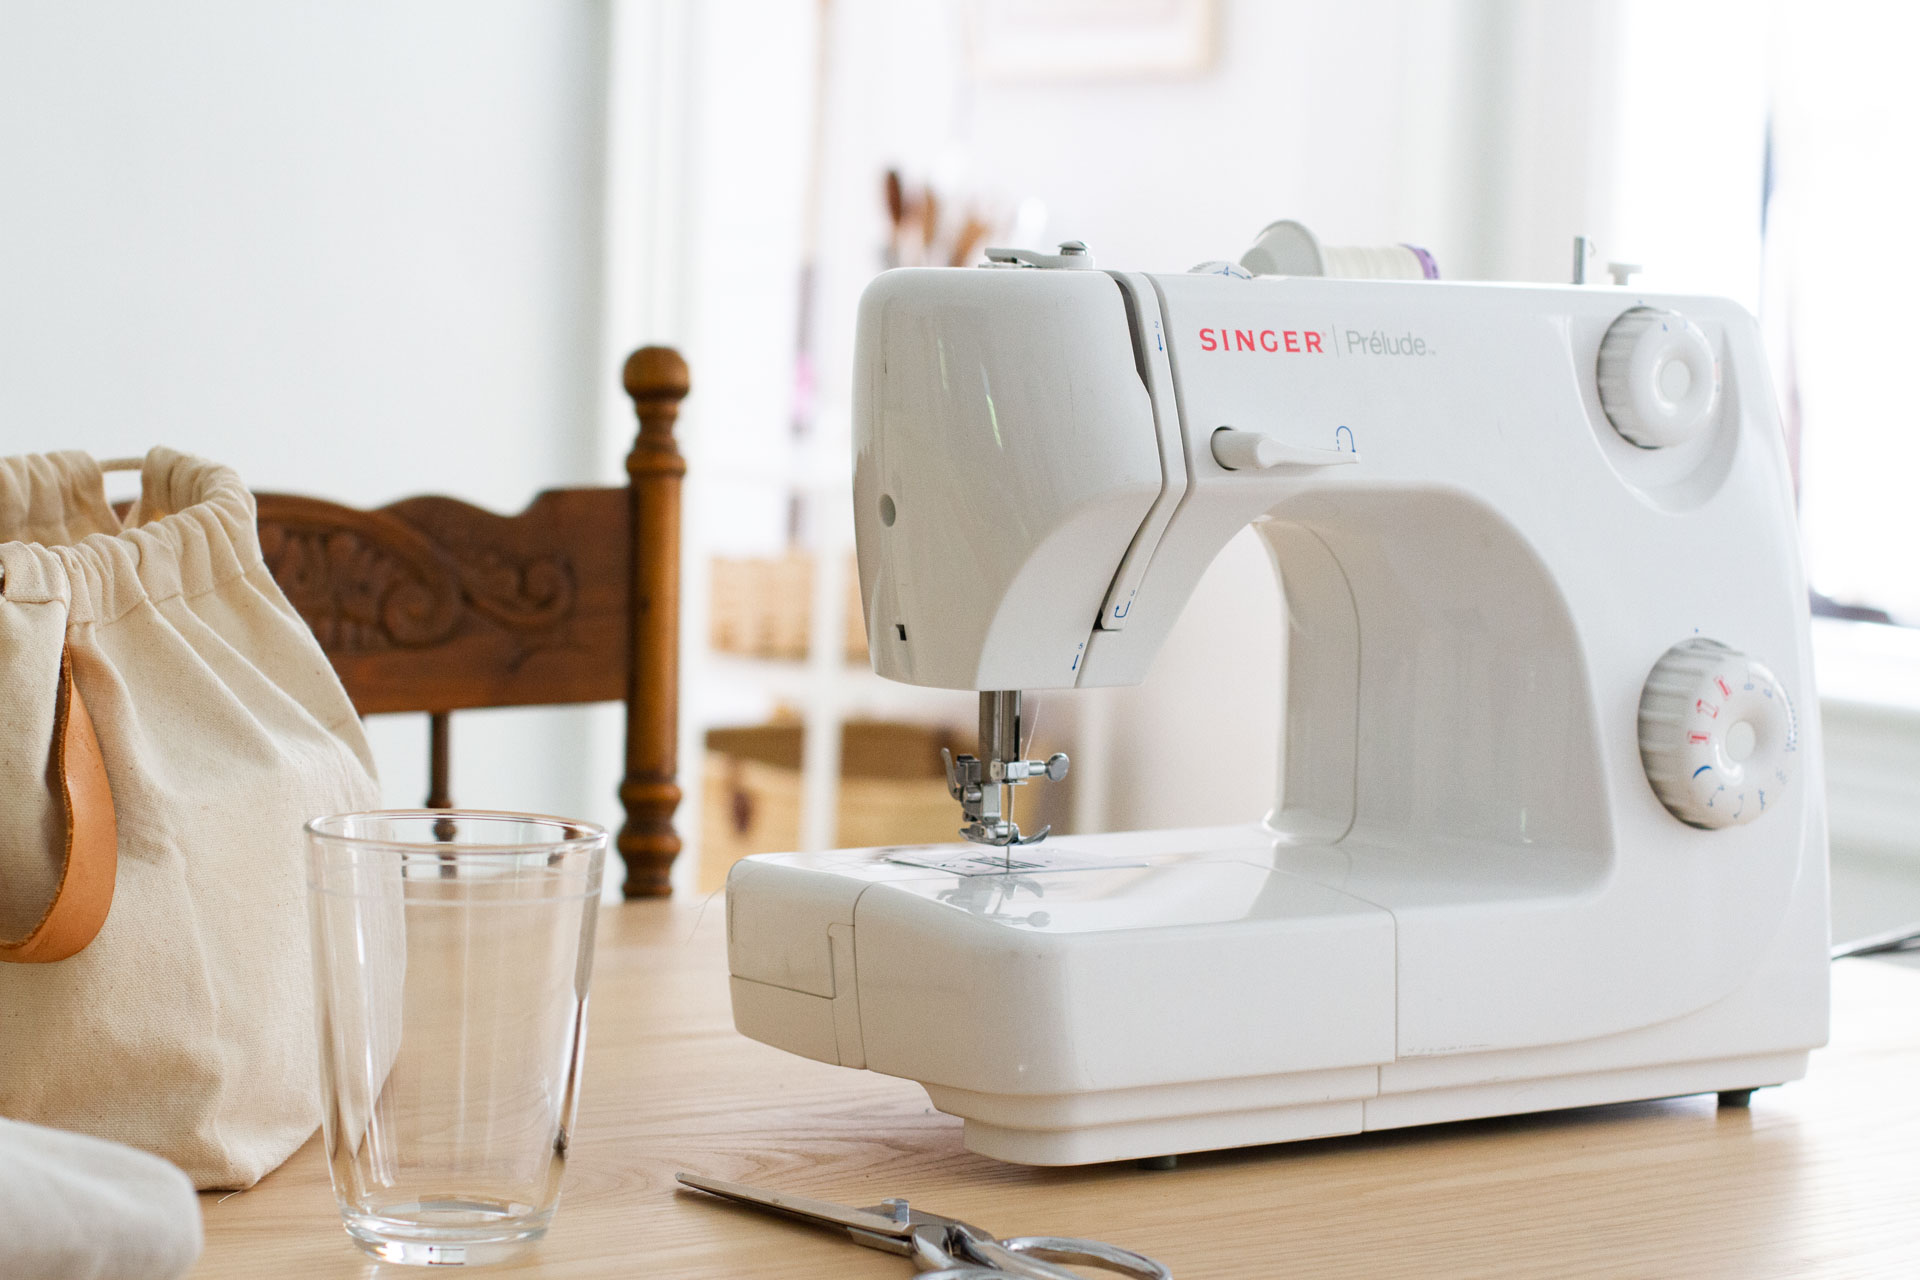
As of yesterday morning, I am the very new owner of a not-so-new sewing machine. I’d been half-heartedly putting my name in the hat whenever a machine cropped up on my neighborhood Buy Nothing Group and earlier this week, a neighbor posted a machine that she and her kids had had some difficulty getting to work properly. I got a note saying that if I wanted it, it was mine. Yesterday morning I hopped on the cargo bike and carted the machine back home with me. An overdue lunch date with Rose and a visit to Brooklyn General Store for thread later, I was feeling more confident. I fell asleep last night reading the user’s manual online and sat down this morning ready to hop between YouTube tutorials and get this thing back in working order. I don’t have a final project to share or any definitive answers, but I wet my feet by reinforcing the hand-stitched rod pockets I’d sewn into drop cloth late last year and the nearly straight line I managed is getting me excited for projects to come.
While I decide on specifics, here are a few inspiring ideas for DIY room darkening solutions and other window treatments of the scrappy sort I came across in my research and through the kindness of readers:
+ Wool blankets to block light and provide insulation, like the ones a reader spotted hanging in Martina Thornhill’s house.
+ Denim or otherwise dark curtains, which would function similarly to the black linen yardage that I doubled up and hung from the window in our last apartment or like the charcoal canvas hanging in our office-turned-baby-bedroom.
+ Black Canvas or black burlap, either sewn onto curtains as backing or hung all by themselves.
+ Paper Blackout Shades, clothes-pinned or tacked or otherwise temporarily installed.
+ Simple fabric shades made from tension rods that you move manually whether you want full coverage, or partial.
+ Fold-down shades: You can catch a glimpses of this genius solution in a few instagram posts from the very charming Lincolnville Motel in Maine (head here and here and here!). The concept is similar to the tension rod shade above, but instead of two tension rods, there are three wooden dowels sewn into the top, middle, and bottom of the fabric shade, and brackets in the window frame that give the possibility of hanging the shades to cover the whole window, the top, or the bottom.
For the curious:
More about the patchwork pojagi curtains I stitched by hand.
This is the Singer sewing machine I’m using. I love it, but I have next to nothing to compare it to!
My sewing bag was a gift many years ago from Fringe Supply Co.
All scrappy window treatment ideas more than welcome!

25 Comments
I made shades for our bedrooms very similar to the Lincolnville shades you posted except without the middle rod. It’s a rectangle of canvas with a pocket and wooden dowel at the top and bottom. We have a 3D printer, plastic I know, but we were able to print a custom bracket to hold the rod hanging down, or folded up. I love how simple they are to open in the morning, and close in the evening.
Oh that is brilliant! I’m currently in the middle of making roman shades, but I am worried about the weight of the fabric and dowels. If my plan backfires, I’m going to try this. Thank you!
So terrific!
I’ve thought about making something like this: https://pin.it/1JCNp3s
I think you’d have to sew a dowel at the bottom to roll it up easily.
Yes! Same concept I used here but can confirm the dowel would make the rolling easier! On my list of things to do!
I have a “simple shade” that I’ve made often over the years. I used to have a blog called Two Straight Lines many years ago and a tutorial for it was one of my most popular posts. Here’s a link to my most recent version made for my daughter’s room. https://www.instagram.com/p/BxijMUrntsy/?utm_medium=copy_link If you have an interest, I kept my tutorial when I deleted my blog recently.
Hi Courtney! The shade looks beautiful! Does it have loops at regular intervals that you loop onto shoulder hooks at the top? The windows in this place go way higher than we can reach, so I’m currently thinking of configuring a pulley system a la swedish roller shades, but this looks brilliant for windows you can reach! I would be delighted to see your tutorial if it’s something you’re willing to share!
Yes, I thought your windows might be too tall after I thought about it. There is the possibility of covering the bottom half of the window in places where privacy isn’t too much of an issue, but in your case, that may not be possible. I’ll send you the tutorial when I get a chance. I really like that the blinds don’t require a large investment in hardware.
I am scheming a DIY roman shade using small strong magnets sewn into the side hem to hold up the folds. We have a large window in our kitchen and am blinded during dinner prep, but I can’t bring myself to go custom!
Yes! I’ve seen some interesting magnet solutions!
I am so excited to see the things you create with that sewing machine!
This is what I needed to read for my girl’s room. One normal sized window, and one small casement window make curtains tricky. Drapes would look ridiculous, and roman shades are so freakin expensive. The Lincolnville Motel shades and Emily’s comment above may have just saved me so much time and money. Bless you all!
We have floor-to-ceiling windows (but low ceilings), a streetlamp just outside, a small budget, and the same objections as you to PVC and weird coatings etc. We put up a double curtain track, and on the track towards the room we have a cream cotton flannel curtain; on the one towards the window we have two layers joined together – medium-weight black canvas, and behind it (i.e. nearest the window) white cotton. So when everything is closed, the black cotton is both hidden from view and protected from fading in sunlight. We can also open the black/white layer to let light come in through the cream flannel layer – e.g. to get dressed in the morning by daylight without the neighbours seeing in. It was not too hard to make, not terribly expensive (even with all organic fabrics), and works pretty well. Also all machine-washable so no expensive/toxic dry-cleaning.
sounds fantastic! would love to see your set up!
I’m curious to hear more about the concerns referenced by some here with most blackout curtains and off gassing. The ones I recently was checking out are made of a polyester blend, and the blackout backing is 100% polyester, no flame retardants. Are there issues with polyester too? Genuinely curious! I have made bigger money/time investments with other household items to adhere to a more ethical, less consumptive ethos, but admittedly find curtains to be an especially challenging thing to diy, so hoping that this is not a secretly toxic consumer good.
All of the caveats here, as ever, that any choice is fraught and there’s no such thing as perfect and of course it’s reasonable that further spending time looking into curtain materials might not be the best use of individual or collective time!): I think 100% poly that’s not vinyl and doesn’t have flame retardants is probably totally fine from a human health perspective, but folks, including me, might be avoiding it simply because it’s a plastic-based solution that won’t biodegrade, etc.
That makes sense! And I’m very sympathetic. It seems especially relevant in rental properties, given that so many of these solutions are specific to individual windows. I’m grateful for the time you and others spend thinking about this, and thanks for the answer!
As a longtime sewist, a couple of things that I have learned: if your machine ‘s tension is not right or if the machine is not running properly, taking it in for a cleaning and oiling is well worth the money. Secondly, make sure you frequently change your needles (so they are nice and sharp) and also make sure your needles are the correct size for the weight of your fabric. Just some basics that can make all the difference for a professional look.
I made simple (hardly sewn) curtains last year at the start of the pandemic using bamboo cane fishing poles from my childhood for rods that we cut to size, vintage white table cloths I had collected over the years, and metal rings with hooks to grab the fabric. They offer privacy but let in all the light, and I love how easy it is to open and close them (the rings make a satisfying sound across the bamboo). I look forward to seeing your finished solutions!
Would you be willing to send me a photo of these? They sound like an idea I might want to try!
Until you can buy a seam gauge for your machine—assuming that one didn’t come with it and you just haven’t found it yet—a piece of masking tape can serve as a gauge. The advantage of a real one is that it sticks up from the surface of the machine and guides the edge of the fabric more easily than the edge of the tape.
A gauge that screws into the base of the machine will stay put best but an adhesive or magnetic gauge would work, too.
I recently inherited a sewing machine from a family member and I am so addicted. If you’re looking for some beautiful, affordable linen, try http://www.fabric-store.com. I’ve sewed their mid weight black linen and it’s a dream. They typically run sales each week and have a lot of free (mostly clothing) patterns but also some household wares. It’s worth checking out their pattern section/blog. Can’t wait to see what you come up with!
Hi Erin, I’m on an endless quest for natural fiber window treatment options and I was very excited to find cotton and linen roller shades so I thought I’d share. The stenciling is optional. https://www.meltonworkroom.com/
Thanks so much, Lane! So glad to see this!
A bed linen factory in my area sells cheap duvet “seconds”, which have small faults that mean they can’t sell them to their distributors. I buy them, add fabric tabs that I put on rings or slip knot onto my existing curtain rings, and use them as insulation behind my linen curtains in winter. Ridiculously cost effective, and really great insulation! And Doesn’t block out the light completely, so I can still see the texture of my unlined linen curtains.
Comments are moderated.