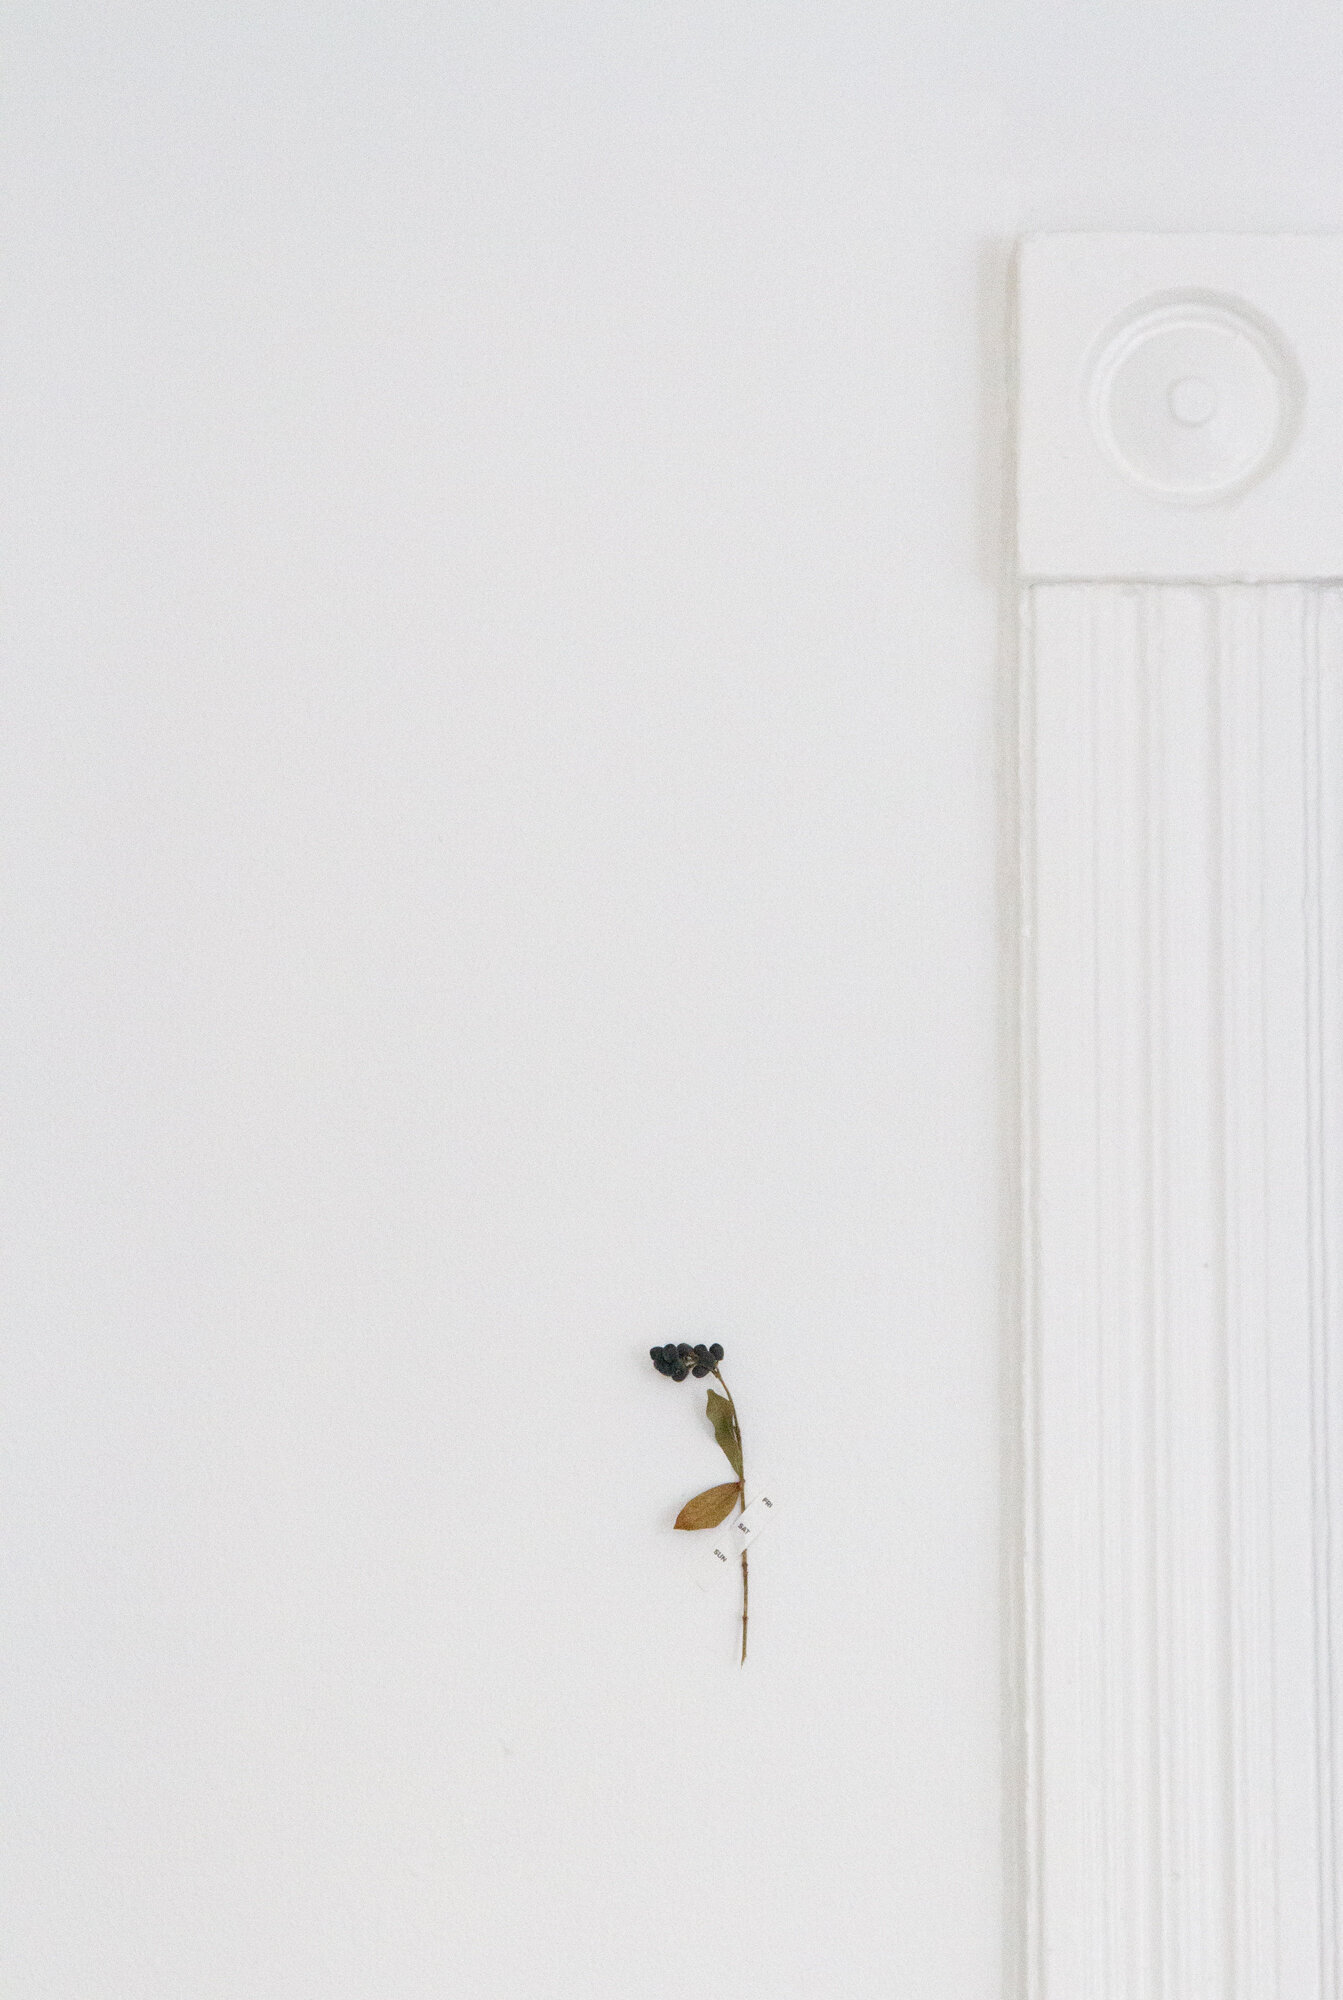
I’ll try my best to manage expectations from the get-go: This is not a post about stripping your trim or unearthing your crown moldings or restoring your fluted door frames to their original glory. It’s about making the best of a very common and not so great situation, which is grimy trim. In improving trim, and other things, we’re neither starting from, nor ending at a place of perfection. As with all home projects, possibilities for how you might further improve your trim depends on your budget, your know-how, and your vested interest. Since this is a series about simple improvements, I’m here to tell you that very simply cleaning and painting trim with a fresh coat of new paint can be a fuss-free and relatively inexpensive game changer for a lackluster room.
Anyone who’s lived in an old building is likely familiar with the phenomenon of the trims of many colors. Wood molding in apartments (especially ones that have been rentals for many years) can have layers upon layers of paint in coats so thick that the original details of the woodwork have gone soft. Accidentally ram a piece of furniture into the molding of homes like these and you’ll get a bull’s eye of paint layers, four or five or six colors deep. It’s by design that trim is used in high traffic areas, so it stands to reason that it’s also a place that will eventually look worse for wear.
Beyond heavy traffic, trim and moldings are also places where internet cables get tacked (and sometimes painted over), where phone jacks were once (or remain) mounted, where dust and particulate matter of questionable origin settle. People lean their bums against low window-frames, children scale tall doorframes and sit in windowsills with dirty feet, coffee cups and potted plants find their perch and leave their mark. In an effort to clean things up a bit, well-meaning landlords or tenants touch up trim with paint that doesn’t quite match the finish or the color that was there before. Drips are left to dry, putty is left unsanded, and the resulting trim is so hodgepodged that it’s impossible to discern the dirt from the paint or the beginning from the end.
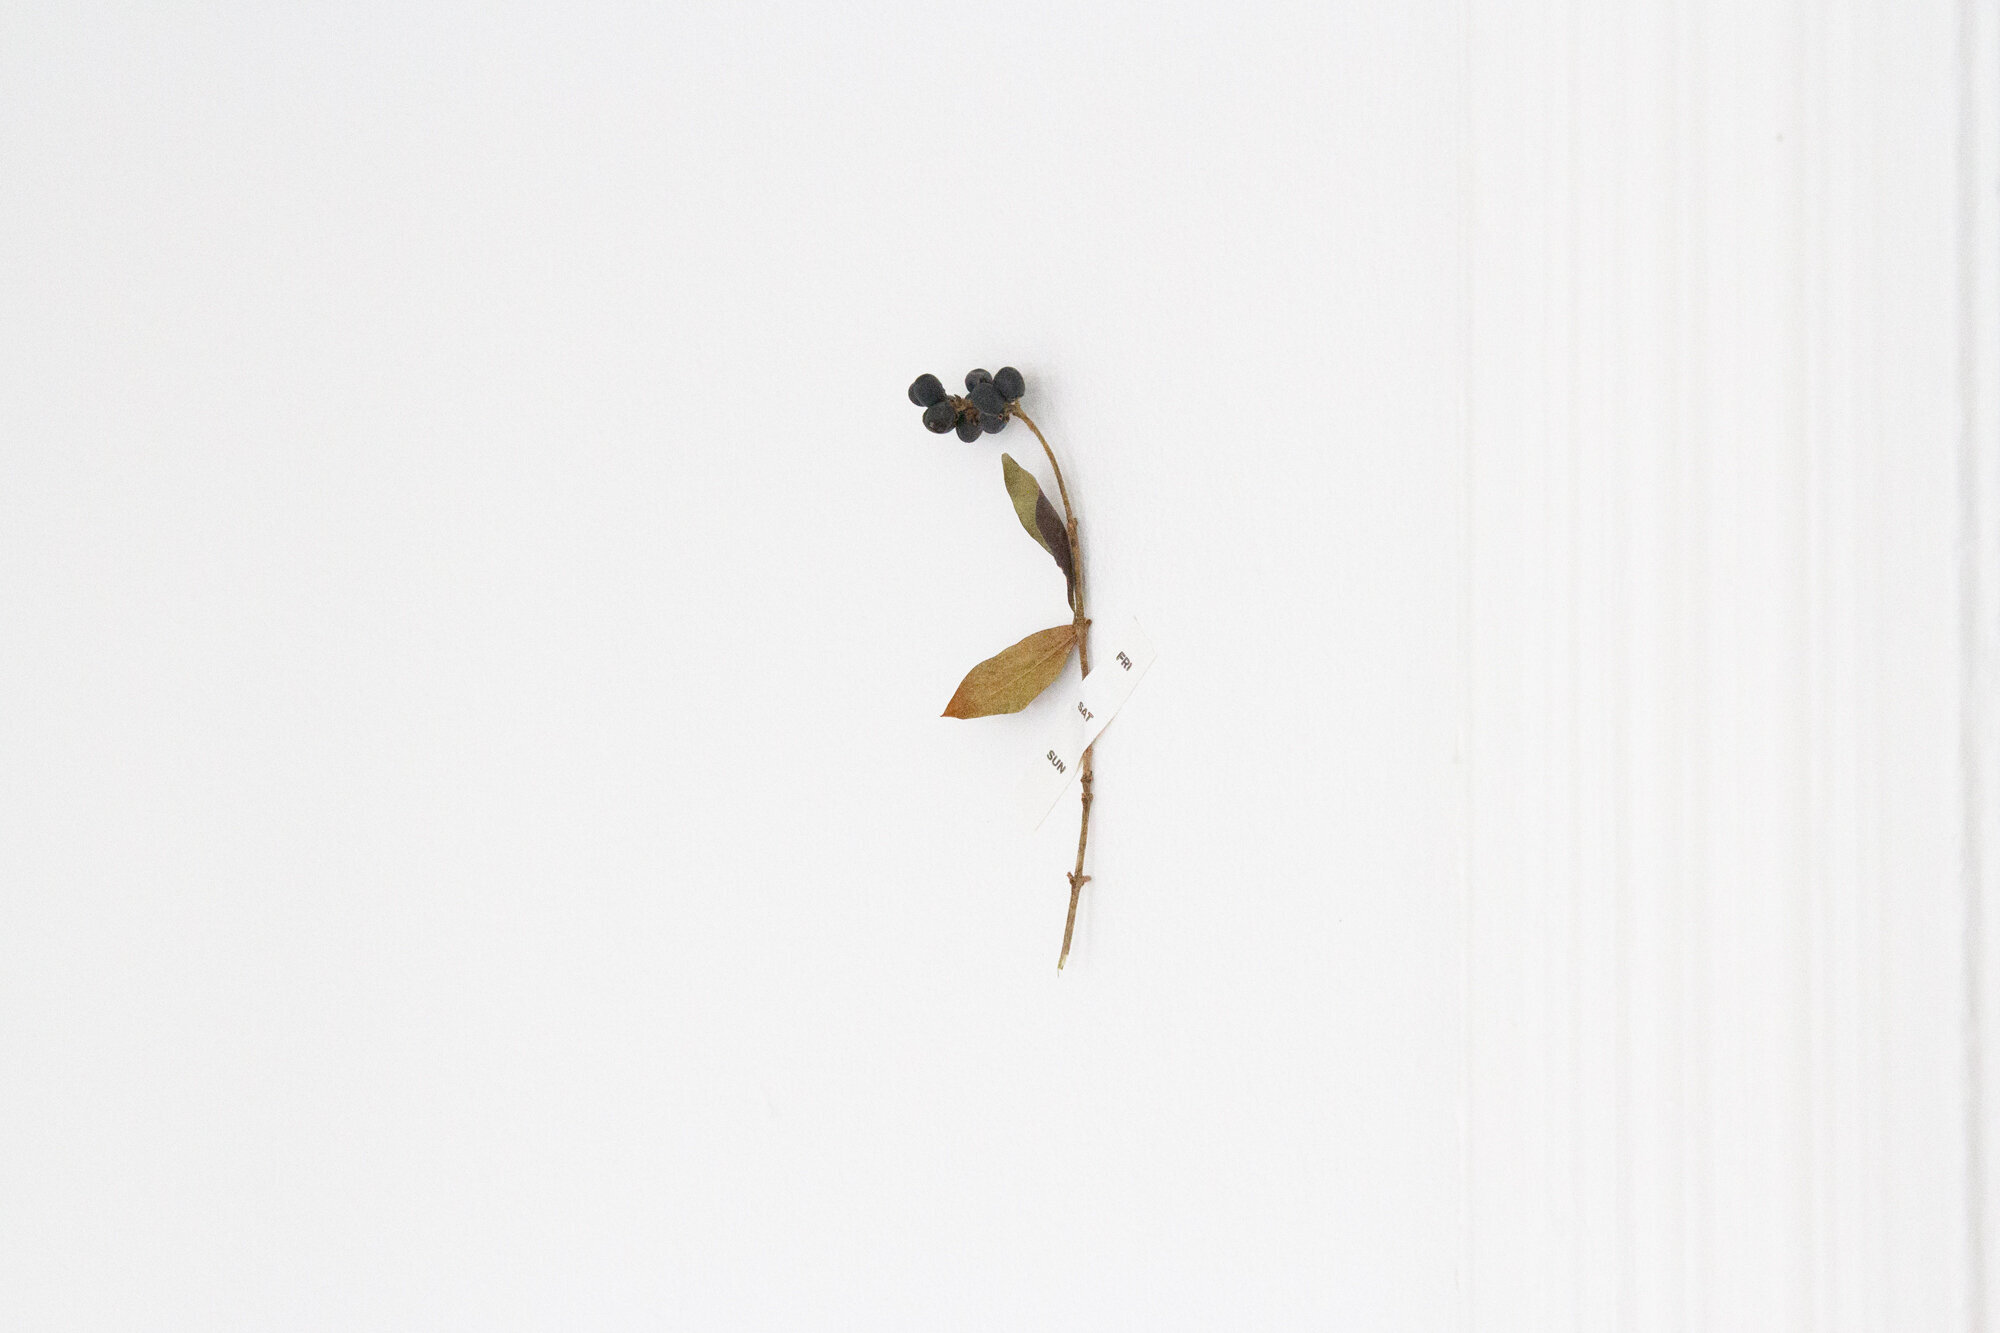
From a distance, or in photographs, you can hardly notice the mess, and so I think that lots of folks just continue to neglect it. But the overall impact of actually living in a room with dingy, dirty trim can be pretty significant. A simple scrub and a thorough, fresh coat of paint changes the feeling of a room the way that dusting a dresser top does. You don’t realize how drab things look until you do something to improve them! For me, painting trim is often one of the first things I try to tackle when I move somewhere new.
In no particular order, a few notes and tips for tackling this particular small improvement:
Prepping:
Caution: If you find yourself with trim that’s in truly terrible shape and you’re tempted to sand or strip or otherwise do anything more than clean it and paint over it, this is a job you should probably relegate to a professional. Lead was mixed into oil-based paints in the US until it was banned from household paints in 1978. Lead can cause considerable developmental impairments and it especially dangerous for young children. (I wrote all about lead paint here, should you like to learn more about my own experience.) Unless you know for certain that a house or apartment underwent a full lead paint removal, you should assume that there’s lead paint lurking among the layers. The good news is that covering that paint is a safe and effective way to mitigate the harm it could otherwise cause. The bad news is, you can’t sand or strip lead paint without considerable safety procedures in place. TL;DR: Don’t scrape or sand old paint.
Cleaning: When was the last time you deep cleaned your trim? If you don’t have it in you to paint, remember how far a bit of elbow grease will get you. I tend to use diluted Sal Suds for this: a teaspoon or so poured into a bucket of warm water is just right. I usually use a damp cloth baby diaper or another soft absorbent rag to remove the dust and dirt that’s piled up, followed by a dry one so there’s not too much moisture left hanging around. An old toothbrush can be handy for getting into cracks and crevices.
Priming: Because I don’t want to disturb any potential lead paint, I don’t sand my trim, even lightly, before painting. That said, if you’re dealing with trim that has a particularly glossy finish and you’re worried about the new paint adhering well, I strongly recommend starting with Stix Primer from Benjamin Moore. I recently used it to paint directly over stained wood doors and it bonds exceedingly well. (I’ve got my sights on our kitchen cabinets next.) While it’s not exactly an eco-friendly product, it is low-VOC and water-based and I’ve found it to be really great to work with and not very smelly at all. As ever, throw open your windows when painting, even when using low- or no-VOC paint.
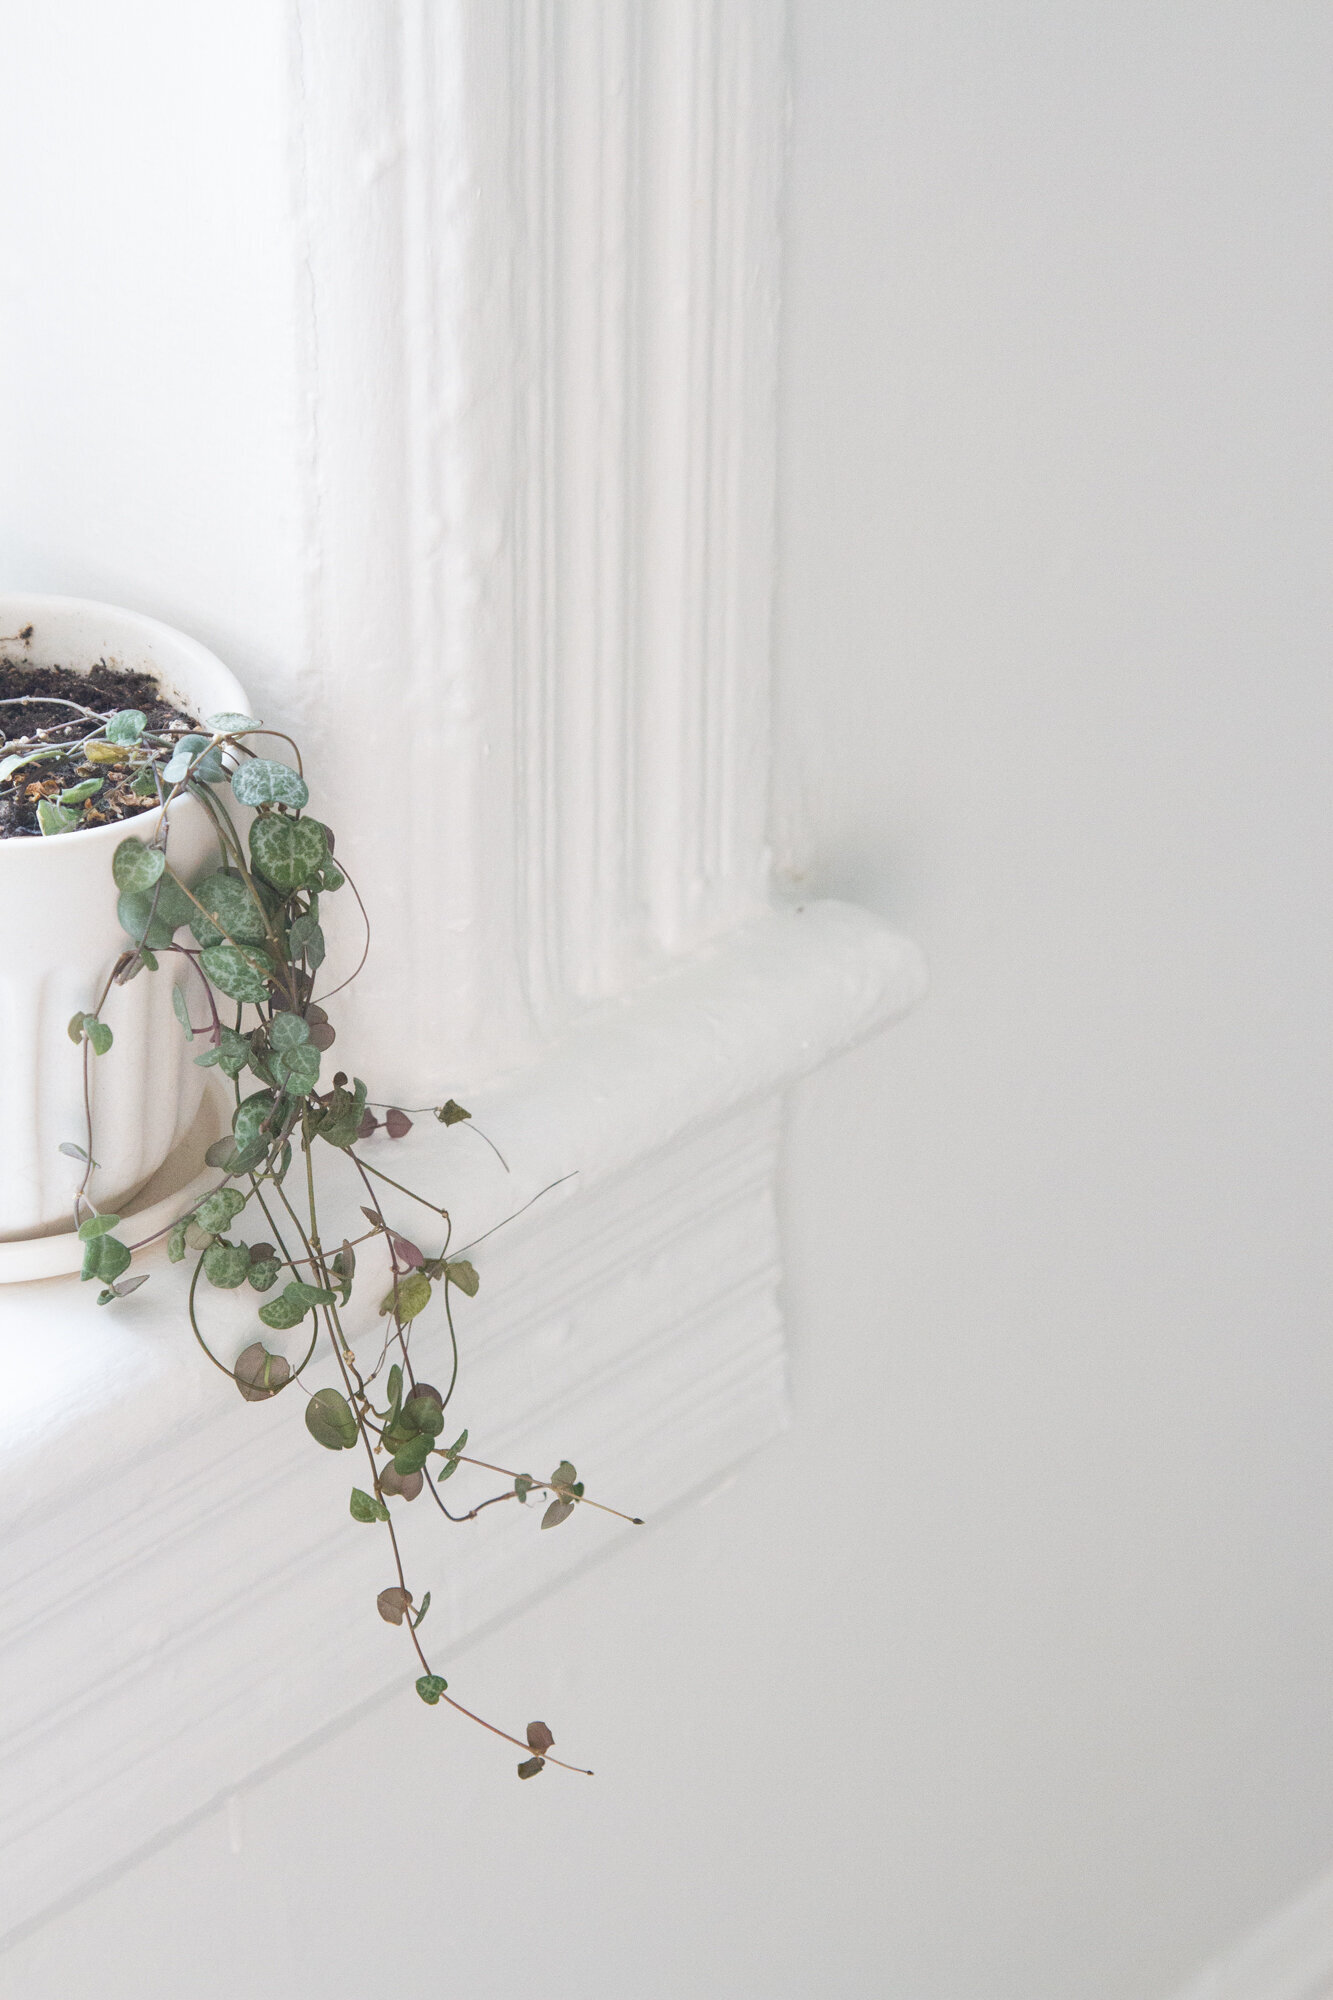
Painting:
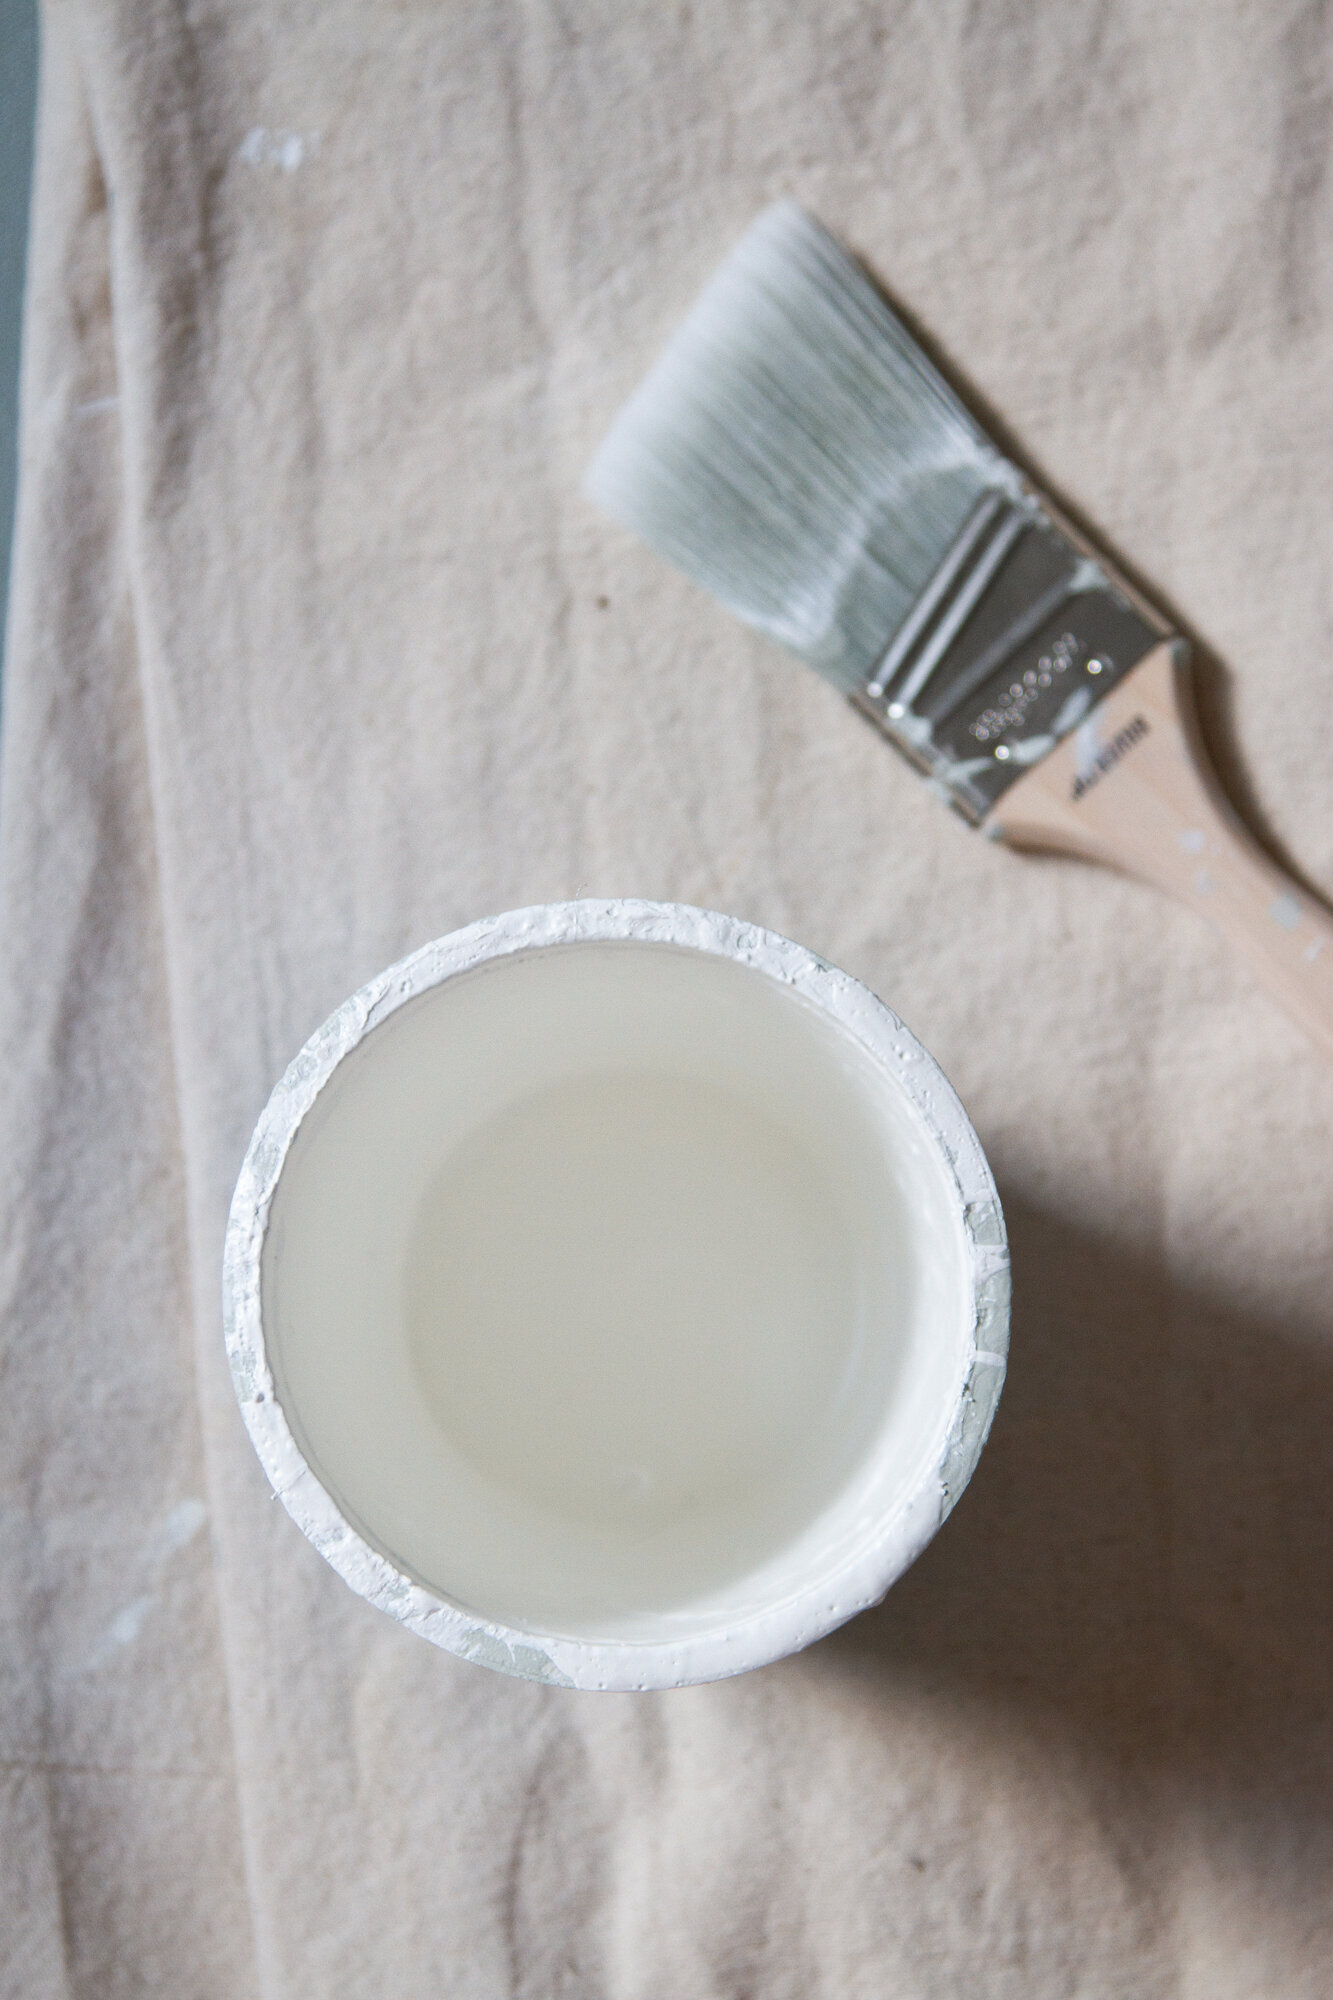
Cutting in: If you’re painting your trim in a different color or finish from the rest of your room, consider cutting in, slowly, by hand. You heard it here: painter’s tape is the worst. I think it can sometimes do a pretty good job on projects where there are not multiple layers of old paint and where everything is plumb and perfect, but that’s about it. Better, in my opinion, to hold your brush as steady as possible, use a small brush with a sharp angle, and breathe slowly and carefully while trying your best to paint a straight line. (Kate Oliver of Birch & Pine recently recommended small rubber-handled brushes to me for extra control and I think I might try one next!)
Paint finishes: Higher gloss paints are more resistant to dirt and traffic and easier to clean than other finishes. I’ve often used semi-gloss on trim in the past, but in my this apartment I’ve been using Farrow & Ball’s Modern Eggshell* finish instead. It’s still durable and washable, but I’m really loving how it’s not as shiny as a semi-gloss. In our dining room, shown here, the trim and wall color are the same—Farrow & Ball All White—but I’ve used their Modern Eggshell finish on the trim and their Modern Emulsion finish on the walls.
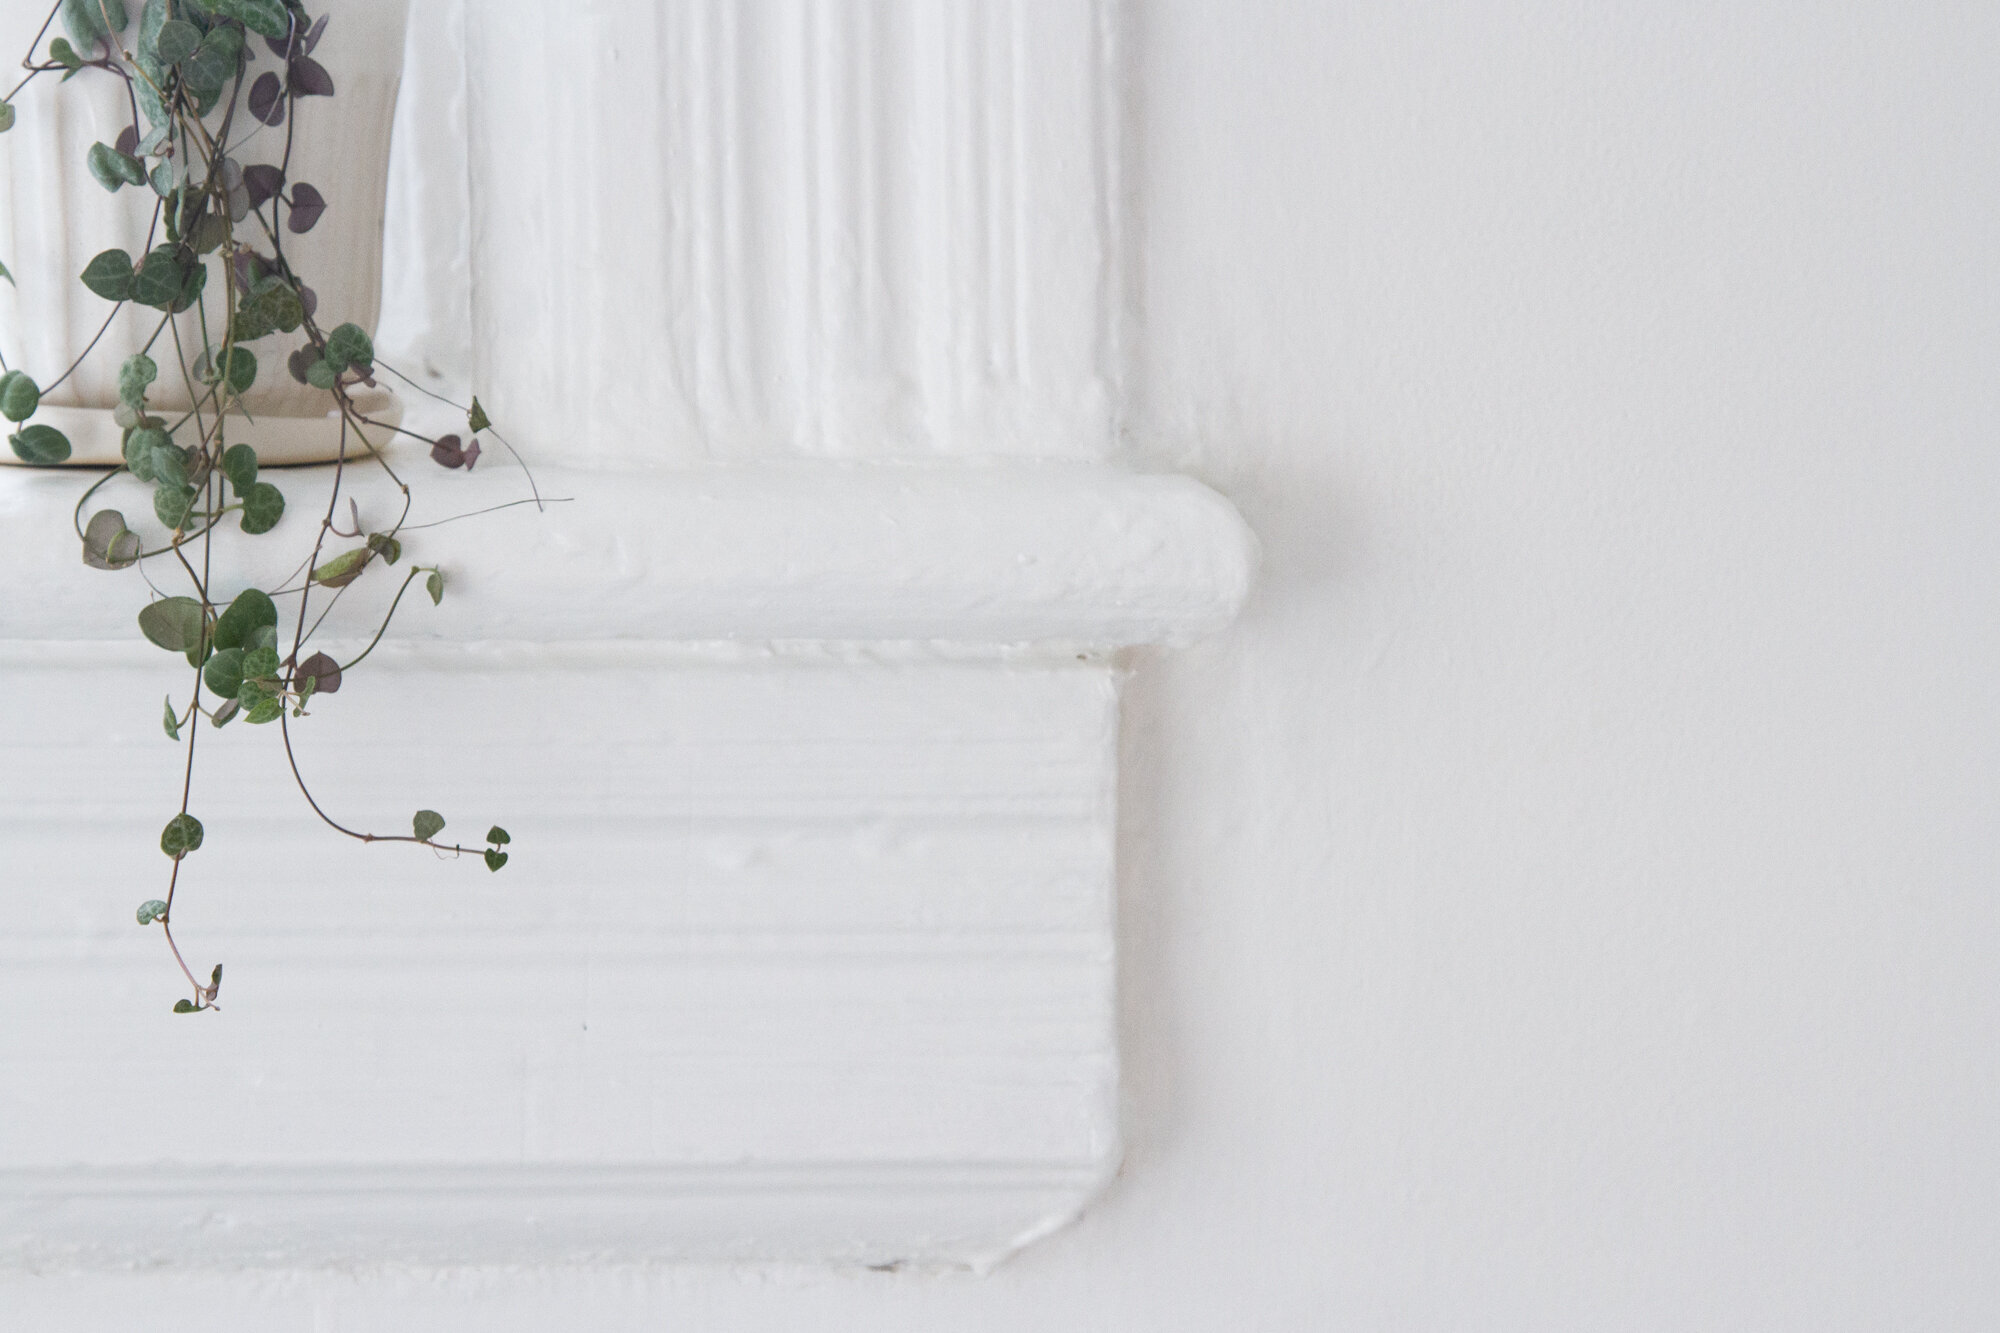
Painting trim is a nice place to start because it can be done relatively piecemeal without too much trouble. I tend to use old 32-ounce yogurt containers for pouring a small portion of paint and I try to tackle what I can in the time I have: one wall of baseboard or one door frame or one windowsill begging for attention.
What about you? Where would you start?
* Farrow & Ball has generously supplied the paint for the projects mentioned here.


12 Comments
Erin this is exactly what I’m up to right now! I took a quick break from work to paint a doorframe today and tomorrow a baseboard and I’m slowly brightening the place up. It was good to see that you’re not sanding either.
So agree on not using tape! I always *think* it will make things easier, but it never does! I find I tend to be happier with the results when I just do it all by hand. And I second that paintbrush recommendation! I’ve used that exact one, and it is my favorite!
This is what we are doing right now too. When my husband is off on the weekends he gets one three hour chunk or so each weekend and we tackle some painting. We did one room last month and this weekend we do the ceiling of the main living area. It’s creeping along, it the one room that is finished looks so fresh. Three kids makes this a slow process .
I am also working on this exact same project. One room at a time, one hallway at a time. The difference that it makes is unbelievable. I took a dark hallway from brown walls, brown ceiling (yes, really), and super dark chocolate brown trim and doors to a white ceiling, white walls, white trim and white doors. Some people hate that much white, and I get it. But the hallway feels triple the size, clean, and airy now. I don’t do white/white/white everywhere but in the dark places it adds so much light.
Hi Erin,
any advice how you tackle painting with little kids around? I used to paint a lot myself before kids – furniture etc. but now I am a bit hesitant with potential fumes and also letting paint dry for several hours… Especially when it is so cold, and I can’t leave the windows open for hours.
As always, thank you for the inspiration!
Painting is definitely something that’s tricky/impossible with kids directly underfoot, but for me that’s mostly because of the constant interruptions/needing my attention. I really only ever use very low (or no) VOC paint, so fumes really aren’t a terrible issue and I find that generally drying time is shorter than people imagine it is! That said, if you can’t leave your windows open for a few hours, I might put things off until warmer weather comes!
This has me dreaming about repainting the trim in our house–it’s REAL grimy (and poorly caulked, and with a very thin coat of paint…). You mentioned you did this piecemeal. Would you clean and paint a section all in one go, or clean everything, and then tackle the painting?
Depends on your timeline! If you can get it all done relatively quickly after cleaning, clean it all first and then start painting! But trim collects dust and grime pretty quickly, so I would double-check that everything’s clean before you start painting no matter what!
Lovely! Have you written anywhere about how you approach these projects while in a rental? Asking permission or not, etc?
I’ve talked about it a few places, but generally I ask for the big stuff that can’t be easily undone (like painting kitchen cabinets that were not previously painted) but not for clear improvements like putting a fresh coat of paint on already painted trim that really needed it)!
Love this reminder to tend to the details! As a longtime reader about to move into a new home, I was planning on painting everything BM “Simply White” after admiring it on your walls for years. How do you feel the farrow and ball compares?
Hi there! Huge fan of BM Simply White, too! I think in terms of color it’s fairly similar, though somewhat hard to say because the light is so different in this place than in our last!
Comments are moderated.