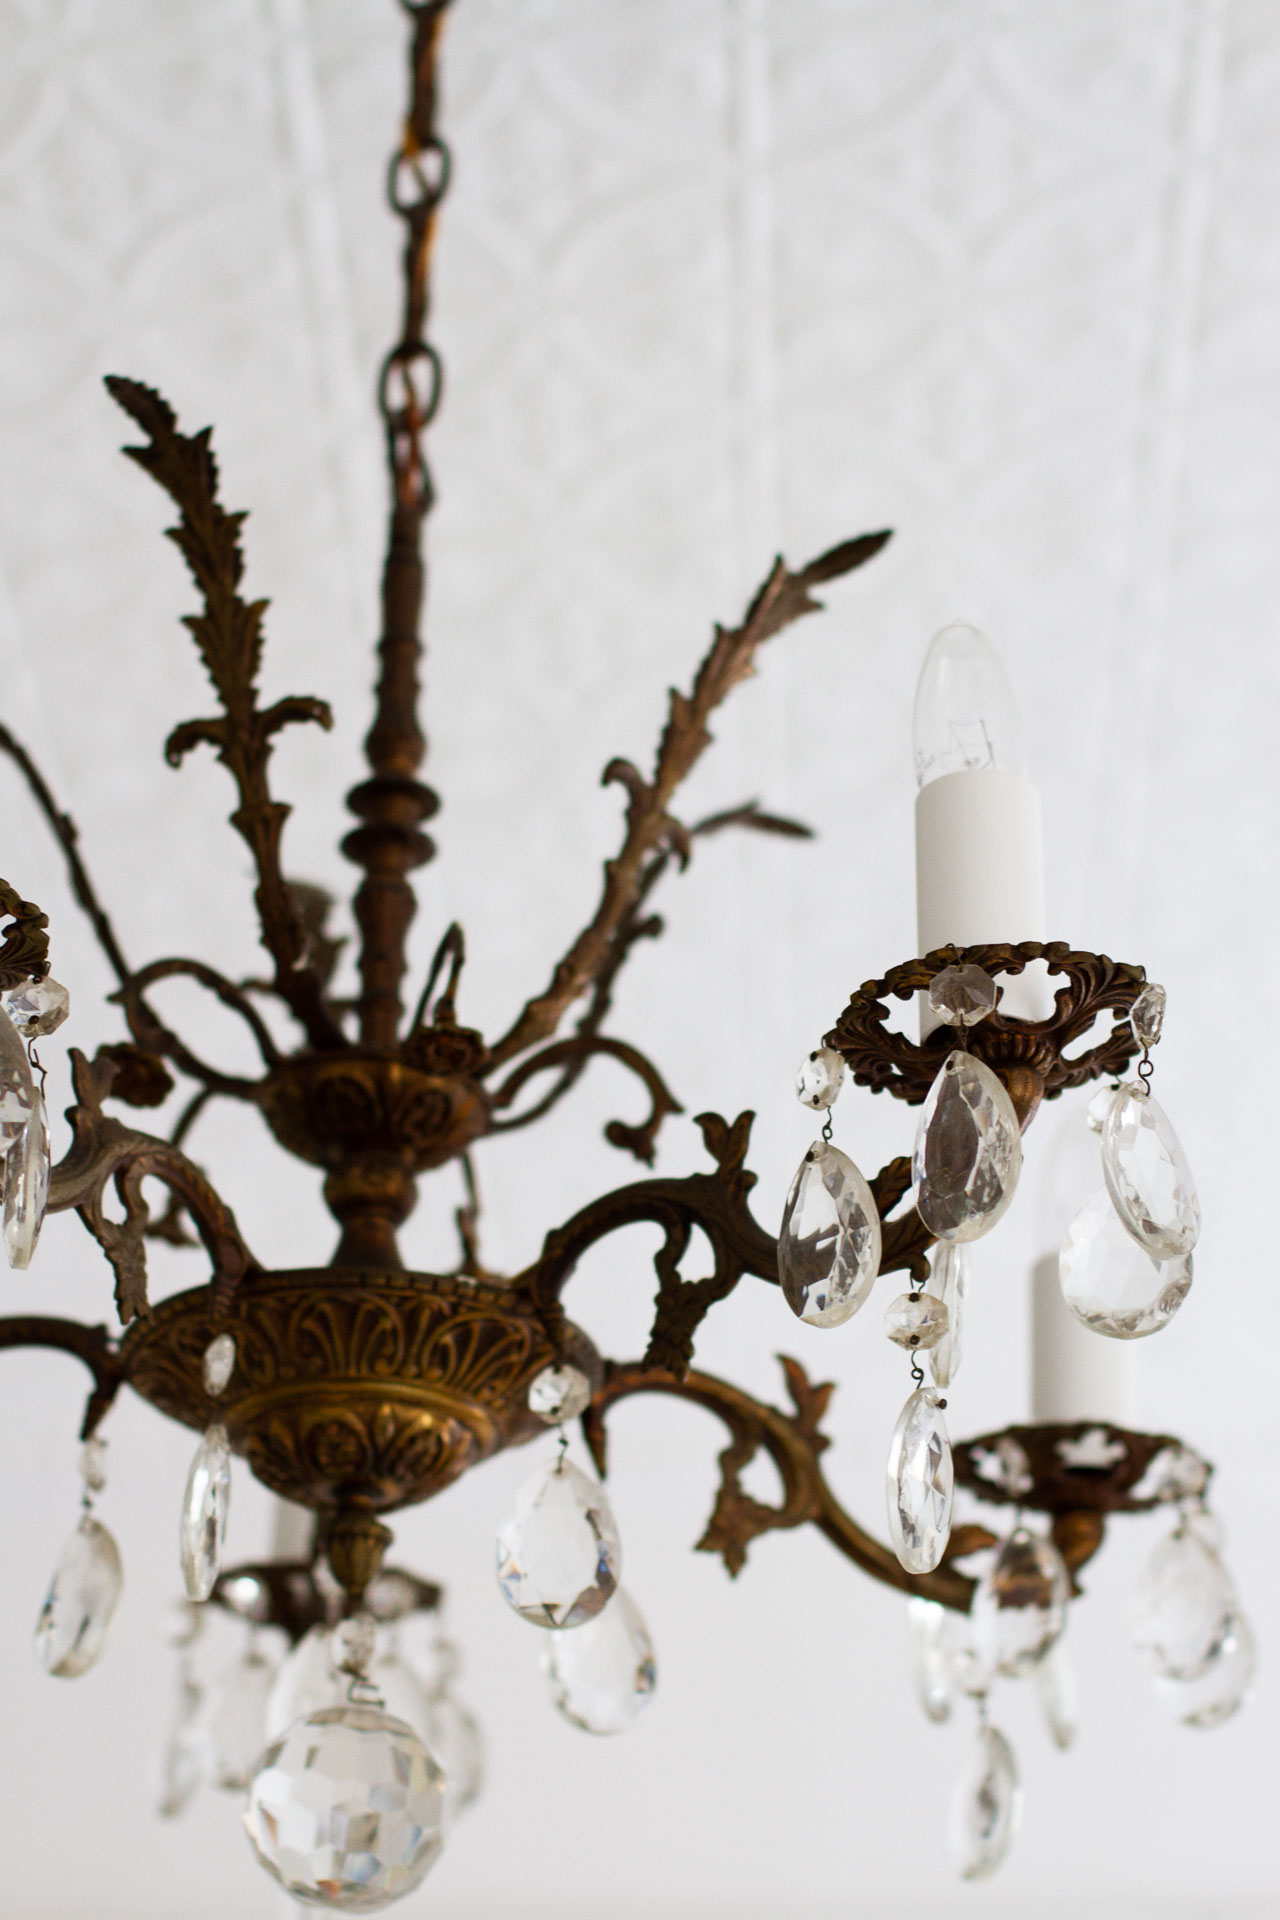
We live in a rental apartment with a chandelier, which sounds fancy, and maybe it is, but it’s taken a bit to get it gleaming.
The chandelier that hangs in our living room is fussier by far than anything I would have chosen for myself, but I appreciate thinking about the moment in time when this small bit of opulence might have been installed. I like to imagine the scenes in this room that it’s illuminated over the years and the choice that was made by whoever it was who called this place theirs and decided to hang a spidery spray of brass and crystal from a tin ceiling.
Last summer, cleaning up this chandelier and replacing its candle covers was the very first project that I tackled in this new-to-us apartment. I hooked a step ladder over my shoulder and walked it a mile down the road from our old place so I could reach the dangling light in our otherwise empty new place. In case you find yourself living with an old chandelier in need of some TLC, here’s a low-lift small improvement you might try with happy results. Like windows or mirrors or other things that reflect the light, taking the time to occasionally give a deep clean to light fixtures is a practically free improvement that can change the way a whole room looks and feels.
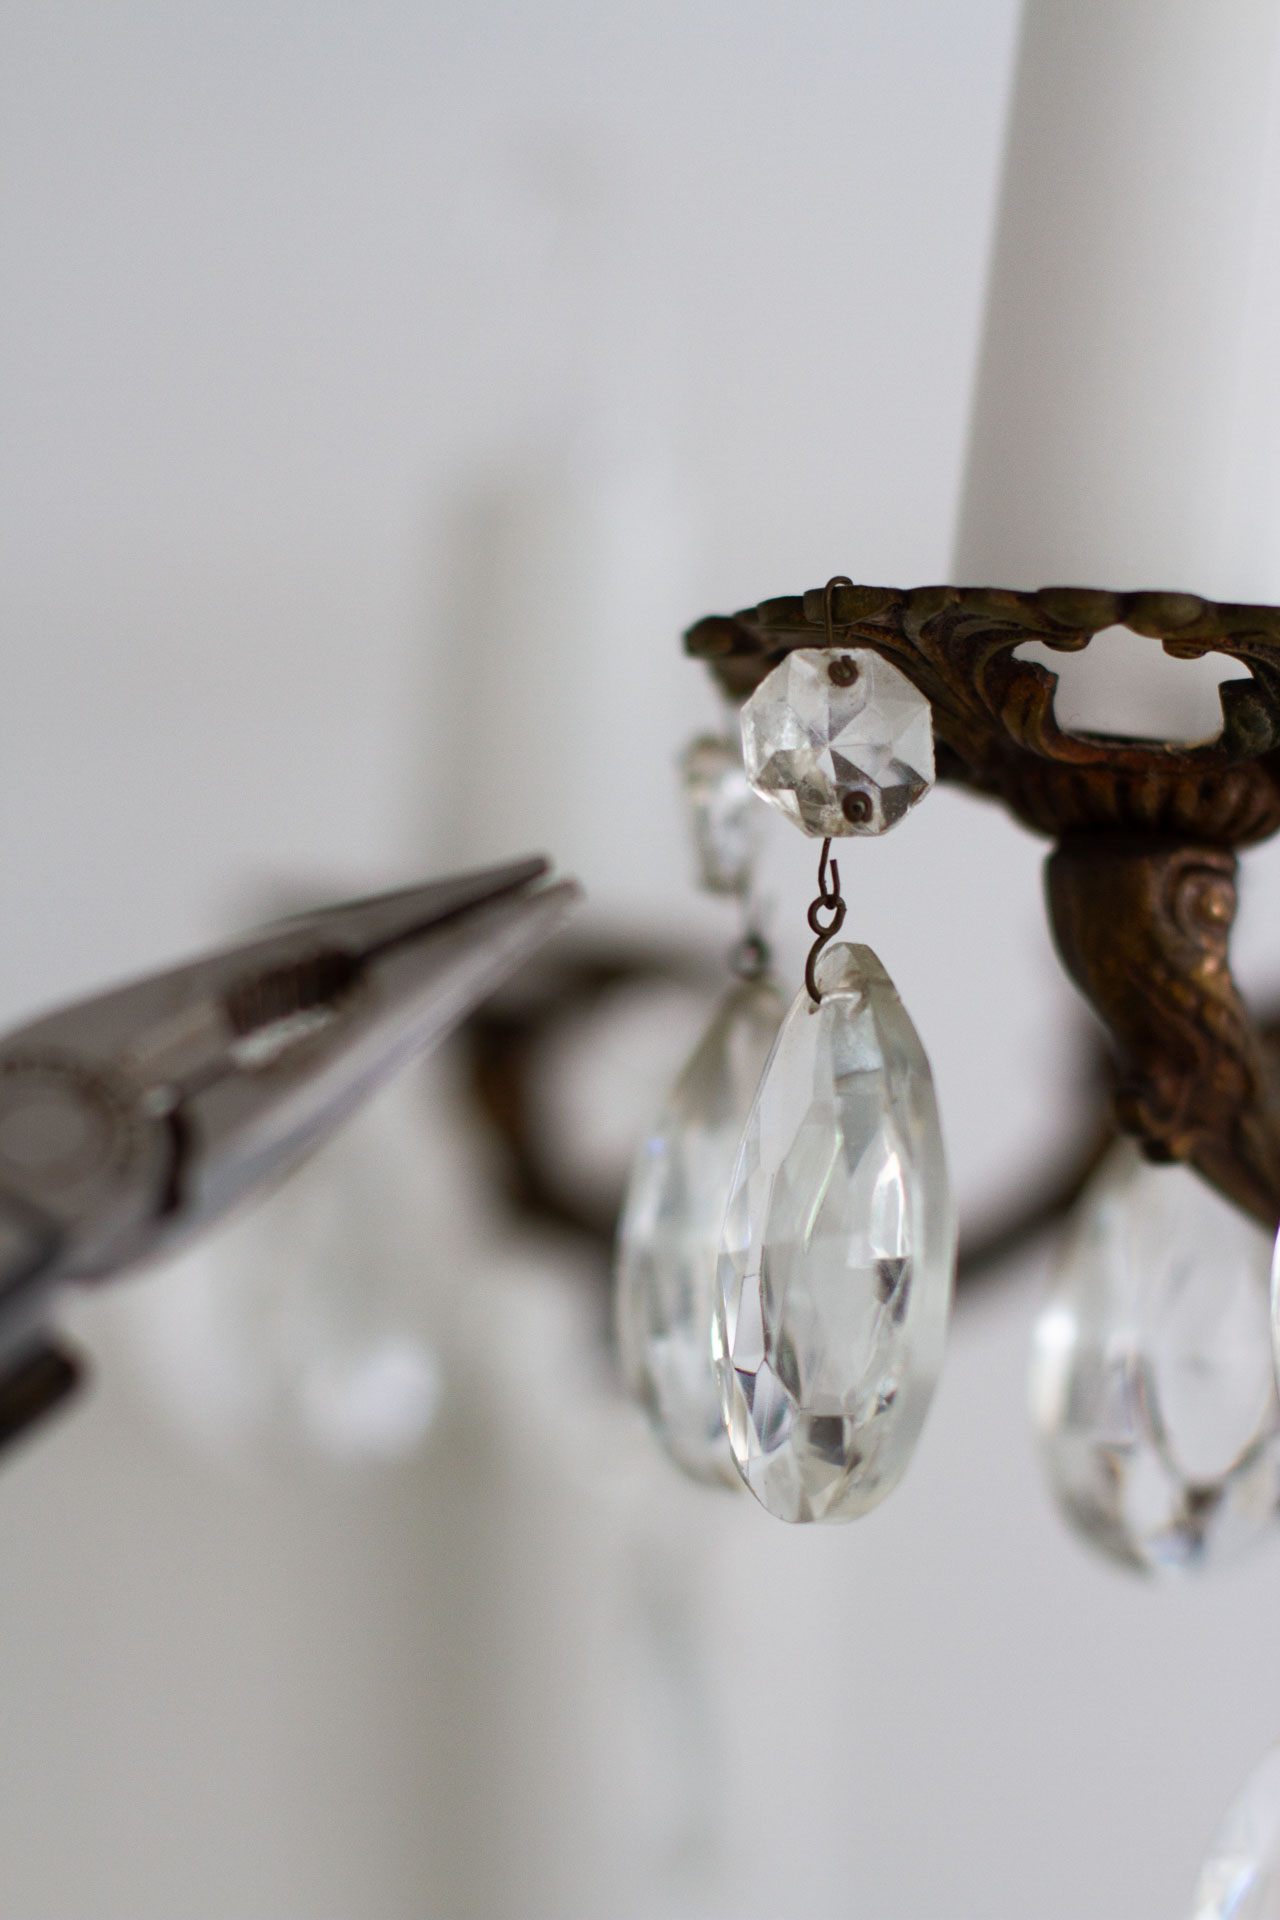
I used a pair of needle nose pliers (and sometimes my fingernails) to pry open the wires mounted to the top of each crystal and hooked through the brass fixture. (If you’re familiar with dangly earrings, you have enough expertise to do this, I promise.) It had been months since our apartment was occupied and there was a layer of dust on the fixture that needed more than a cursory once-over. I bathed the crystals in the kitchen sink in a mixture of vinegar and warm water and used a soft toothbrush to scrub spots where dust was stuck on, particularly around the place where the wire was looped into the top of the crystal. After twenty minutes or so, the crystals were sparkling. In case it makes you nervous to handle the crystals, it’s wise to work with a thick cloth beneath you in case of slips or falls. I didn’t wear a conservator’s white gloves for the task, but I was generally mindful of fingerprints and keeping the crystals as as smudge-free as possible as I re-hung them.
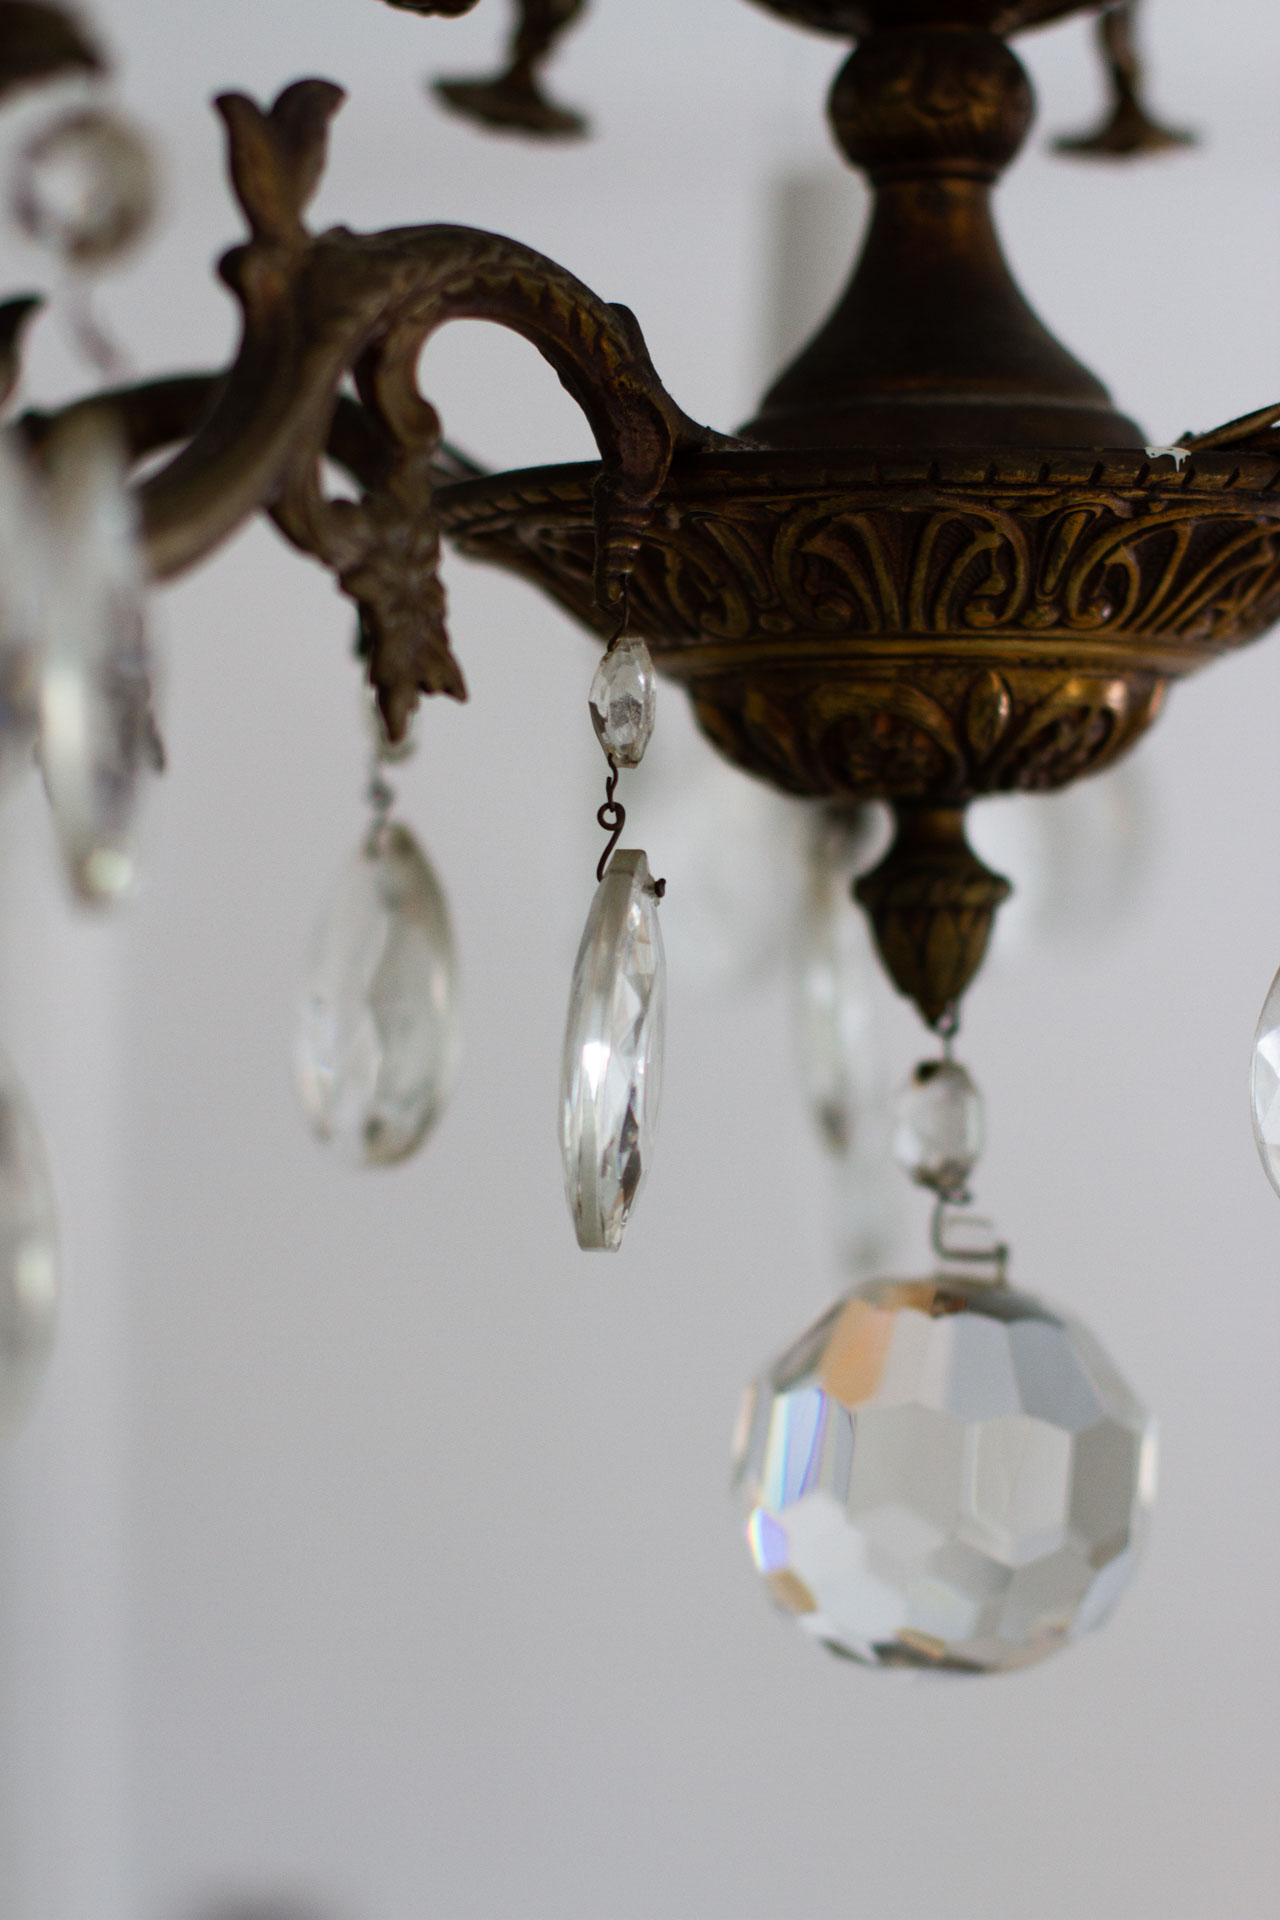
I decided not to polish the brass arms or body of the fixture itself. No surprise, I’m rather fond of the patina that’s developed over the years and I didn’t want to unearth any more of the brilliant brass beneath. Like most everything else I write about here, this is a matter of taste not right or wrong, so polishing the brass could certainly be something to try if you’d like to restore some shine and brilliance. Instead, I worked with a damp, clean cloth to lightly dust and remove any visible dust or build-up on the brass.
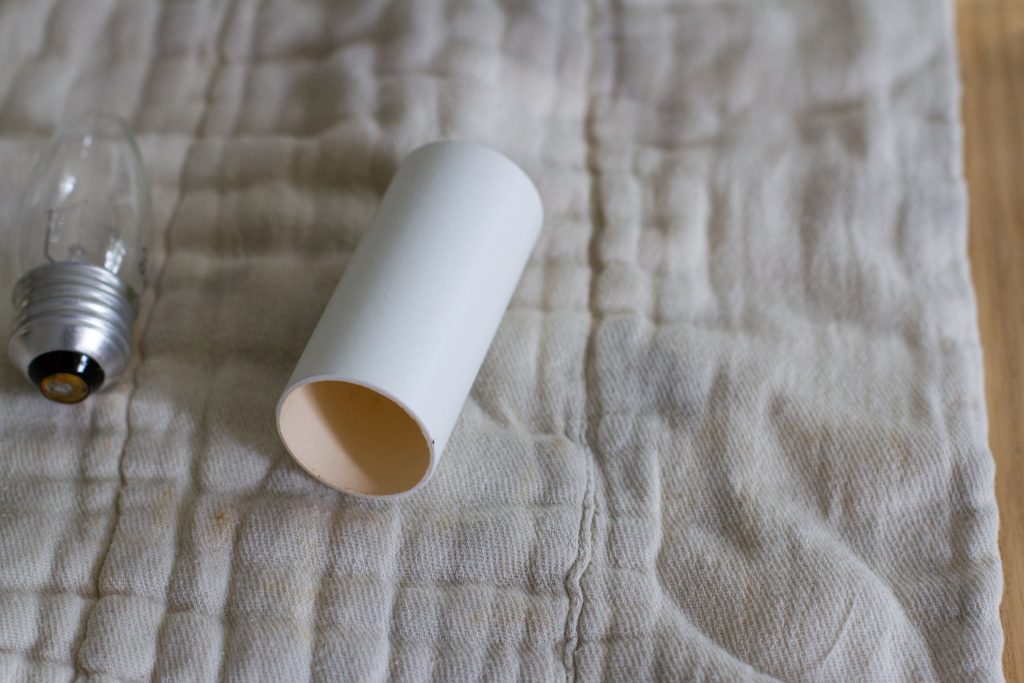
For new candle covers, I turned to Antique Lamp Supply instead of trying to DIY them myself. The plastic covers that were on the fixture’s five cardboard insulators were cracked and melted when we got the keys to the place, and I decided to keep things as simple and inexpensive as possible by replacing them with smooth flat white paper candle covers. Finding the right size was as simple as measuring the diameter of the insulators and selecting the proper covers to fit them, but if you tackle the candle covers on a candelabra of your own, you can refer to the full how-to on the Antique Lamp Supply website for details.
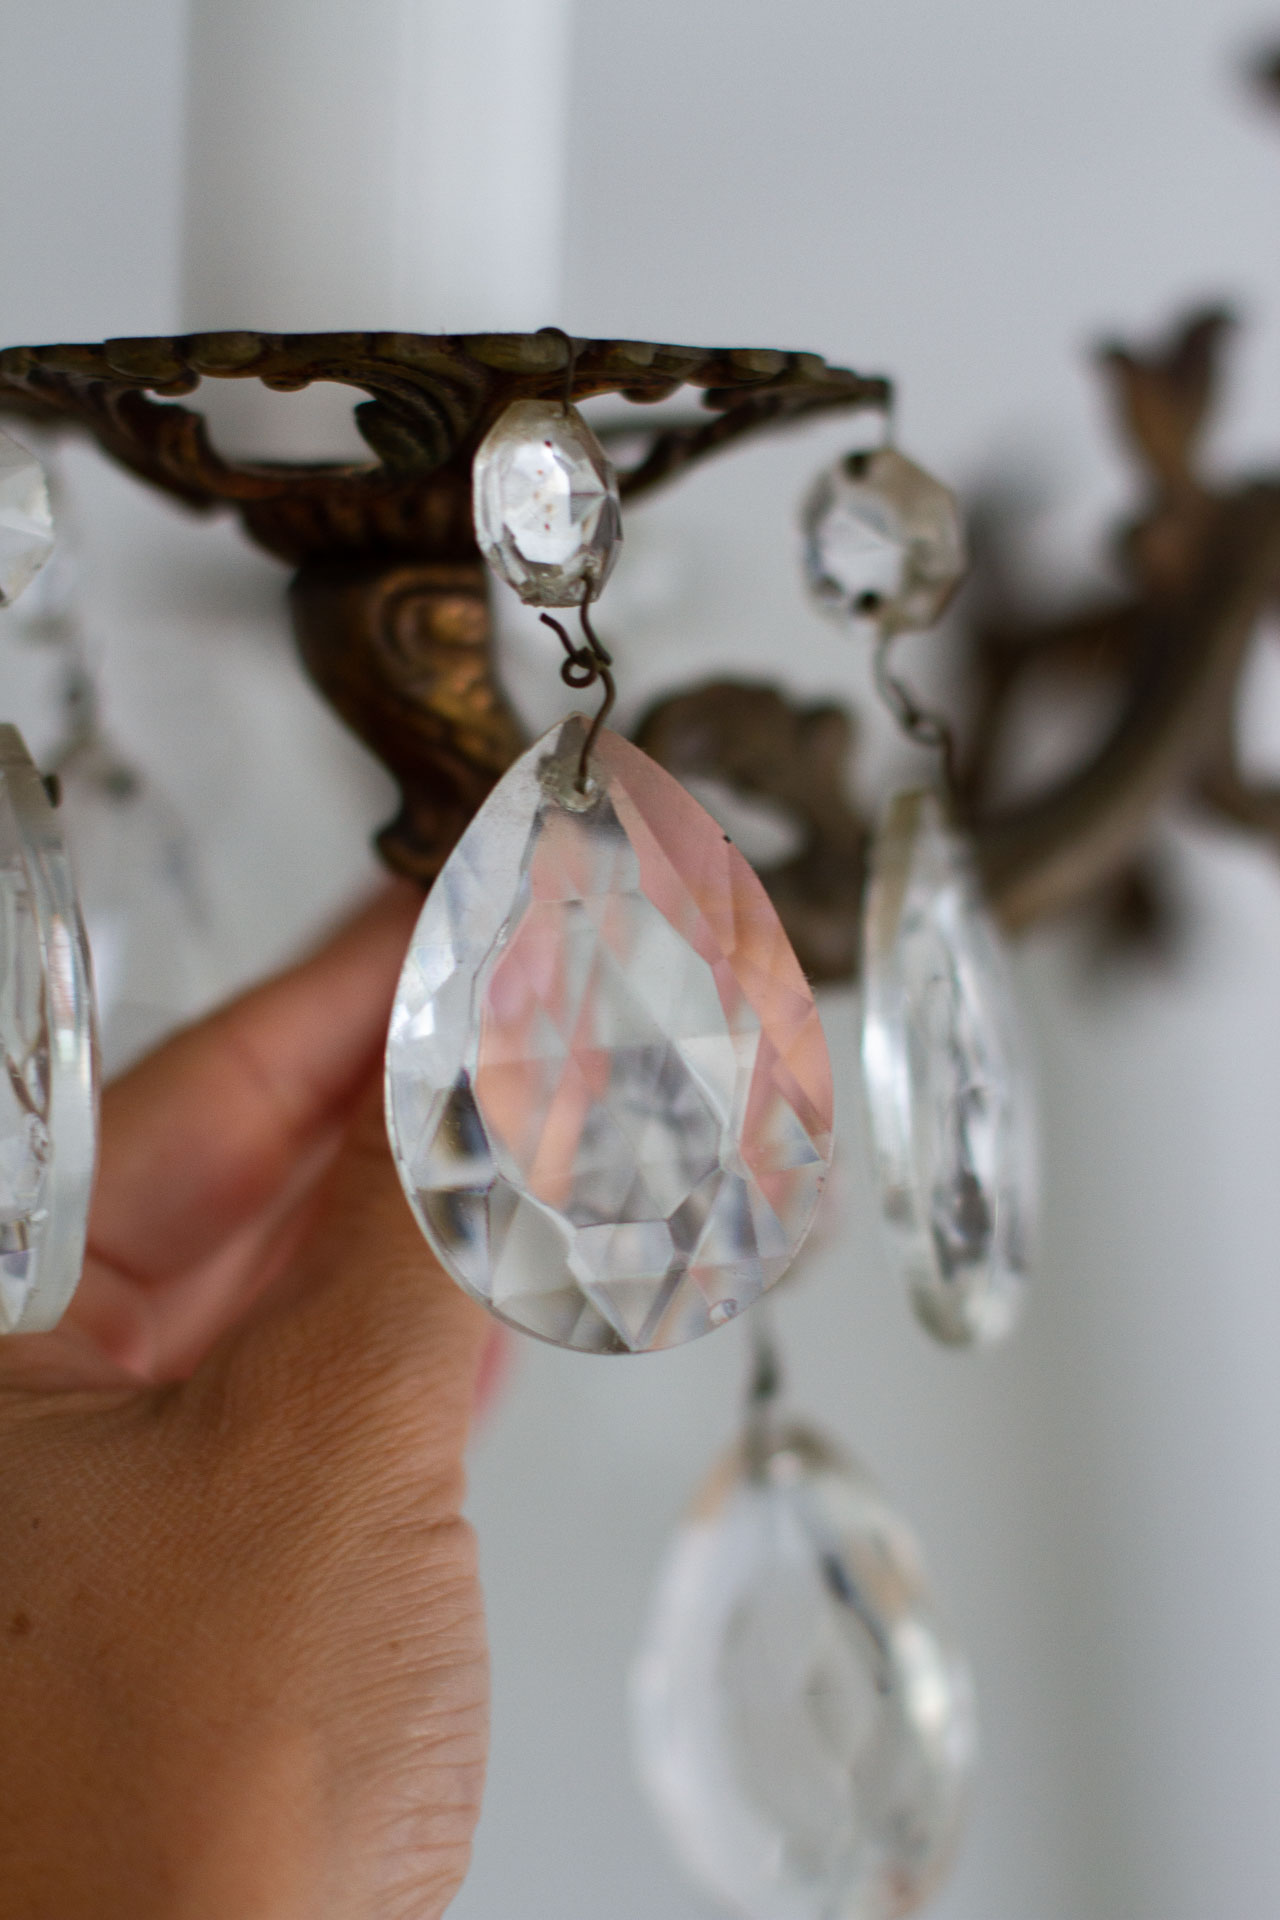
Nearly a year after the first big deep clean, the crystals were still clean enough to merit only a brief cleaning. This time around I left them hanging on the chandelier while I wiped them down with a damp cloth.
Other things:
In this and past apartments when we haven’t replaced hardwired lamps entirely, we’ve also had luck replacing light bulbs on fixtures so they all match; removing (and storing) frosted glass shades from ceiling fans for a more modern look; removing bulky pull cord handles from ceiling lights; making our own scrappy night lights, and hanging tiny lights without any hardwiring at all.
This post includes several affiliate links. Reading My Tea Leaves might earn a small commission on the goods purchased through those links.


7 Comments
One of the best tips I learned from this blog (probably around 2014 or so) was that I could remove a light fixture entirely and put a cap in its place. I’ve done this in many homes since then. It give me (and the ceiling) space to breathe while I find the exact right fixture, and sometimes the rest of the room’s lighting is totally sufficient that the cap stays in place as long as we do.
in so many cases, yes!
This post made me smile. I replaced the old light fixture in my bathroom with a newer one and one year later the new one died. I had saved the old fixture so I cleaned it up and reinstalled it. Nine years later it’s still working just fine. 🙂 I’m really enjoying all these posts about fixes around your new home. Keep them coming!
Labor-intensive but so worth it…
totally!
I grew up in an old home with a similar chandelier and a matching sconce or two. My mom found she could clean the crystals by putting them in a mesh laundry bag (like for delicates) and putting them in the dishwasher. If I ever rescue it out of my dad’s basement, I think I’ll half-ass a polish job and get the best of both worlds in terms of patina and shine. Definitely hits all the nostalgia points for me!
Your ideas are really inspirational and always have me looking at my tired looking rental with a new set of eyes. I tackled my oh-so-similar chandelier (aesthetic maybe not so much my personal taste) and given it a new lease on life with your suggestions, links and encouragement. Thanks for the help learning to embrace the space!
Comments are moderated.