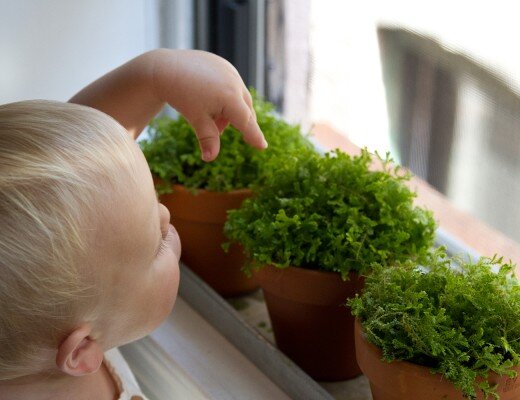
Our microgreens experiment has only just begun. Freshly sown on their windowsill home, I don’t have anything in the way of sexy shoots to show you. My experience with growing these shoots at home is mostly limited to my experience with growing wheatgrass for festive springtime decoration, but I figured it might be fun to invite you all along for the fun—and suspense—that’s seeing what crops up in a tiny apartment garden.
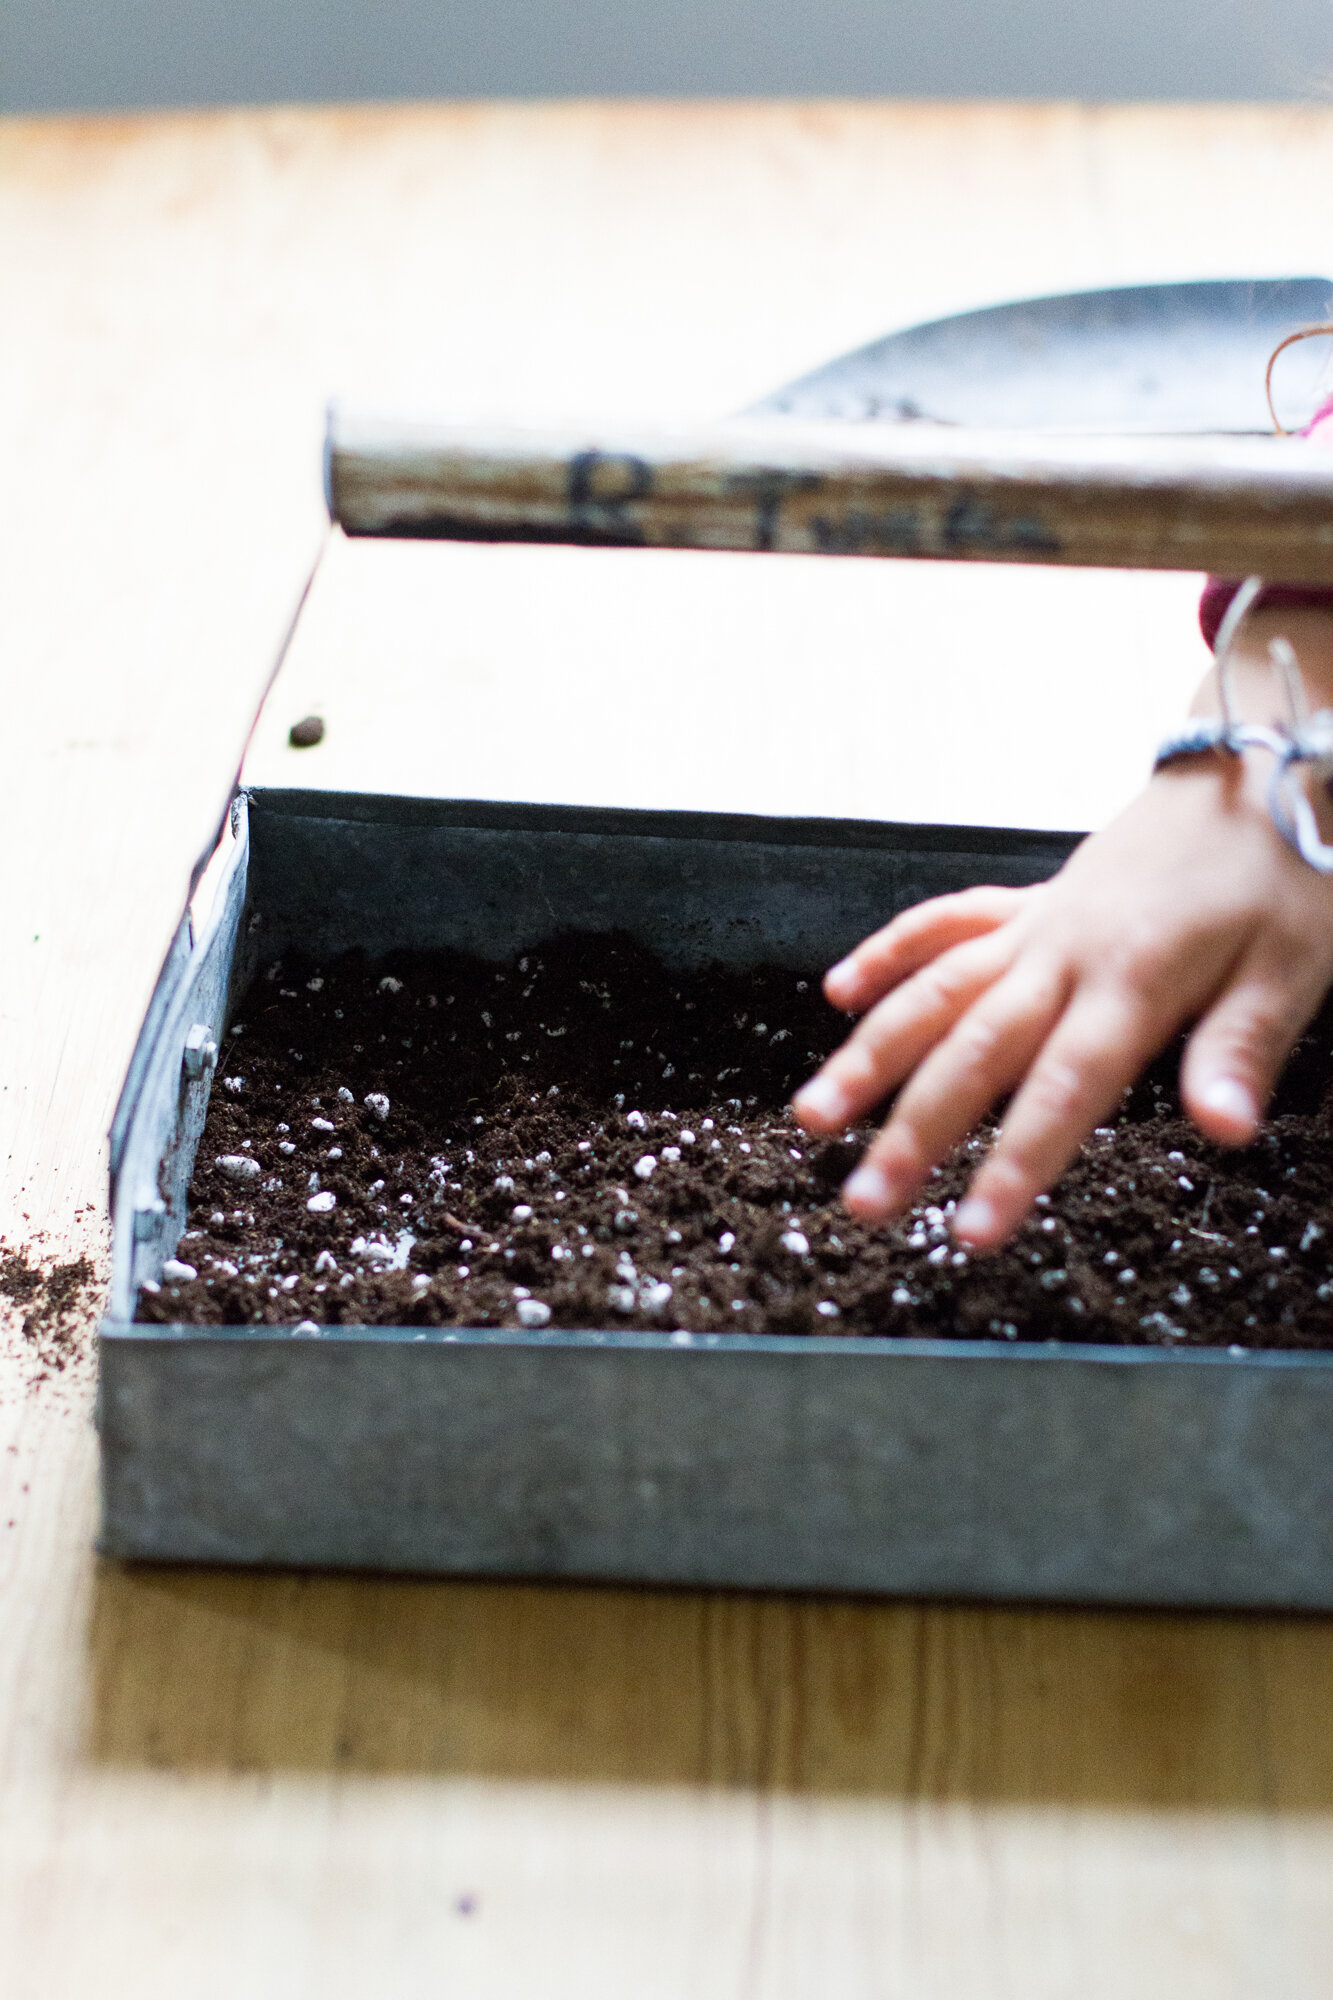
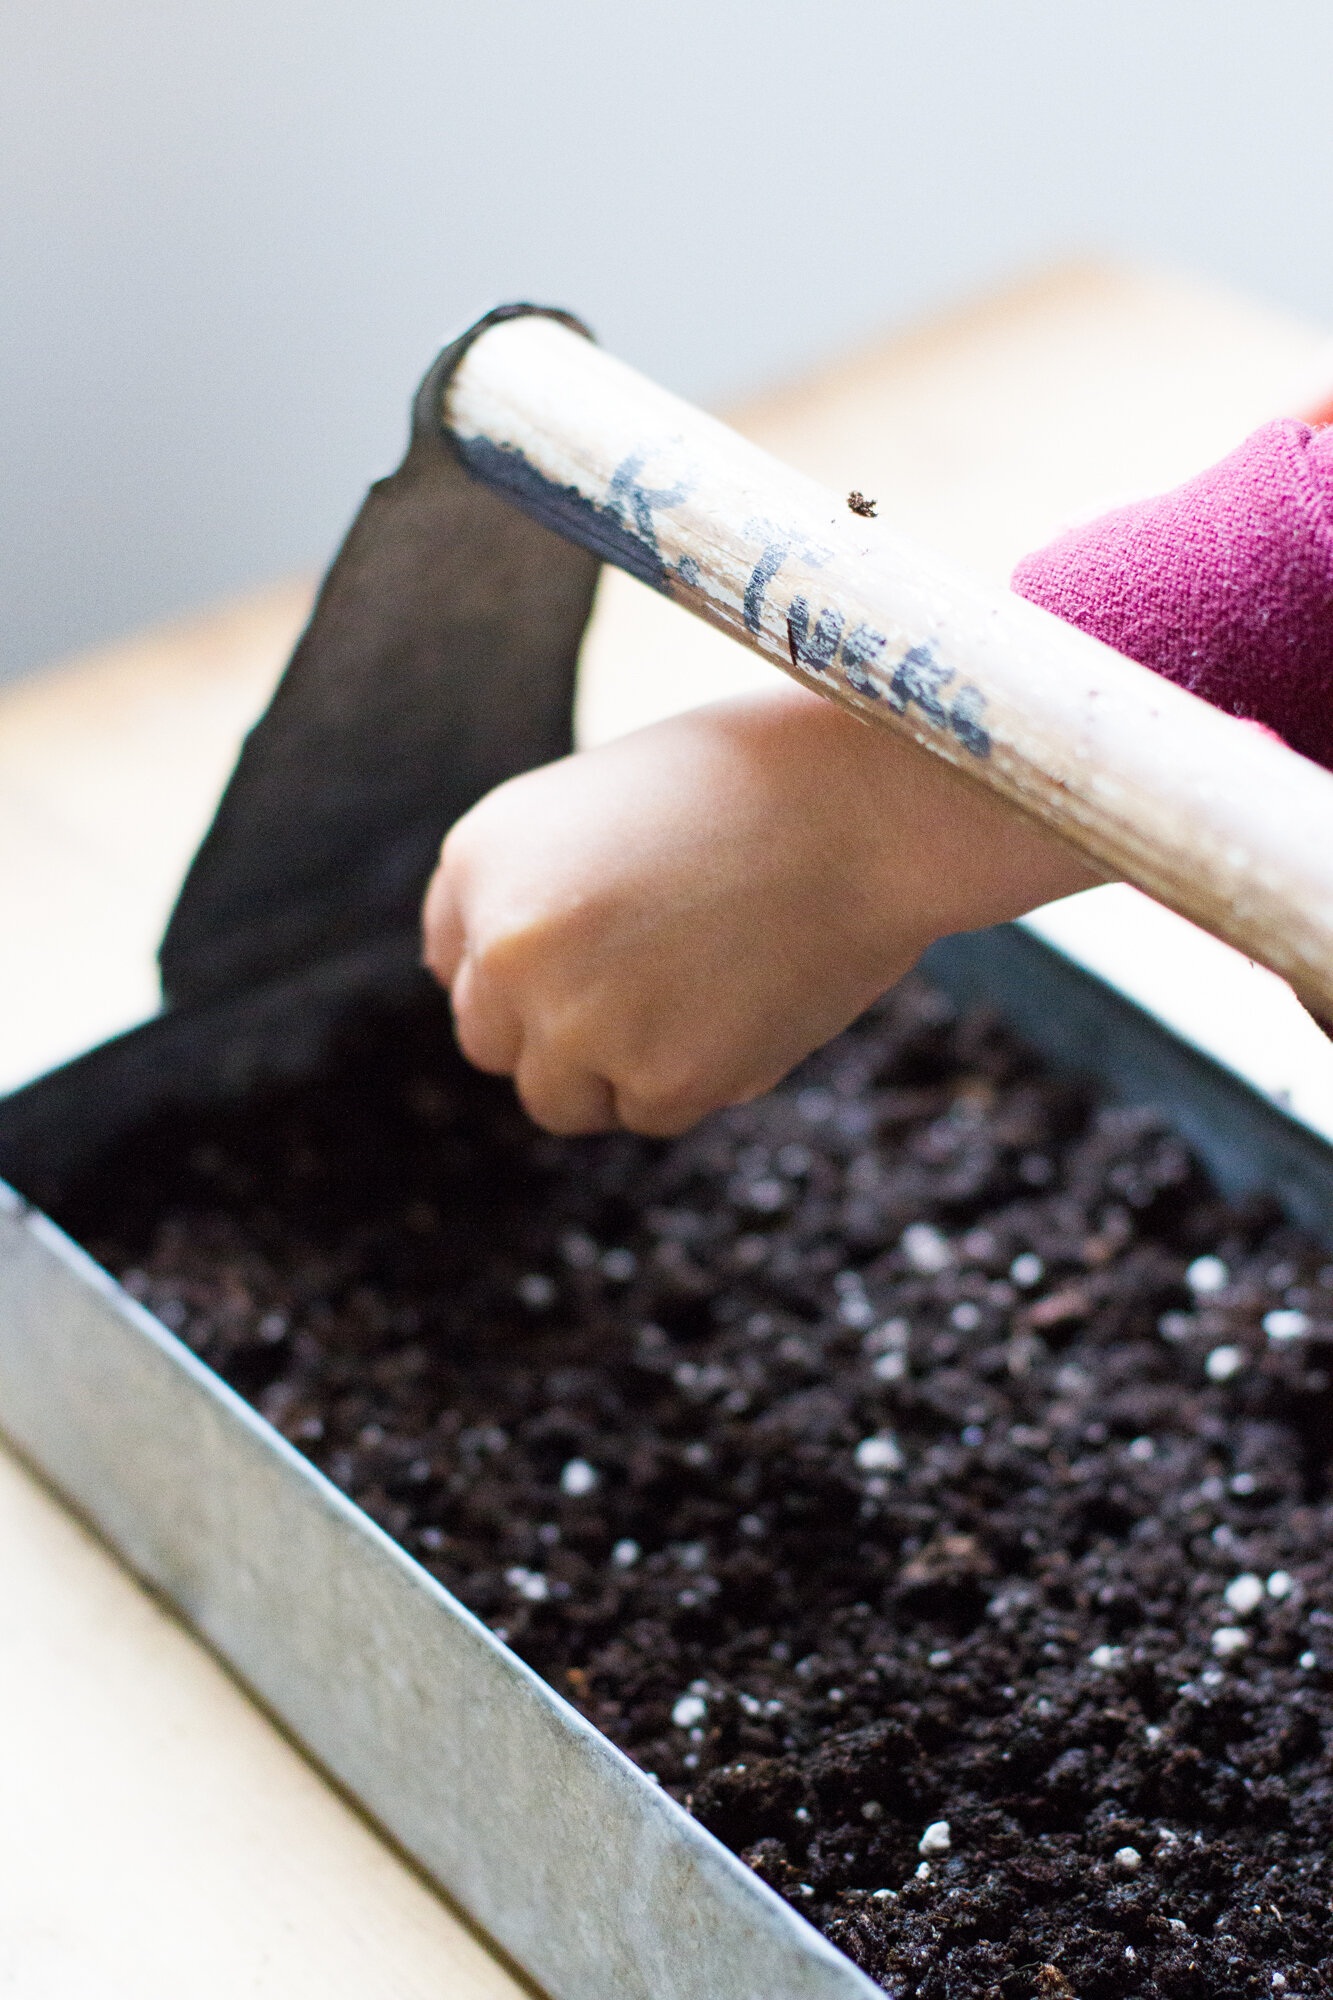
Last year we got notice from our landlord that we couldn’t pot up our usual summery garden and so we’re experimenting with growing things in other places this year. The tree pit down the street, for one, and whatever we can sprout indoors in this old tool tray for another. Here’s to marking the process.
For the curious:
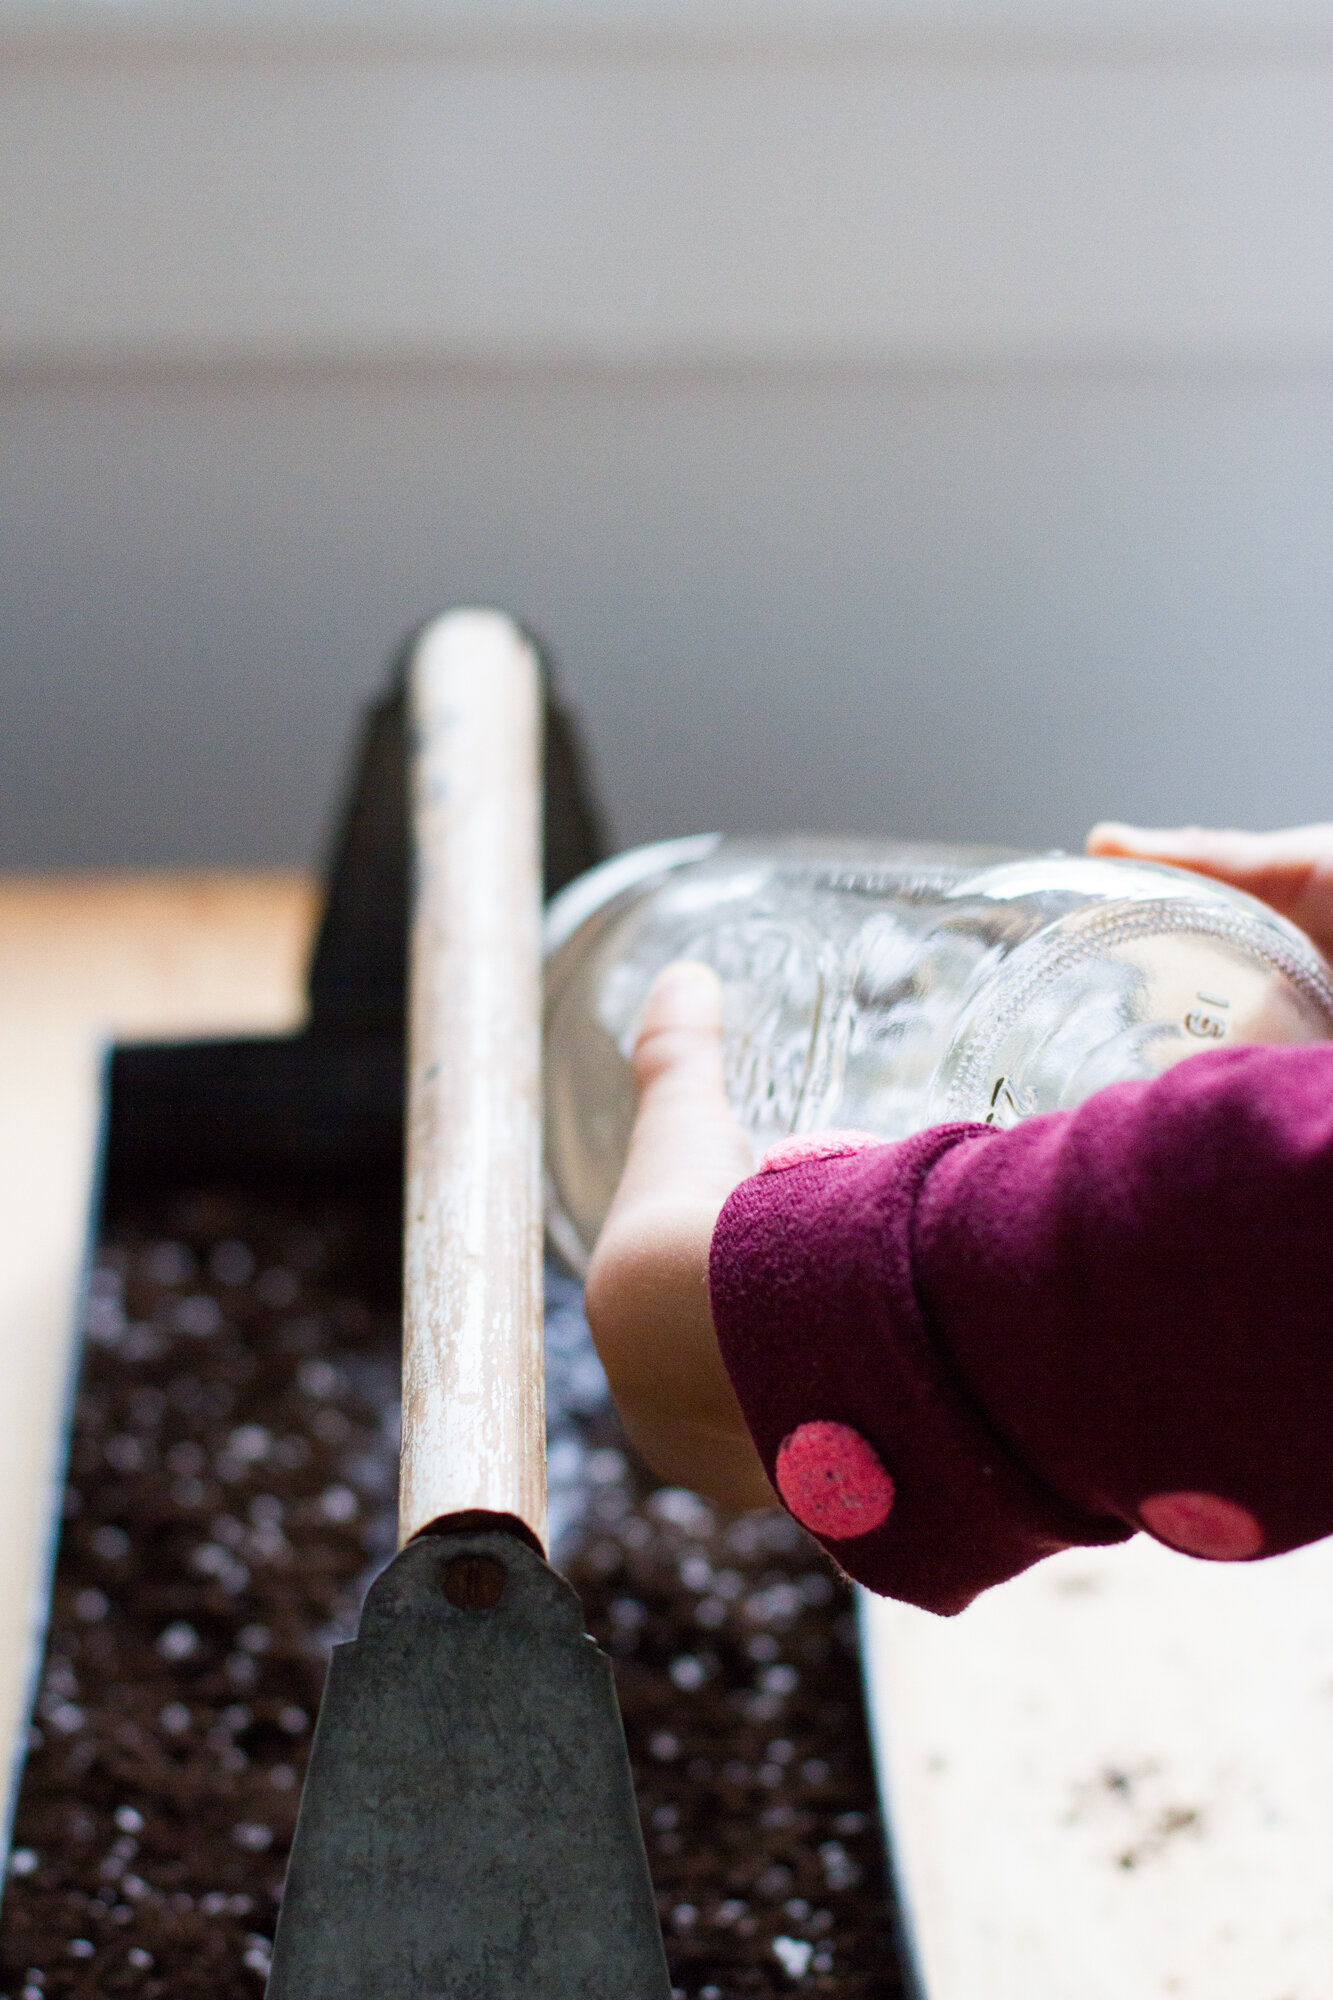
+ Beyond seeds, I didn’t want to buy anything new for this little venture and so we’re planting directly into the old galvanized tool tray I already had. I like that it’s pleasant to look at and neatly contained. If you’re hoping to score something similar, vintage options abound. (Try the search terms tool caddy or tool tray and steer clear of painted options.*) If you don’t happen to have a vintage tool tray laying around, and you don’t want to buy anything new, all manner of other shallow containers could work as well: pie plates, takeout containers, plastic berry cartons, etc.
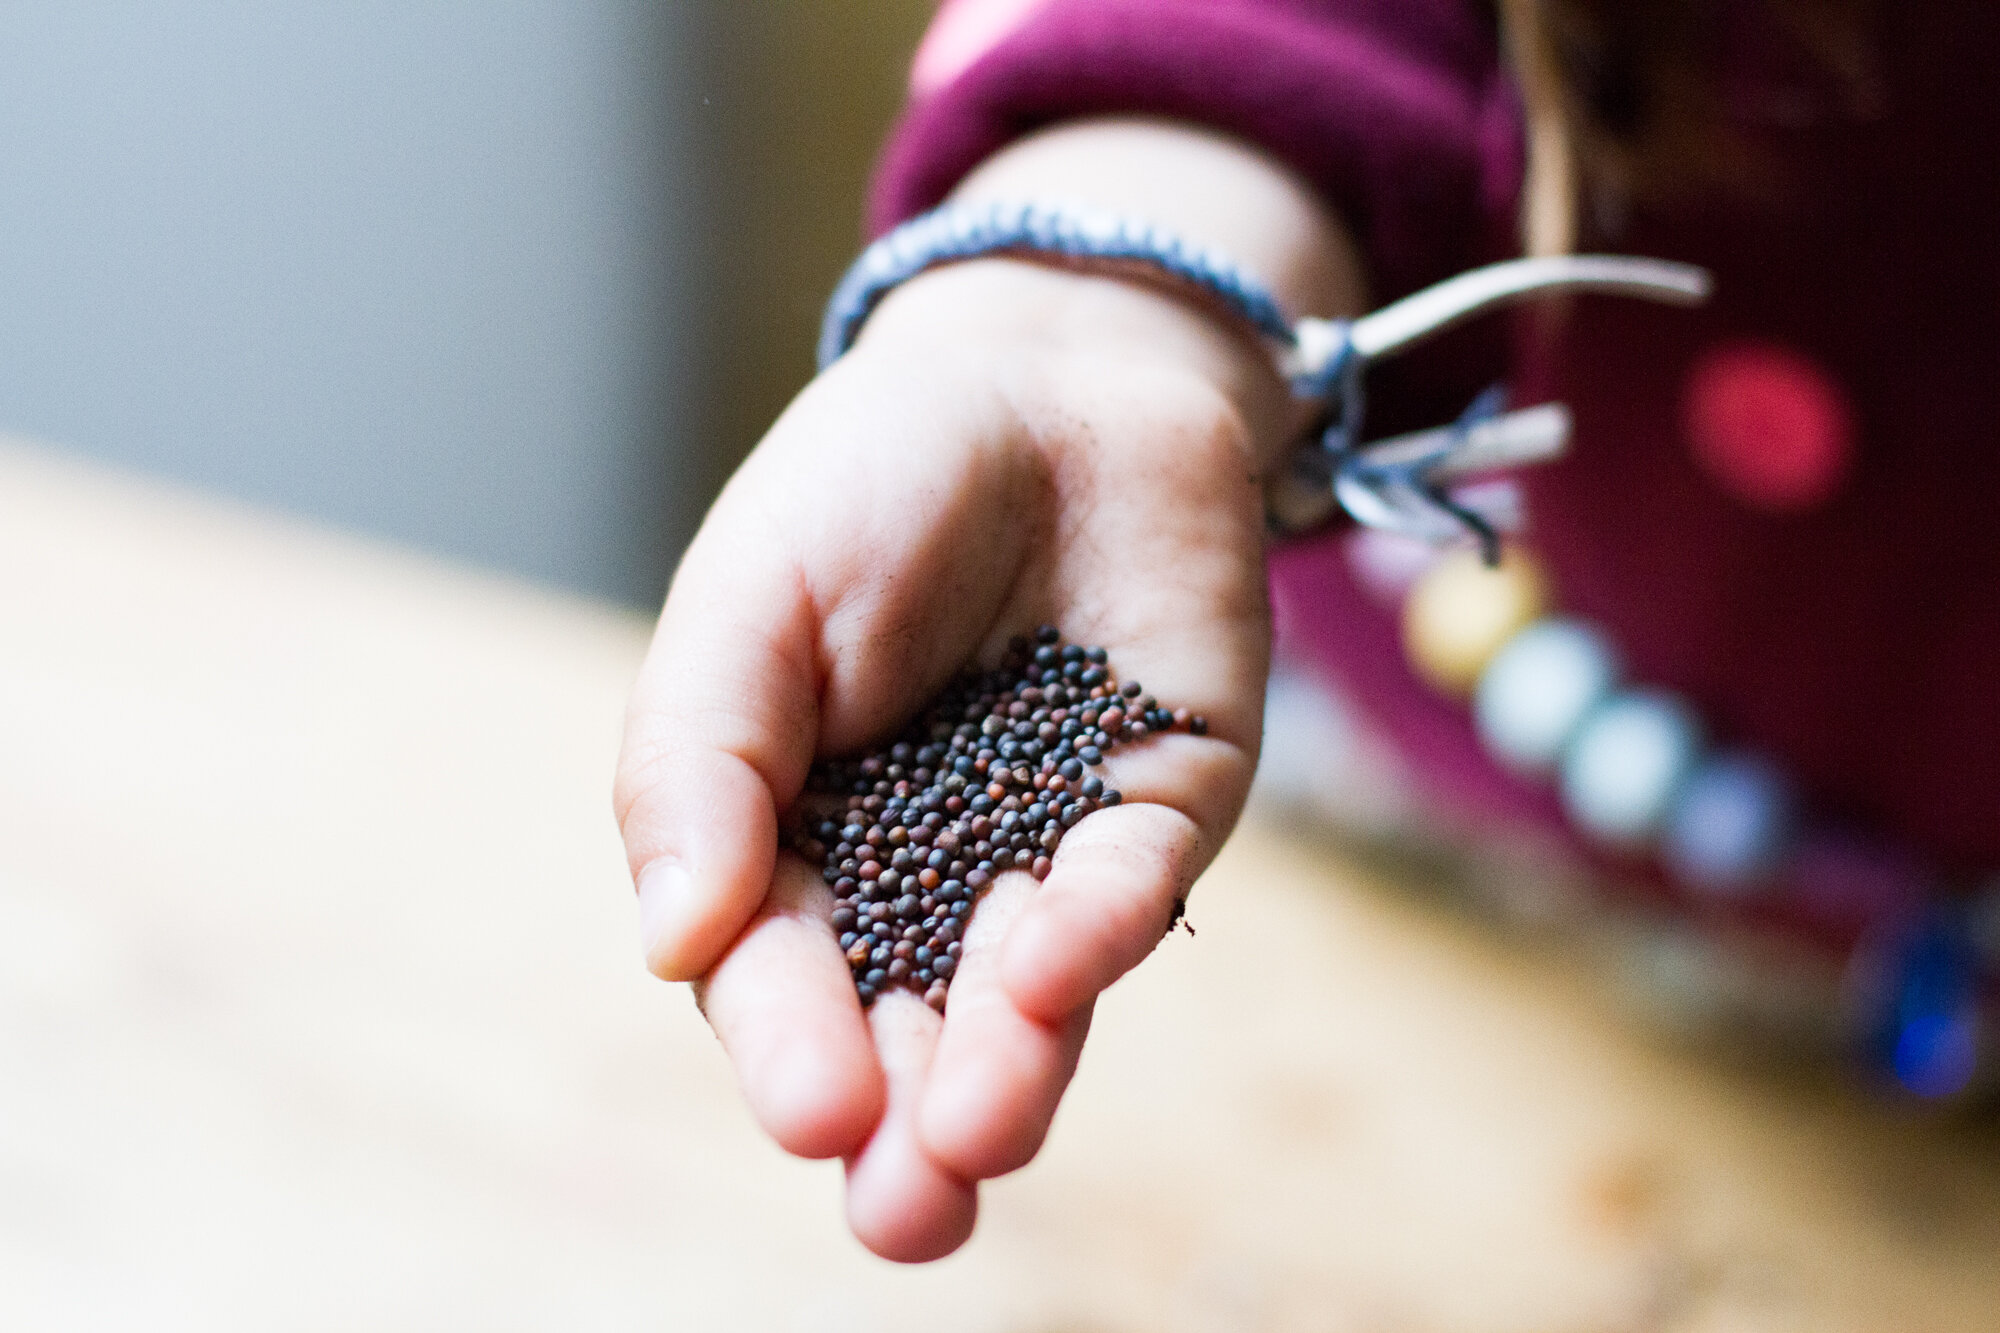
+ I ordered microgreens seeds from Johnny’s Selected Seeds. Faye loves the lemony tartness of sorrel and so we got a packet of that, plus a mild mix of brassicas, and some beautiful purple red rubin basil, because when given the option to decorate your plate with small purple leaves, who can say no?
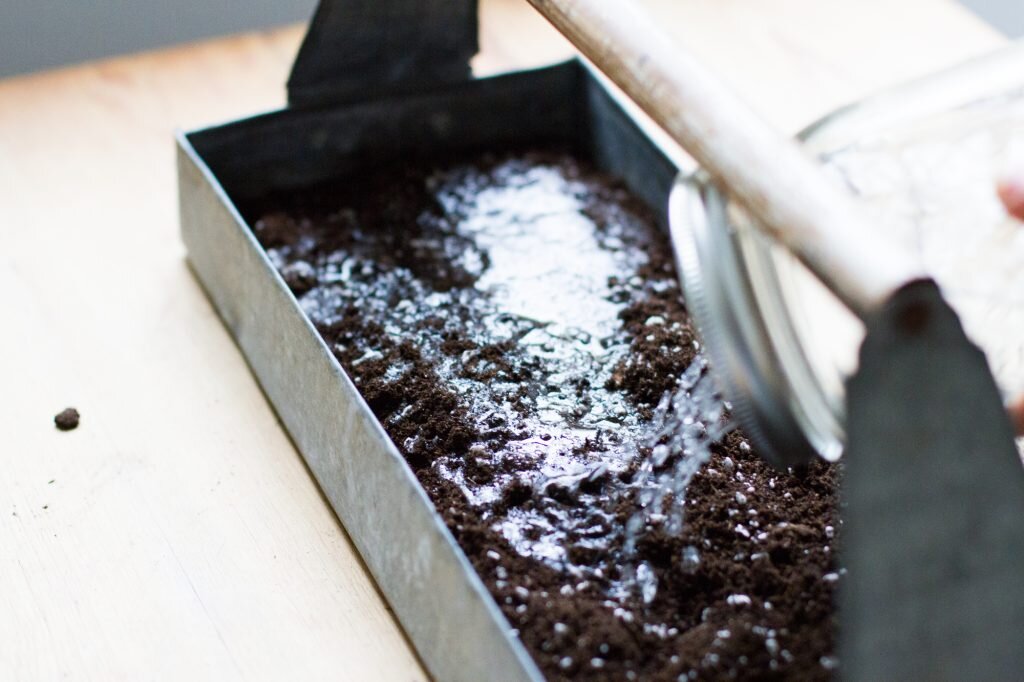
+ We didn’t presoak our seeds, which is sometimes a thing people do, but before sowing a liberal layer of seeds directly on top of the soil, we did make sure that the soil had been sufficiently moistened. Our plastic watering can broke after 6 years or so, and so instead of buying a new one, we banged some holes into the lid of a mason jar with a nail and it’s been the perfect solution for somewhat more controlled watering.
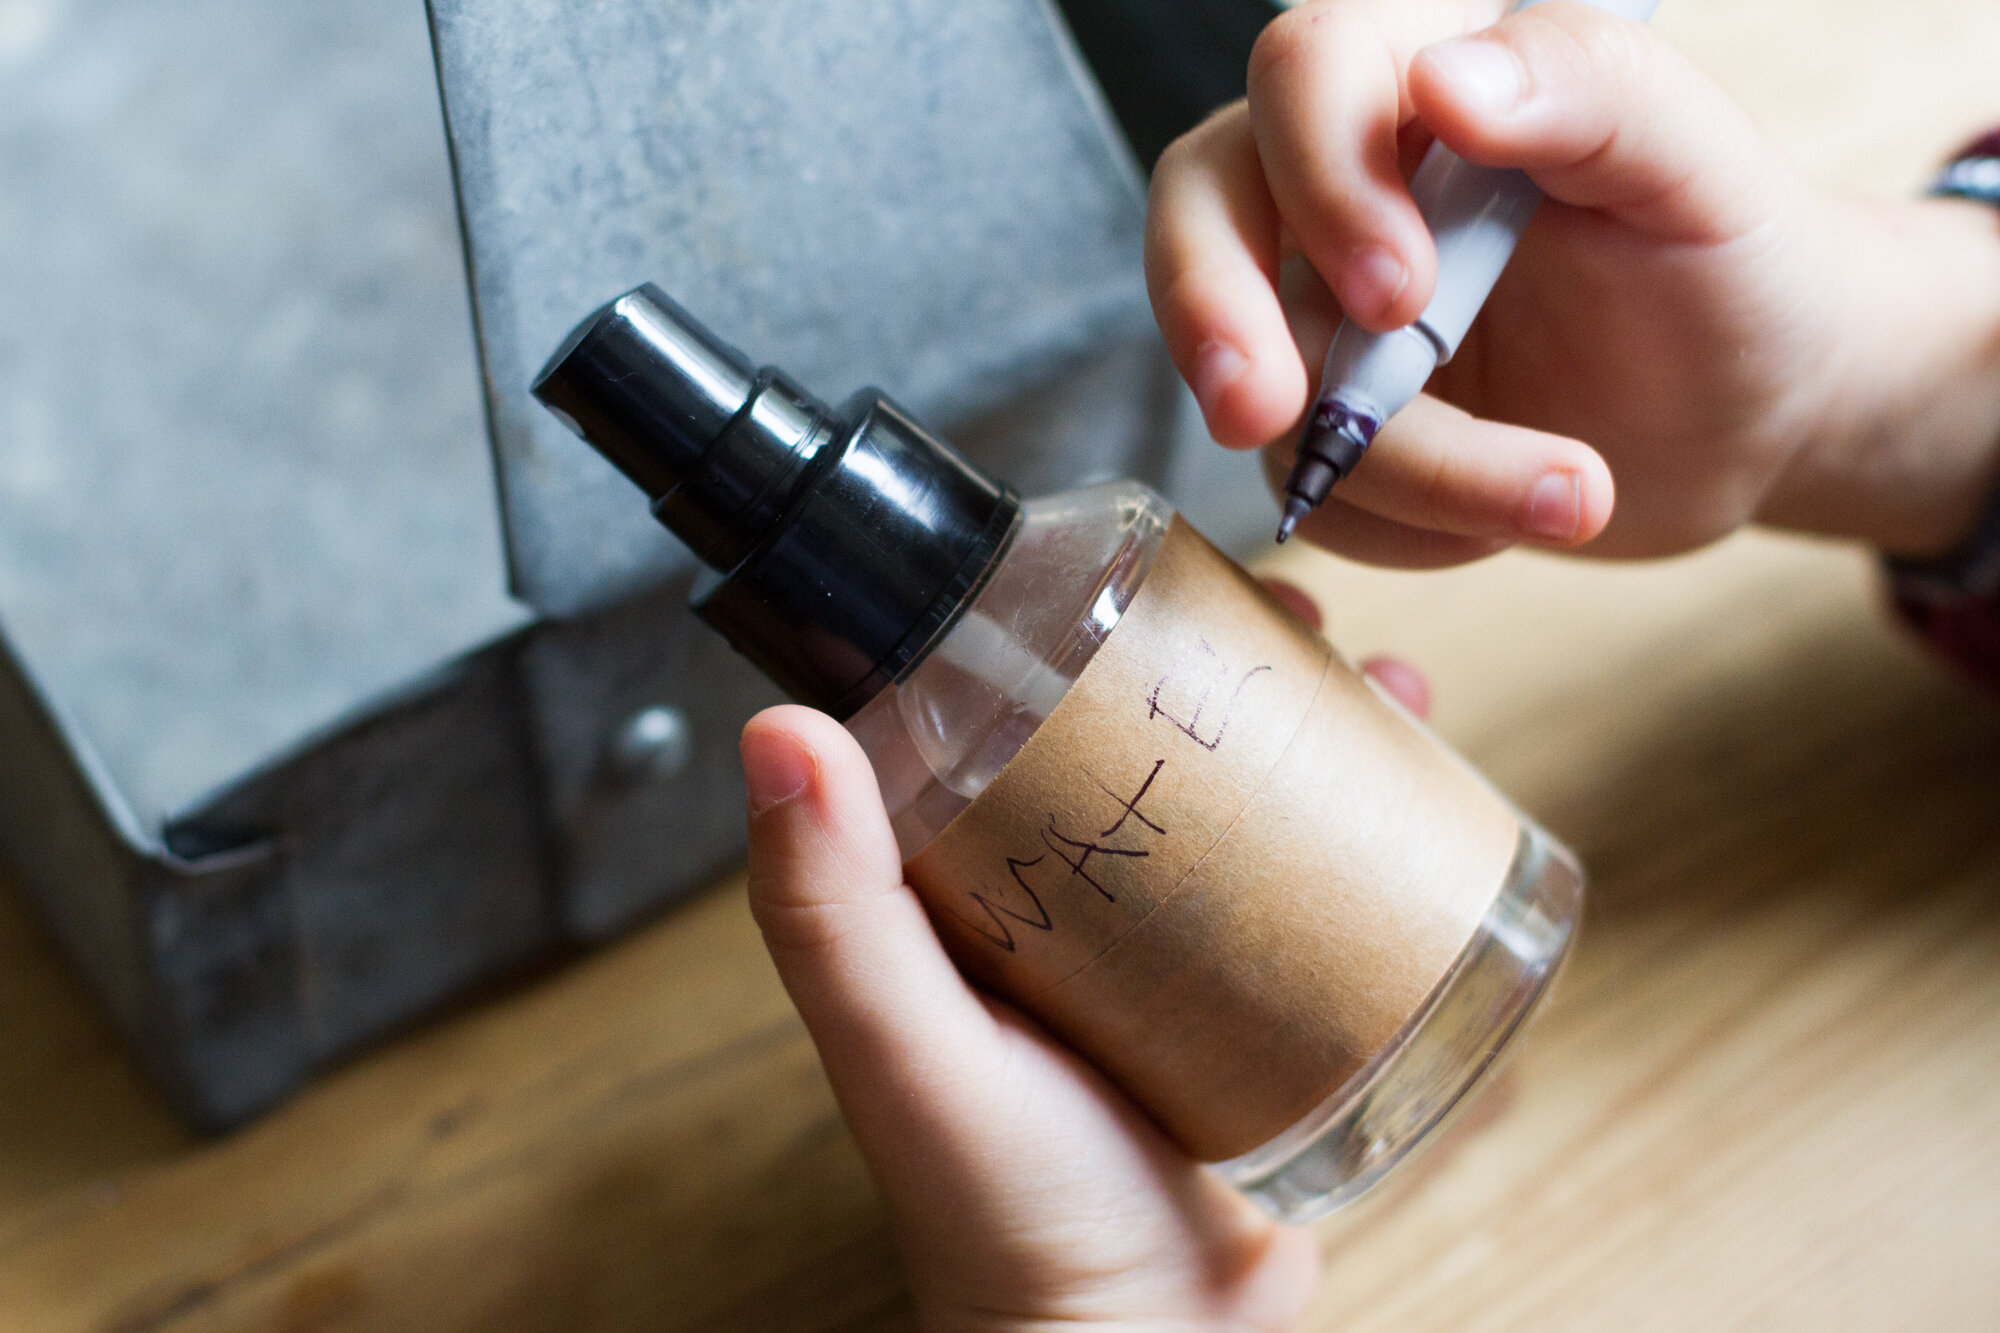
+ In an effort not to damage the delicate plants, we’re planning to keep things evenly moist with the help of a fine mist. We set aside a small spray bottle relabeled for the purpose. (Easy to use, sturdy, and free!)
Things I’m curious about:
+ We only have north facing windows in our apartment and this time of year the trees outside are filling up with leaves, making things even shadier than usual. It’s possible this will need to be more of a wintertime activity for us, when our apartment is brighter, but time will tell!
+ In preparing our little plot, I read that some folks keep their seeds in the dark until they germinate. I’m experimenting without doing that this time around, but I’m interested to see how it goes.
+ Any microgreen growers out there? Can’t wait to share our process and progress and would love to hear from you, too!
* Denotes affiliate links. Reading My Tea Leaves might earn a small commission on the goods purchased through those links.


14 Comments
In my experience growing sprouts/micro greens, directions usually say keep out of direct light so I think low-light should work fine? My plant fiend friend grows his on cookie sheets on his kitchen table which has very little light. Best of luck!
Ah, yes I think that’s especially true of sprouts, grown without soil! Will see!
Love your experimental attitude! Honestly more inspiring than just seeing a perfectly executed final product.
Yes, was just thinking the same!
yes! i grew microgreens on a small farm in ojai, ca. sunflower, sweet pea, arugula, mustard, broccoli, kale, amaranth…then experimented with a few more delicate ones like onion, cilantro and basil. so delicious! we covered our trays for a few days until they sprouted up and then uncovered them until they reached full height. we did soak larger seeds like sunflower and sweet pea but planted smaller seeds dry. i think as long as you stay on top of watering/misting they will grow fine! we would often edge water the trays so that the soil could be sufficiently damp while not soaking the greens themselves, which can easily lead to mold. happy growing 🙂
yay! thank you for the tips!!!
Hey Erin, I grow microgreens to sell to restaurants and it is awesome you are planting some for your family to enjoy. A few tips, but overall I think you will have success with the set up you have. Sorrel and Basil are considered harder to grow, sorrel because it takes a looooooong time to grow and basil because it is prone to mould. Basil also really loves heat so if you have a heat mat that would be great OR possibly an electric heating pad or radiator you could put it on. The main reason why growers cover the seeds in germinations isn’t so much for light, but to increase the humidity. So, if you find you aren’t having success, maybe throw a sheet pan over top of your container to keep in the moisture. I think you will find the most success with the brassica blend you purchased. For me, I can harvest this blend about 12-14 days after I sow. Another easy one is any type of radish, I can grow these in about 7-10 days. Might be a little spicy for kids, but mixed into a salad you will love them. Good luck! My instagram handle is @sprouted.earth if you have more questions I am happy to answer them!
-Erin
Amazing! So helpful!
i just saw similar seed packets at the hardware store today and am so excited to try this in the fall/winter when i have my own apartment and greens are expensive/in plastic. yay for pea shoots and sprouts! excited to follow along with your experiment/gain some tips 🙂
There’s a really awesome book called “Year Round Indoor Salad Gardening” by Peter Burke that I once read and it has super detailed instructions on how to grow soil sprouts (similar) with minimal equipment. I loved it.
I should know this haha, but are micro greens basically just baby plants? Are the seeds different? Like, if you let your micro greens continue to grow, do they go from microgreen basil to basil? I’m excited to follow as well, this is perfect toddler gardening activity! Thanks for the ideas.
Ha! Good question! This gets into the nitty gritty of plant science a bit, so I won’t claim to be an expert, but my understanding is that since mircogreens really only need to sprout and not produce viable vegetables, the actual makeup of the seed can indeed be different. Not to say you *couldn’t* plant a regular seed and harvest it early. If you’re buying organic seed, you probably don’t need to worry, but some garden varieties of seeds are treated prior to sale with things like fungicides so you wouldn’t want to be eating that in your nutrient-packed microgreens! A very lay-woman’s answer! Worth exploring more!
Ah no worries! Thanks for taking the time. I actually bought some microgreen seeds, and planted a few in our outdoor garden. I’ll let you know if they make it to full adult plant size!
Try a Chia Pet (yes, they still exist). No dirt, small footprint on your kitchen counter, and kids will like the cute animal growing “fur” (I have an elephant). I bought a package of organic chia seeds and now harvest chia sprouts every 8-10 days for my green smoothie. After harvesting the sprouts, the roots easily peel off and you can start a new crop. A 12 oz bag of seeds = 36 plantings 🙂
Comments are moderated.