The first thing to know when tackling a reupholstery project is that those time-lapse videos that you see of people rapidly removing staples and easily smoothing fabric before giving a yank here and a pull here and stapling everything back together again are very inspiring. They’ll encourage you to take a screw driver and a pair of pair of pliers to your couch, extra-human speed and supernatural prowess shooting forth from your fingertips. They’ll give you the confidence to believe you can effortlessly dismantle your couch and seamlessly put it together again.
Viewer beware.
This is not at all to discourage anyone from ripping apart an upholstered piece of furniture, but I don’t want to sugarcoat things either. The process was laborious. The finished product has a definite DIY vibe. But it is a million times better than the ripped apart loveseat we were sitting on and it’s far better than tucking and retucking a toddler-ravaged slipcover twenty times a day.
While I had the energy and daylight I made a few quick videos of the process myself. I’ll post them to my Instagram account in a bit in case that’s helpful, but know that mostly I swore a lot, and got sweaty, and worked in my underwear after dark.
Technique:
Putting aside the potential for false hope with timelapse videos, I did find watching video tutorials to be extremely helpful. A video I found on armchair reupholstery produced by Sailrite was particularly good. It was a comfort to watch because I knew they weren’t taking shortcuts or winging it and I learned the basics of upholstery that I wouldn’t otherwise have known. The video offers a comprehensive step-by-step for approaching an upholstery project from a professional. (It will also make you wish very much for a pneumatic staple gun.) Other amateur videos are interesting to peruse, but should be taken with a grain of salt. I found them most helpful to explore alongside the more professional tutorials, to get ideas for workarounds when I didn’t want to invest in particular upholstery materials or a sewing machine, but fair warning that many include silly shortcuts that I wouldn’t recommend.
Tools:
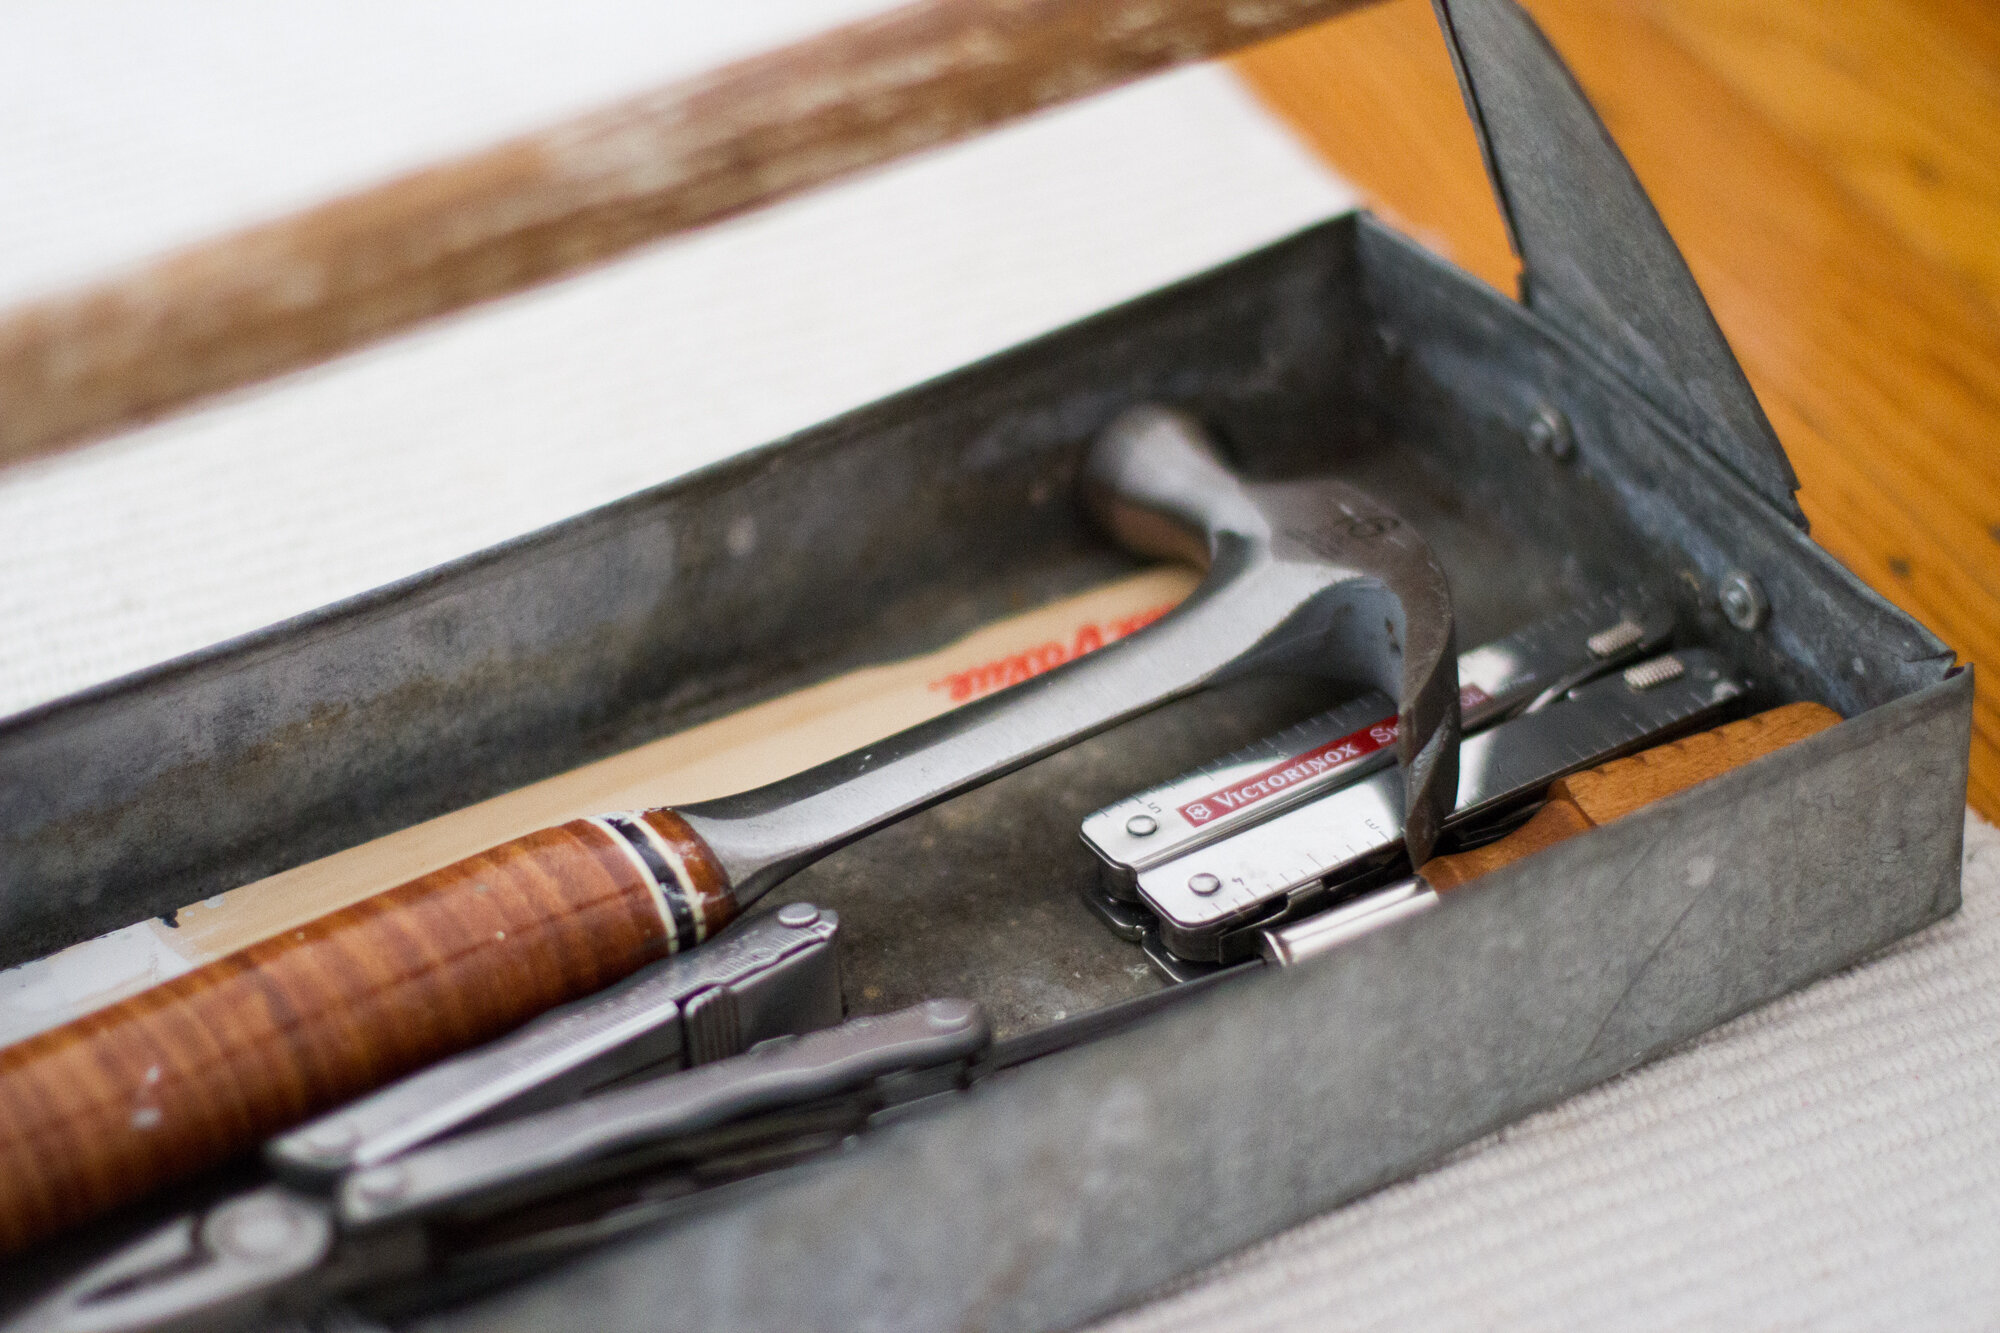
+ Slim flat-head screwdrivers for prying up staples (though an actual upholstery staple remover is probably worth the small investment).
+ Pliers for pulling out staples (I used the one on my multitool).
+ A hammer for prying and flattening any staples that need it.
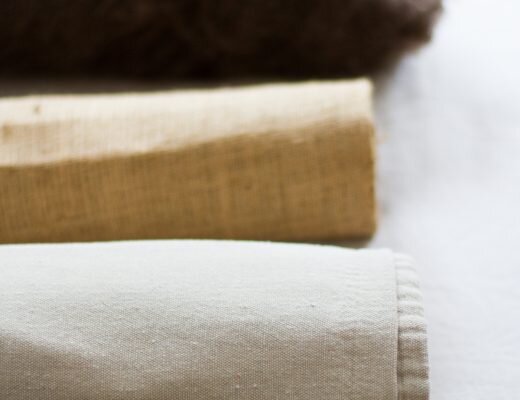
+ Upholstery fabric (I used two of these heavy duty cotton canvas drop cloths, which I washed and dried before use.}
+ Staple gun (I have one from my local hardware store, but this one comes with a staple remover.)
+ Tack strips (These are cardboard strips that help you achieve a straight line. I used fabric self-adhesive strips because I thought it might save time, but I’d choose the more traditional cardboard if I worked on another project.)
Tips:
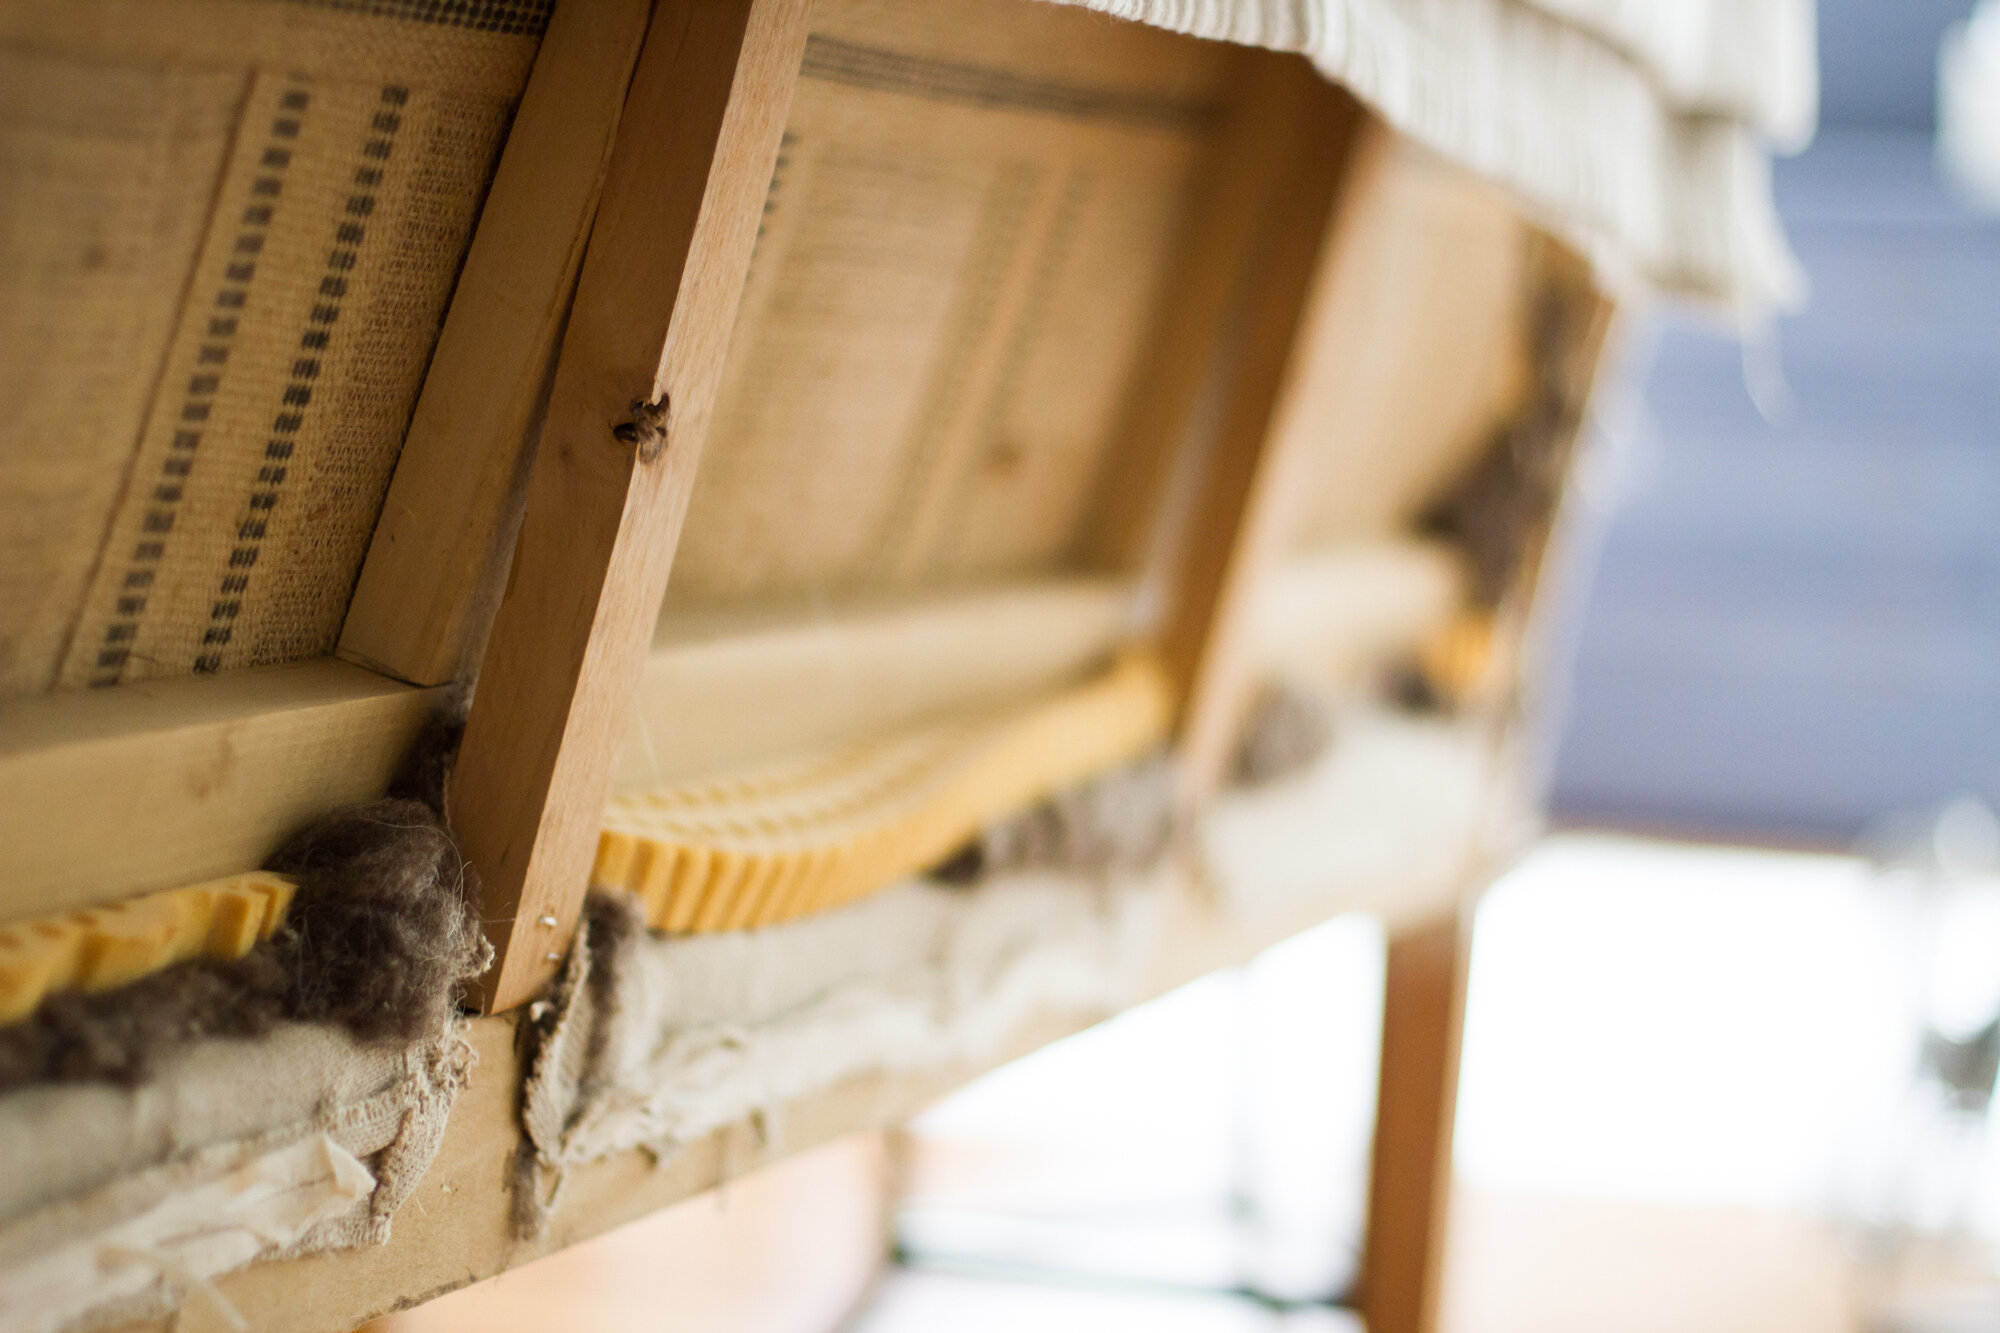
+ Take care: The biggest key for me was careful removal of the existing fabric. I used the exterior pieces as patterns to cut the new fabric and I reused the interior pieces that were in good condition. Taking the couch apart piece by piece also informed how I would put it all back together. Because part of the original upholstery was sewn in places, I had to accommodate for how I would change the pattern to allow for folds and tucks instead of seams. This was largely trial and error and the places where I was able to match the pattern exactly were by far the most successful.
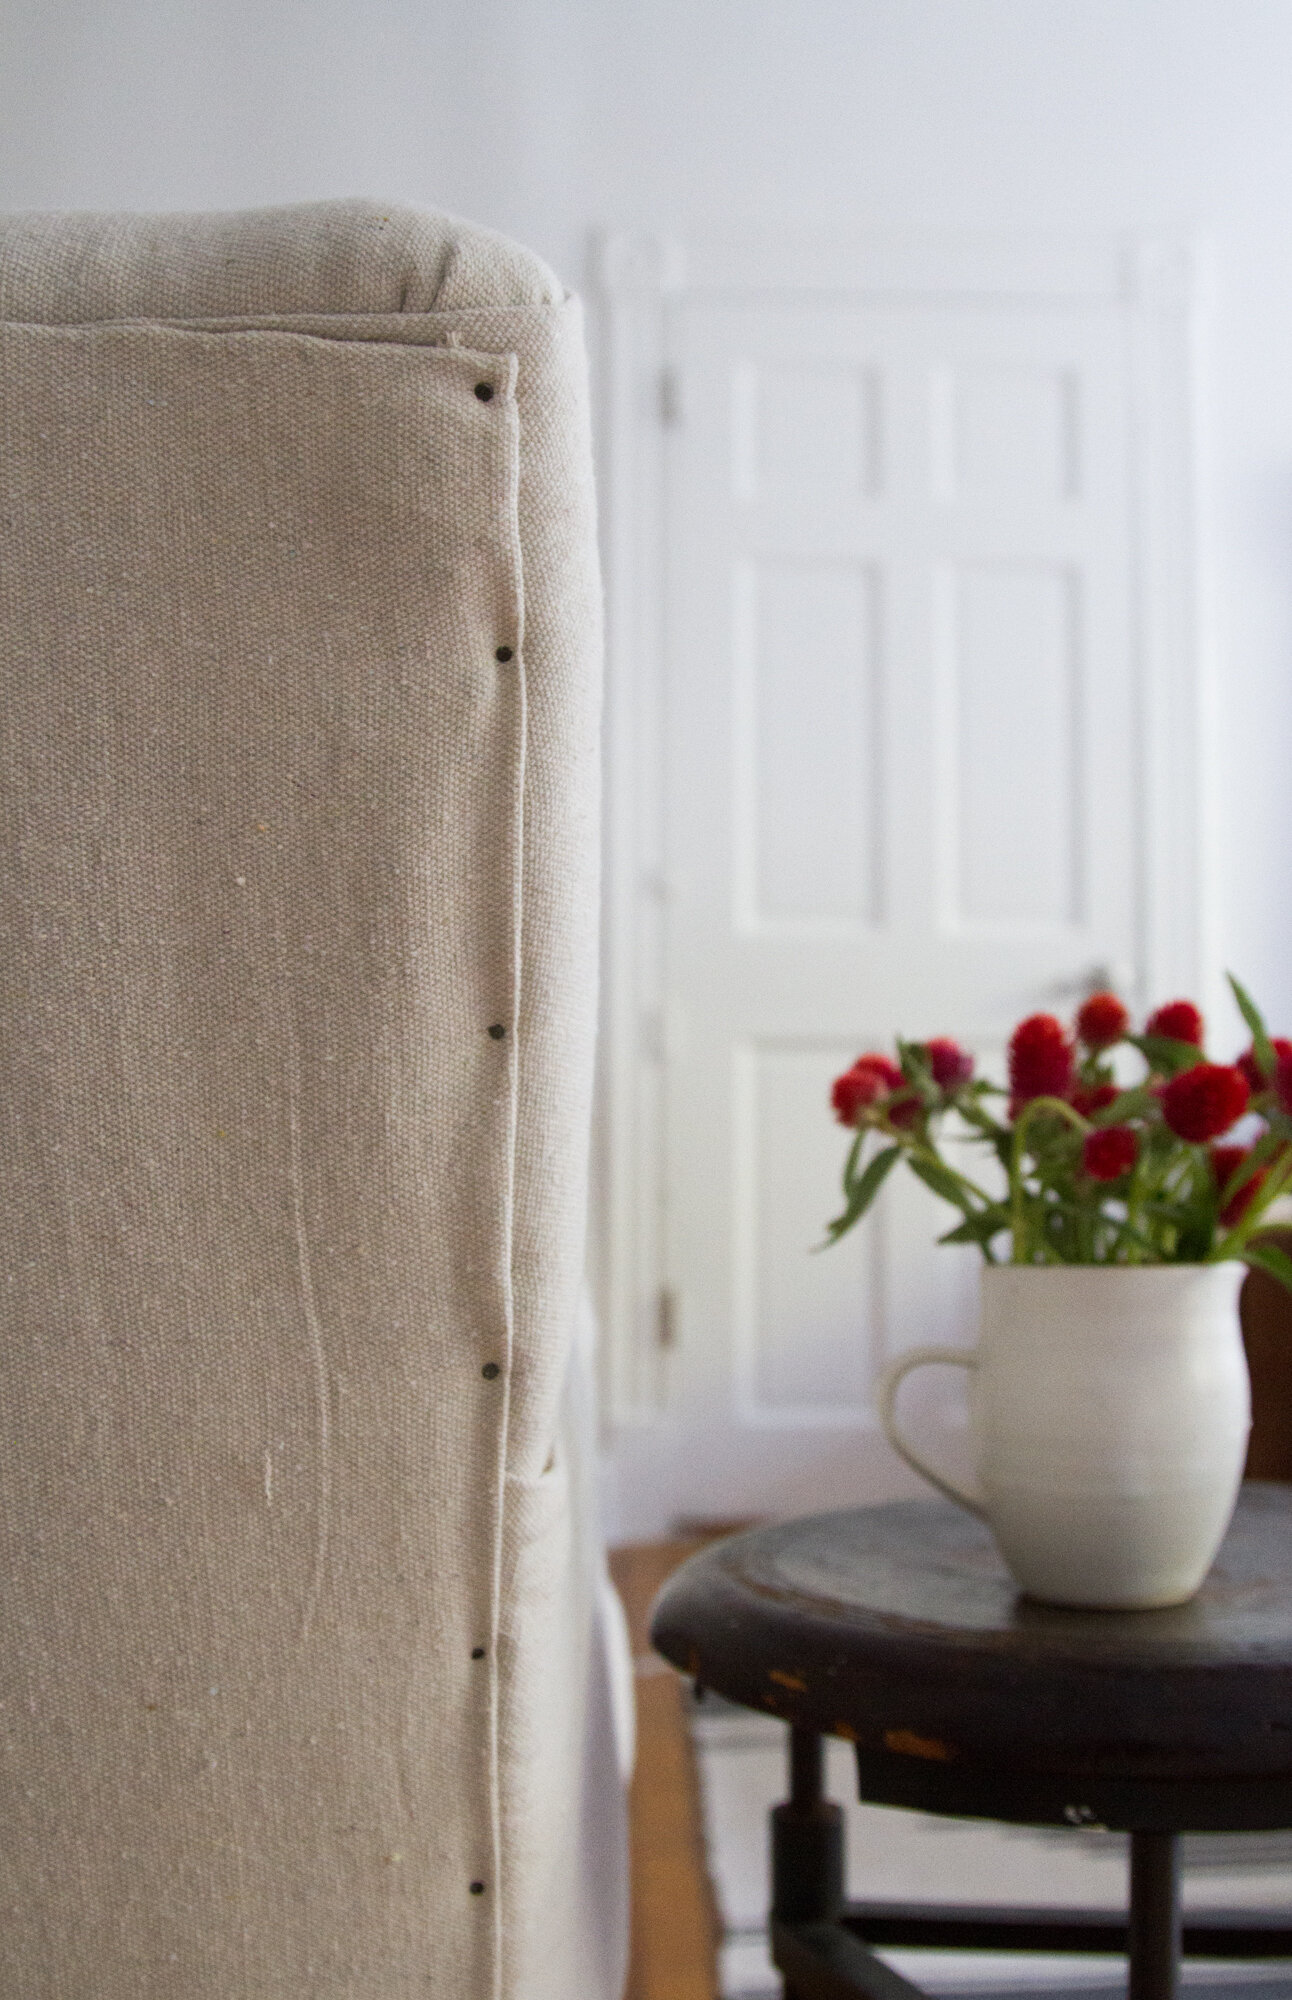
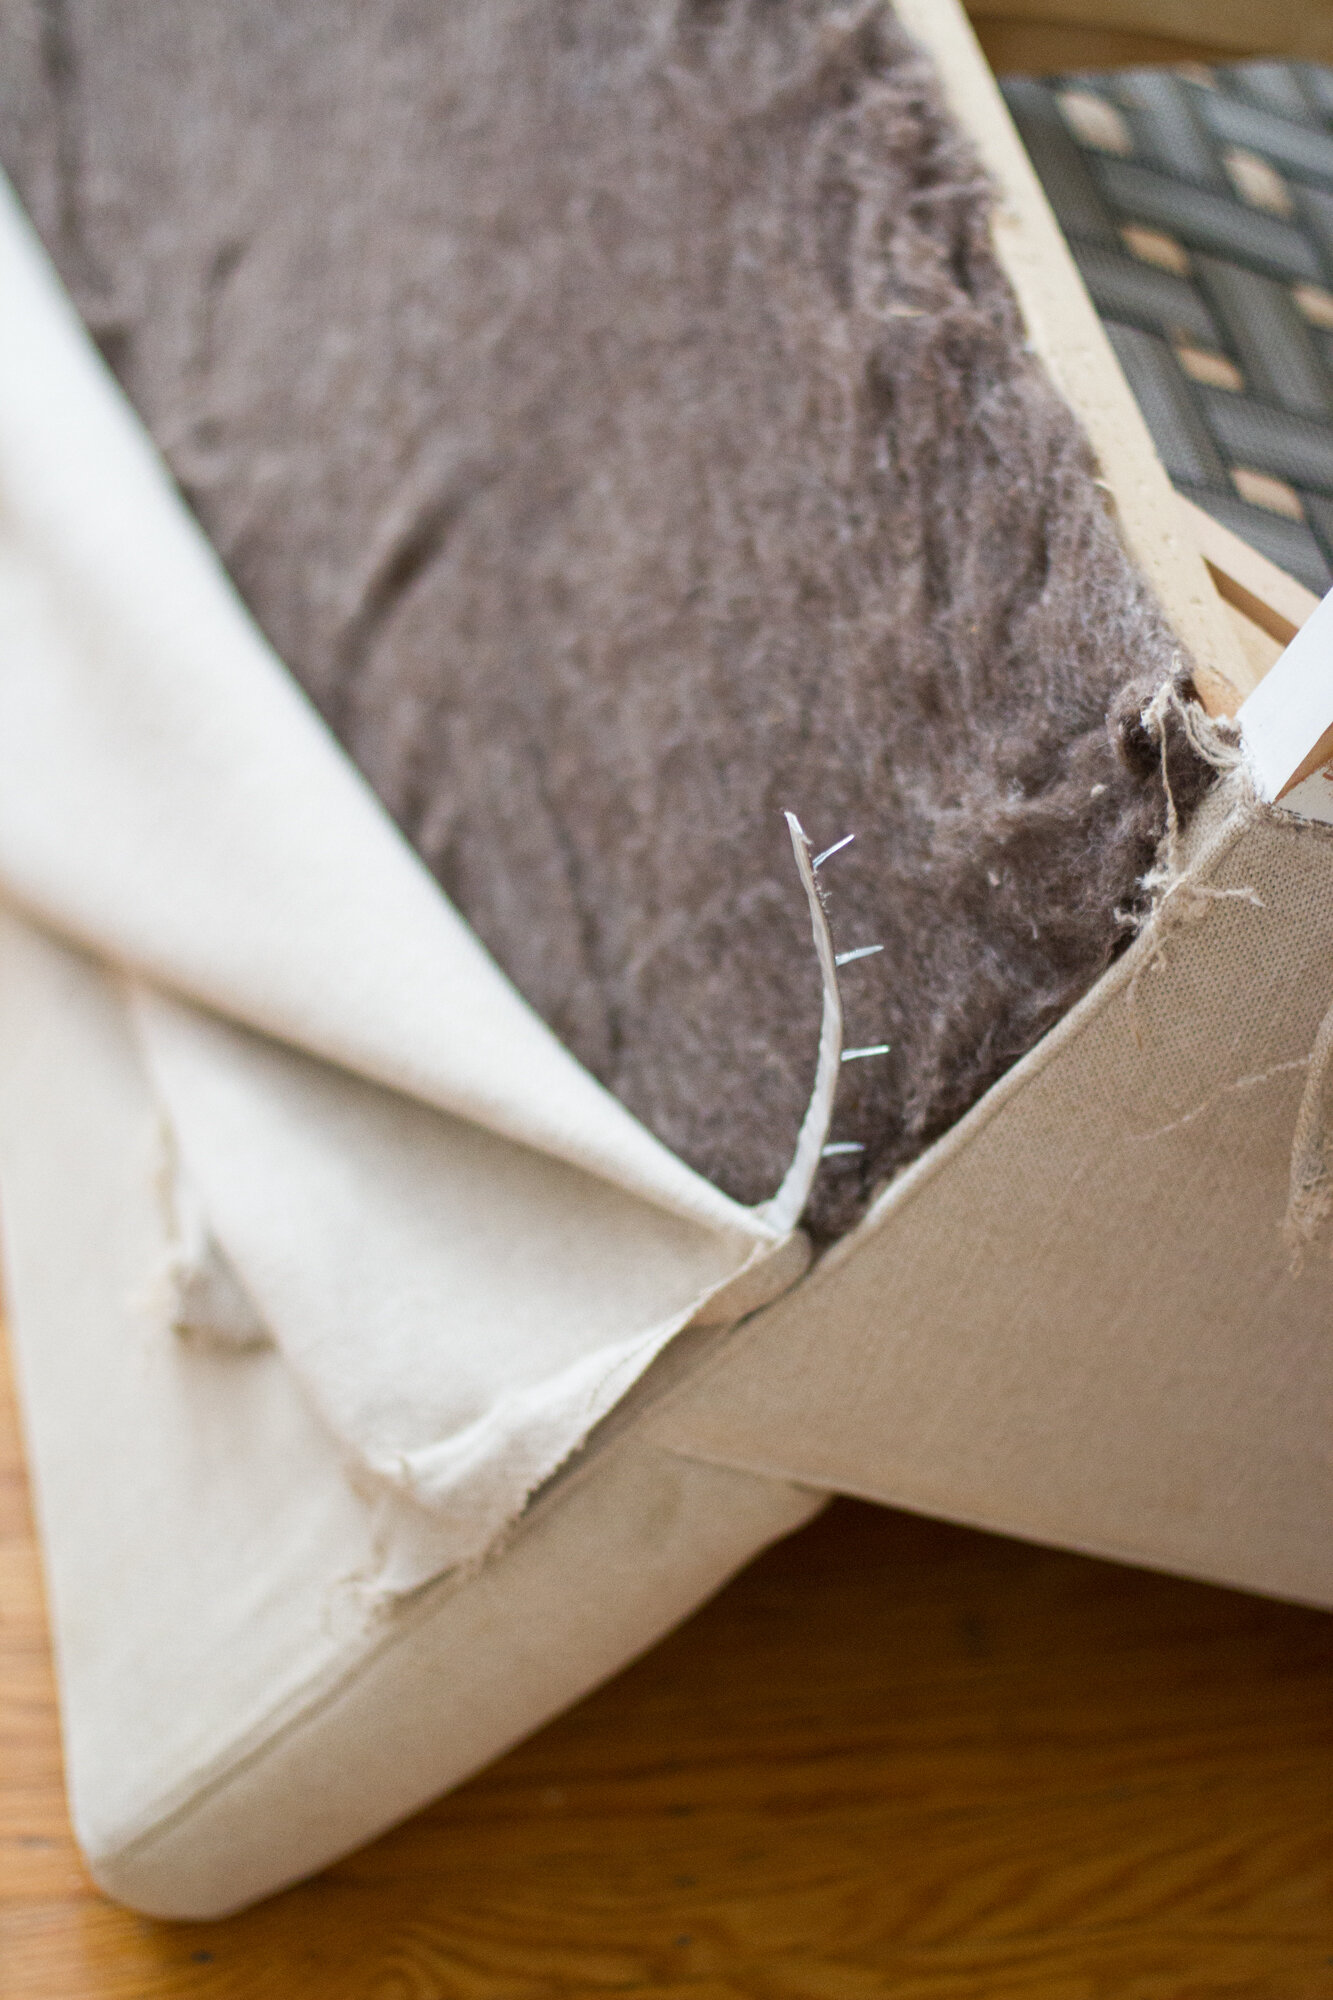
+ Get creative: The original upholsterers of our loveseat used metal tack strips to secure four edges of fabric to the sides of the arms and back of the couch. I managed to reuse two of these, but two were too far gone and so I opted to simply fold a clean edge and use exposed black upholstery tacks along the back of the couch. It wasn’t a recreation of what was done originally, but there’s just about nothing I love more than tiny black upholstery tacks and they’ve been perfect in this spot.
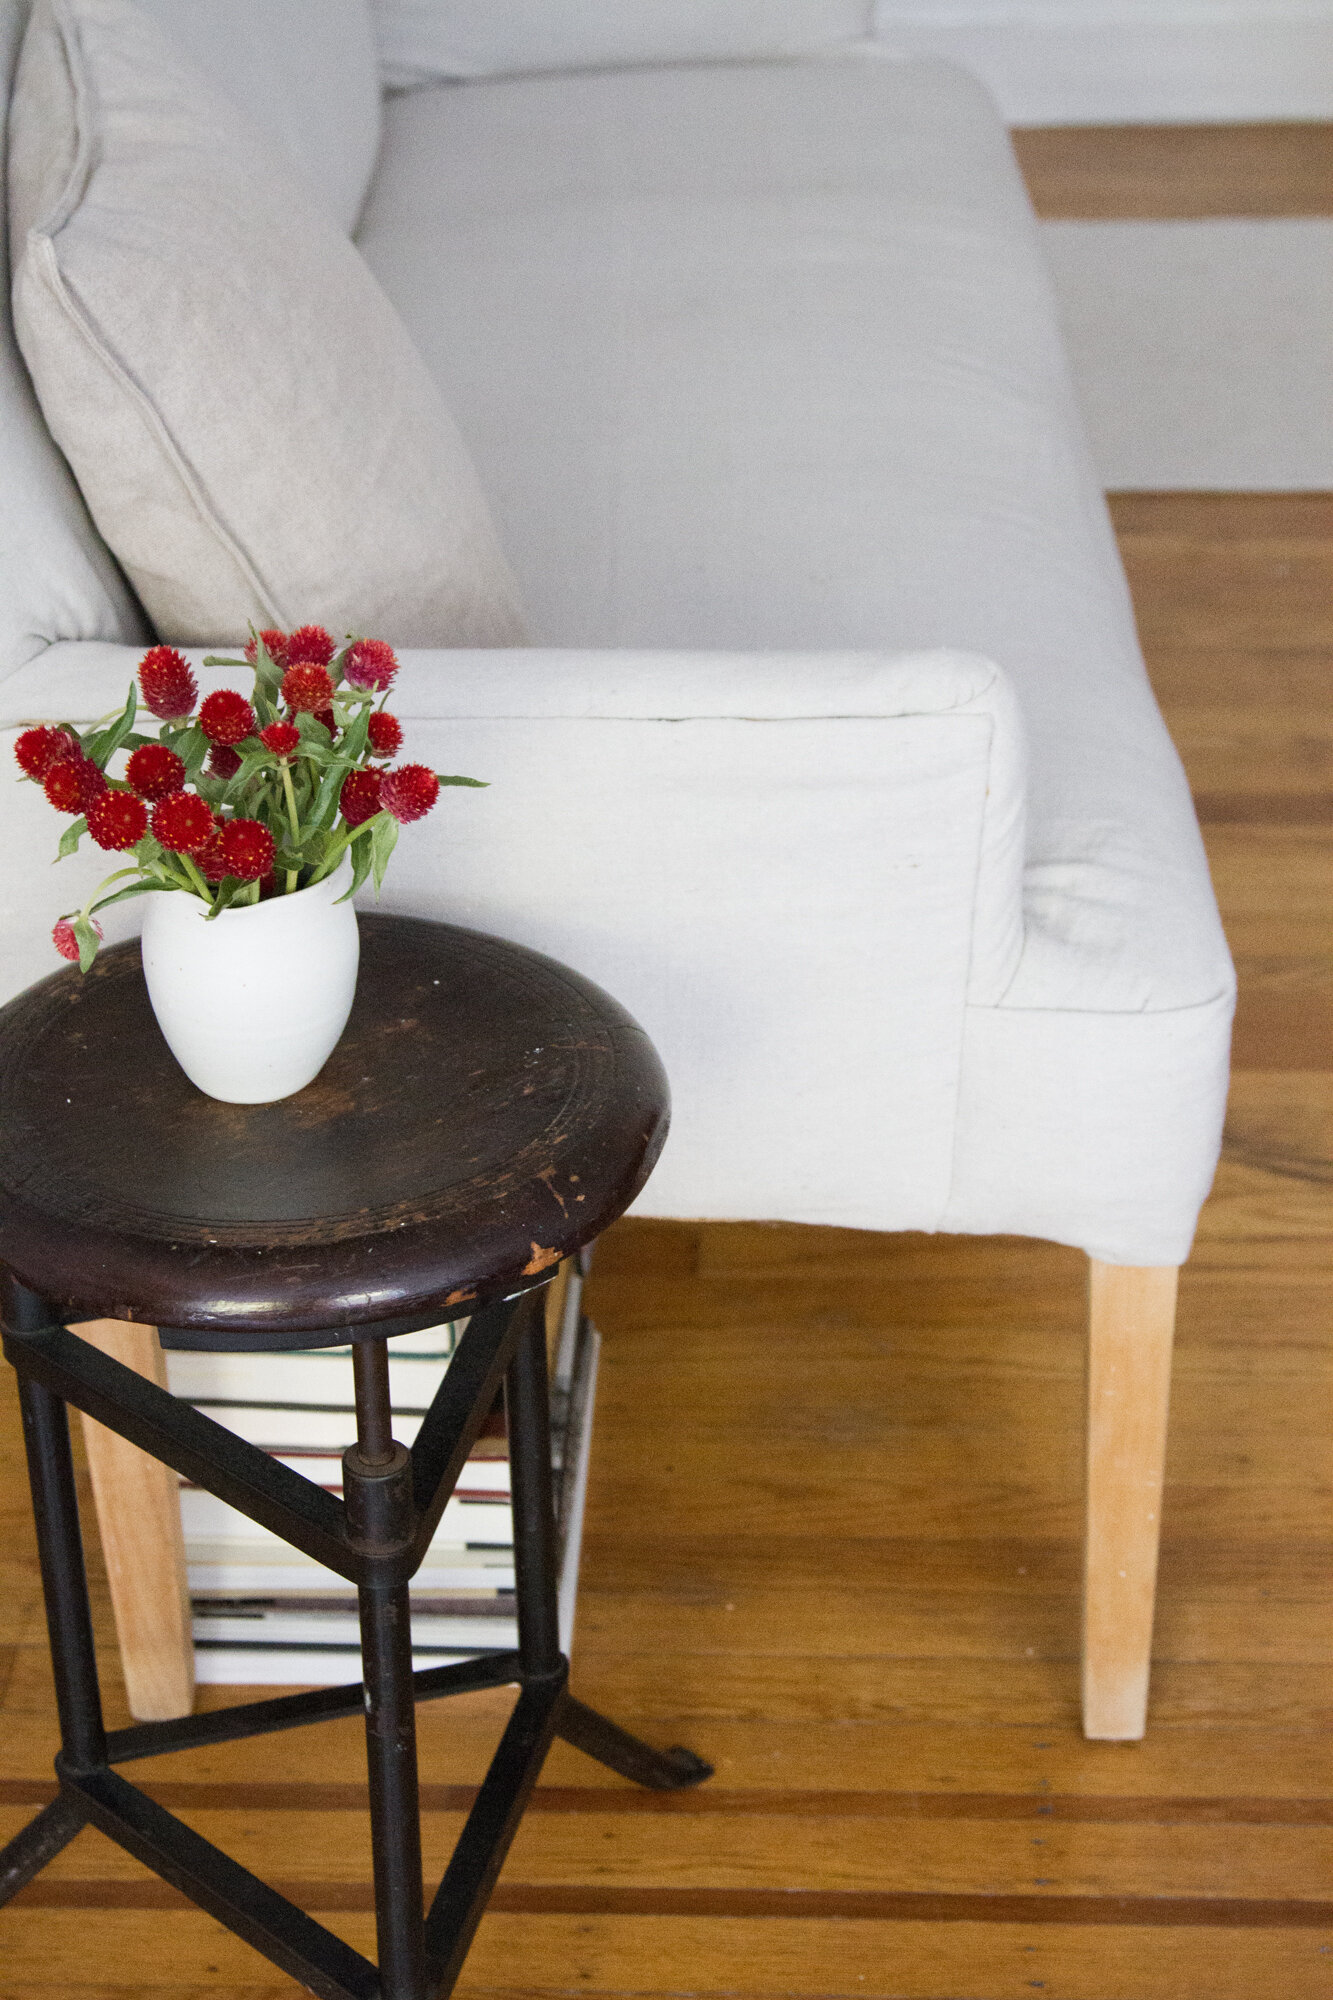
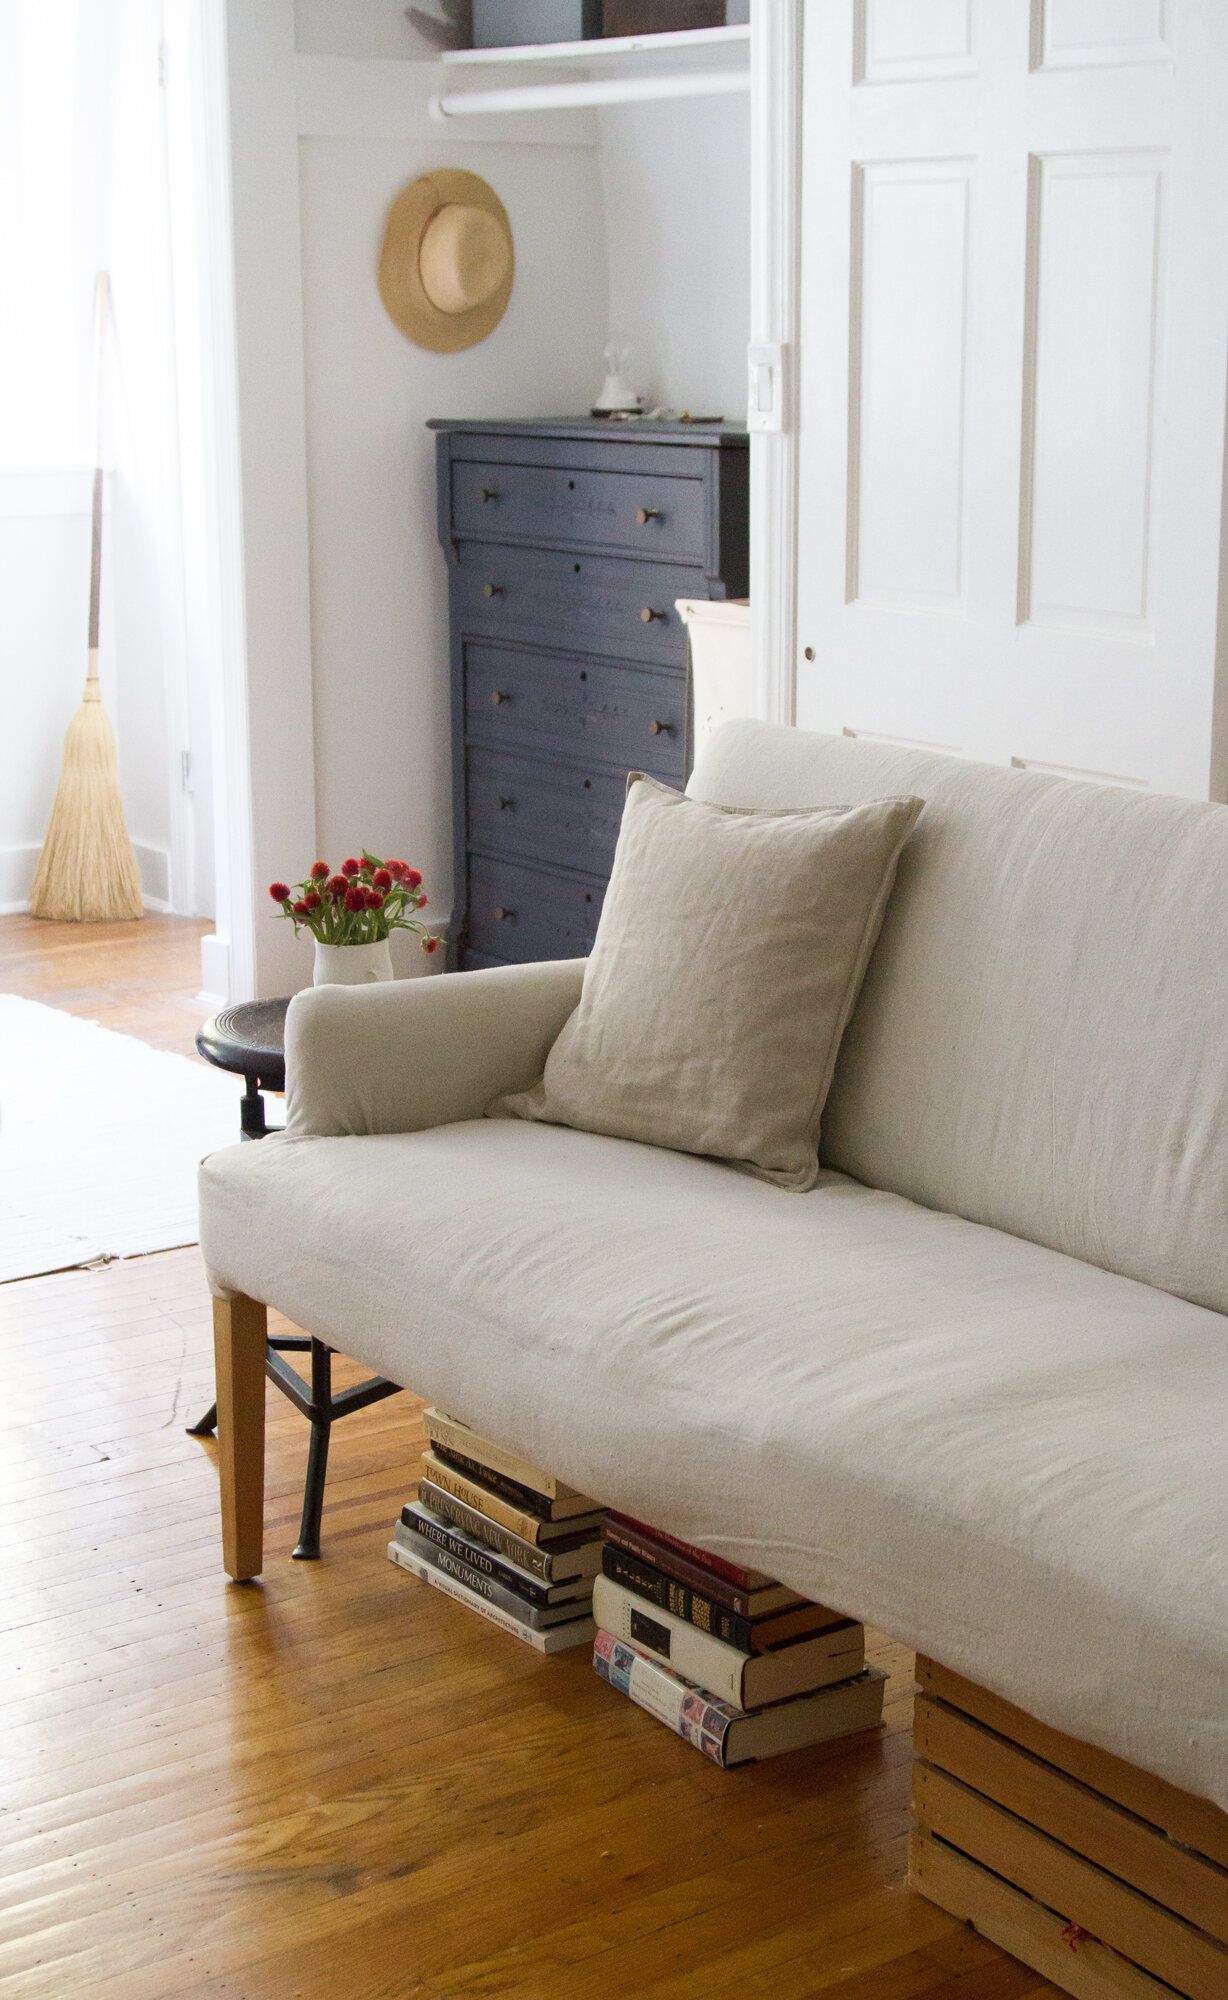
+ Be prepared: The finished couch is totally passable but not perfect and it was undoubtedly a beast to work on. I chose not to invest in replacing the latex foam or wool batting, and so places where that had gotten funky due to upholstery damage and a decade of use, remain funky. The loveseat is still really a bench and it’s still not big enough to stretch out on. All told the project took about 50 hours to complete from start to finish and in the interim, things around here were a bit of a mess. Still, it’s a vast improvement over what we’d been dealing with and I did it myself, so: Nothing but love for this wonky little loveseat.

This post includes affiliate links. Reading My Tea Leaves might earn a small commission on the goods purchased through those links. In case it’s helpful, here’s a running list of my most-used project supplies.

20 Comments
my husband is an upholsterer and it’s like art to watch him work. my dad was too and he taught my husband how to upholster but my husband was born to create with his hands so he learned fast and he’s good at it. he makes it look so effortless but i know it’s hard work!! i’ve pulled staples for him before and that alone is tiresome. way to be brave for taking on this project♥
Oh, I’m sure! This project made me appreciate professional upholsterers so much!
The finished product looks great! And wow, 50 hours! That is not included in the time-lapse videos. I recently started making slip covers for a chair and its cushions and this post gave me both a dose of reality and the inspiration to plow forward anyway.
You can do it! Just stock your freezer with ice cream and get someone to rub your back!
I love the look here!
When you originally posted about this finished product/project on instagram, you asked something like “how do people feel about DIYs?” I’ve been giving this a lot of thought. It has been hard to shift over the years from the “it’s broken, let’s buy a new one” mindset to a more “repair it” mindset. As I’ve shifted, I sometimes forget that another option is “get it repaired.” I like a good DIY, but there are things I don’t care about or can’t do well, and I feel like I’ve rediscovered such artisans as shoe repair people and sewers! It was so life changing to realize that even though I failed (miserably) to clean up my poorly cleaned, water-logged leather shoes, someone else could do it, that person was practiced, efficient, and more effective than I could dream of being. (The shoes went from a lost cause to looking brand new. So new that I dropped off two more bags and another pair of shoes! New life to four old things.) So to your question I say: DIY it if you’d like, but if you don’t like or can’t, someone else who works hard to make a living with expertise beyond your wildest imagination can!
We had a little reverse of the above suggestion this week: we bought a little “boo boo buddy” thing, which is just a corn-filled pocket of fabric that can be frozen or microwaved. On day 4, it fell in the potty, so I cut up one of our cloth napkins (also DIYed from some leftover fabric from a DIY makeshift curtain project) and DIYed another buddy, this time filled with rice. Sometimes buying from an artisan/maker can be so nice, and supports your community and the people who are working hard to do things simply, and sometimes you just need another buddy asap so that the potty-soaked one can be composted, so you DIY to the best of your ability, which, it turns out, is good enough.
100-percent agreed!
It looks amazing! Kudos for taking on such a big project – and succeeding!!
Nice job, Erin! Thank you so much for sharing.
Seriously, thank you so much for telling it like it is. I so appreciate the honesty because, while I’m a skilled crafter, my big peeve is personal diy that looks like diy when it shouldn’t. I will leave this task up to my beloved upholsterer.
Ooo this is motivation to finally upholster a chair we inherited. I’ve had the roll of fabric for 2 years. I upholstered a bench two summers ago and learned alot. A sofa is a big task! Congrats I dont think i have that much patience in me haha
This is so good Erin!! Very inspiring, back pat X a million
I’ve loved your little bench sofa and been searching for something similar for my tiny home since I first saw it on your site. I’ve never been able to find something similar though! I think the finished product looks great, and if you ever do decide to sell it, shoot me a message. 🙂 Very impressive work!!
ha! will do!
(and thanks!!)
That looks lovely!! Plus, I think a little imperfection helps keep spaces from looking like a pottery barn catalog (which is lovely but not my personal home aesthetic preference).
Ha! Thank you!
Thanks for sharing! Looks good. Love the linen look. You must be very good with the sewing machine. I have a done a few projects myself. They are HARD work. I have a balloon back chair that I need to replace a seat…. I am dreading it!!
🙂
Thanks so much! I did it without a sewing machine though! Just took the whole thing apart and then folded and tucked and stapled it back together.
The piece looks great, Erin. Kudos to you. But I am equally impressed by your taste in books stored below the loveseat. Bernie Herman! Townhouse is just the best.
Would it be too weird to ask what the titles are of the books under the couch? I noticed a few titles and they seemed right up my alley (I love history), and was wondering if you would mind sharing them.
Comments are moderated.