Adding a bit of caulk between drywall and baseboards and on the moldings around window frames isn’t first on the list of projects that renters might typically tackle, but then, it’s not always first on the list of things that landlords tackle and for the people living in a place, a bit of caulk can go a long way. Whoever you are, sealing up cracks and crevices is a small act of stewardship and care that leaves a smoother surface for painting, a bit of visual peace, and a way to keep creepy crawlers and dust at bay. More than being the stuff used to create watertight seals around tubs and sinks, caulk is used to make seamless, paintable surfaces all over a home—over nail holes, around window molding, and along gaps between walls and baseboards. With a bit of caulk, these surfaces become smooth and solid and look like they were always that way, which is the point.
I wasn’t born a caulk enthusiast, but in the summer of 2006 when James and I first met, I was working as a historic preservation intern in southern Georgia. In the swampy heat of the Georgia summer, I worked alongside other eager young folks interested in learning how to preserve bits of architectural heritage, which is to say we scraped a lot of paint and caulked around a lot of molding, and logged many hours behind itchy respirator masks. My first assignment was standing at the top of a 15-foot ladder and carefully caulking around 1-inch dentil moulding. I didn’t dare mention I was terrified of heights and that summer I quickly got very well acquainted with the magic of caulk.
A few years later, when James and I rented a creaky old apartment in Providence, Rhode Island, one of the first projects I tackled was to caulk the bay window that hung over our street. Our apartment had spent decades as host to a rotating cast of college students and it suffered more than a little from a lack of upkeep. Caulking around the bay window made a huge difference, not only visually, but also in terms of weatherproofing and sound proofing. (It wasn’t enough to totally drown out the neighbor’s 2:00 AM serenades, but at least we no longer felt like we were in the room with him and his.)
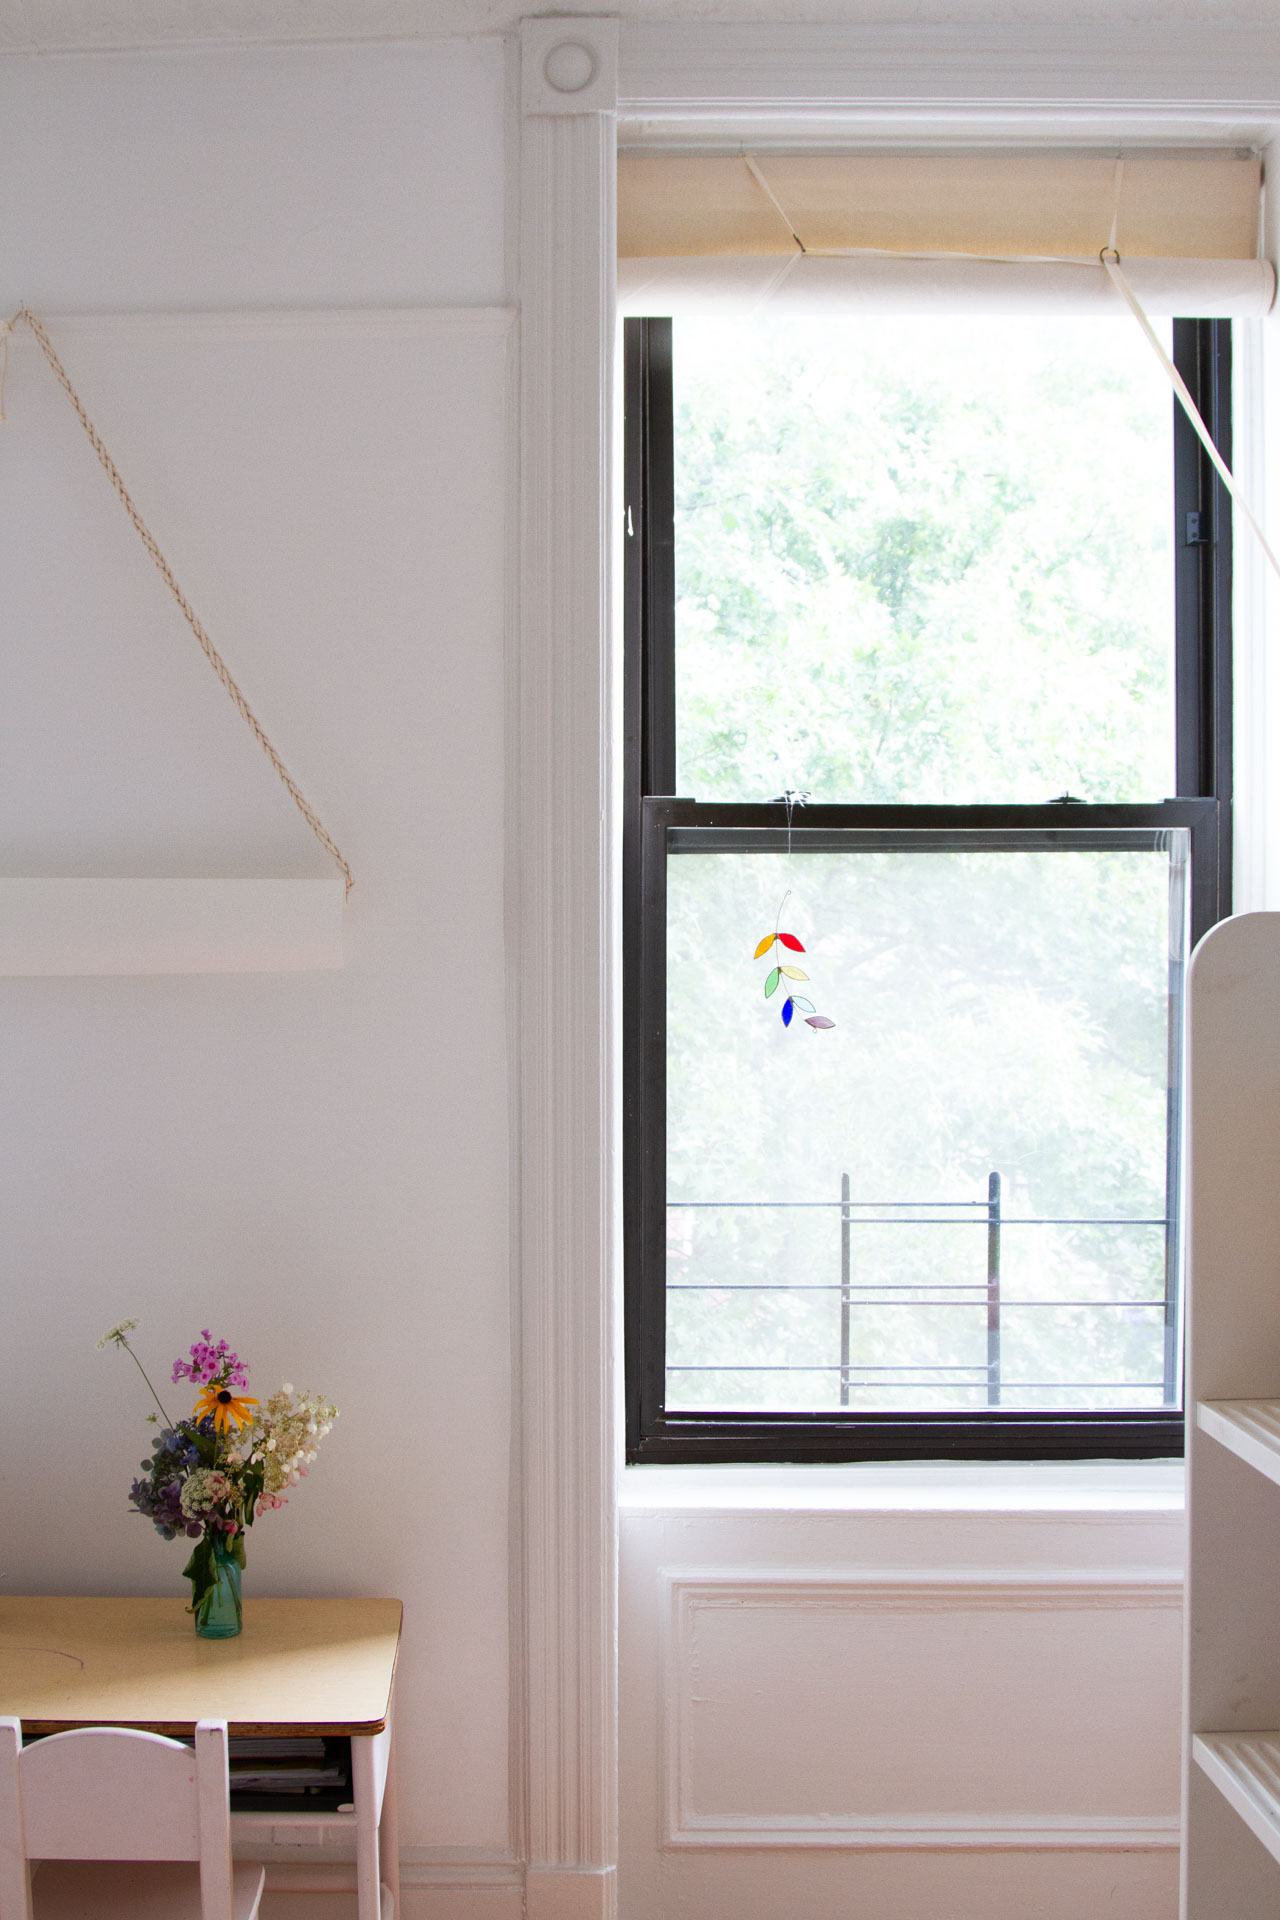
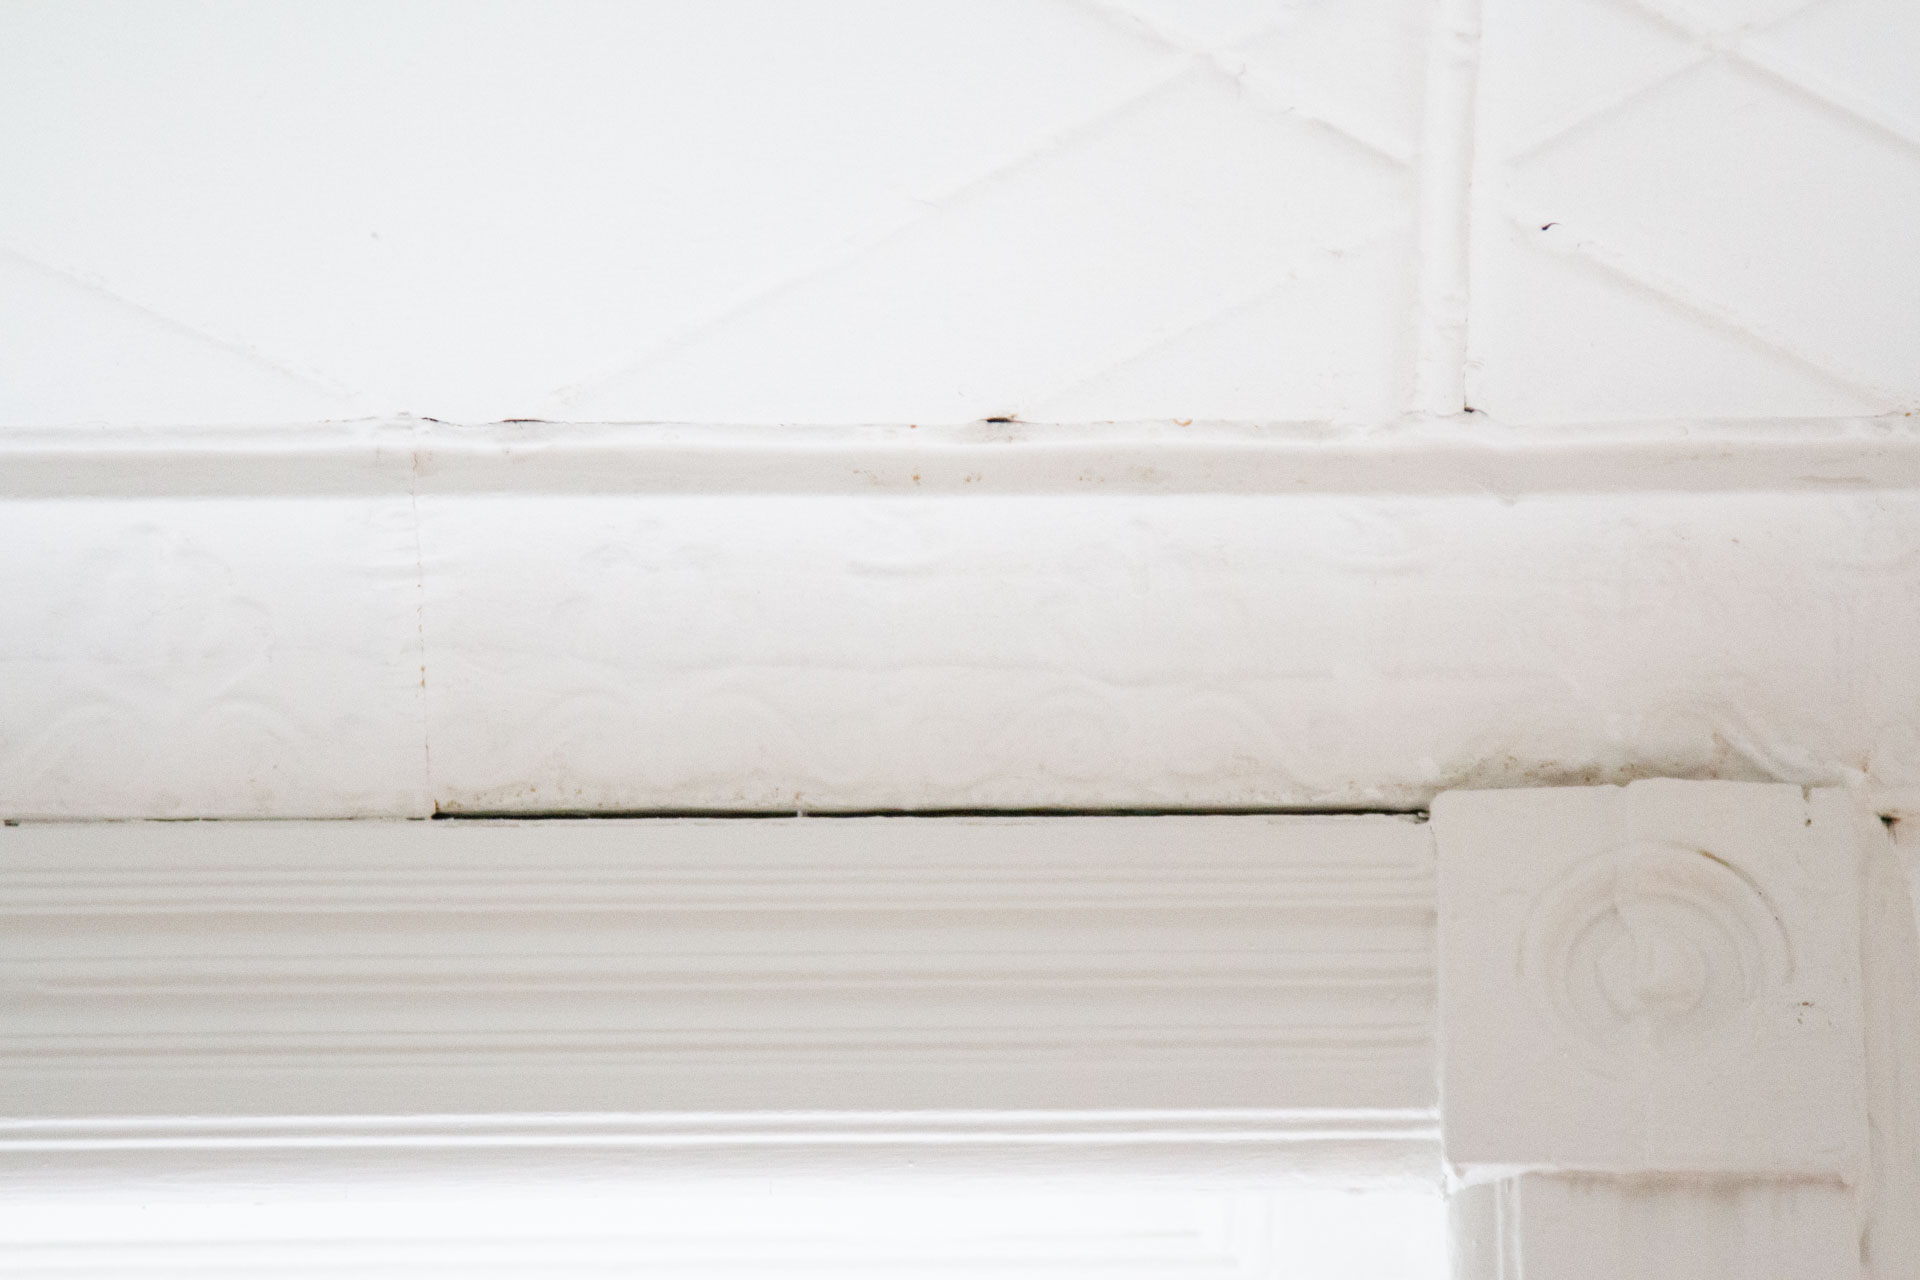
When we moved into this apartment, there were crevices in between molding joints, above windows, and in the corners of baseboards. Most recently, I caulked around the window molding in our kids’ room. When I removed the old blinds and put up the new shades, I found gaps in the molding that had been previously hidden by blind hardware and the crisp new shades drew my eyes to the dark, uneven line of space between the ceiling trim and the window moulding. I was able to spend a tiny bit of time with a tube of caulk and see the gaps disappear.
For the uninitiated, caulk is inexpensive and relatively easy to work with if you follow the guidelines on the back of the tube. Where to use caulk? In any small crack or crevice that needs sealing up.
The basic steps are:
1. Squeeze a line of caulk along a gap.
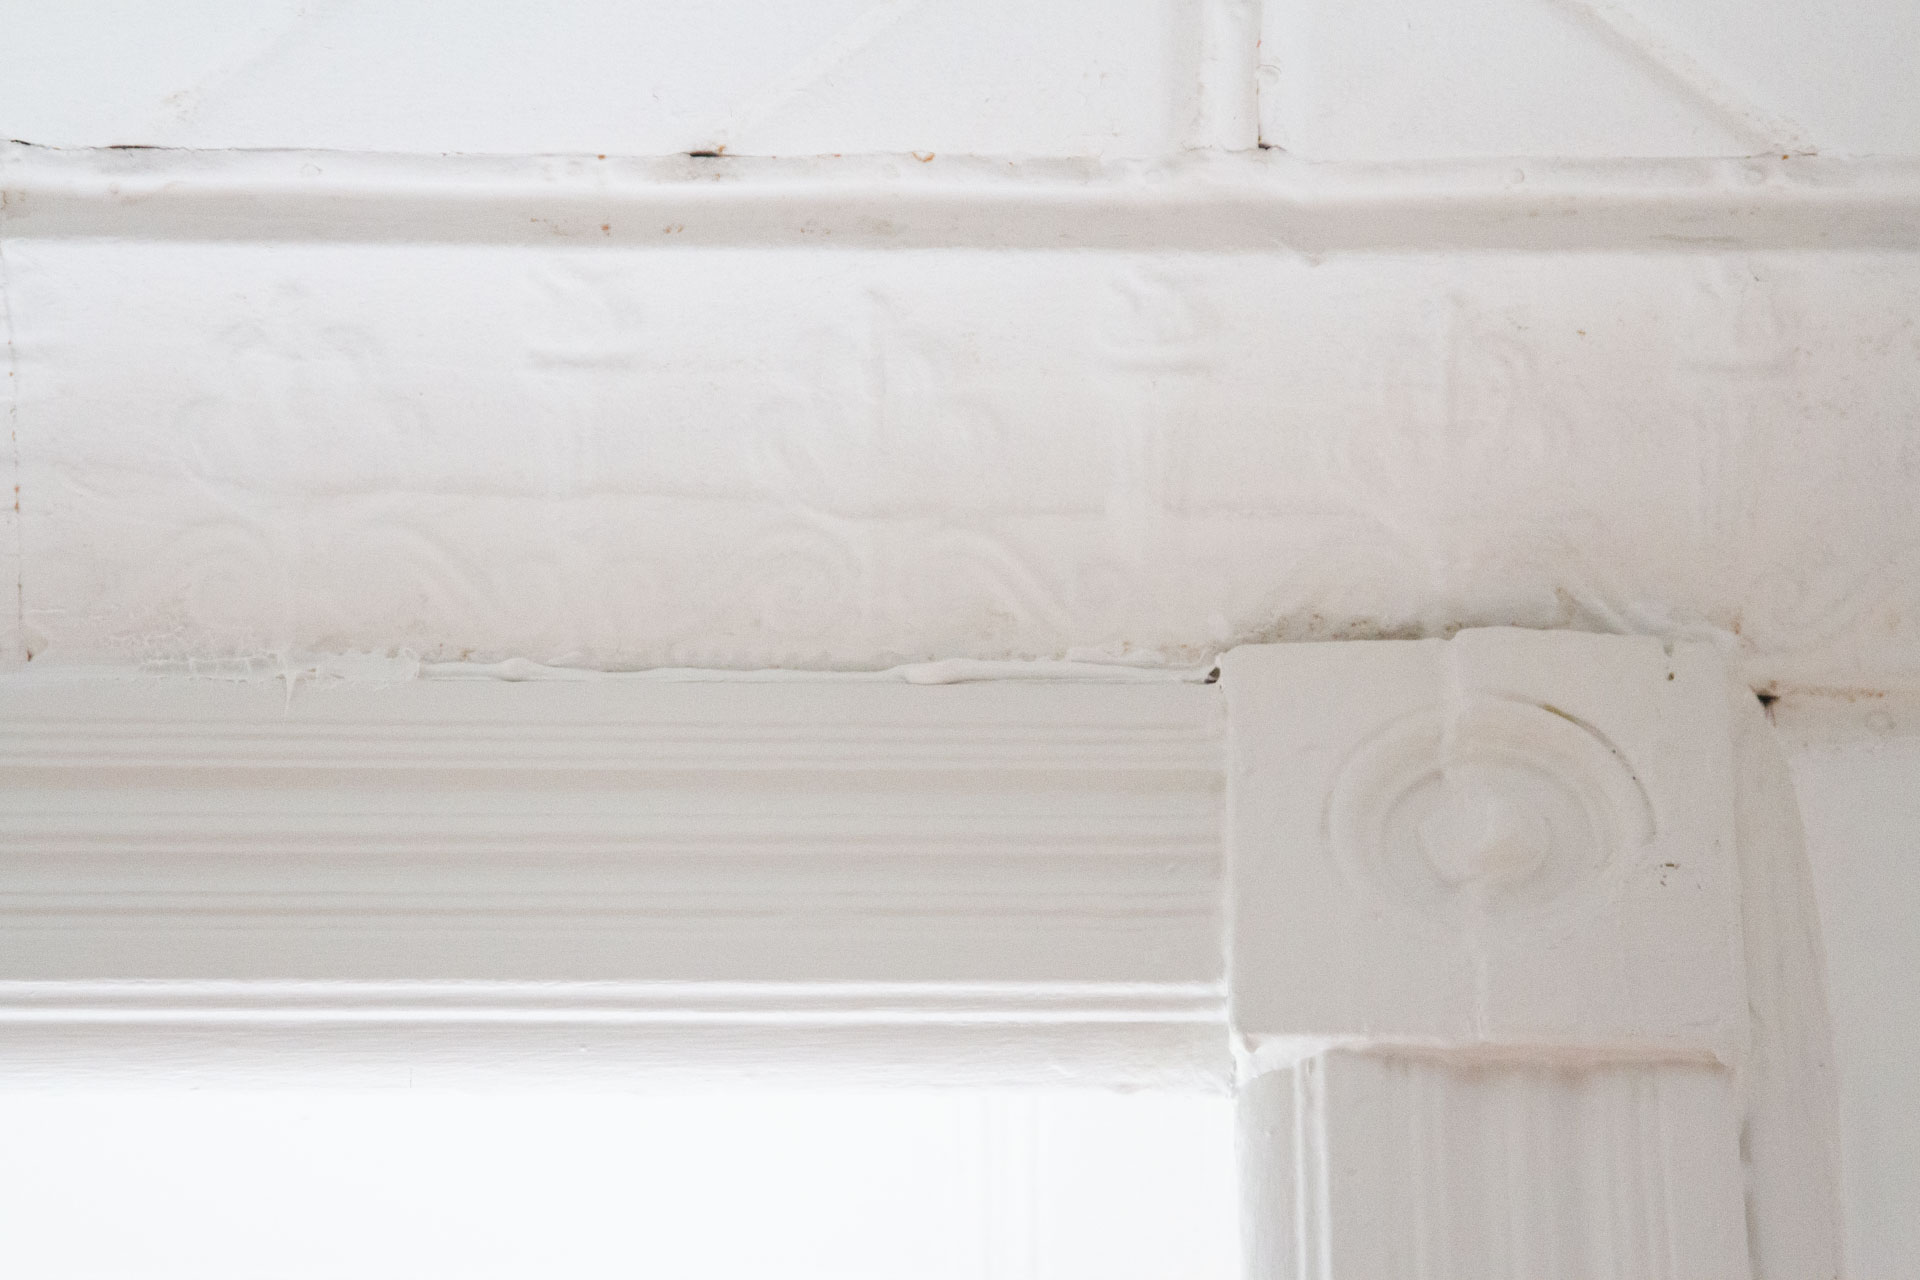
2. Press the caulk into the gap with your finger.

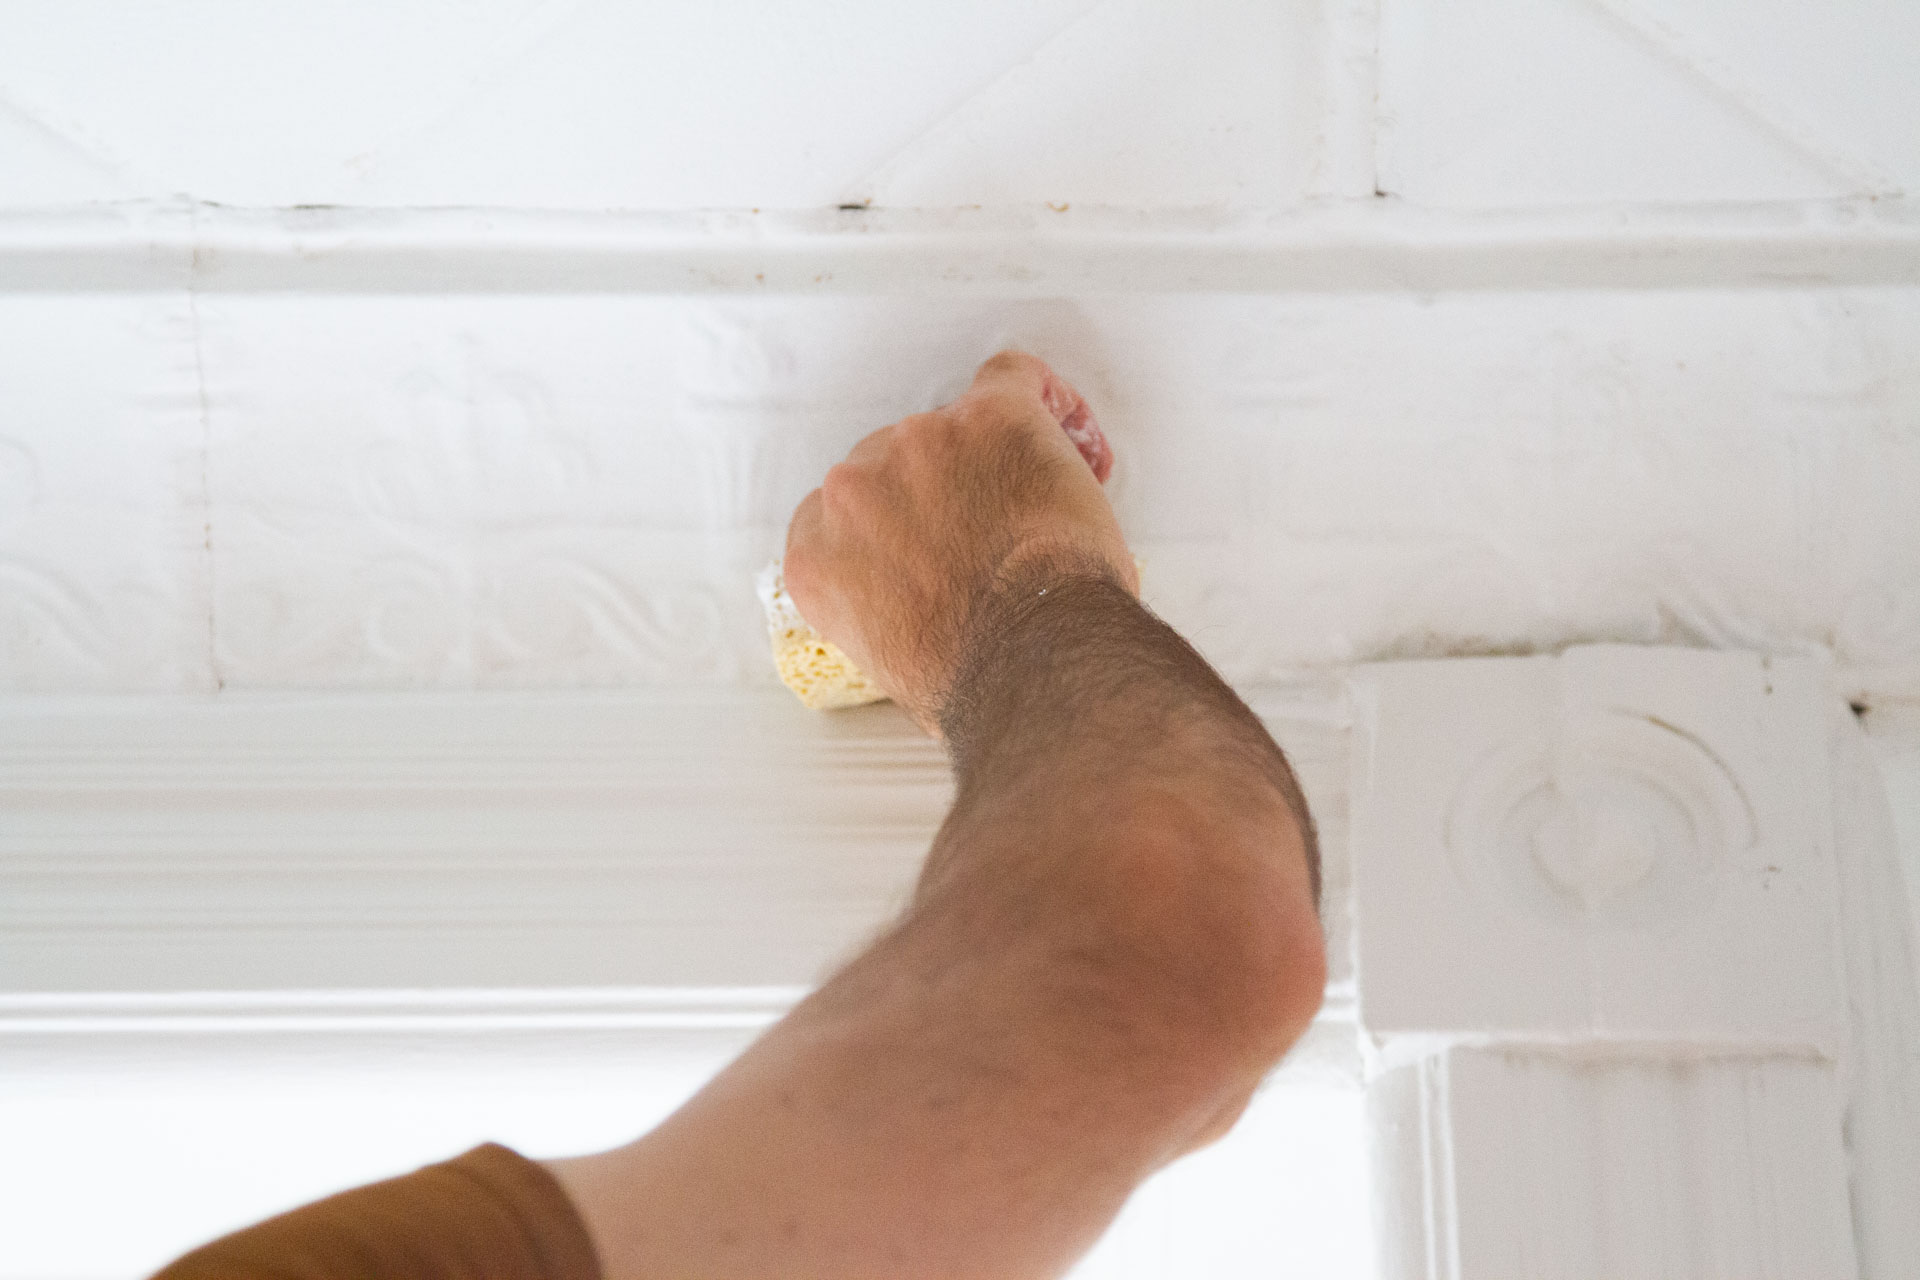
3. Wipe down the surface with a slightly damp sponge.
As a renter in a small apartment, I don’t own a caulk gun, and so I’ve often relied a small tube of the stuff I can squeeze by hand and find readily at the local hardware store. Admittedly though, after my last bout of caulking, I’ve decided to swear off the stinky stuff forever. If you have a caulk gun or can borrow one, eco-friendlier low-VOC options like AFM SafeCoat are worth the effort to track down.
Beyond the caulk, all I use need is a moist sponge or rag my fingers. (I use dishwashing gloves for larger projects to protect my hands.)
Keep in mind that caulk is not the product for yawning gaps or large spaces, but in small crooks and crevices a line of caulk could be just the trick.


16 Comments
hi! great post. I spent some time recaulking a broken window this summer (easier and cheaper than expected, just had them cut a piece of glass at Lowes! glad i could DIY). you’ve inspired me to hit my apartment with some more, though.
however, i have realized that I desparately need to PAINT! the current paint is just builders grade yellow-white, and if you lean against the wall it leaves a horrible looking stain. I’m hoping to at least tackle the bedroom. i looked through your archives and saw a lot of posts mentioning painting, like your trim post, but I was wondering if you had a general painting post and also if you have any low-voc paints you recommend and what finish you would use for a bedroom?
thanks for all the inspiration!
hi alex! no real general paint post. i’ve used tons of different low and no-VOC paints and there’s truly no going back. benjamin moore natura and farrow & ball are two favorites. our bedroom is in farrow & ball’s modern emulsion finish, which i really love. otherwise, i’ve almost always used eggshell finishes for interior walls!
thank you so much!! beginner to apartment reno here 🙂
you got it! i’m guessing your current walls are painted with flat paint, which is near to impossible to clean so a coat or two of eggshell will make a huge difference!
My family of 4 moved into a larger space last year (studio to 2 bedroom, WOW!) . We’ve just finished caulking all of the windows and molding, right before fire season started here on the west coast. It’s amazing stuff. We’re hoping for a little more safety with this newly sealed up space that our old space with its 100 year old windows couldn’t offer.
My house is an 1875 charmer and I’ve been systematically caulking the trim and the rouge plaster gaps between baseboards. One trick I started doing is stuffing foam insulation for windows into the larger gaps then caulking over it. I’ve also used newspaper to do it to – both work, surprisingly well!
Do you also caulk between trim and wood floors? That’s where most of the gaps are in our (rental) home, and we’re having quite the ant parade this summer. Thanks for the tips, I’ll inspect our window trim too and see where we can make improvements.
Love this post, Erin! My house is from 1910 and there are cracks in the original coving and also in every single skirting board – I’m now inspired to go in with the caulk!
I’ve been preparing to recaulk my bathtub! Thanks for the inspo!
Something I do too! The only thing is I wish I could find a product that is safe for exteriors in places that get below freezing weather. The former owners used a product, painted over it and over the next year, the swelling/relaxing of the wood popped out the product making big bubbles in the paint that lead to cracking. We had to scrape and repaint, and decided it was better to skip caulking/spackle. Thankfully the imperfections are only seen up close!
Try OSI brand. It’s more expensive than others but totally worth it. I caulked our exterior and it’s done very well
I had no idea of all of these uses! I ran into a diy speed bump this week with caulk, more or less spur of the moment decided to recaulk around my kitchen sink and the counter join which is swelling, two days later found out that the caulk was expired and therefore was never going to harden! I had no idea that could happen! I don’t know if that’s something that happens with all caulk or just silicone.
Hi Erin,
I am renovering gently our bathroom including regrouting the shower tiles and painting the walls instead of gutting it as it is not an option for us because of climate crisis. I have also caulked all sorts of nooks and crevices in an apartment we owned about ten years ago and marvelled about how easy it was and the visual impact of such a quick and easy fix. This time though, as I was on the receiving end of somebody else’s caulking which had to be removed, I vowed to only use caulking where absolutely necessary. It only lasts a few years, dries up, cracks and is an absolutely a major pain to remove and redo. Just throwing a word of caution, especially if you are the owner of the place were you live.
Please provide details on the pretty stained glass leaf ornament! Love its pop in your window!
It’s a little rainbow made for us by ABJ Glassworks! Ashley’s always making new and beautiful pieces!
I learned this caulking tip a few years ago from a pro working at our place and it has made a huge difference. Get a small bucket and fill with as hot as you can handle water and then add lots and lots of dish soap. Get it nice and sudsy and then dip your fingers in. Shake the excess water off and then apply the caulk and smooth with fingers. Caulk won’t stick to your hands as long as there’s a lot of soap in the water.
Comments are moderated.