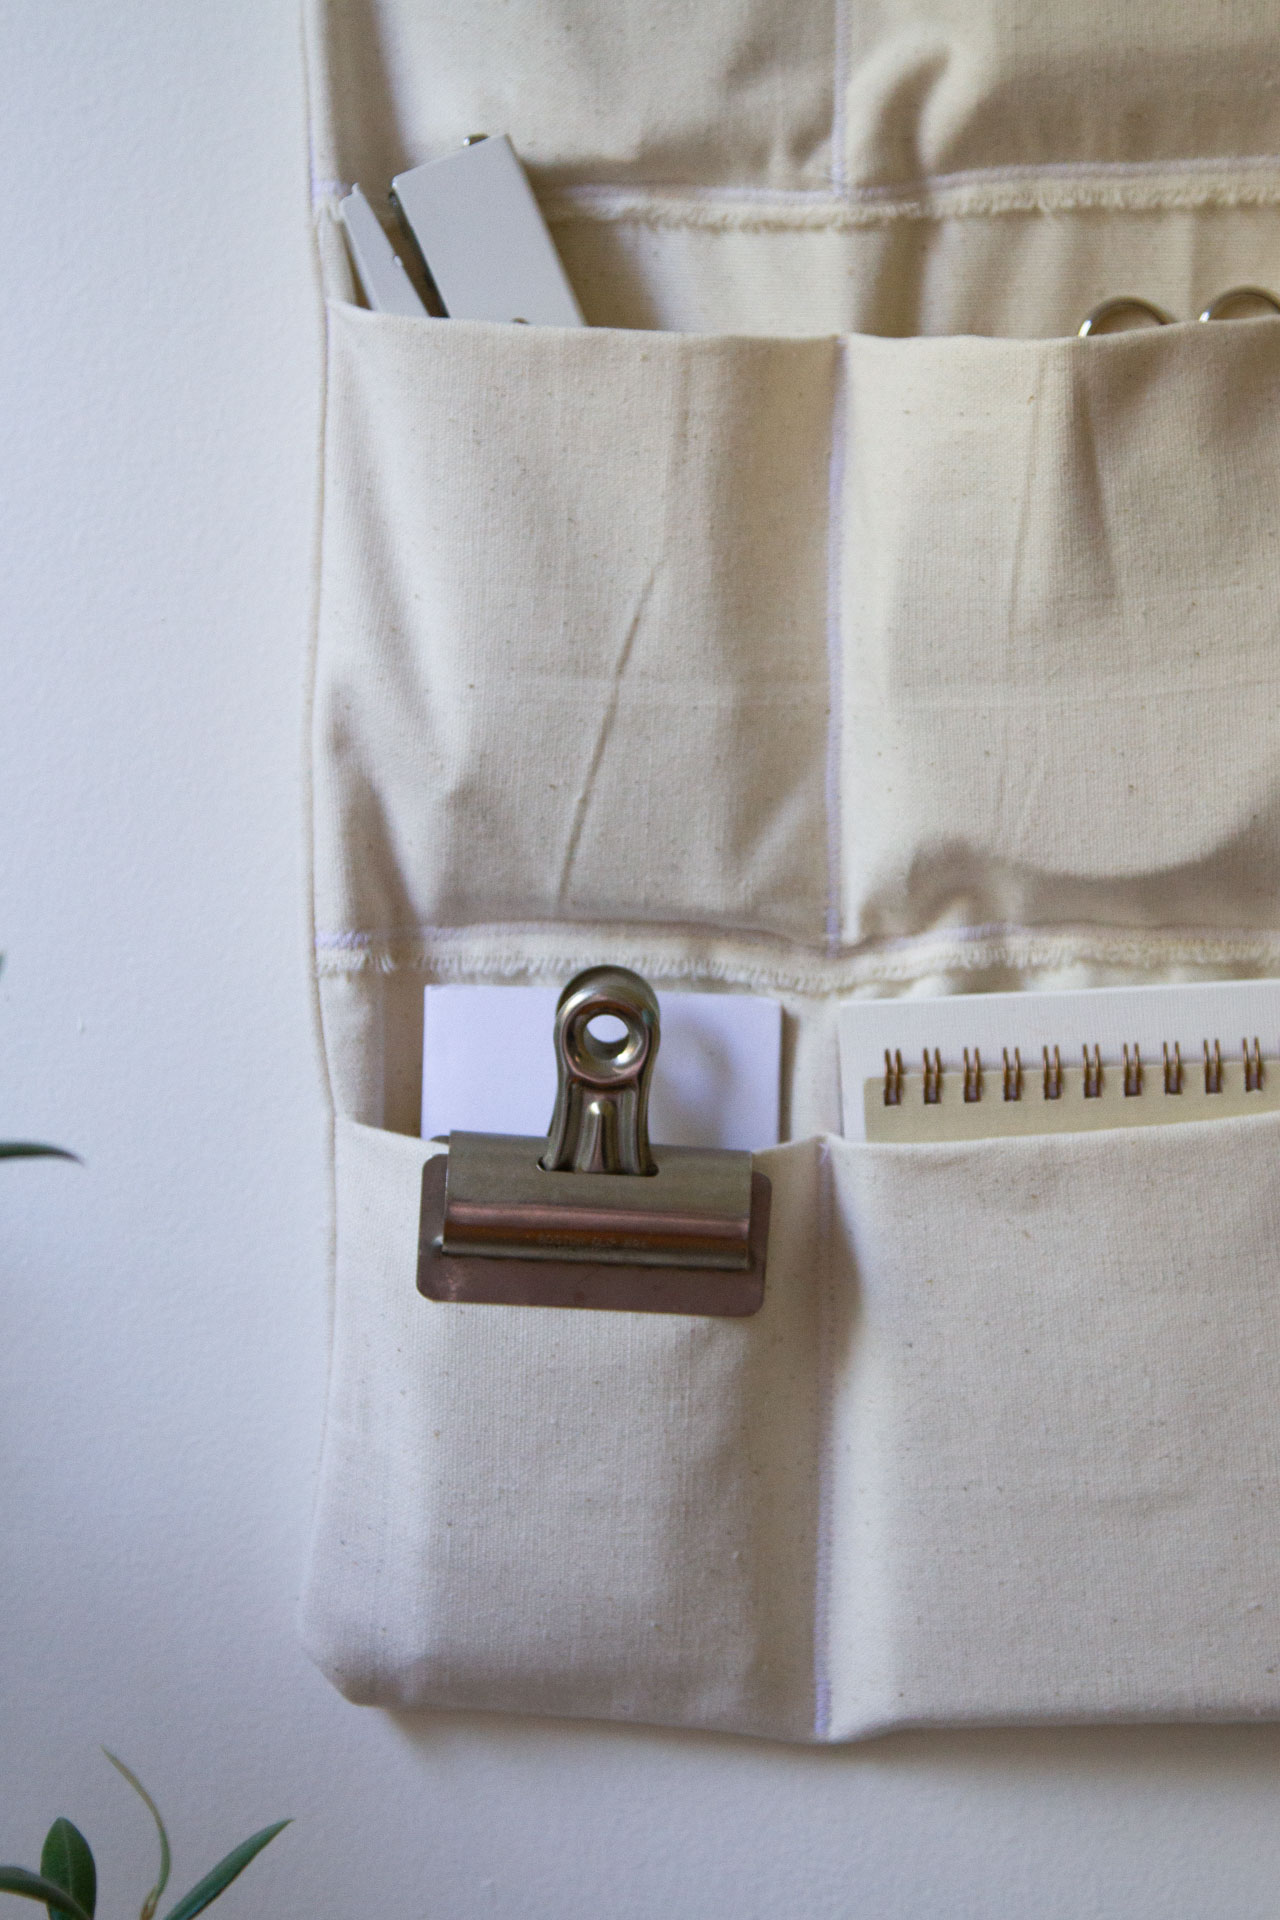
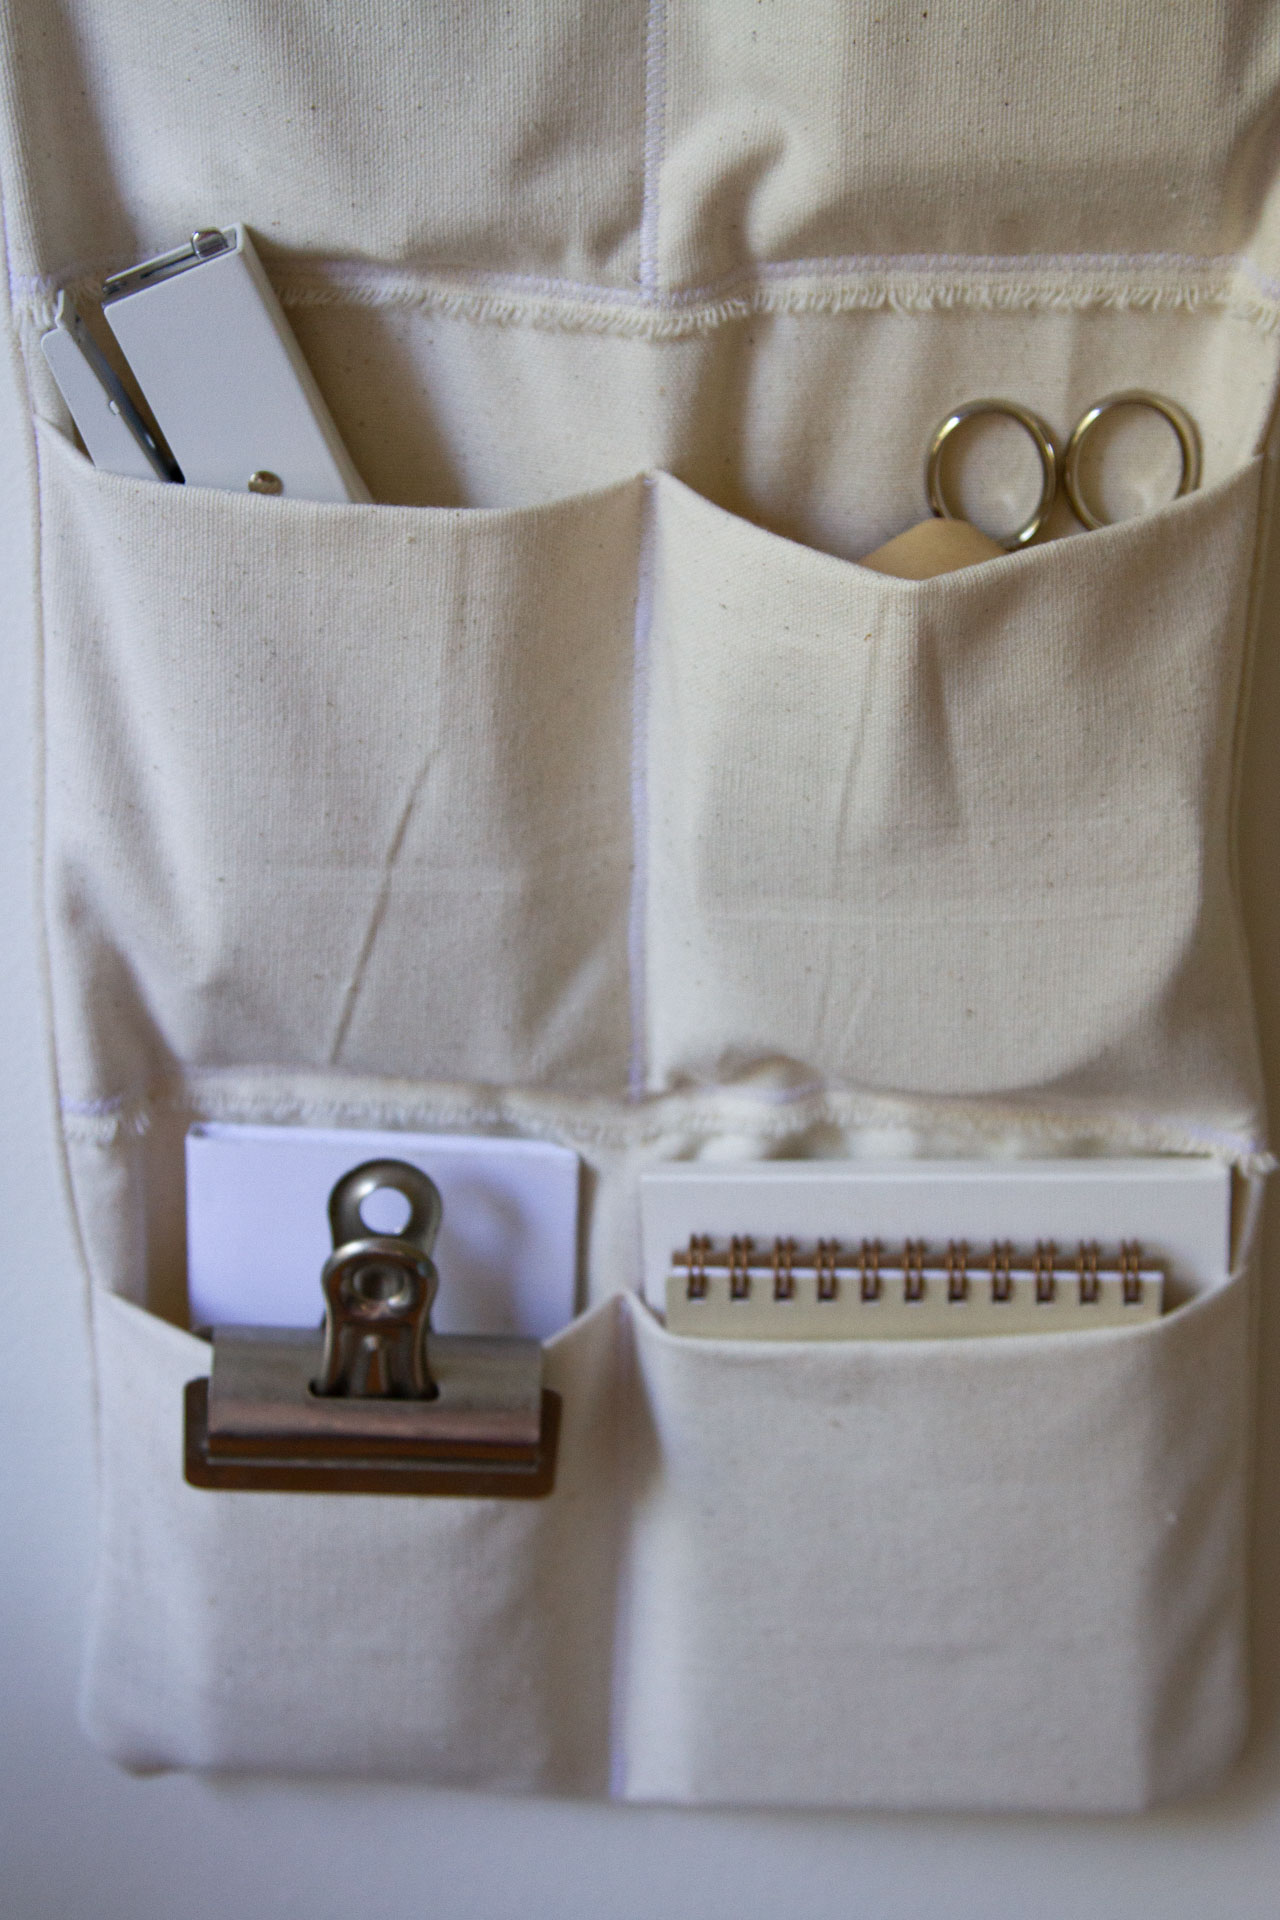
Rose is a genius at taking an idea that could get complicated and simplifying it so that it’s quick and easy to make but still incredibly functional. This wall caddy might be one of the best examples of that to date. It’s a customizable improvement over the hardware store apron caddy I hung up on Faye’s bunk a few years ago and a more finely finished variation on the caddies I made for the backs of our car seats earlier this summer, and only marginally more time consuming to make than either.
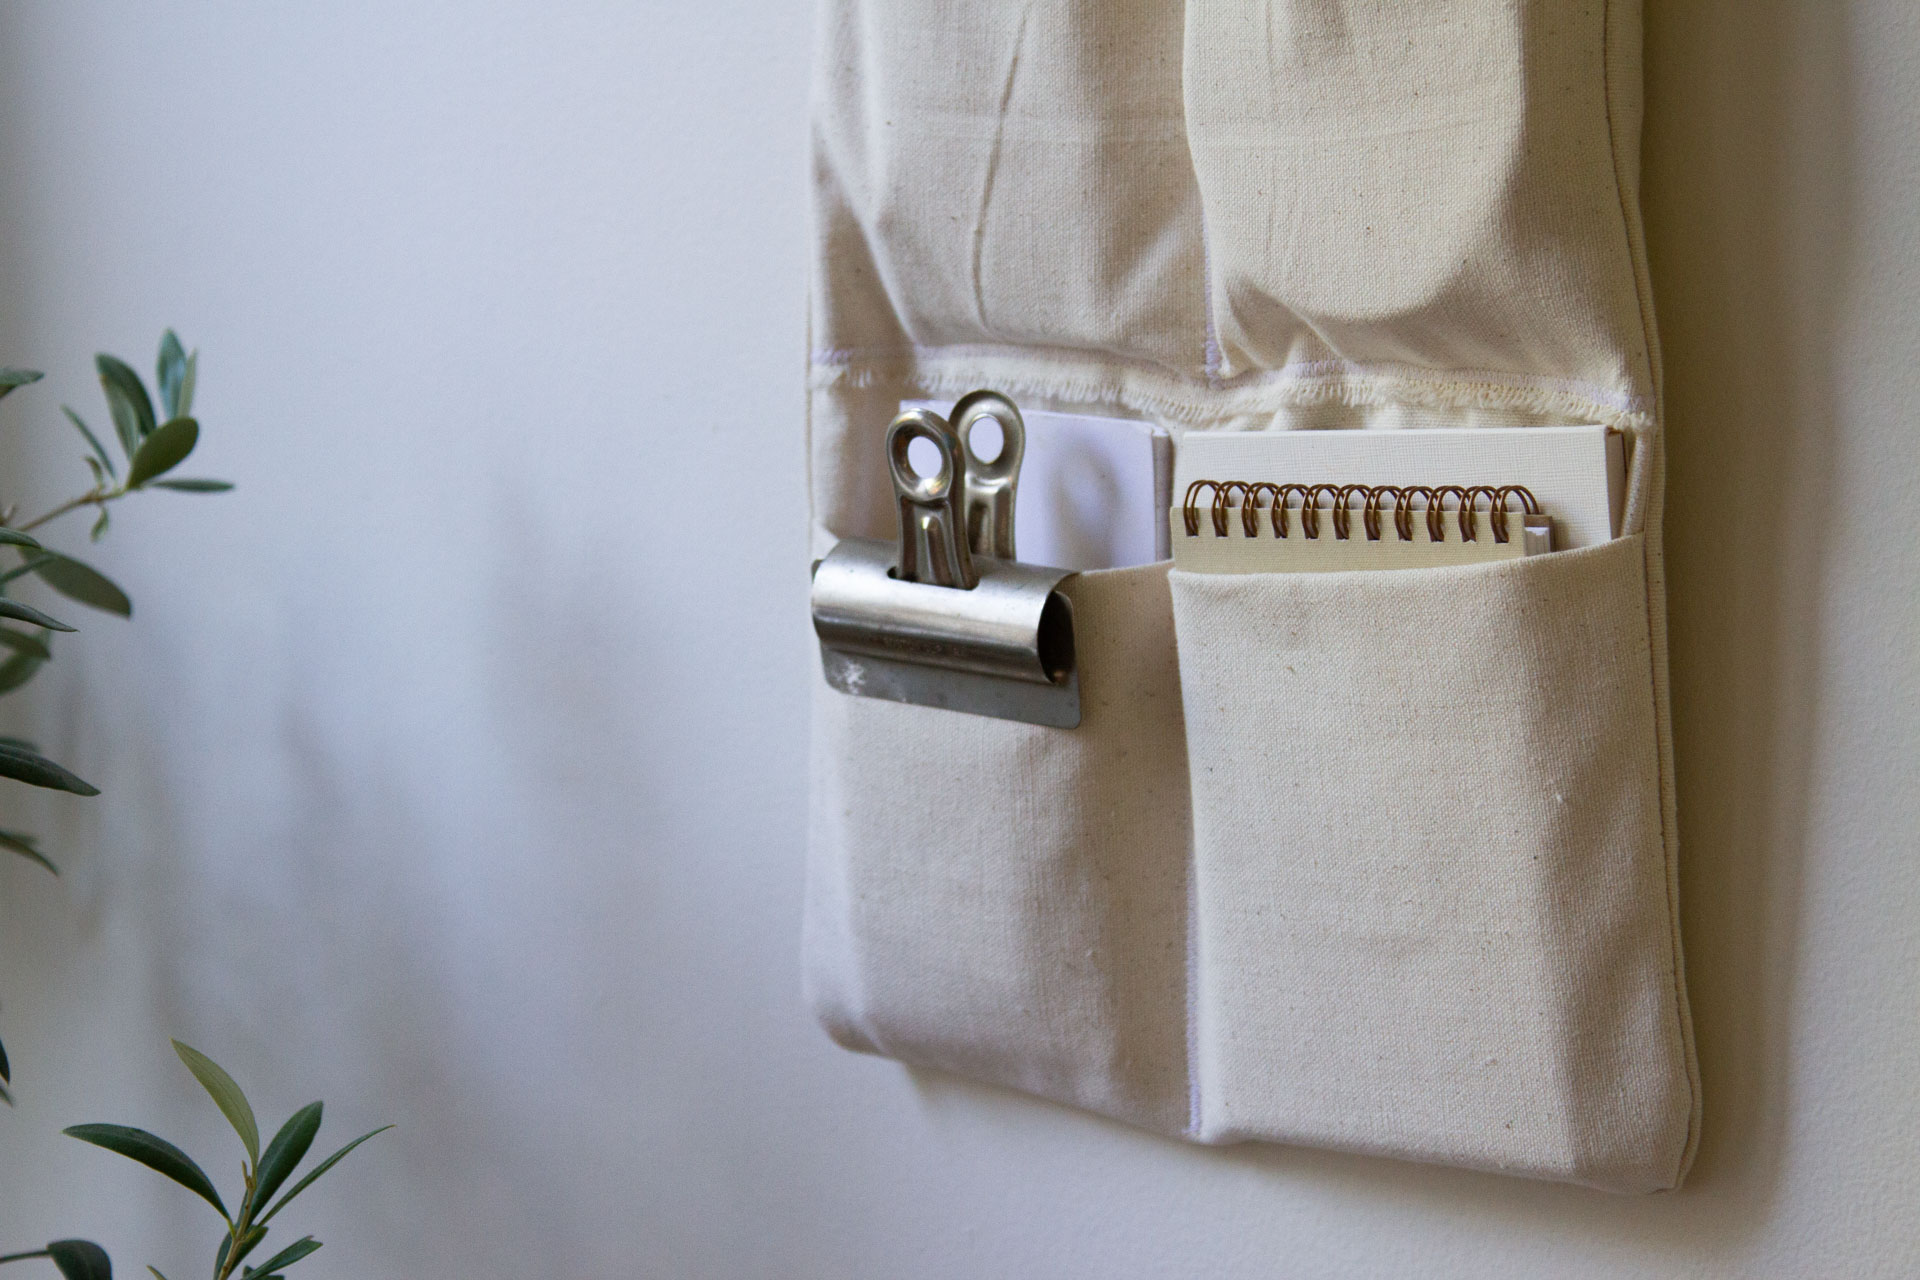
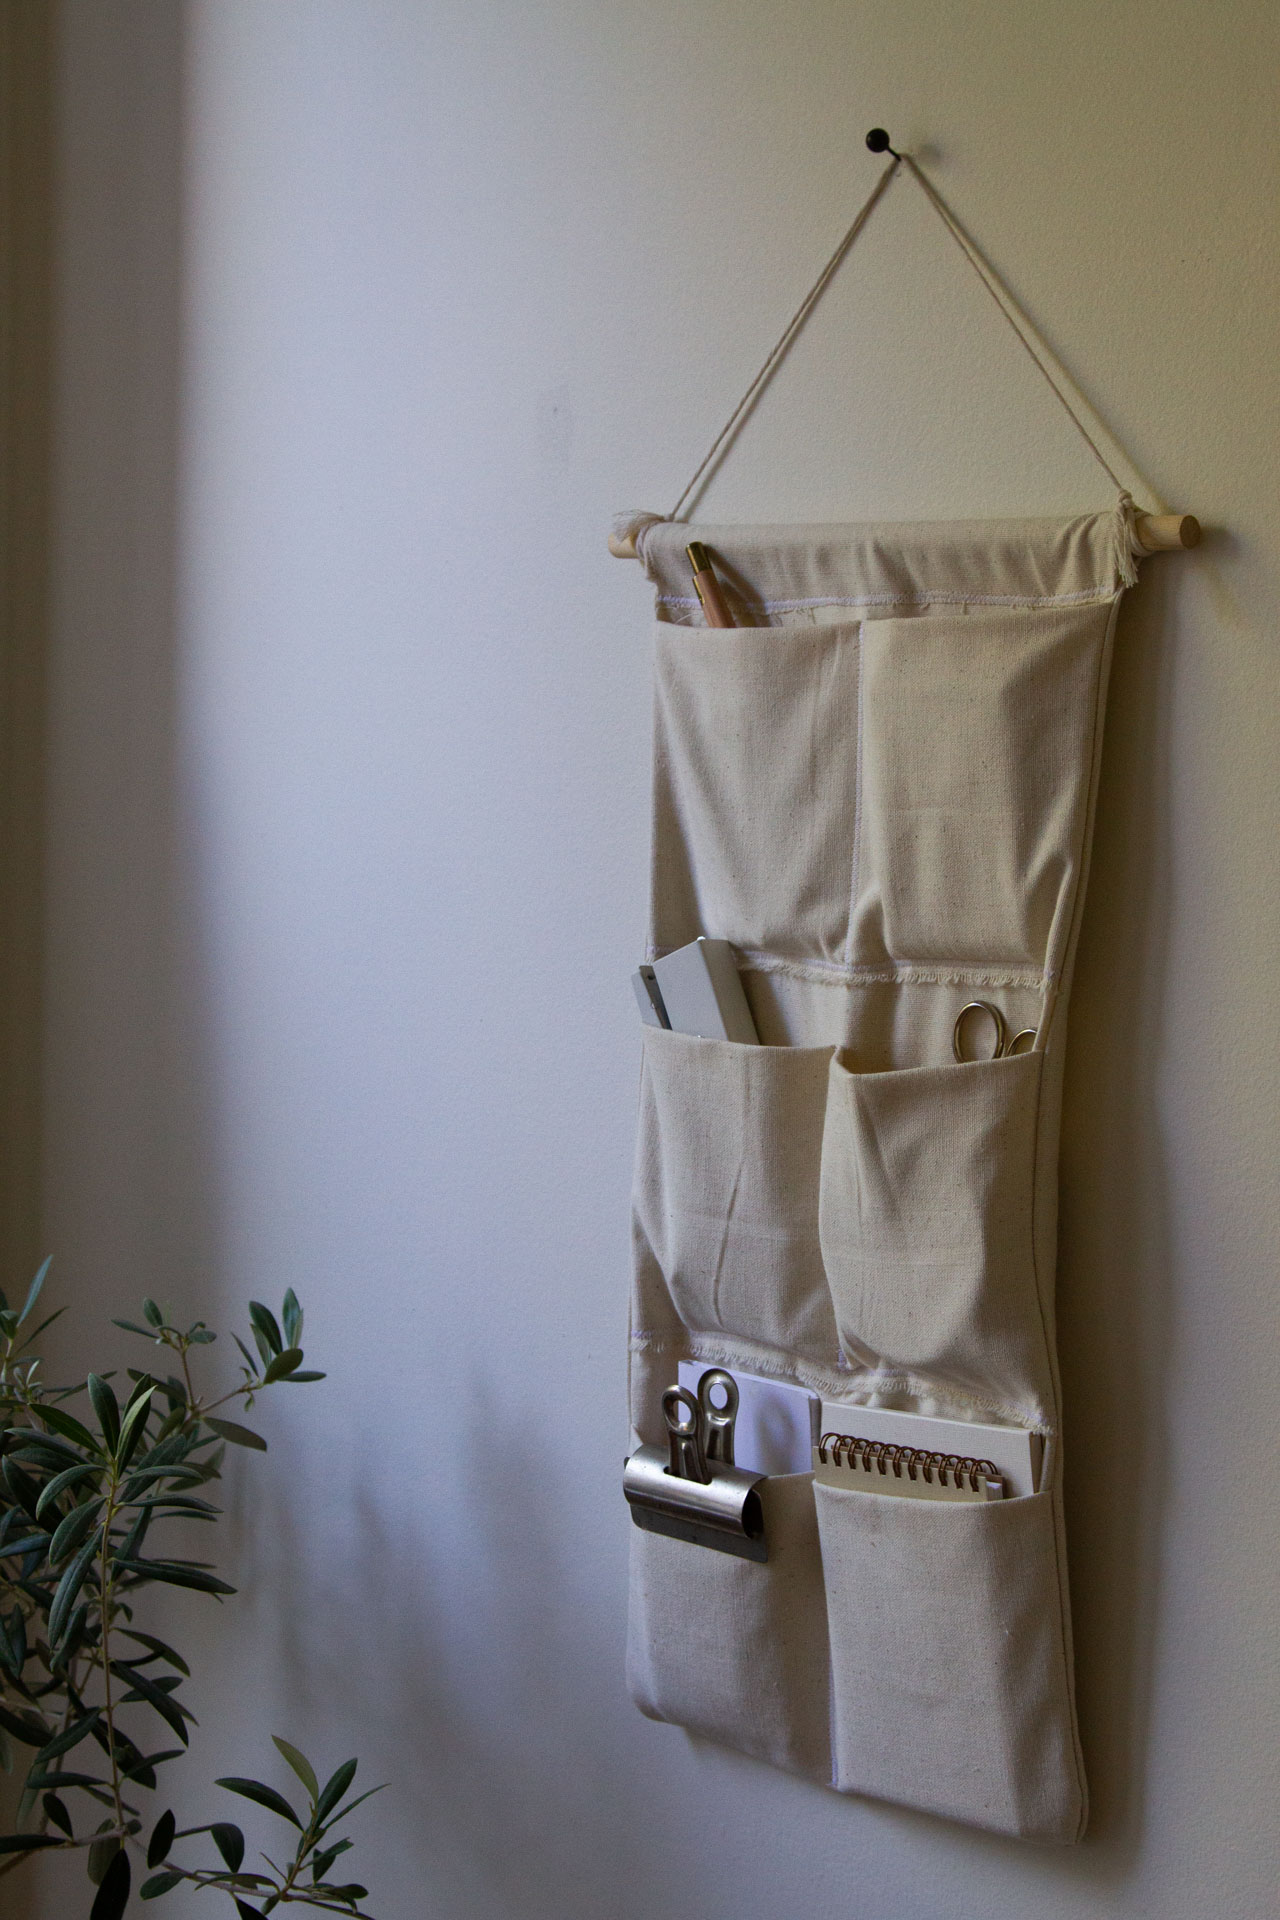
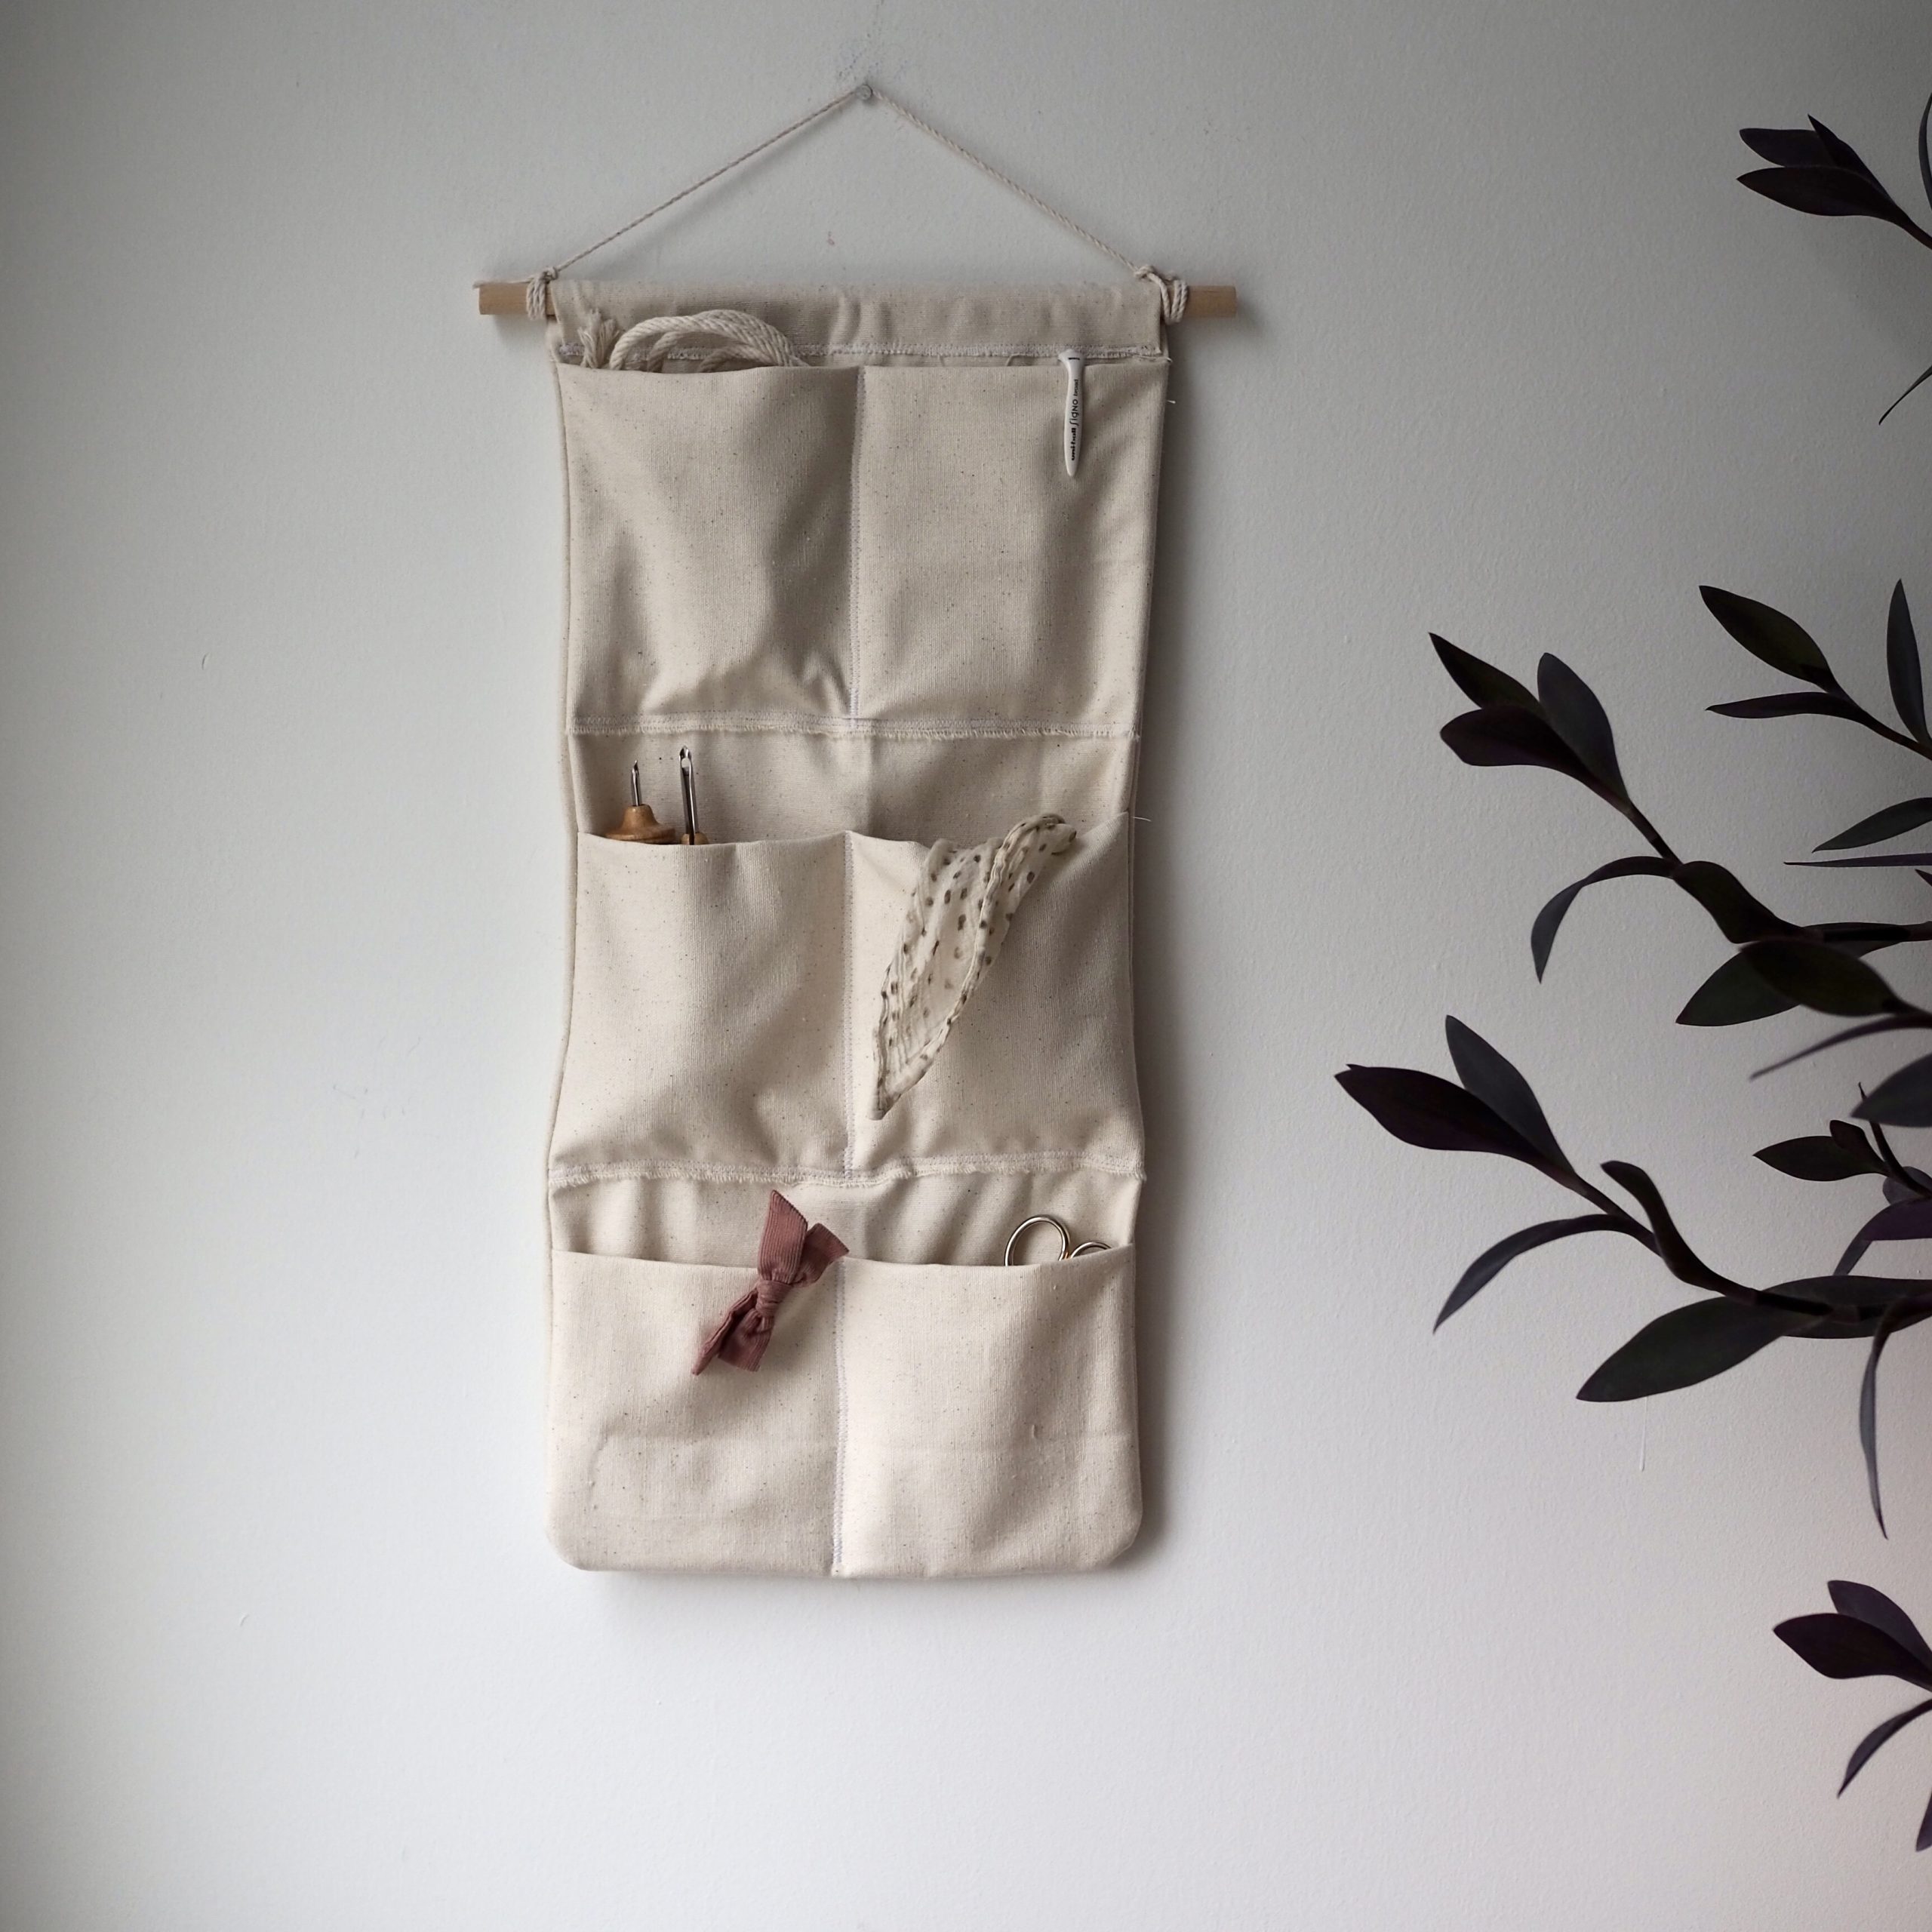
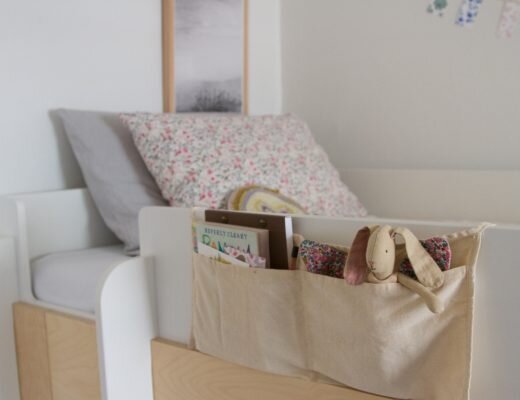
The key to organization for me is always to have a consistent place to return things and this project could function as that place in just about any room in the house. I made a slightly larger one to hang above my kids’ desk and fill up with art supplies and am using a smaller one in my office as a place to wrangle my own supplies. Next on my list is a caddy for stashing hair supplies and lip balm and other kid-related accessories du jour. I’ll tack it up inside the door of the kids’ chifforobe and I hope we’ll never spend another morning searching for a long-last necklace or bow-tie. (Heaven help me.)
More about the process and full instructions from Rose, below:
As a non-sewer, my patterns are designed to be quick and easy for everyone. Therefore, I forgo some time-consuming steps that I think can be left out without compromising the final results. Details like hemmed edges are avoided with quick tricks like doubled over fabric and zig-zag stitching along cut edges to disguise and protect frayed cloth. (The doubled over trick also helps give the caddy a little more structure and weight…. a good thing for storage). I also fall back on unreliable/ questionable tactics like ‘eyeballing’ center seams, (used later on for sewing dividers in the pockets) instead of measuring and drawing out guidelines. If you’d rather err on the side of caution, then by all means measure and mark your pocket dividers accordingly.
Canvas Wall Caddy
Materials
+ 1 yard of cotton canvas or drop cloth
+ sewing machine
+ sewing thread
+ 1/2″ diameter wooden dowel; 12″ long
+ straight pins
+ 14” piece of string
+ tape measure/ruler
+ scissors
Directions
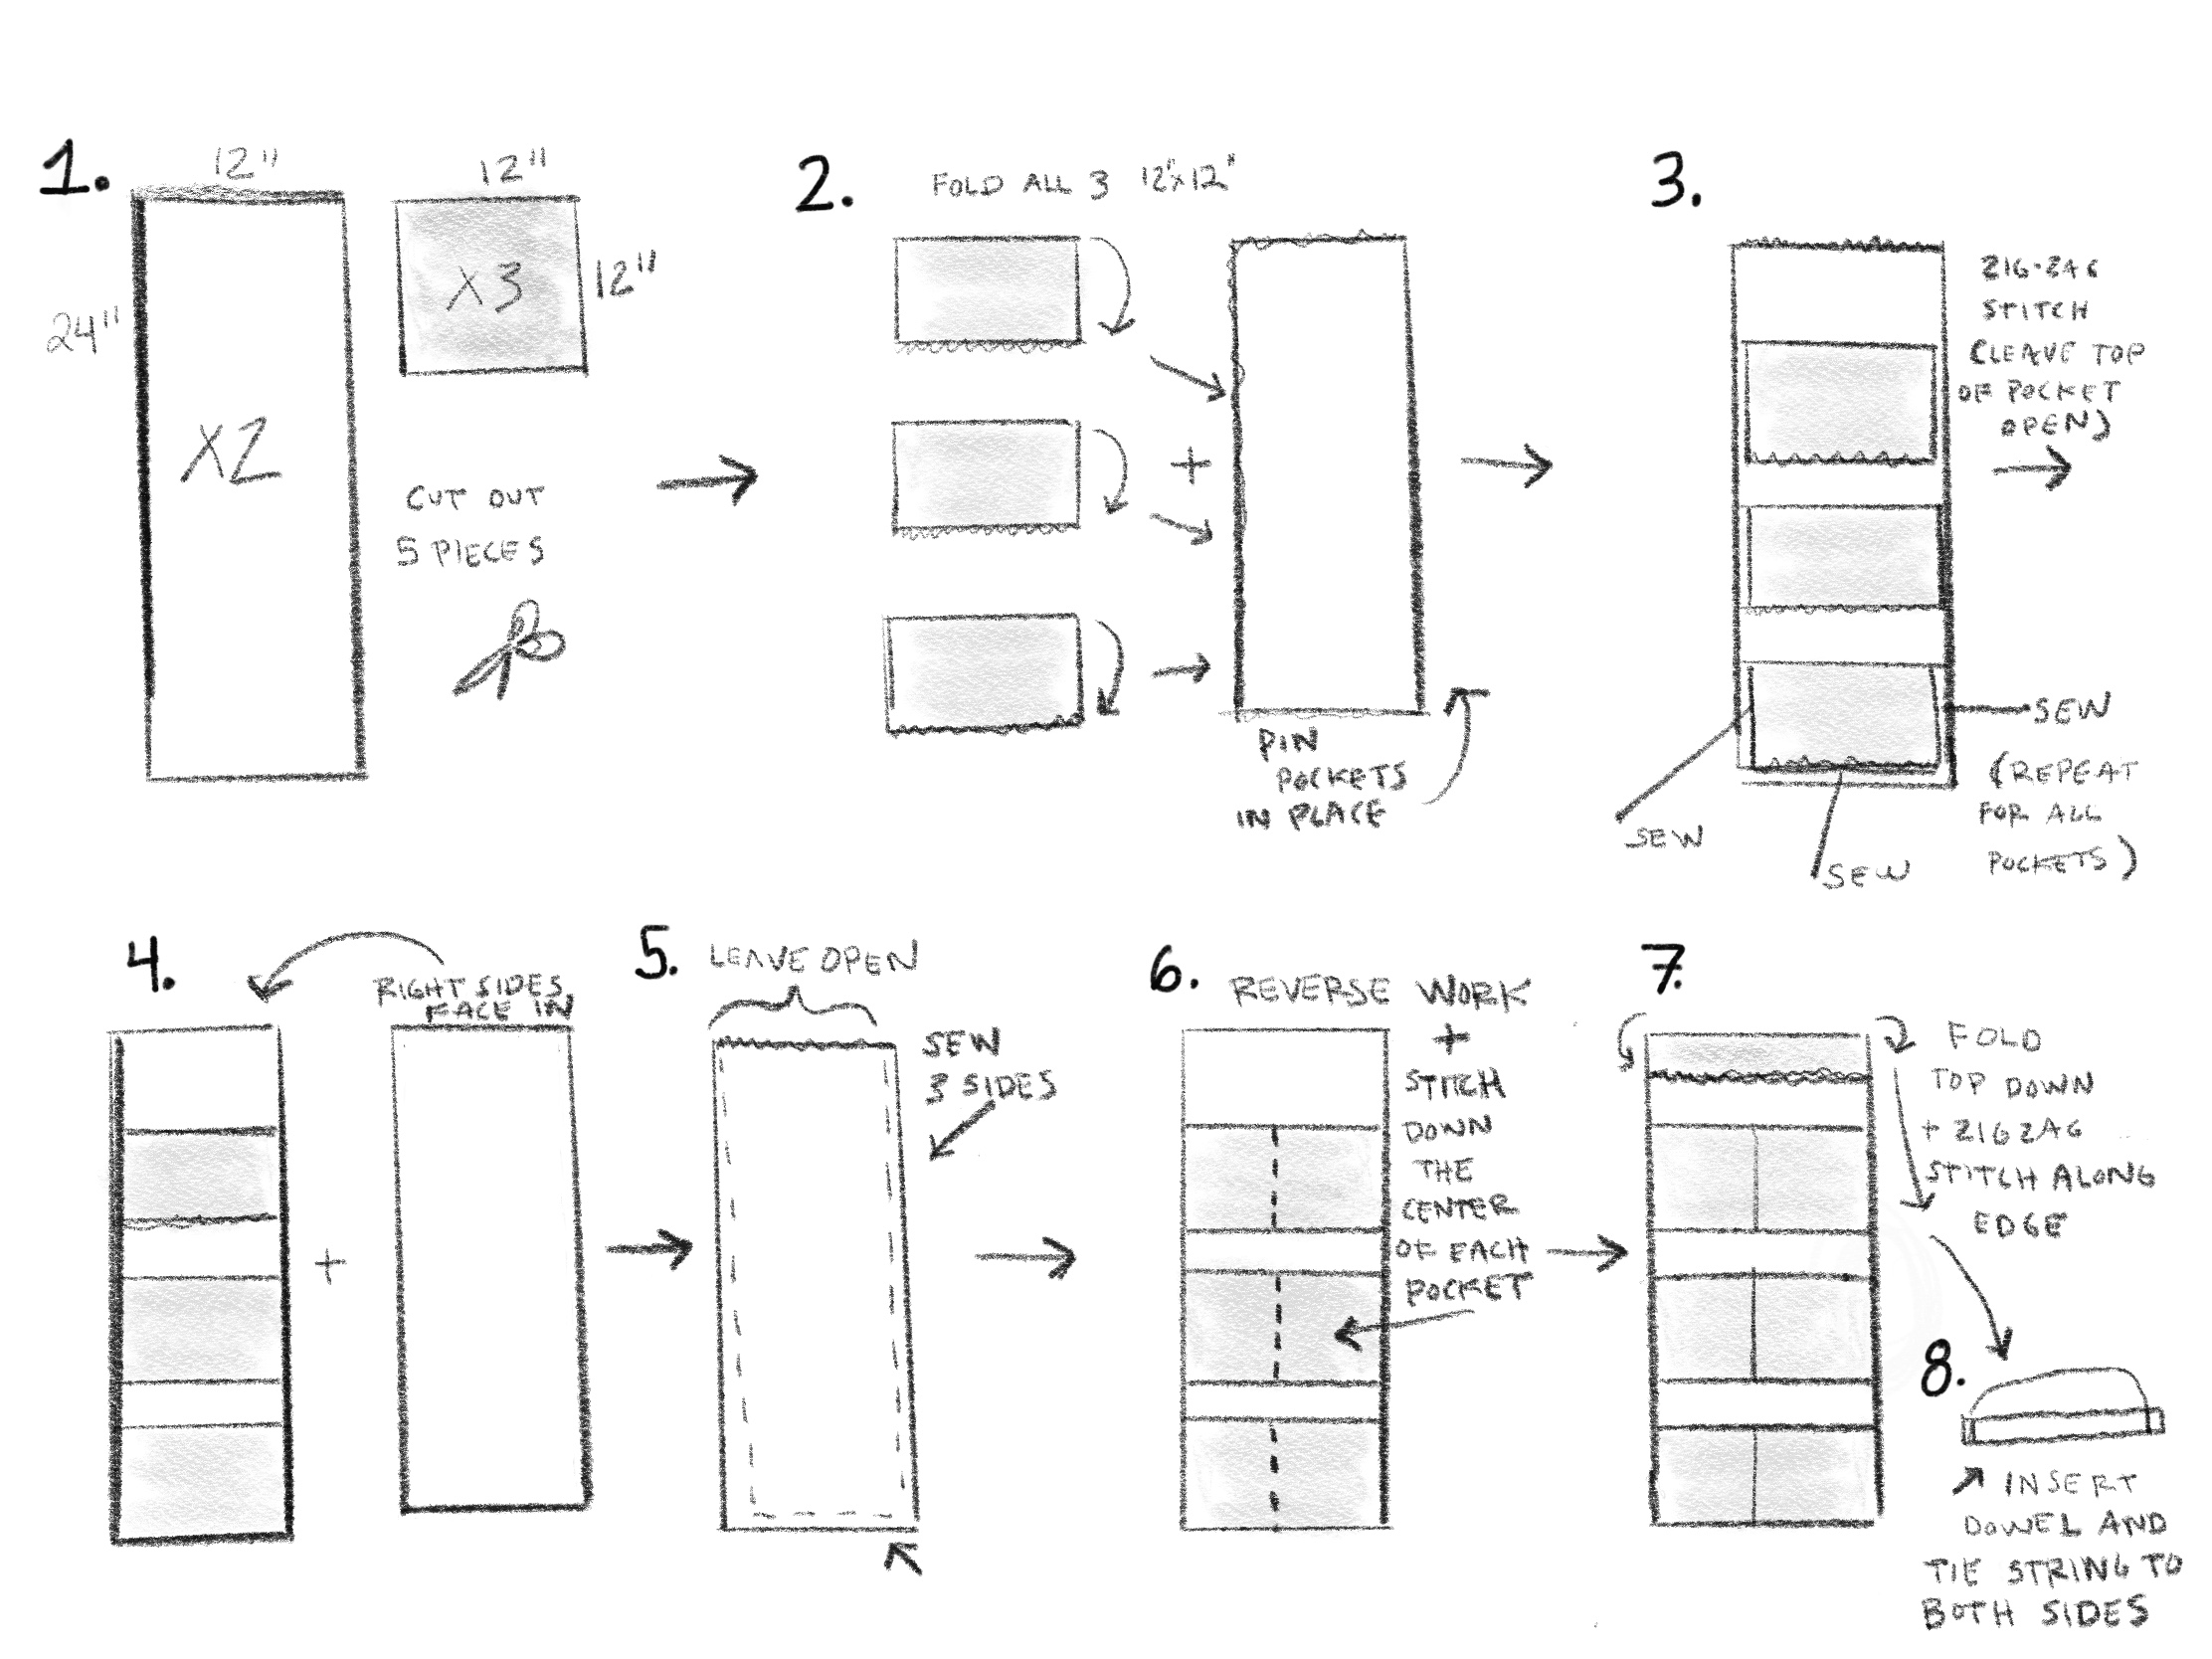
+ Measure and cut your fabric. You will need two canvas rectangles measuring 22”x11” and three canvas squares measuring 11”x11”
+ Fold the three 11’x11” squares in half so the bottom edges line up
+ Pin the three folded squares to one of the larger rectangle pieces of canvas so that the folded edge runs horizontally across the narrow width of the canvas. Be sure that the folded edge points up and in the same direction and the cut edges point down. Pin the first pocket so the bottom raw edges of the folded square and the larger rectangle edge meet at the bottom. Pin the second folded square 1” above the folded edge of square one, and the third folded square 1” above the second square. You’ll have a few inches of extra space above the last pocket.
+ Using the zig-zag stitch on your sewing machine, sew the pockets in place. Sew the two short sides and bottom edge but leave the folded top-edge open. The zig-zag stitch should be tight and wide enough that it conceals the cut edge of the squares and securely attaches all three layers together. Repeat for the remaining two pockets.
+Place the second, large 22”x11” rectangle piece of canvas directly over the top of the first, with the pockets concealed in between the two sides (right sides facing in).
+ Zig-zag stitch along the two long (22-inch) sides and the bottom 11-inch edge of the rectangles but leave the (11-inch) top side open. Sew ½” from the edge but be sure you go through all the layers of the canvas (this means that in some areas you are sewing both the pockets and the front and back sections; equaling 4 layers). Use care when sewing over bulky areas.
+ If needed, trim any extra extra fabric along the sewn border and reverse your work through the open edge of your rectangle so the pockets face out. Use your fingers to poke out the two bottom corners and flatten the piece with your hands. Check your work to make sure that the pockets are securely attached, especially on the bottom edge. If not, you can sew over any weak seams.
+ Sew a center line straight down through all three of the 11-inch pockets using a zig-zig stitch. This will turn the one long pocket into two smaller pockets. Be sure to only sew from the top edge to the bottom edge of the pocket, stopping where the pocket stops and starting again on the next pocket. You will be sewing through all 4 layers of fabric.
+ Fold the top two layers of the rectangle down 1 1/2” inches and and zig-zag the raw edges of the fabric in place. This will create a small pocket for the dowel to go through. Be sure the zig-zag stitch is secure; if needed, go over the stitches a second time.
+ Place the dowel through the narrow pocket opening and tie ends of the string to either side of the dowel.
//
Thanks to Rose Pearlman for writing this tutorial and sketching the step-by-steps. Rose is an artist, teacher, and textile designer. With a background in fine arts and a love of well designed functional objects, her creations blur the lines between art and craft and pushes the boundaries with non-traditional techniques and materials. Rose teaches monthly rug hooking workshops in and around her home in NYC, and also welcomes commissions for one of a kind constructions in decor and home furnishings. Her work has been featured in fiber magazines, galleries, and numerous online design sites. Her book Modern Rug Hooking is available wherever books are sold. Follow along with her functional craft projects at @art_objects_ She lives in Brooklyn, NY with her family.
6 Comments
This is exactly what I’ve been looking for, for a while! Thanks for the tutorial.. can’t wait to try!
I love this! Any chance you could do a tutorial on making your own reusable canvas advent calendar?
I’m excited to try this! Can you share–is the fabric shown in this caddy a drop cloth? It looks a bit softer and I wanted to try and track down something similar. Thank you both!
What kind of canvas? What diameter dowel?
The beauty here is that you can really use any kind of canvas—even a dropcloth from the hardware store!The dowel is 1/2″ in diameter!
I am in the middle of trying to make this and can’t help chiming in to encourage others to try it. This is literally the first thing I have tried sewing with a machine. It’s so fun and so forgiving. If you’re like me and can’t judge where to put the fabric to get the zig zag stitch to go through everything, and also can’t cut fabric in a nice straight even line — no biggie! I did like 2 or 3 passes with the zig zag stitch in certain spots and think it lends a certain charm. Go forth and try!
Comments are moderated.