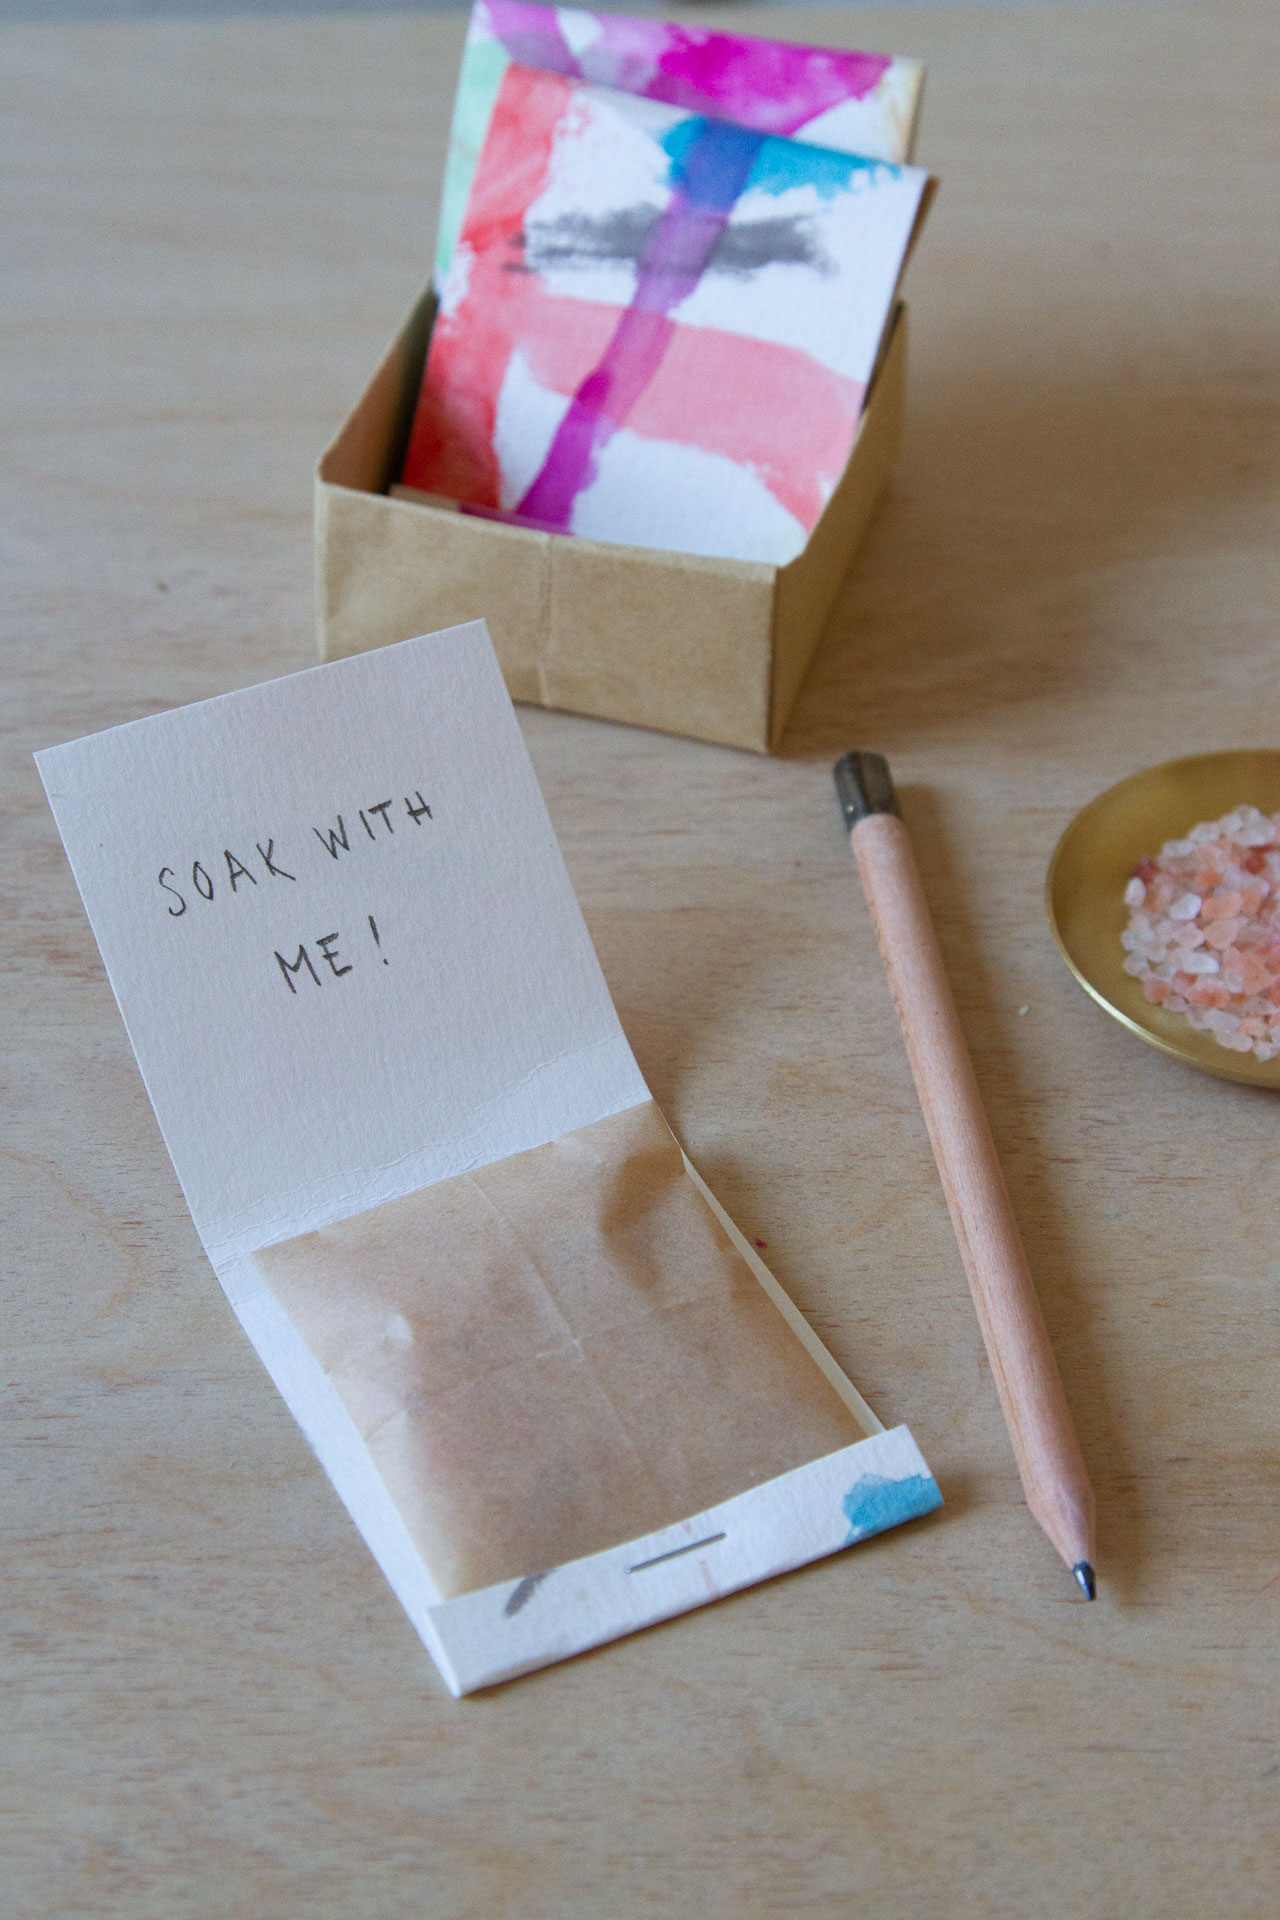
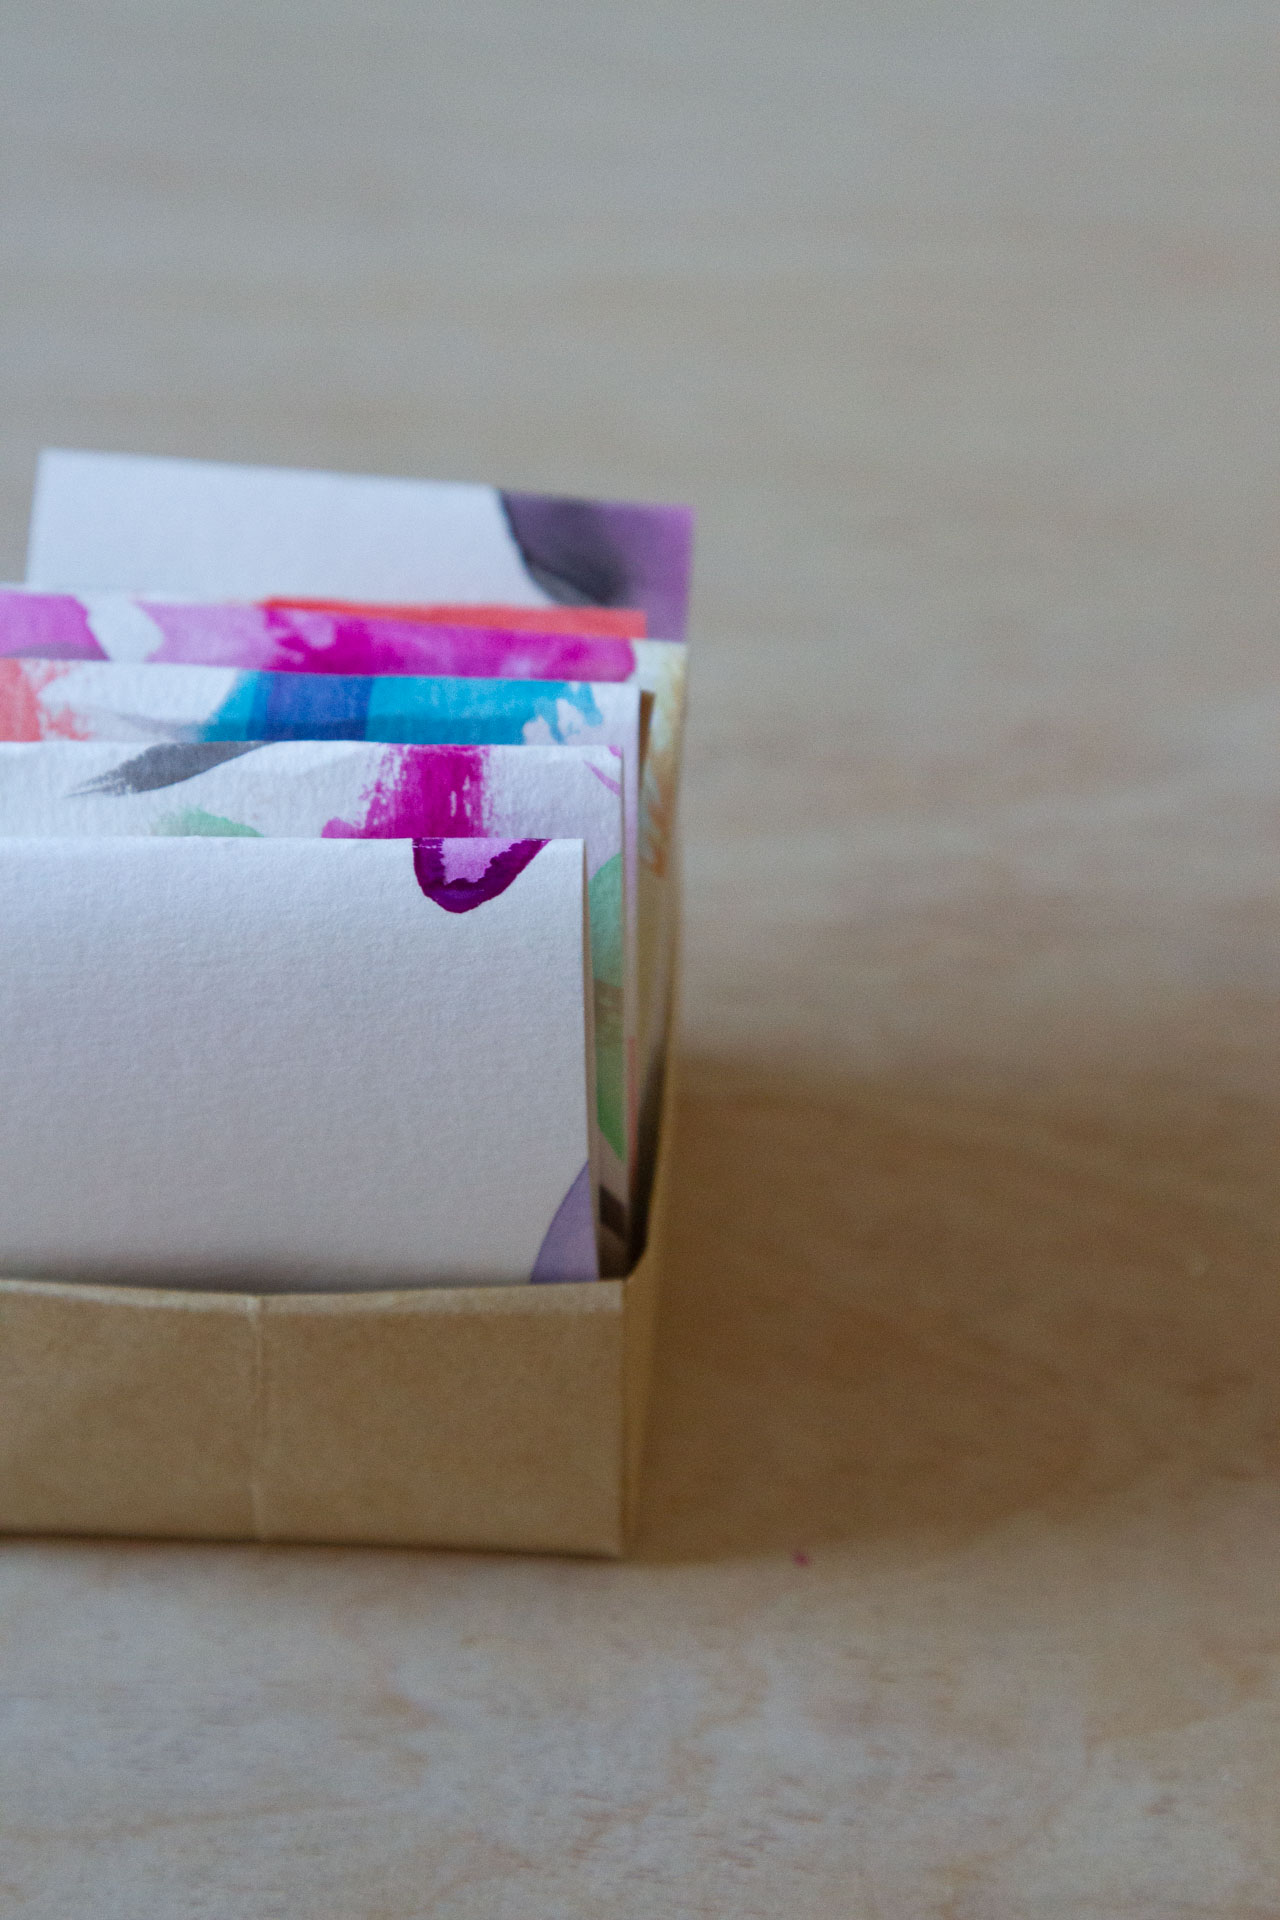
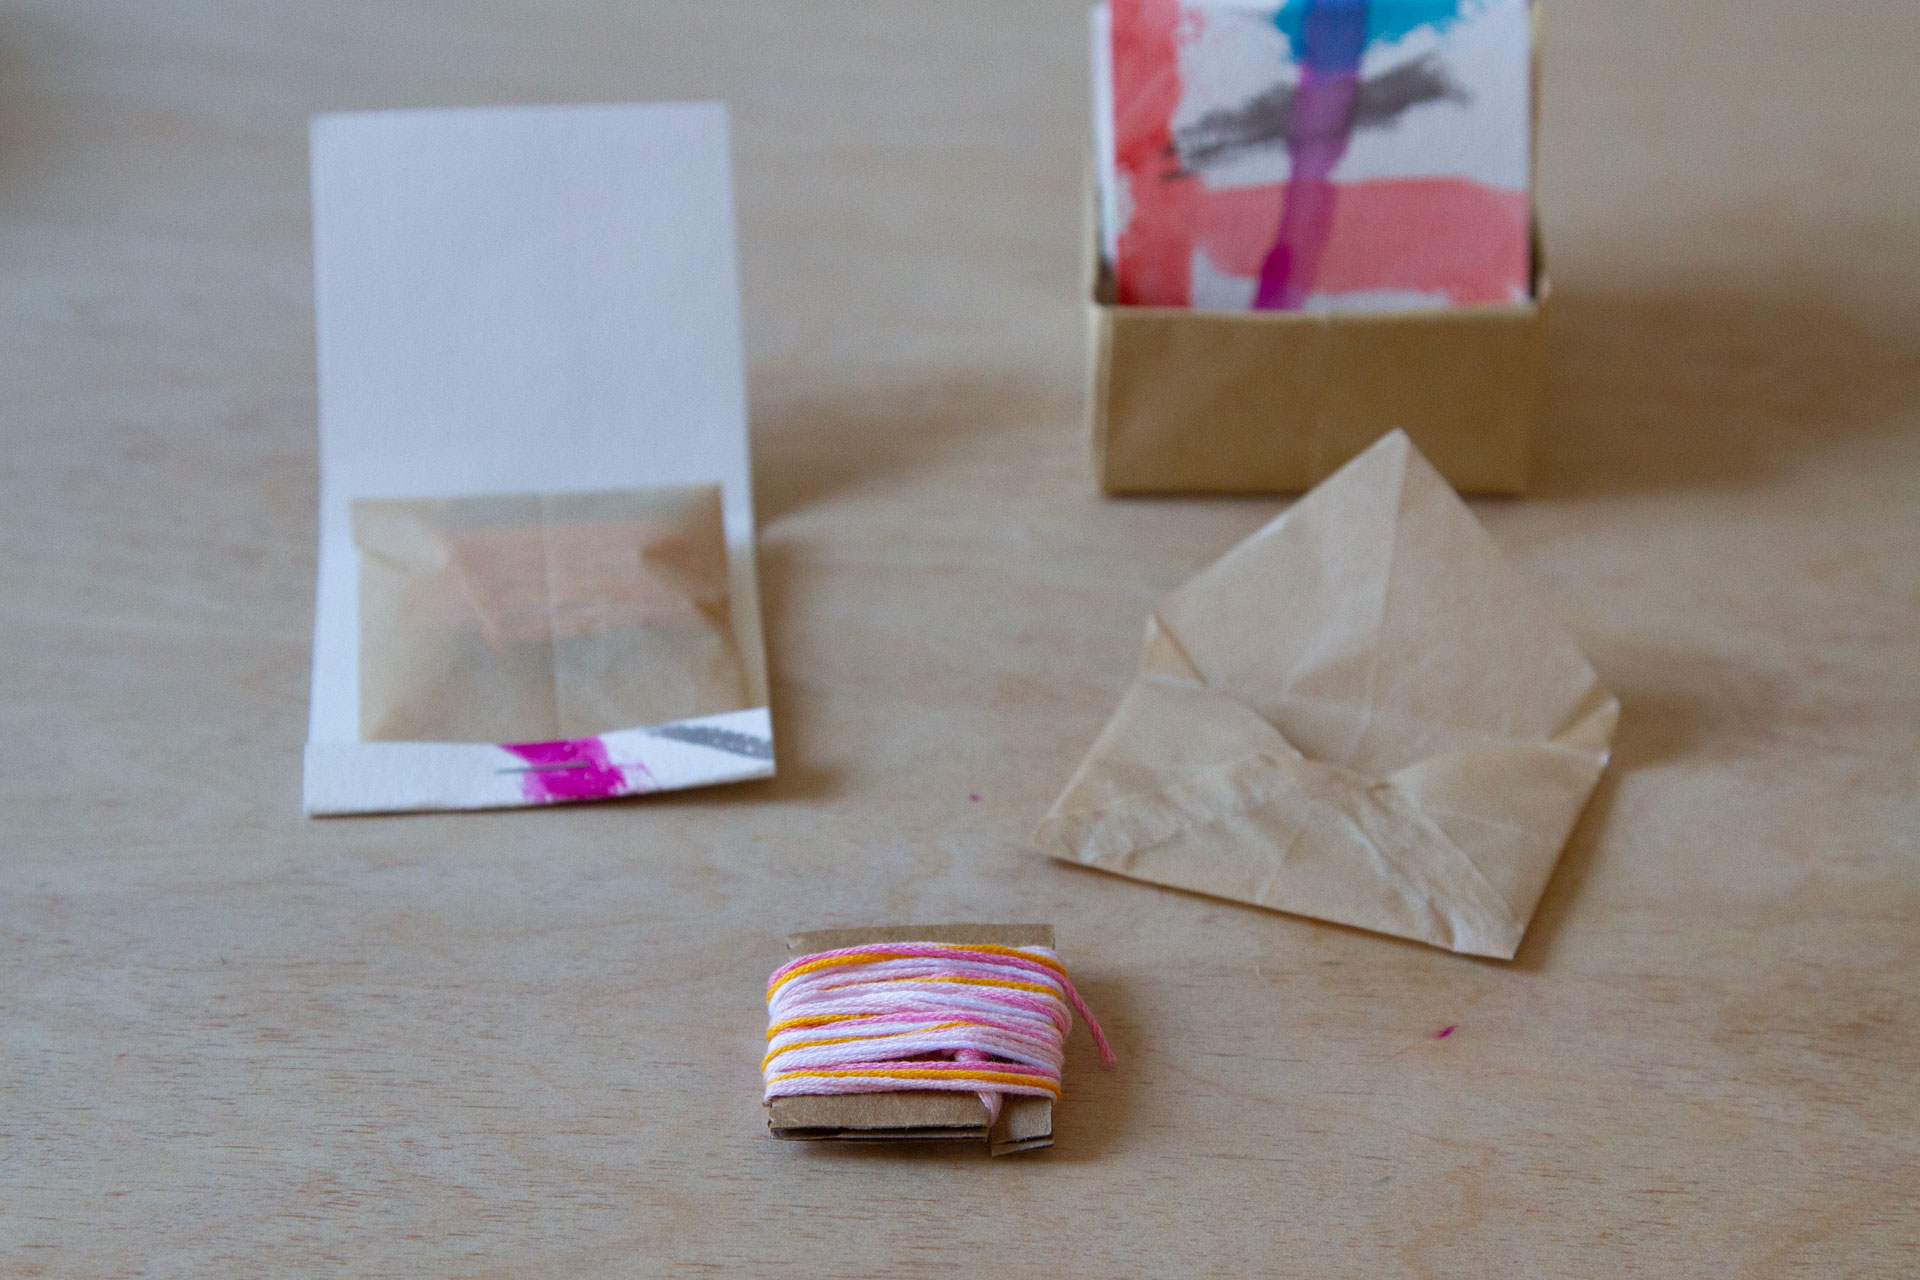
For Valentine’s Day, or whatever other excuse we might need to practice small acts of merry making, Rose is sharing a sweet little enveloped version her beloved recycled matchbook sketchbook tutorial from a few years ago. In this variation, she makes her own mini translucent envelopes and staples them into the same kind of recycled paper matchbook cover that we used last time (bring out that stash of toddler watercolors)! The little envelope becomes the perfect place to slipping seeds, stashing confetti, tucking materials for a friendship bracelet-to-be, or sharing a little love note.
Follow Rose’s instructions below for folding a simple parchment or waxed paper envelope and then fill it to your heart’s content with bath salts, spice blends, stickers, gummies…herbal remedies of whatever kind you indulge in. Winter is long, make merry!
Materials:
+ Matchbook cover (see Recycled Matchbook Sketchpad Tutorial)
+ 4-inch square of parchment paper or waxed paper
+ Glue
+ Scissors
+ Stapler
Instructions:
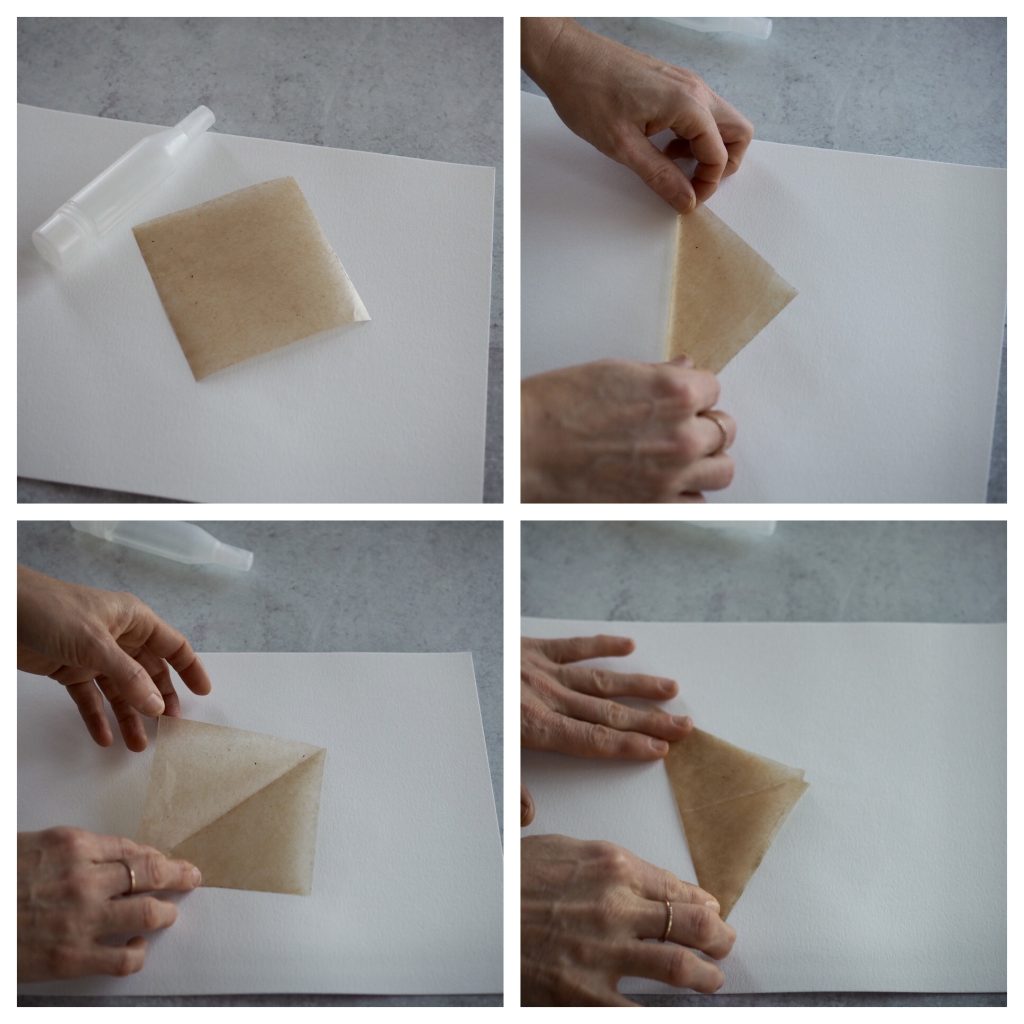
+ Cut a small 4” square from parchment paper or waxed paper.
+ Fold the square in half, corner to corner, and crease the center. Open.
+ Fold the square in the opposite direction and crease again. Open.
+ Fold two opposite corners toward the center where the lines intersect and crease the outer edges.
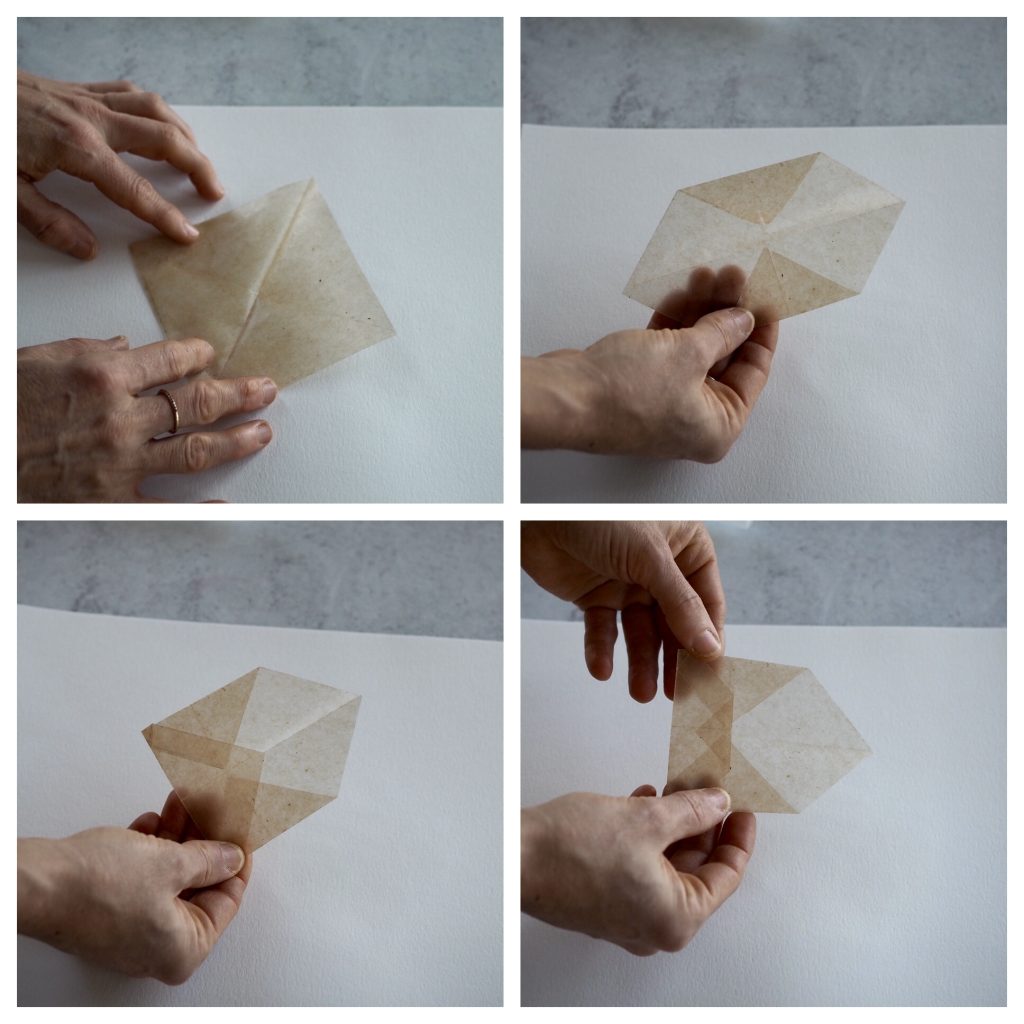
+ Fold the bottom triangle corner up toward the center, this time slightly past the center mark and creating a ¼” overlap along the edges of the adjacent triangles. Crease the fold.
+ With scissors, cut the triangle tip off the last fold (or you could just fold the very tip of the triangle downwards …it will be concealed in the end).
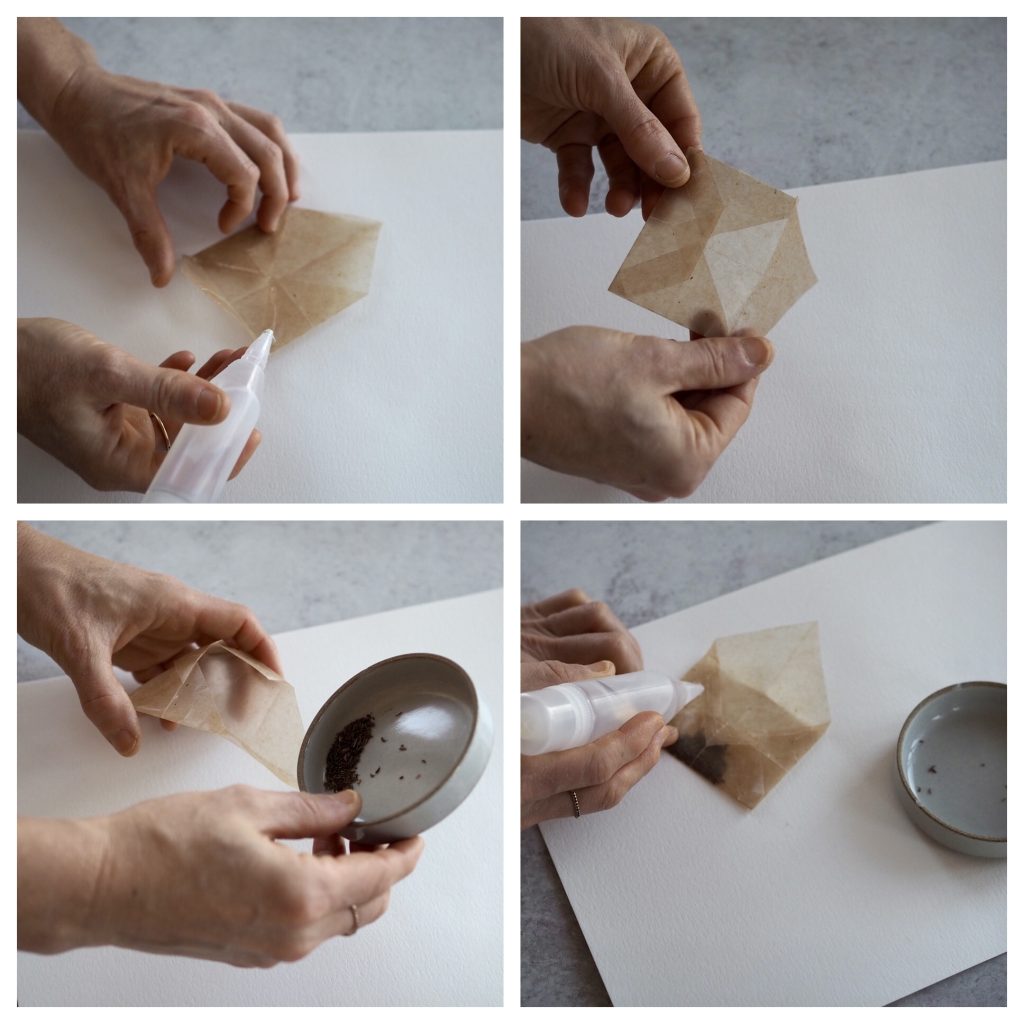
+ Open the last triangle fold and glue along the ¼” edges where it overlaps with the side triangles. Press to seal the glue.
+ Fold the top triangle flap down past the center point, again overlapping the edges of the adjacent triangles, and crease to close the envelope shape.
+ Fill your envelope with seeds or other small items. Glue along the overlapping edges to seal the envelope closed.
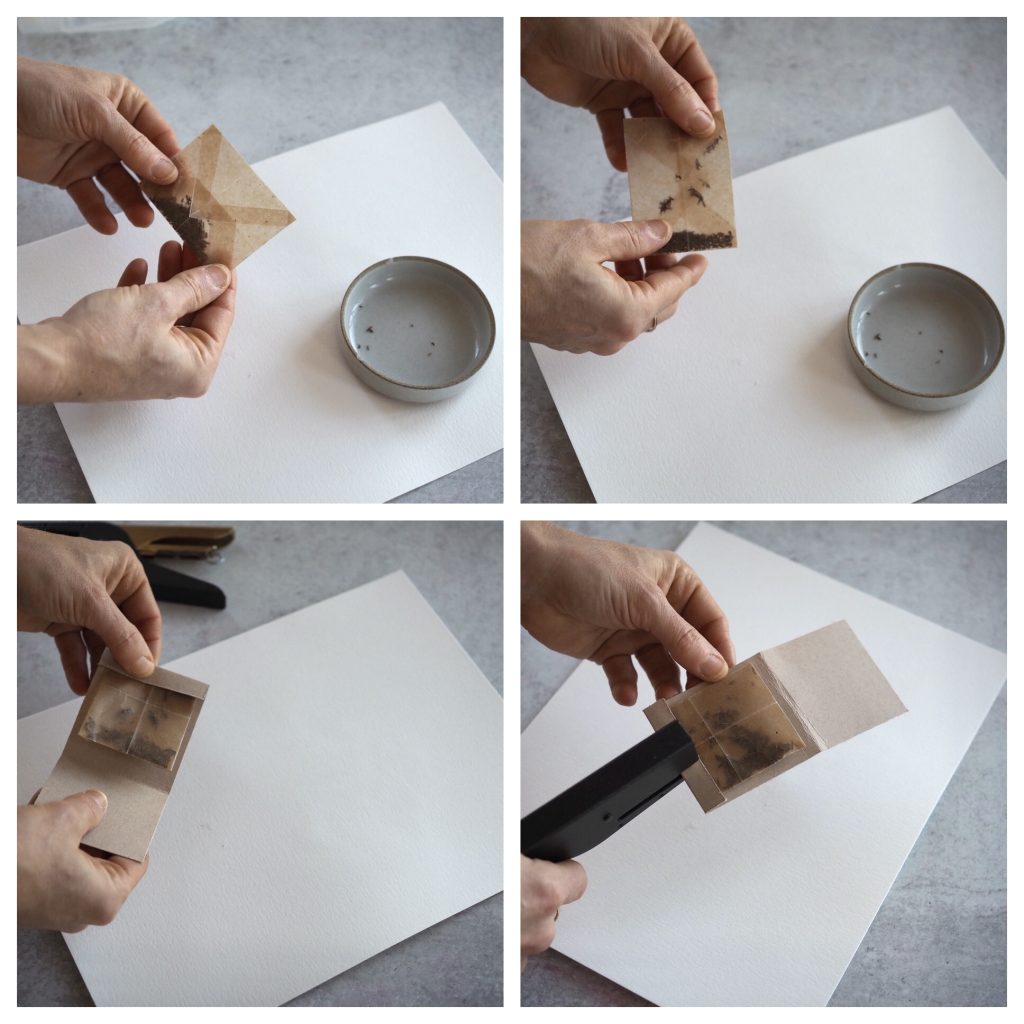
+ To staple in your matchbook cover, turn the envelope to one side, so one of the short edges faces you and all the seeds drop to the bottom. Fold over the opposite (empty) short edge of the envelope (to make the envelope a bit shorter and to create a thicker edge for the staple to go through). Staple the folded edge inside the edge flap of your matchbook cover like you would do for the sketchbook. Tuck in the cover flap, and you’re done.
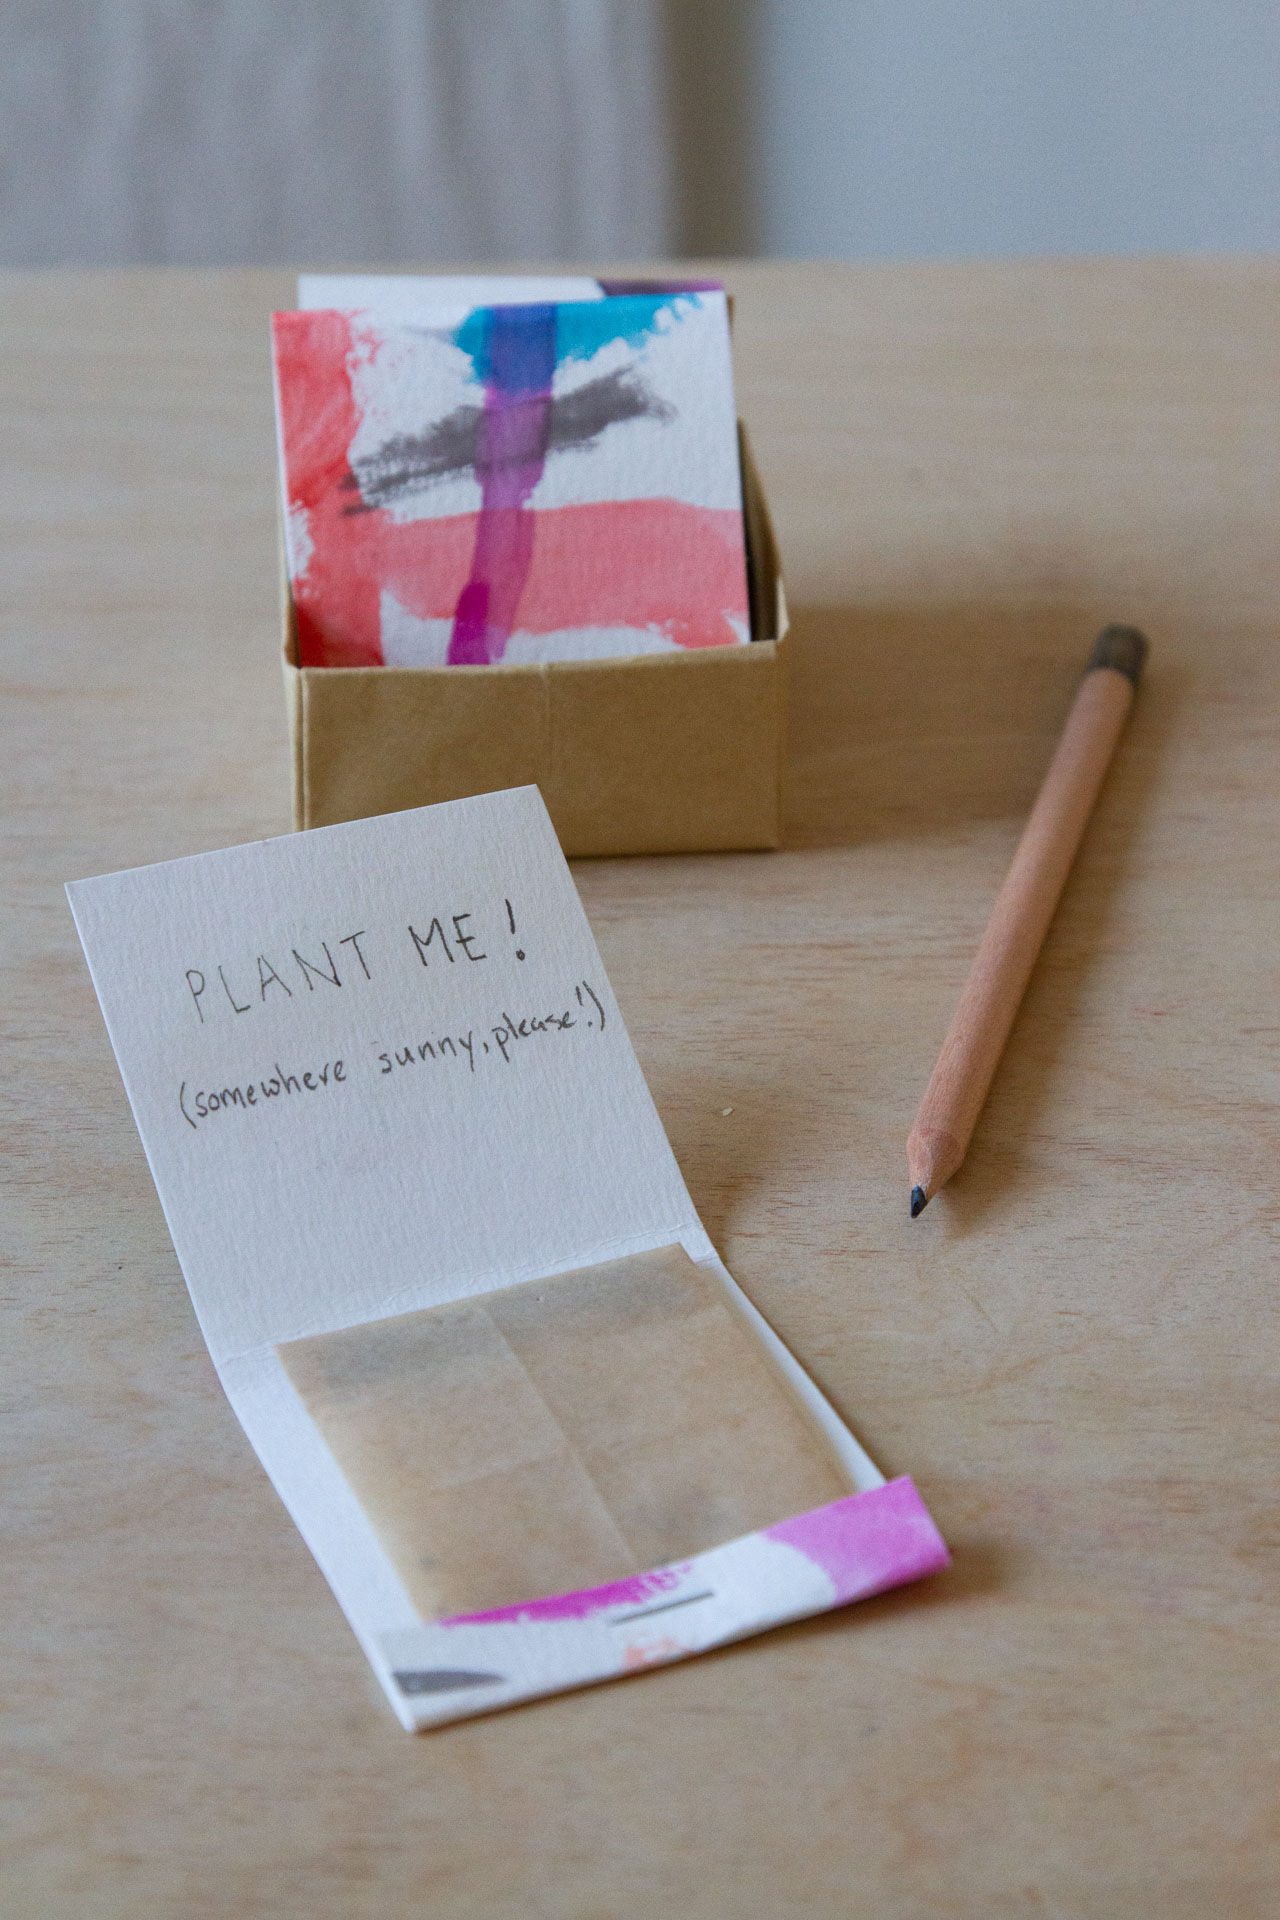
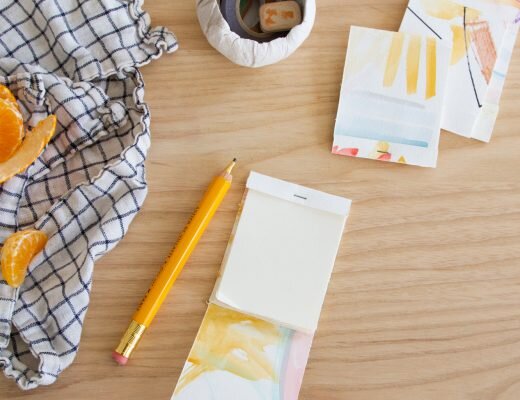
Seed Packet Matchbooks
If you’ve been saving your seeds and are ready to share the bounty, here’s an opportunity to tuck them into extremely cute valentine’s.
Materials:
+ Matchbook cover (see recycled matchbook sketchpad tutorial)
+ Parchment or wax paper envelope (see matchbook envelope tutorial above)
+ vegetable or flower seeds
Instructions:
+ Make one parchment envelope.
+ Fill the envelope with vegetable or flower seeds and seal according to instructions above.
+ Use the inside flap of the matchbook to jot down any growing or care instructions you might have.
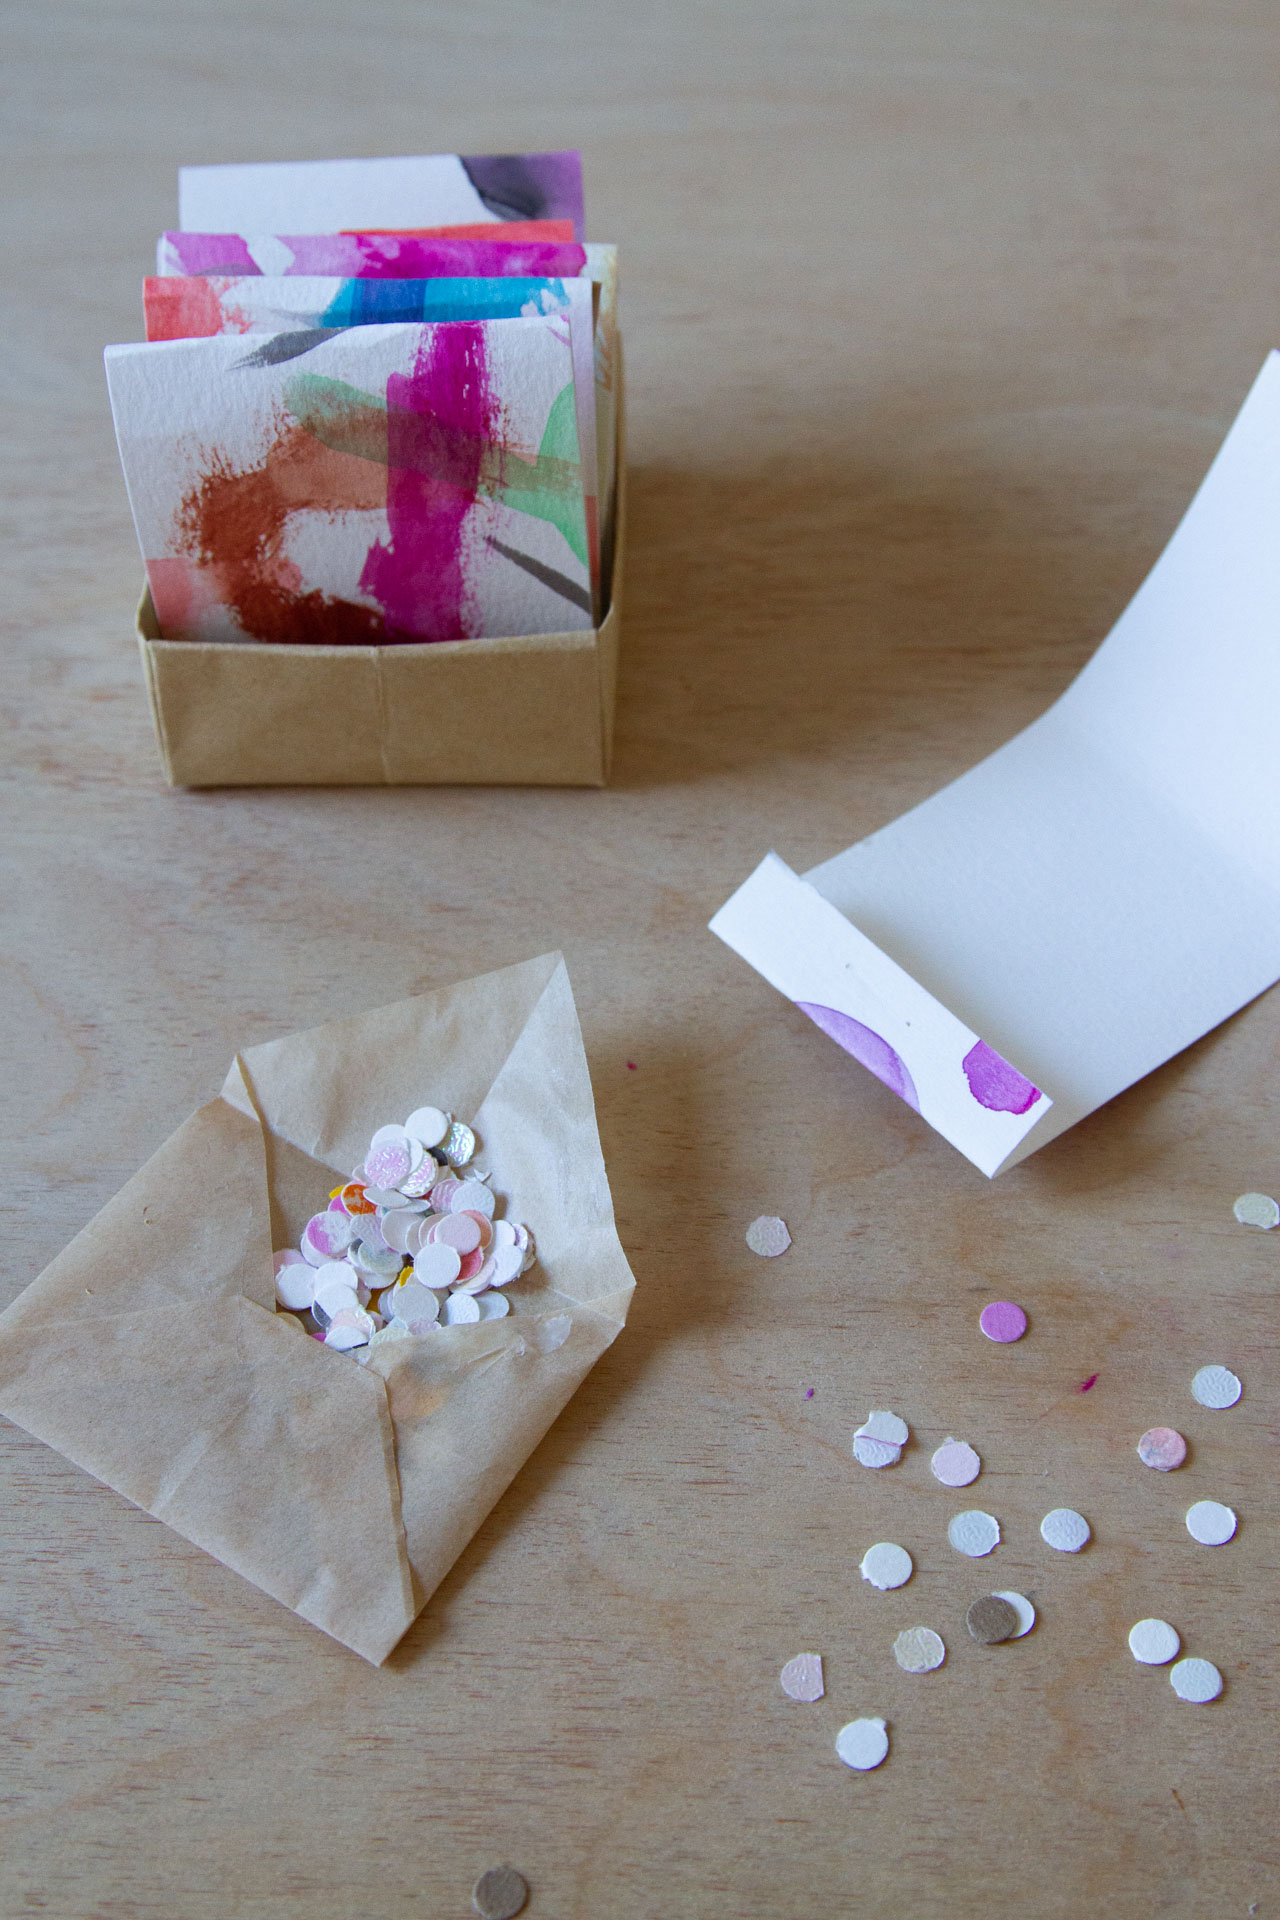
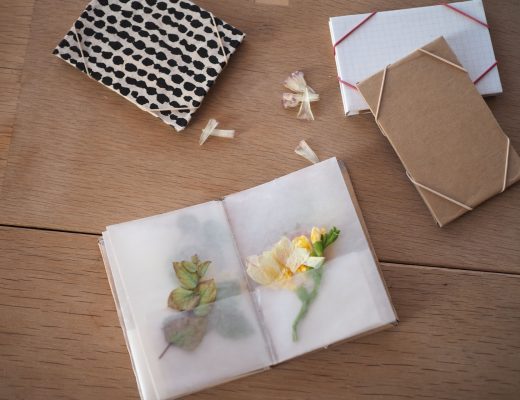
Confetti Matchbooks
If offering seeds is not something you do, perhaps you like to throw parties instead. Follow the same instructions for the mini parchment paper envelope as above and instead of seeds, fill your pocket with an assortment of paper or plant confetti. (Rose uses her tiny hole punch to make leaf confetti from pressed leaves and flower petals! I empty my paper hole punch into a little paper bag to save for someday.)
Materials:
+ Matchbook cover (see recycled matchbook sketchpad tutorial)
+ Parchment or wax paper envelope (see matchbook envelope tutorial above)
+ Assorted leaves and dried flowers if making plant confetti or colored paper if making paper confetti
+ Small hole punch
Instructions:
+ Make one parchment envelope
+ Punch a variety of dried leaves and flowers (or colored paper)
+ Gather all the punched circles and place them into the parchment envelope and seal according to the instructions above.
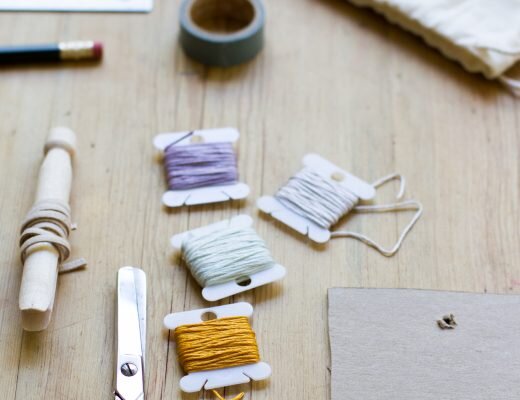
Friendship Bracelet Matchbooks
Use the same envelope technique shared above and tuck the few supplies needed for making a simple friendship bracelet. (Just take my advice and proceed with caution when crafting around children, otherwise you’ll be making enough for the entire second grade!)
Materials:
+ Matchbook cover (see recycled matchbook sketchpad tutorial)
+ Parchment or wax paper envelope (see matchbook envelope tutorial above)
+ small 1 ½”x1” piece of cardboard
+ Six 35” strands of colored embroidery thread
+ One safety pin
Instructions:
+ Make one parchment envelope
+ Gather the six strands of embroidery thread and tie a knot on one end
+ With the end of the threads that are not tied, neatly wrap them around the narrow center of the cardboard rectangle
+ With scissors, make a small incision in the bottom of the cardboard. Once finished winding, insert the tail end of the threads into the slot to secure
+ Insert the safety pin in through the knotted threads and tuck into the wrapped strings to secure.
+ Place the bundle inside the parchment envelope and seal with glue or tape.
+ Secure to the inside of the matchbook cover as instructed in the matchbook sketchpad tutorial.
//
Thanks to Rose Pearlman for preparing this tutorial and step-by-step imagery. Rose is an artist, teacher, and textile designer. With a background in fine arts and a love of well designed functional objects, her creations blur the lines between art and craft and pushes the boundaries with non-traditional techniques and materials. Rose teaches monthly rug hooking workshops in and around her home in NYC, and also welcomes commissions for one of a kind constructions in decor and home furnishings. Her work has been featured in fiber magazines, galleries, and numerous online design sites. Her book Modern Rug Hooking is available wherever books are sold. Follow along with her functional craft projects at @art_objects_ She lives in Brooklyn, NY with her family.
2 Comments
This is adorable! Also just throwing it out there, this vessel would be a very cute way to pass along a couple of celebratory joints to a stoner pal. 🙂
saying the quiet part loud!
Comments are moderated.